Hola mis amigos creativos de esta hermosa comunidad de @hivediy, feliz Domingo para todos.!!
Hello my creative friends from this beautiful community of @hivediy, happy Sunday to all.!!

Es un placer para mí saludarlos y poder compartir con todos ustedes un nuevo proyecto, un nuevo tutorial, bienvenidos a mi blog.!!
It is a pleasure for me to greet you and to be able to share with all of you a new project, a new tutorial, welcome to my blog.!!
Espero y se encuentren super bien, y con ganas de aprender el dia de hoy hacer unos hermosos cotillones con la temática de conejos, Los conejos Son encantadores y a los niños y niñas suelen encantarle. Ya sea que tengas un hijo o hija esta temática irá perfecto. Los conejos son una excelente elección para bebés, ya sea para celebrar el primer año o para un baby shower. los invito a seguir este paso a paso para que vean lo fácil y sencillo que es elaborar este cotillón.
I hope and you are super well, and wanting to learn today to make some beautiful rabbit-themed party favors, Rabbits are charming and boys and girls usually love them. Whether you have a son or daughter, this theme will be perfect. Rabbits are an excellent choice for babies, whether to celebrate the first year or for a baby shower. I invite you to follow this step by step so you can see how easy and simple it is to make this party favors.
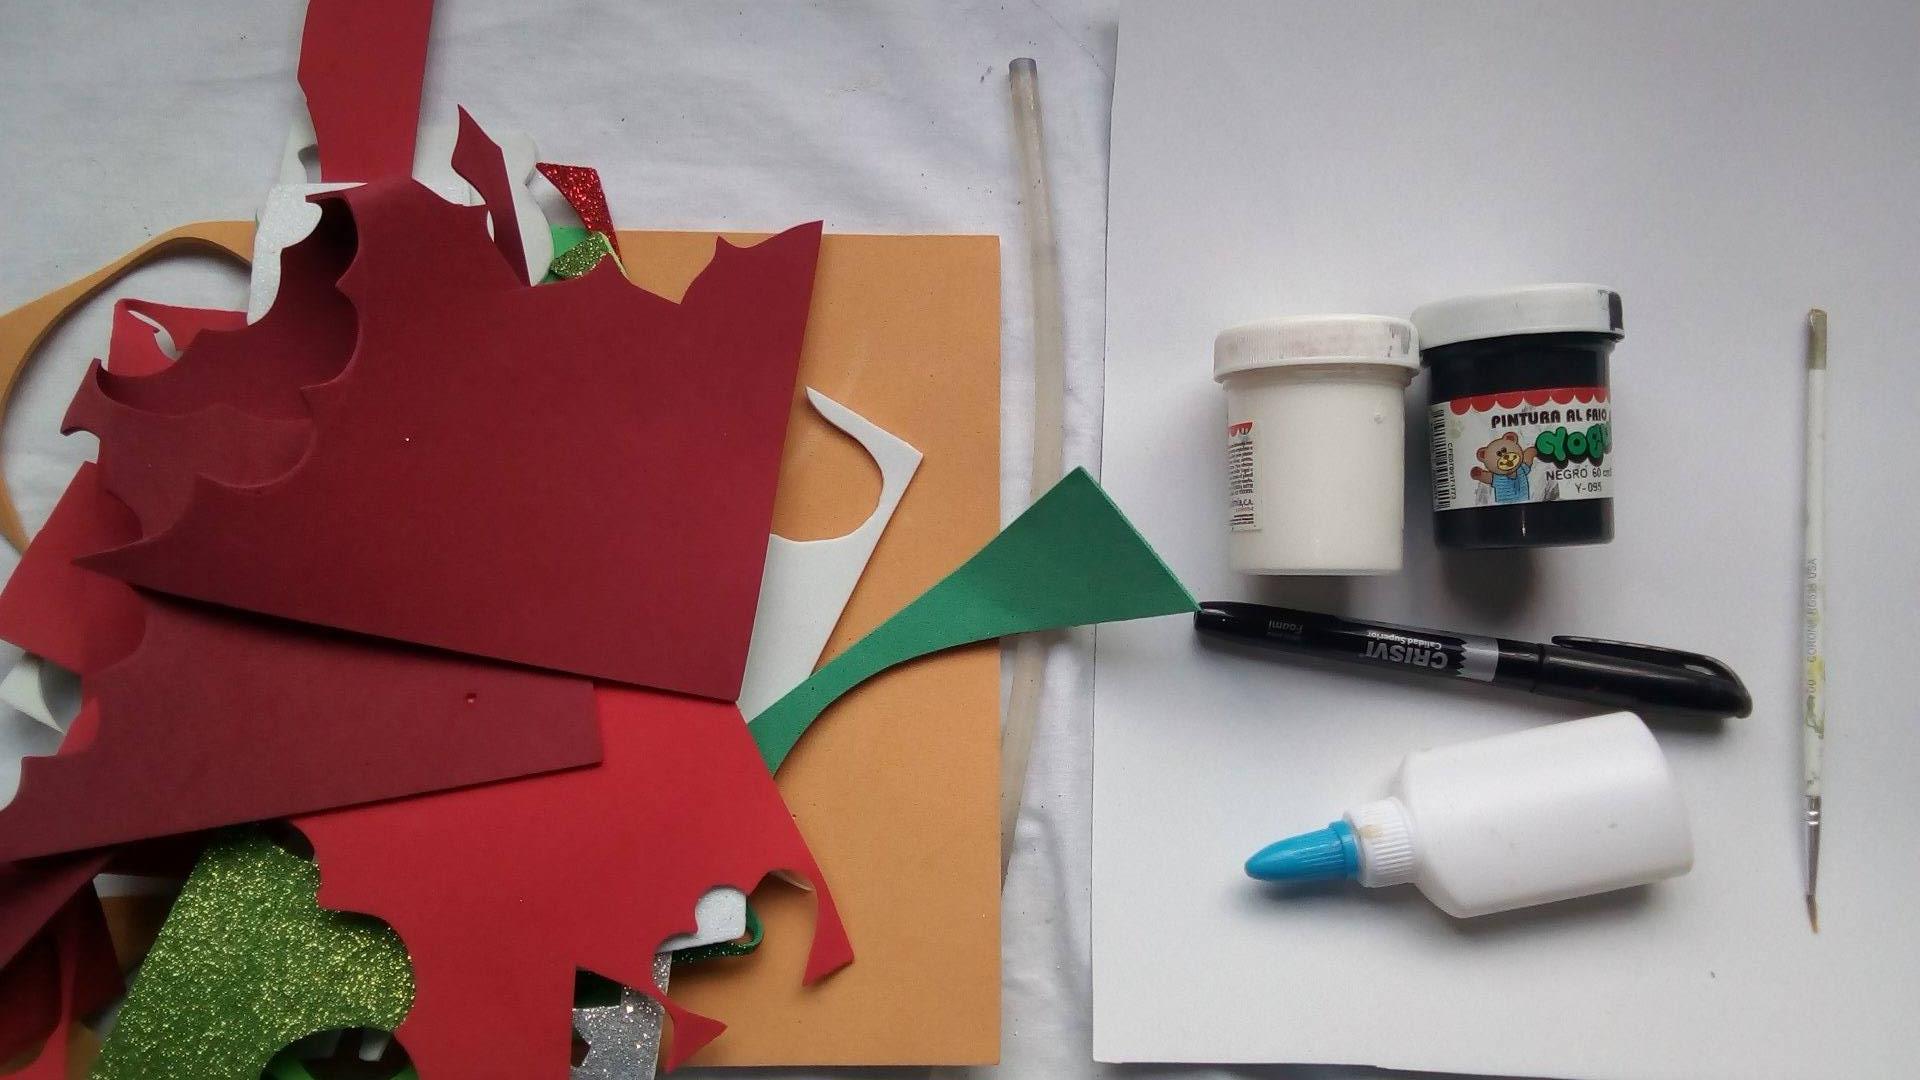
Materiales a utilizar:
- Foamis de colores variados.
- Cartulina.
- Silicón caliente.
- Pinturas blanca, negra y azul.
- Tijeras.
The materials to use:
- Foamis of varied colors.
- Cardboard.
- Hot silicone.
- White, black and blue paints.
- Pair of scissors.
Paso a Paso:
Step by Step:
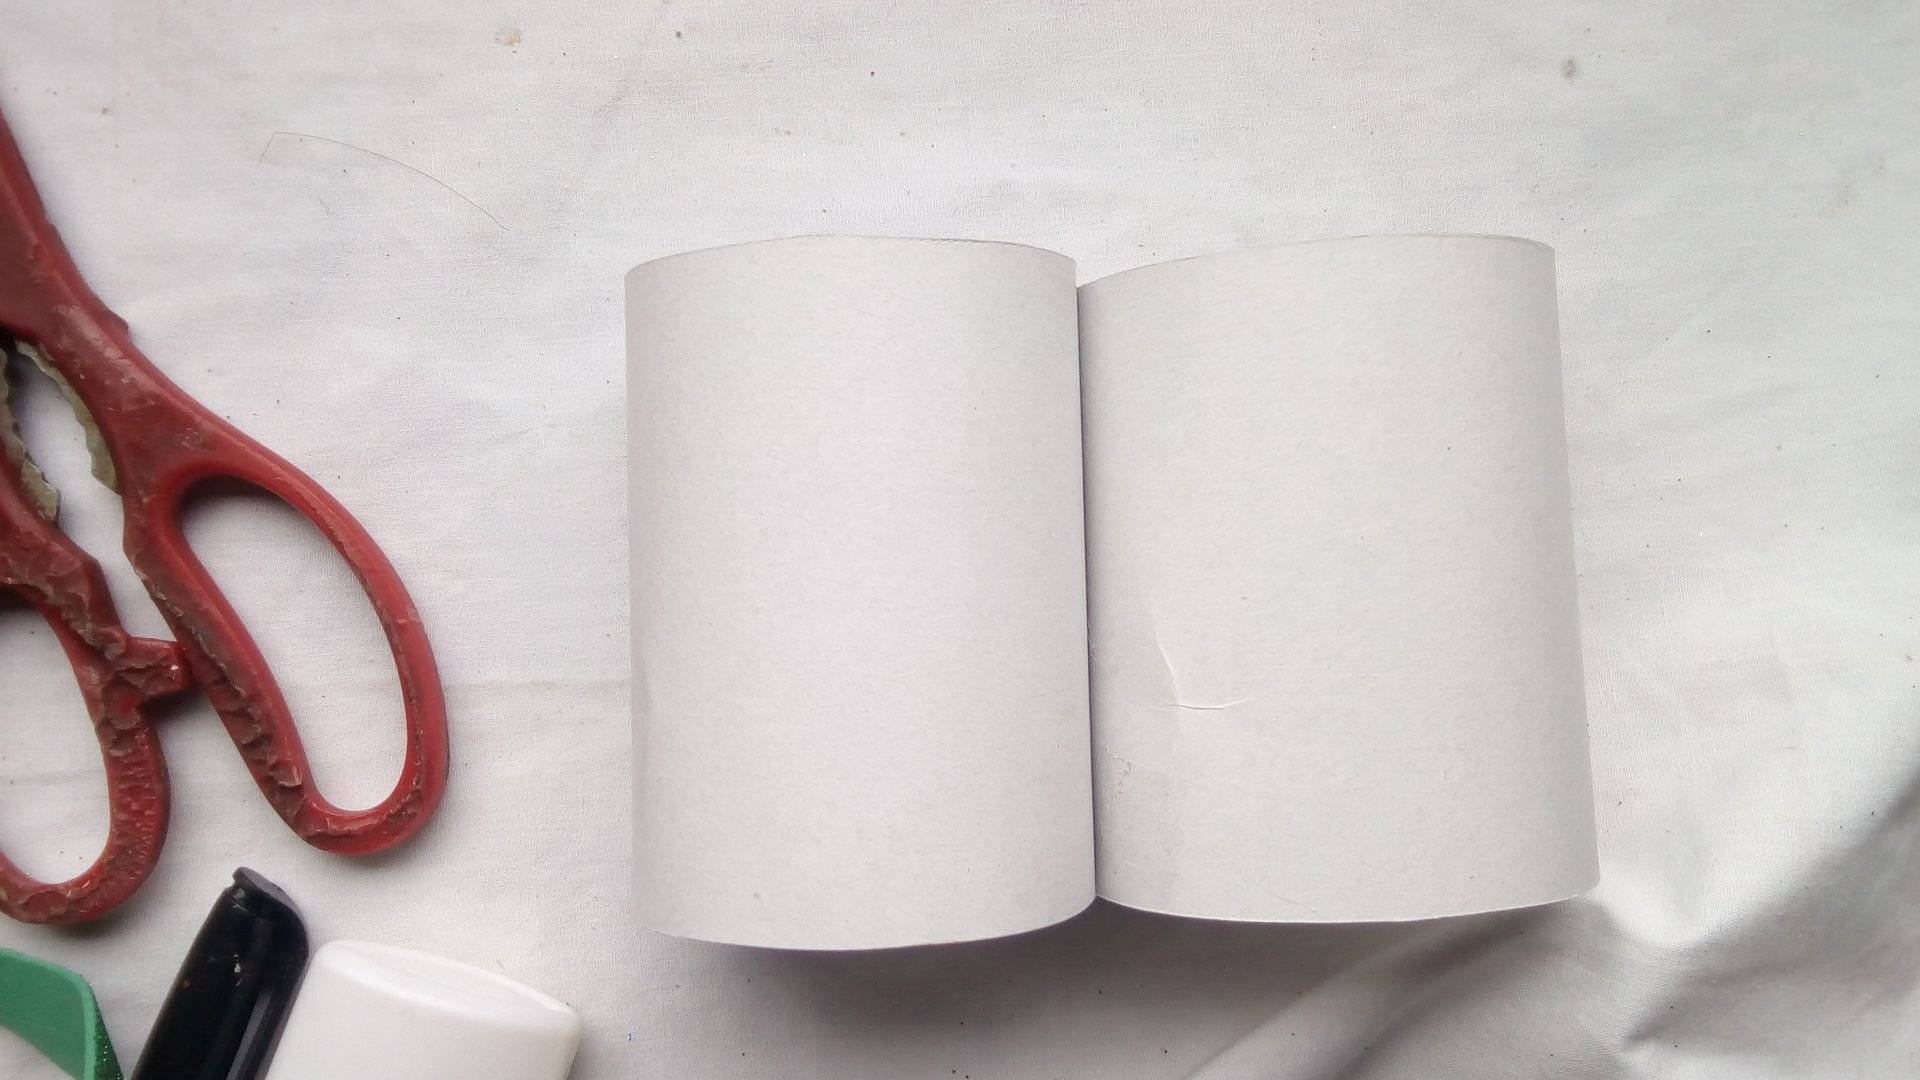
Paso 1:
Step 1:
Iniciamos haciendo un par de cilindros con la cartulina blanca, con unas medidas de 9 cm de altura y con un diámetro de 5 cm y la fijamos con silicon caliente. En caso de no tener este tipo de cartulina podemos utilizar los rollos de papel higiénico.
We start by making a couple of cylinders with white cardboard, measuring 9 cm high and with a diameter of 5 cm, and fix it with hot silicone. If we do not have this type of cardboard, we can use toilet paper rolls.
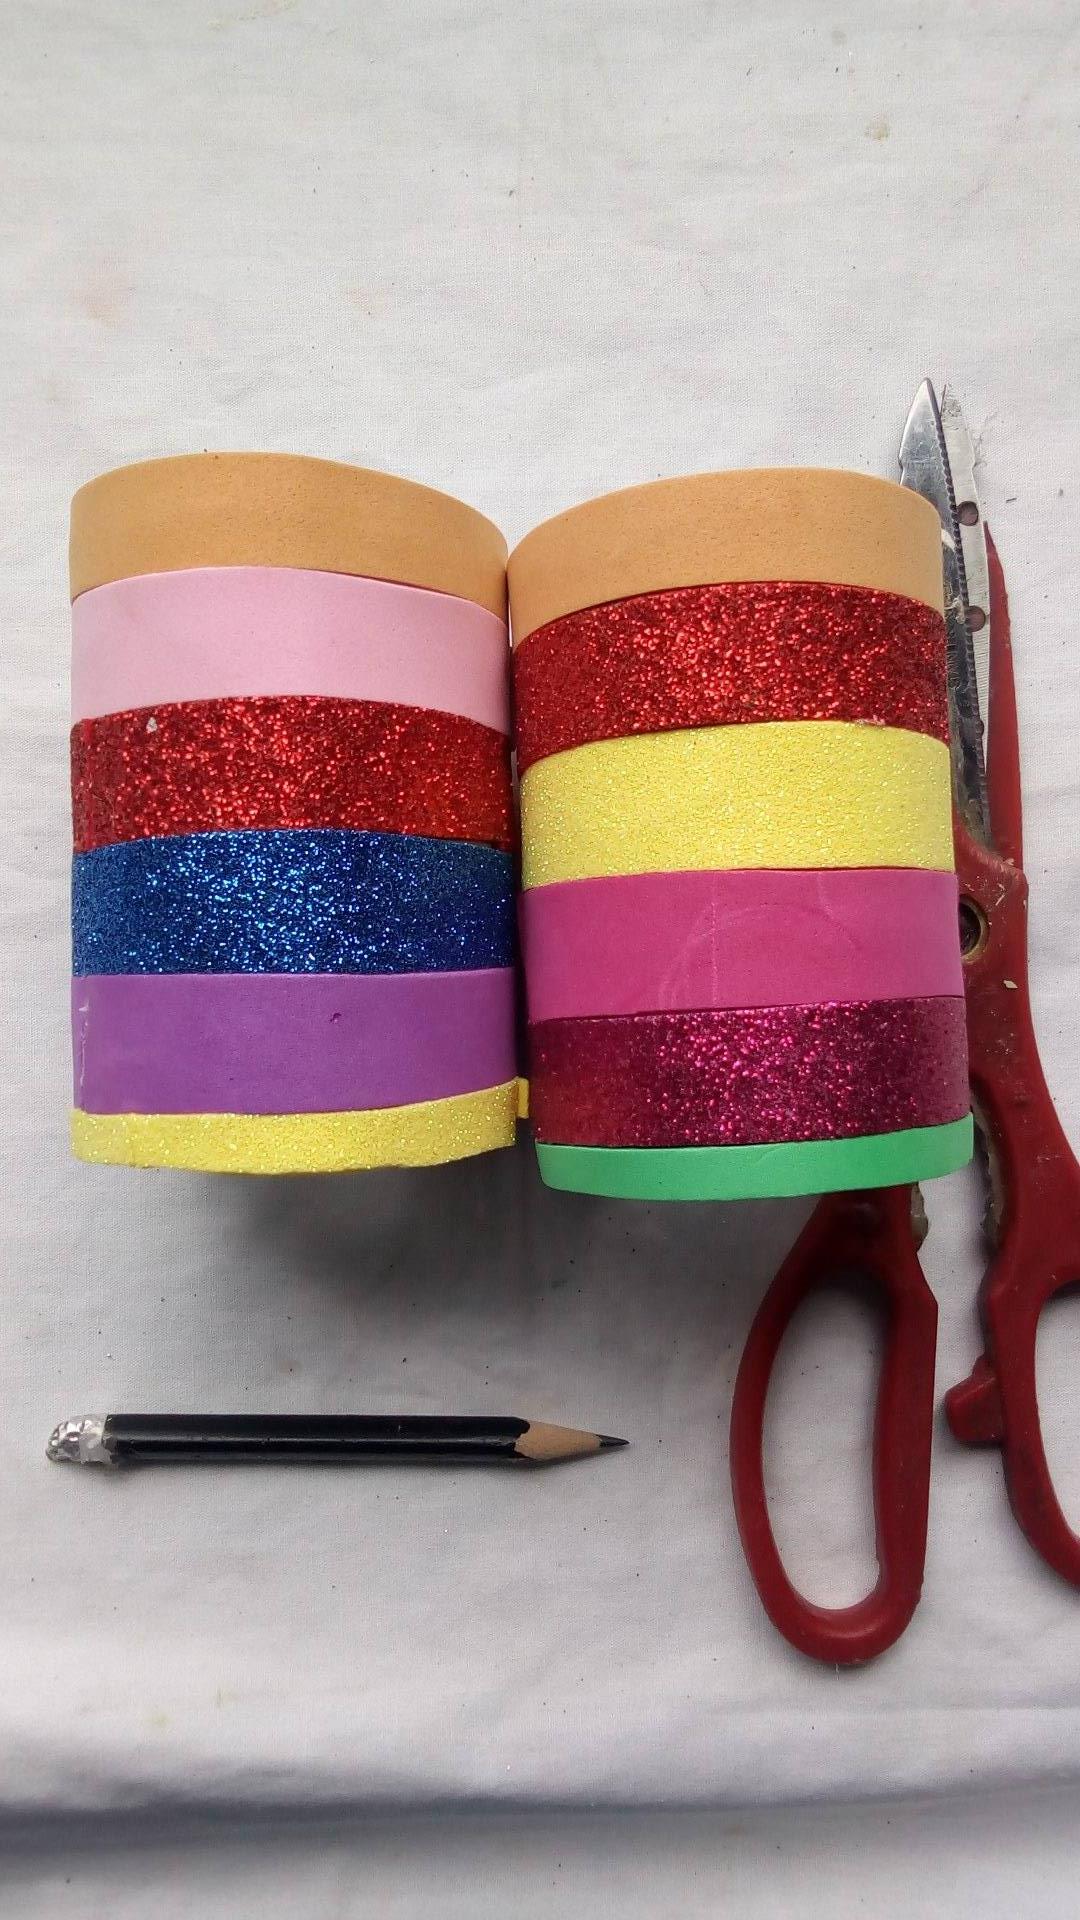
Paso 2:
Step 2:
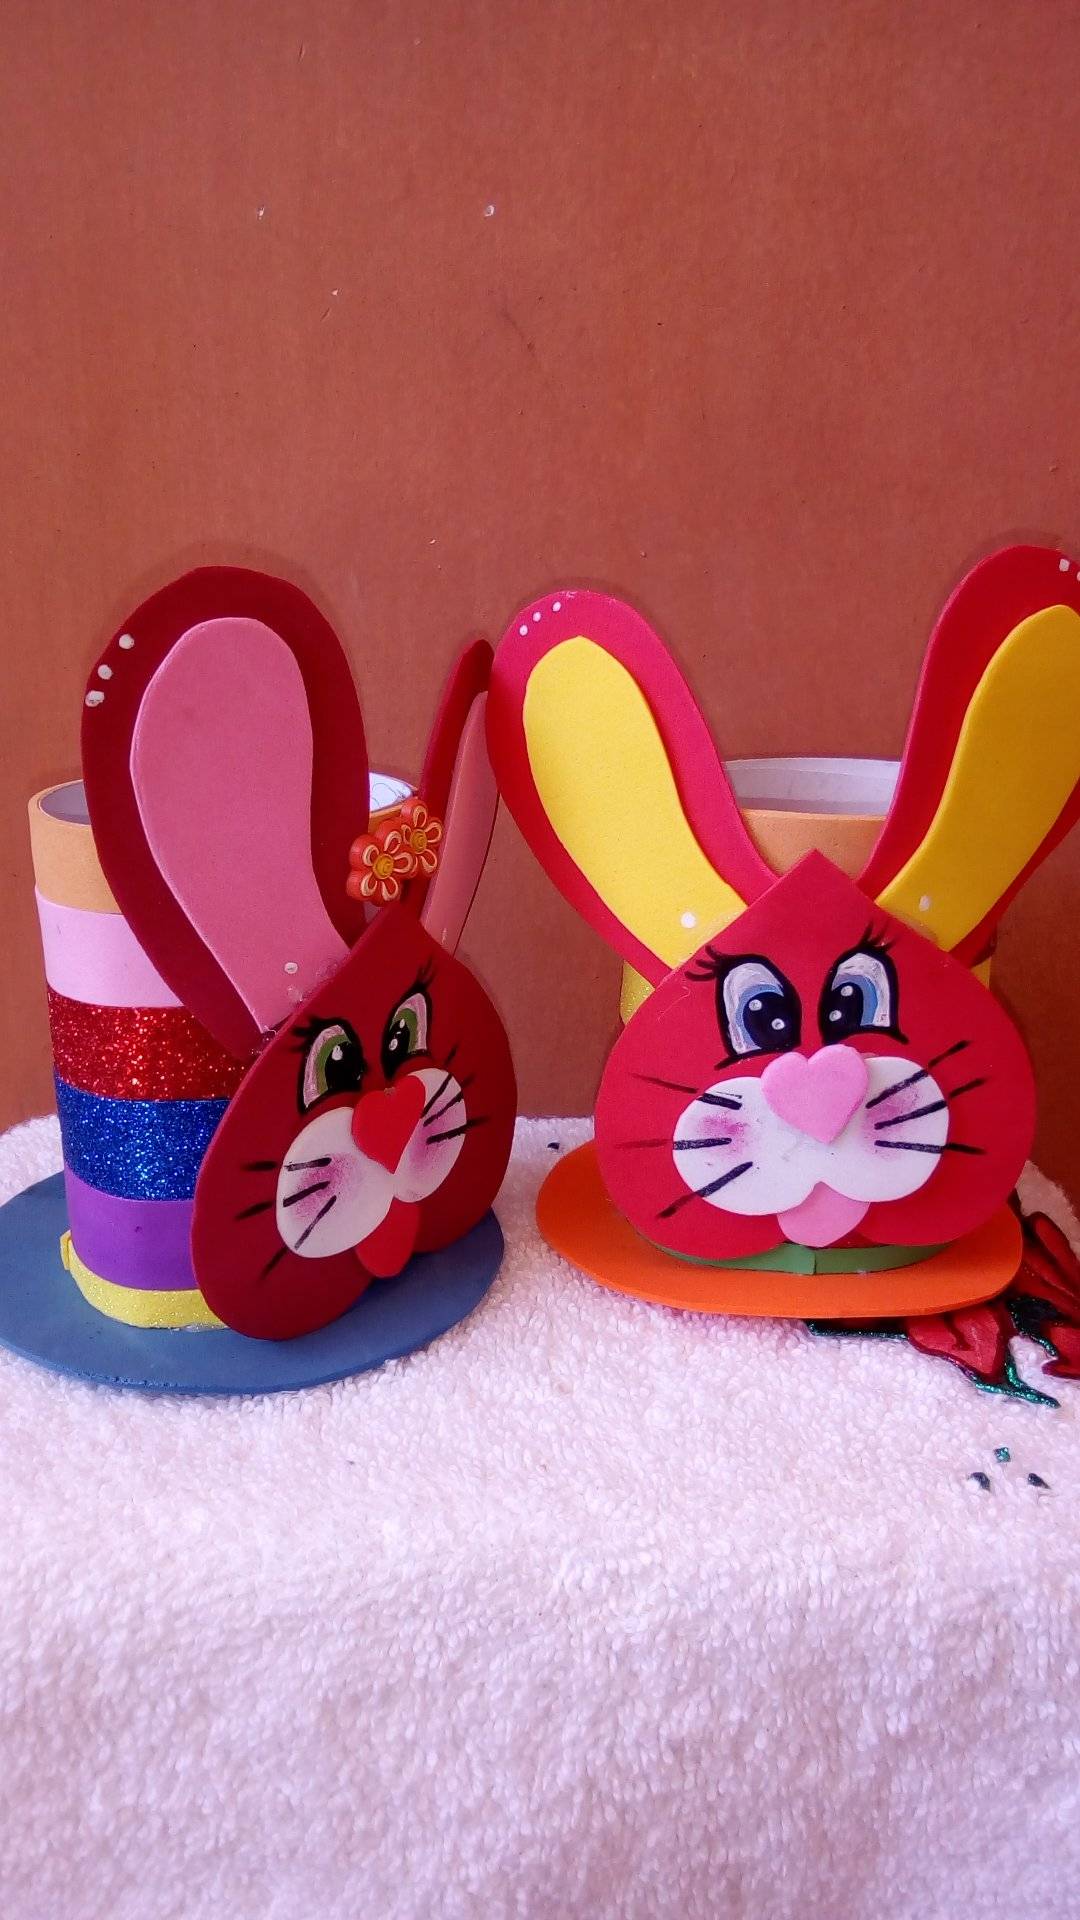
Este cilindro o tubo de cartón los vamos a forrar con foami de varios colores, en esta oportunidad yo corté varias tiras de diferente longitud, ya que para este proyecto utilice puro recortes de foami que me van quedando de mis manualidades anteriores, lo que si es igual es el ancho de las tiras que todas est una medida de 1.5 cm, luego que tengamos todas las tiras necesarias para cubrir el tubo, las empezamos a pegar con silicon.
We are going to cover this cylinder or cardboard tube with foami of various colors, this time I cut several strips of different lengths, since for this project I used pure foami cuts that are left over from my previous crafts, which is The width of the strips is the same, they are all a measure of 1.5 cm, after we have all the necessary strips to cover the tube, we begin to glue them with silicone.
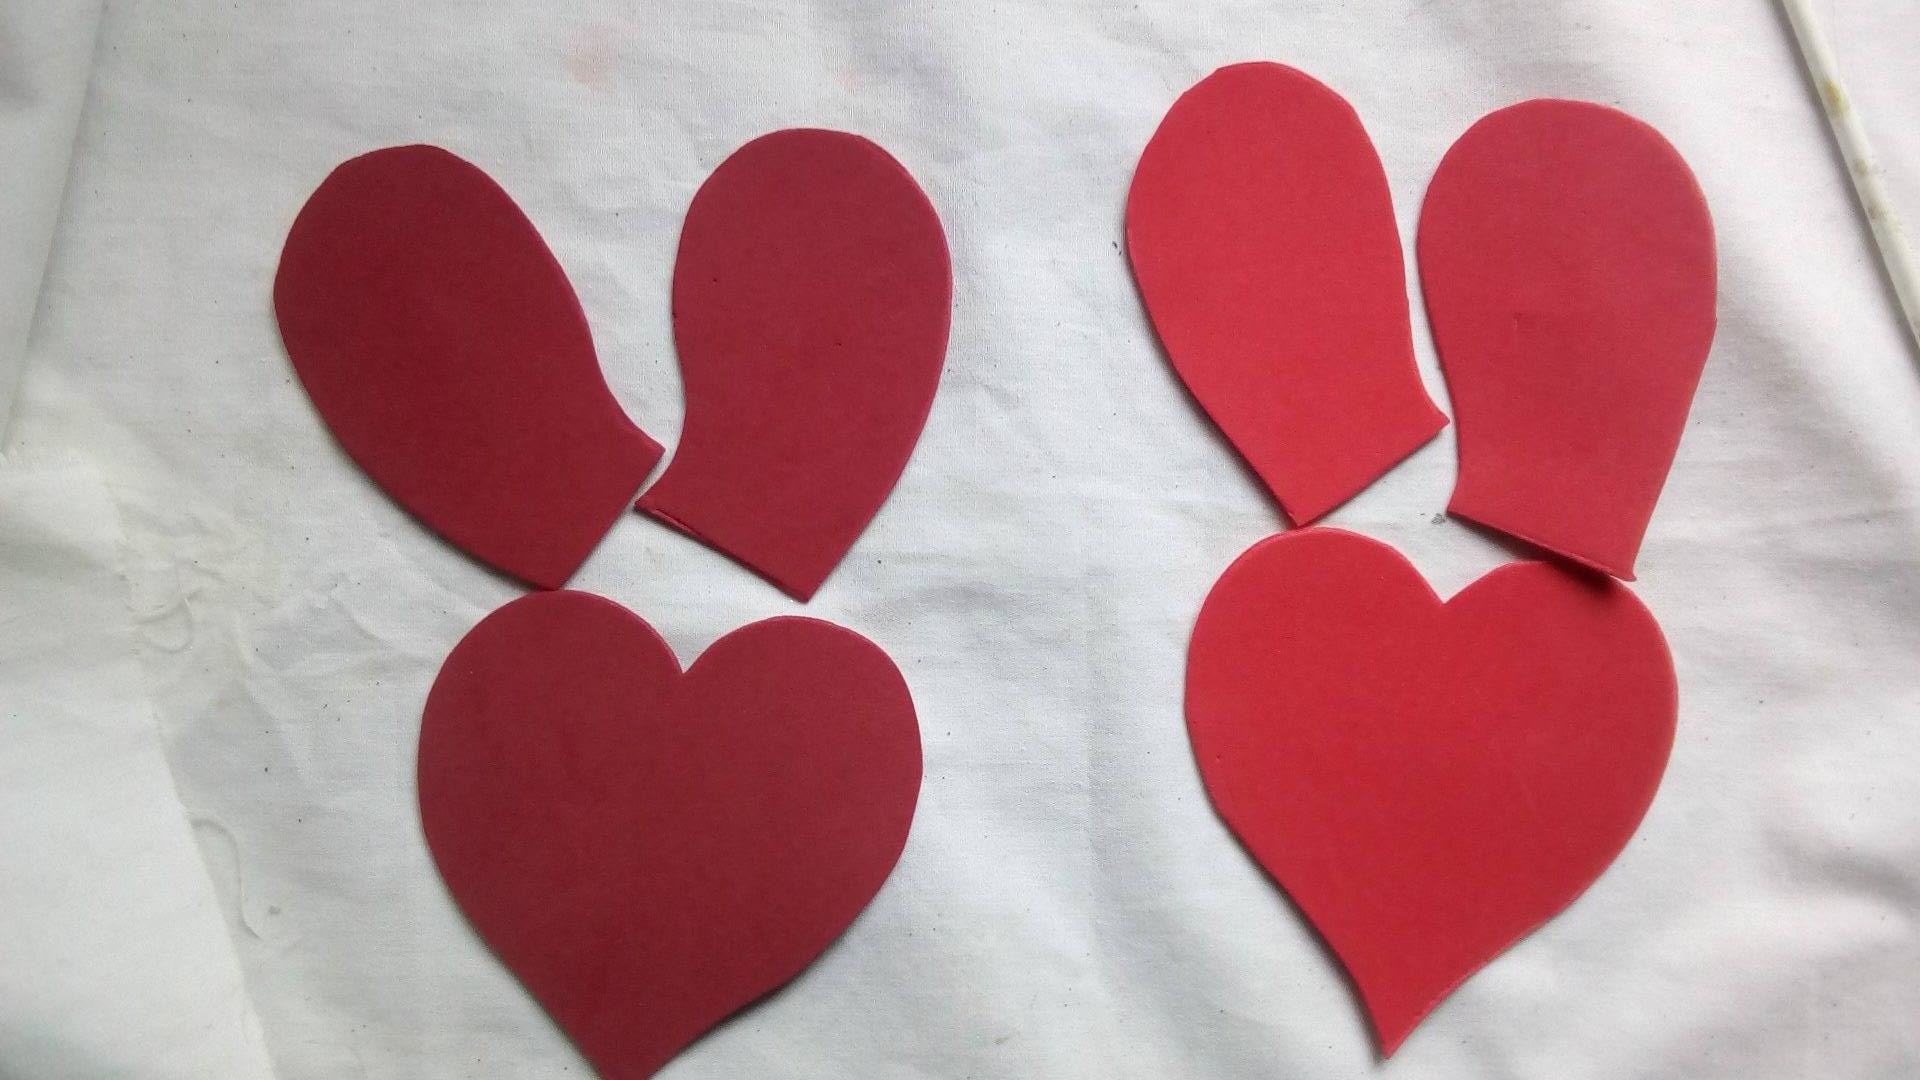
Paso 3:
Step 3:
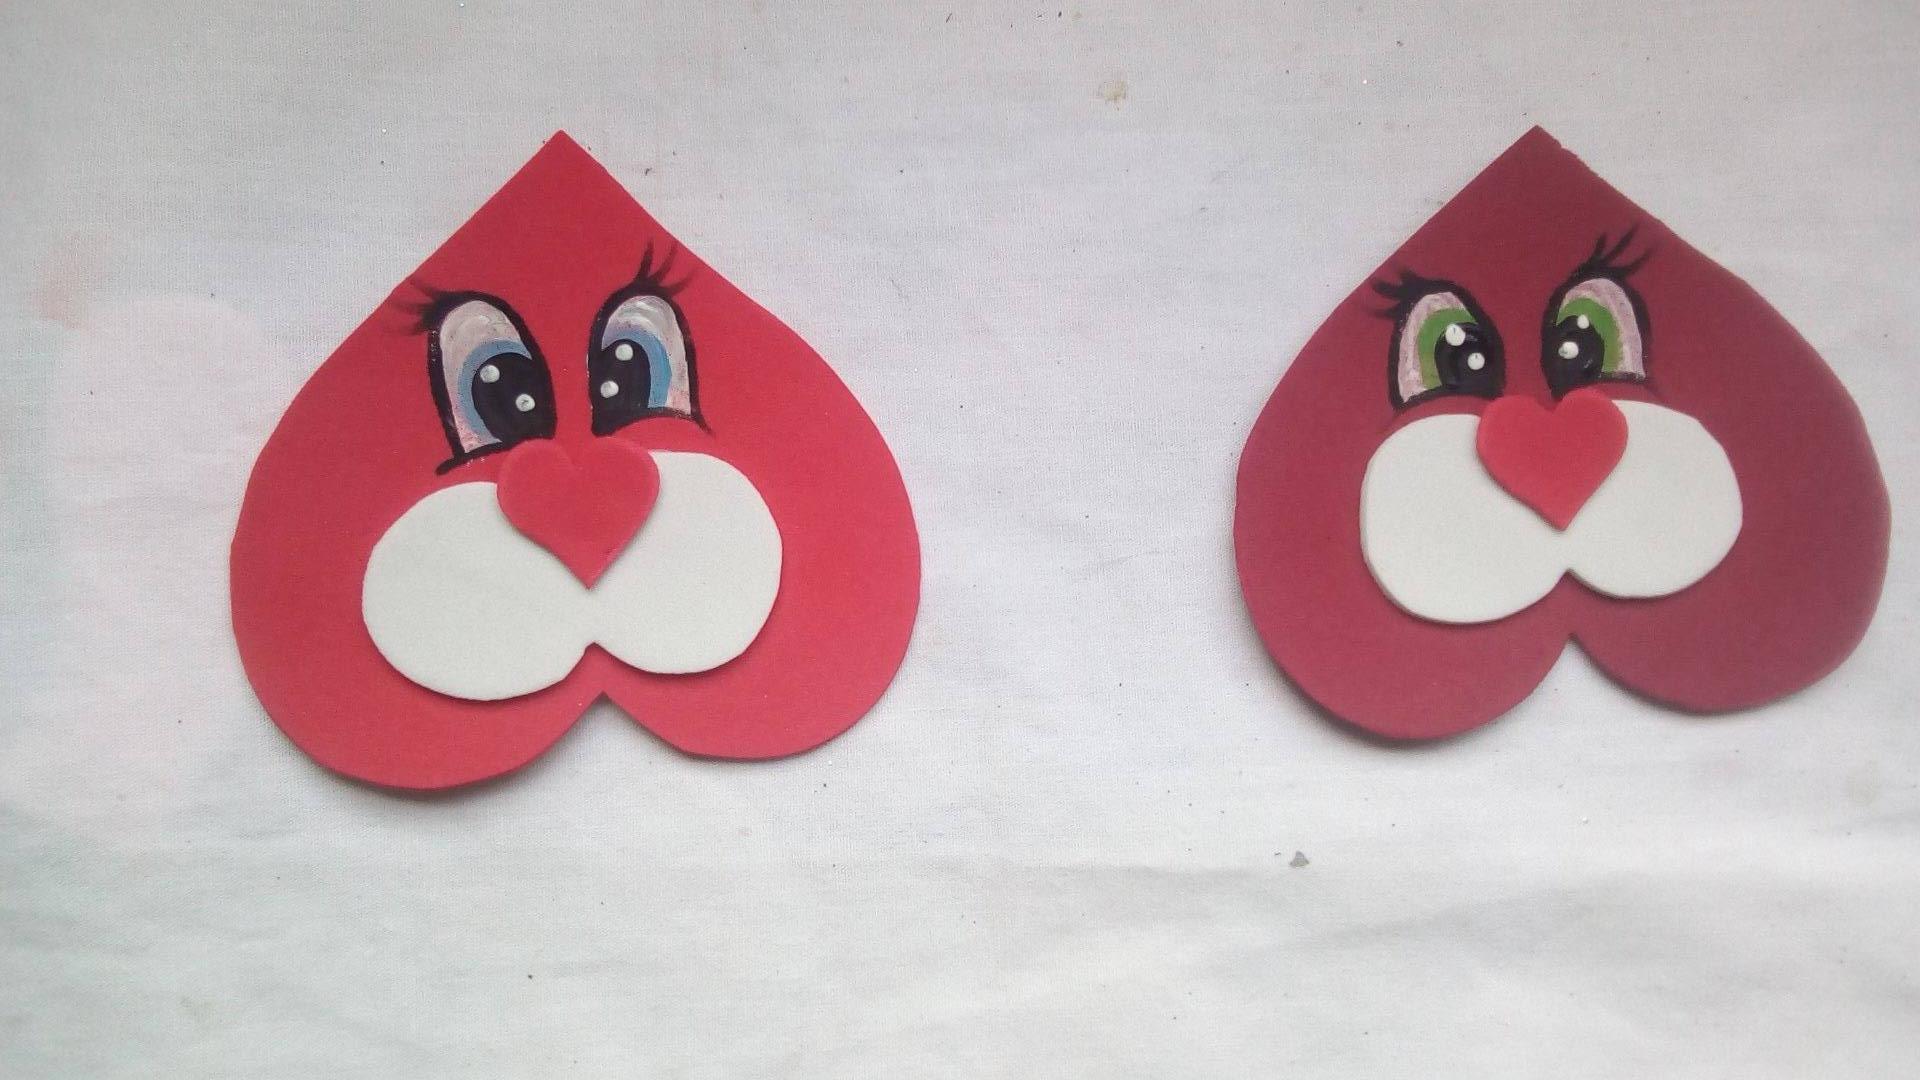
De los foami de color rojo y vino vamos acortar los que es la cara y las orejas de nuestros conejitos. Para hacer la cara dibujaremos sobre ambos colores una figura en forma de corazón y para sus orejas podemos dibujar una figura parecida a la vocal U, con algunas curvaturas para darle esa forma de oreja.
From the red and wine colored foami we are going to cut what is the face and ears of our bunnies. To make the face we will draw a heart-shaped figure on both colors and for its ears we can draw a figure similar to the vowel U, with some curvatures to give it that ear shape.
Paso 4:
Step 4:
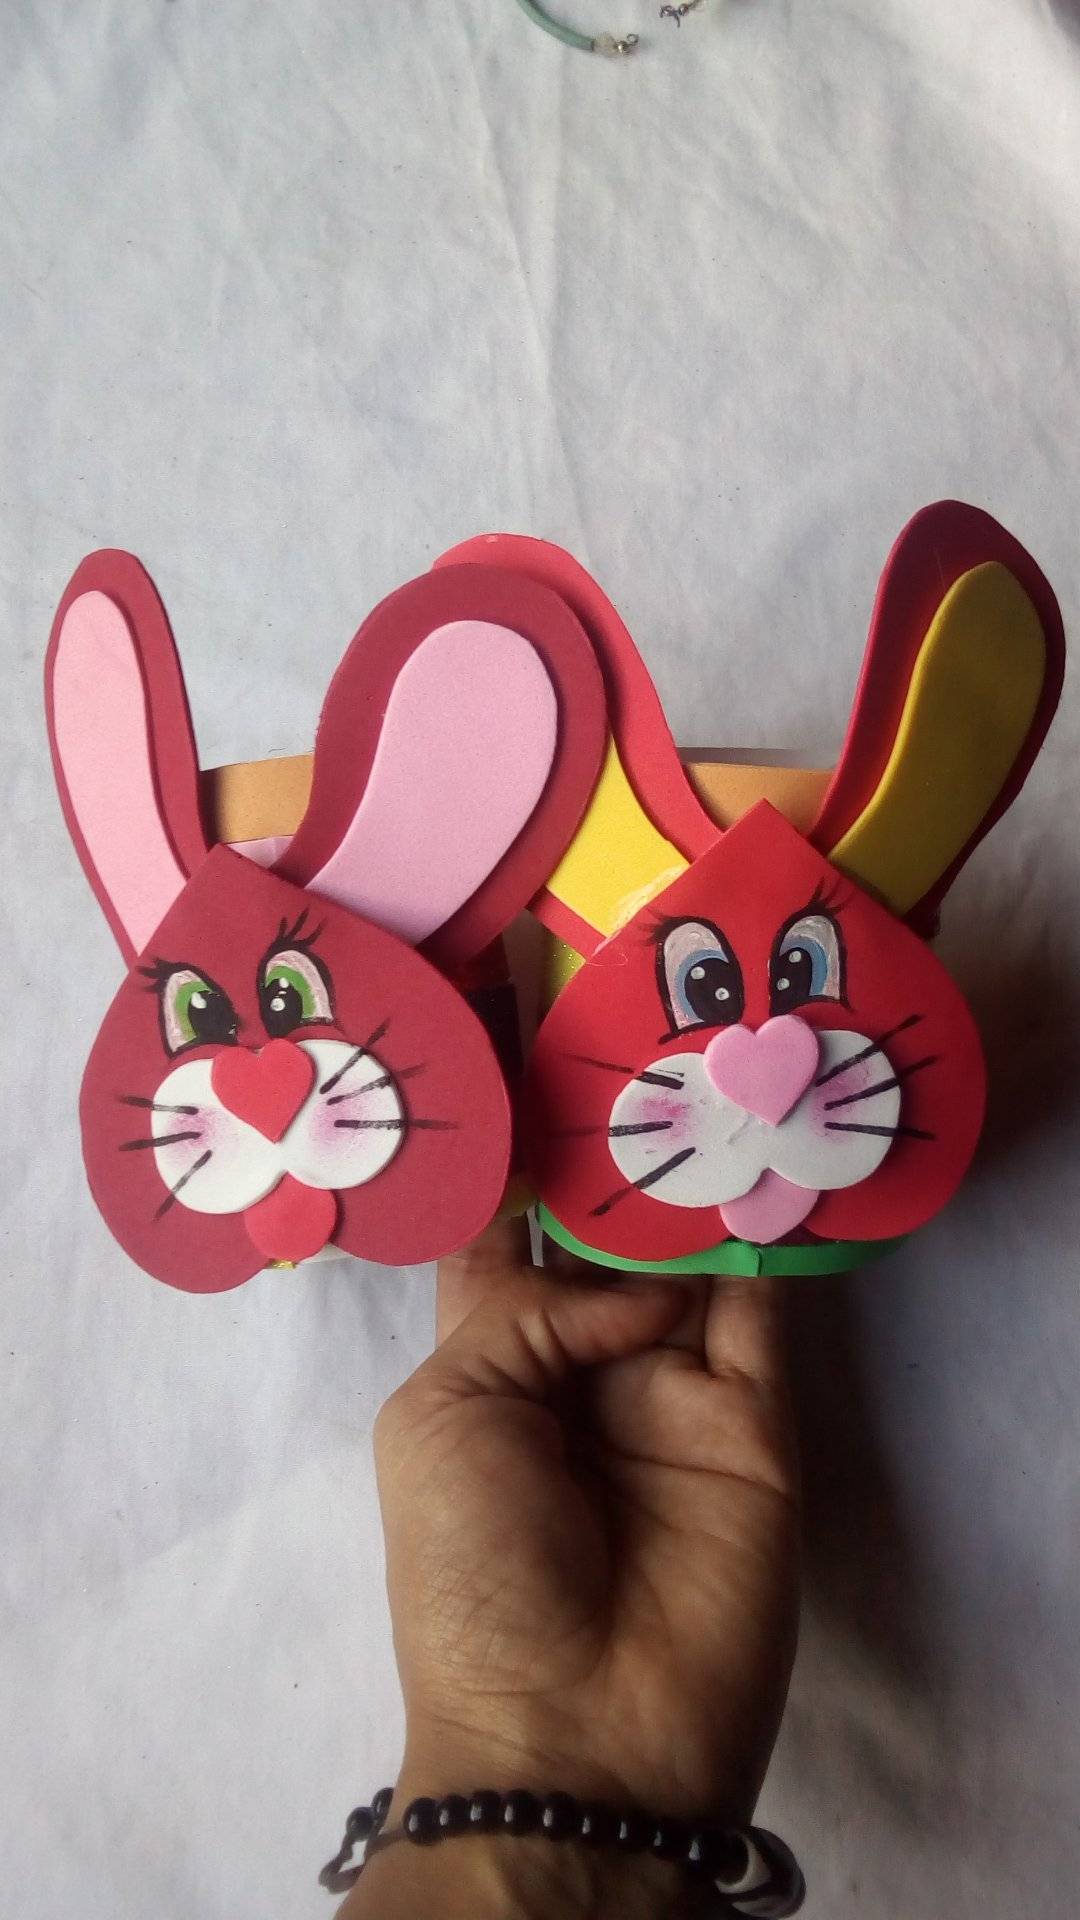
Con pintura negra, blanca y azul y un pincel de punta fina vamos a pintar los ojitos de cada conejo sobre el corazón que ya habíamos cortado, luego le pegamos la boca y le hacemos sus lindos bigotes y le damos color aplicando pintura fucsia sobre sus mejillas.
With black, white and blue paint and a fine-tipped brush we are going to paint the eyes of each rabbit on the heart that we had already cut, then we glue its mouth and make its cute mustaches and give it color by applying fuchsia paint on its cheeks .
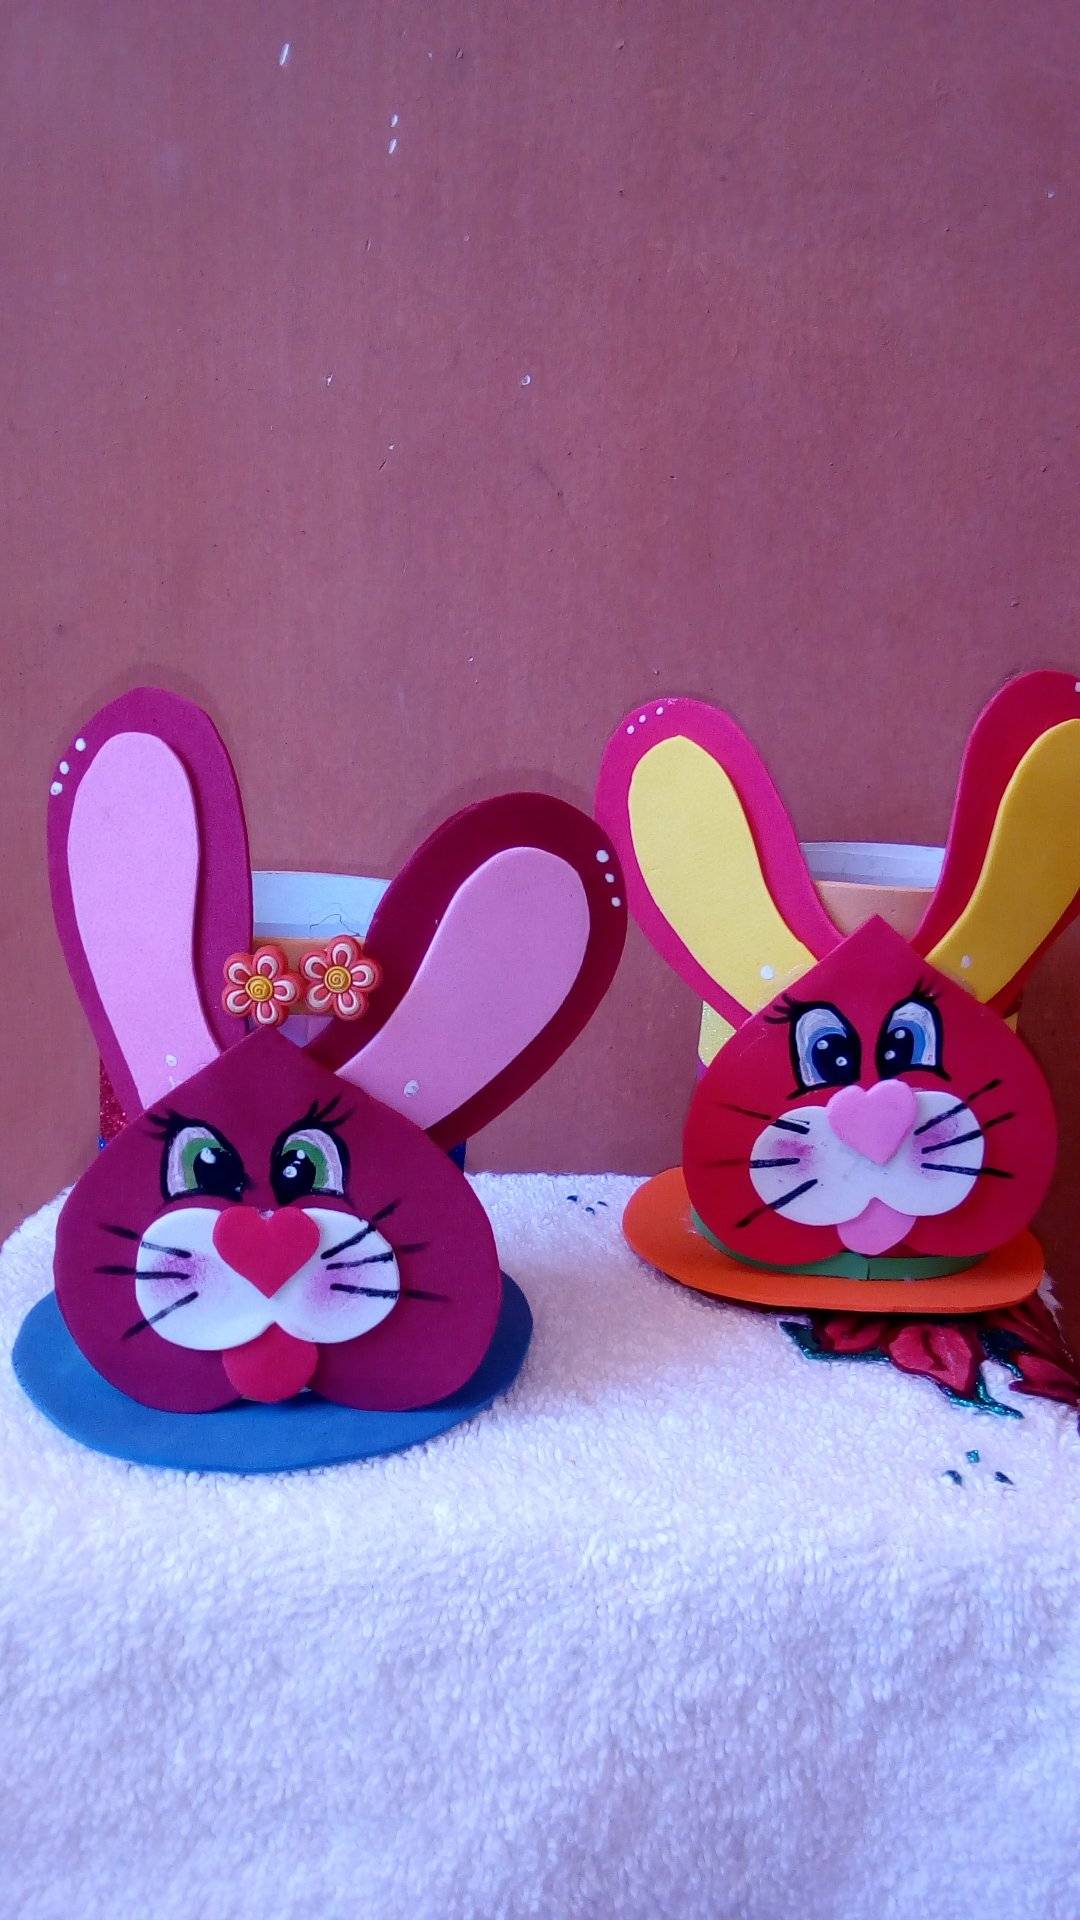
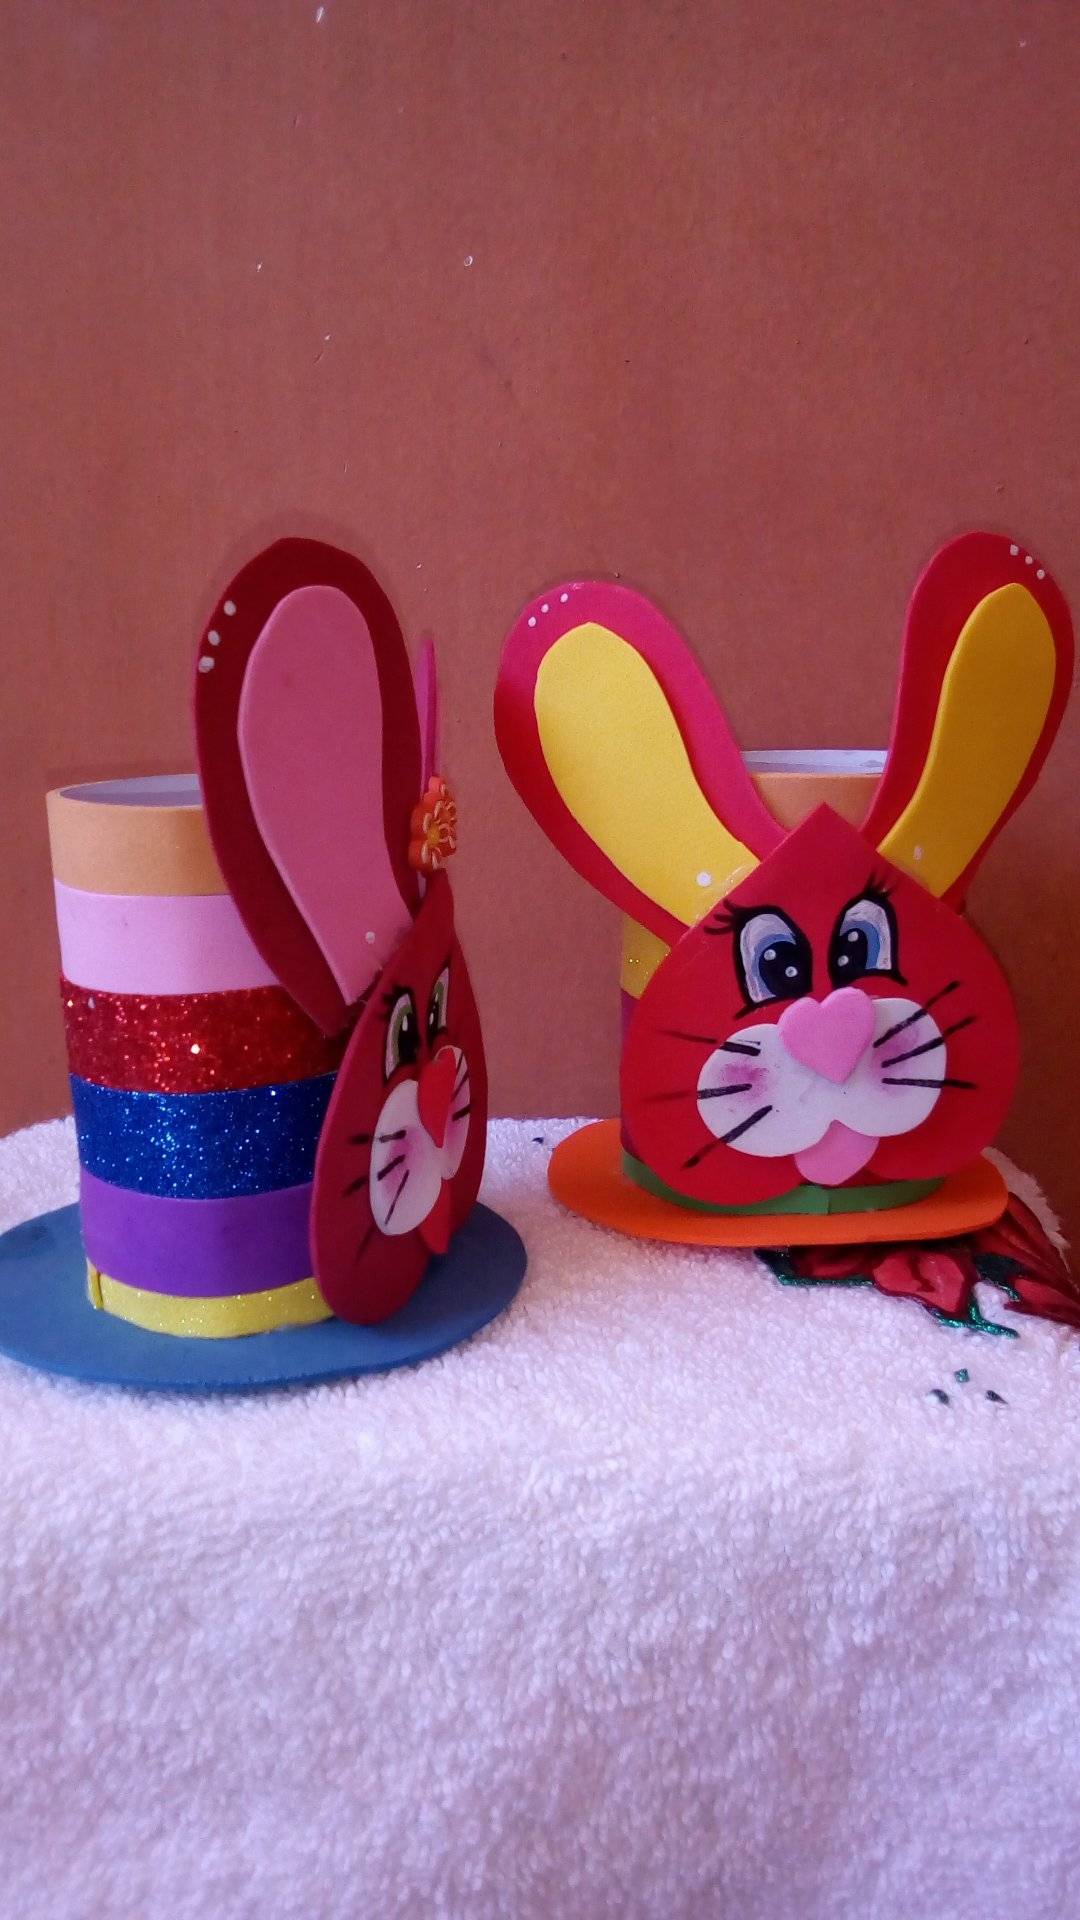
Para finalizar estos hermosos cotillones, le hacemos un abase circular en los colores azul y naranja, recuerden que estamos haciendo cotillones coloridos y con retazos que nos han sobrado de trabajos anteriores, así que en este proyecto utilizaremos los colores y tamaño que tengamos a la mano.
To finish these beautiful party favors, we make a circular base in the colors blue and orange, remember that we are making colorful party favors and with scraps that we have left over from previous jobs, so in this project we will use the colors and sizes that we have on hand .
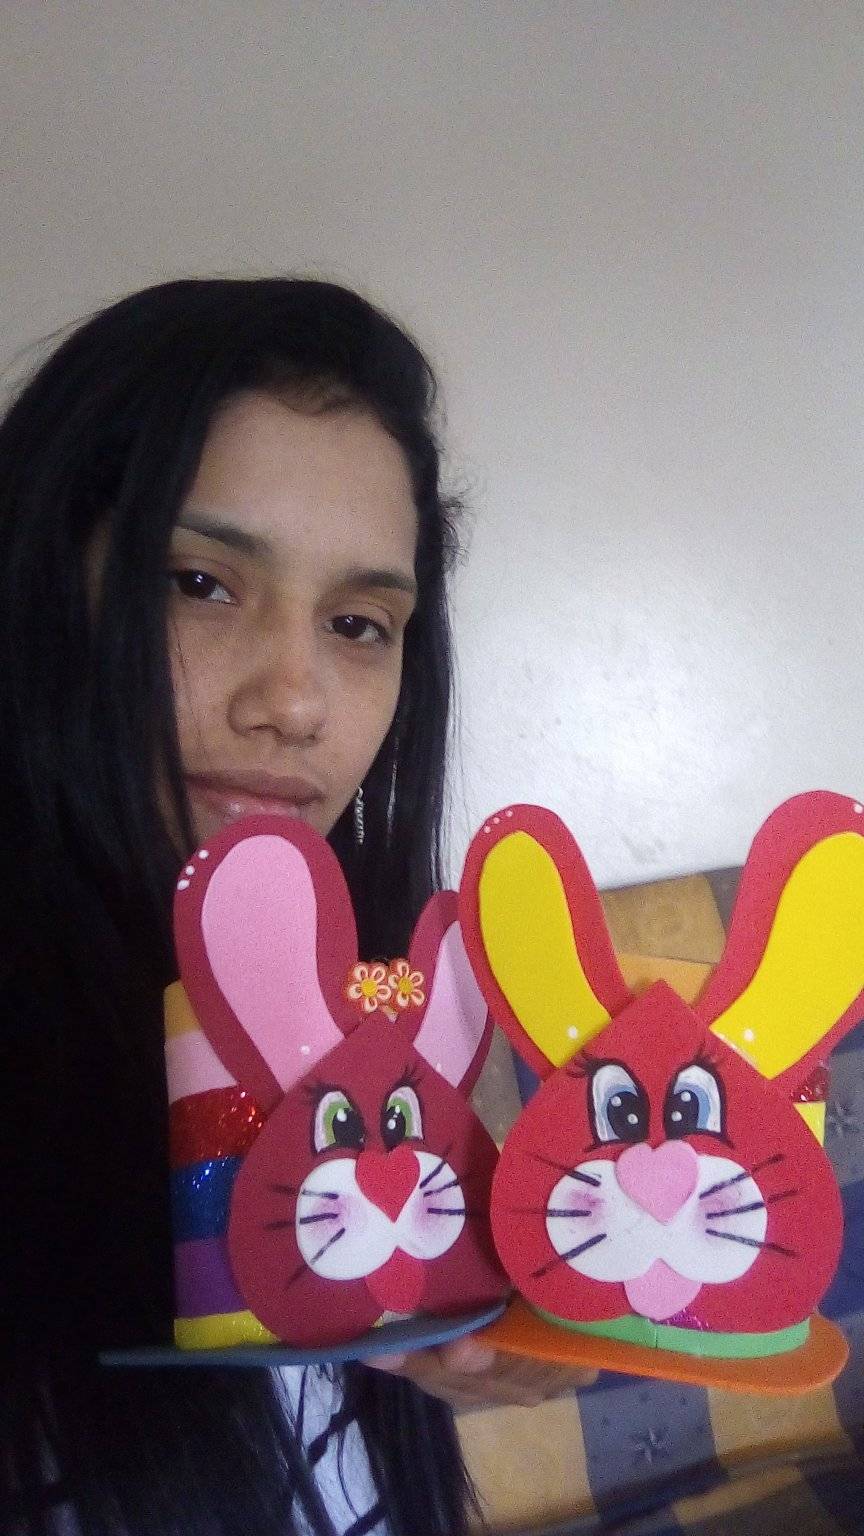
Bueno mis queridos espero y mis cotillones le hayan gustado tanto como a mi, y recuerden:"No tires; reutiliza”, Si te gusto mi post dale me gusta y comparte, gracias a todos los que se tomaron tres minutos de su tiempo para leer mi proyecto, Dios los bendiga a todos y les siga nutriendo sus conocimientos de muchassss ideas creativas, Hasta mañana.
Well, my dears, I hope you liked my party favors as much as I did, and remember: "Don't throw away; reuse". If you liked my post, give it a like and share, thanks to all those who took three minutes of their time to read my project, God bless you all and continue to nourish your knowledge with many creative ideas, See you tomorrow.
Todas las fotos son de mi autoría, tomadas con la camara de mi telefono celular BLU ADVANCE A6, y editadas en mi computadora con la aplicación Picasa 3, mi texto en español lo traduje al inglés con el traductor gratuito de Google.
All the photos are my own, taken with the camera of my BLU ADVANCE A6 cell phone, and edited on my computer with the Picasa 3 application, my text in Spanish was translated into English with the free translator of Google.
Congratulations @karolrodriguez! You have completed the following achievement on the Hive blockchain and have been rewarded with new badge(s):
Your next target is to reach 400 upvotes.
You can view your badges on your board and compare yourself to others in the Ranking
If you no longer want to receive notifications, reply to this comment with the word
STOPCheck out the last post from @hivebuzz:
Support the HiveBuzz project. Vote for our proposal!