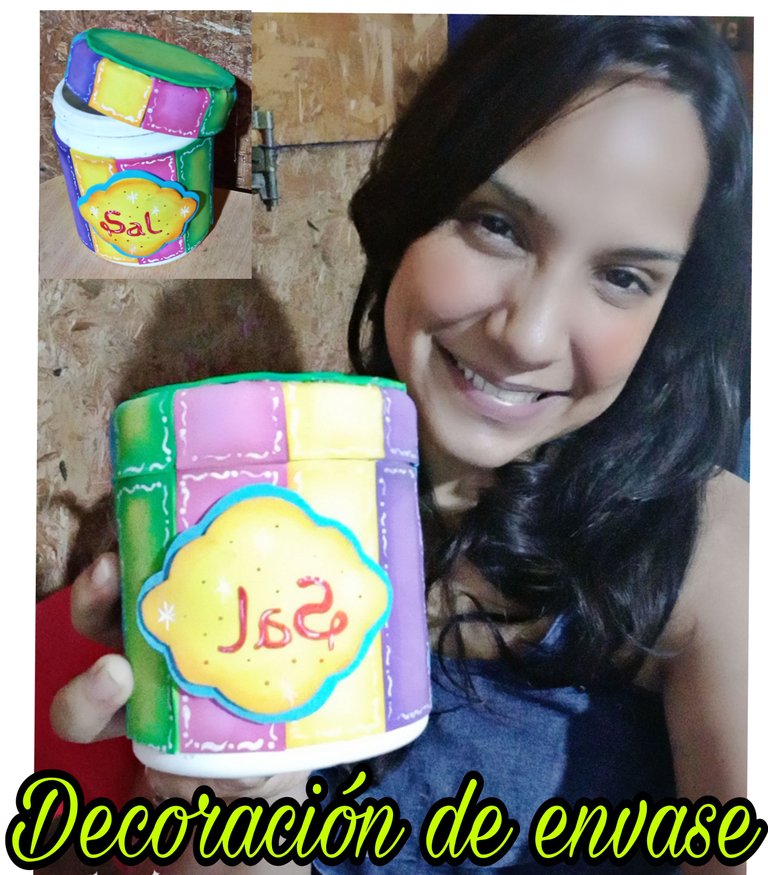
Hola mi linda familia de la colmena de artesanos y crafteros, espero que estén pasando un día exitoso y con buena salud, es un gusto poder saludarlos y compartir con ustedes un nuevo tutorial, en ésta oportunidad voy a mostrarle ¿cómo decorar nuestros contenedores o envases de cocina?. Quédate hasta el final de éste tutorial.
Hello my beautiful family of the hive of artisans and crafters, I hope you are having a successful day and in good health, it is a pleasure to greet you and share with you a new tutorial, this time I will show you How to decorate our containers and kitchen containers?. Stay until the end of this tutorial.

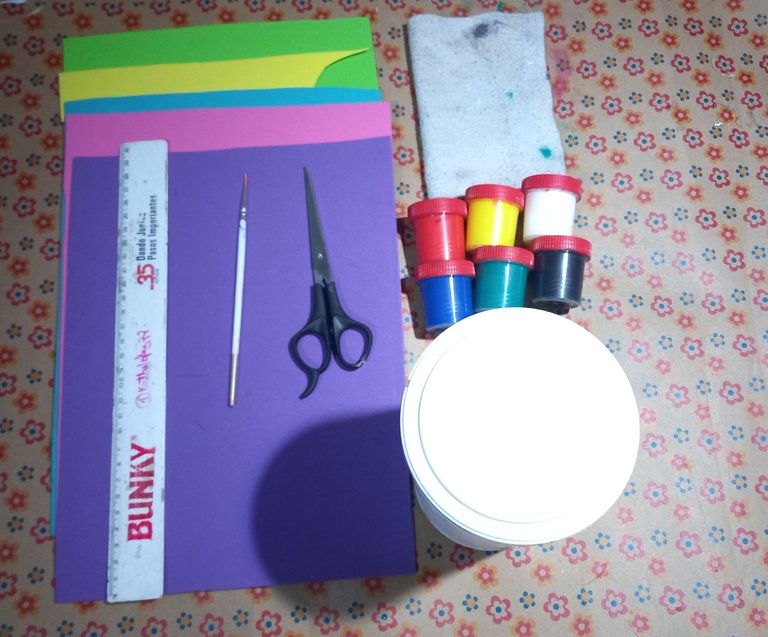
- Goma Eva fucsia, morada, celeste, amarilla y verde.
- Pinturas.
- Pincel.
- Tijeras.
- Contenedor de sal o envase.
- Regla.
- Pistola de silicón caliente.
- Fuchsia, purple, light blue, yellow and green eva rubber.
- Paints.
- Paintbrush.
- Scissors.
- Salt container or container.
- Ruler.
- Hot silicone gun.

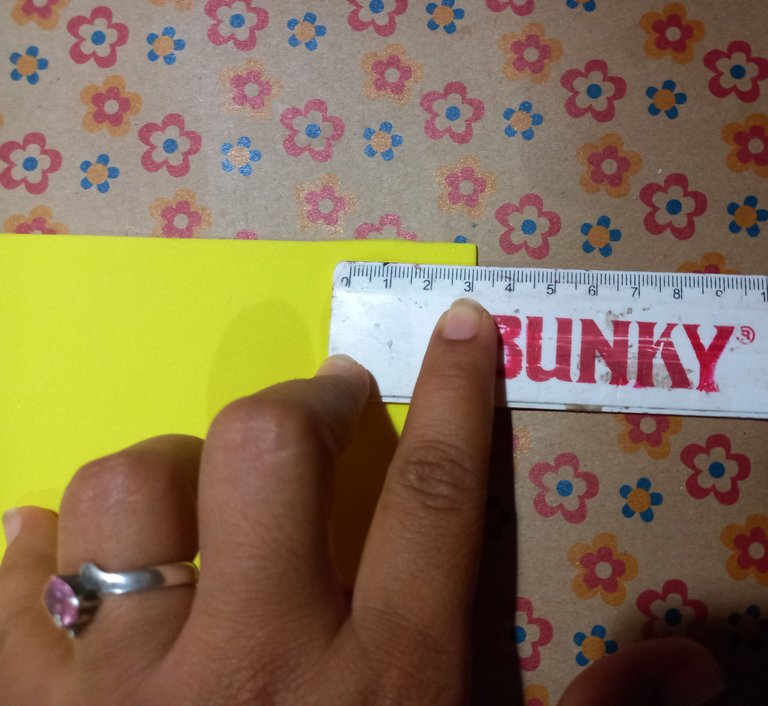
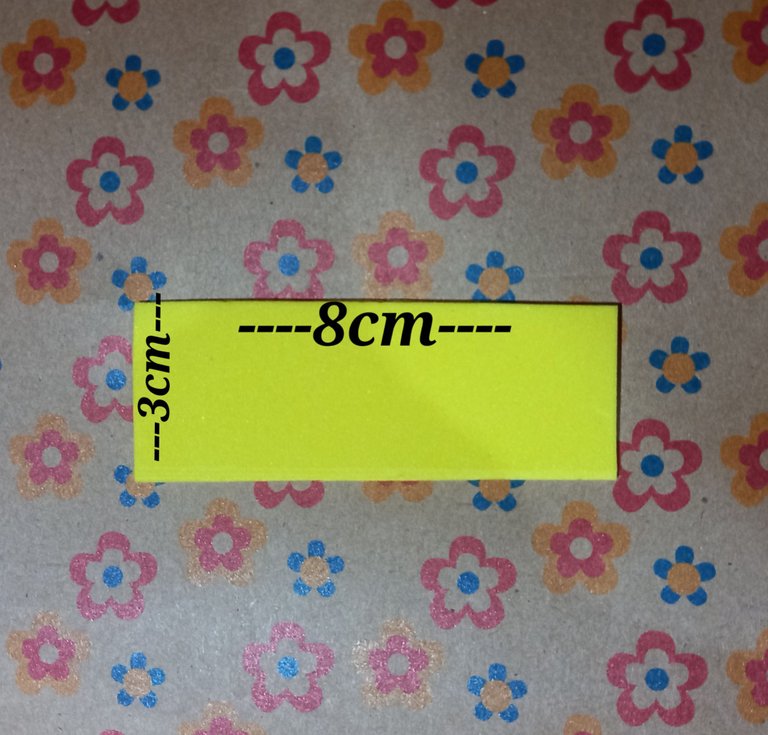
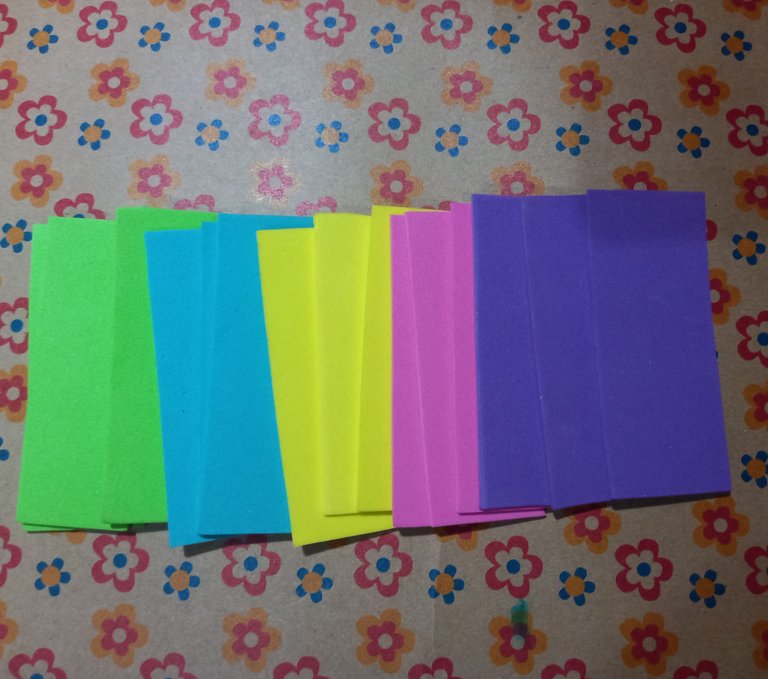
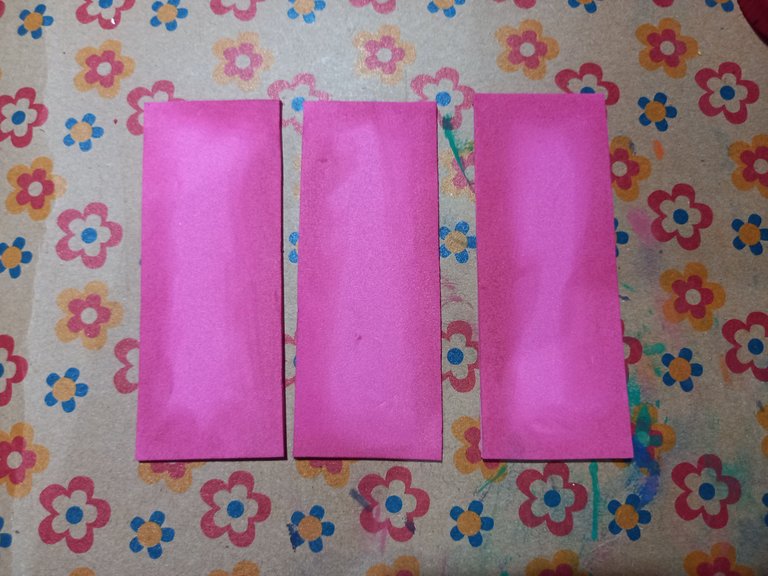
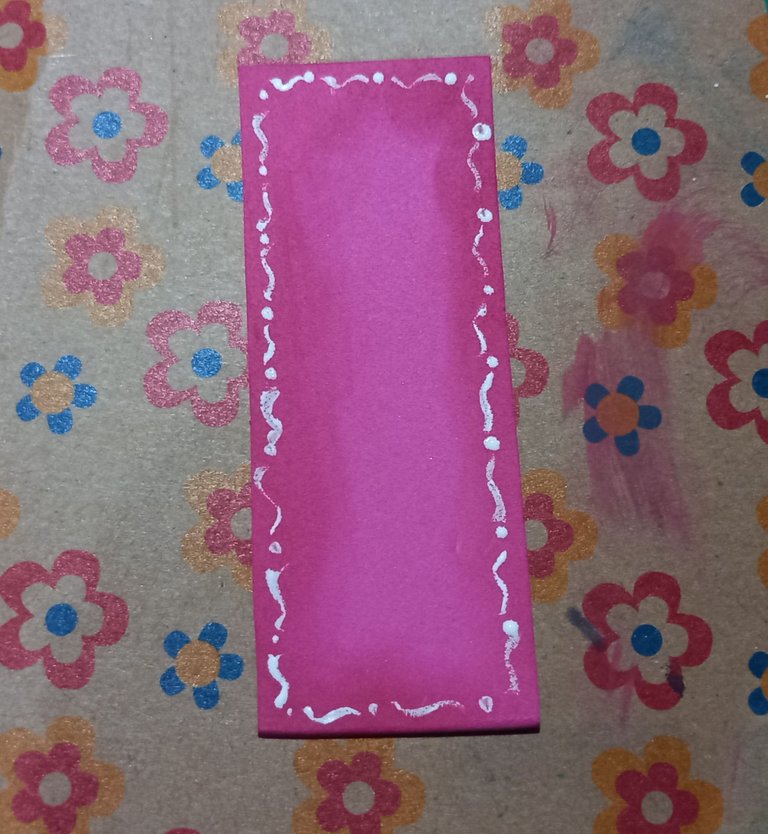
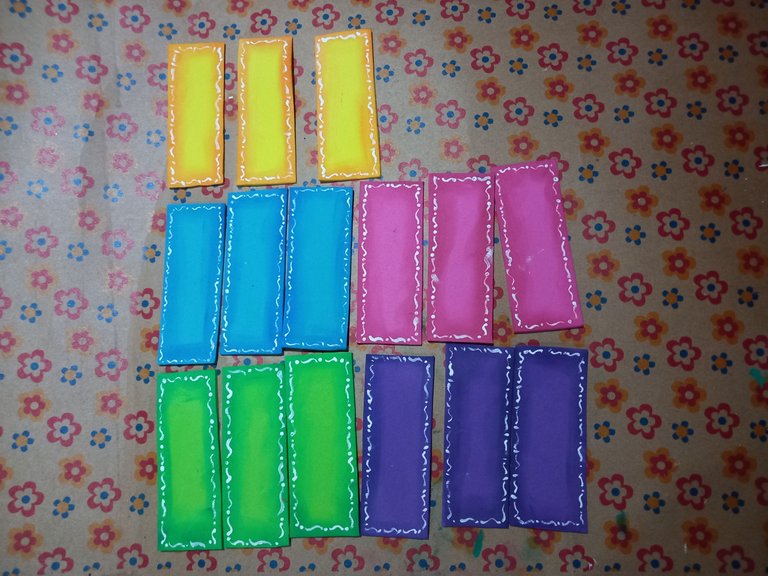
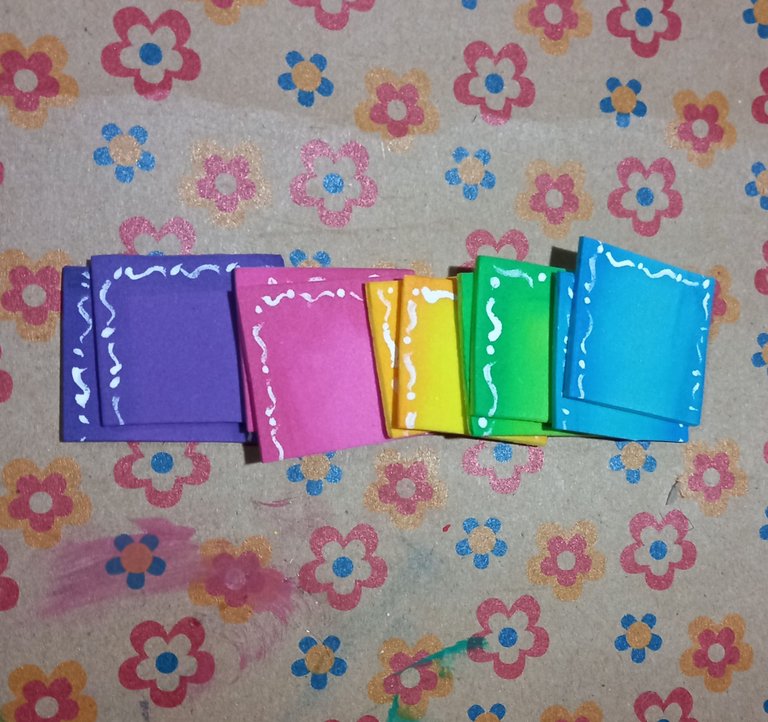
Comenzaremos recortando pequeñas tiras de goma Eva de todos los colores escogidos, con las medidas de: 3cm de ancho y 8cm de largo. Haremos varias tiras para que sobren ya que las utilizaremos más adelantes.
We will start cutting small strips of Eva rubber of all the chosen colors, with the measures of: 3cm wide and 8cm long. We will make several strips so that there will be some left over to be used later.
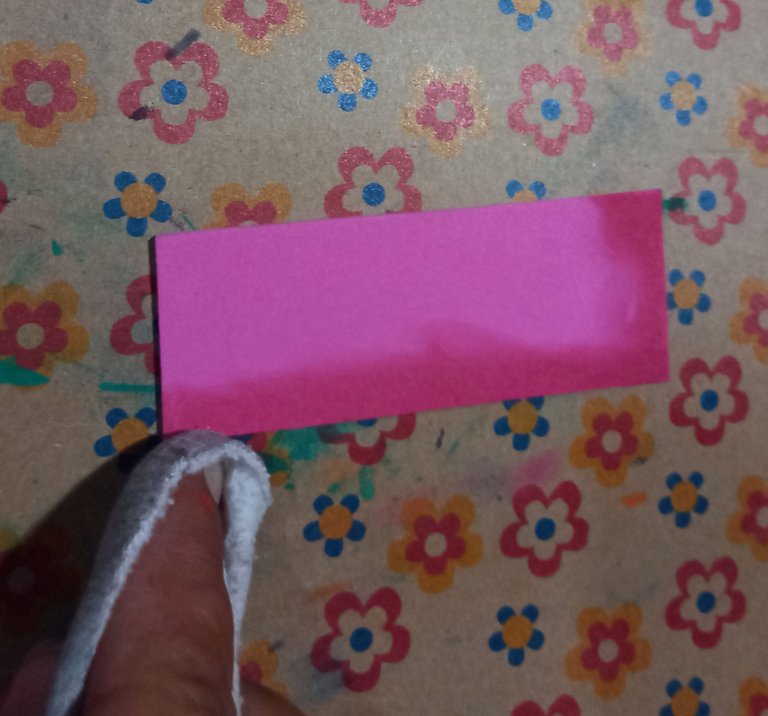
Después utilizaremos un trapito para mojarlo en pintura y difuminar las orillas de todos las tiras, con colores más oscuros que el de la misma.
Then we will use a rag to dip it in paint and blur the edges of all the strips, with darker colors than the one of the strip.
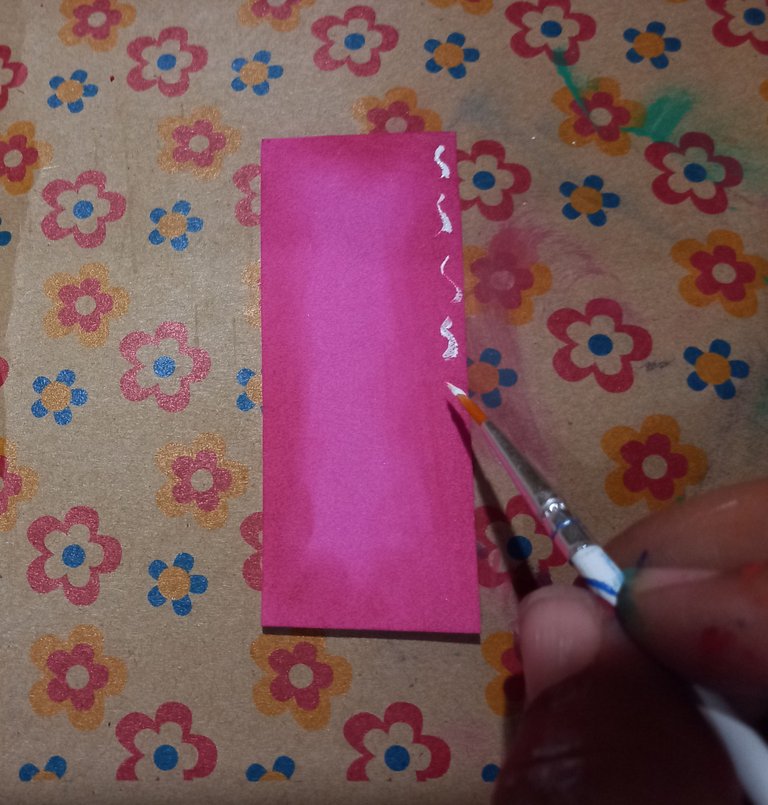
Luego con un pincel de punta fina haremos líneas curvas con puntos en el medio de pintura blanca, en todo el borde de las tiras.
Then with a fine-tipped brush we will make curved lines with dots in the middle of white paint, all along the edge of the strips.
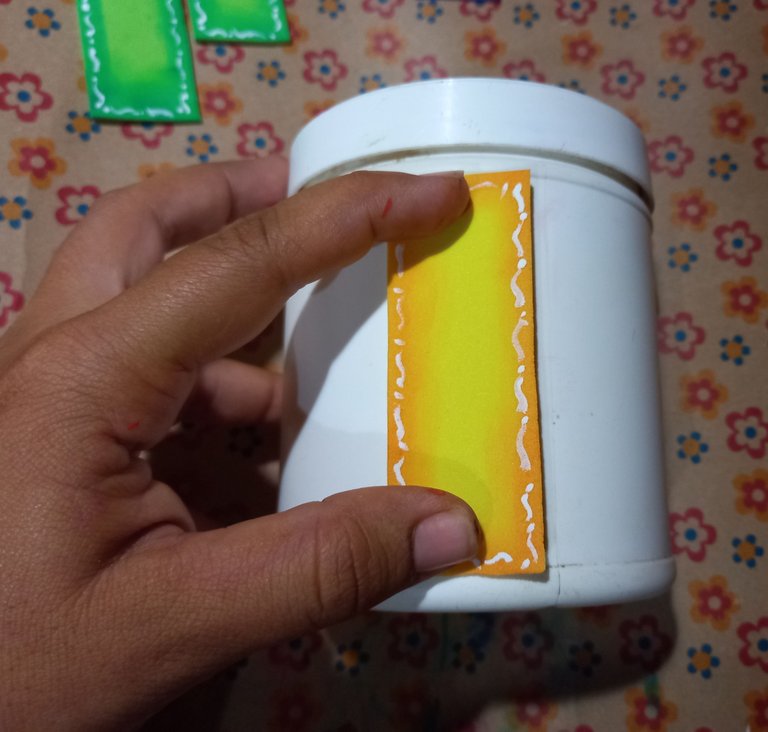
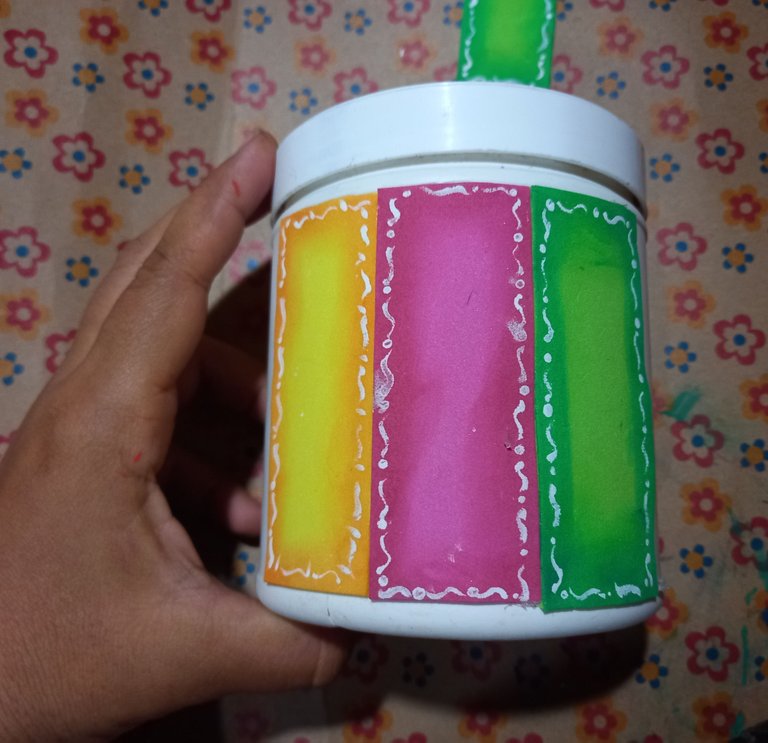
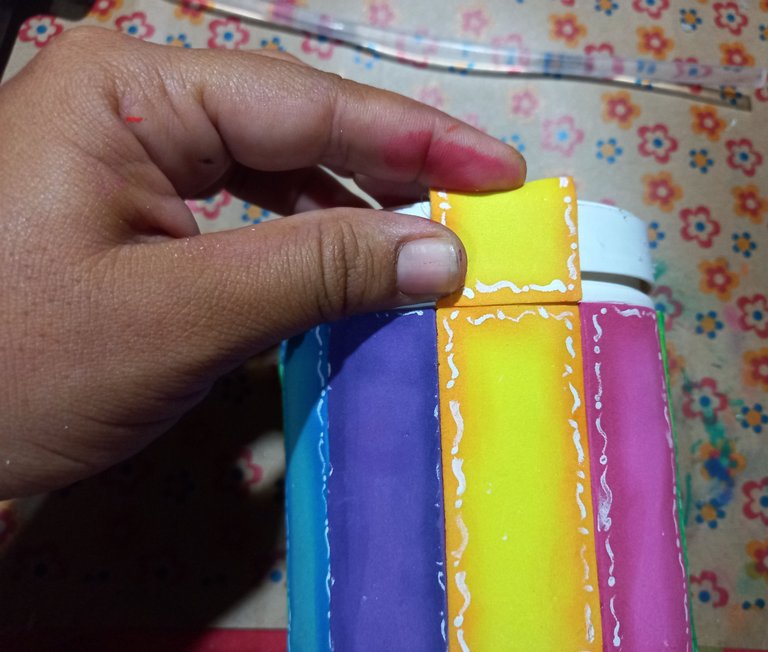
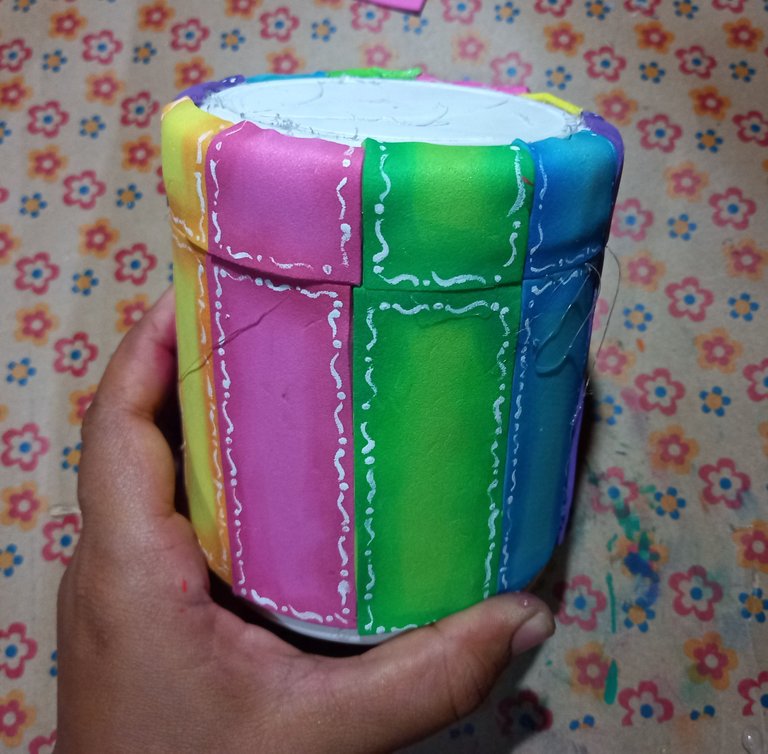
Posteriormente comenzaremos a pegar las tiras de goma Eva en todo el contenedor, hasta cubrirlo completamente.
Then we will begin to glue the Eva rubber strips all over the container, until it is completely covered.
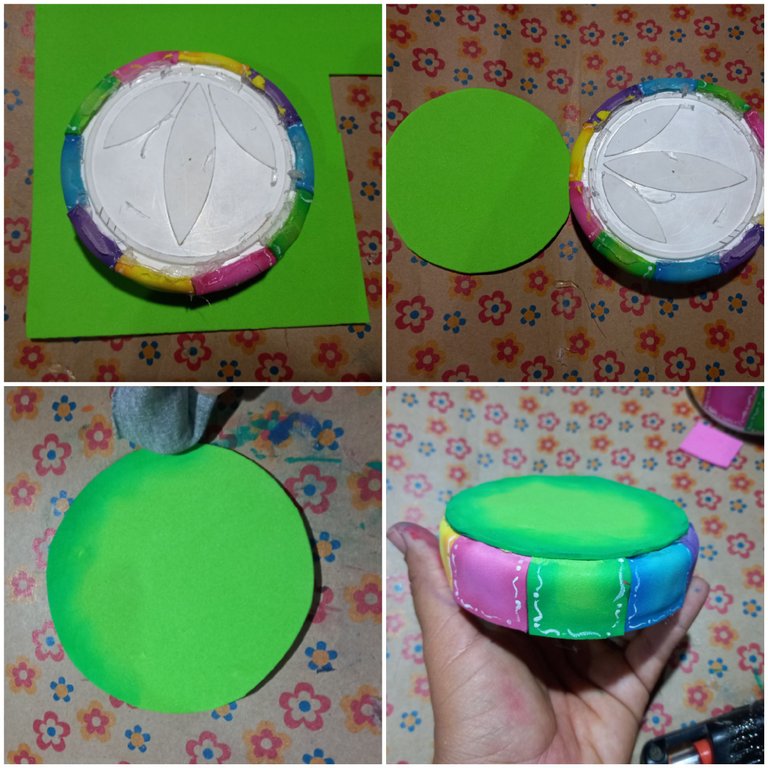
Para forrar la tapa utilizaremos las puntas de las tiras sobrantes, con las medidas de 3cm × 3cm y las pegamos por toda el borde de la tapa.
To cover the lid, we will use the ends of the leftover strips, measuring 3 cm × 3 cm, and glue them all around the edge of the lid.
En la parte superior de la tapa pegaremos un círculo de goma Eva verde, para el cual utilizaremos de medida la misma tapa, lo difuminados y lo pegamos.
On the upper part of the lid we will glue a circle of green Eva rubber, for which we will use the same lid as a measure, we blur it and glue it.
Finalmente hacemos una etiqueta con goma Eva amarilla y goma Eva Celeste, escribimos la palabra sal y hacemos detalles con marcador rojo y pintura blanca para identificar el contenedor.
Finally we make a label with yellow Eva rubber and Celeste Eva rubber, write the word salt and make details with red marker and white paint to identify the container.

¡Ahora sí, veamos el resultado amigos!
Now, let's see the result, friends!

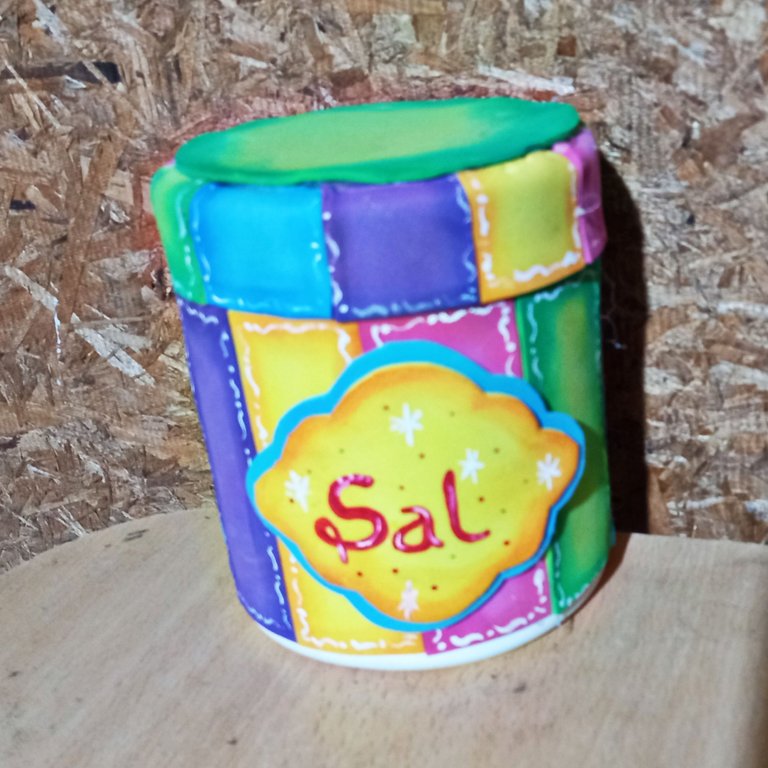
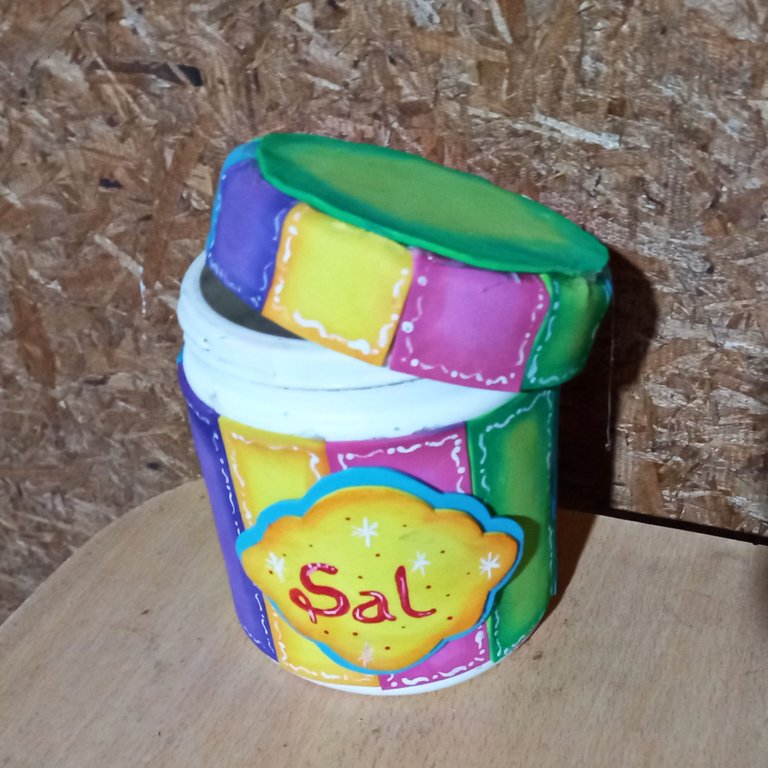
Así de hermosa quedó ésta decoración, espero te haya gustado éste tutorial amigo. DIOS LOS BENDIGA.🙏😊.
I hope you liked this tutorial my friend. GOD BLESS YOU.
Hola amiga, te quedo mi lindo. Te felicito Kathe.