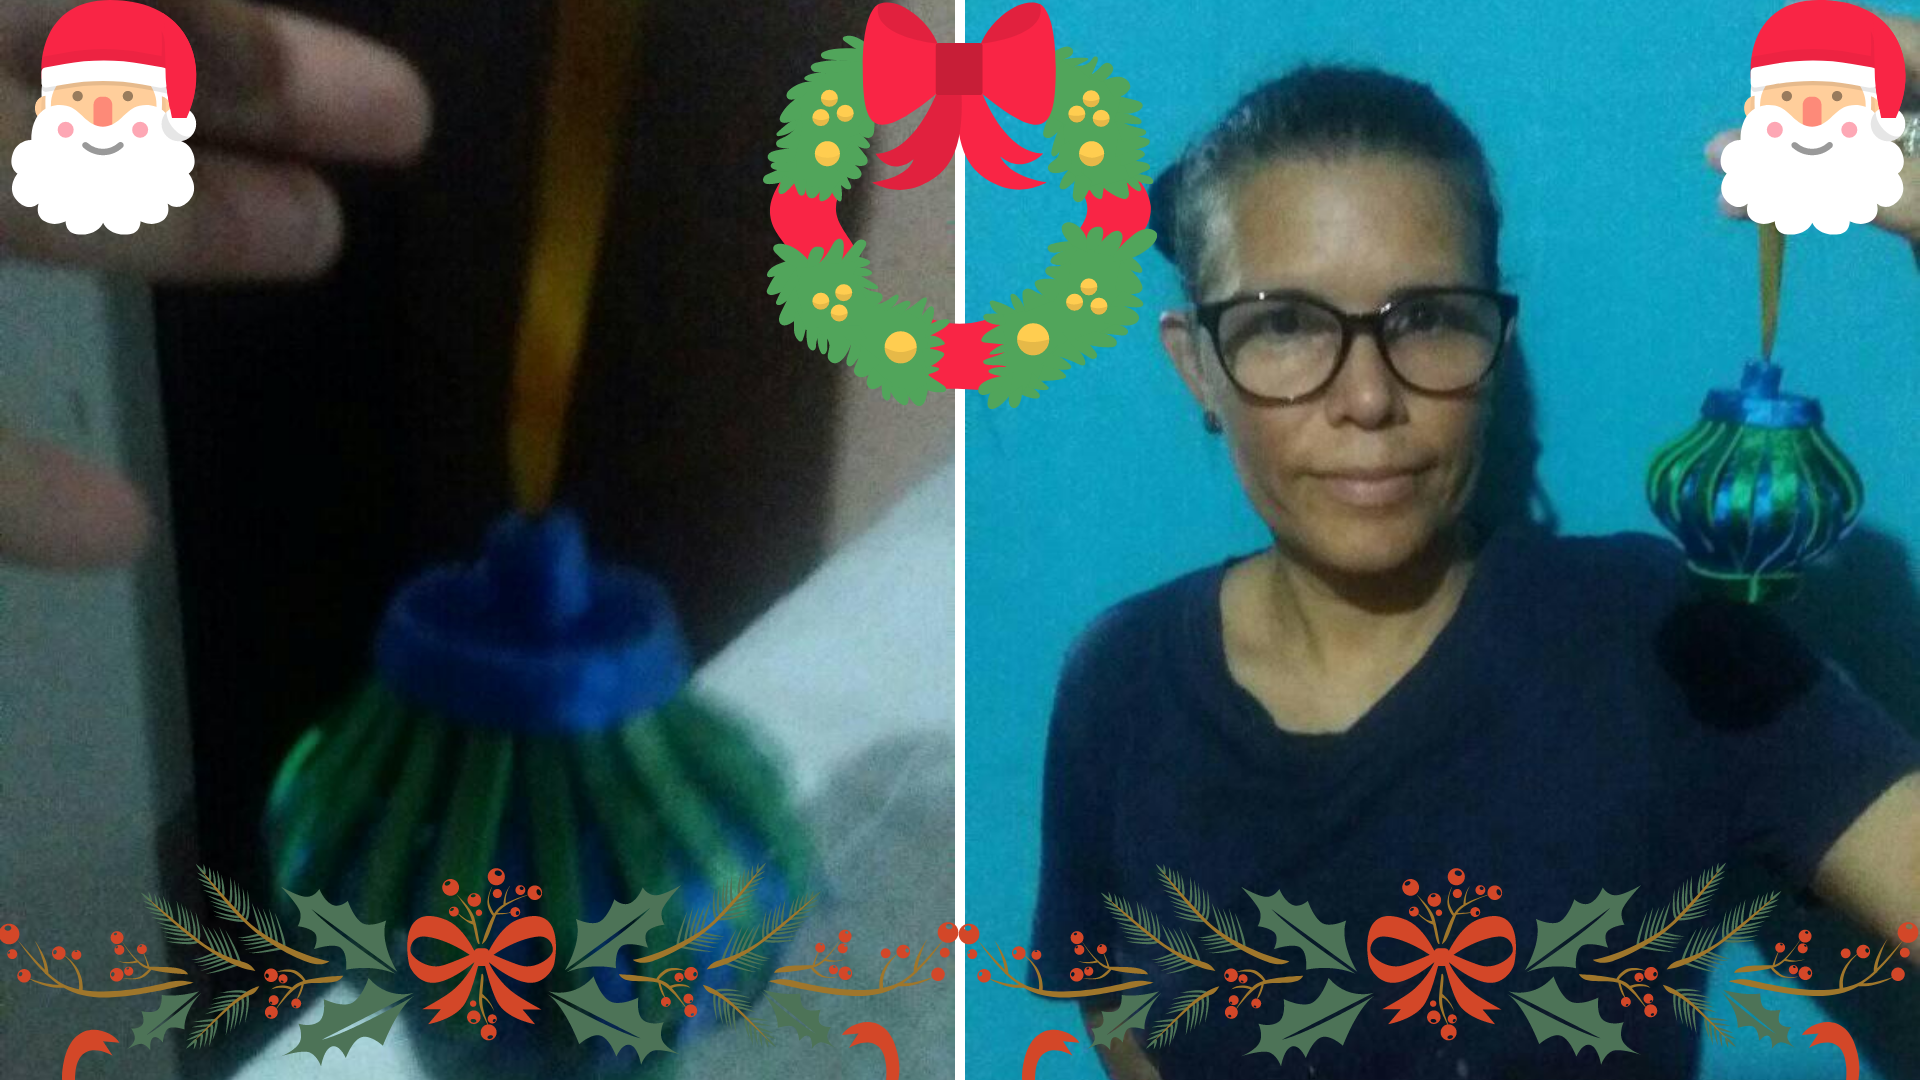
Hello my hive family I'm here again with a craft for the month of Christmas I hope you like it.
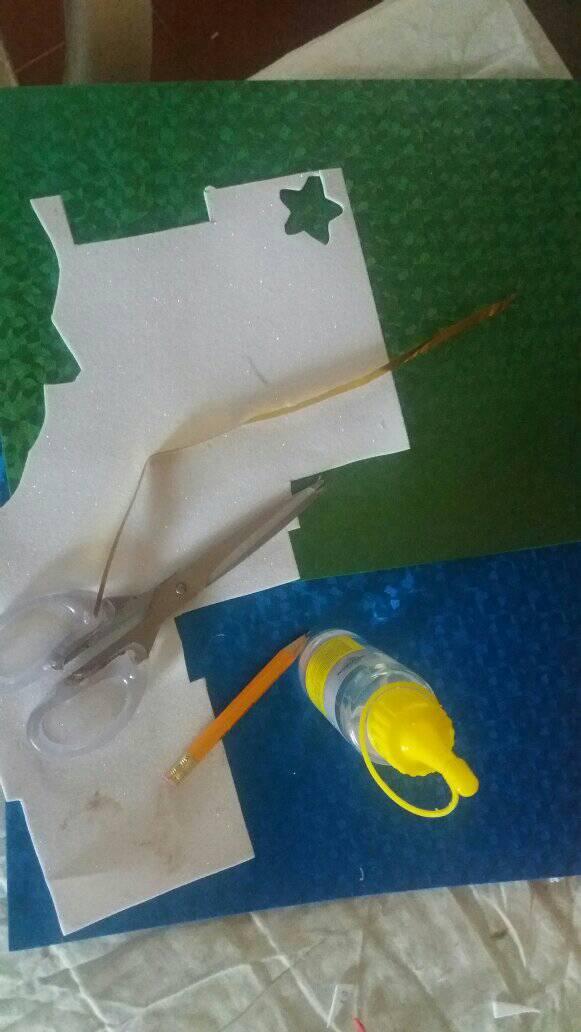
Materiales:
- Tijeras.
- Foami.
- Pega y silicon.
- Reglas o escuadras.
Materials:
- Scissors.
- Foami.
- Glue and silicone.
- Rulers or squares.
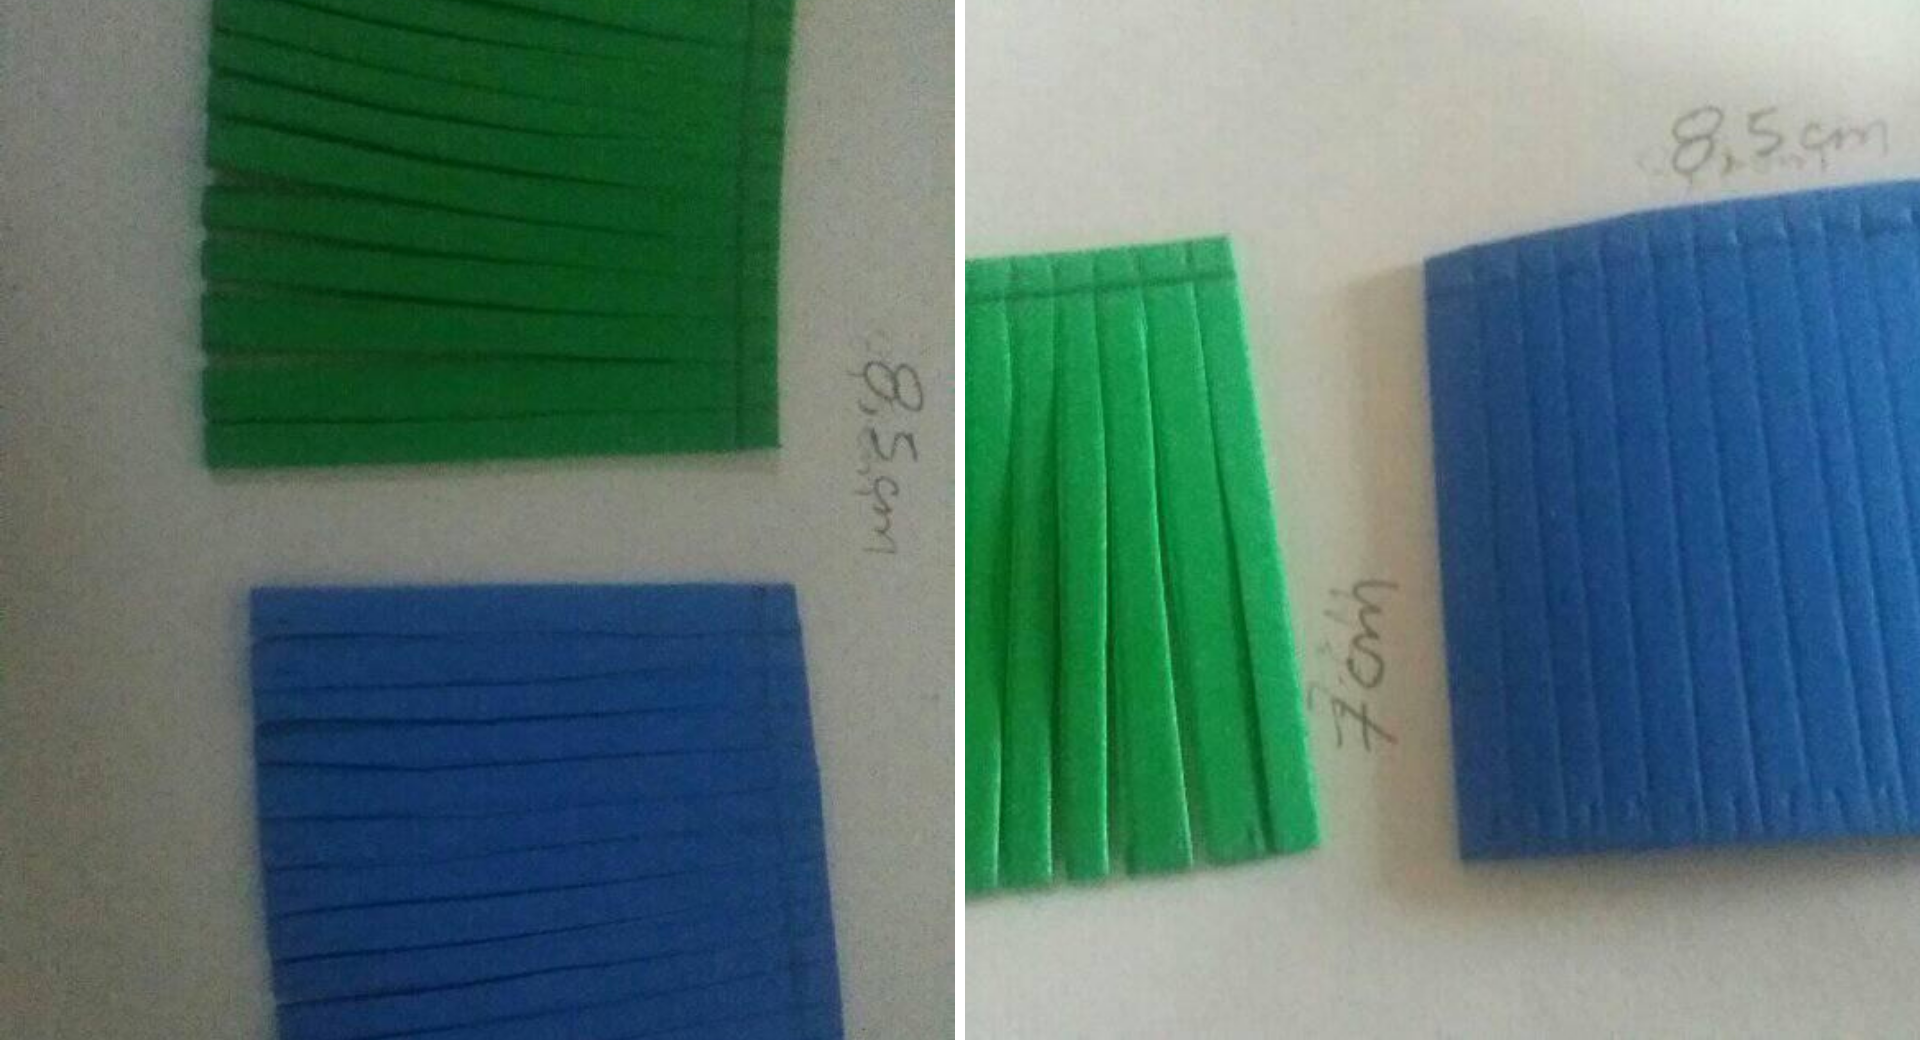
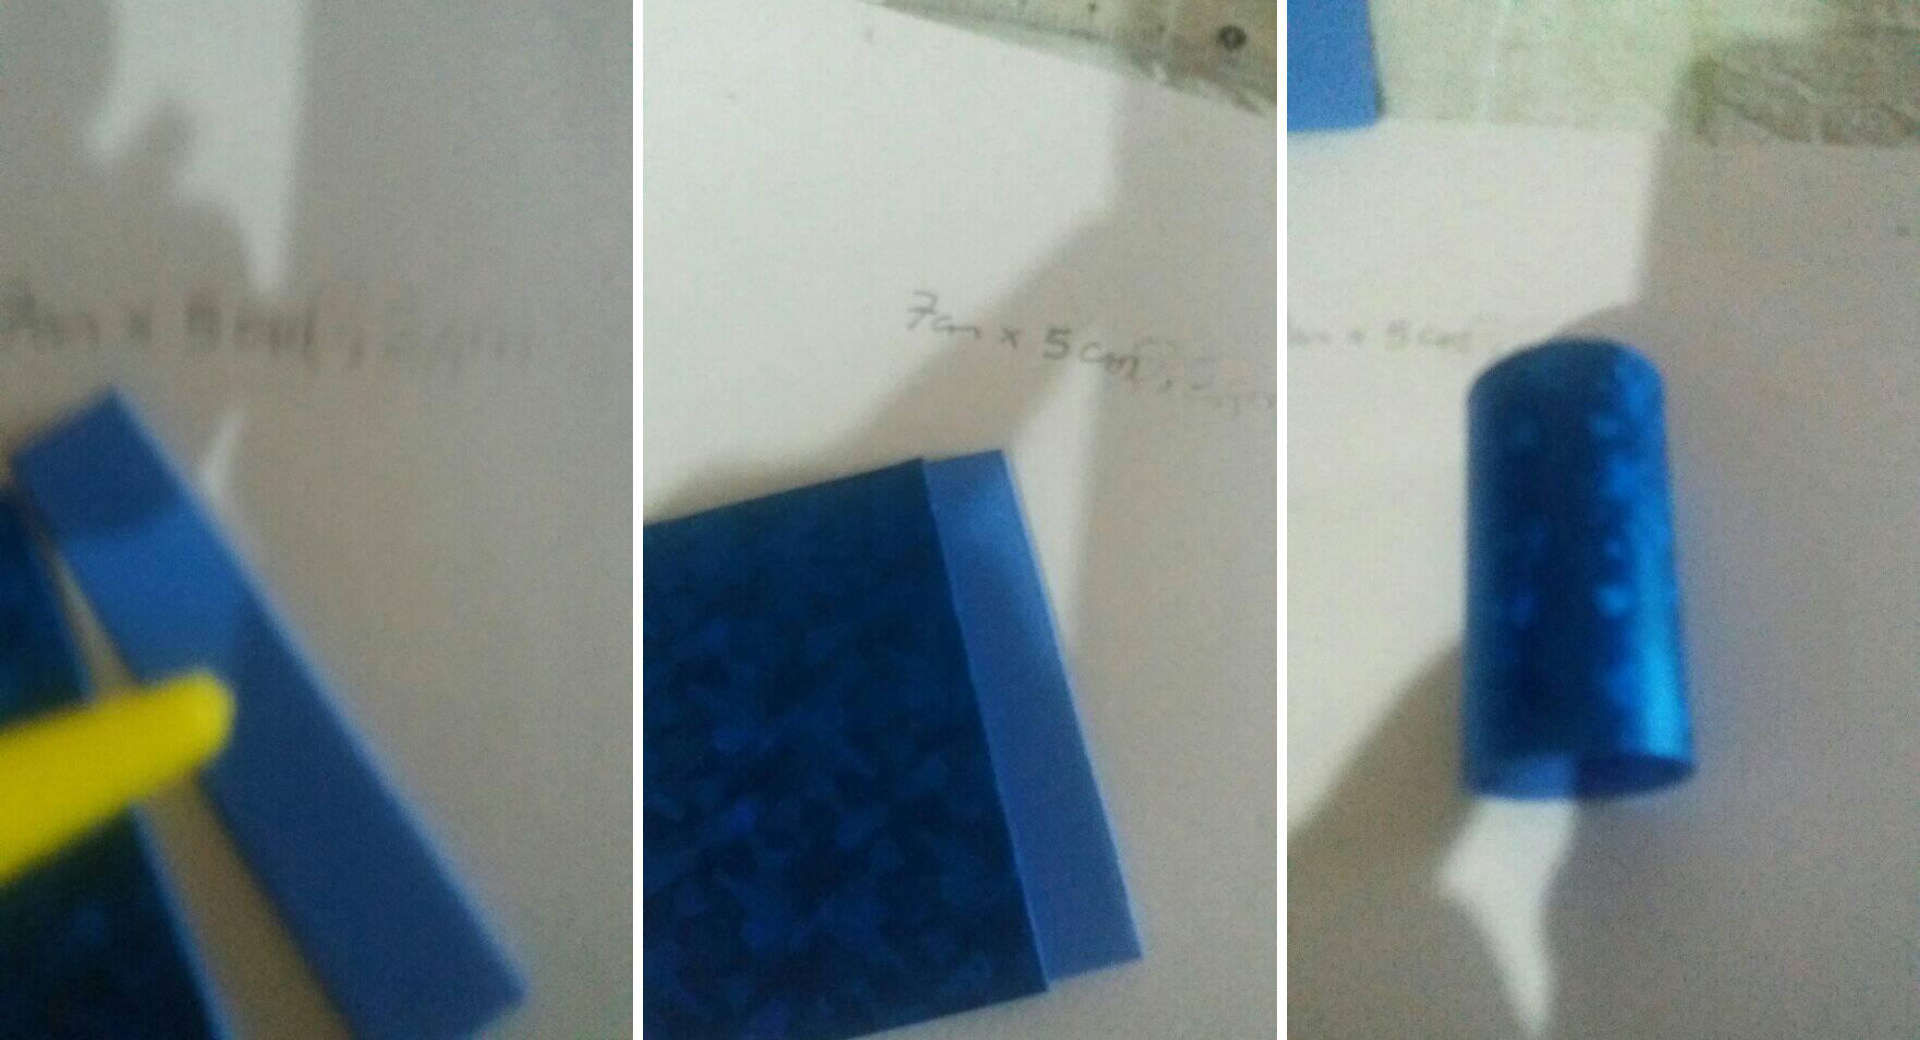
Paso 1:
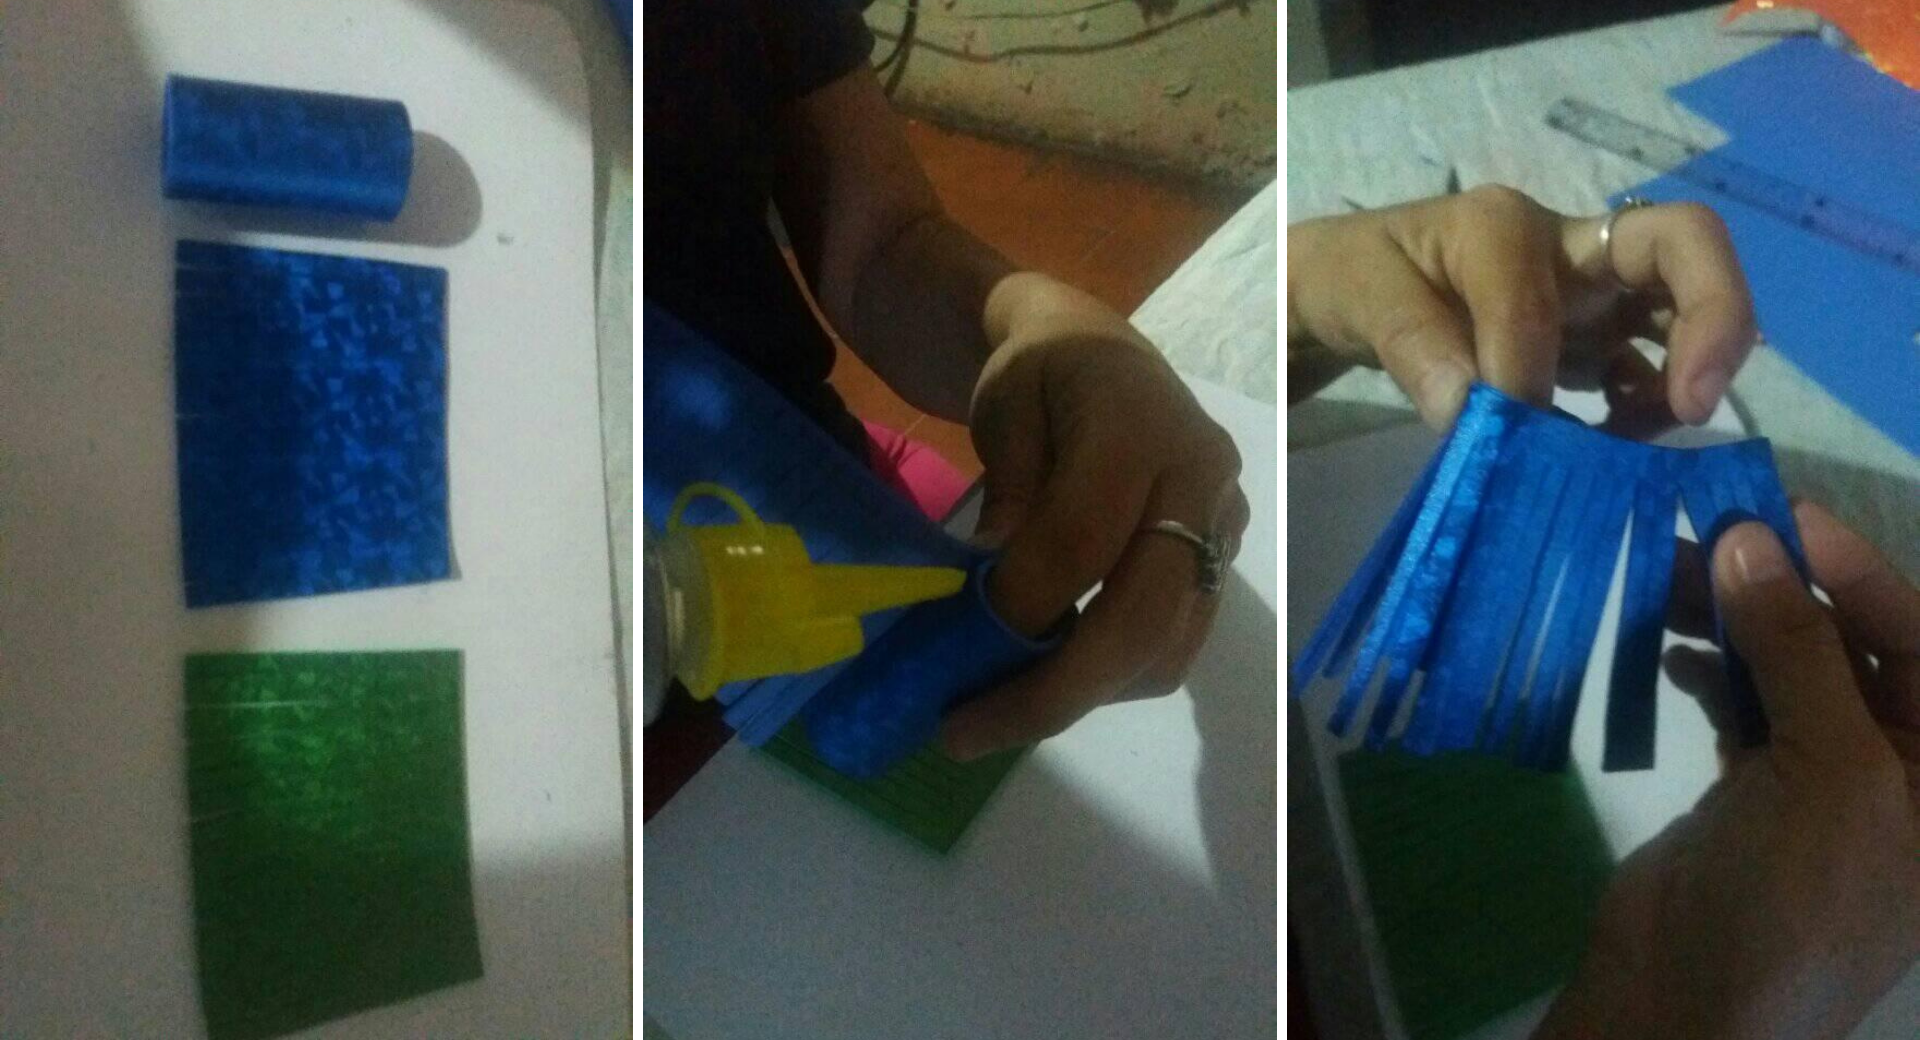
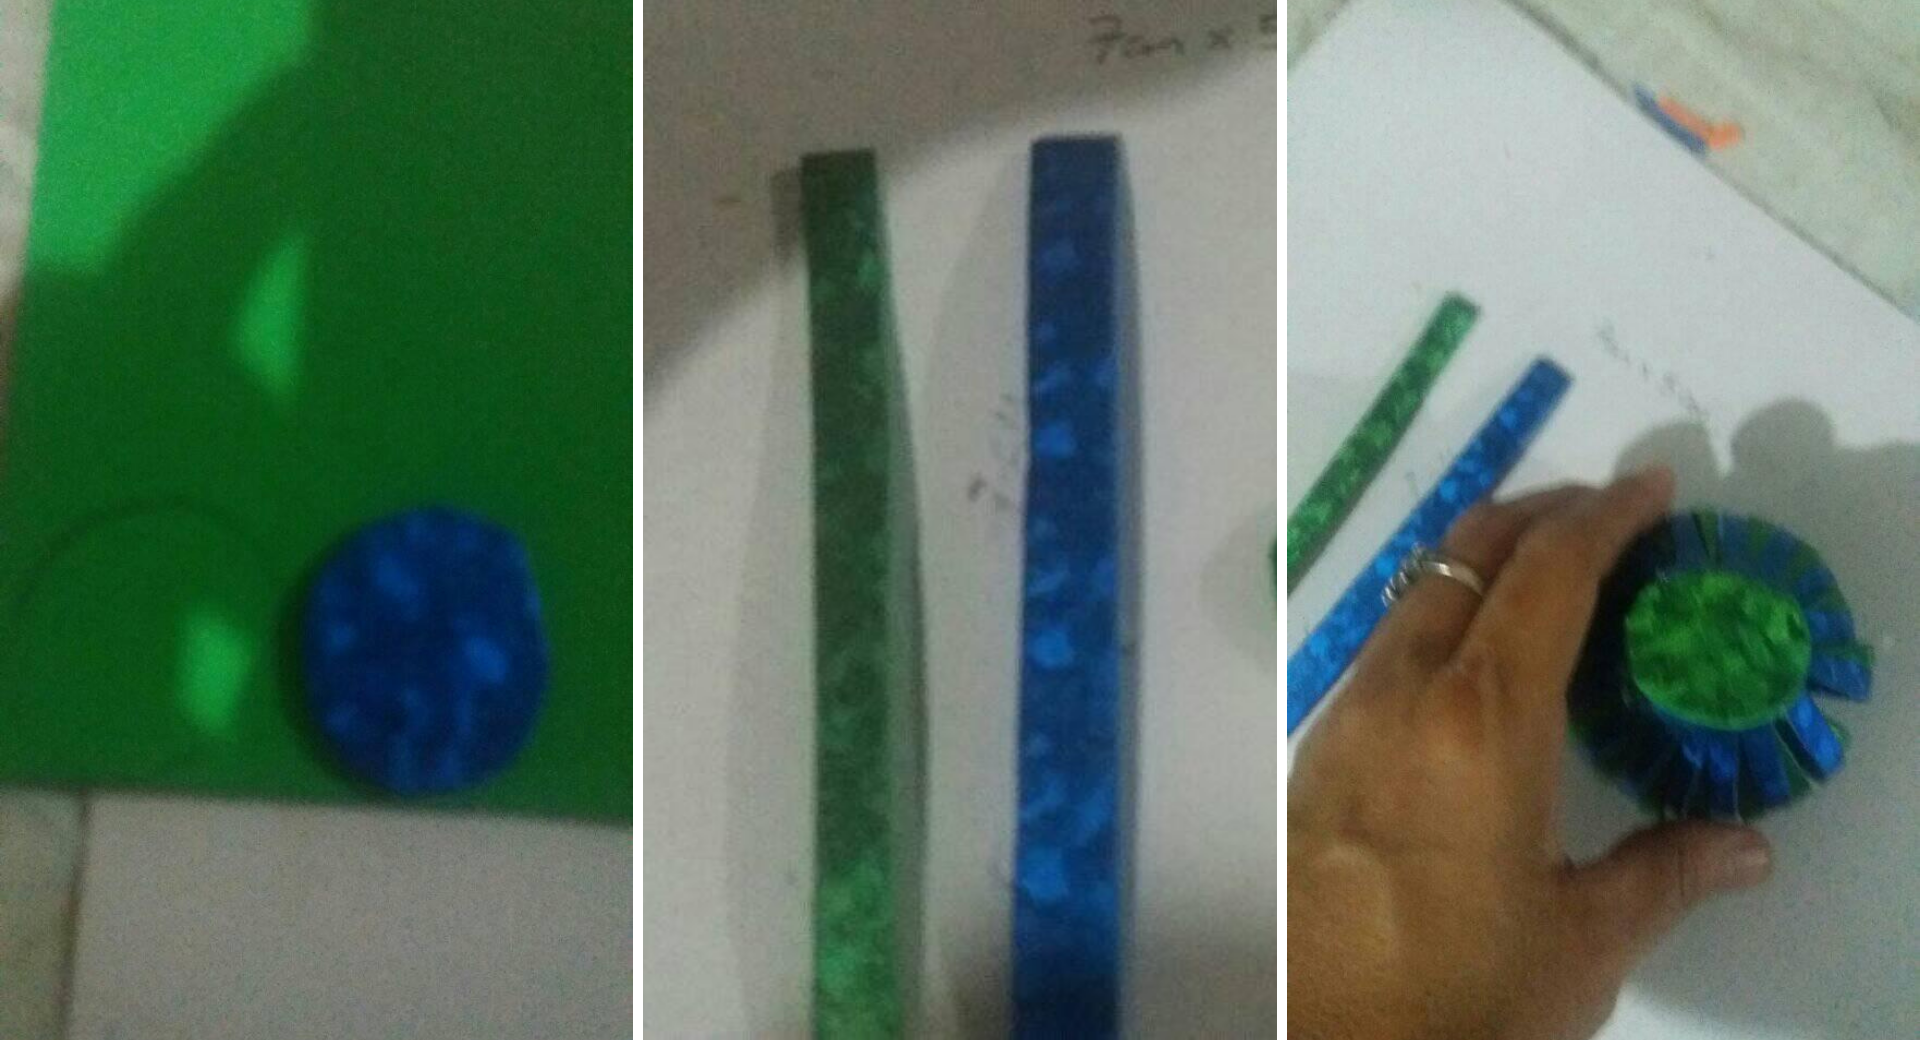
- Se cortan dos cuadrados de foami de su color preferido de 8,5cm x 7cm,se trazas lineas de 0,5 ml ,y se cortan en ambos cuadros por igual luego se hace un cilindro de 7cm x 5 y se pega para formar el centro.
Step 1:
- Cut two squares of foami of your favorite color of 8.5cm x 7cm, draw lines of 0.5 ml, and cut them in both squares equally, then make a cylinder of 7cm x 5 and glue it to form the center.
Paso 2:
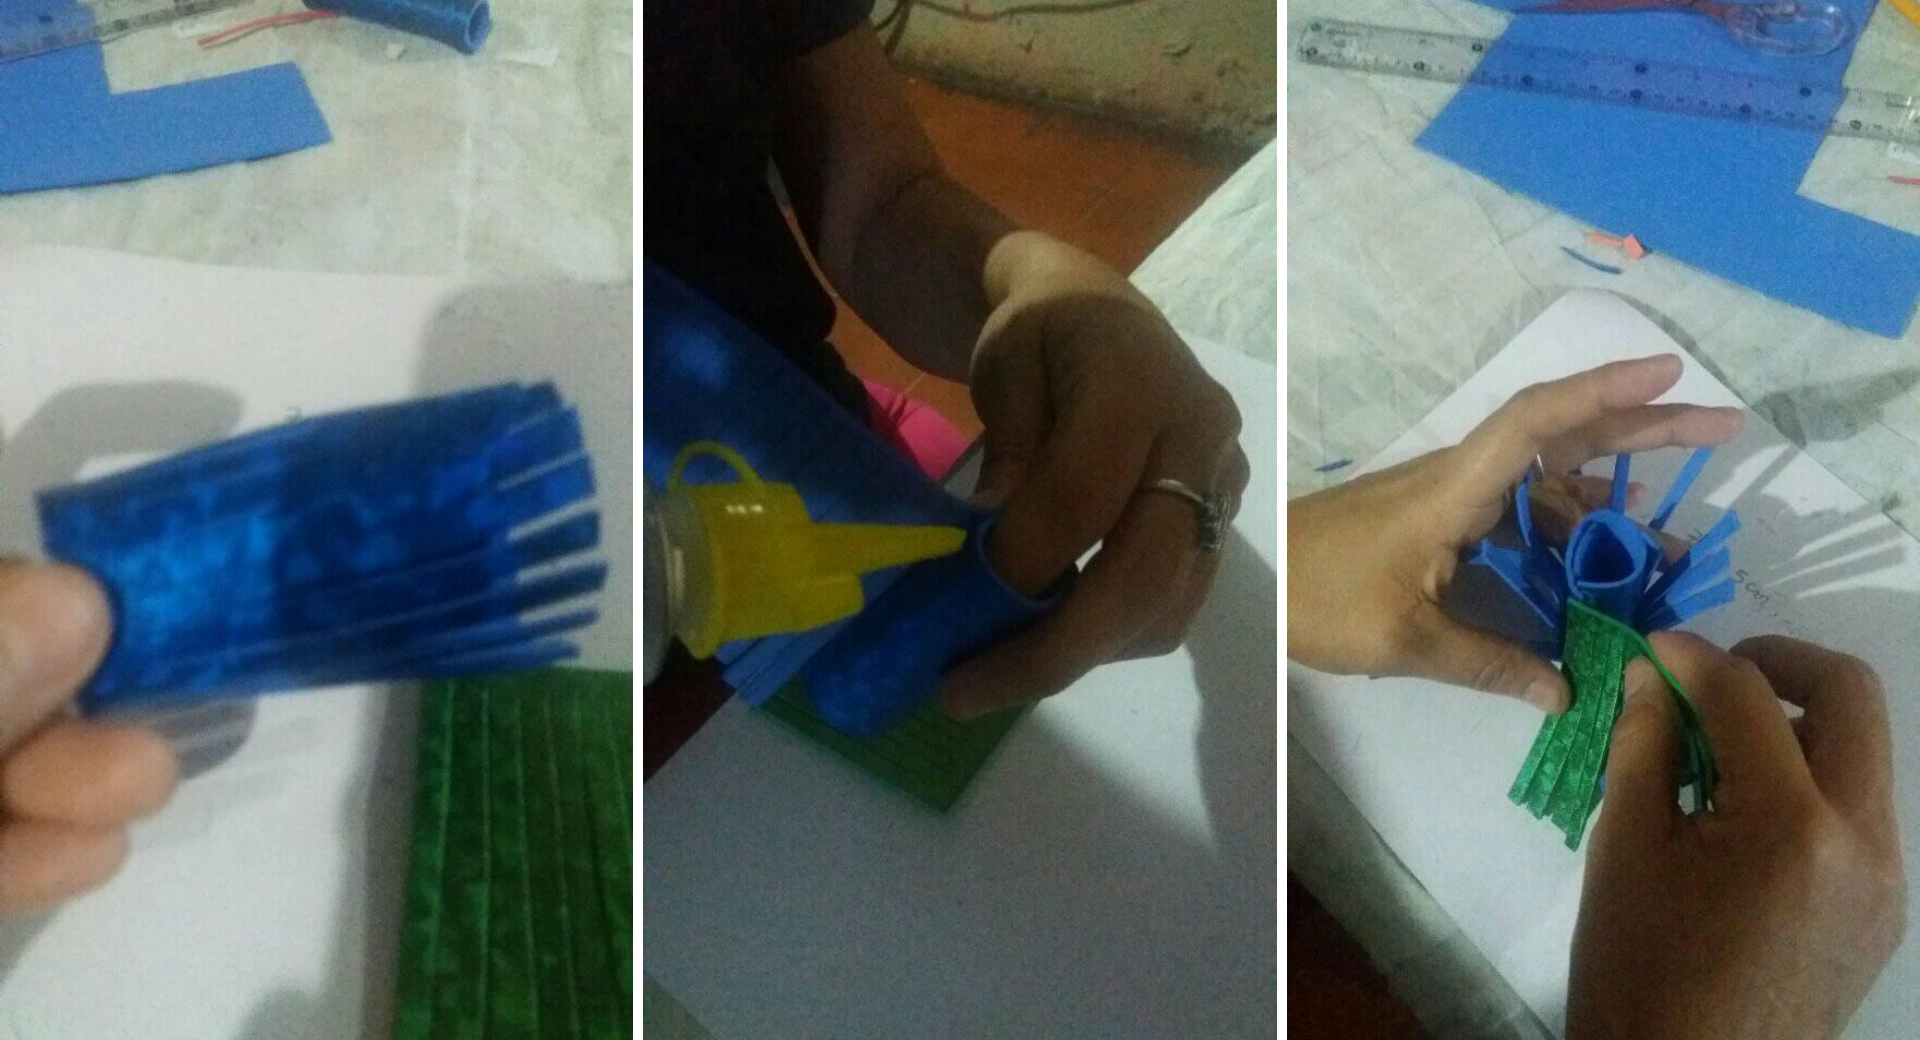
- Se pegan al cilindro en los bordes de arriba y de abajo los cuadrados ya debidamente cortados.
Step 2:
- The cut squares are glued to the cylinder at the top and bottom edges.
Paso 3:
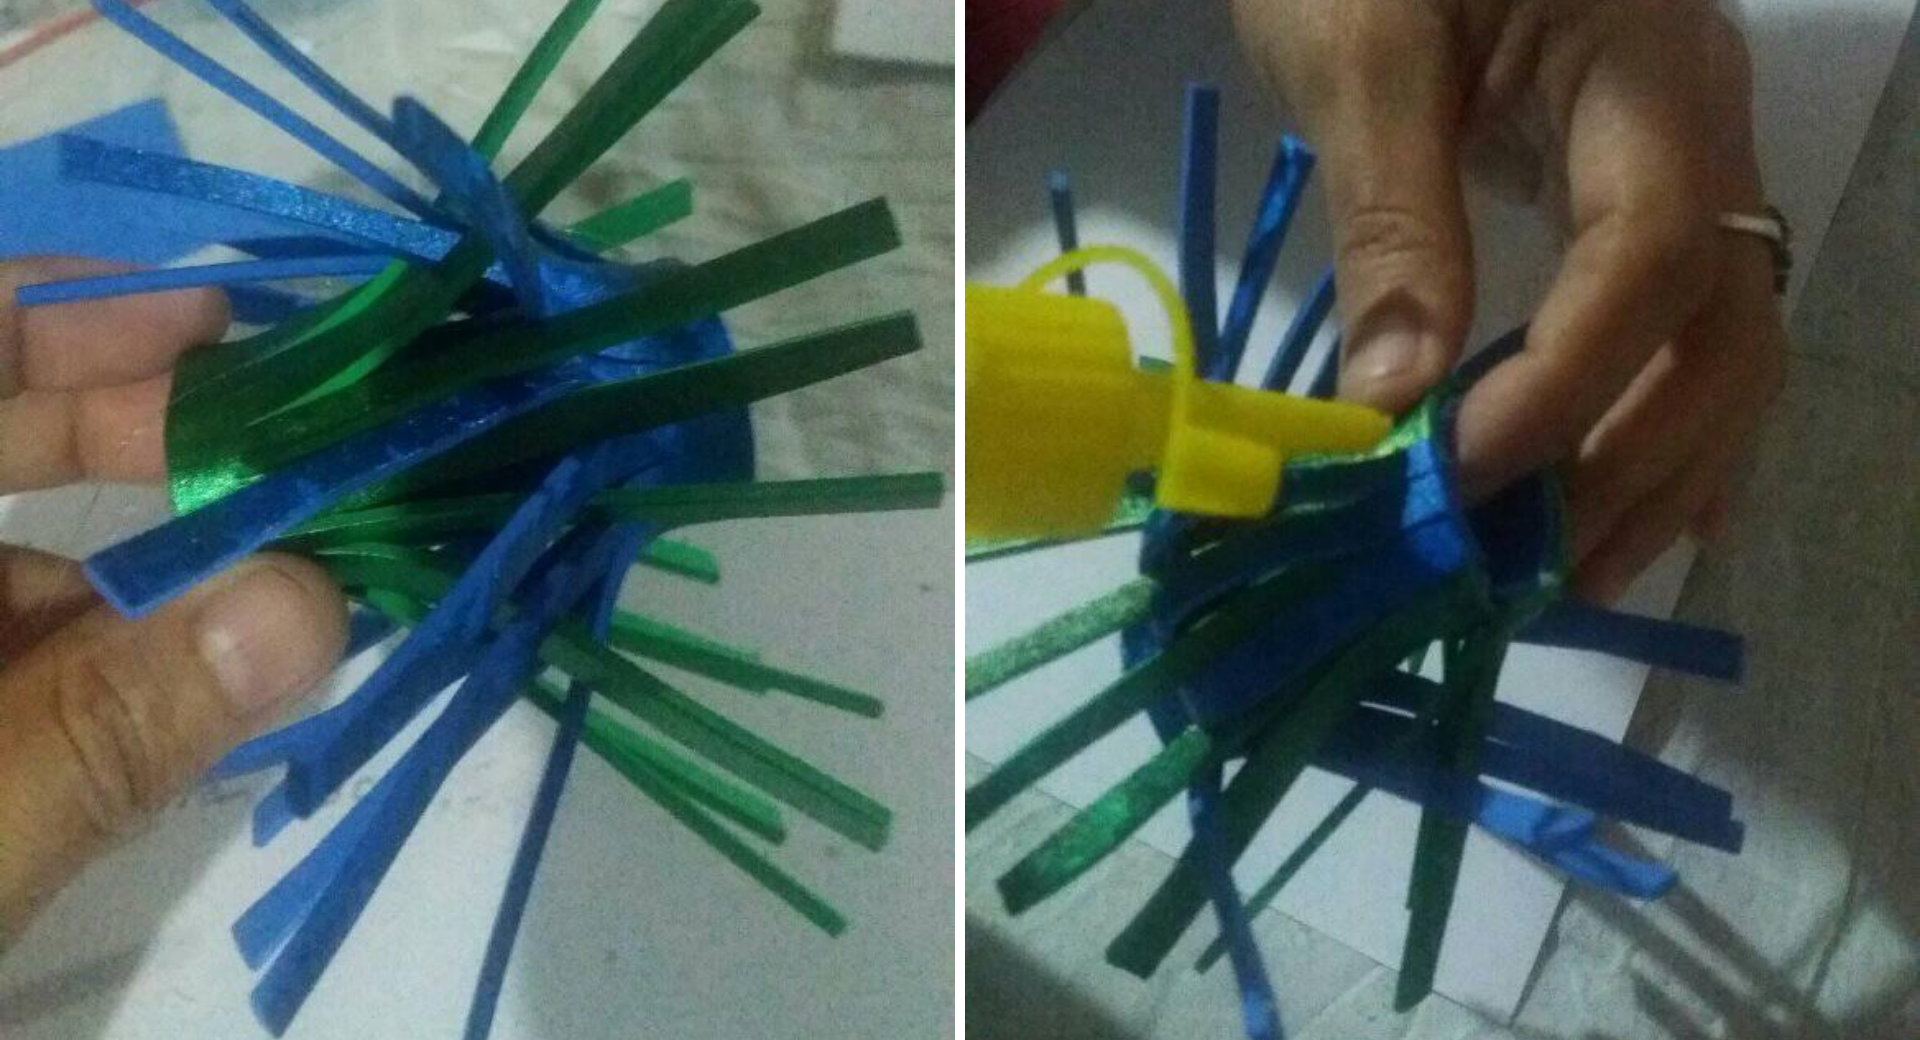
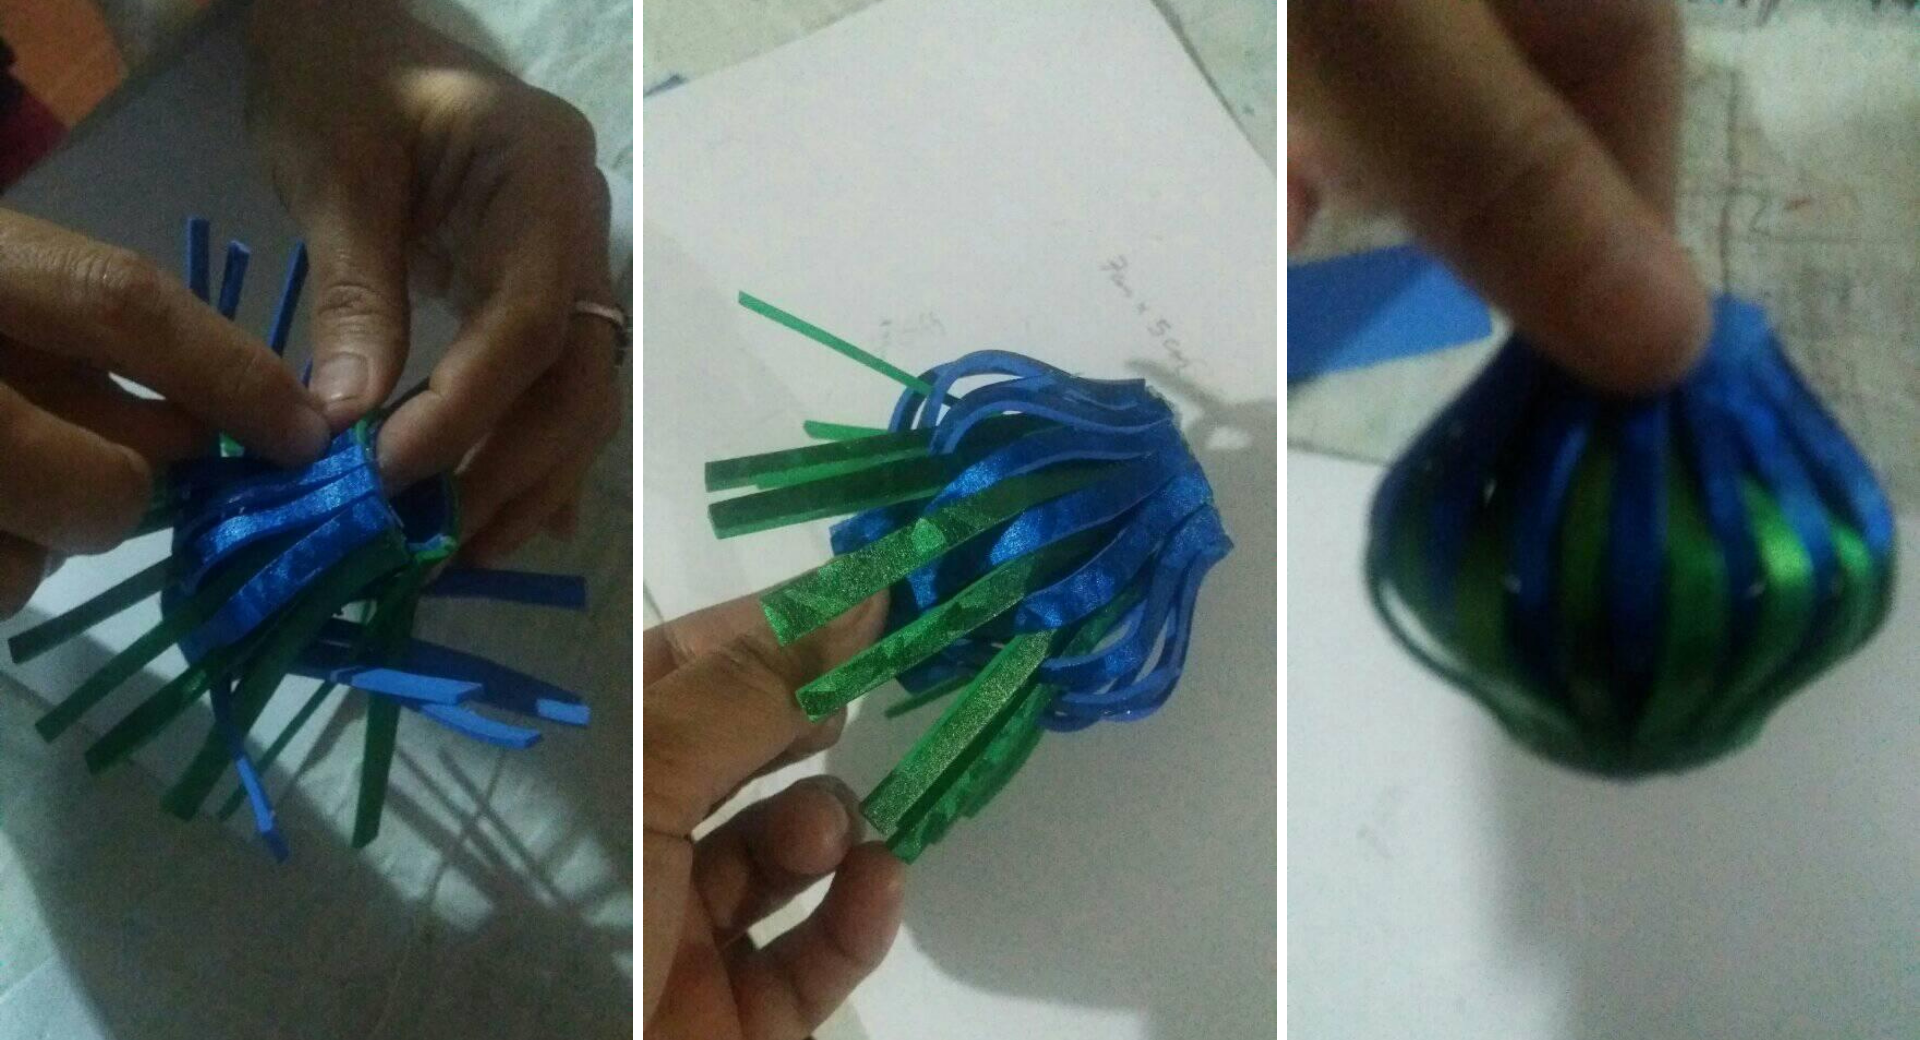
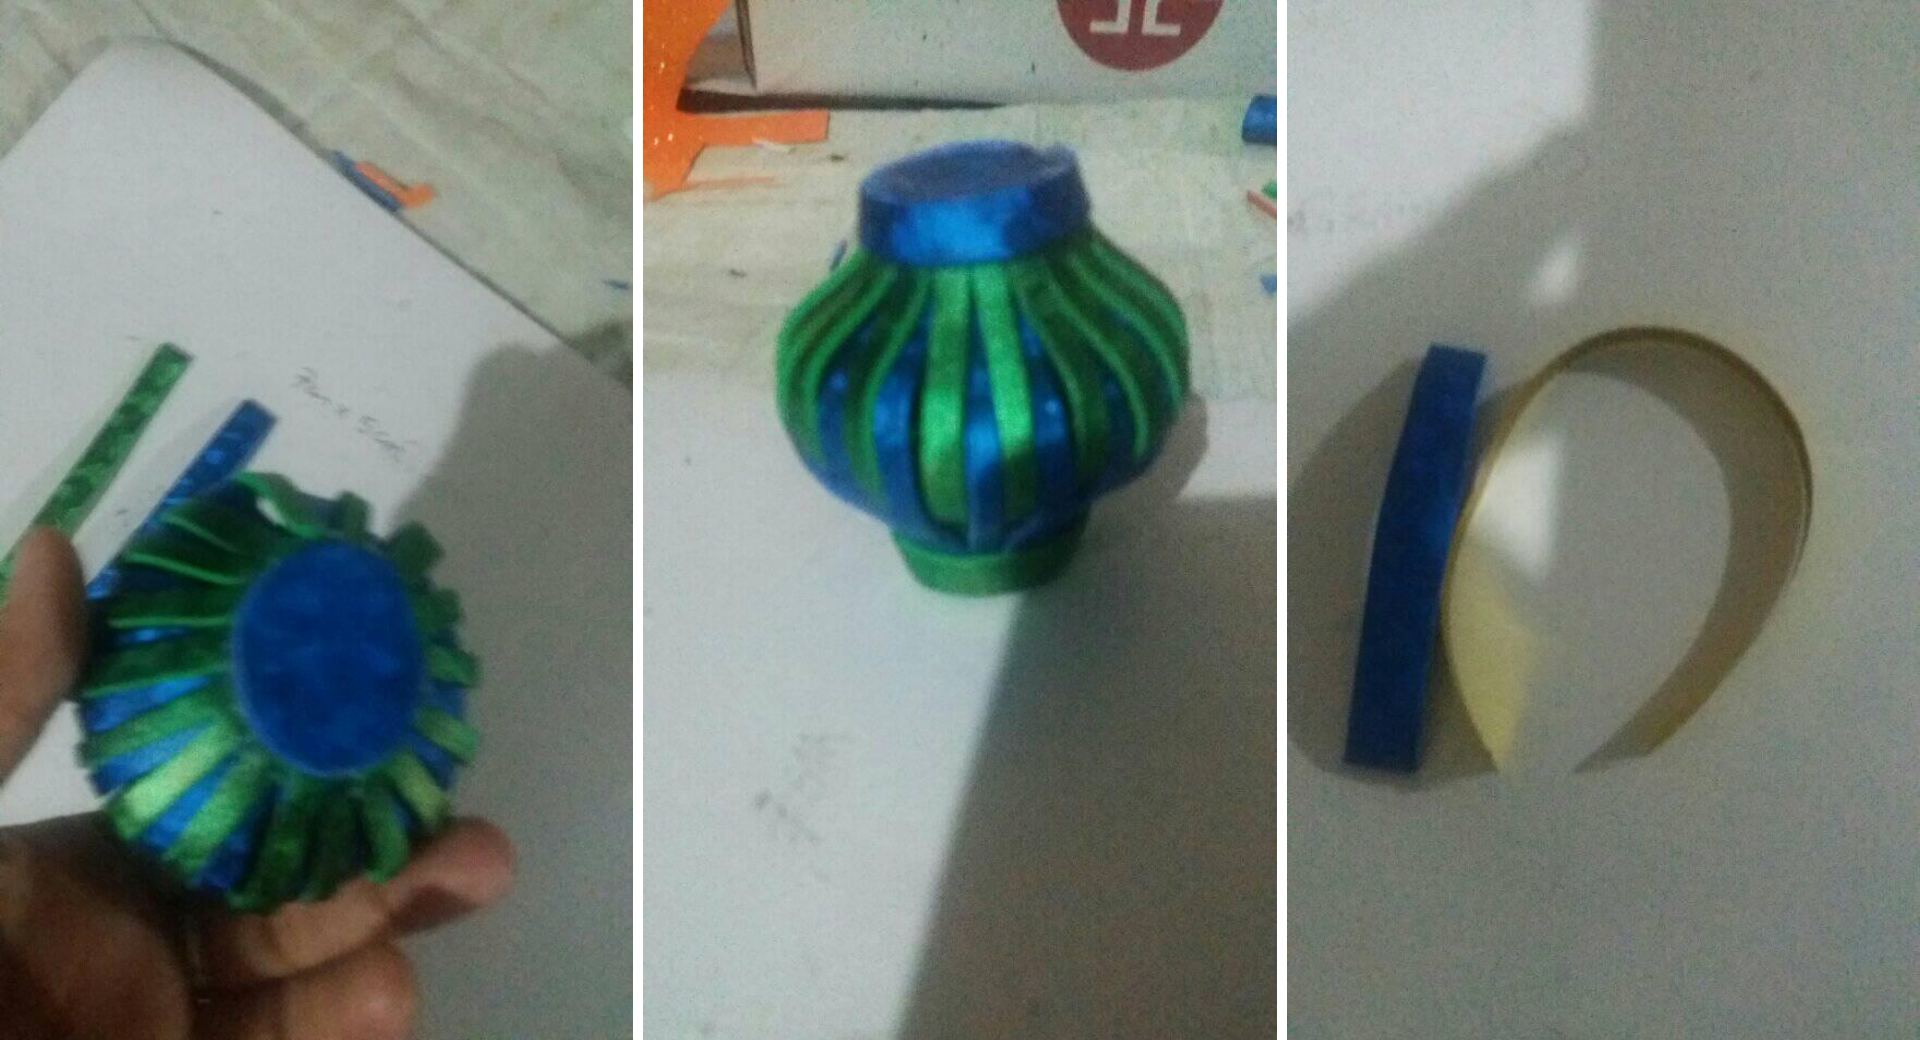
- Se entrelazas las tiras de ambos colores las de arriba con las de abajo para formar un farol.
Step 3:
- The strips of both colors are intertwined with the top and bottom to form a lantern.
Paso 4:
- Se cortan dos círculos para tapar la abertura de ambos lados,se cortan dos tiras pequeñas para decorar el borde del farol y después otra tira mas pequeña se enrolla para formar la guinda del farol y listo.
Step 4:
- Two circles are cut to cover the opening on both sides, two small strips are cut to decorate the edge of the lantern and then another smaller strip is rolled up to form the icing on the lantern and that's it.
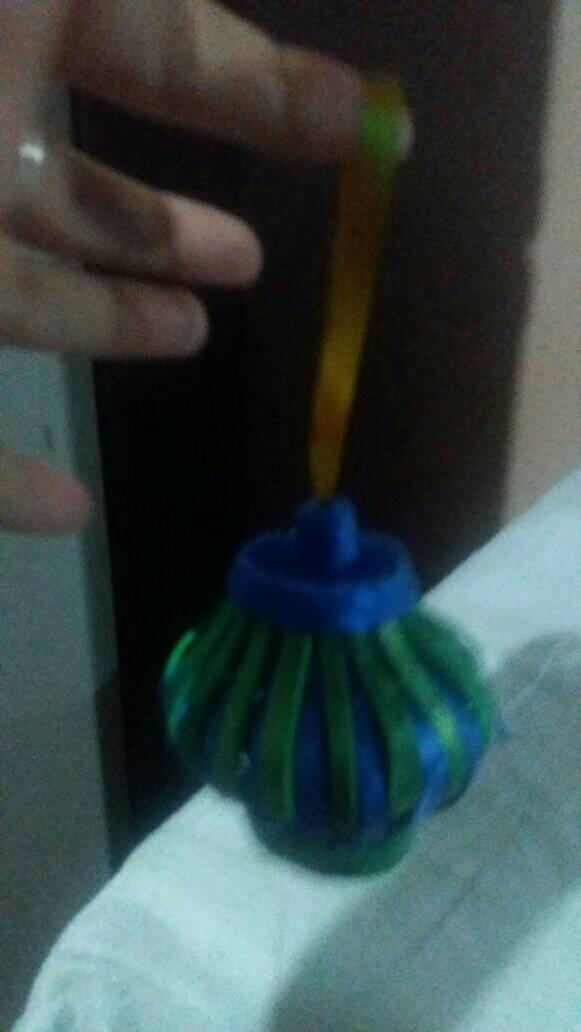
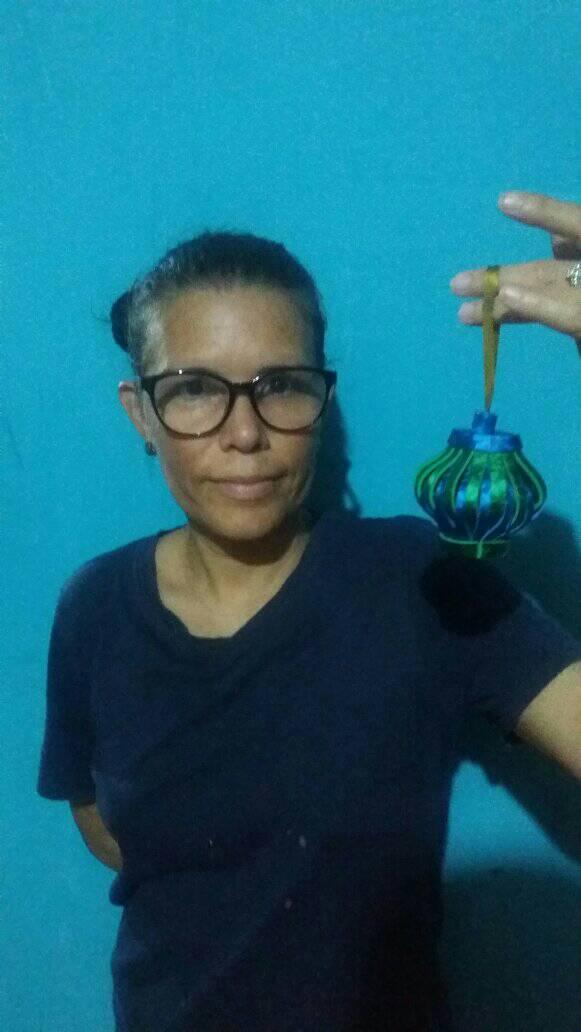
Asi quedo mi resultado final,Espero les guste
This is my final result, I hope you like it.
Todas las fotos son de mi autoria,Editadas con Canva.
All photos are my own, edited with Canva.
