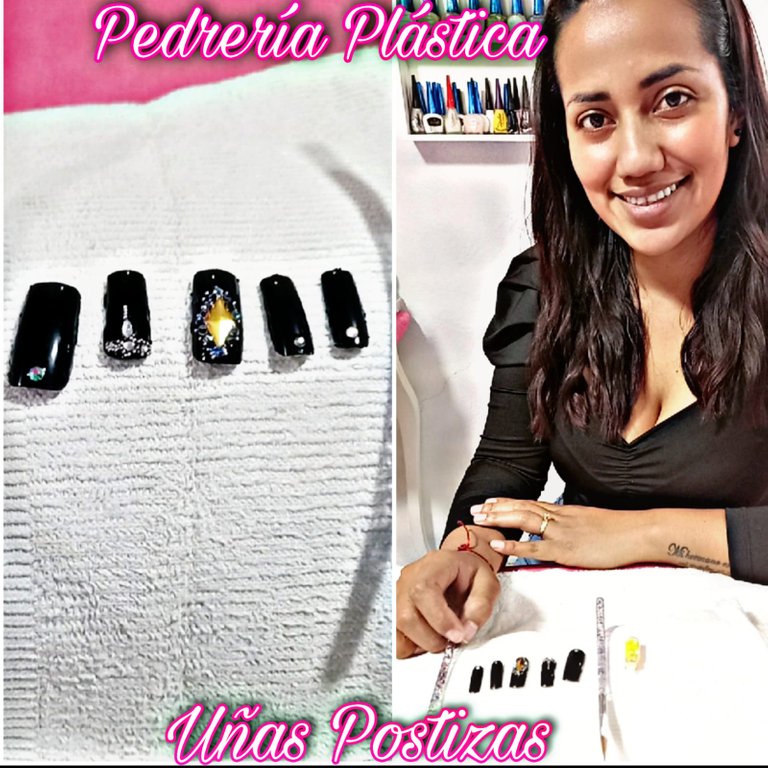
"Aplicando piedras plásticas en uñas postizas".Hola 👋 qué tal amigos de #Hive-Diy, me complace saludarlos y desearles un excelente día lleno grandes éxitos, es un gusto compartir mi primer proyecto en ésta comunidad, para participar del concurso " Diamantes de imitación♦️ y bisutería"
"Applying plastic stones on false nails ".Hello 👋 howdy friends of #Hive-Diy, I am pleased to greet you and wish you an excellent day full of great successes, it is a pleasure to share my first project in this community, to participate in the contest " Rhinestones♦️ and costume jewelry"
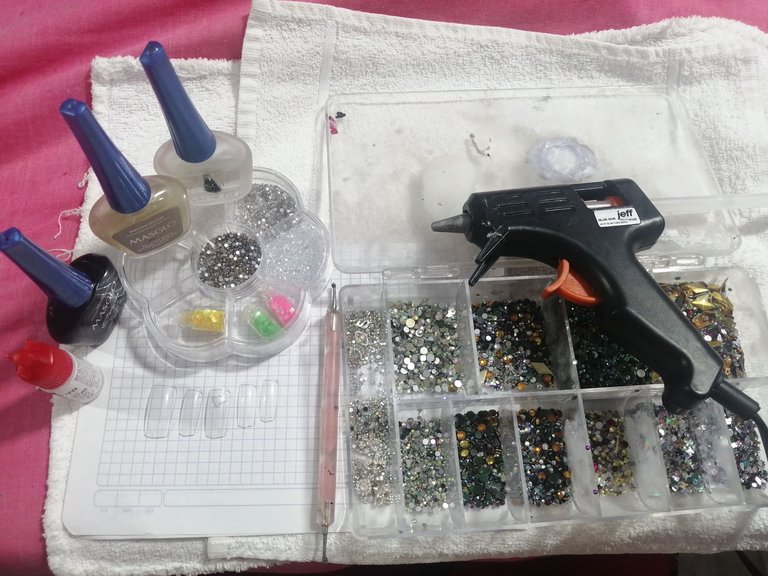
MATERIALES:
- Uñas postizas.
- Pegamento para uñas.
- Esmalte para uñas, color negro ⚫ y Brillo.
- Pedrería plásticas de Swarovski.
- Punzón de puntos para manicura.
- Silicona en barra.
- Papel.
MATERIALS:
- False nails.
- Nail glue.
- Nail polish, black color ⚫ and Gloss.
- Swarovski plastic rhinestones.
- Manicure dot punch.
- Silicone stick.
- Paper.
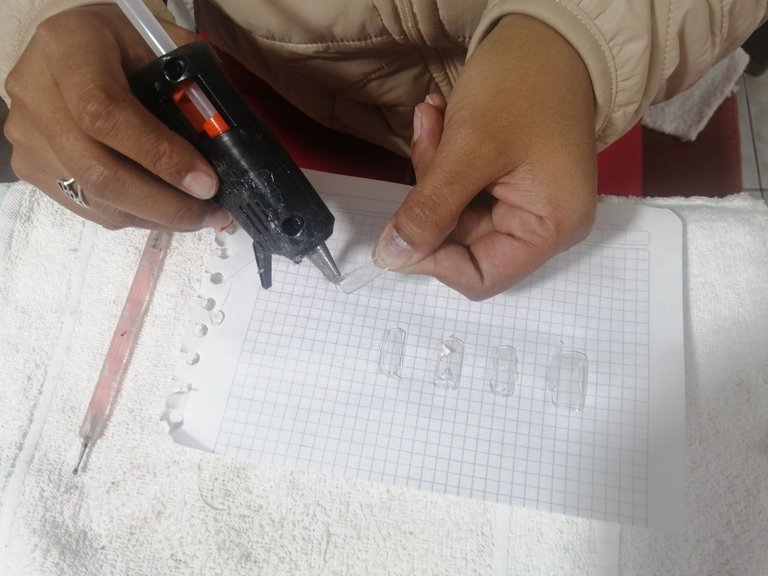
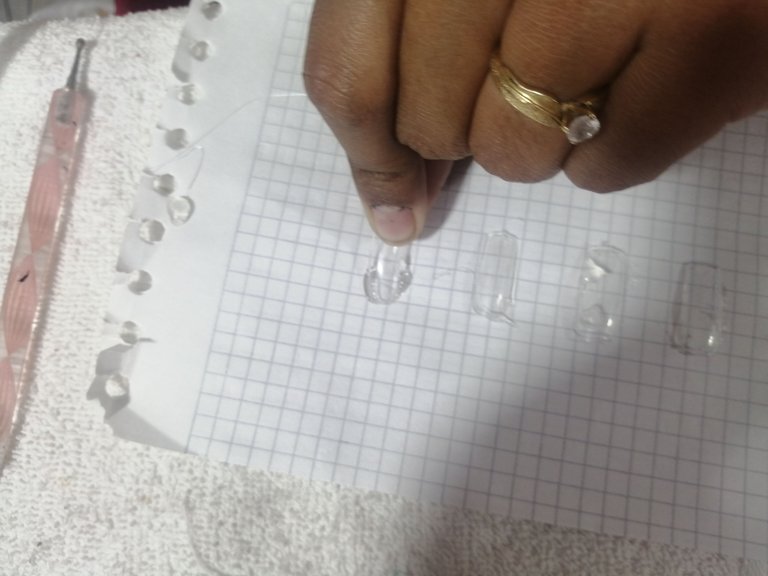
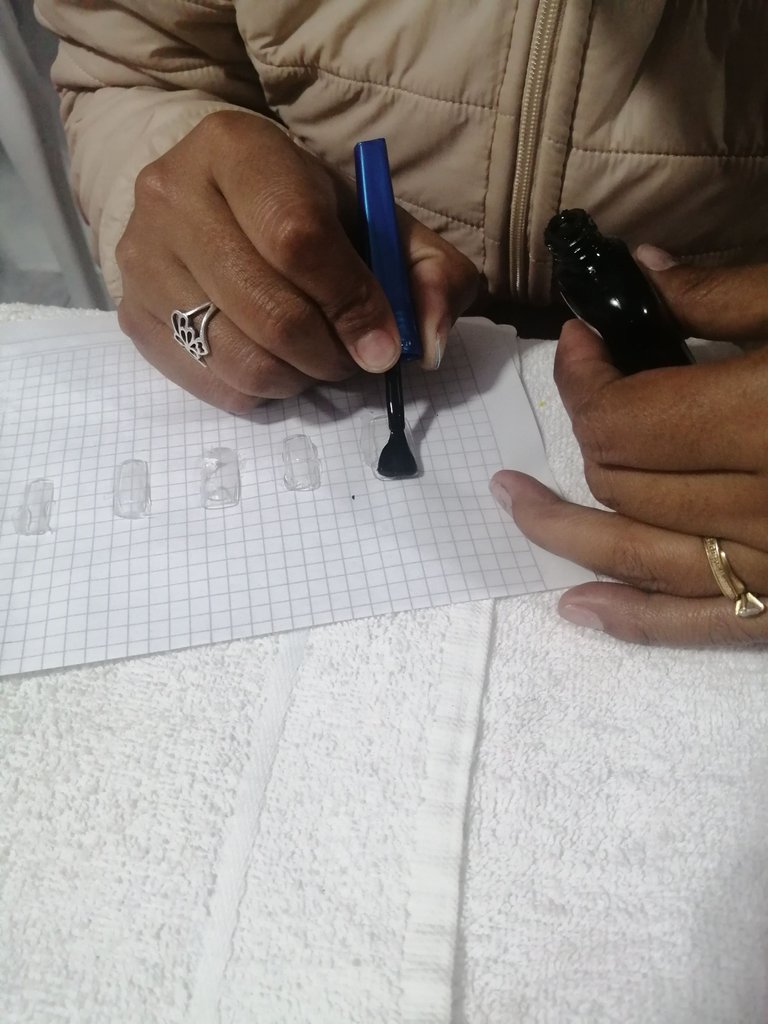
PASO 1:
Aplica silicona caliente, solo por los laterales de las uñas, específicamente por la parte de abajo y pégalas sobre la hoja.
STEP 1:
Apply hot silicone, only on the sides of the nails, specifically on the underside, and glue them on the leaf.
PASO 2:
Aplica dos capas de esmaltes sobre las uñas y deja secar.
STEP 2:.
Apply two coats of nail polish on the nails and let dry.
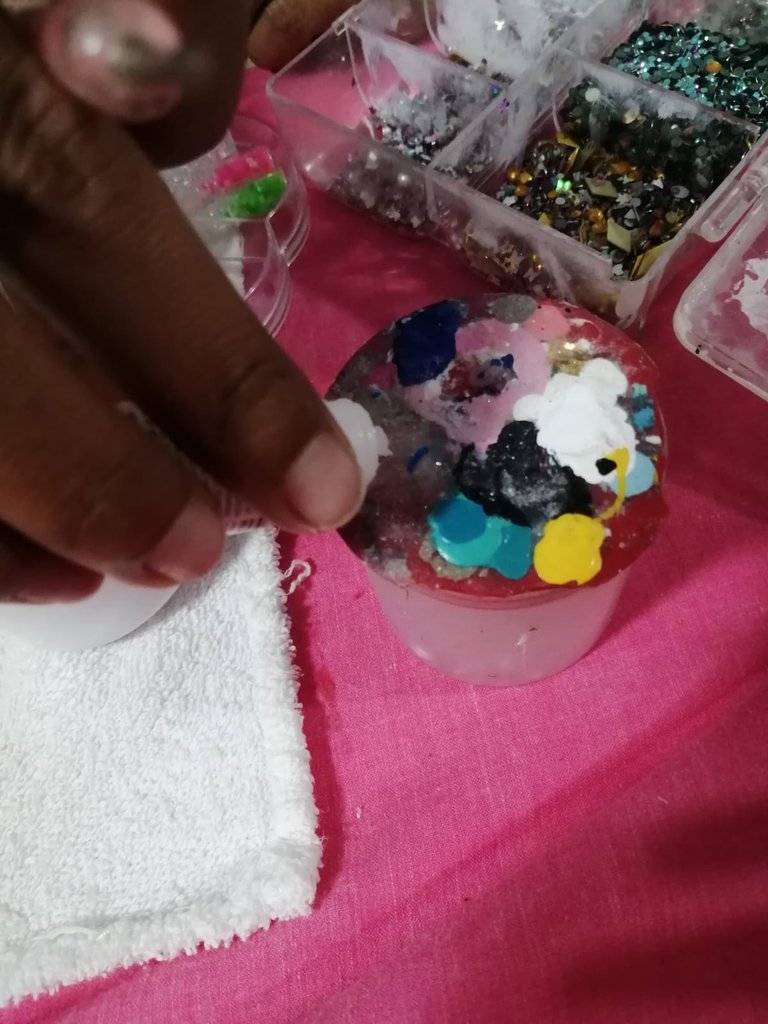
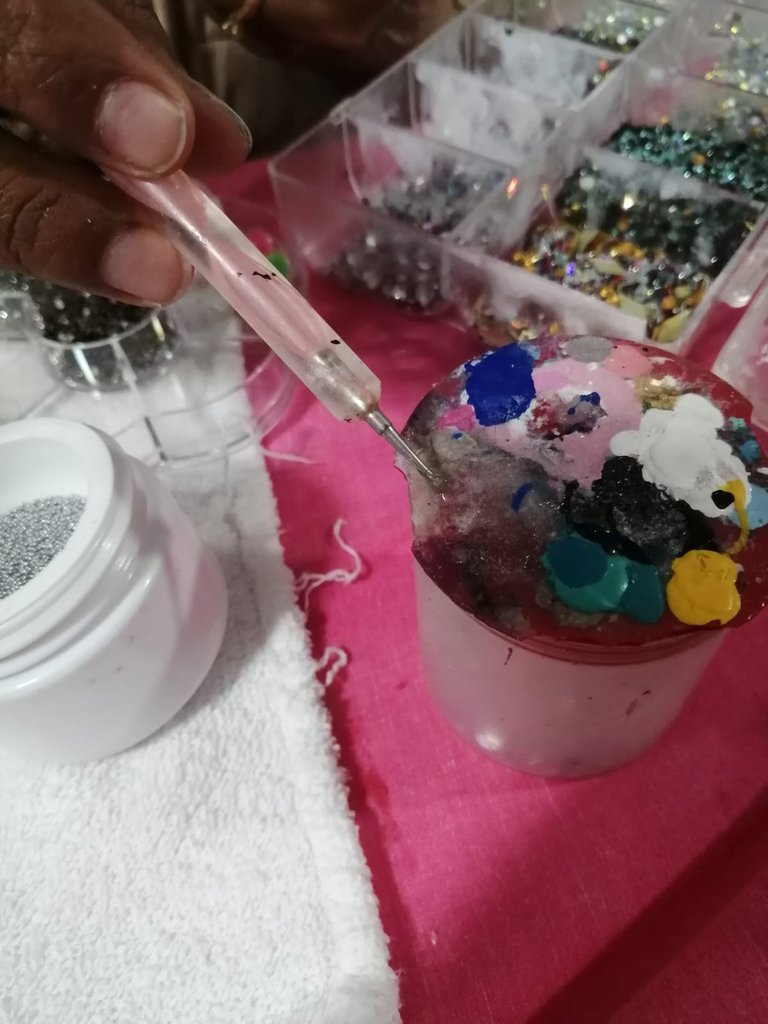
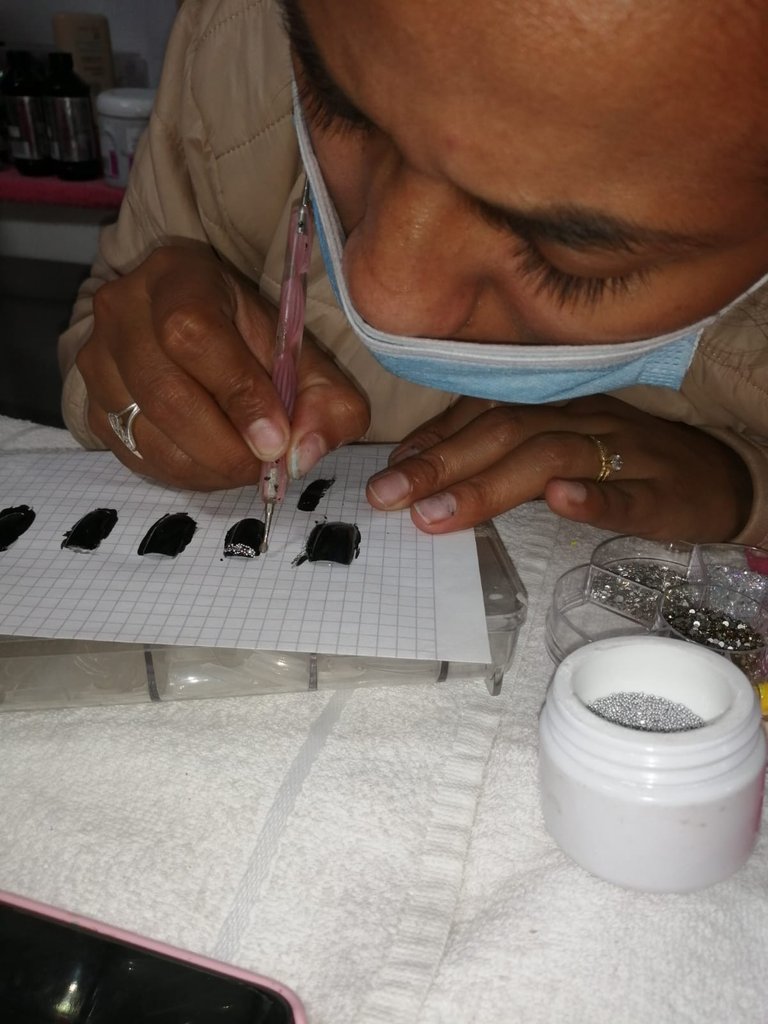
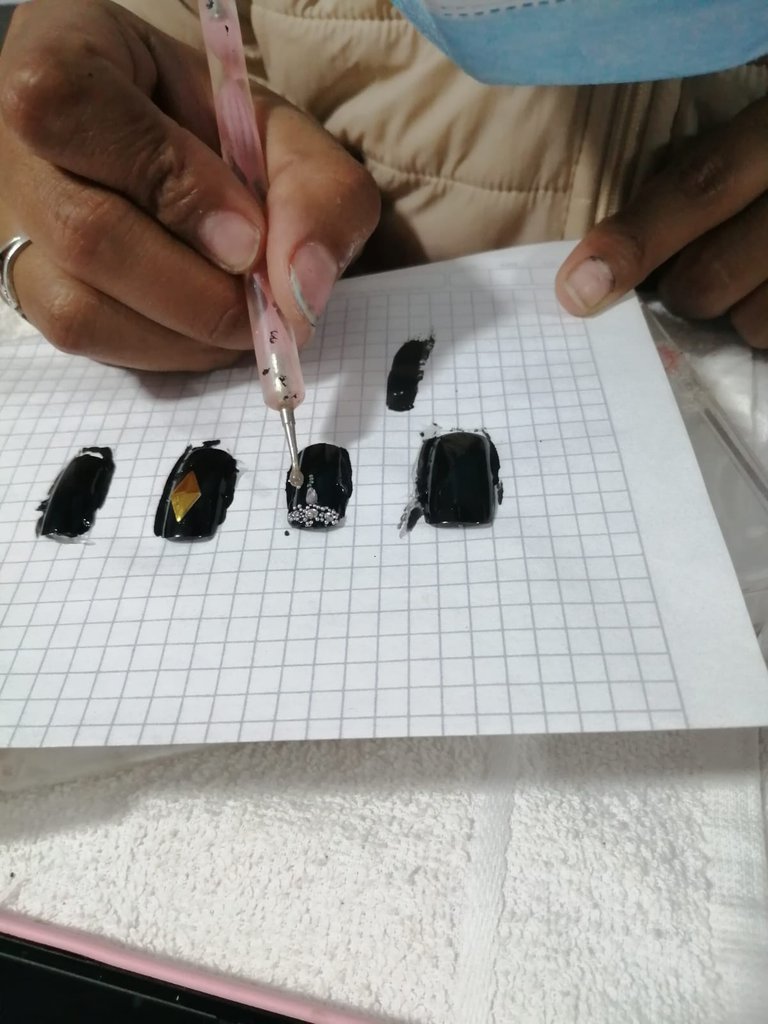
PASO 3:
Coloca el pegamento de uñas en un recipiente que tenga a la mano, luego coge el punzón y mójalo con un poco de éste pegamento, con el cual vas a hacer la forma del diseño, donde van a ir pegadas las piedras.
STEP 3:
Place the nail glue in a container that you have at hand, then take the punch and dip it with some of this glue, with which you are going to make the shape of the design, where the stones will be glued.
PASO 4:
Después que el diseño esté listo, aplica sobre las uñas una capa de brillo.
STEP 4:
After the design is ready, apply a coat of glitter to the nails.
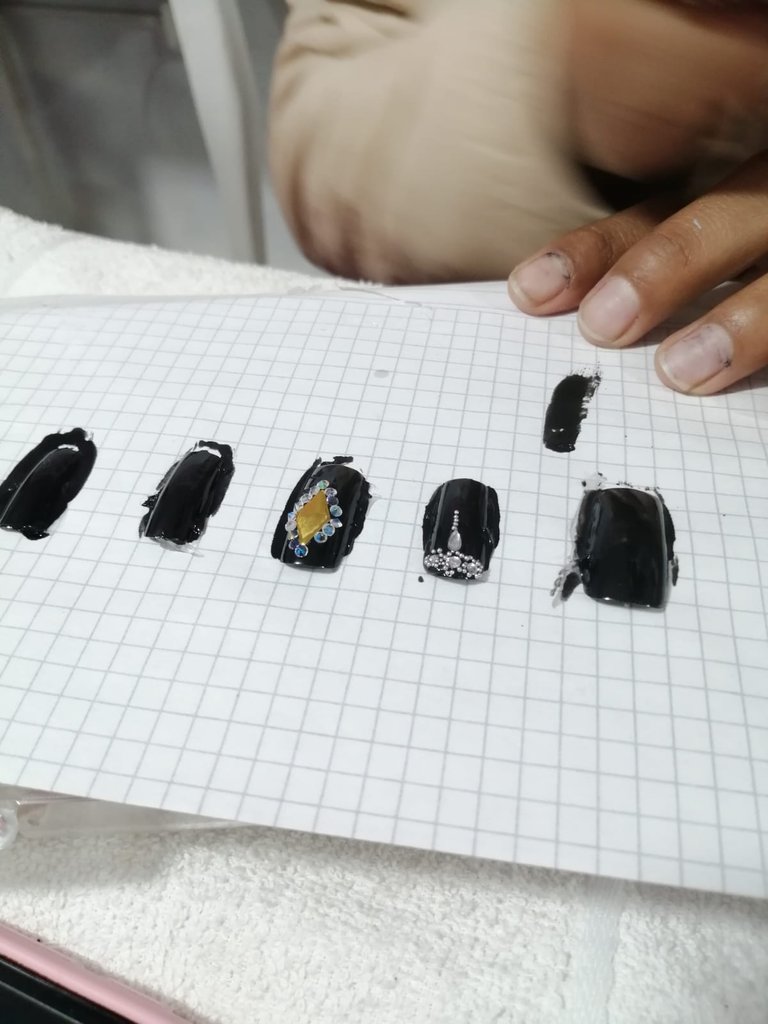
RESULTADO
RESULT

Esta ha sido mi participación en éste brillante concurso, espero de corazón que les haya gustado ♥ y sea de gran utilidad. Queiero a provechar la ocasión para hacerle la invitación a mis estimadas amigas @kathelopez77 y @gemahernandez para que forman parte de éste concurso.
This has been my participation in this brilliant contest, I sincerely hope you liked it ♥ and that it will be very useful. I want to take this opportunity to invite my dear friends @kathelopez77 and @gemahernandez to be part of this contest.
Genial Katty! gracias por enseñarnos estos truquitos par alas uñas, precisamente me estaba haciendo unas, se nota que te dedicas a esto pues se ve muy profesional. Gracias por participar, mucha suerte en el concurso.
Congratulations @katty199518! You have completed the following achievement on the Hive blockchain and have been rewarded with new badge(s) :
Your next target is to reach 100 upvotes.
You can view your badges on your board and compare yourself to others in the Ranking
If you no longer want to receive notifications, reply to this comment with the word
STOPCheck out the last post from @hivebuzz: