Español
¡He vuelto!,
Por razones diversas he estado algo ausente pero pronto lograré ponerme al día y mostrarles todas esas cositas hermosas que he estado elaborando para hacer felices a pequeños y adultos.
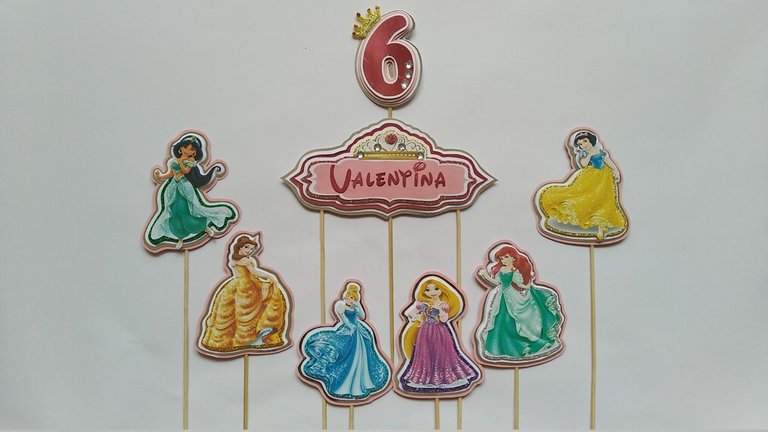
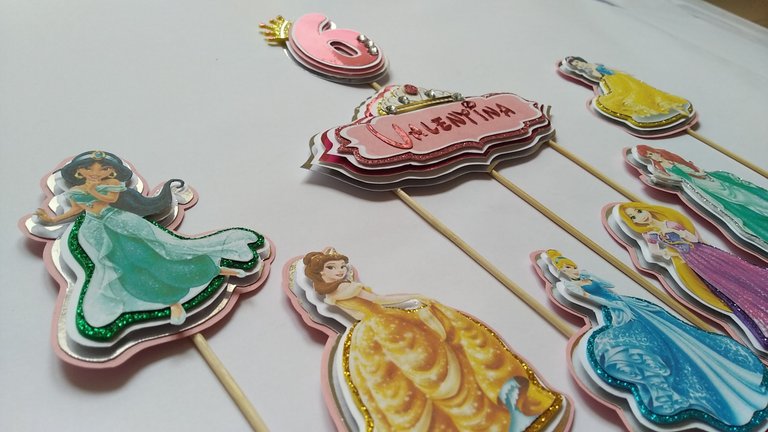
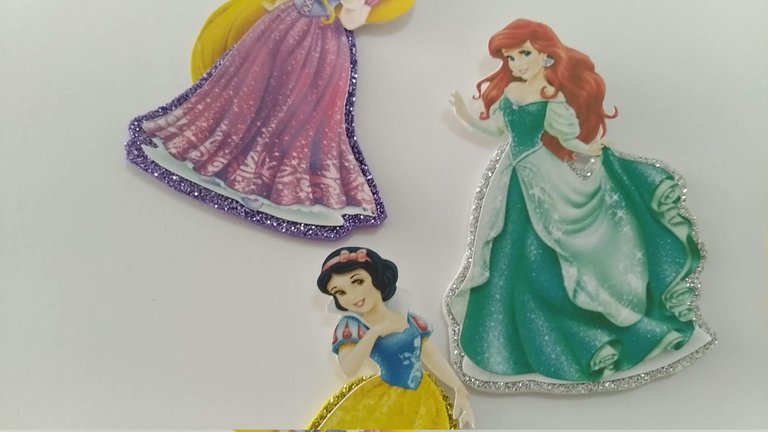
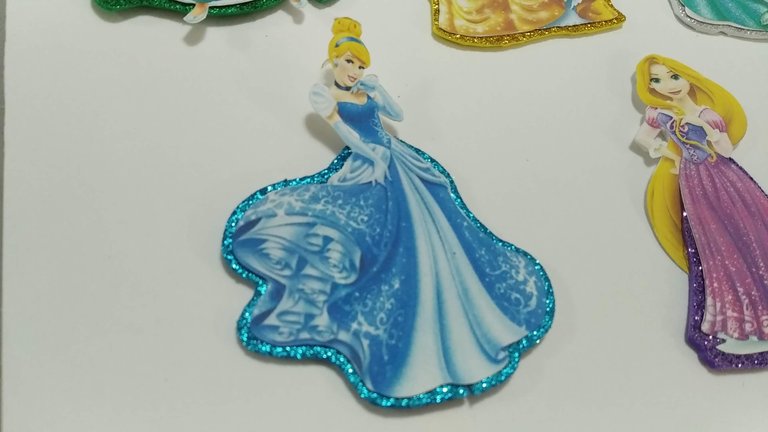
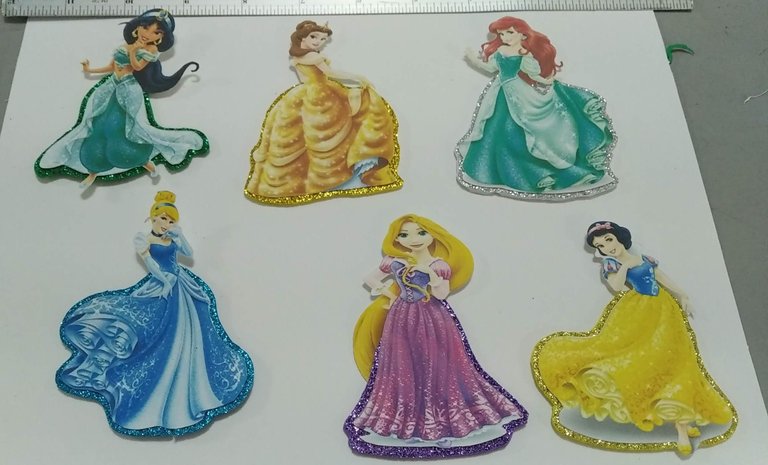
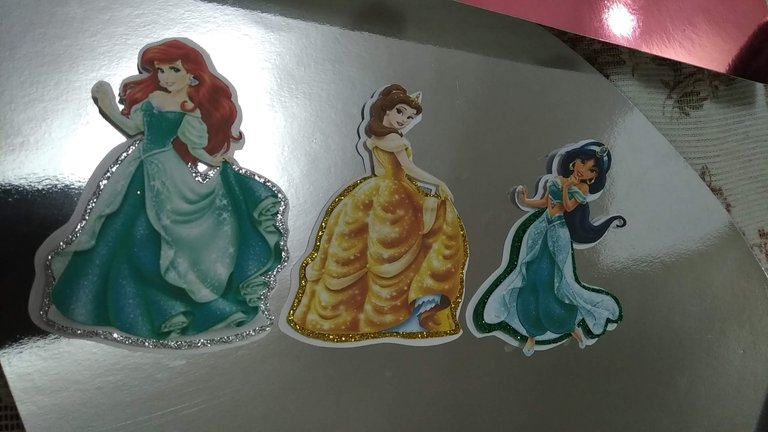
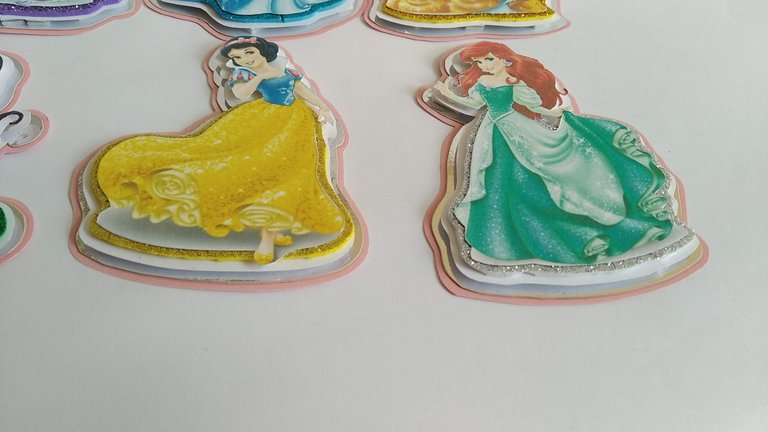
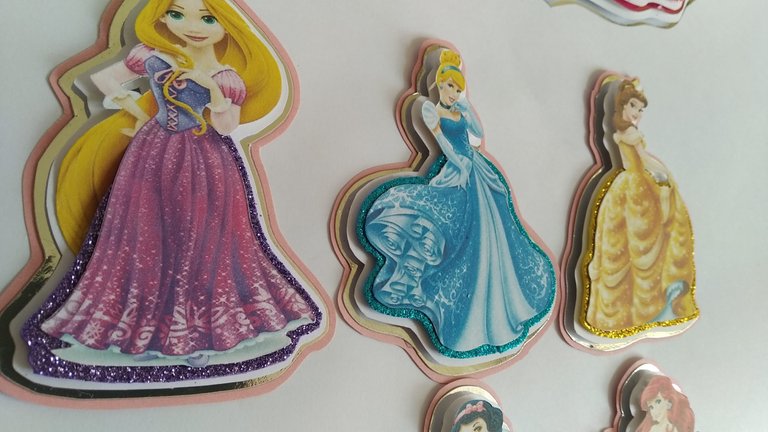
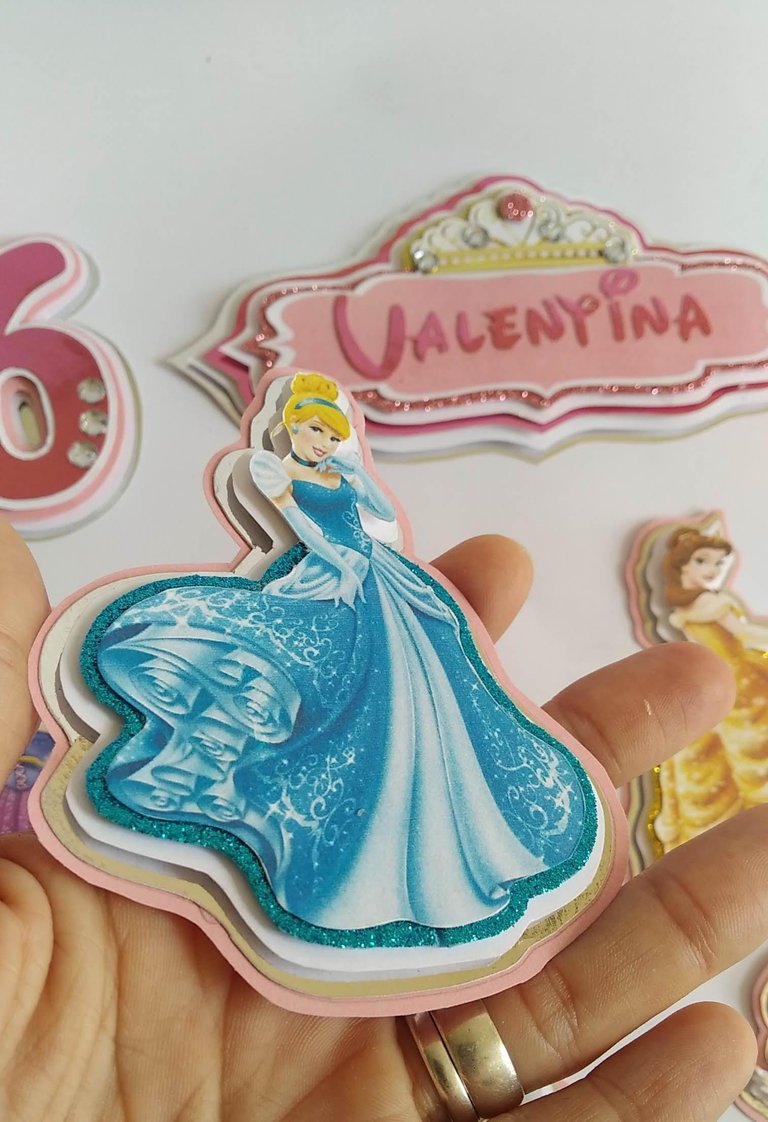
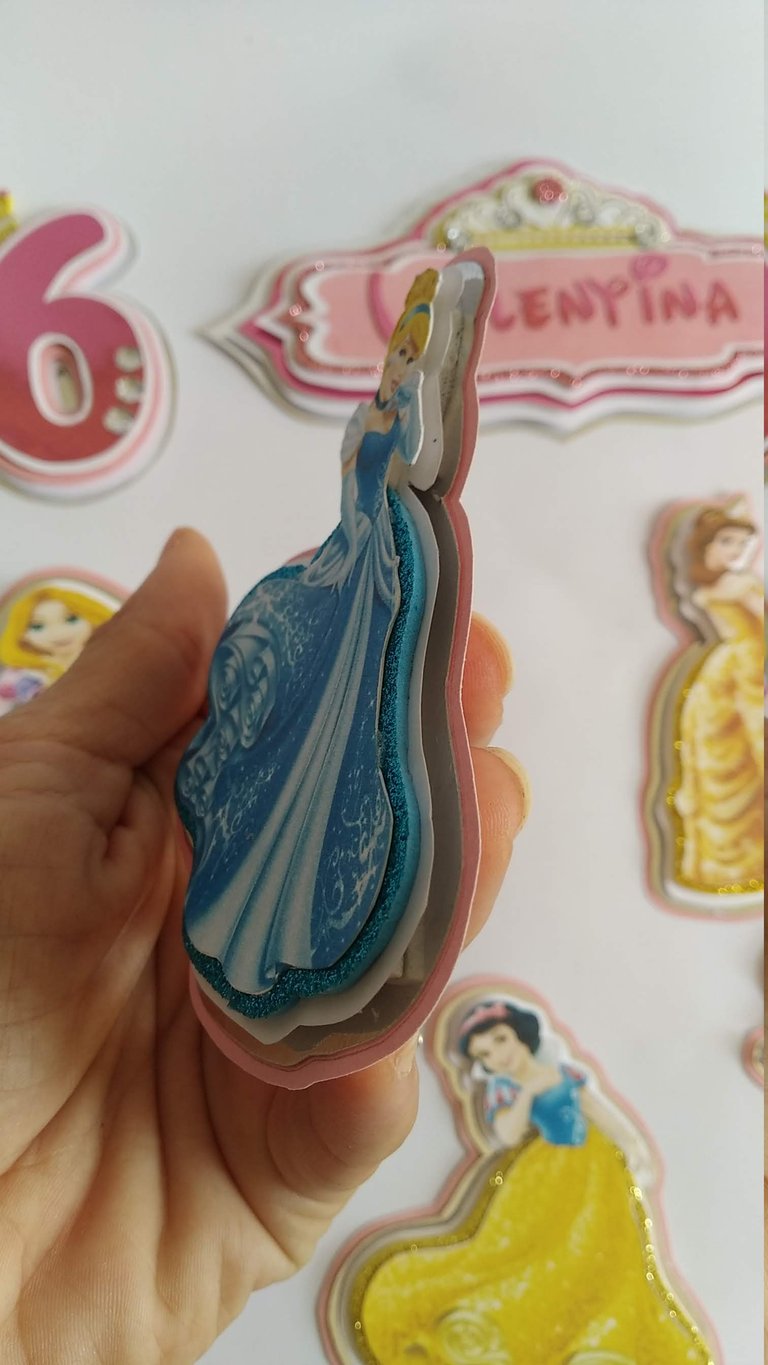
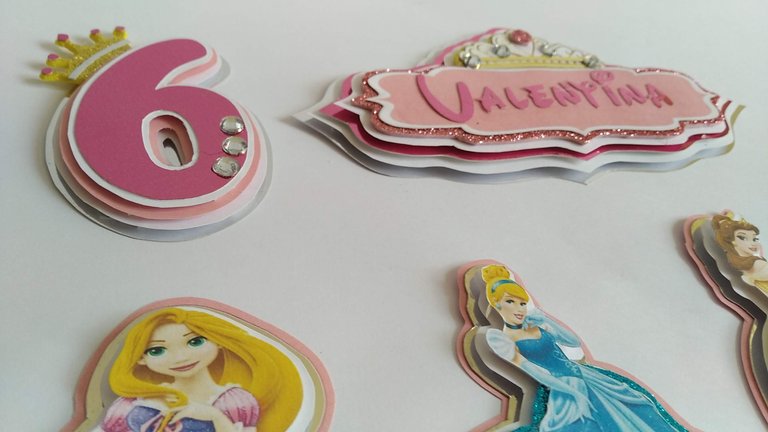
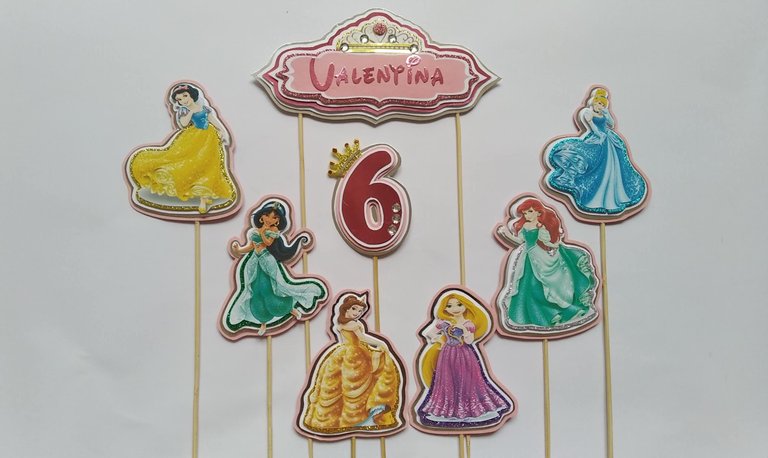
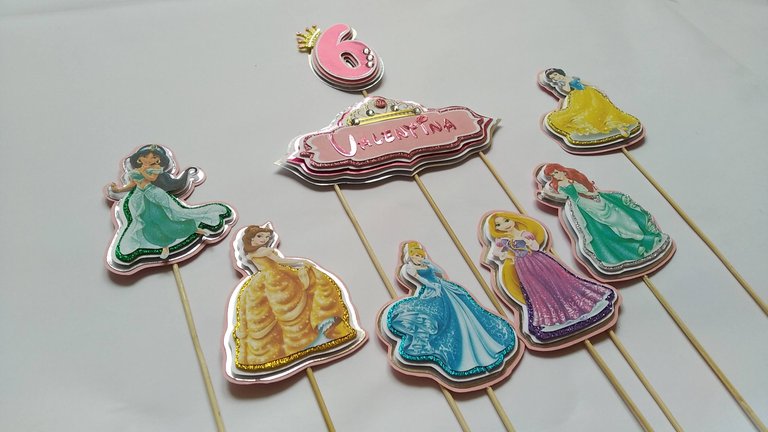
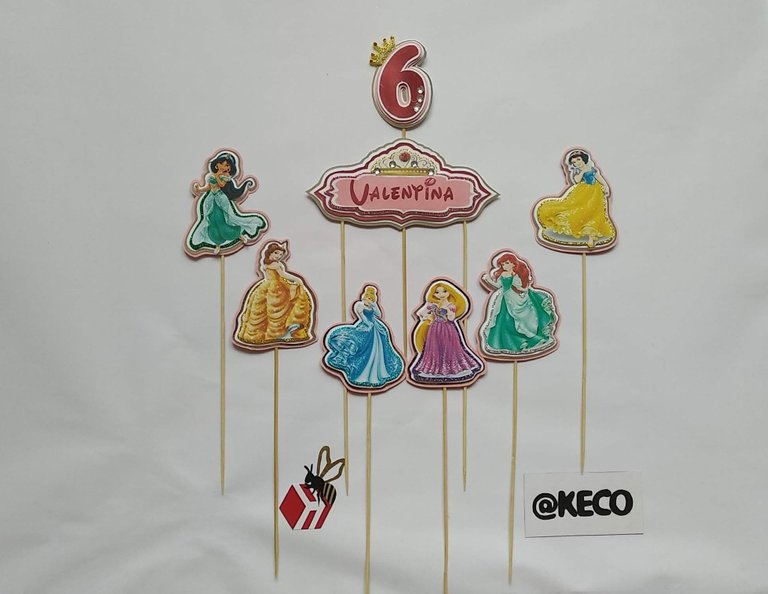
El día de hoy, retomo mis dinámicas con un topper para pastel, generado a partir de una impresión a color. Esta vez no cree los personajes con la técnica del ensamblado porque fue un pedido solicitado velozmente y además eran muchas princesas, por eso opté por la impresión a color y decidí darle capas y resaltar con foami escarchado los trajes de las princesas..
Fue un topper fácil de realizar y lo mejor de todo se hace súper rápido, sólo requerirán algo de tiempo y amor para recortar y pegar, recortar y pegar… Toda la decoración se hizo con mucho amor y se elaboró básicamente con cartulina de colores. Espero puedan apreciar este lindo topper, y puedan decirme en los comentarios que les pareció.
Sin más y esperando disfruten del trabajo realizado les dejo los materiales utilizados, el proceso y las imágenes del trabajo.
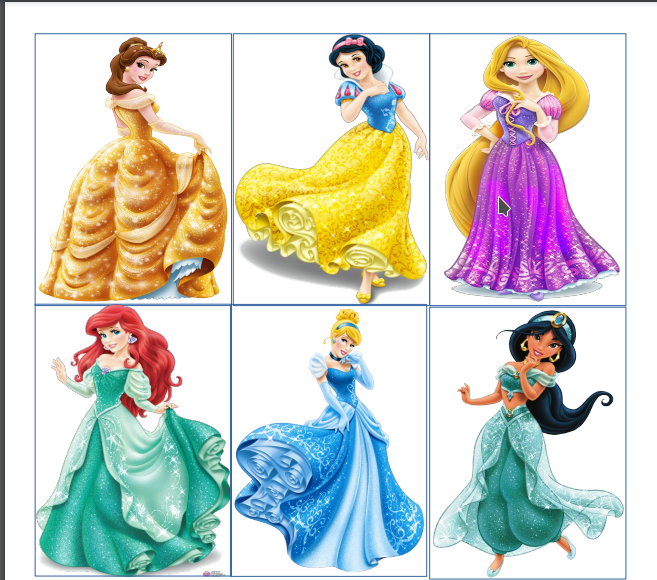
- Impresión a color de las princesas (en cartulina).
- Cartulina Blanca.
- Cartulina Rosa claro.
- Cartulina Plateada tipo espejo.
- Cartulina Rosada tipo espejo.
- Foamy escarchado del color de los trajes (azul, verde, dorado, morado, plateado, rosado).
- Foamy blanco plano.
- Gemas plateados.
- Palitos de madera.
- Silicón frío.
- Silicón caliente.
- Tijera
- Cutter
- Recortar las princesas por toda su silueta. En este caso se imprimieron 6 princesas con una medida aproximada de 6 x 7 cm de ancho, impresión a full color.
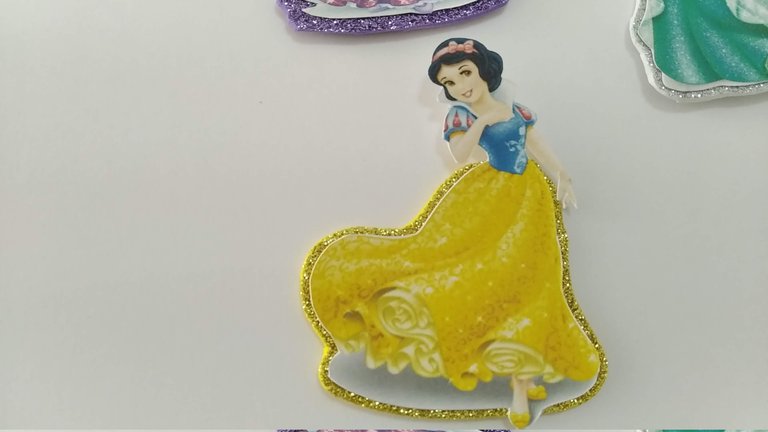
- Seleccionar el foami escarchado que más se asemeje al vestido de las princesas, marcar y recortar dejando un borde sobresaliente para que resalte el escarchado.
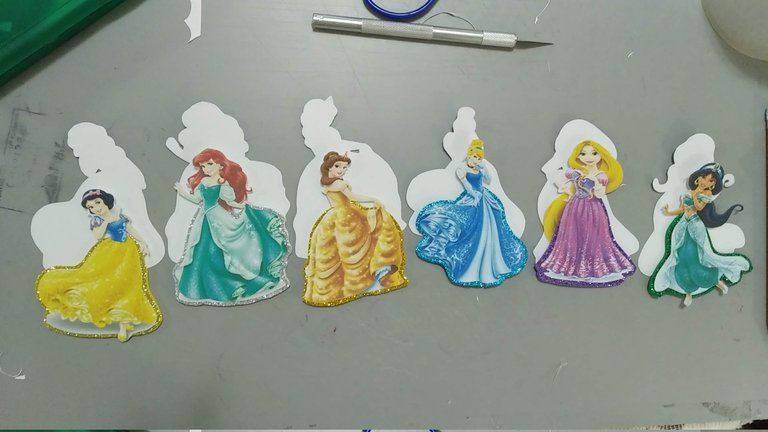
- Una vez todas tengan su borde escarchado, marcar y recortar la cartulina blanca siguiendo la silueta de las princesas, cuidando de dejar un borde que sobresale para el efecto en capas.
- Una vez se tenga la silueta blanca, marcar y recortar la cartulina plateada siguiendo la silueta blanca cuidando de dejar un borde que sobresale para el efecto en capas.
- Usando como plantilla la silueta plateada, marcar y recortar la cartulina rosada clara cuidando de dejar un borde que sobresale para el efecto en capas.
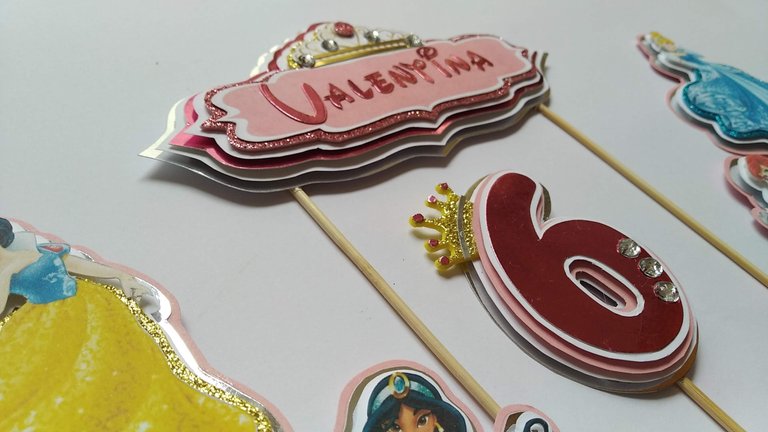
- Al tener todas las capas listas, pegar en la parte posterior de las mismas tiras de foamy blanco plano para darle el relieve entre capa y capa.
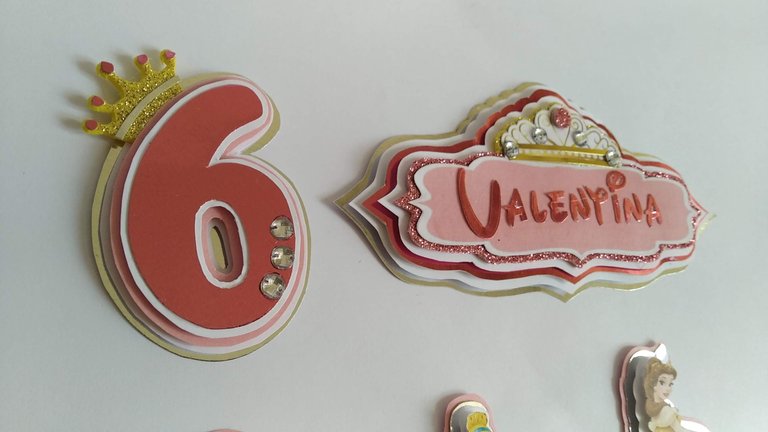
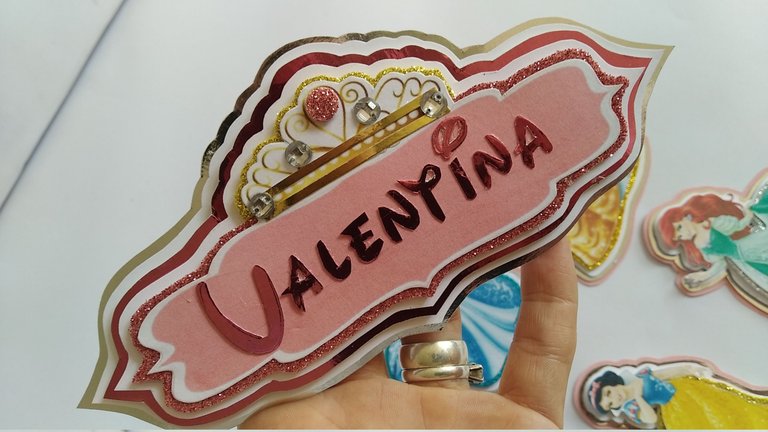
- Para la elaboración de la edad y el nombre de la niña, estos se realizaron primero en cartulina rosada tipo espejo y luego se hizo el mismo procedimiento señalado arriba (2 al 6), se le adicionó las gemas plateadas y el detalle de la mini corona al número.
- A todas las piezas se les pega palitos de madera con silicón caliente.
- ¡listo! a disfrutar de la magia de lo creado con amor…
English
I'm back,
For various reasons I've been a bit absent but soon I'll be able to catch up and show you all those beautiful things I've been making to make children and adults happy.
Today, I resume my dynamics with a cake topper, generated from a color print. This time I did not create the characters with the assembly technique because it was a quick order and there were many princesses, so I opted for color printing and decided to give layers and highlight the princesses' costumes with frosted foami.
It was an easy topper to make and best of all it is super fast, only require some time and love to cut and paste, cut and paste ... All the decoration was made with love and was made basically with colored cardboard. I hope you can appreciate this cute topper, and you can tell me in the comments what you thought of it.
Without further ado and hoping you enjoy the work done I leave you the materials used, the process and the images of the work.
- Color printing of the princesses (on cardboard).
- White cardboard.
- Light pink cardboard.
- Silver mirror cardboard.
- Pink mirror cardboard.
- Frosted Foamy in the color of the costumes (blue, green, gold, purple, silver, pink).
- Flat white foamy.
- Silver gems.
- Wooden sticks.
- Cold silicone.
- Hot glue.
- Scissors
- Cutter
- Cut out the princesses all over their silhouette. In this case 6 princesses were printed with an approximate measure of 6 x 7 cm wide, full color printing.
- Select the frosted foami that most resembles the princesses' dress, mark and cut out leaving a protruding edge to highlight the frosting.
- Once all the princesses have their frosted border, mark and cut out the white cardboard following the princesses' silhouette, taking care to leave a protruding edge for the layered effect.
- Once you have the white silhouette, score and cut out the silver card stock following the white silhouette, taking care to leave an edge that sticks out for the layered effect.
- Using the silver silhouette as a template, trace and cut out the light pink card stock, taking care to leave a border for the layered effect.
- When you have all the layers ready, glue strips of flat white foamy on the back of the layers to give the relief between each layer.
- For the elaboration of the age and the name of the girl, these were first made on pink mirror cardboard and then the same procedure as above (2 to 6) was done, adding the silver gems and the detail of the mini crown to the number.
- Glue wooden sticks with hot silicone to all the pieces.
- Ready! enjoy the magic of what was created with love…
Translated with www.DeepL.com/Translator (free version)
IMÁGENES / IMAGES
SALUDOS / REGARDS
Todas las Fotos fueron tomadas con mi teléfono Redmi 7A.
Contenido original de @keco (fotos y texto) - Todos los derechos reservados Publicado en HIVE así como en mi instagram : http://instagram.com/carton_pintura_algo_mas
All Photos were taken with my Redmi 7A phone.
Original content from @keco (photos and text) - All rights reserved Posted on HIVE as well as on my instagram: http://instagram.com/carton_pintura_algo_mas
Excellent.
Gracias @drivetheweb por detenerte a ver y comentar. Muchas gracias..
Saludos, bendiciones y éxitos.
Congratulations @keco! You received a personal badge!
Wait until the end of Power Up Day to find out the size of your Power-Bee.
May the Hive Power be with you!
You can view your badges on your board and compare yourself to others in the Ranking
Check out the last post from @hivebuzz:
Gracias @hivebuzz, este mes fue poco pero igual valió la pena.
Saludos, bendiciones y éxitos.