

Español
Este trabajo se llama “solicitud de ultimo momento”, pues literal lo realicé en una hora aproximadamente. La madre de mi amiga Rossana estaba de cumpleaños y por inconvenientes con el pastel principal se vio obligada a comprar unos cupcakes y celebrar la vida. Pero no quería fuesen aburridos así que me solicitó realizar el nombre y eso fue lo que hice, el nombre de IRAMA.
Realizado en cartulina de colores con mucho amor.
Sin más, y esperando disfruten del trabajo realizado les dejo los materiales utilizados, el proceso y las fotos finales del trabajo realizado.
- Plantilla de letras
- Cartulina dorada tipo espejo
- Cartulina Roja
- Foami Rojo
- Apliques plateados (en este caso plásticos de bisutería)
- Palitos de madera
- Tijera
- Cutter
- Silicón frio
- Silicón Caliente
English
This job is called “last minute request”, because I literally made it in about an hour. My friend Rossana's mother had a birthday and due to problems with the main cake she was forced to buy some cupcakes and celebrate life. But she didn't want them to be boring so she asked me to make the name and that's what I did, the name IRAMA.
Made in colored cardboard with lots of love.
Without further ado, and hoping you enjoy the work done I leave you the materials used, the process and the final photos of the work done.
- Lettering template
- Gold mirror cardboard
- Red cardboard
- Red Foami
Silver-plated appliqués (in this case, costume jewelry plastics) * Wooden sticks - Wooden sticks
- Scissors
- Cutter
- Cold Silicone
- Hot Silicone
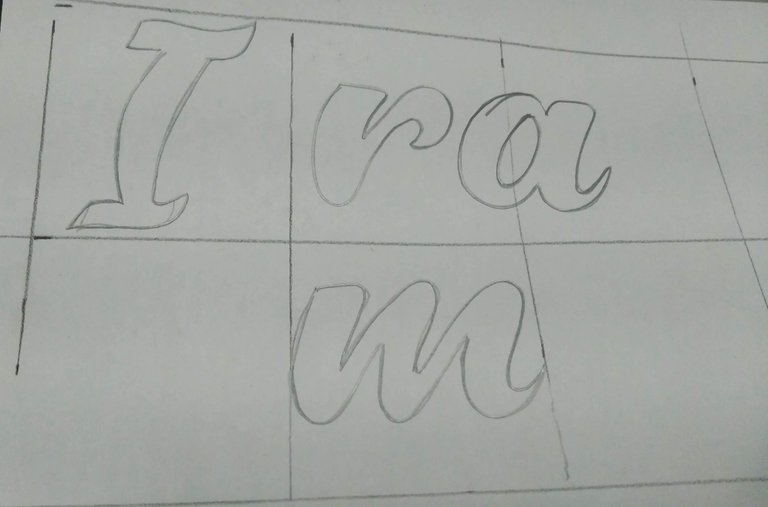
1.- Lo primero será diseñar o imprimir el nombre en una hoja, ya sea blanca o reciclada, de acuerdo al tamaño y tipo de fuente deseada. Para este caso utilicé un estilo tipo cursiva.
1.- The first thing to do is to design or print the name on a sheet of paper, either white or recycled, according to the size and type of font desired. In this case I used an italic style.
 |
|---|
2.- Teniendo el diseño de las letras a utilizar, colocar la hoja sobre la cartulina dorada y remarcar con un lápiz la silueta de las letras. Al ser delicada la cartulina tipo espejo la transferencia de la silueta es muy fácil. Pero hay que tener cuidado de no hacer mucha presión al lápiz porque sino se daña fácilmente.
2.- Once you have the design of the letters to be used, place the leaf on the gold cardboard and outline the silhouette of the letters with a pencil. As the mirror cardboard is delicate, the transfer of the silhouette is very easy. But be careful not to put too much pressure on the pencil or it will be easily damaged.
 |
|---|
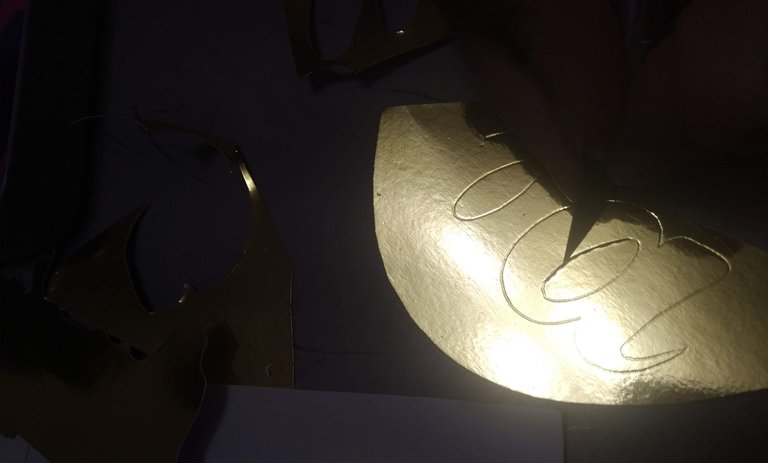
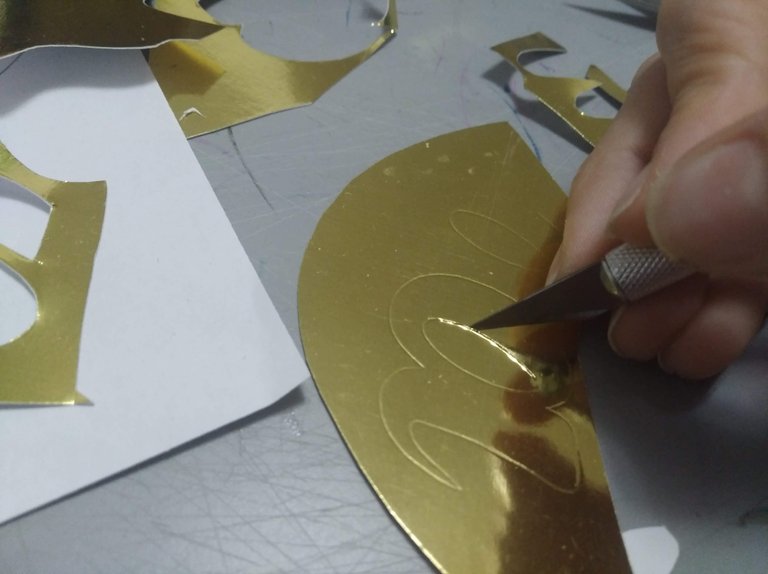
3.- Una vez lista las letras en la cartulina dorada, recortar primero la parte interna de las letras con el cutter afilado y luego el borde externo de las mismas. Esto permite trabajar mejor la cartulina y darle un mejor acabado. Es importante señalar que tanto la tijera como el cutter deben tener buen filo.
3.- Once the letters are ready on the gold cardboard, first cut out the inner part of the letters with the sharp cutter and then the outer edge of the letters. This allows you to work the cardboard better and give it a better finish. It is important to note that both the scissors and the cutter must be sharp.
 |  |
|---|
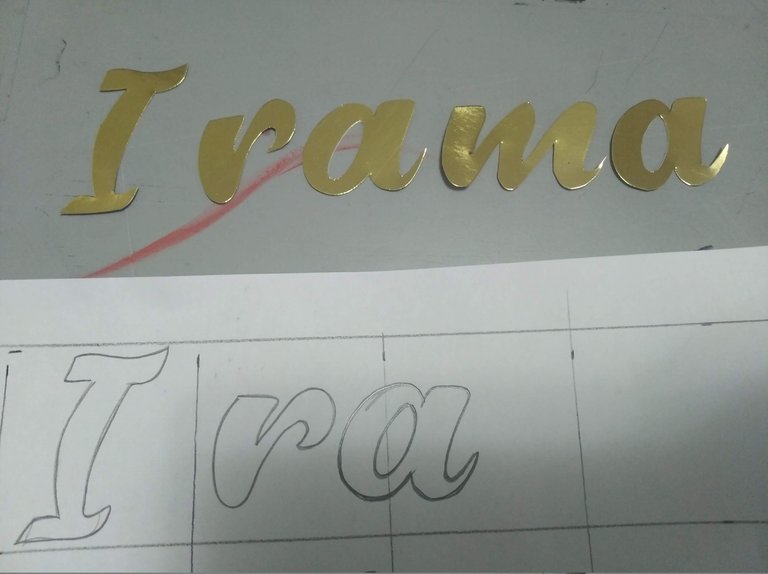
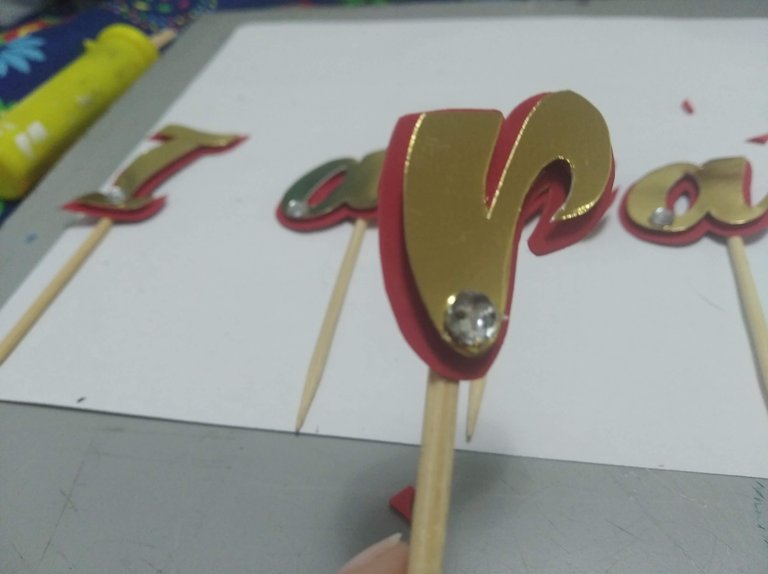
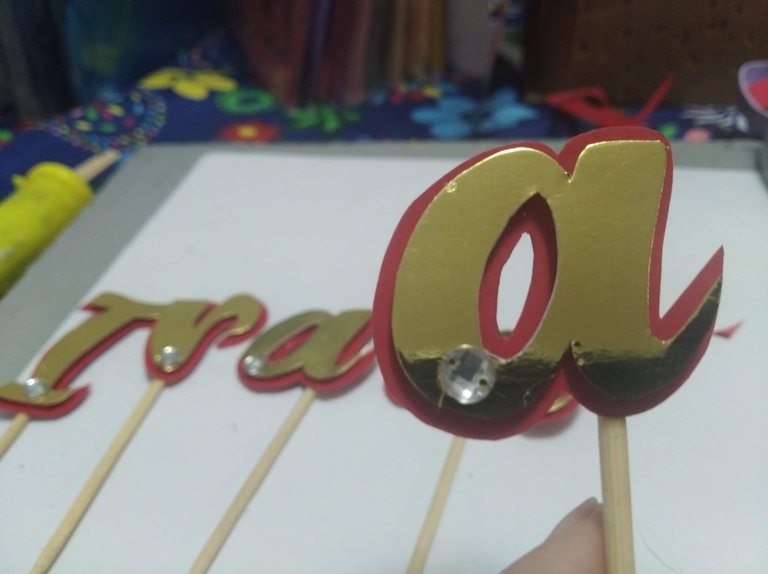
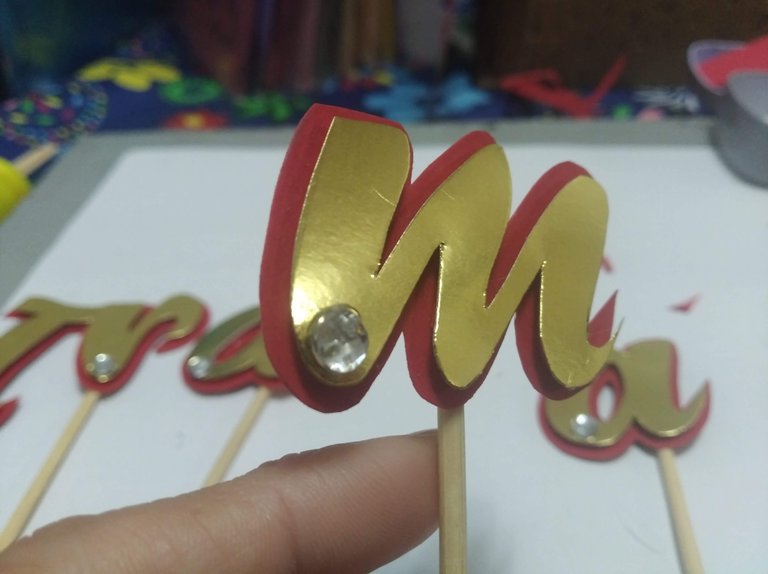
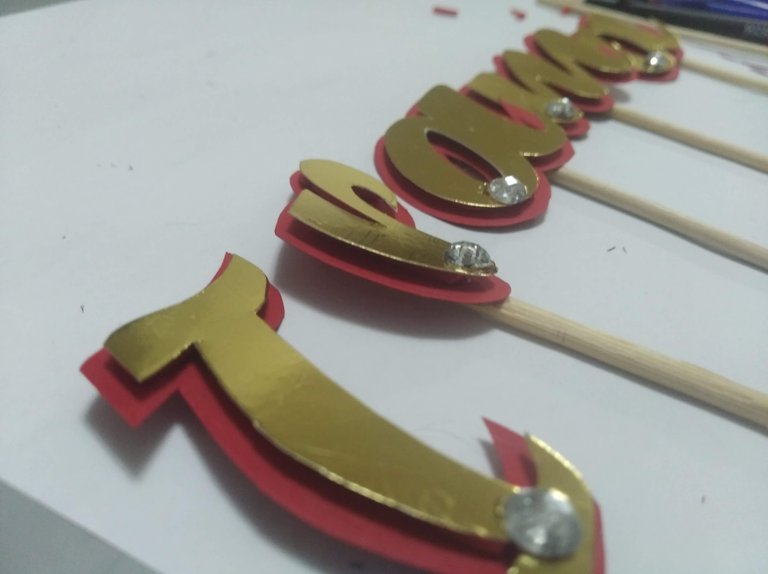
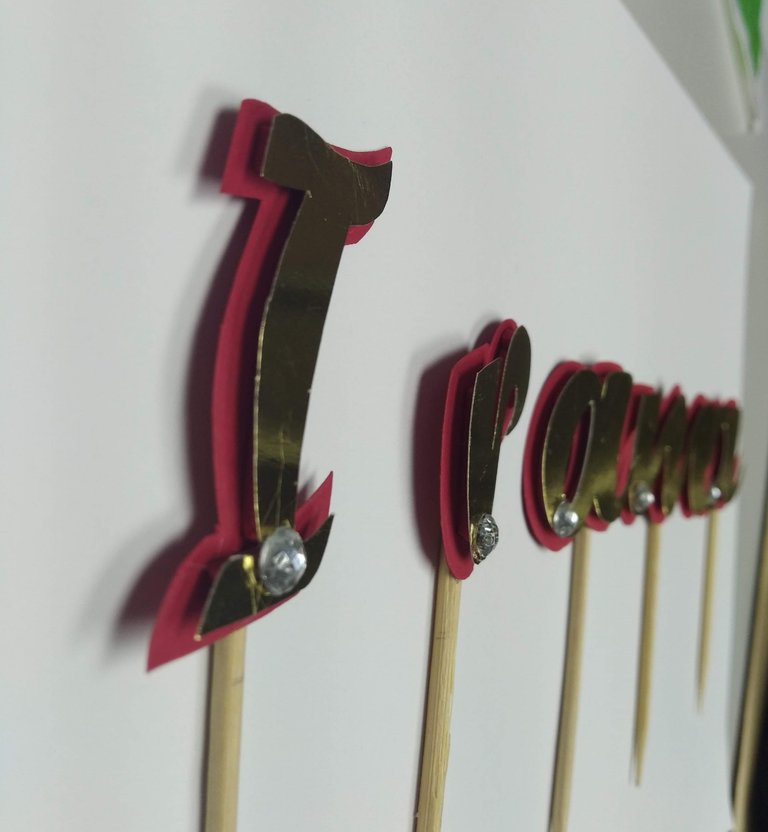
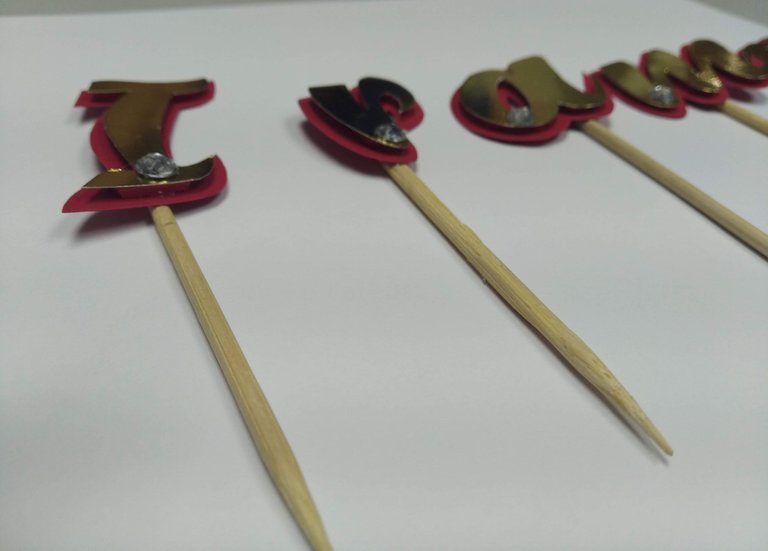
4.- Una vez recortadas todas las letras, marcar sobre la cartulina roja y recortar dejando un pequeño borde para que sobresalga del dorado. Al reverso de cada letra dorada, pegar trozos de foami para dar dimensión y pegar con silicón frio a la cartulina Roja. Pegar la piedra plástica a cada letra con silicón caliente y por ultimo pegar la palito de madera, el largo del palo dependerá de la altura que del cupcake; para este caso se usó aproximadamente 10 cm de largo.
4.- Once all the letters have been cut out, mark on the red cardboard and cut out leaving a small border so that it will stand out from the gold. On the back of each golden letter, glue pieces of foami to give dimension and glue with cold silicone to the red cardboard. Glue the plastic stone to each letter with hot silicone and finally glue the wooden stick, the length of the stick will depend on the height of the cupcake; in this case we used approximately 10 cm long.
 |  |  |
|---|

Espero les haya gustado y sobre todo se entusiasmen a crear algo parecido para sorprender a familiares y amigos.
I hope you liked it and, above all, I hope you get excited to create something similar to surprise your family and friends.
SALUDOS / REGARDS

Todas las Fotos fueron tomadas con mi teléfono
Contenido original de @keco (fotos y texto) - Todos los derechos reservados para ser Publicado en HIVE así como en mis distintas redes: Instagram y X
All photos were taken with my phone
Original content by @keco (photos and text) - All rights reserved to be posted on HIVE as well as on my various networks: Instagram and X
Really impressive
Tienes un muy buen pulso para cortar con el bisturí. A mi se me hace complicado. Tu trabajo final quedó super lindo y original, bien hecho! 🧡