Español
¿Alguna vez han sentido que los bebés parecen dibujos animados de lo hermosos que son?
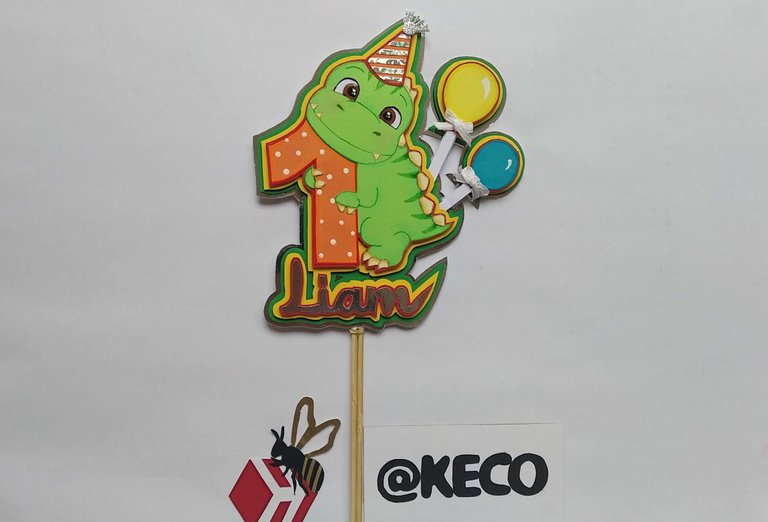
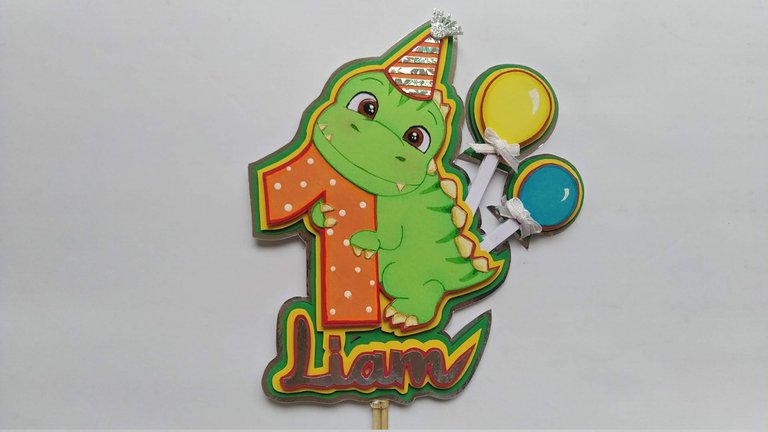
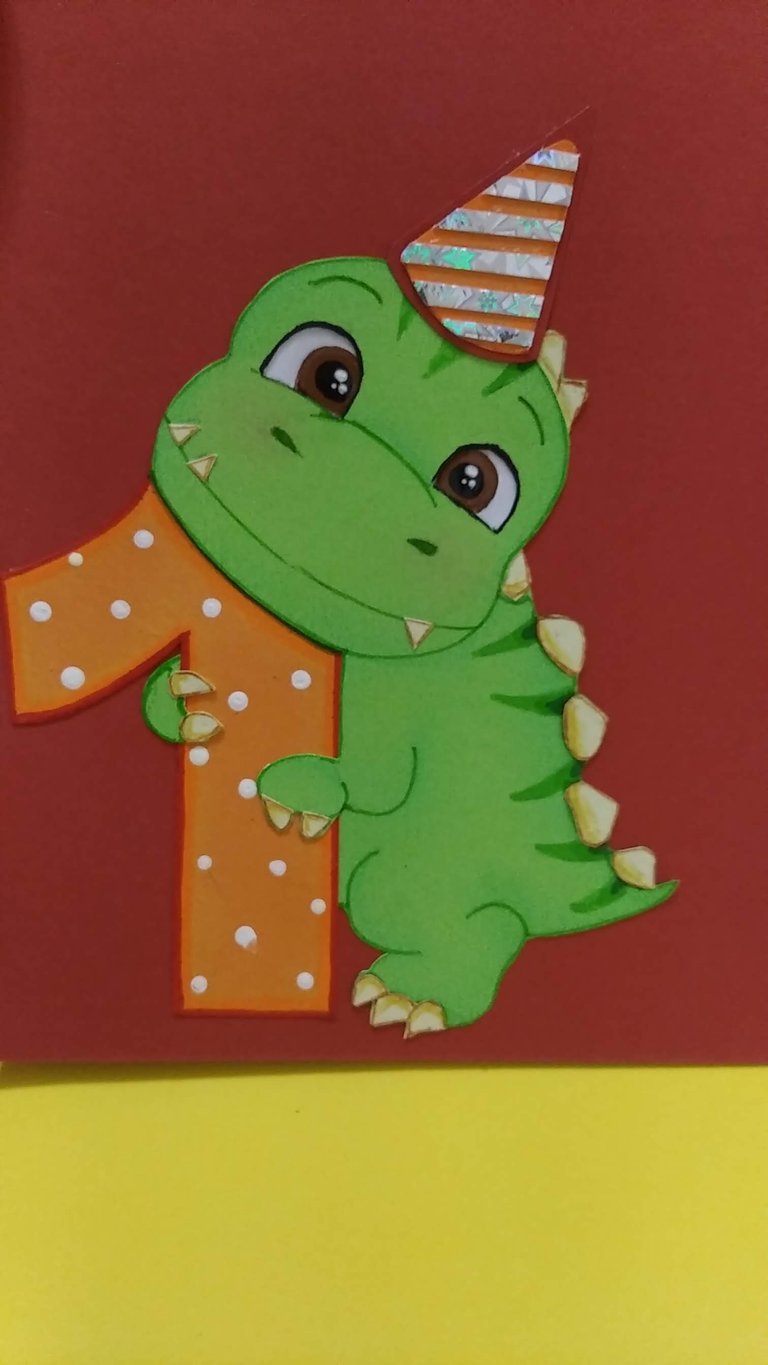
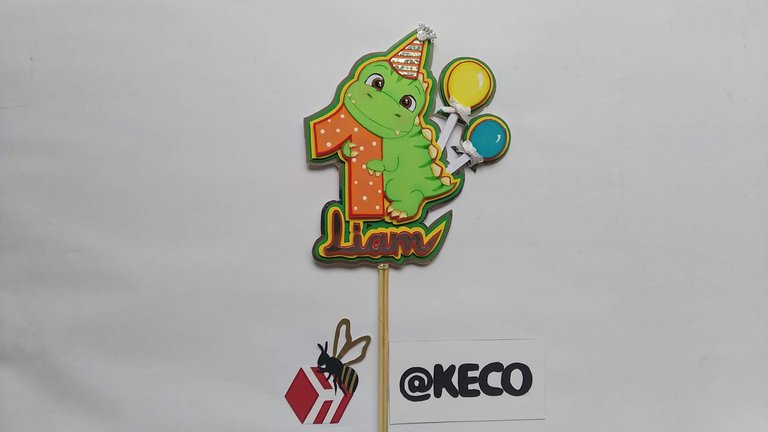
A mi me pasó con mi hijo cuando era bebé y creo lo mismo pasa con Evis, tía de Liam, ella lo define como un gordo hermoso y picarón y lo asemeja a un dinosaurio bebé porque trasmite mucha ternura y para celebrar su primer año de vida, decidió regalarle un topper de Dinosaurio bebé y así representarlo de alguna manera en algo lindo y divertido.
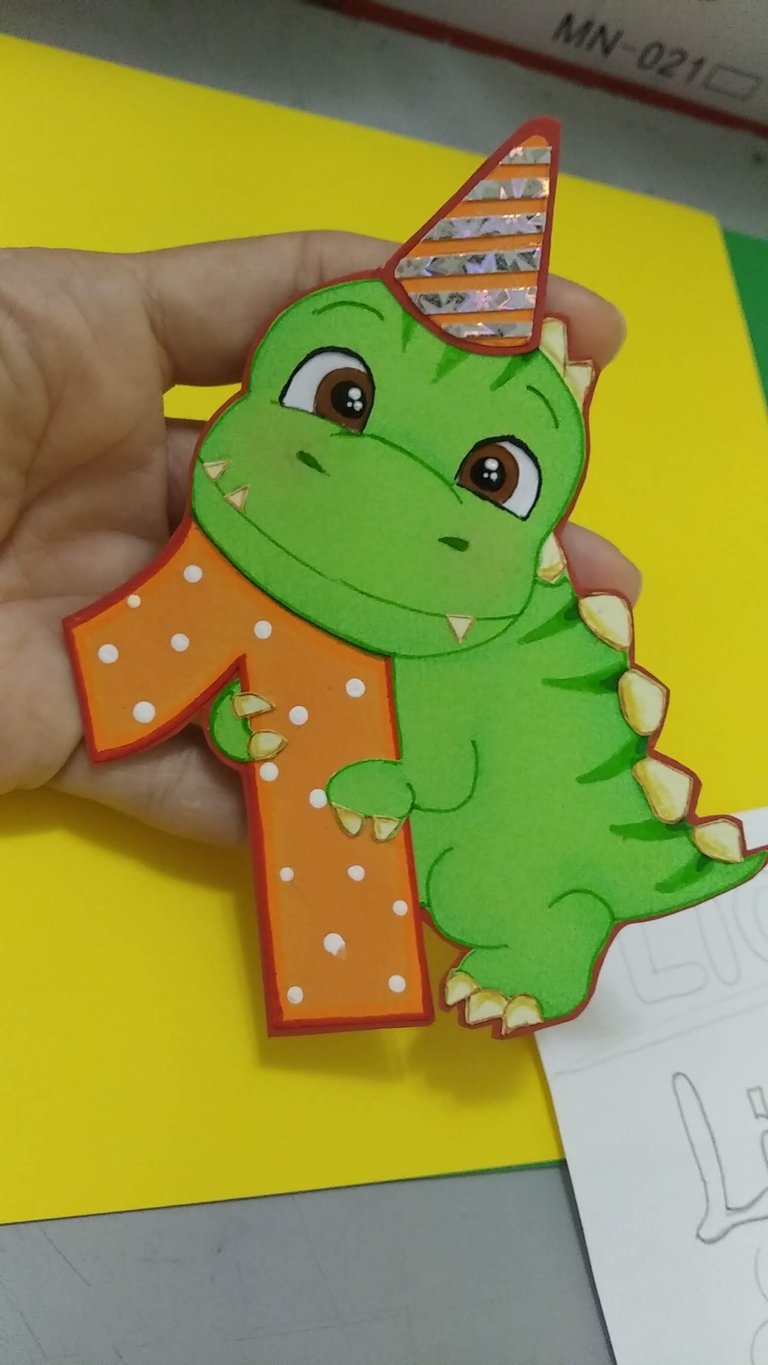
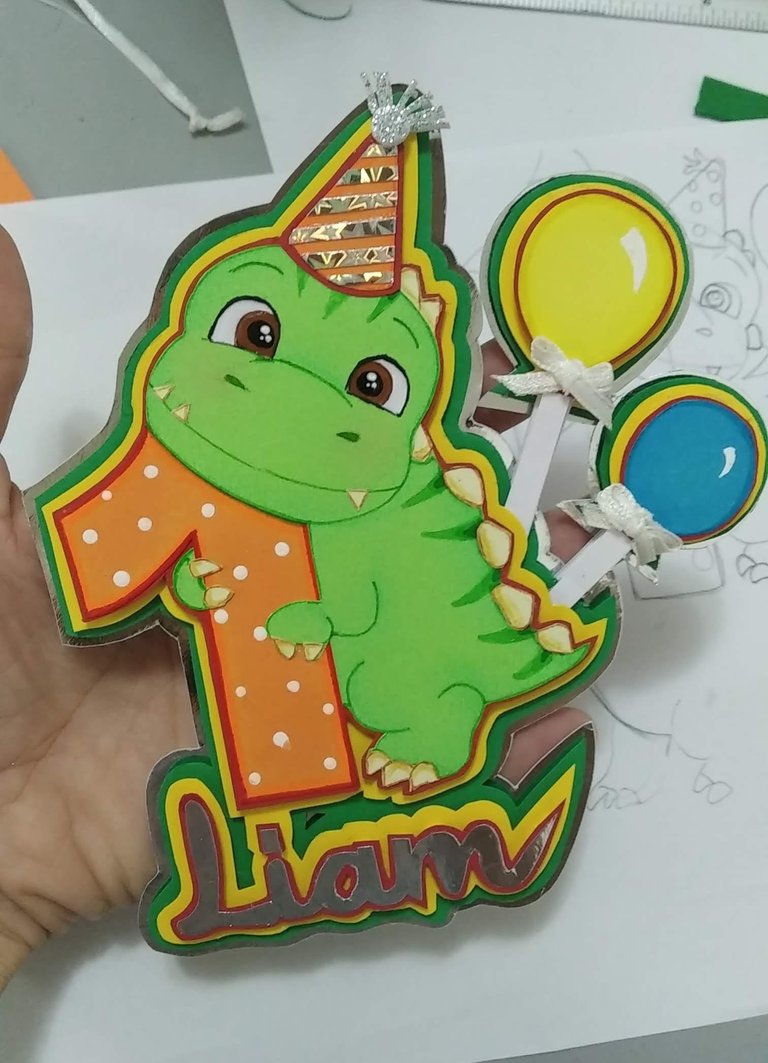
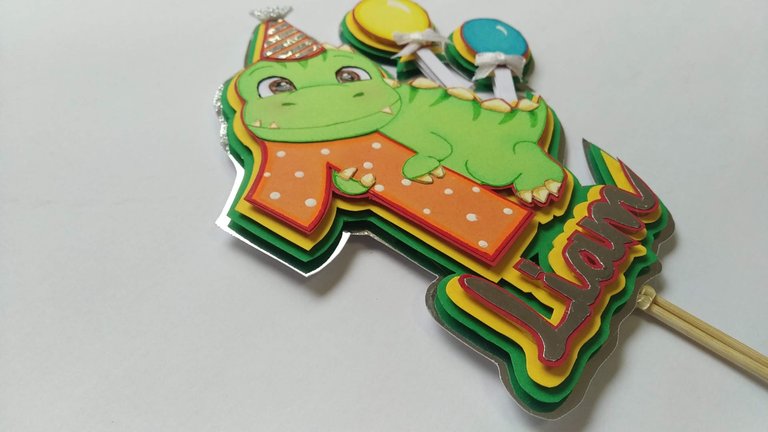
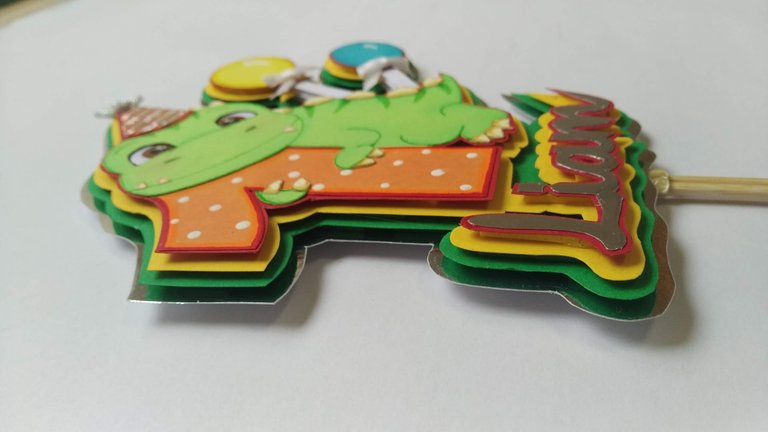
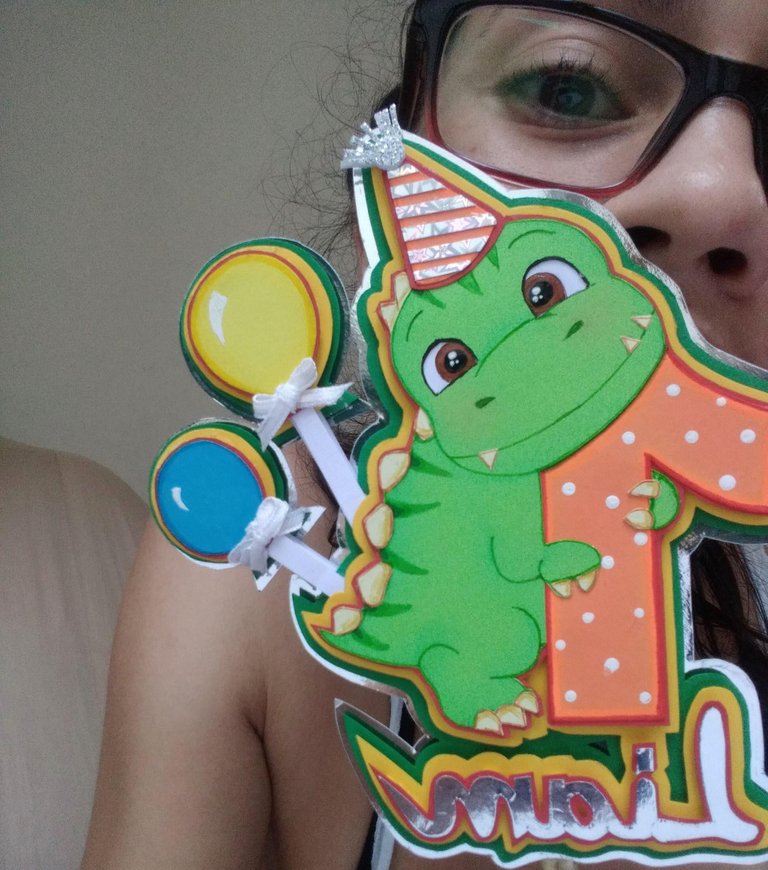
Como saben, me cuesta negarme a realizar pedidos cargado de tanto amor, por eso, puse manos a la obra y realice este pequeño dinosaurio abrazando al número 1. Fue realizado en capas con muchos colores y sin duda les encantó a todos, espero a ustedes también les guste.
Sin más y esperando disfruten del trabajo realizado les dejo los materiales utilizados, el proceso y y sus imágenes.
- Cartulinas de colores (verde claro, verde oscuro, amarillo, anaranjado, rojo, azul y blanco).
- Cartulina Plateada tipo espejo (para el nombre y capa).
- Cartulina Plateada Holográfica (para el gorrito).
- Foami escarchado plateado (para el gorrito).
- Foami plano de colores de acuerdo al color de las capas.
- Cinta blanca (para lazos).
- Marcadores de Colores.
- Tiza de color azul pastel.
- Color marrón.
- Pintura al frío de colores: blanca, marrón, negra.
- Palitos de madera.
- Silicón frío.
- Silicón caliente.
- Tijera
- Cutter
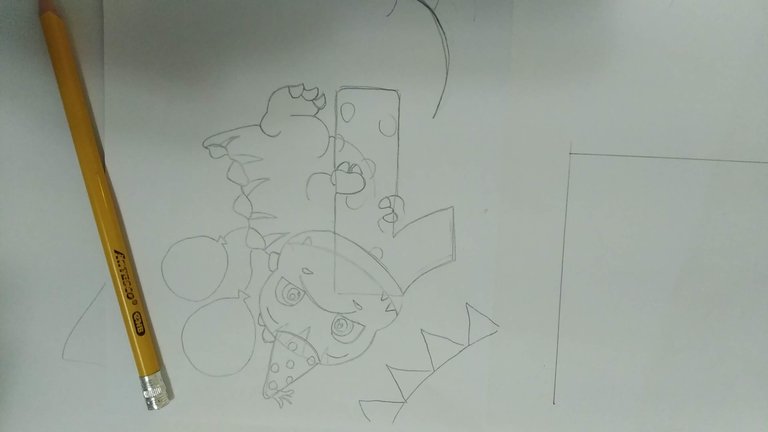
- Diseñar el dinosaurio a crear o en sus efectos imprimir alguno que sea de su gusto.
- Marcar y recortar en las cartulinas de colores que correspondan las piezas del diseño.
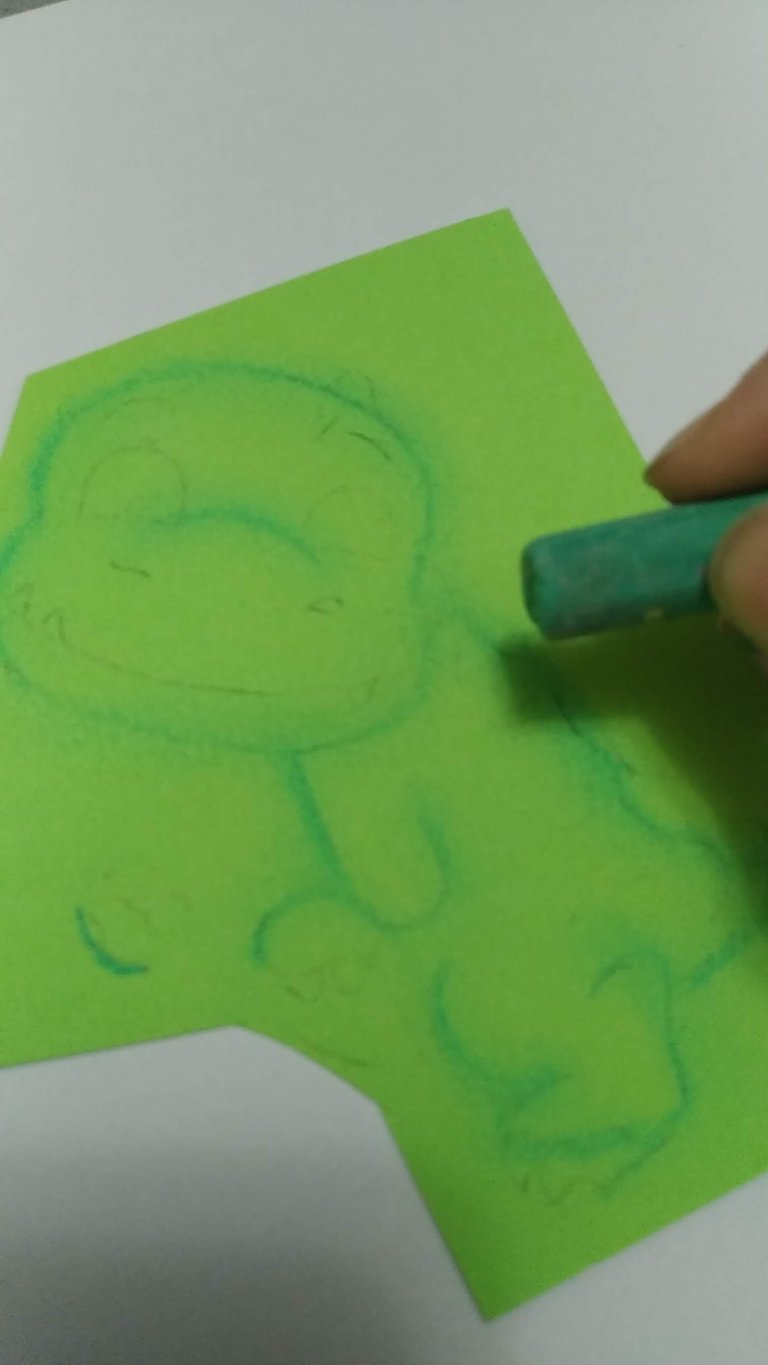
- Al cuerpo del dinosaurio darle sombra por toda su extensión con tiza de color azul para un mejor efecto.
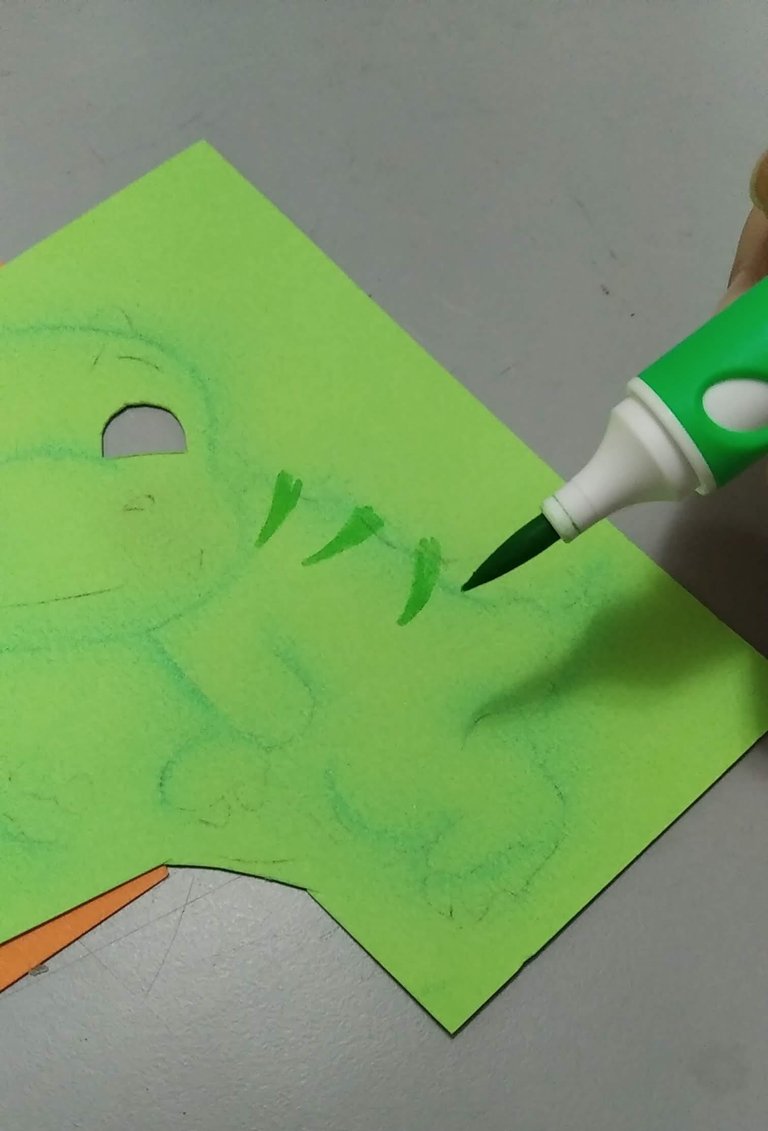
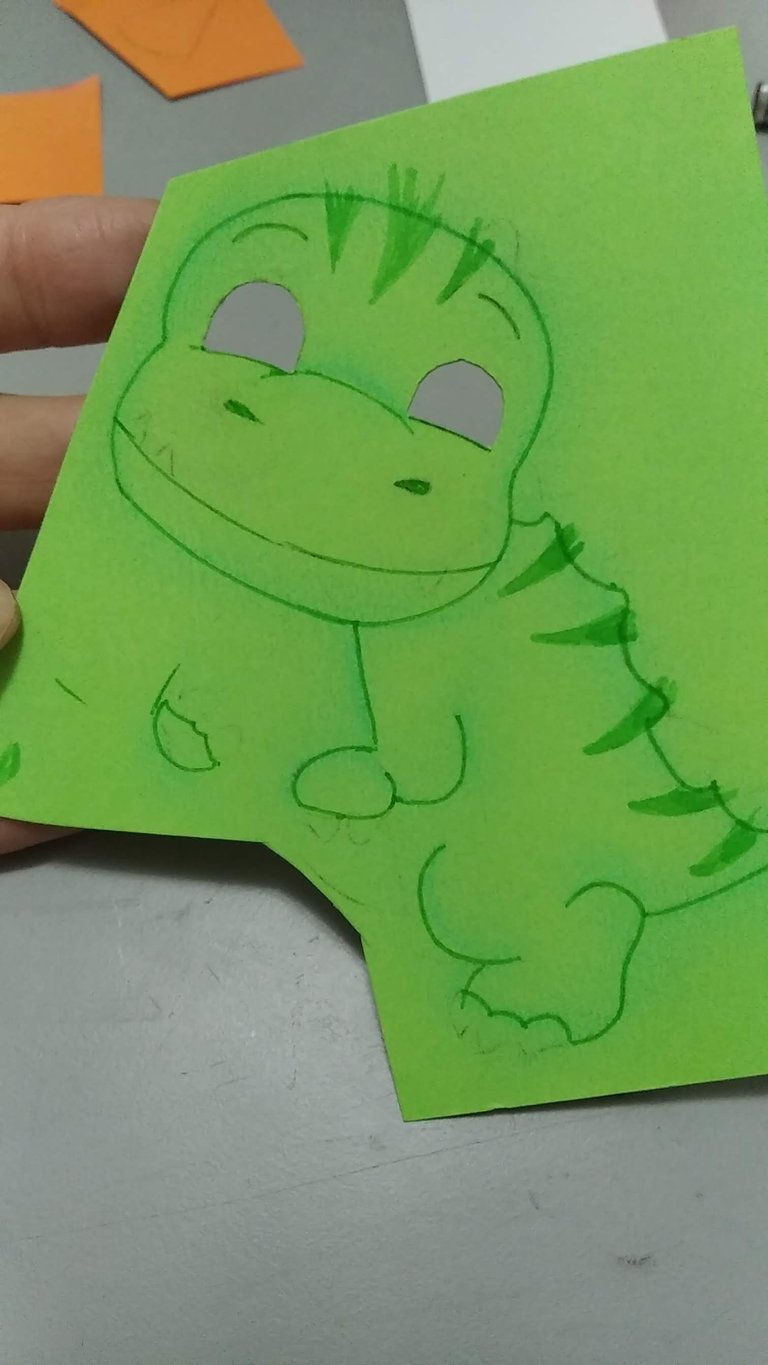
- Cortar con el cutter el área de los ojos (ya que se realizaran aparte) y terminar el diseño del cuerpo utilizando marcador de color verde.
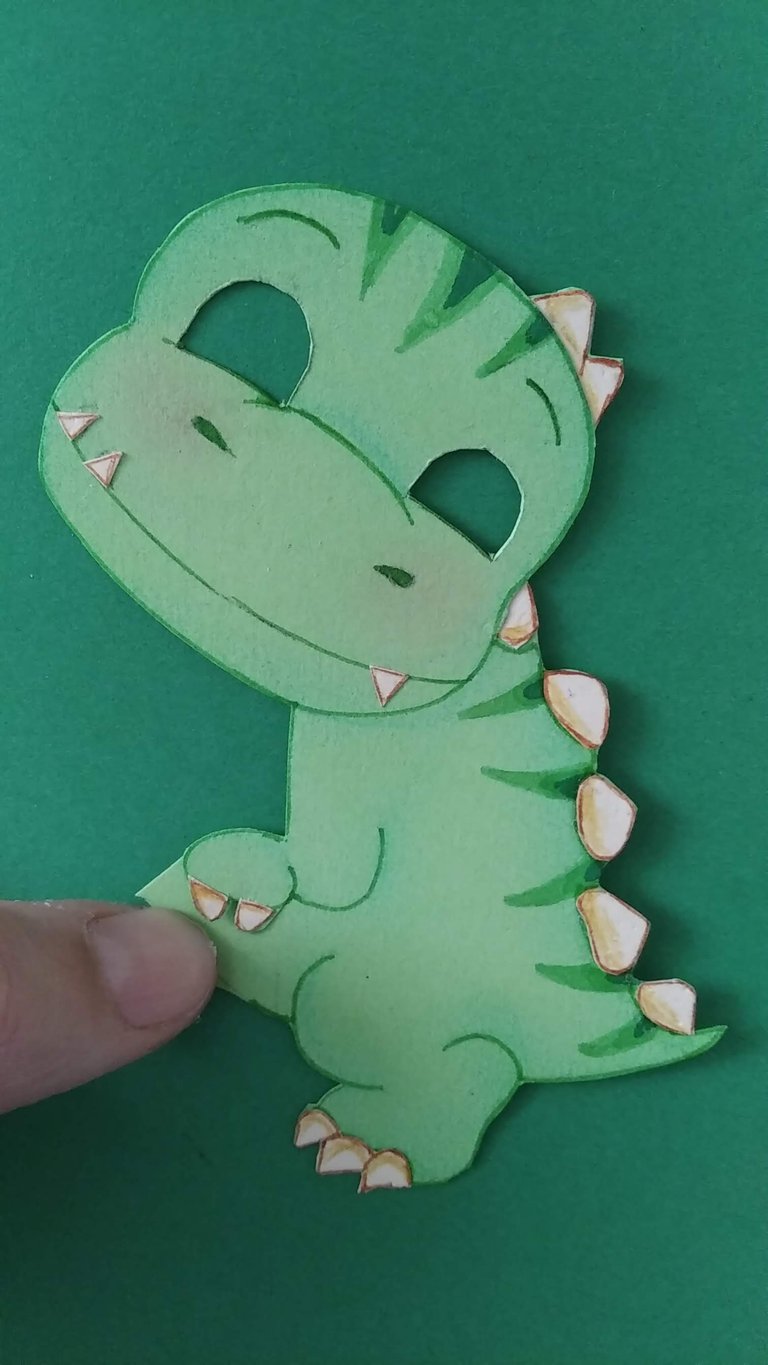
- Terminar los detalles como pezuñas, columna y dientes con pequeños trozos de cartulina blanca, sombreada con color marrón claro.
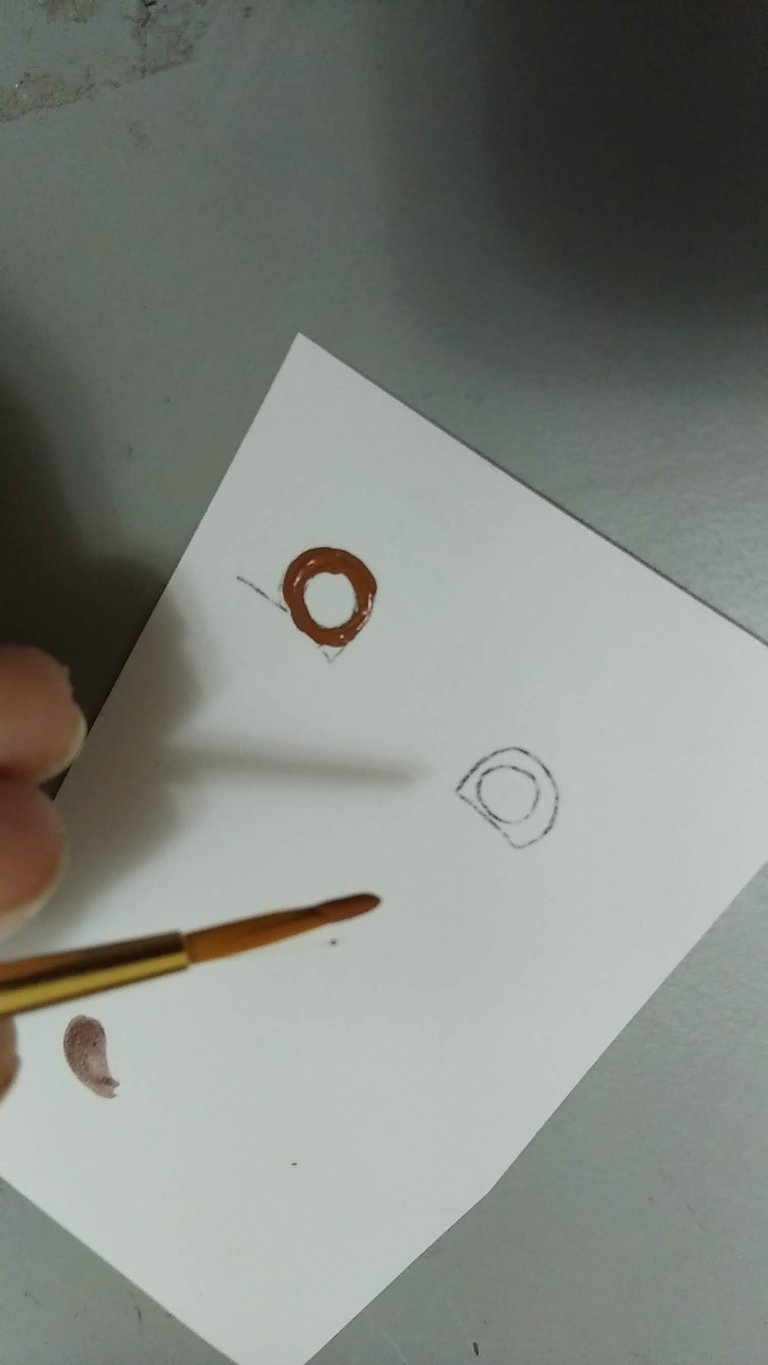
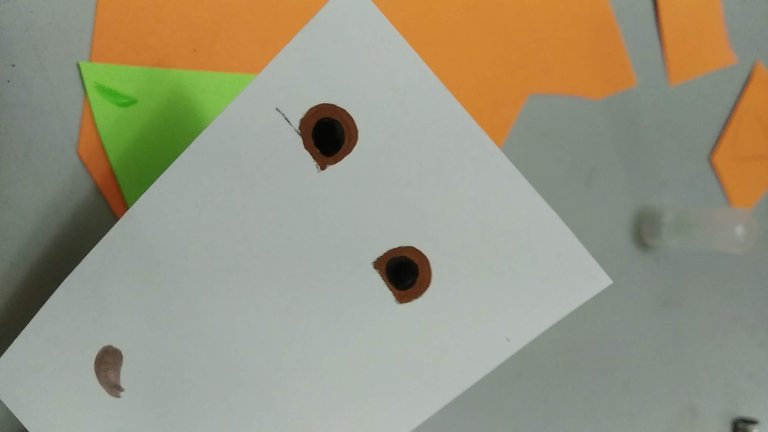
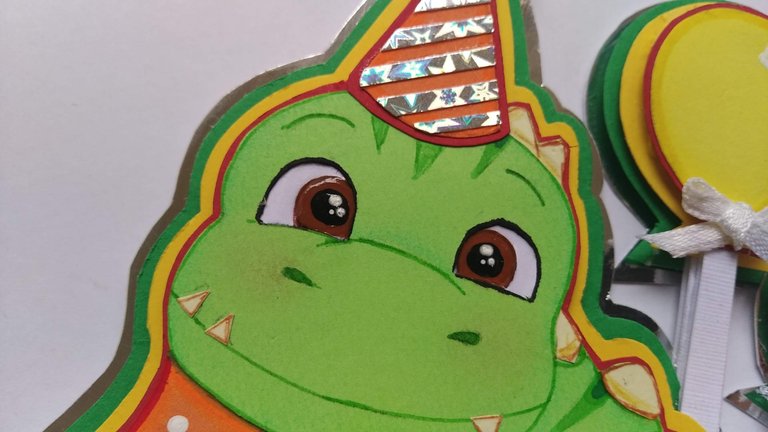
- Sobre cartulina blanca diseñar el ojo, cubriendo con pintura al frio de color marrón el iris y con pintura negra la pupila. Dejar secar muy bien.
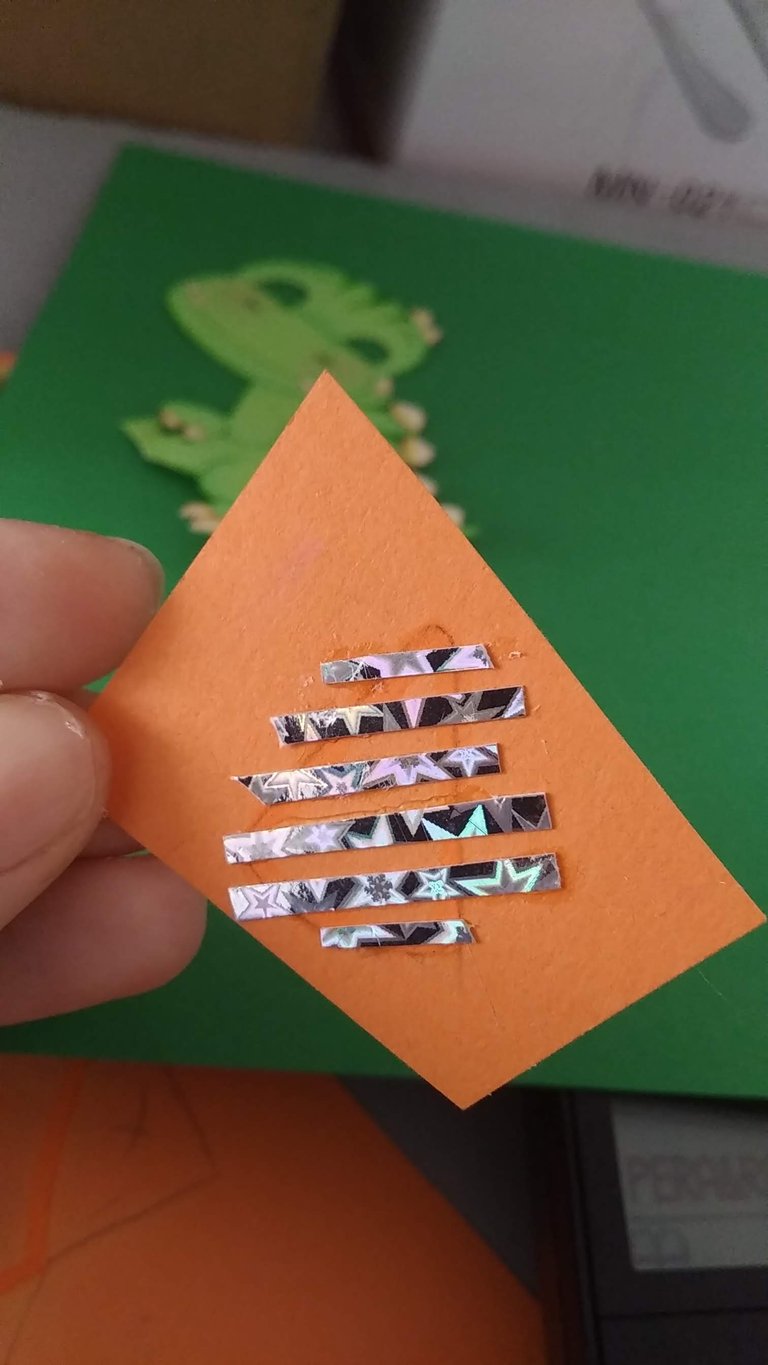
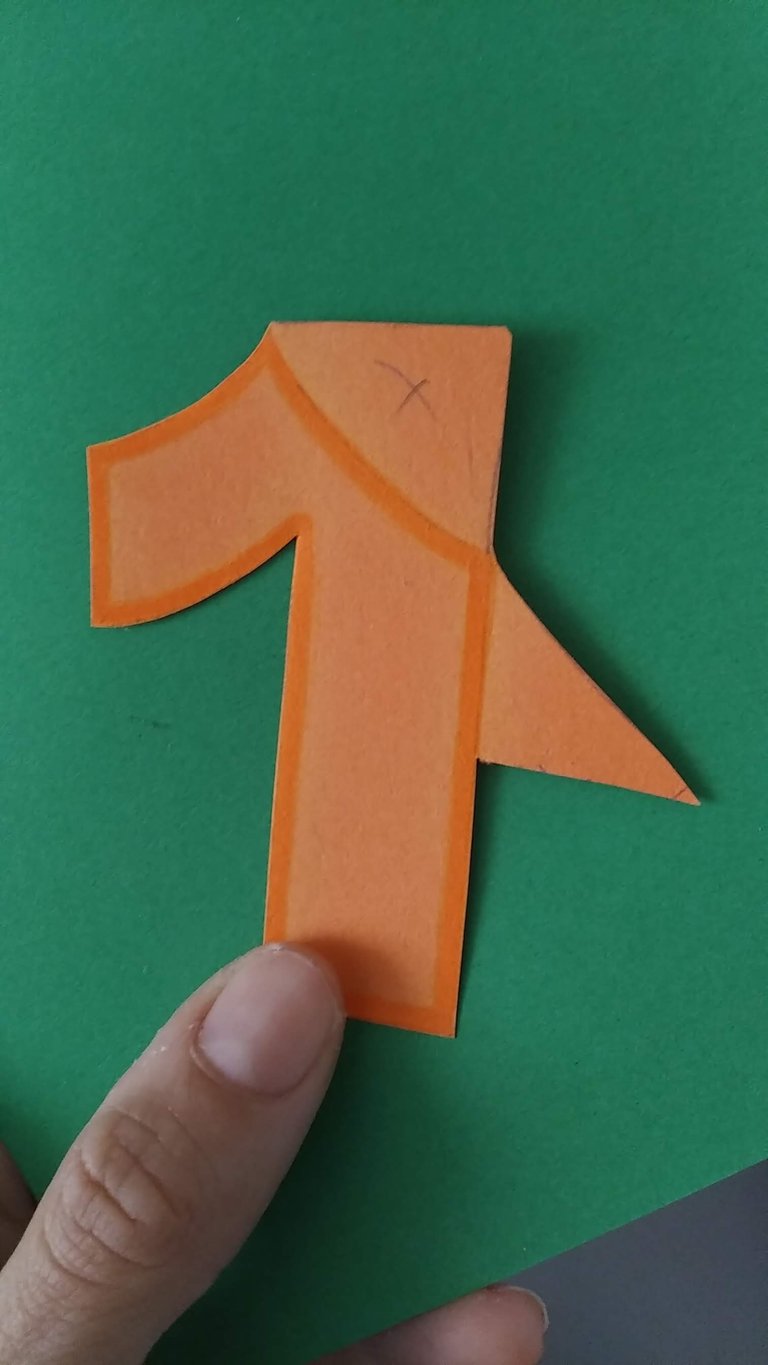
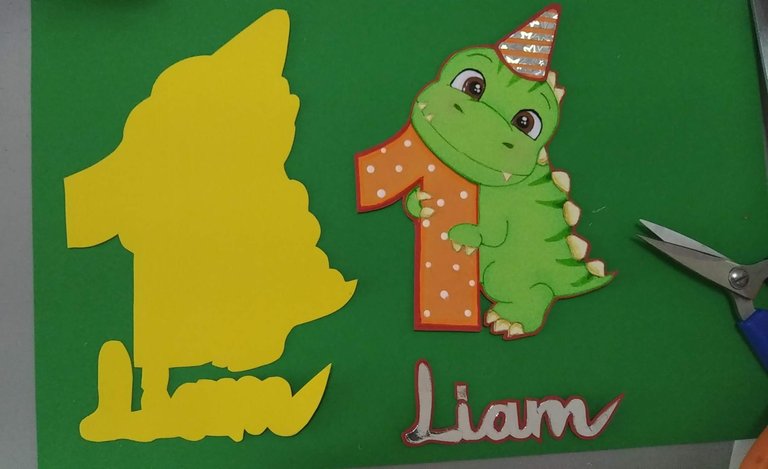
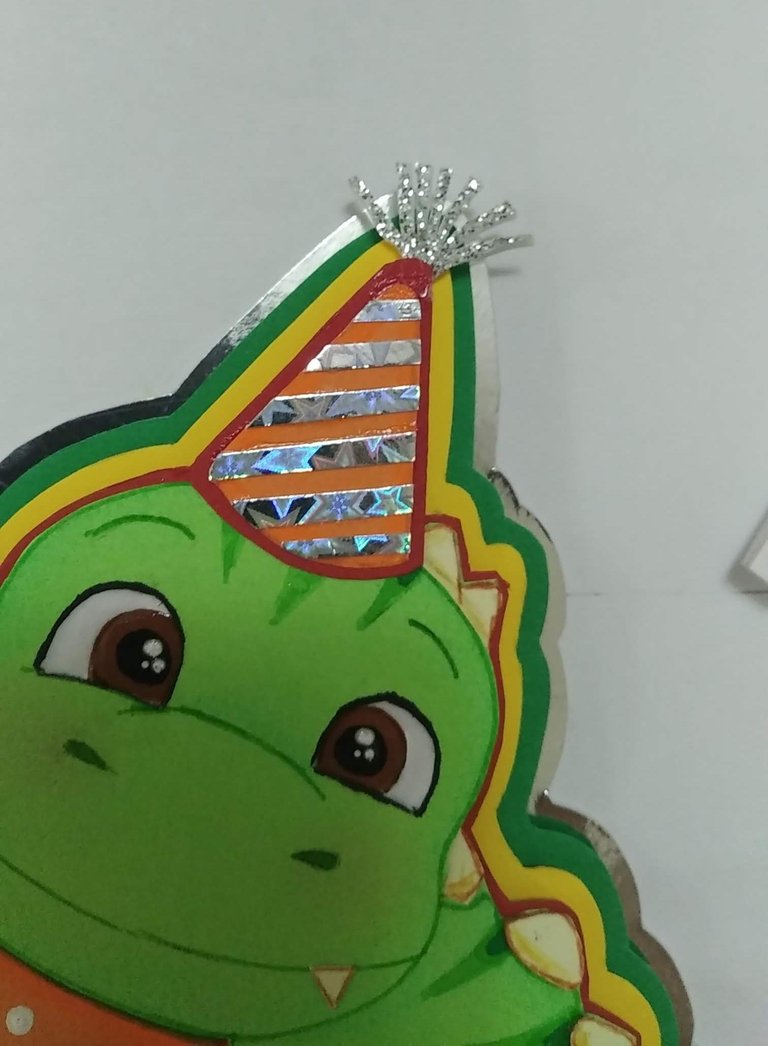
- Marcar y recortar las piezas correspondiente al número y al gorro y decorar según sea su gusto, en este caso, el número le diseñé puntos blancos y el gorrito le coloqué cartulina holográfica plateada.
- Una vez lista las piezas, ensamblar con el número y luego pegar y recortar sobre la cartulina roja dejando un pequeño borde rojo que sobresalga.
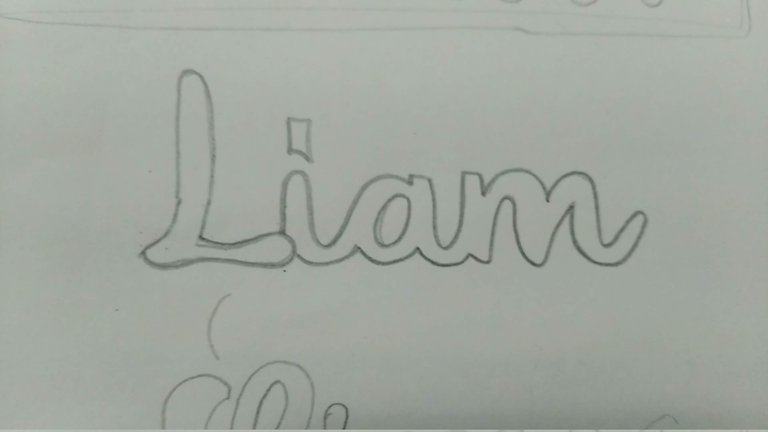
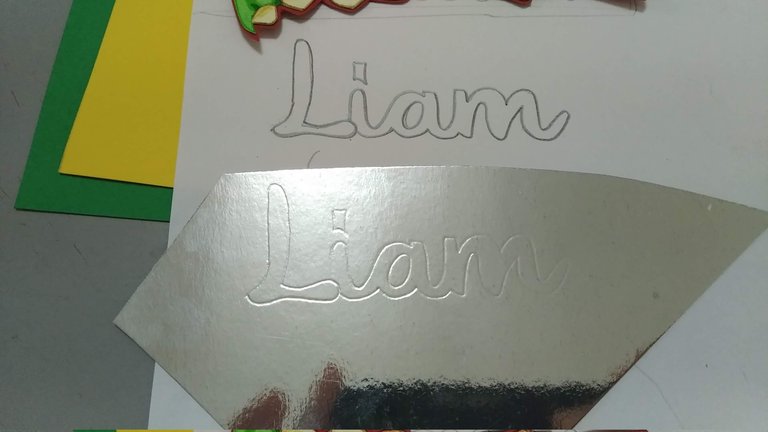
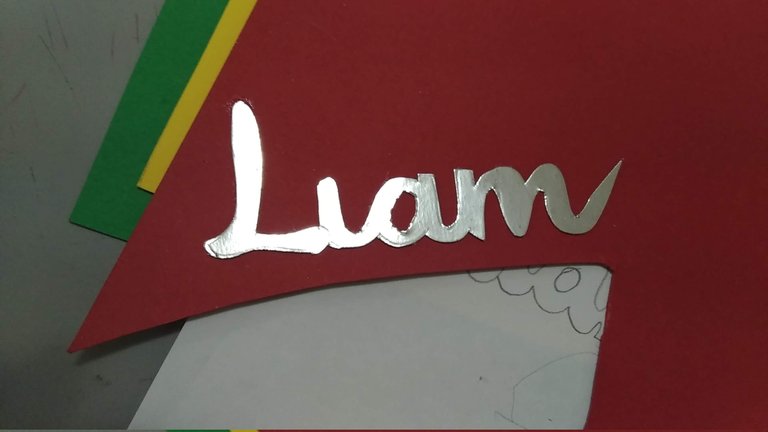
- Marcar sobre la cartulina plateada el nombre y recortar con cuidado evitando se doble.
- Pegar el nombre sobre cartulina roja dejando un pequeño borde rojo que sobresalga.
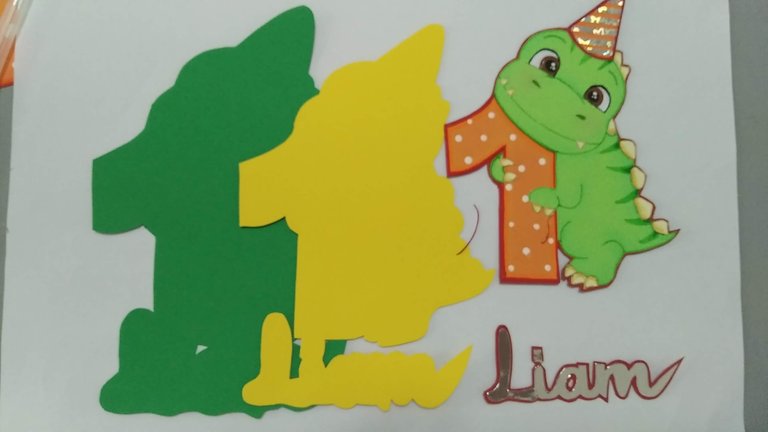
- Siguiendo el patrón con la cartulina roja pegada (dino, numero y nombre) , marcar sobre la cartulina amarilla y recortar dejando un pequeño borde amarillo que sobresalga, ambas piezas deben quedar en una sola pieza de cartulina.
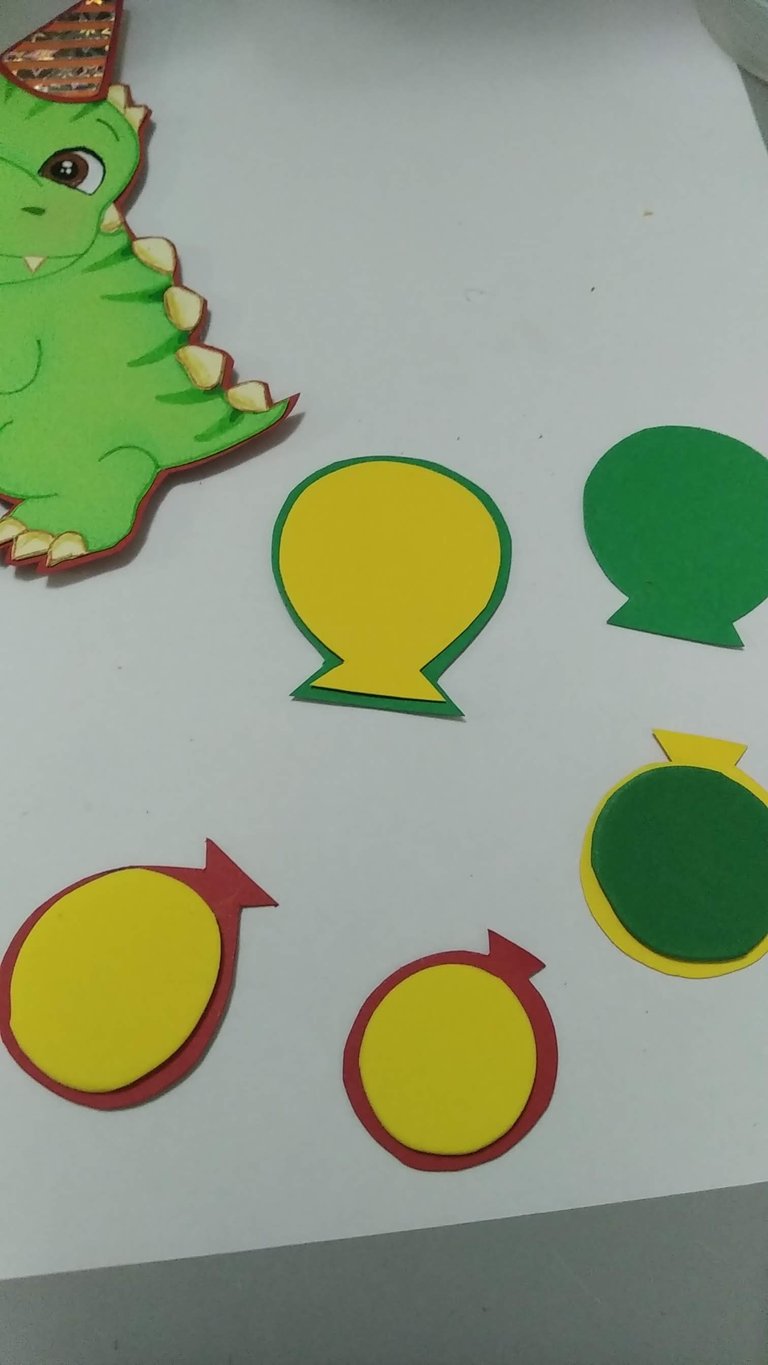
- Siguiendo el patrón de la cartulina amarilla, marcar y recortar la silueta en la cartulina verde, dejando un pequeño borde que sobresalga.
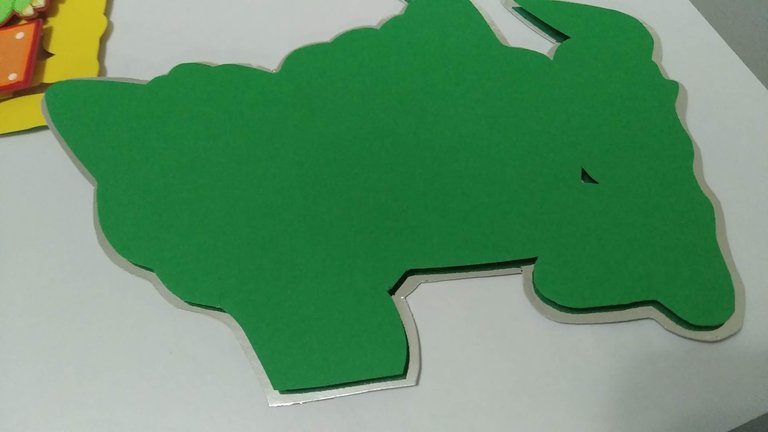
- Siguiendo el patrón de la cartulina verde, marcar y recortar la silueta en la cartulina Plateada, dejando un pequeño borde que sobresalga.
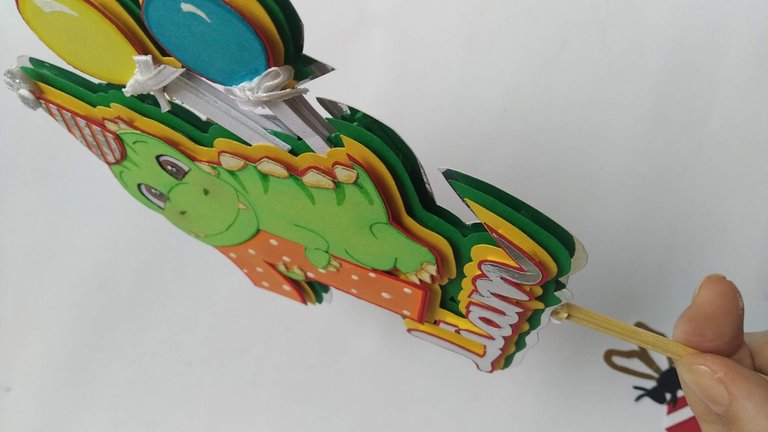
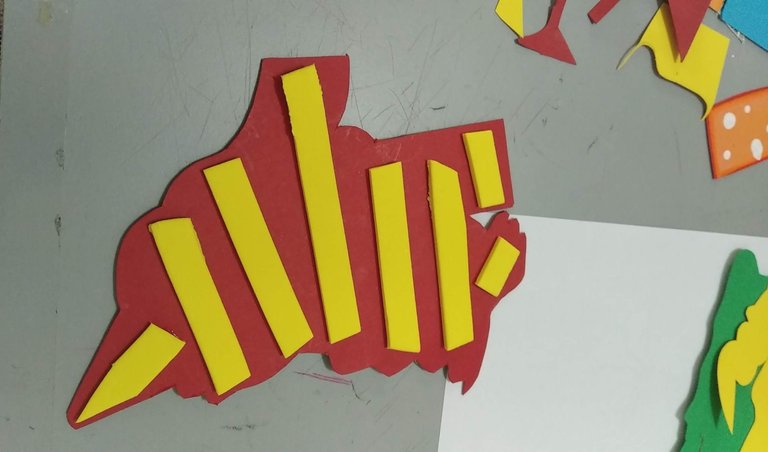
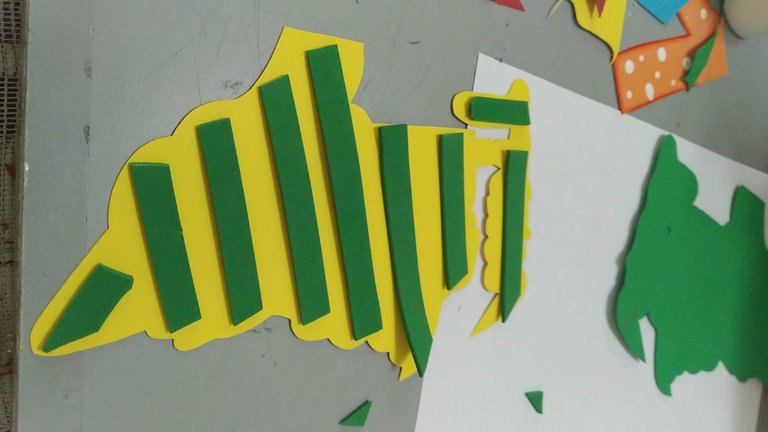
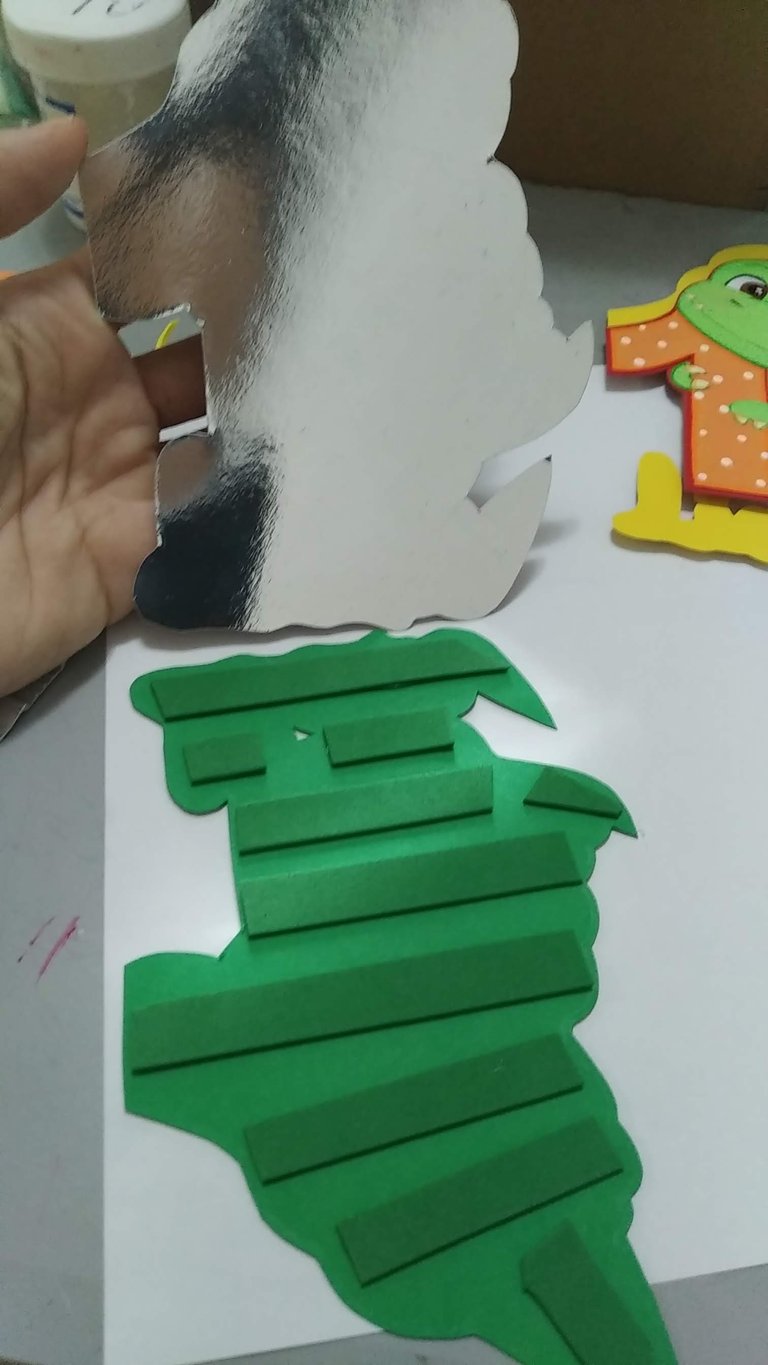
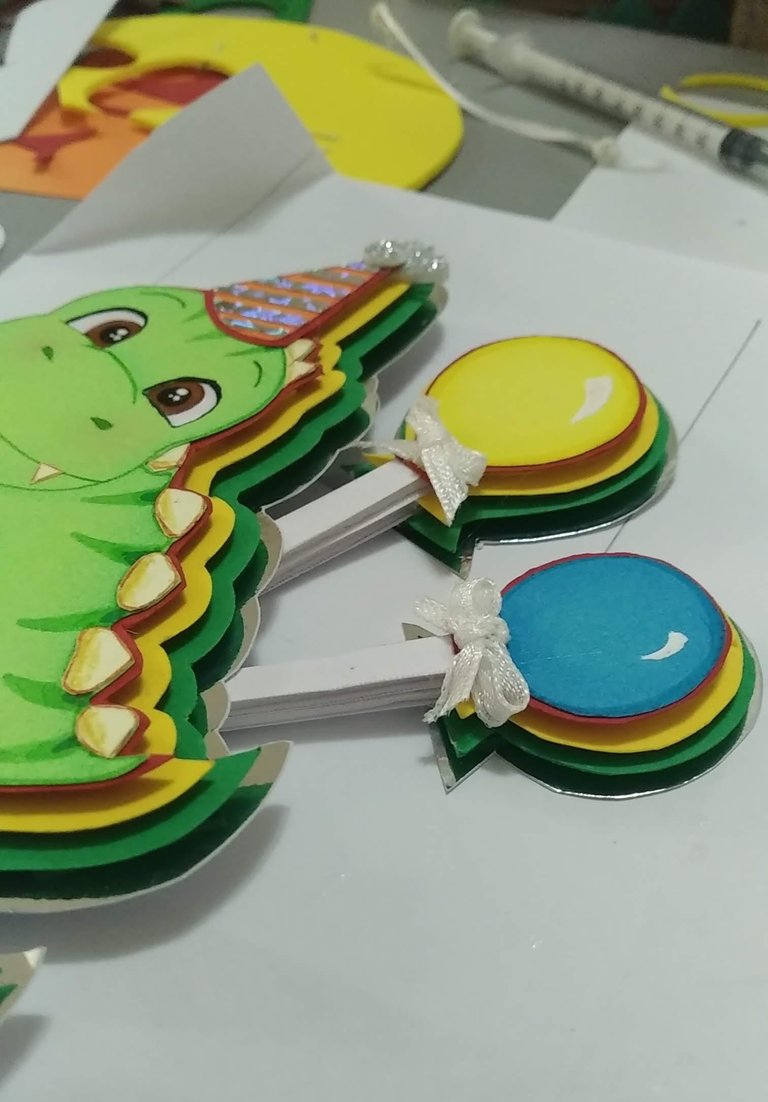
- A cada capa (roja, amarilla, verde) por la parte posterior pegarle tiras de foami plano para lograr en efecto en relieve y en capas.
- Pegar las capas con silicón frio.
- Para hacer los globos sería el mismo procedimiento, se le pega los lazos y luego se pegan al dinosaurio.
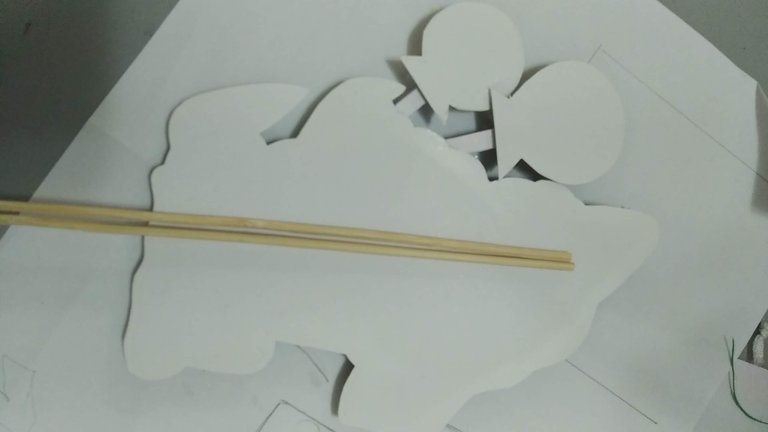
- Pegarle por la parte posterior con silicón caliente los palitos de madera, en este caso se utilizaron dos para darle mayor firmeza.
- ¡listo! a disfrutar de la magia de lo creado con amor…
English
Have you ever felt that babies look like cartoons because of how beautiful they are?
It happened to me with my son when he was a baby and I think the same thing happens with Evis, Liam's aunt, she defines him as a beautiful and naughty fat boy and she likens him to a baby dinosaur because he transmits a lot of tenderness and to celebrate his first year of life, she decided to give him a Baby Dinosaur topper and thus represent him somehow in something cute and fun.
As you know, it is hard for me to refuse to make orders loaded with so much love, so I put my hands to work and made this little dinosaur hugging number 1. It was made in layers with many colors and no doubt everyone loved it, I hope you like it too.
Without further ado and hoping you enjoy the work done I leave you the materials used, the process and and your images.
- Colored cardstock (light green, dark green, yellow, orange, red, blue and white).
- Silver Mirrored card stock (for the name and layer).
- Holographic silver cardboard (for the hat).
- Silver Frosted Foami (for the beanie).
- Flat colored Foami according to the color of the capes.
- White ribbon (for bows).
- Color markers.
- Pastel blue chalk.
- Brown color.
- Colored cold paint: white, brown, black.
- Wooden sticks.
- Cold silicone.
- Hot glue.
- Scissors
- Cutter
- Design the dinosaur to create or in your effects print one that is to your liking.
- Mark and cut out on the matching colored cardstock the pieces of the design.
- Shade the dinosaur's body with blue chalk for a better effect.
- Cut with the cutter the area of the eyes (since they will be made separately) and finish the design of the body using green marker.
- Finish the details such as hooves, spine and teeth with small pieces of white cardboard, shaded with light brown color.
- On white cardboard design the eye, covering with cold brown paint the iris and with black paint the pupil. Let dry very well.
- Mark and cut out the pieces corresponding to the number and the hat and decorate according to your taste, in this case, I designed white dots for the number and silver holographic cardboard for the hat.
- Once the pieces are ready, assemble with the number and then glue and cut out on the red cardboard leaving a small red border that sticks out.
- Mark the name on the silver cardboard and cut it out carefully to avoid folding.
- Glue the name on the red cardboard leaving a small red border that sticks out.
- Following the pattern with the red cardboard glued (dino, number and name), mark on the yellow cardboard and cut out leaving a small yellow border that protrudes, both pieces should be in one piece of cardboard.
- Following the pattern of the yellow cardboard, mark and cut out the silhouette on the green cardboard, leaving a small border that sticks out.
- Following the pattern on the green card stock, score and cut out the silhouette on the Silver card stock, leaving a small border sticking out.
- To each layer (red, yellow, green), glue strips of flat foami on the back to achieve the embossed and layered effect.
- Glue the layers with cold silicone.
- To make the balloons would be the same procedure, glue the ribbons and then glue them to the dinosaur.
- Glue the wooden sticks on the back with hot silicone, in this case two were used to give it more firmness.
- ready! enjoy the magic of what is created with love…
Translated with www.DeepL.com/Translator (free version)
IMÁGENES / IMAGES
SALUDOS / REGARDS
Todas las Fotos fueron tomadas con mi teléfono Redmi 7A.
Contenido original de @keco (fotos y texto) - Todos los derechos reservados Publicado en HIVE así como en mi instagram : http://instagram.com/carton_pintura_algo_mas
All Photos were taken with my Redmi 7A phone.
Original content from @keco (photos and text) - All rights reserved Posted on HIVE as well as on my instagram: http://instagram.com/carton_pintura_algo_mas
Muy muy hermoso te quedó, gracias por compartir 😁❤️
Gracias a ti por detenerte a ver, leer y comentar.
Saludos, bendiciones y éxitos.
Very cool dino 👍... And happy birthday to Liam 🎂
Gracias @heroldius , Liam es sin duda un dino-gordo lleno de amor y sonrisas...
Saludos, bendiciones y éxitos.
Thank you @heroldius , Liam is without a doubt a dino-fatty full of love and smiles....
Greetings, blessings and successes.
Hola querida, esta precioso, trata en lo posible de explicar el paso a paso debajo de cada fotografía, para que se vea mejor estructurado el post y no nos perdamos en las instrucciones. Si usaste fuentes para moldes o diseños recuerda ponerlos también.
Gracias @equipodelta, tendré en cuenta su comentario para mejorar la estructura de mi formato de publicación.
Saludos, bendiciones y éxitos.
excelente