ESPAÑOL
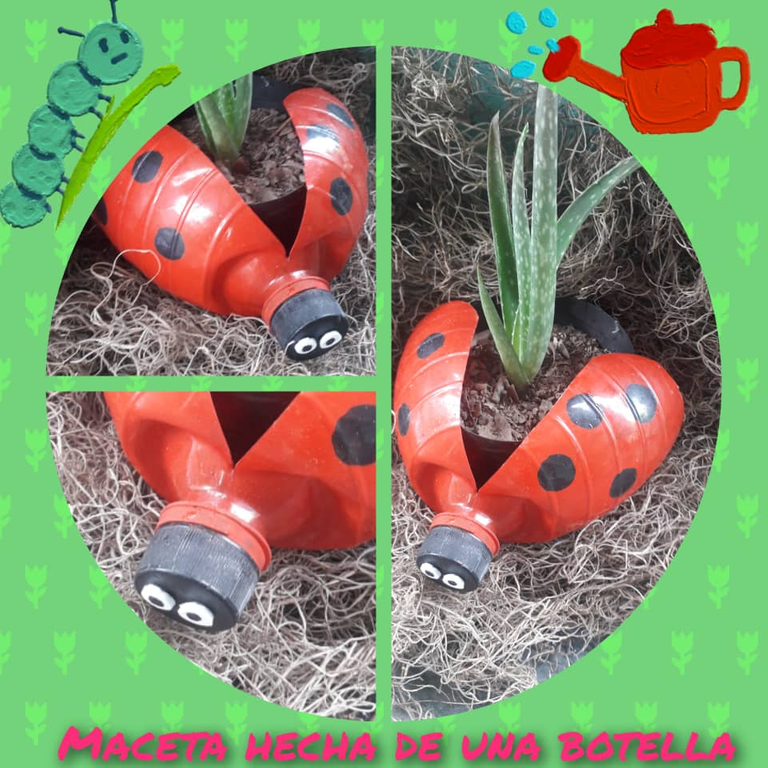
Hola mis amigos de esta grandiosa comunidad #hivediy hoy les traigo esta creación dirigida a esas personas que les gustan las plantas. Es una hermosa maceta elaborada con una botella plástica.
Esta maceta es muy fácil de elaborar y aparte de que reciclas es una muy buena Opción para tu jardín ya que lo embellece esta maceta es una hermosa mariquita de verdad que sus colores resaltan muy bien en tu jardín es una bella Opción para colocar tus plantas.
Pueden hacerlas para regalar a un familiar, amigos o para adornar tu oficina, y los interiores de tu hogar.
Bueno aquí les muestro los materiales a utilizar y el paso a paso para su elaboracion:
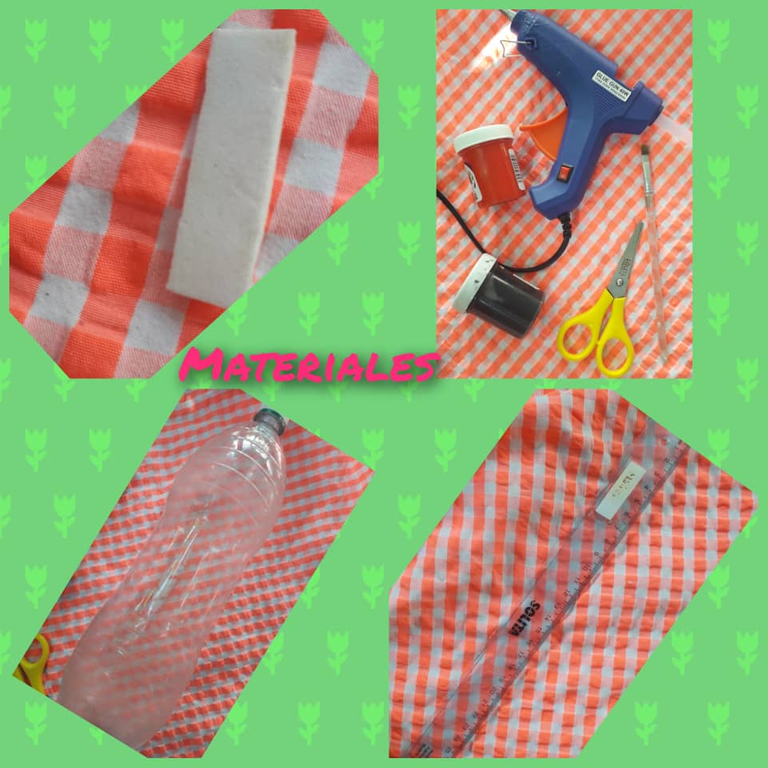
Materiales:
- 1 Botella platica de refresco de 2lt
- Tijera
- Regla
- Pintura al frio roja y negra
- Pistola de silicón
- Silicón
- Ojitos (yo los elabore con foami)
A continuación les muestro el paso a paso:
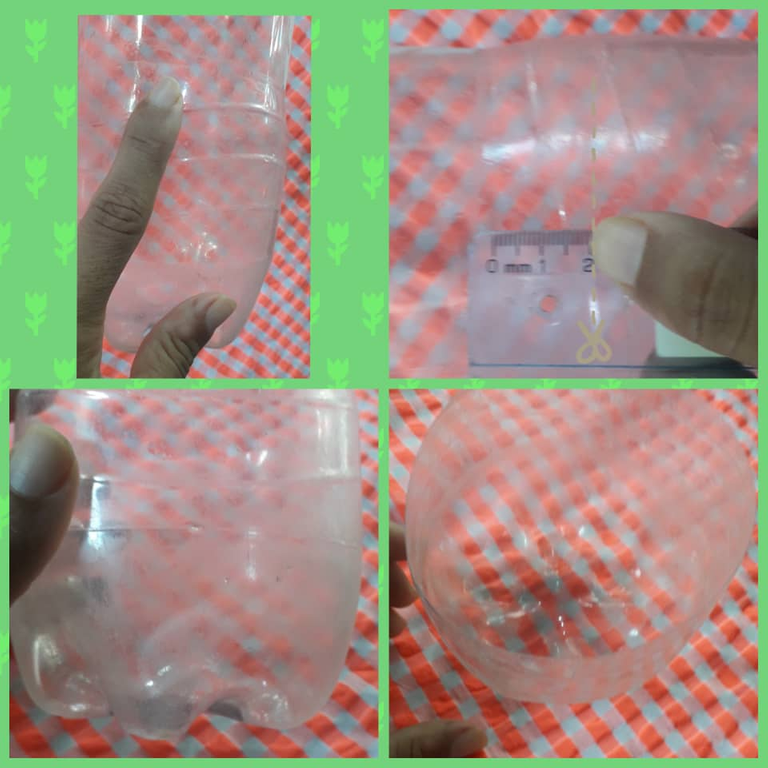
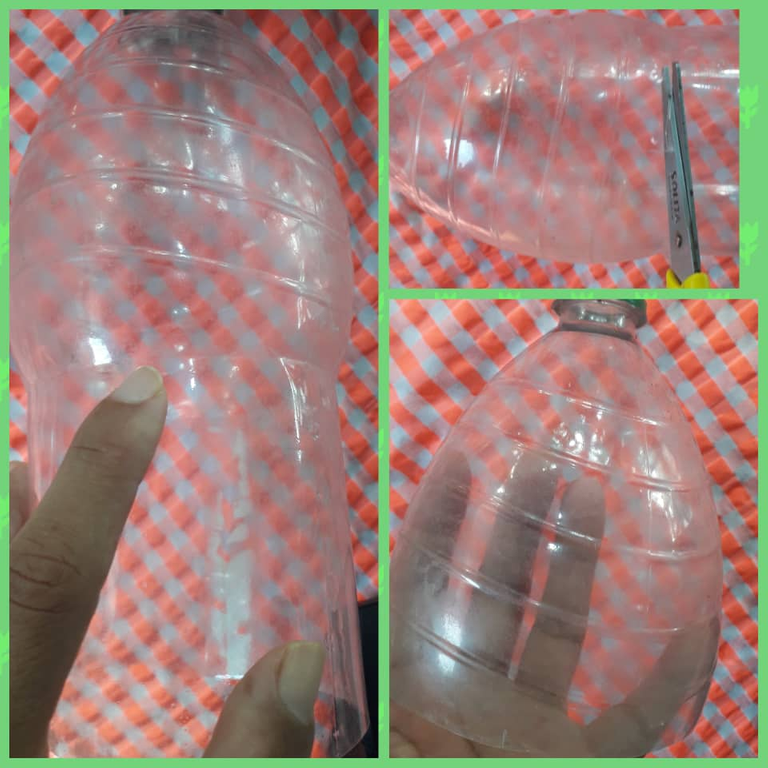
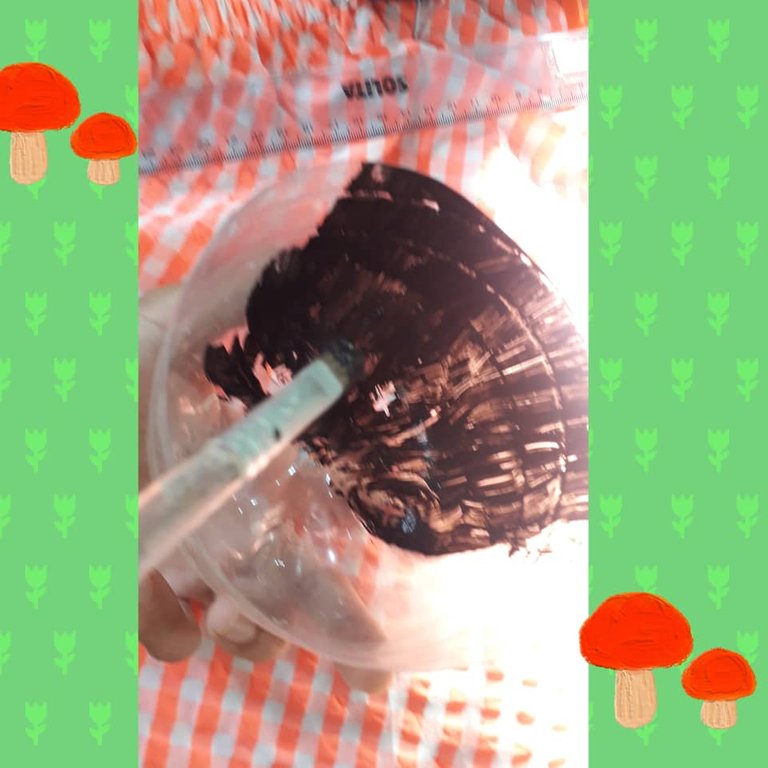
Paso 1:
Empezamos tomando la botella y en la parte inferior donde finaliza la etiqueta se observa una marca, por la cual medimos desde allí 2cm hacia abajo y cortamos quedando de esta forma.
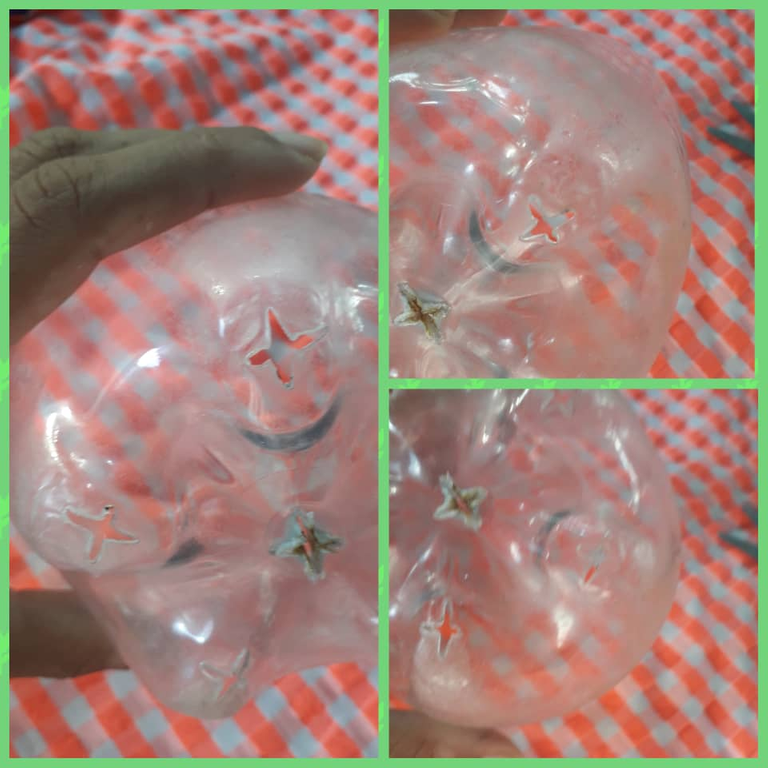
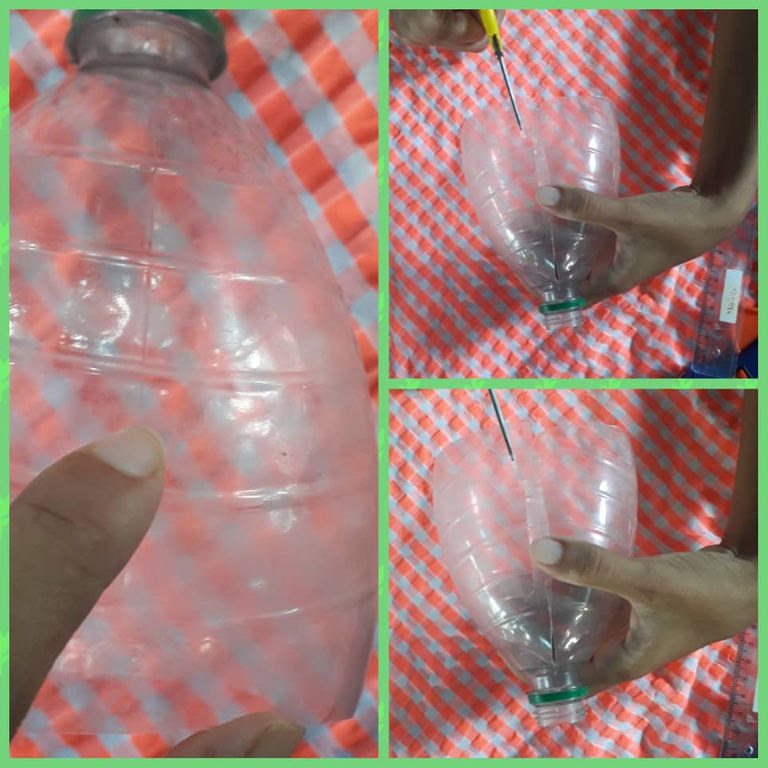
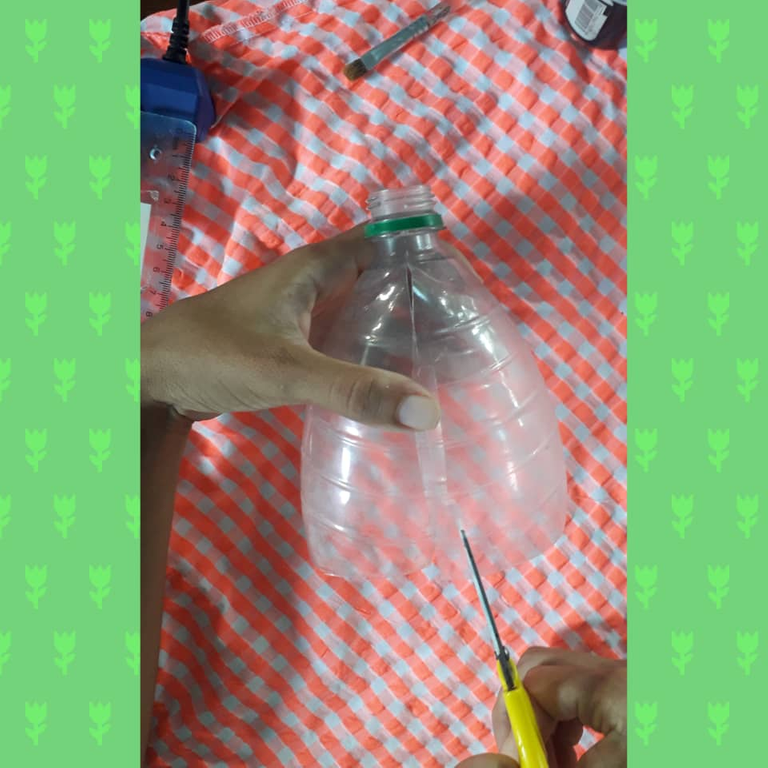
Paso 2:
Luego tomamos un cuchillo caliente o un cautín y volteamos nuestro envase para hacer varios orificios.
Paso 3:
Tomamos el resto de la botella y en la parte superior observamos la marca de la etiqueta por donde procedemos a cortar con una tijera quedando de esta forma.
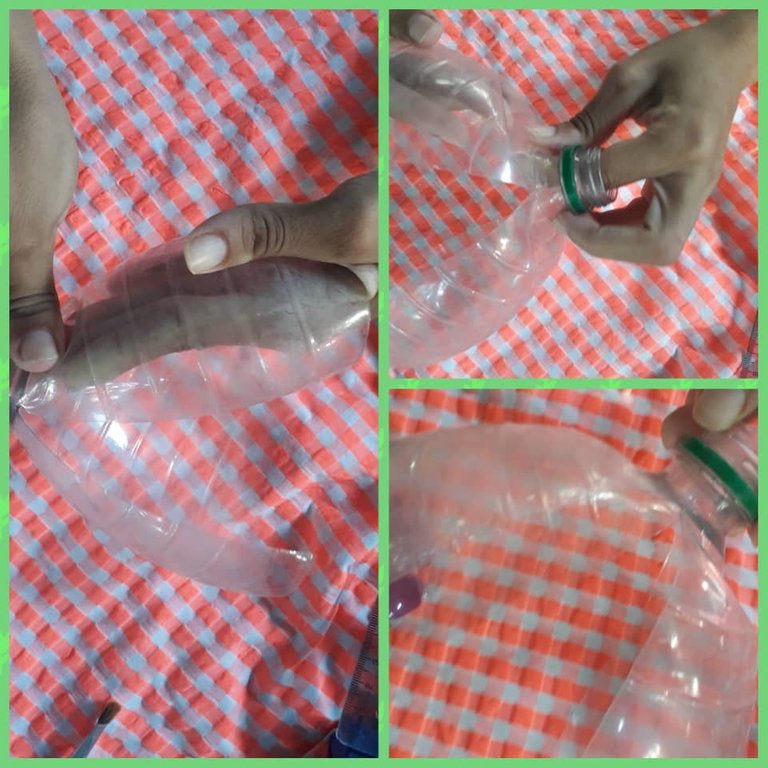
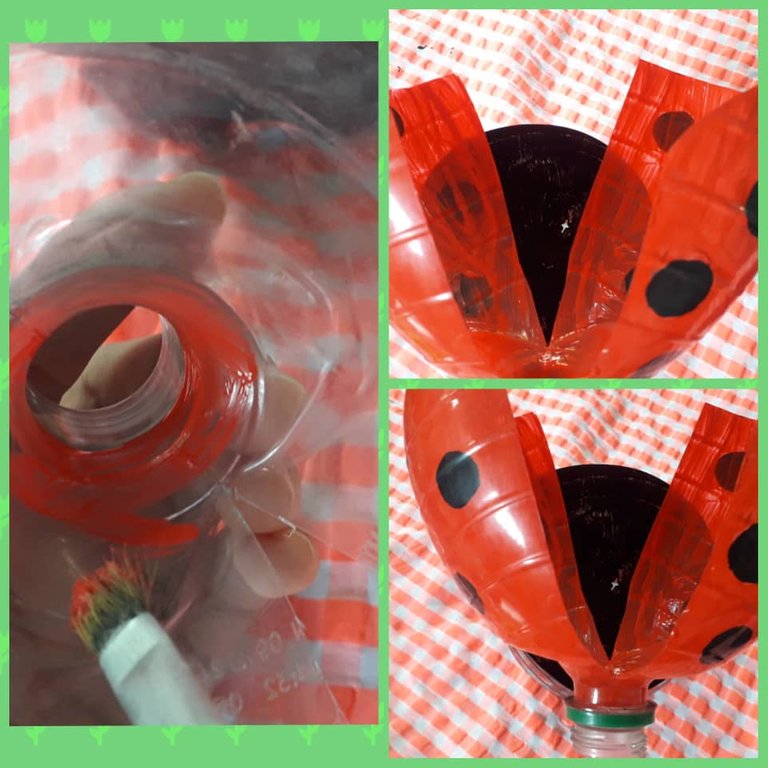
Paso 4:
Tomamos la parte superior de la botella y podemos observar dos líneas verticales por dónde cortaremos en cada una de ellas.
Parte 5:
Unas de las partes que cortamos la tomamos y cortamos desde la parte inferior hasta la superior de forma diagonal de abajo hacia arriba.
Parte 6:
Nos ubicamos hacia el pico de la botella y por la parte de adentro colocamos nuestros dedos para apoyarnos y llevar el pico hacia los dedos eso lo hacemos hacia un lado y luego hacia el otro.
Paso 7:
Luego tomamos la pintura negra y con un pincel pintamos el envase con los orificios, por la parte de adentro; dándole las capas necesarias para que quede uniforme.
Paso 8:
De igual forma tomamos la otra parte de la botella y con la misma pintura hacemos unos puntitos negros.
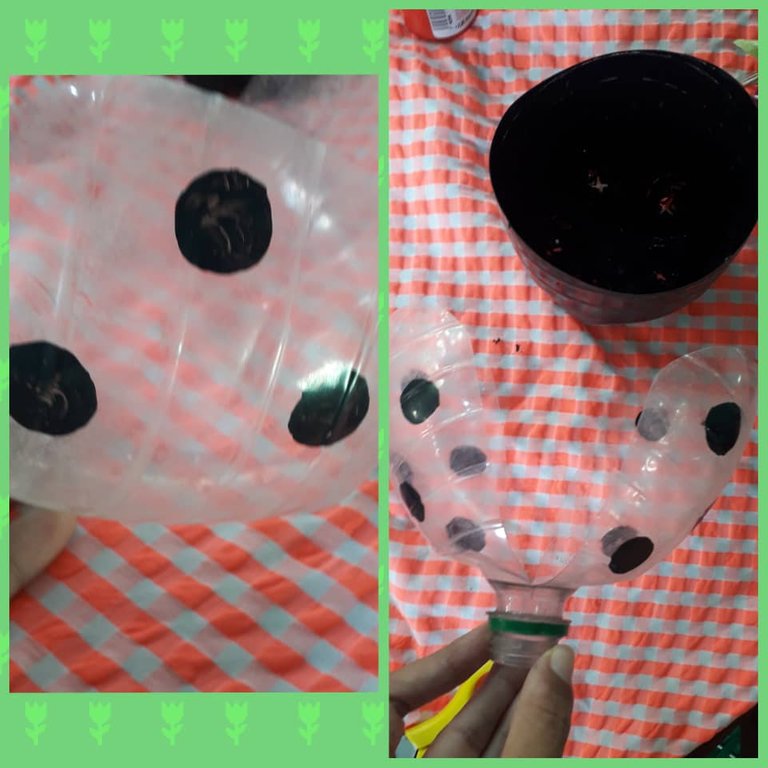
Paso 9:
Una vez pintados los puntos negros dejamos secar y nuevamente con la pintura roja procedemos a pintar toda el área faltante haciéndolo siempre por la parte de adentro.
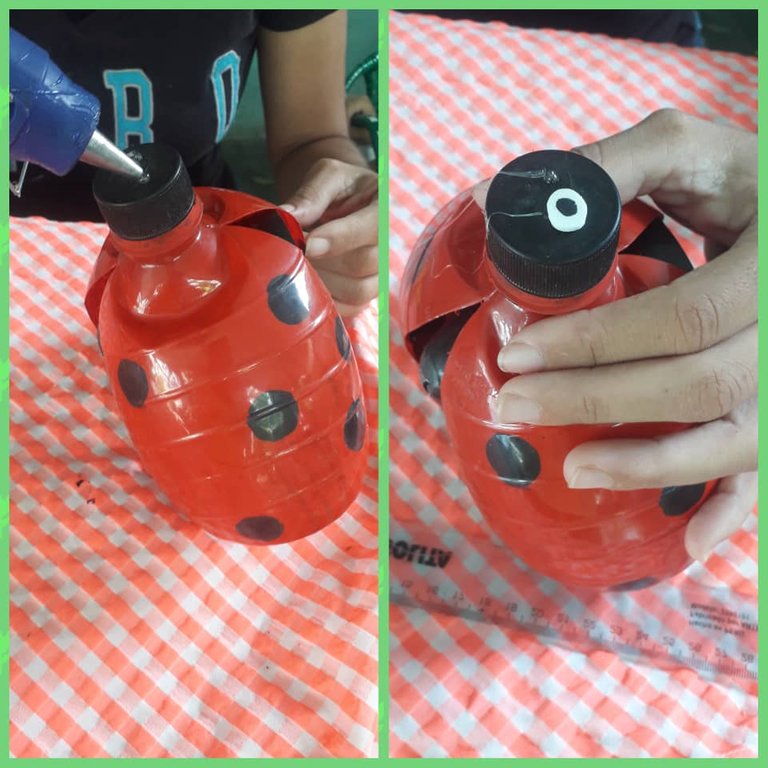
Paso 10:
Unimos las dos partes de esta forma y procedemos a pegar con silicón.
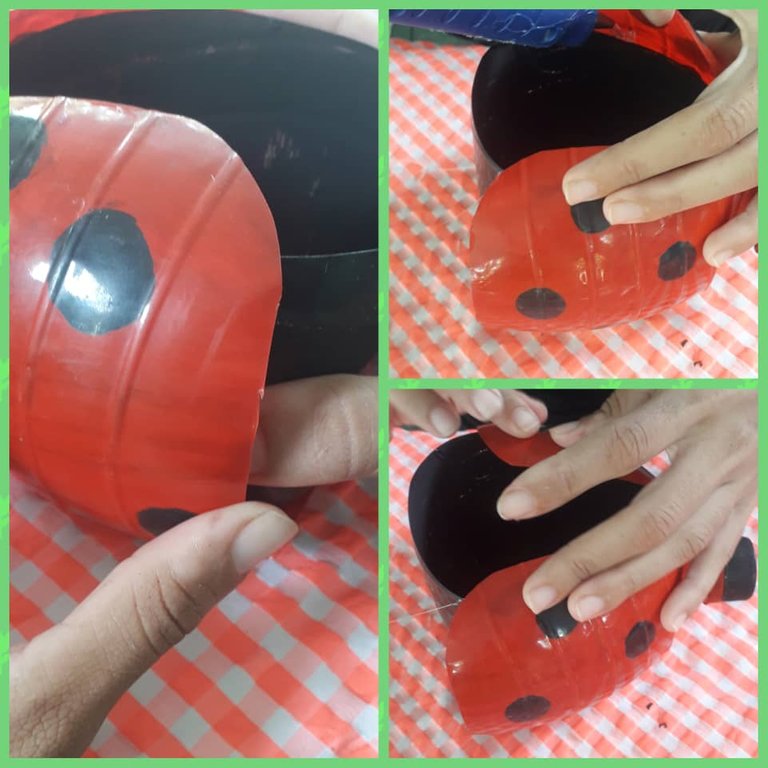
Paso11:
En mi caso la tapa de la botella era negra si la de ustedes es de otro color deben pintarla de negro.
Paso 12:
Con un pedacito pequeño de foami sacamos los ojitos y en el centro pintamos un puntito negro.
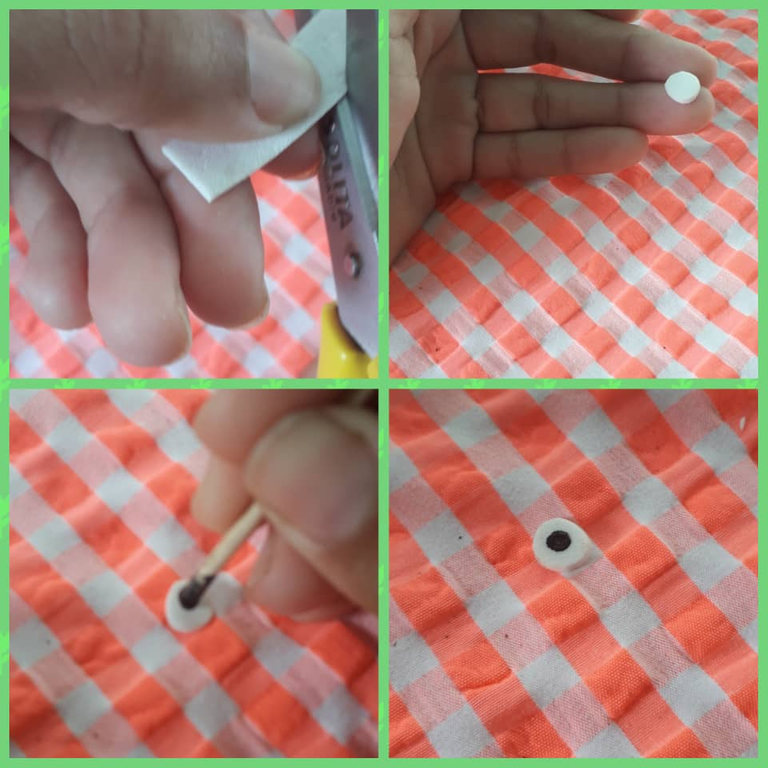
Paso 13:
Por último pegamos los ojitos en la tapa de la botella y listo así terminamos nuestra ermosa maceta en forma de mariquita.
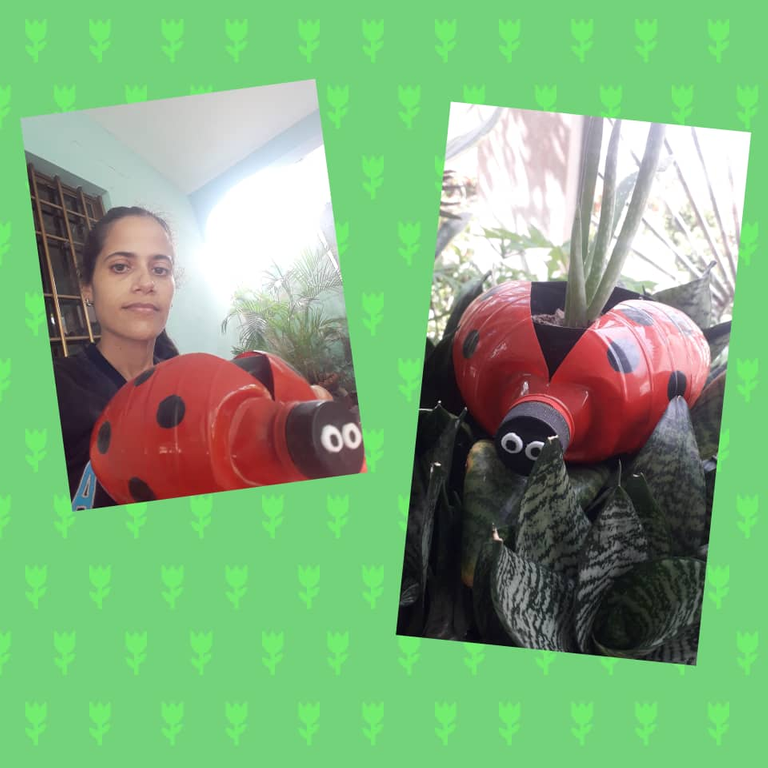
Bueno mis amigos y así quedó esta bella creación que le dará un toque hermoso a su jardín.
Gracias por ver este post hasta una próxima oportunidad Dios me los bendiga.

Las fotos son de mi propiedad tomada con mi teléfono SAMSUNG J6, modificando las fotos con el programa Foto Collage Grid Art y traducido con el programa Deelp traductor versión gratis.
English
Hello my friends of this great community today I bring you this creation aimed at those people who like plants. It is a beautiful pot made from a plastic bottle.
This pot is very easy to make and besides that you recycle is a very good option for your garden as it beautifies this pot is a beautiful ladybug really that their colors stand out very well in your garden is a beautiful option to place your plants.
You can make them to give to a family member, friends or to decorate your office why not.
Well here I show you the materials to use and the step by step for its elaboration:
Materials:
- 1 2lt. plastic soda bottle.
- Scissors
- Ruler
- Red and black cold paint
- Silicone gun
- Silicone
- Eyes (I made them with foami)
Below I show you the step by step:
Step 1:
We start by taking the bottle and at the bottom where the label ends there is a mark, by which we measure from there 2cm downwards and cut remaining in this way.
Step 2:.
Then we take a hot knife or a soldering iron and flip our container to make several holes.
Step 3:.
We take the rest of the bottle and at the top we observe the mark of the label where we proceed to cut with a scissors remaining in this way.
Step 4:.
We take the top of the bottle and we can observe two vertical lines where we will cut on each of them.
Part 5:.
One of the parts that we cut we take it and cut from the bottom to the top diagonally from bottom to top.
Part 6:.
We place ourselves towards the peak of the bottle and on the inside we place our fingers to support us and bring the peak towards the fingers that we do it to one side and then to the other.
Step 7:.
Then we take the black paint and with a brush we paint the container with the holes, on the inside; giving it the necessary layers to make it uniform.
Step 8:.
In the same way we take the other part of the bottle and with the same paint we make some black dots.
Step 9:.
Once painted the black dots let dry and again with the red paint proceed to paint the entire missing area always doing it from the inside.
Step 10:.
We join the two parts in this way and proceed to glue with silicone.
Step 11:.
In my case the cap of the bottle was black if yours is a different color you must paint it black.
Step 12:
With a small piece of foami we take out the eyes and in the center we paint a little black dot.
Step 13:.
Finally we glue the eyes on the lid of the bottle and that's it, we finish our beautiful pot in the shape of a ladybug.
Well my friends and so was this beautiful creation that will give a beautiful touch to your garden.
Thank you for viewing this post until next time God bless you.
The photos are my own taken with my phone SAMSUNG J6, modifying the photos with the program Foto Collage Grid Art and translated with the program Deelp translator free version.
Congratulations @kelvimari2023! You have completed the following achievement on the Hive blockchain And have been rewarded with New badge(s)
Your next payout target is 250 HP.
The unit is Hive Power equivalent because post and comment rewards can be split into HP and HBD
You can view your badges on your board and compare yourself to others in the Ranking
If you no longer want to receive notifications, reply to this comment with the word
STOPTo support your work, I also upvoted your post!
Check out our last posts:
Very creative work in recycling. The pots look very striking this way. Thanks for sharing your process @kelvimari2023 // Un trabajo muy creativo en reciclaje. Lucen muy llamativas las macetas de esta manera. Gracias por compartir tu proceso @kelvimari2023
Gracias que bueno que les haya gustado
Muy hermosa la decoración de la maceta
Lol, this is not only interesting, but funny too. I like how you recycled the bottle and gave it another purpose.
Hola me alegra que les haya gustado de verdad esto me motiva a seguir publicando mi contenido. Gracias