¡Hola queridos usuarios de Hive ✨💕!
Hi dear Hive users ✨💕!
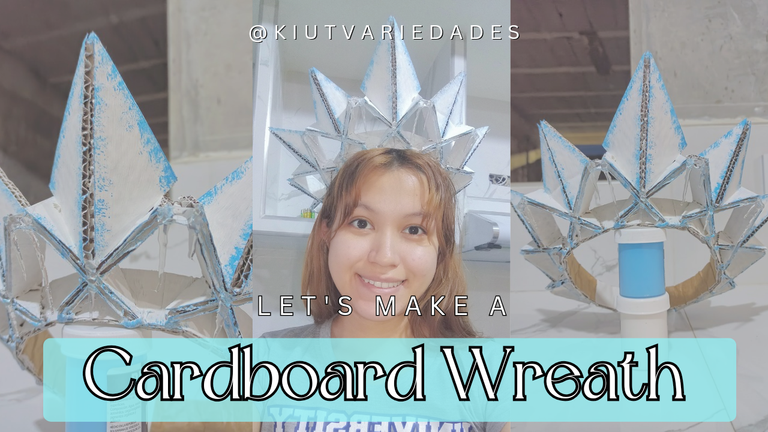
¡Hola Hola Comunidad! ✨, ¿les ha pasado que quieren un objeto en particular y cuando investigan los precios les parece un poco absurdo dar esa cantidad de dinero por eso?, pues exactamente eso me pasó cuando me puse a averiguar el precio de las coronas en mi ciudad, y la verdad es que no solo la quería por capricho sino que también la necesitaba para un proyecto en específico del cual se enterarán en mi siguiente post 🤭, así que no tenerla realmente no era una opción pero me rehusaba a pagarla en los precios que me habían ofrecido, así que busqué un par de tutoriales en Youtube y Tik Tok y henos aquí, a punto de mostrarle cómo la realicé y cómo me ahorré ese dinerito 🤣.
Hello Hello Community! ✨, Has it ever happened to you that you want a particular object and when you investigate the prices it seems a bit absurd to give that amount of money for it? well exactly that happened to me when I started to find out the price of wreaths in my city, and the truth is that I not only wanted it on a whim but I also needed it for a specific project which you will learn about in my next post 🤭, so not having it really wasn't an option but I refused to pay it at the prices I had been offered, so I looked for a couple of tutorials on Youtube and Tik Tok and here we are, about to show you how I made it and how I saved that little money 🤣.
🖌️ MATERIALES || MATERIALS 👑
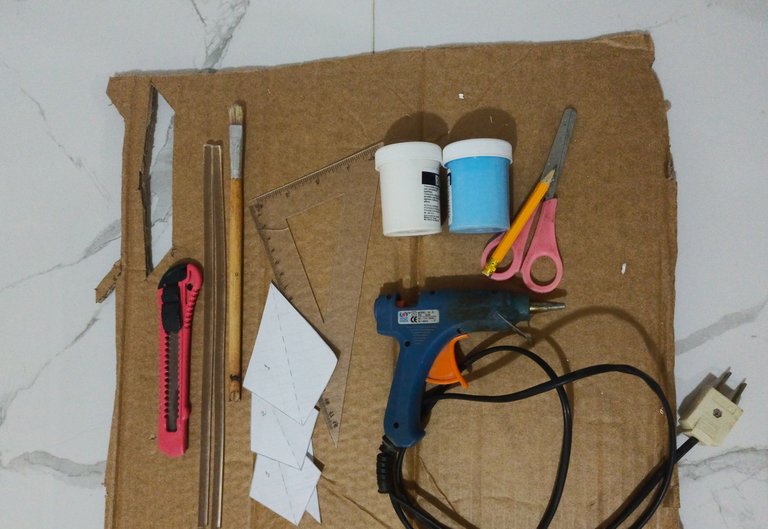
- Cartón.
- Pintura al frío (en éste caso yo utilicé blanco y azul cielo).
- Pistola y barras de silicón.
- Cúter.
- Plantillas de la corona.
Lápiz. - Una regla y cinta métrica.
- Cardboard.
- Cold paint (in this case I used white and sky blue).
- Silicone gun and silicone sticks.
- Cutter.
- Stencils of the wreath.
- Pencil.
- A ruler and tape measure.
🖌️ MANOS A LA OBRA || 👑
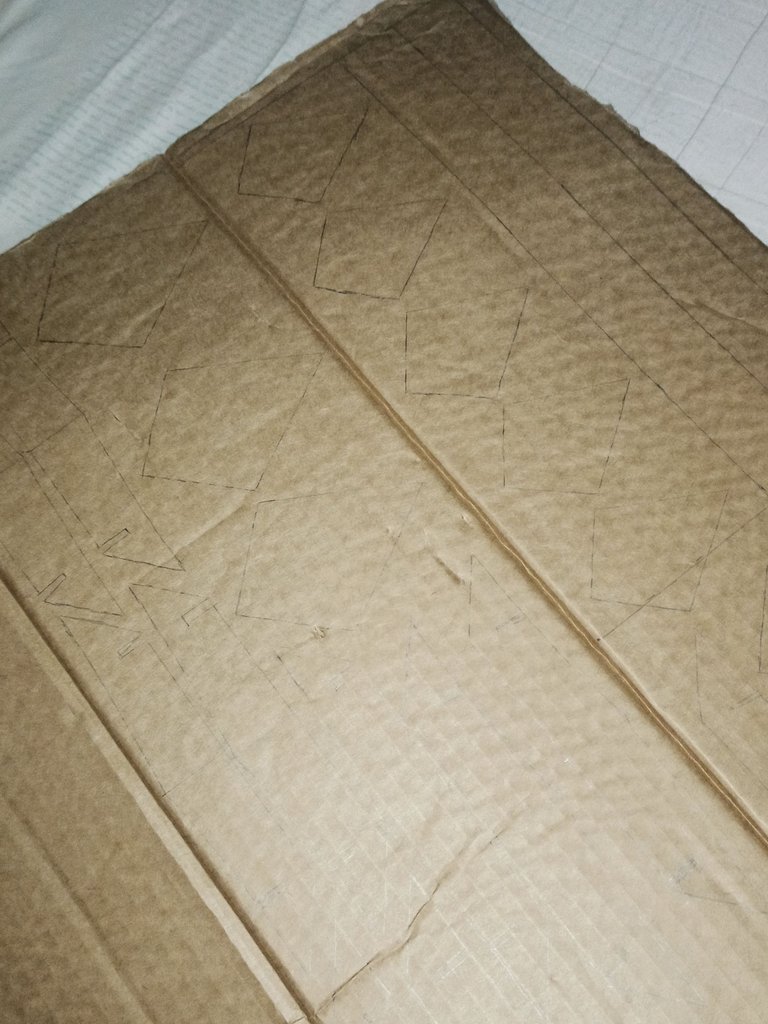
Lo primero que debemos hacer es medir nuestra cabeza con una cinta métrica, y a partir de esa medida se recorta una tira de 2cm de ancho, ésta será la base de la corona. Luego marcamos todas las demás piezas en el cartón, las cuáles se tratan de picos (de diferentes tamaños) y piezas de unión donde irán los picos, las cuales llevan unos cortecitos en cada extremo, así como se ve en la imagen.
The first thing to do is to measure our head with a tape measure, and from that measurement we cut a 2cm wide strip, this will be the base of the crown. Then we mark all the other pieces on the cardboard, which are peaks (of different sizes) and pieces of union where the peaks will go, which have some small cuts at each end, as shown in the image.
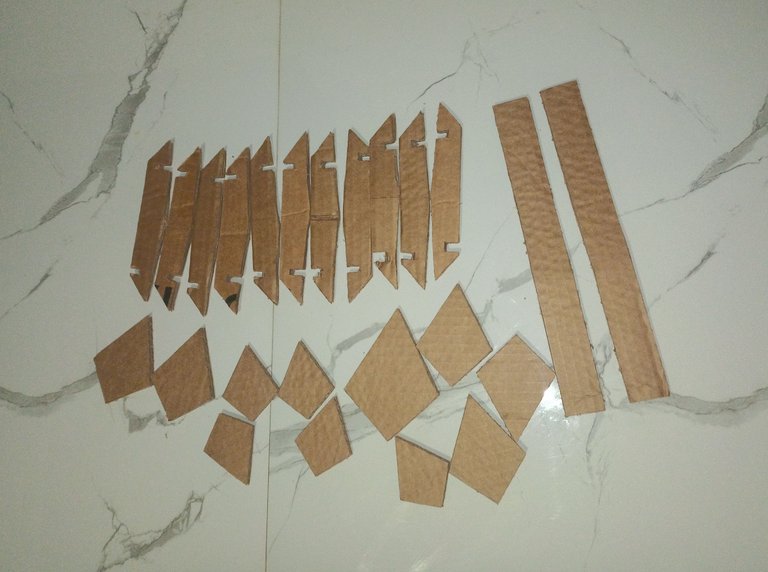
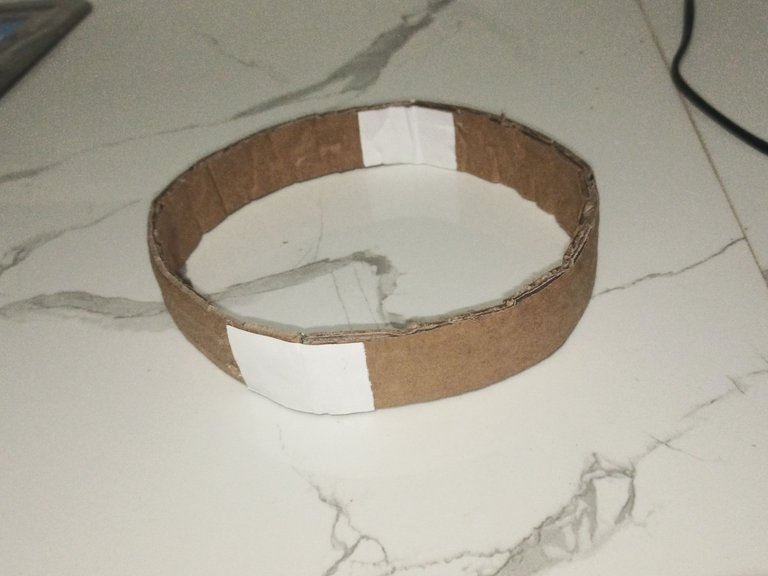
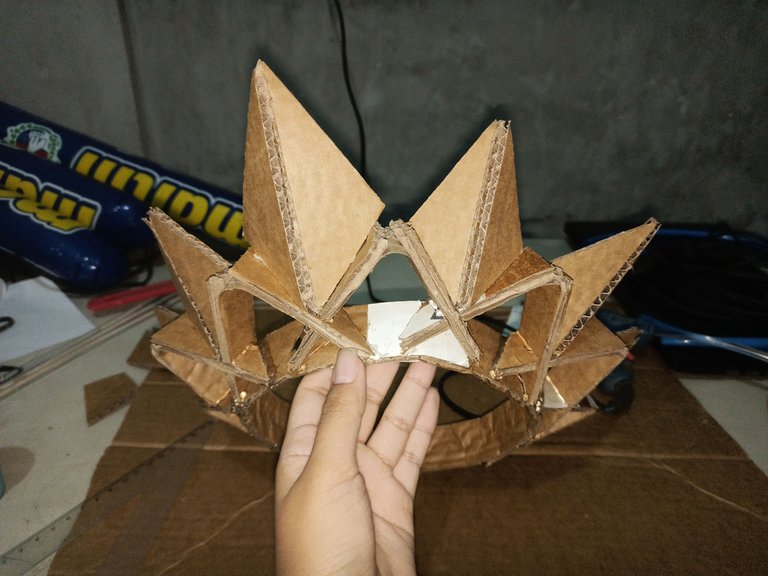
Con las piezas cortadas se deben unir las tiras que conforman la base de manera de formar un círculo, para mayor comodidad se pueden unir con pedacitos de papel, y se debe y dando la forma al cartón para que se pueda formar el círculo. Tanto en los picos como en las piezas de unión haremos un corte con el cúter justo en medio, para que sea más fácil doblar (éste corte no debe traspasar el cartón). Unimos las piezas pequeñas encajandolas por los cortes de los extremos, y reforzamos con silicón.
With the cut pieces, the strips that make up the base should be joined together to form a circle. For greater convenience, they can be joined with small pieces of paper, and the cardboard should be shaped so that the circle can be formed. We will make a cut with the cutter right in the middle of the beaks as well as in the joining pieces, so that it is easier to fold (this cut should not go through the cardboard). Join the small pieces by fitting them together through the cuts at the ends, and reinforce them with silicone.
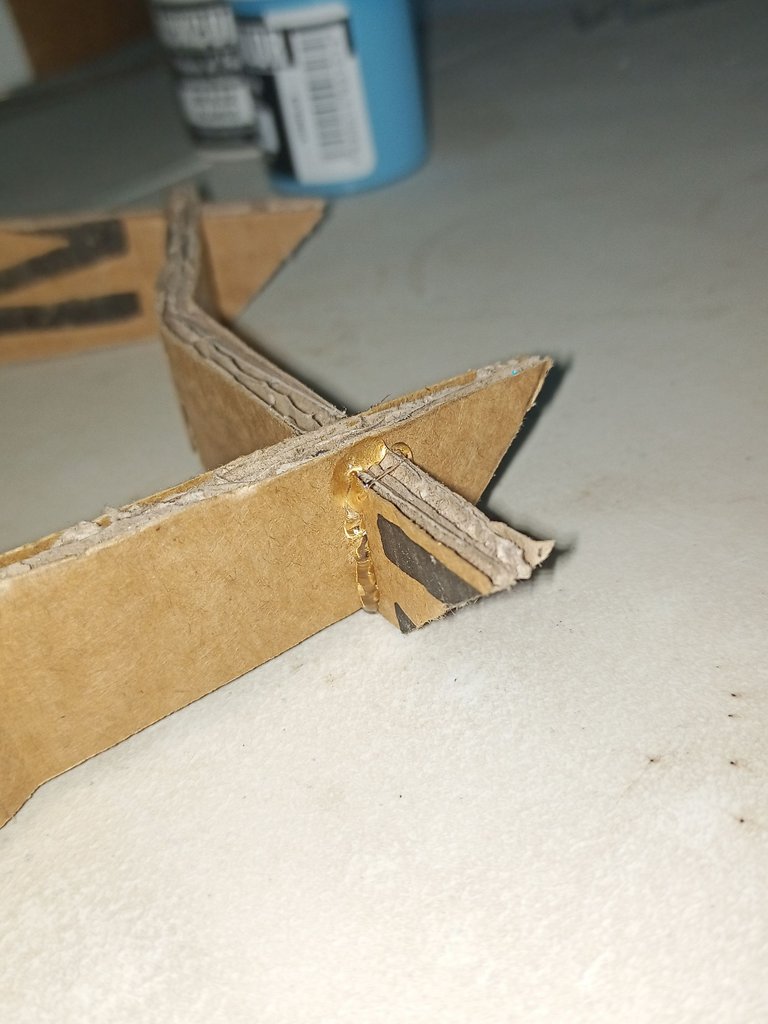
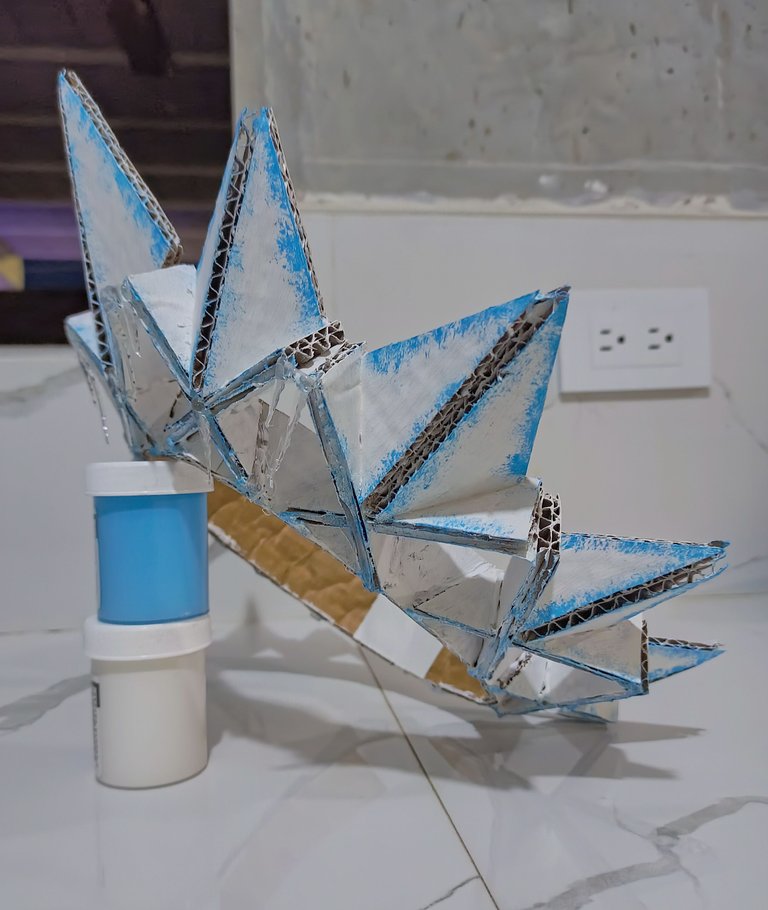
En los extremos se formarán una especie de triángulos, por la parte plana y con el doblez de la pieza hacía arriba, pegamos con bastante silicón a la base de la corona y vamos formando toda la estructura encajando el resto de las piezas hasta cubrir toda la base (yo aquí tuve un pequeño percance y por esa razón ignoraremos que la parte posterior de la corona quedará incompleta 🤣).
At the ends will form a kind of triangles, on the flat side and with the fold of the piece up, we glue with enough silicone to the base of the crown and we will form the entire structure by fitting the rest of the pieces until the entire base is covered (I had a little mishap here and for that reason we will ignore that the back of the crown will be incomplete 🤣).
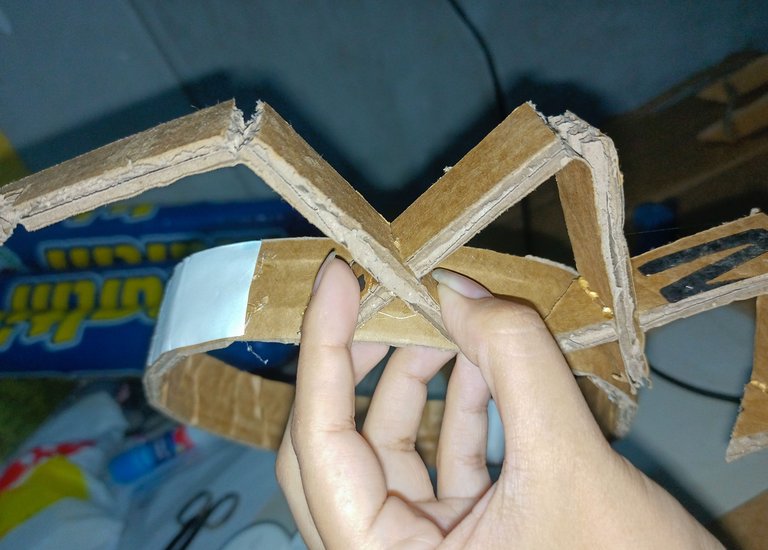
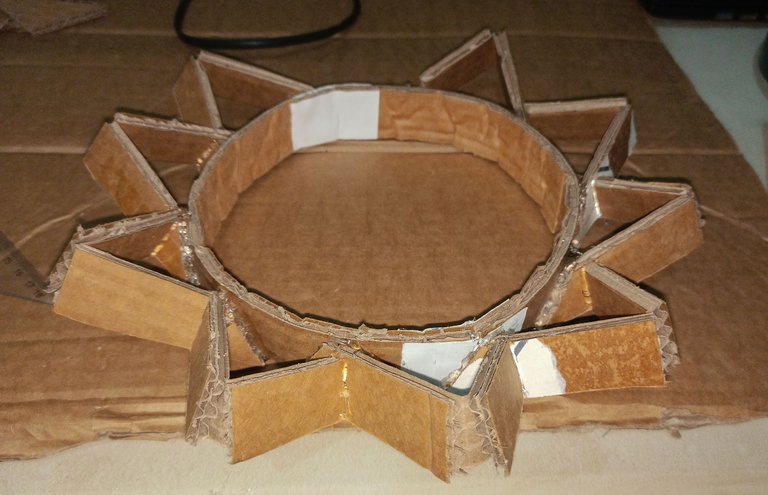
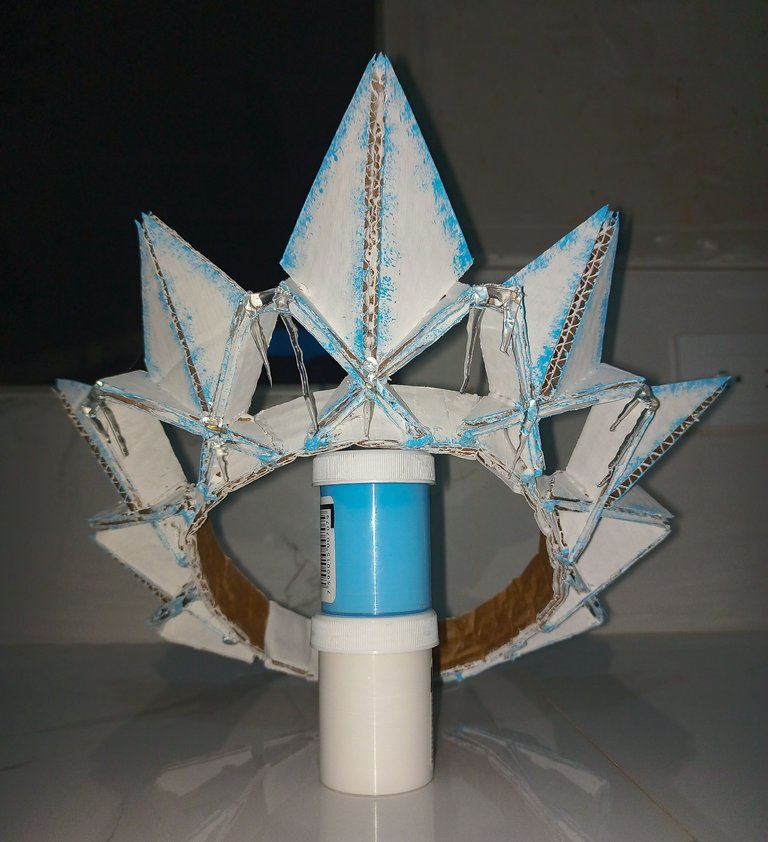
Ahora pegamos los picos, los cuales deben ir en los triángulos que se han formado, ligeramente inclinados y un poco doblados por la mitad, y nuevamente los aseguramos con bastante silicón, aquí yo usé un pico extra largo justo en el centro y a partir de allí coloqué los más pequeños a cada lado.
Now we glue the beaks, which should go in the triangles that have been formed, slightly inclined and a little folded in half, and again we secure them with plenty of silicone, here I used an extra long beak right in the center and from there I placed the smaller ones on each side.
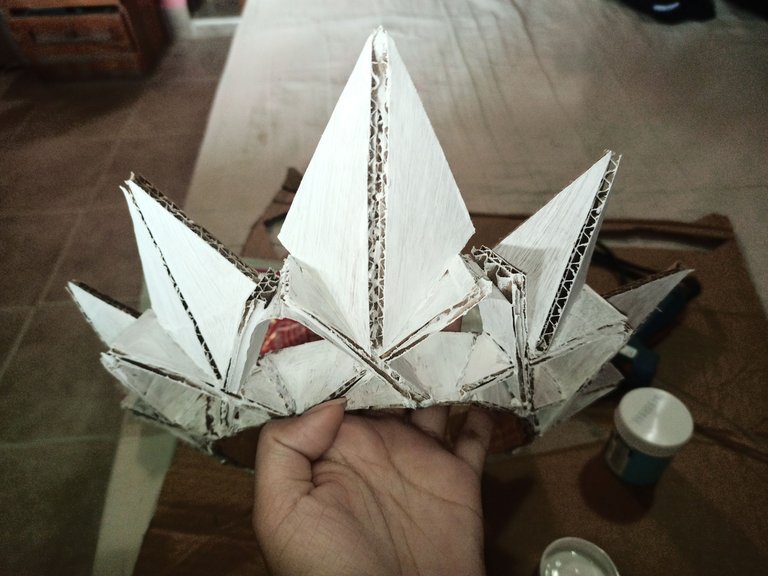
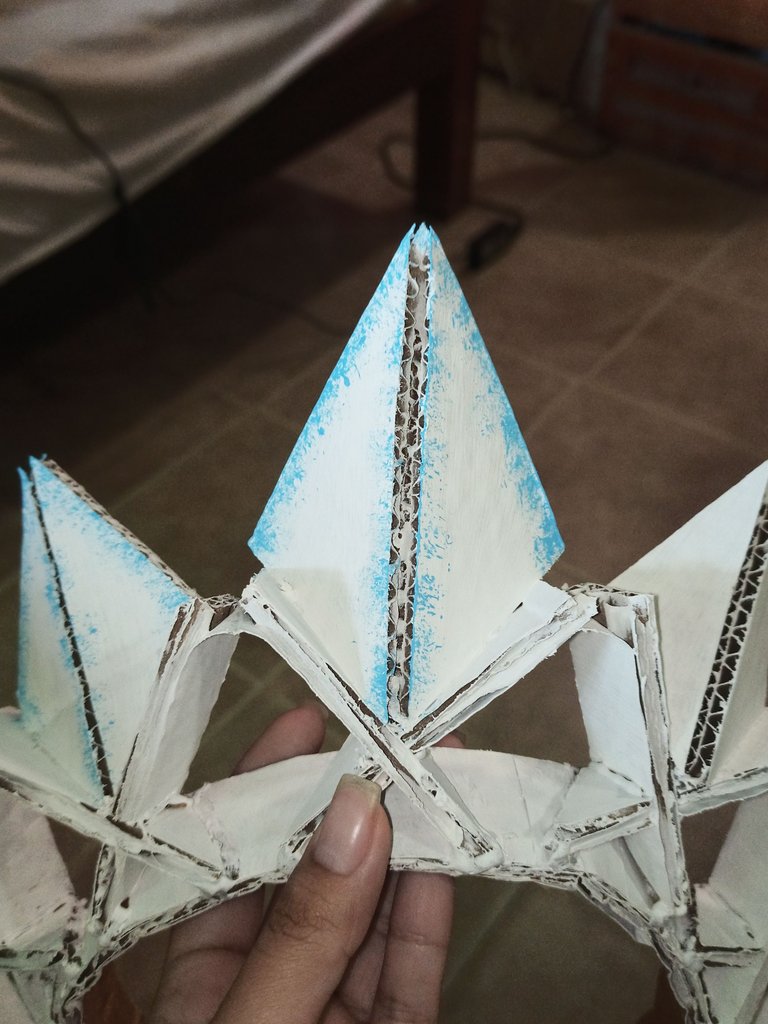
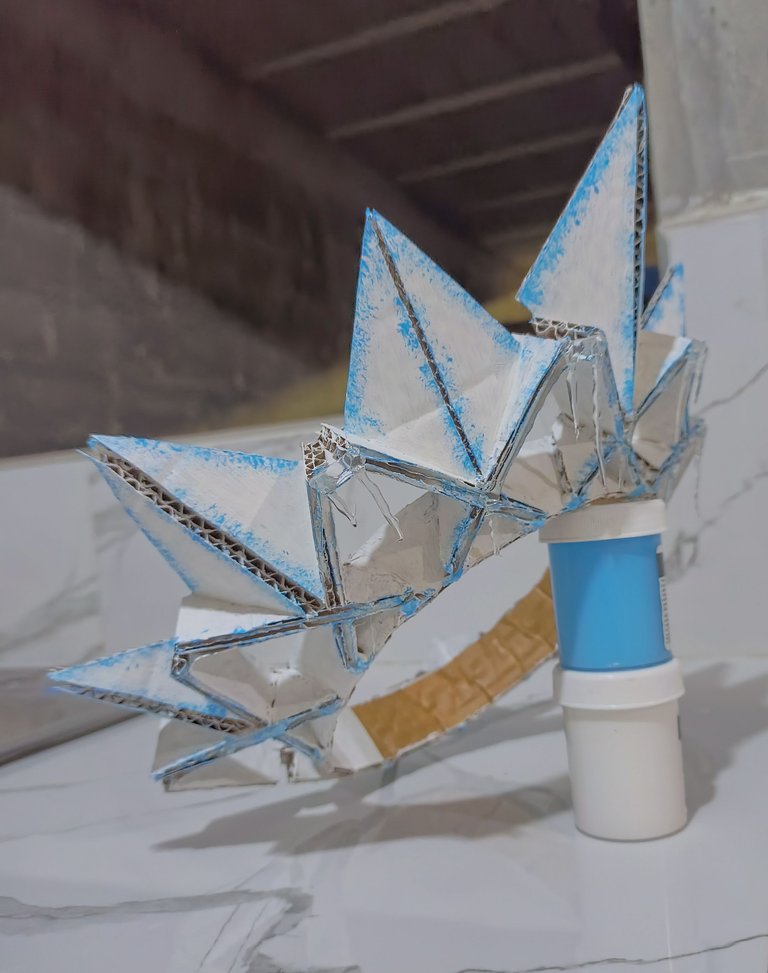
Y finalmente toca pintar y decorar, yo pinté toda la corona de blanco y le hice unos chispeados en el color azul cielo, aparte en un plato de vidrio hice con silicón caliente unas especie de “estalactitas de hielo” y las pegué en puntos específicos de la corona.
And finally it's time to paint and decorate, I painted the entire wreath in white and made some sparkles in the sky blue color, apart in a glass plate I made with hot silicone some kind of "ice stalactites" and glued them in specific points of the wreath.

Instagram Personal:@susijackeline
Instagram de Maquillaje:@makeup_sm22
Twitter:@kiut_variedades
All Images are my Property
Thumbnail Image Made in Canva
Translator DeepL
Posted Using InLeo Alpha
¿ᴺᵉᶜᵉˢᶦᵗᵃˢ ᴴᴮᴰ? ᵀᵉ ˡᵒ ᵖʳᵉˢᵗᵃᵐᵒˢ ᶜᵒⁿ
~~~ embed:1871373003696795986?t=WLD9N4ZeGgYfCz2bwnxpgQ&s=19 twitter metadata:a2l1dF92YXJpZWRhZGVzfHxodHRwczovL3R3aXR0ZXIuY29tL2tpdXRfdmFyaWVkYWRlcy9zdGF0dXMvMTg3MTM3MzAwMzY5Njc5NTk4Nnw= ~~~
Esta genial, muy creativa y luce realmente muy bien en la cabeza de toda una reina 😍 a mi tambien me pasa que quiero algo y al ver el precio se me van las ganas jaja mejor hacerlo uno mismo, quiza y salga hasta mejor 😂
Te quedo bonita 😊
Es que definitivamente hay precios que asustan más que una peli de terror 🤣🤣, y al final hacerlo tu mismo siempre te da un momento de concentración y a veces hasta paz, sin hablar de la satisfacción del final 😌.
Definitivamente hacerlo uno mismo sale mas barato, y asi aprendemos jajaja, te felicito por intentarlo y hacerlo, saludos.
Jajajaja muchísimo más barato te lo aseguro 🤣, al principio dudé si hacerla, pero me alegro de haberme animado. Saludos! 💕