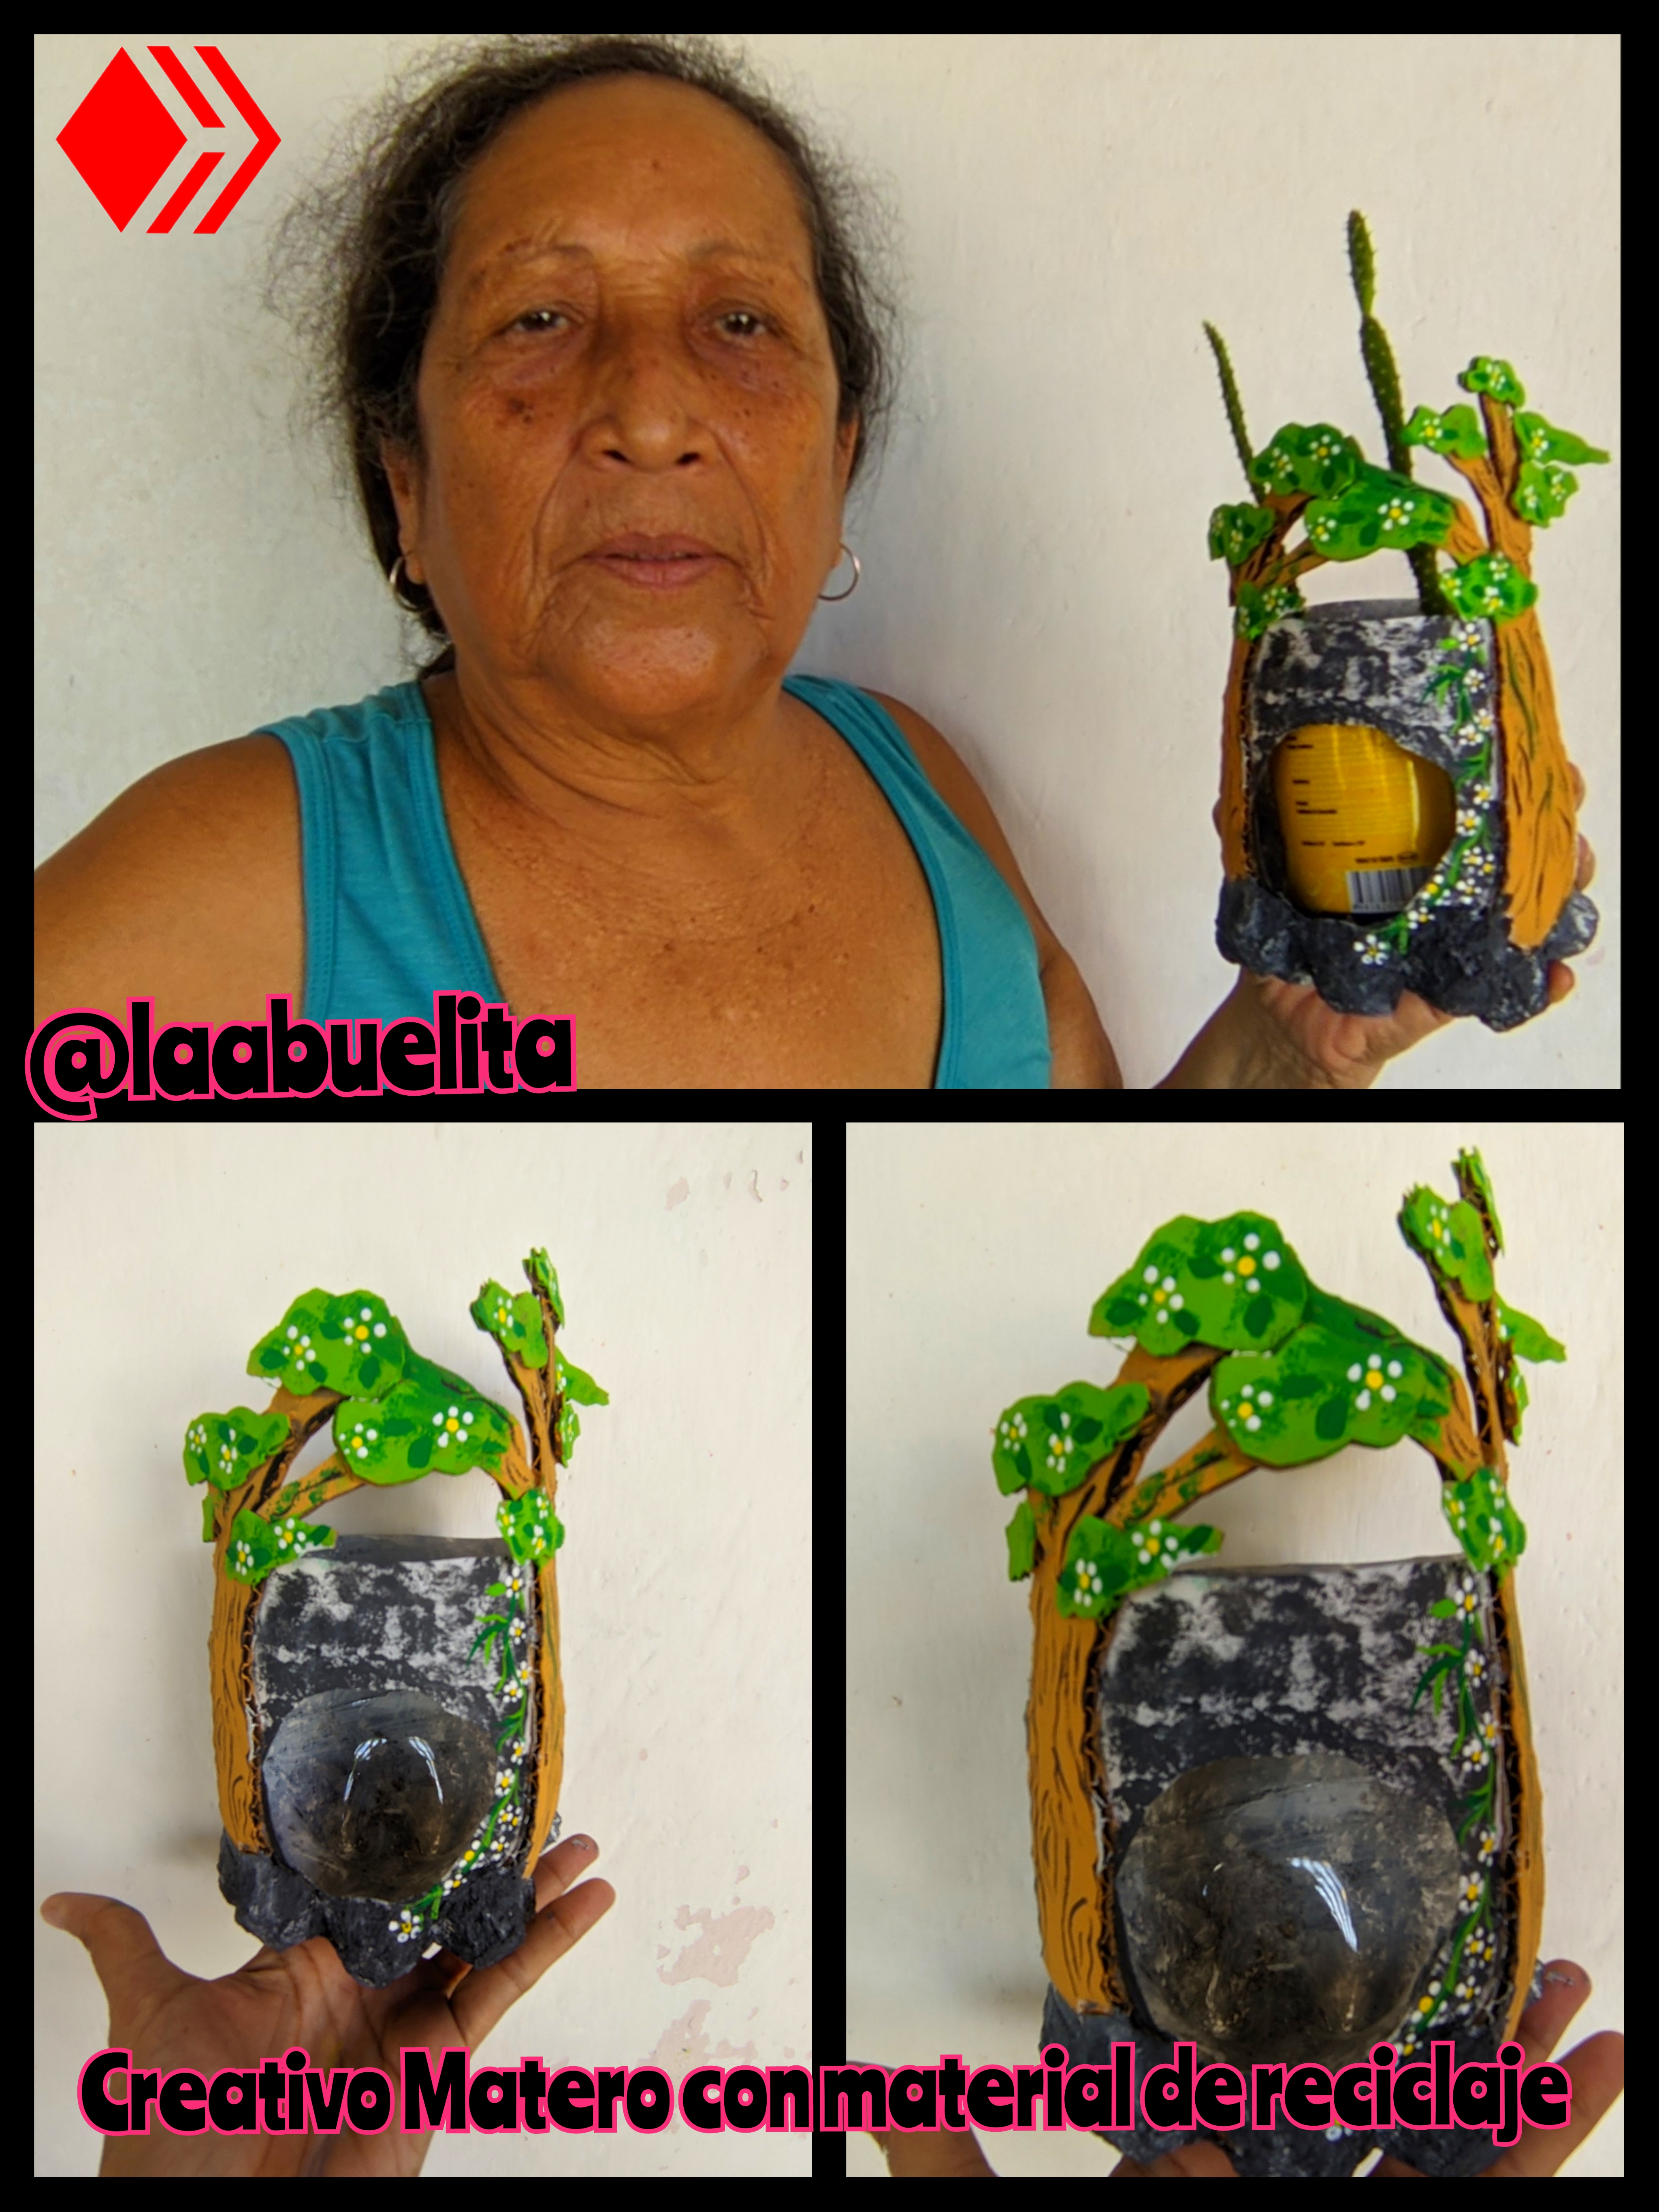
Hola y saludos a todos mis nietecitos de este ecosistema maravilloso llamado #hive hoy en la mañana estaba arreglando mis plantas y pude notar que me hacía falta un matero para colocar uno de mis cactus ya que el que tenía se dañó, y les digo que están bien costoso, así que me dije, vamos a realizar un lindo macetero con materiales de desechó para colocar mi cactus.
Los materiales quizás los tengas en tu casa y verás que los pasos para hacerlo son pocos y son fáciles, aquí les dejo el paso a paso y las fotos del trabajo terminado.
🪴 Materiales 🪴
🪴 Botella plástica de refresco.
🪴 Cartón de caja.
🪴 Cartón de huevos.
🪴 Silicón líquido.
🪴 Pinturas blanco, negro, verde claro y verde oscuro y marrón.
🪴 Tijera.
🪴 Cúter.
🪴Pinceles.
🪴Paso a paso 🪴
🪴 Paso 1:
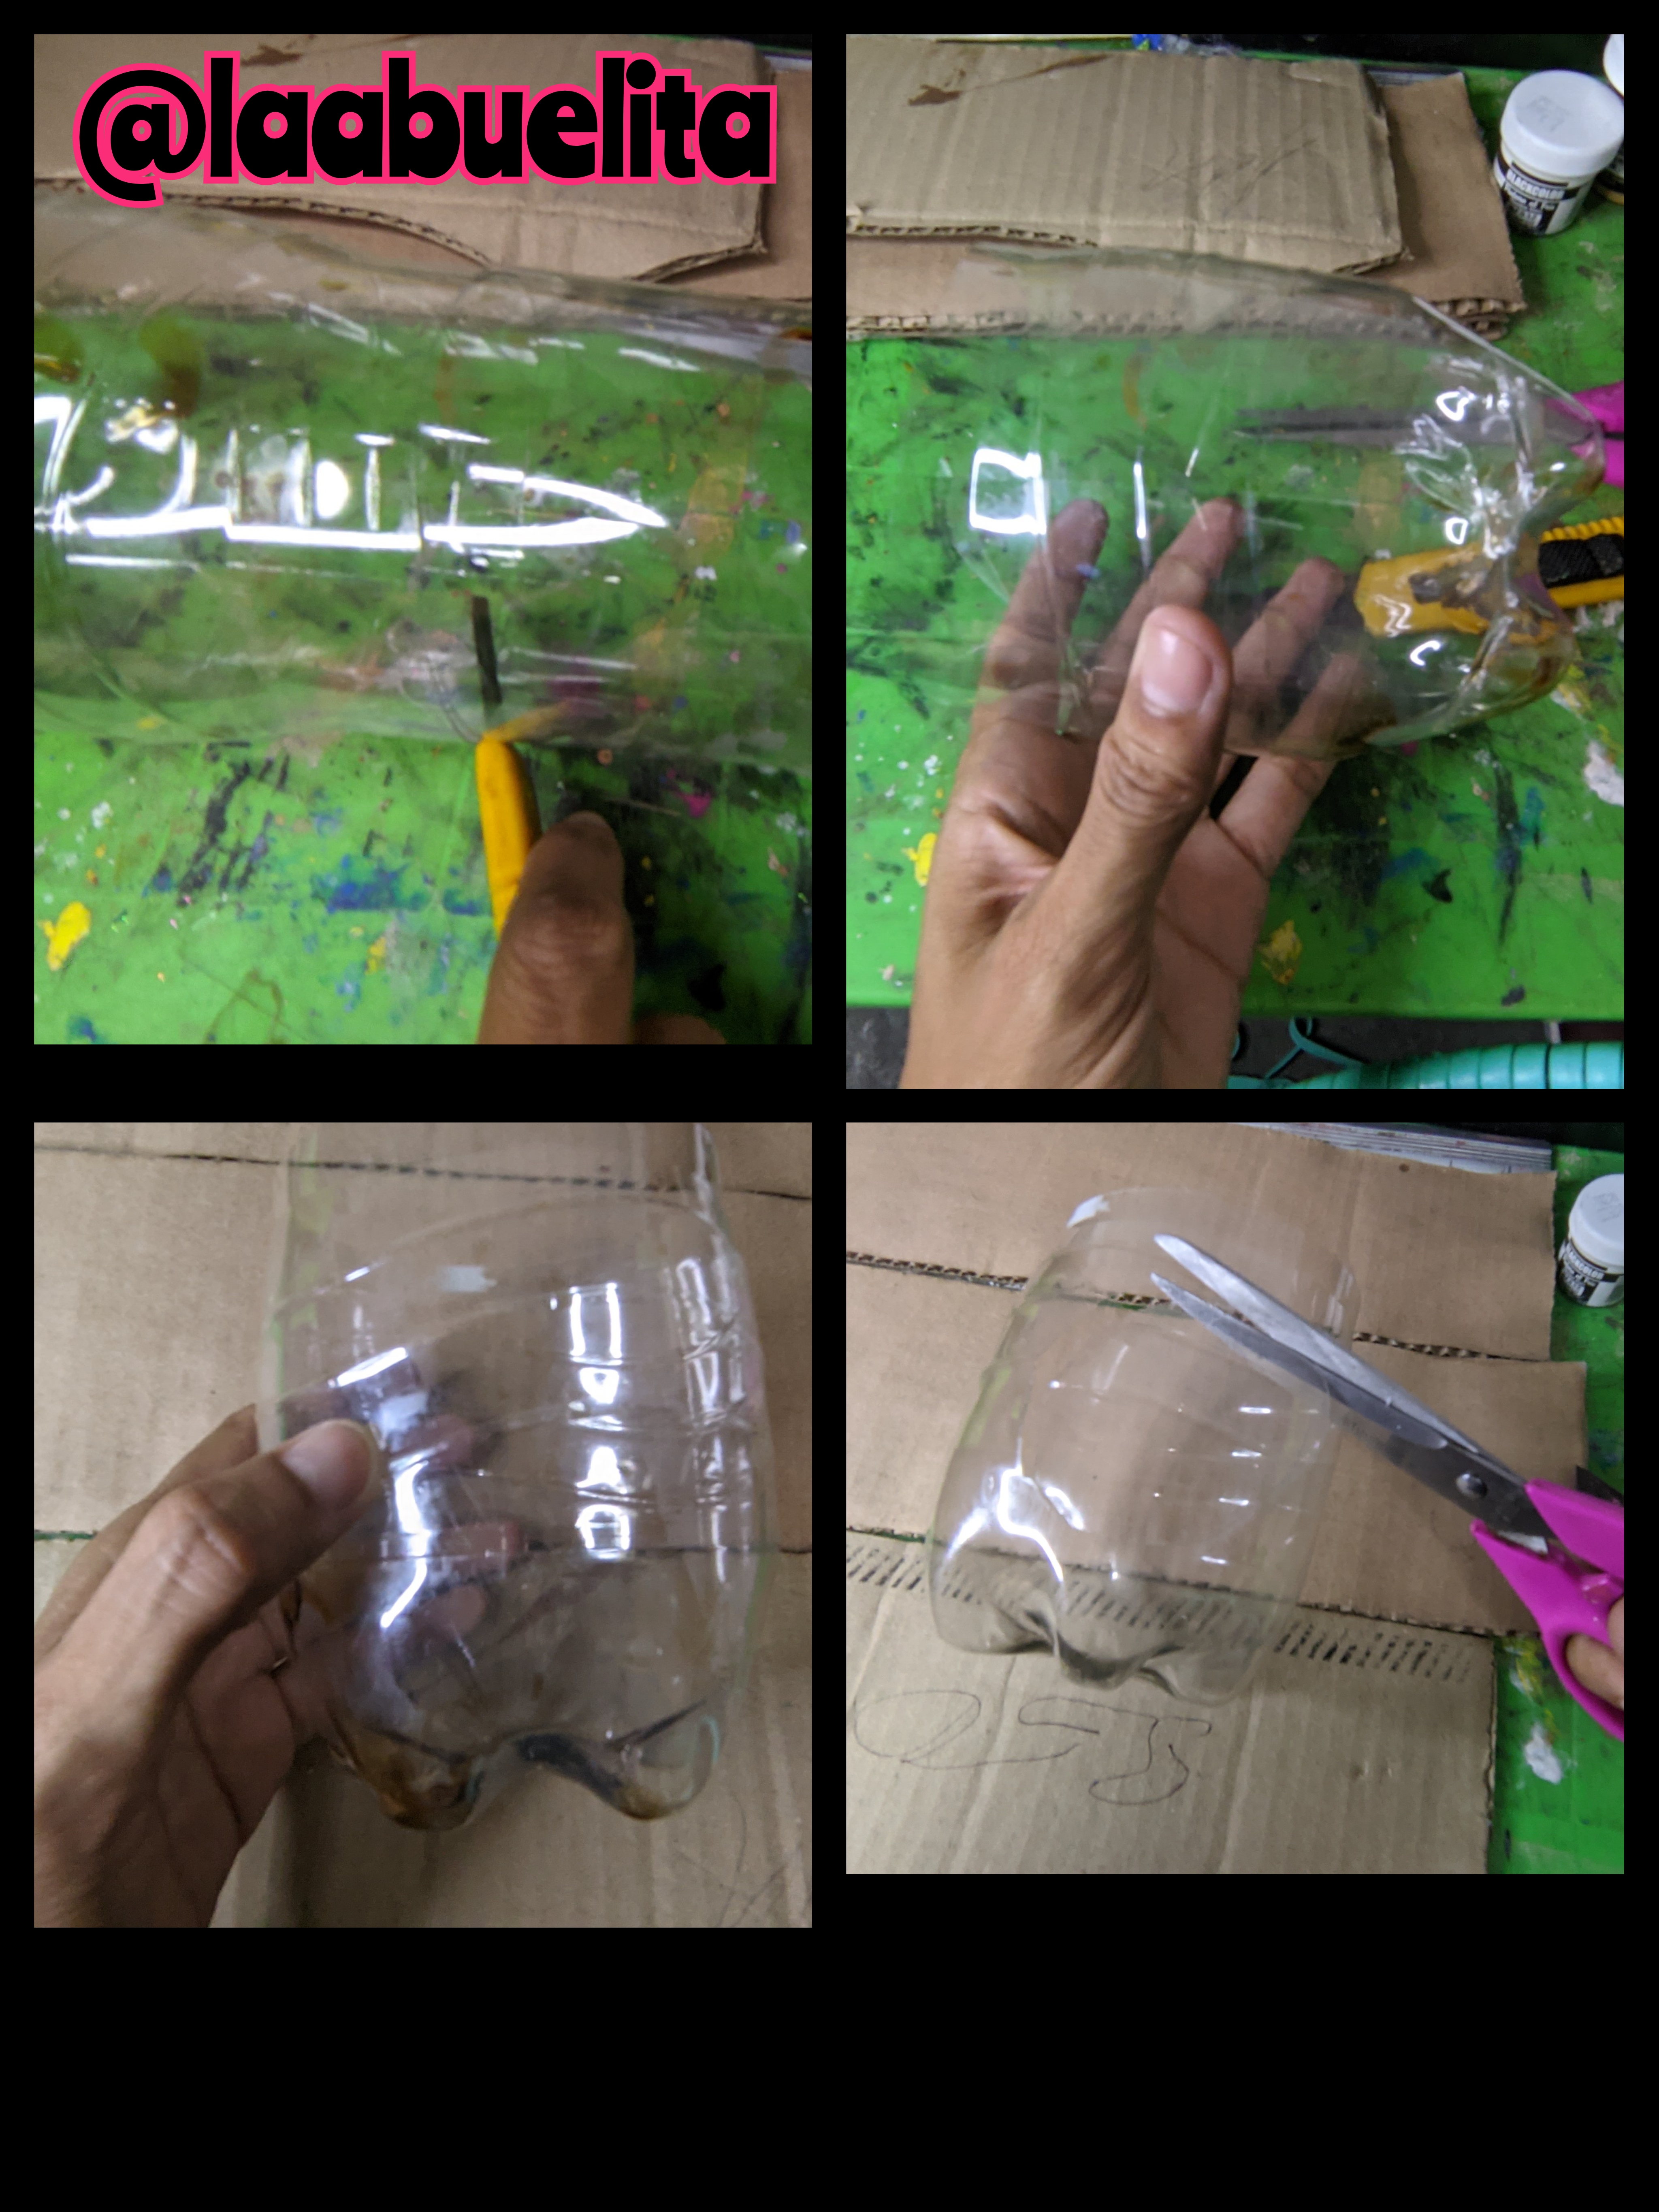
Limpiamos bien la botella de plástico, le retiramos la etiqueta y luego con ayuda del cúter cortamos la botella por la parte de abajo que es lo que vamos a utilizar, mide aproximadamente unos 12 cm de alto, luego con la tijera emparejamos los bordes, también corte un agujero en el centro.
🪴Paso 2:

En un pedazo de cartón de caja dibuje dos troncos de árbol, de forma bastante irregular, luego con la tijera los recorté, procurando que no tengan la misma forma los dos.
🪴 paso 3:
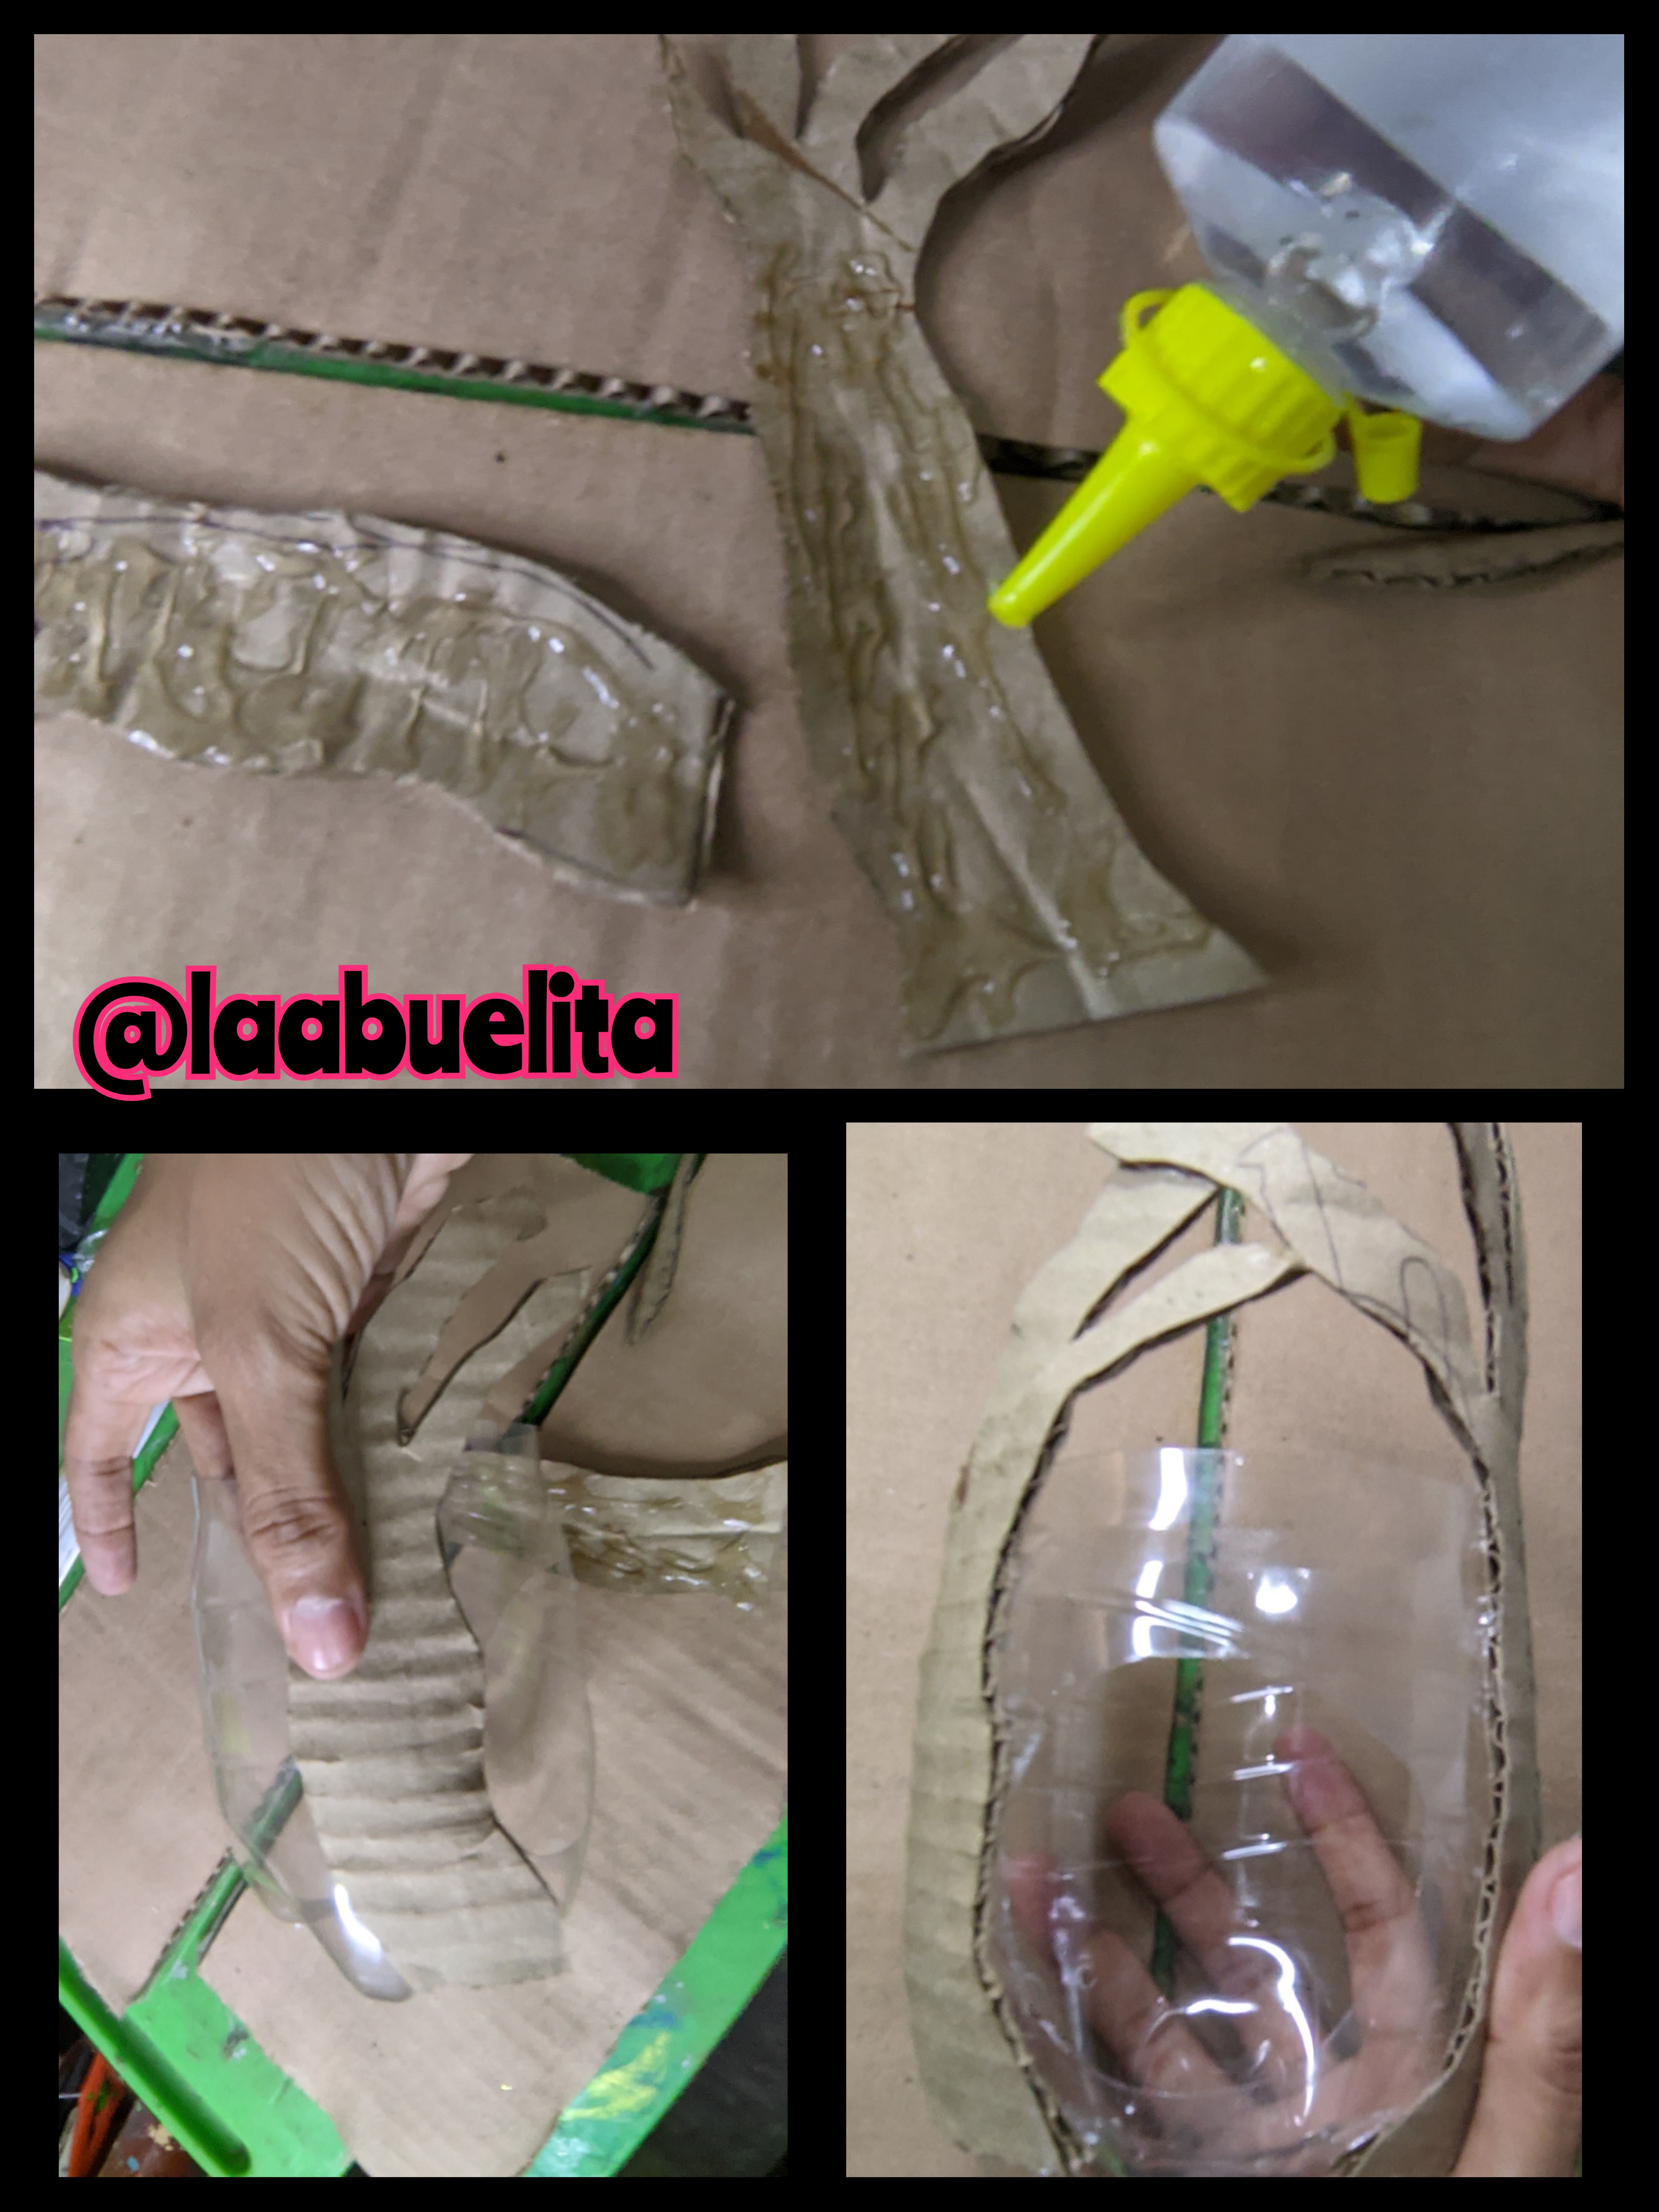
En la parte del tronco de los árboles de cartón le echamos silicón líquido y lo pegue en la base que hice con la botella plástica, lo pegue a los lados del círculo.
🪴 Paso 4:
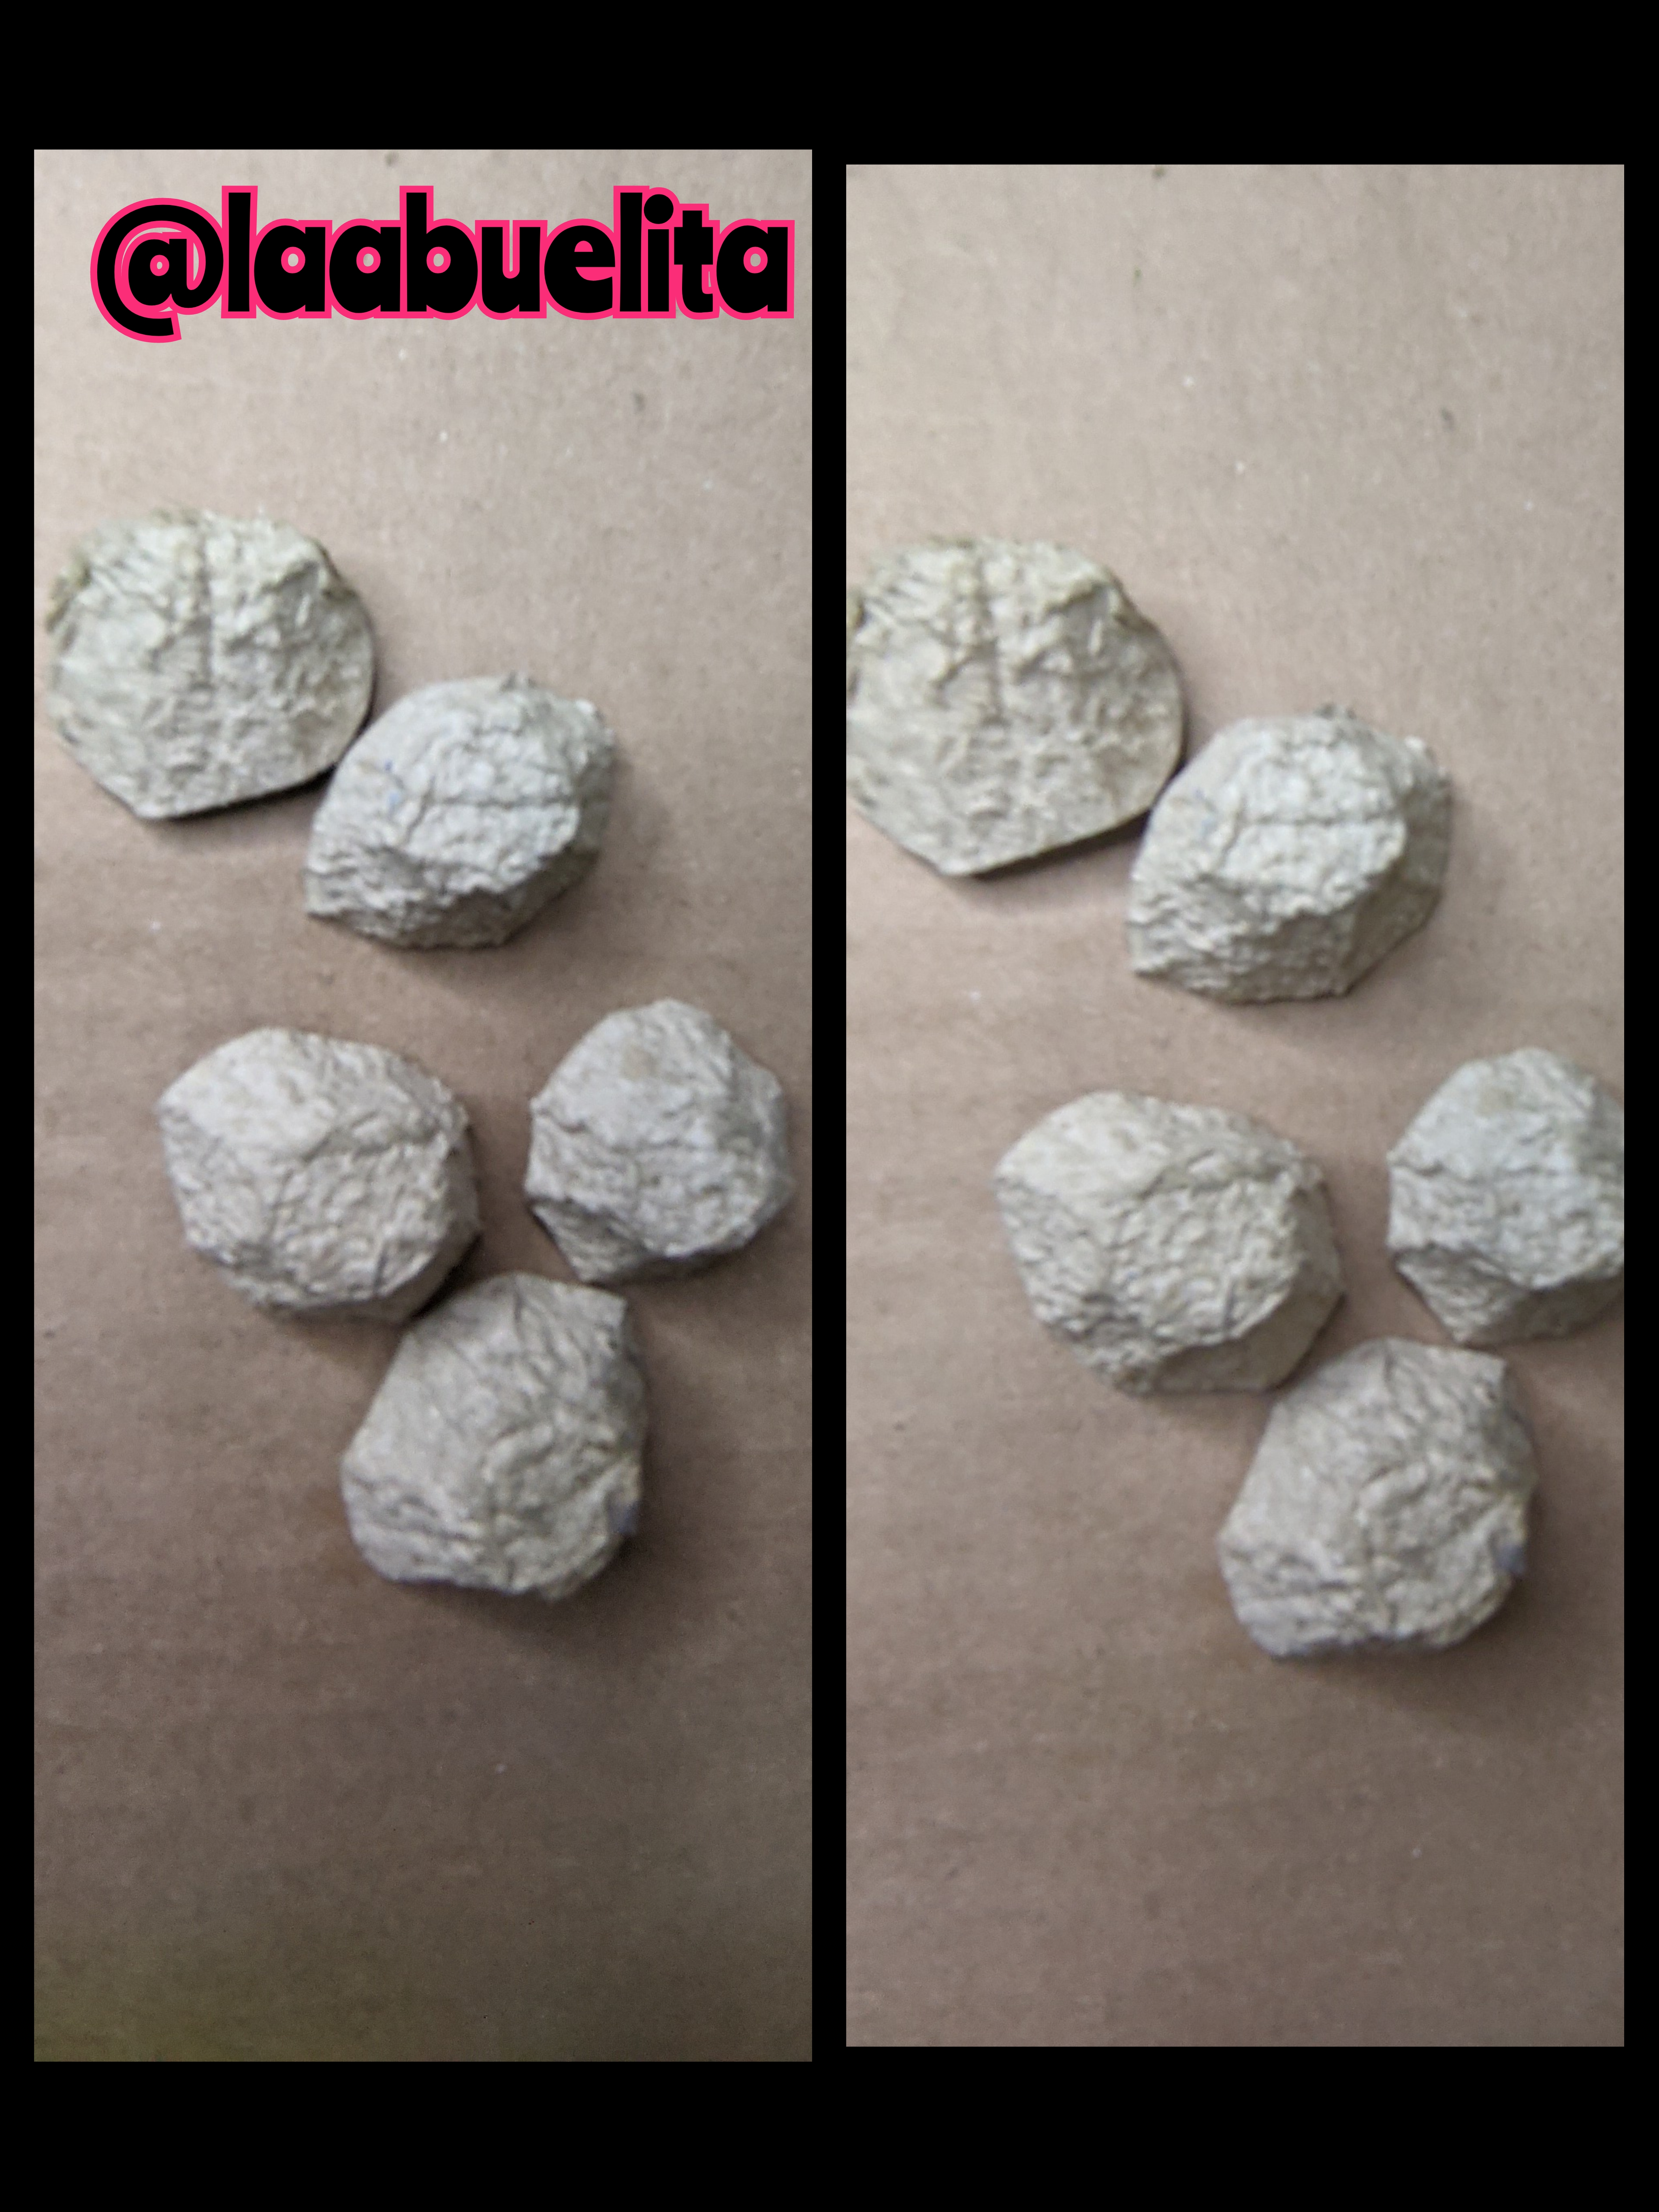
Agarre el cartón de huevos y recorte los fondos.
🪴 Paso 5:

Cuando ya tenía todos los fondos recortados, procedí a aplicar el silicón líquido en la botella y pegué los fondos del cartón de huevos, para que parezcan unas piedras.
🪴 Paso 6:
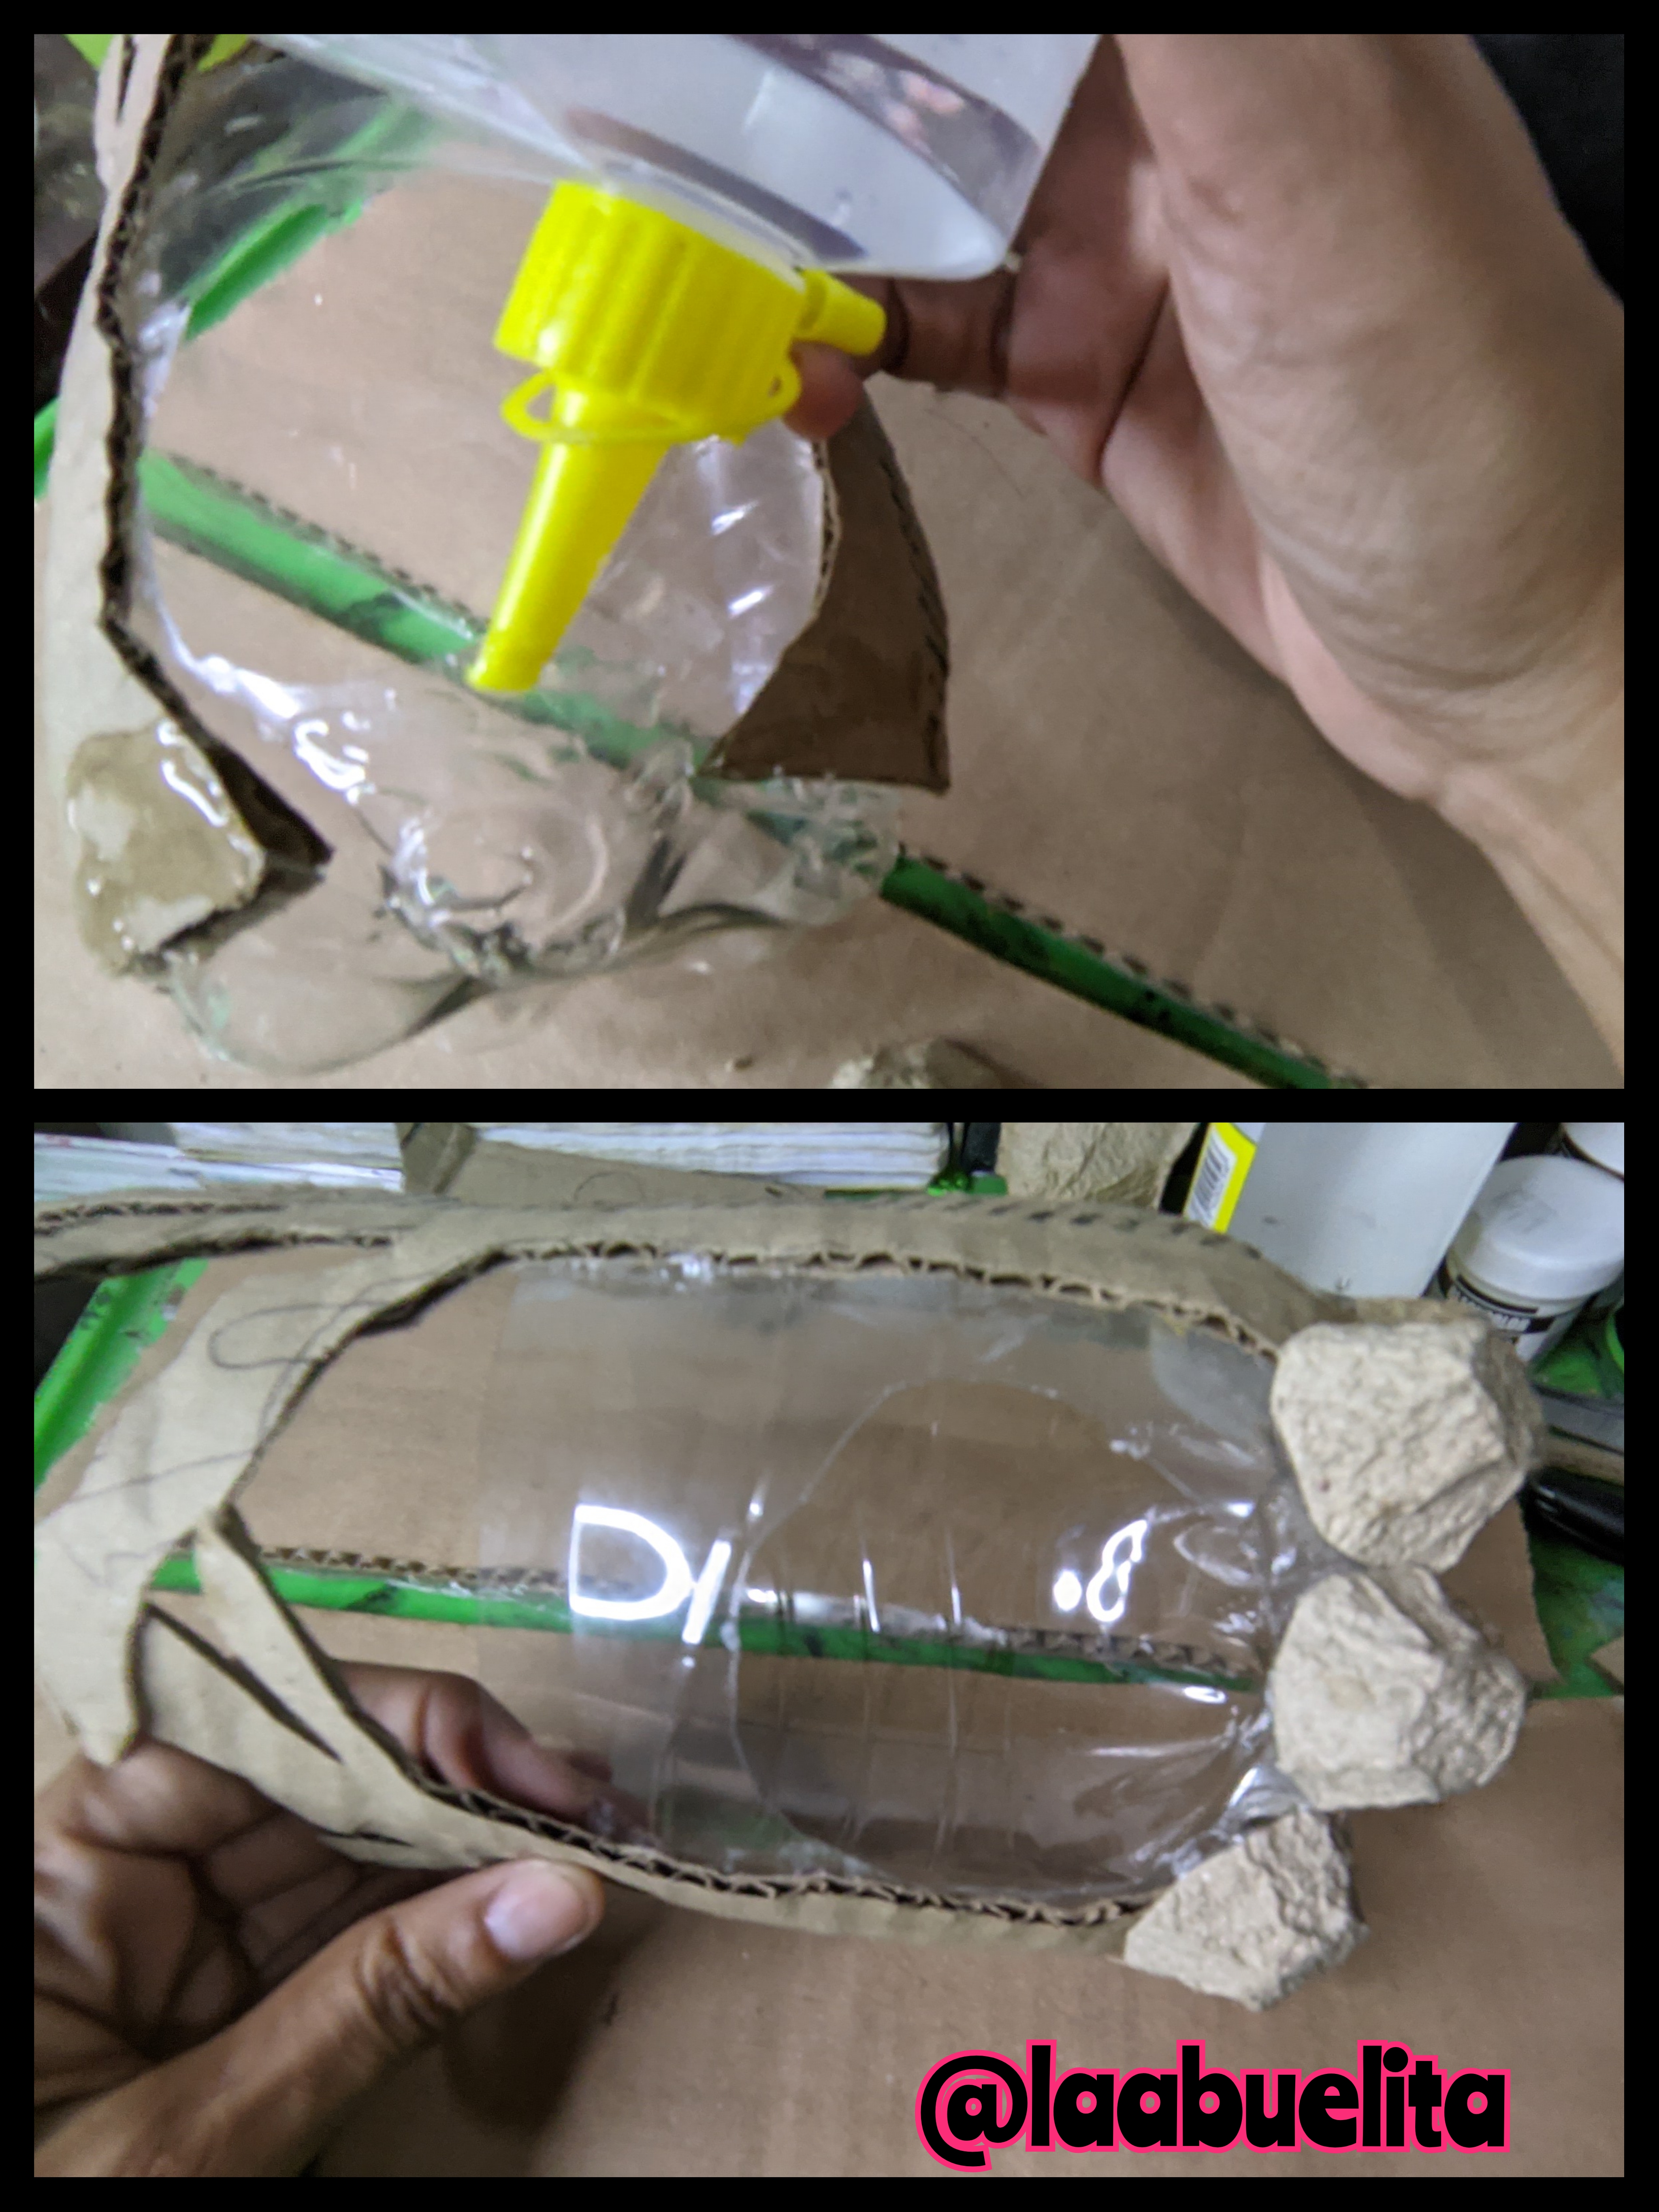
También agarre un trocito de cartón de caja y recorte las formas de arbustos. Luego pegue en las ramas.
🪴 Paso 7:

Llegó el momento de pintar, así que aplique el marrón para el tronco, después el verde manzana para los arbustos y con el verde oscuro le hice unas betas a los arbustos para que parezcan hojas en diferentes tonos de verdes.
🪴 Paso 8:
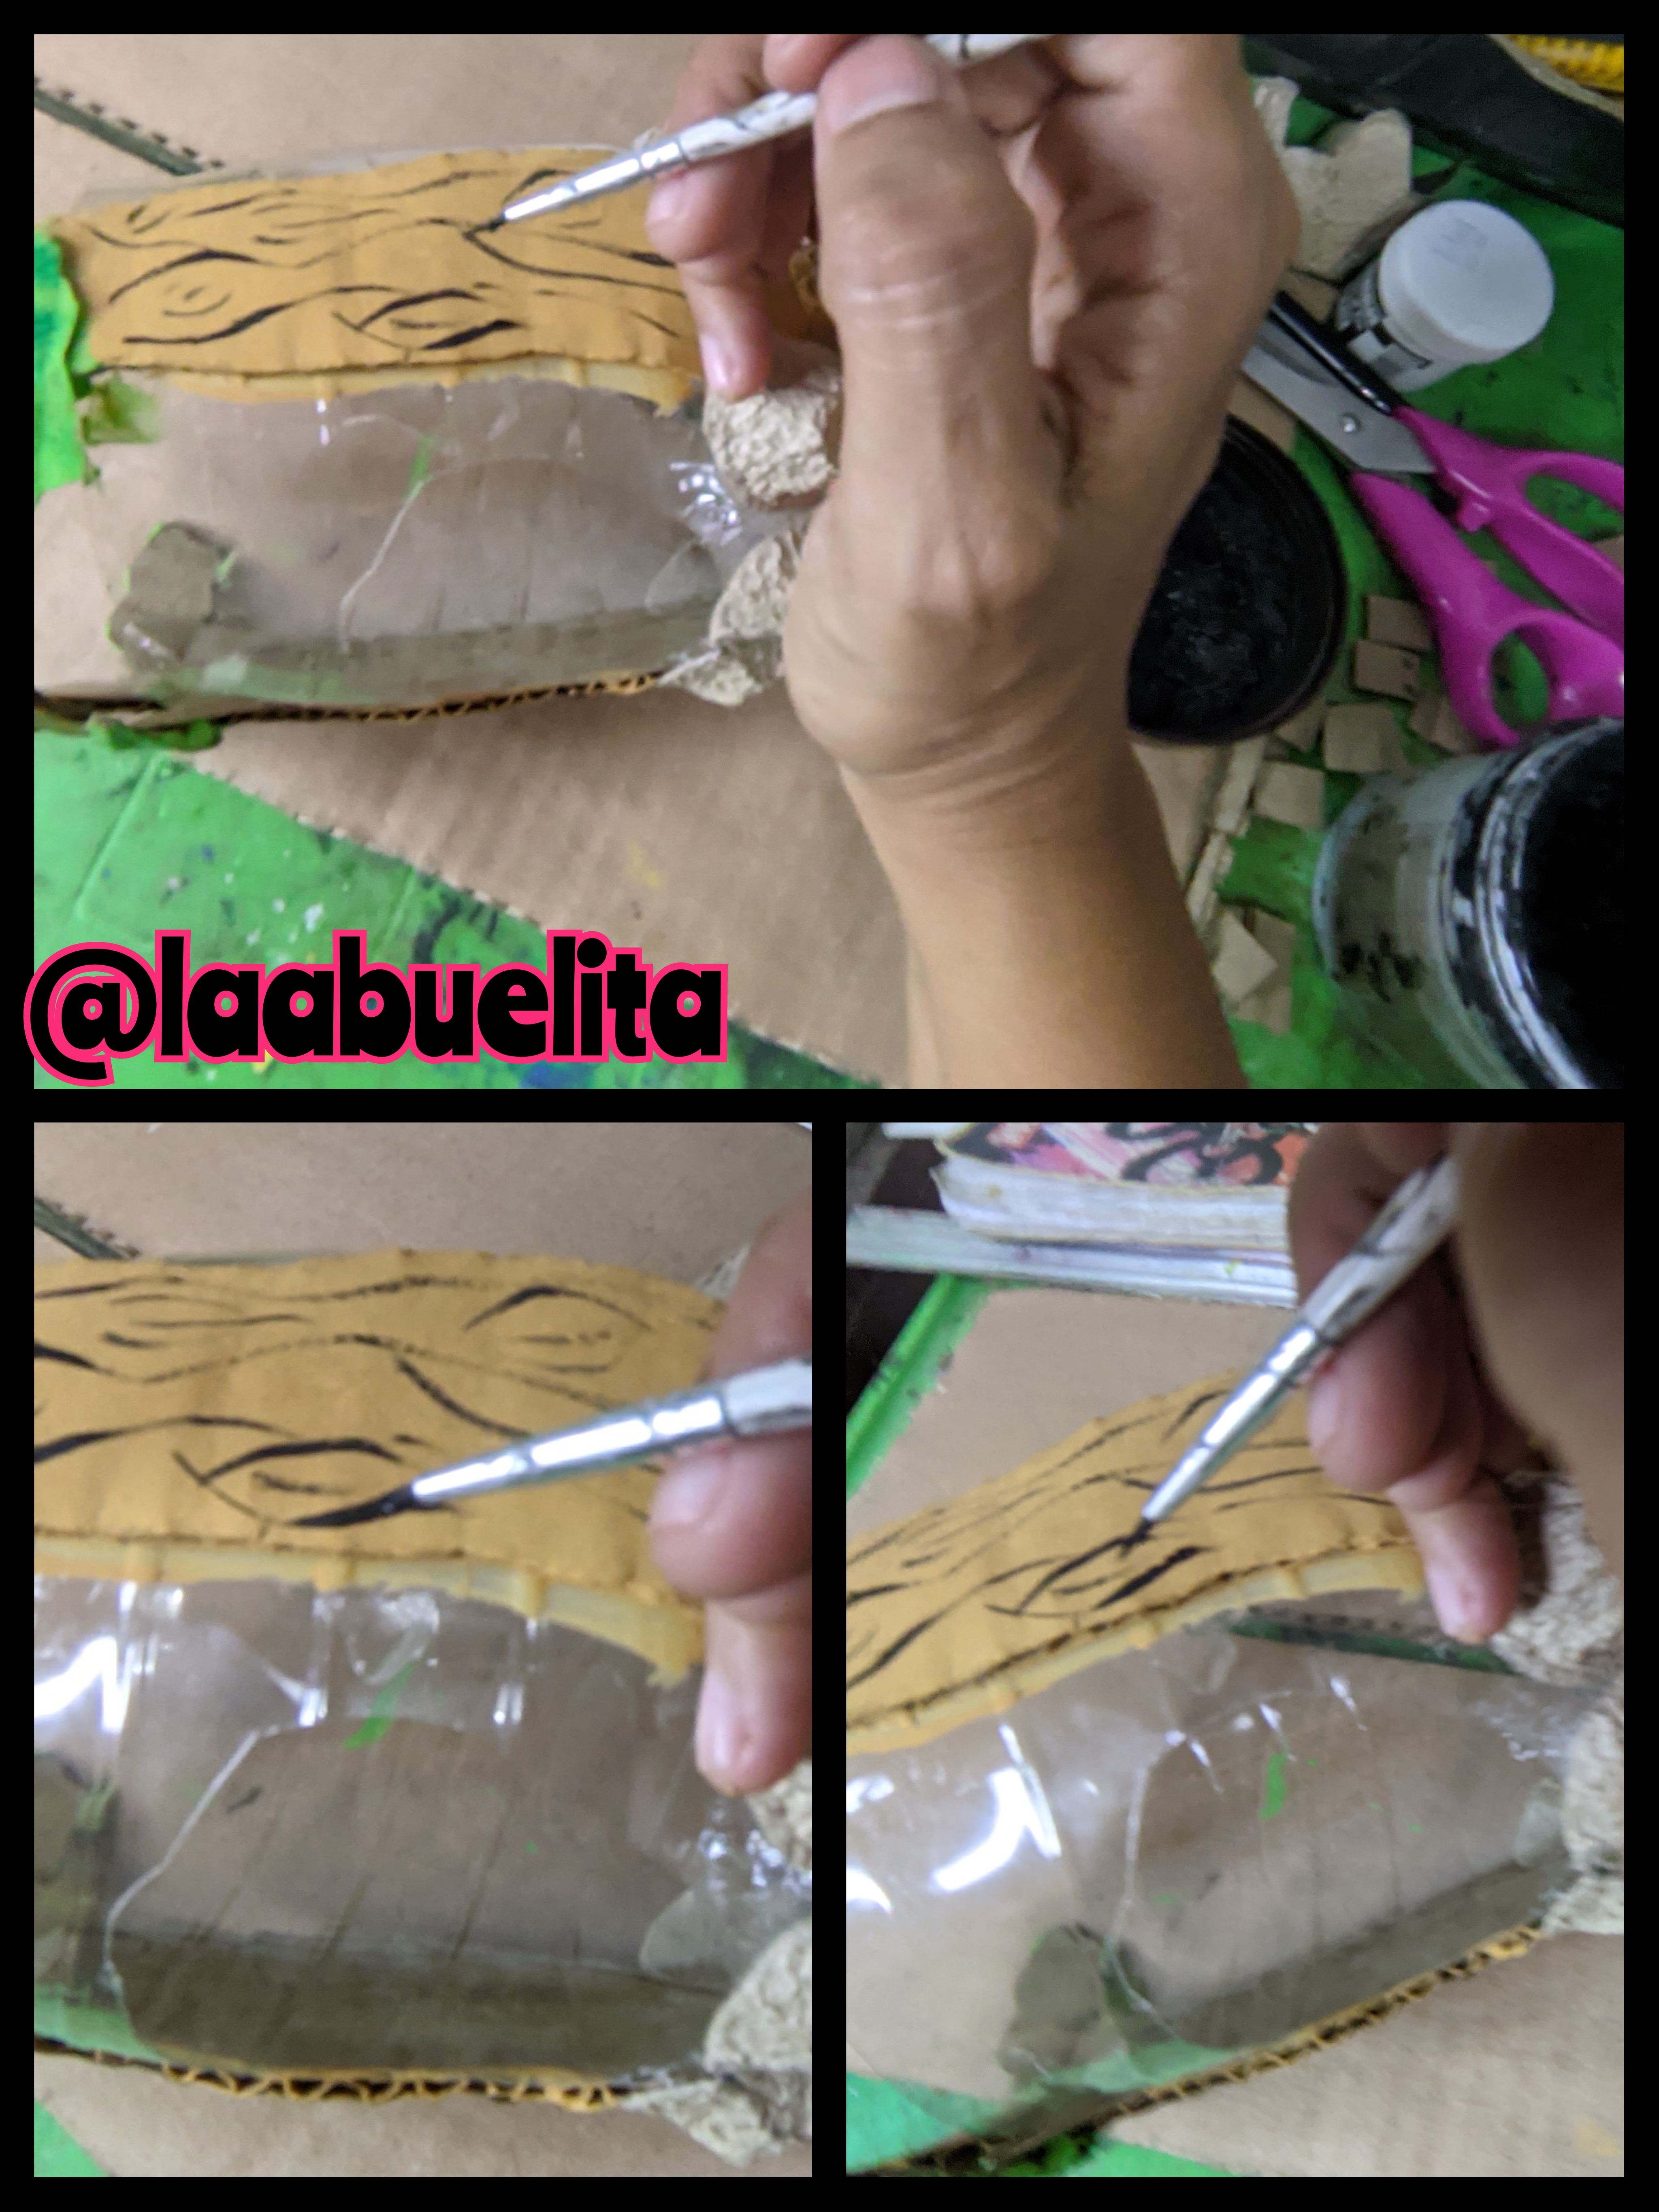
Con la pintura negra le dibuje las betas al tronco.
🪴 Paso 9:

Ahora con el pincel grueso aplicó la pintura blanca por todo el resto de la maceta y dejé secar.
🪴 Paso 10:
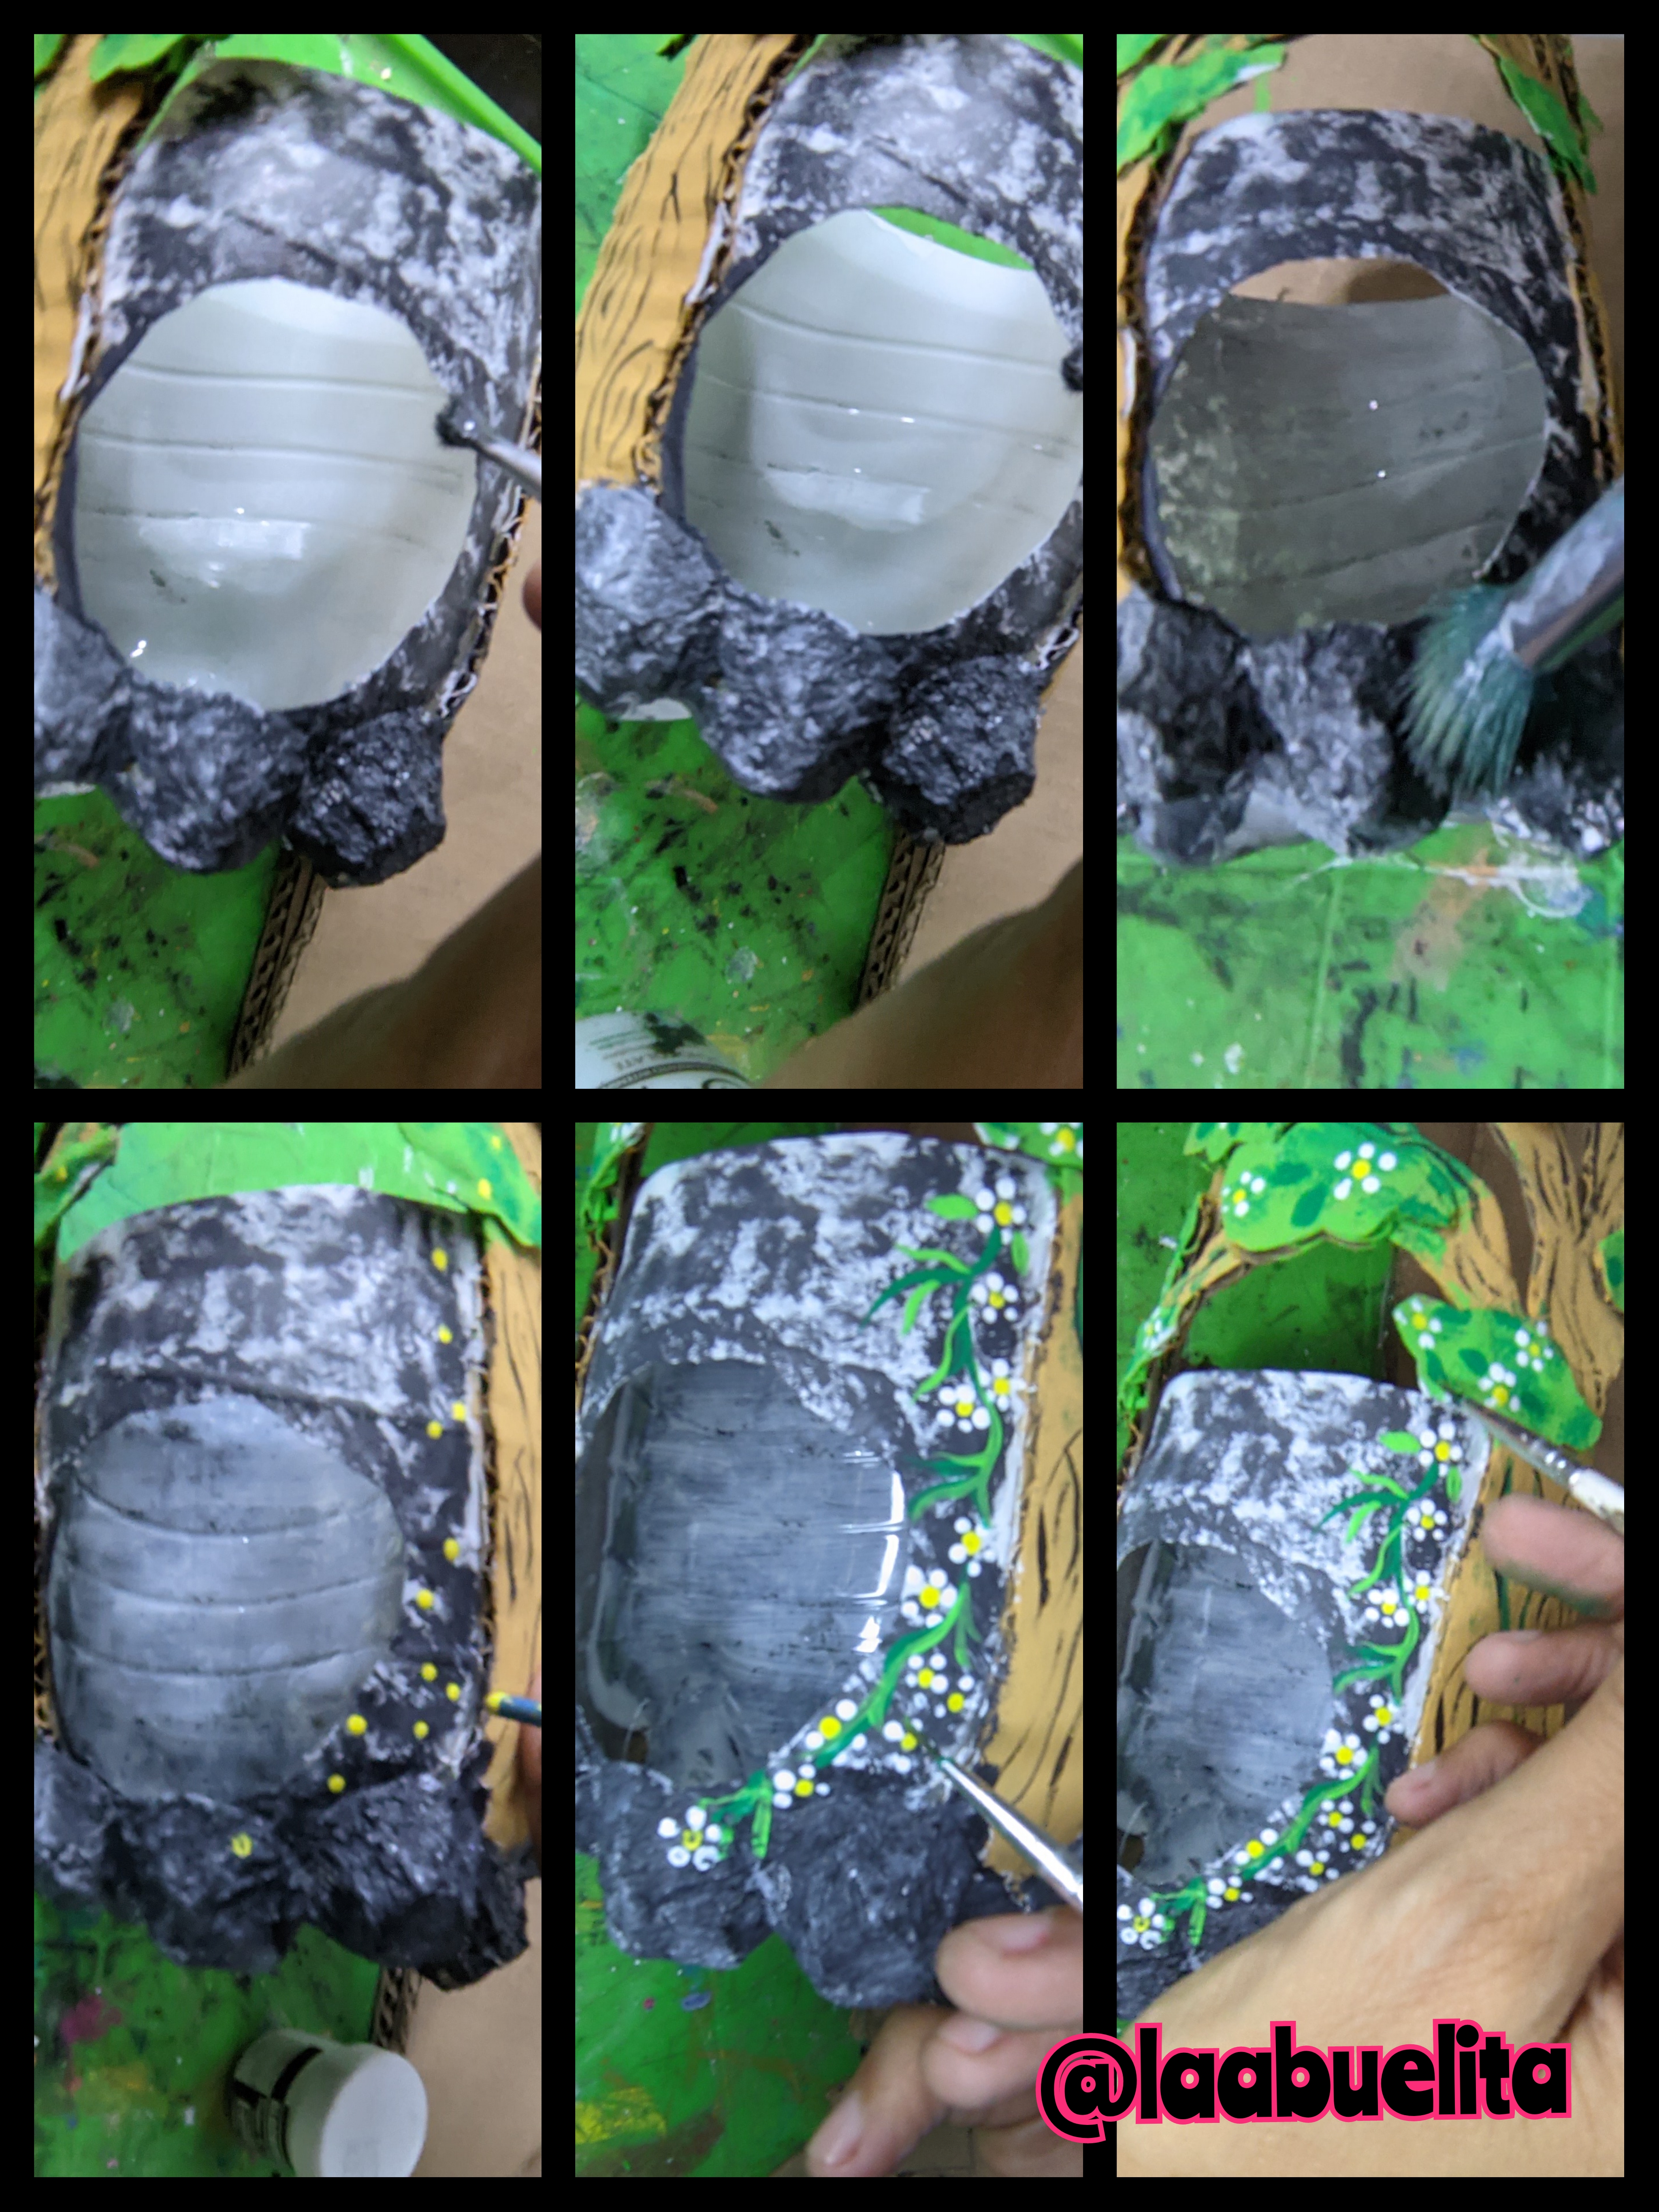
Ahora agarre la pintura negra y con el pincel grueso comencé hacerle salpicaduras, luego también dibuje con un pincel finito algunas enredaderas y unas flores y listo, solo metí allí el cactus y listo, tenemos un matero nuevo.
🪴 Fotos finales 🪴
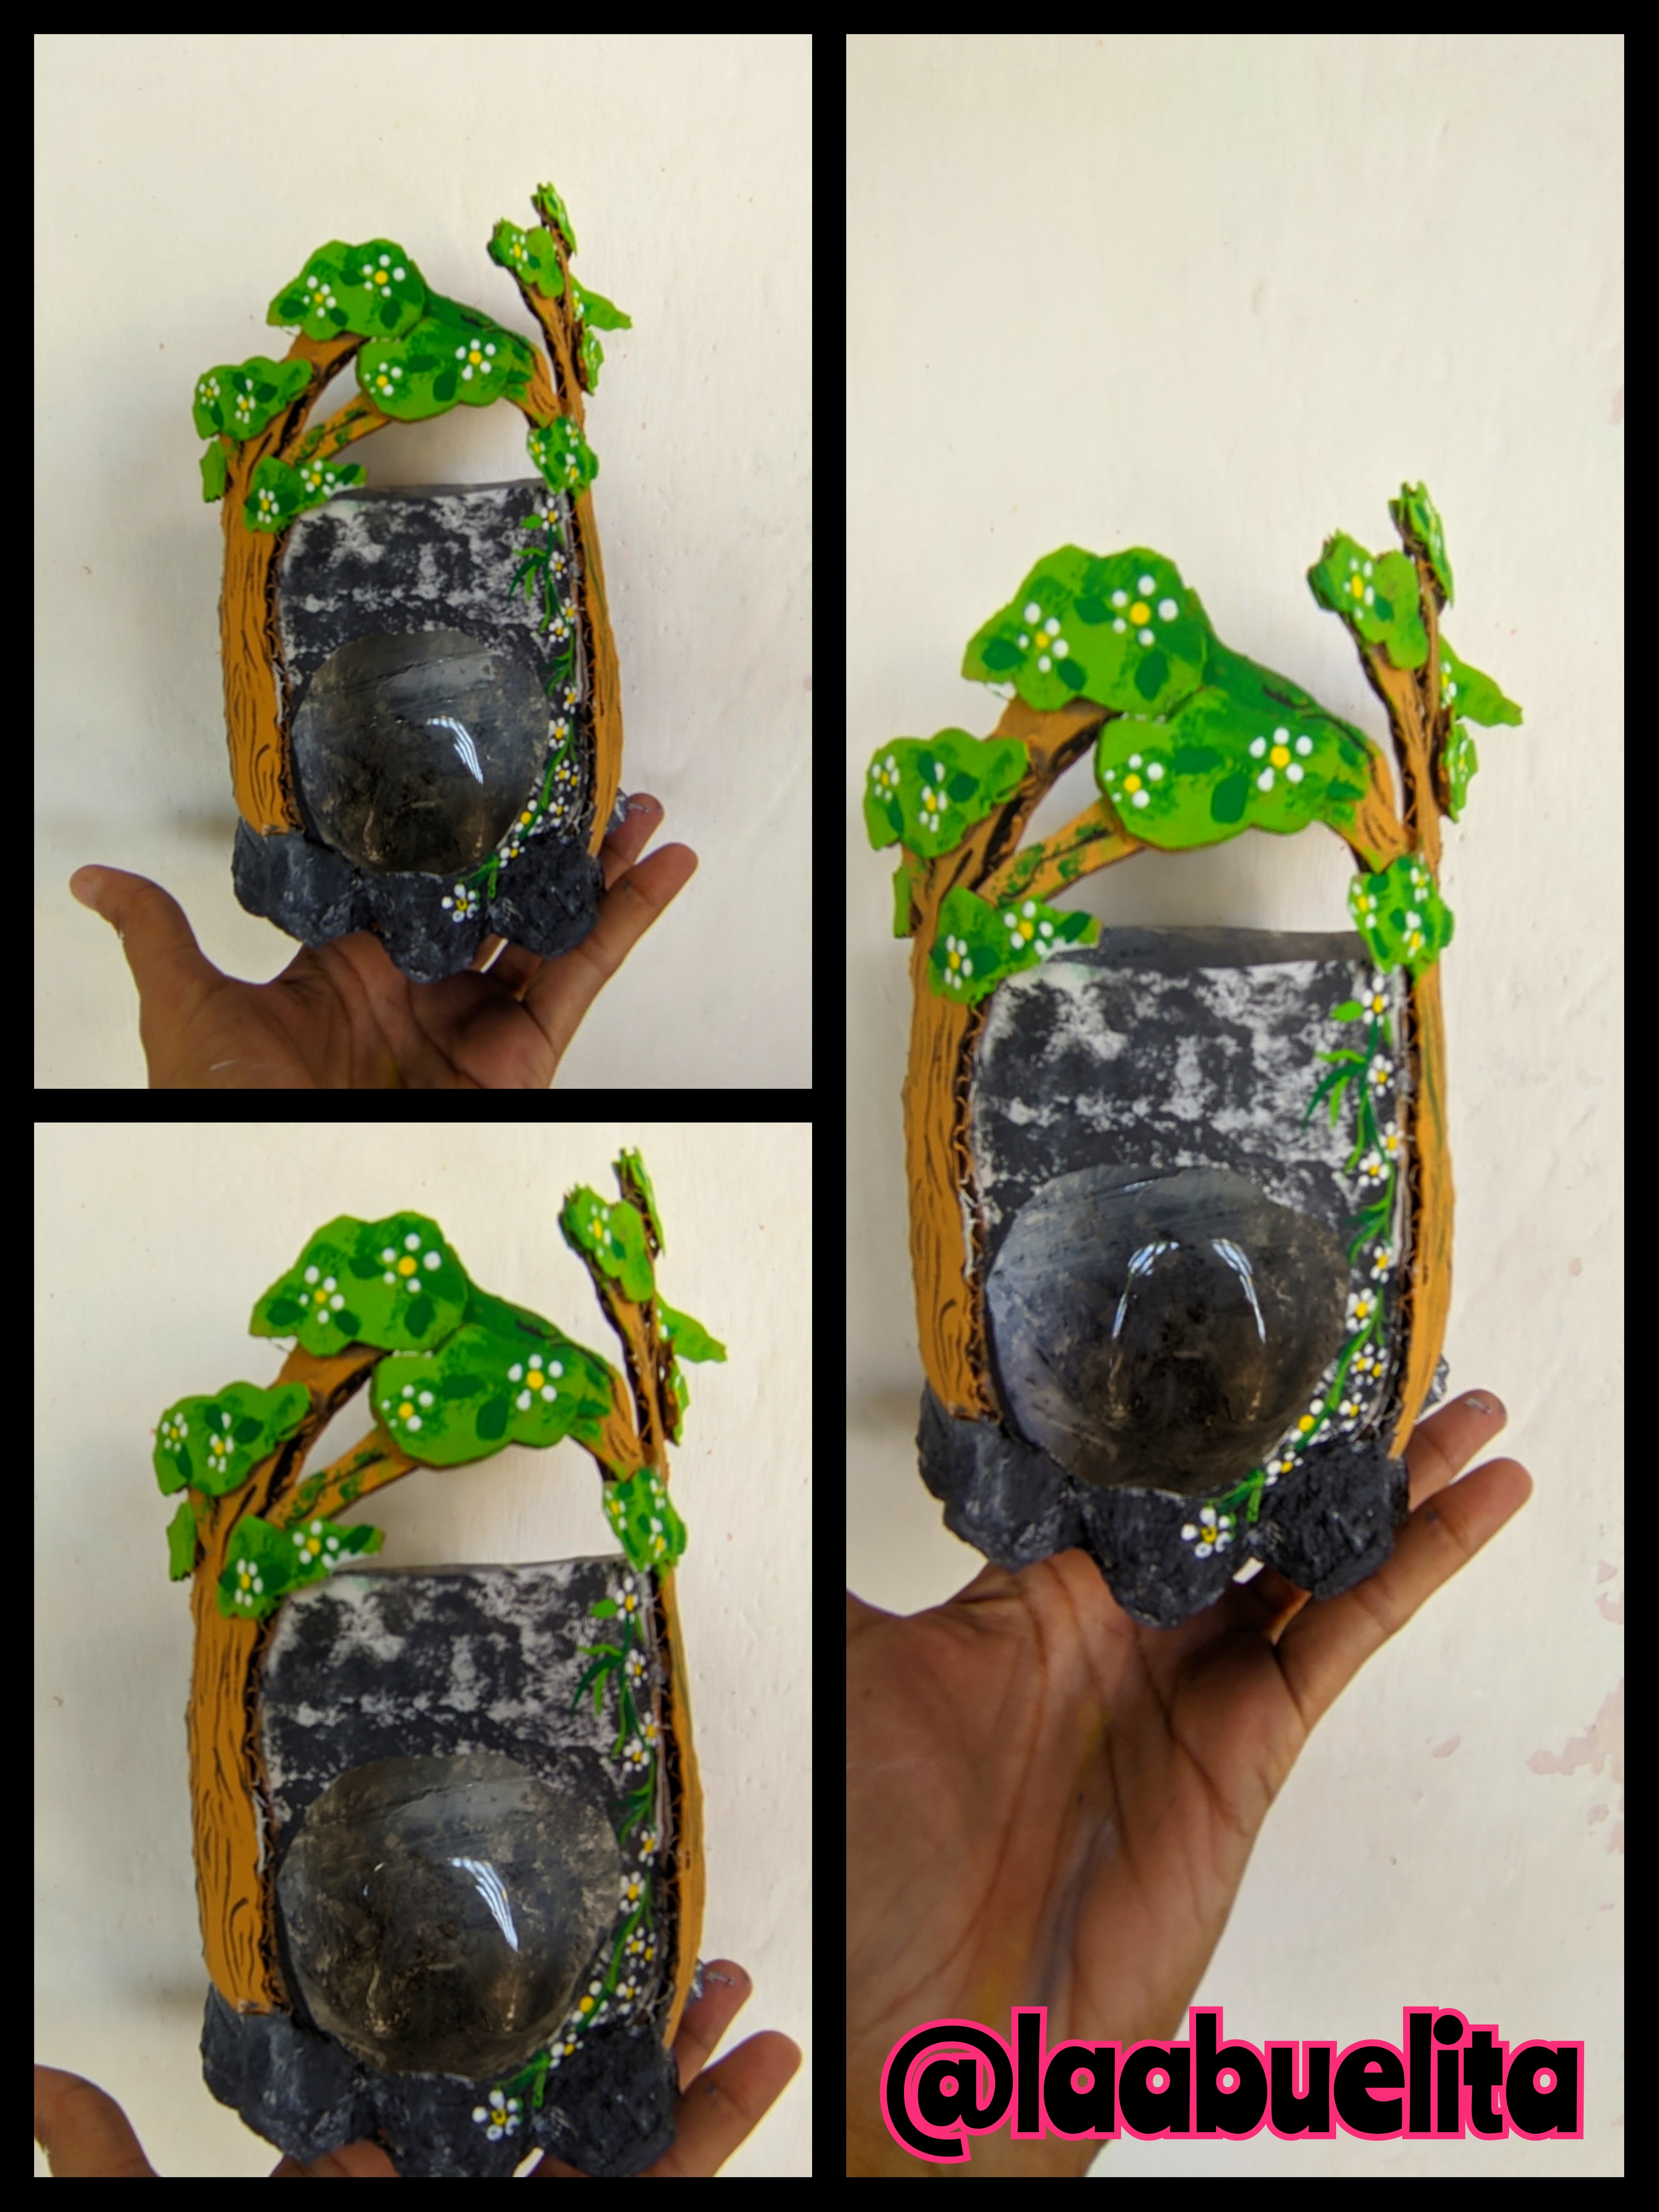

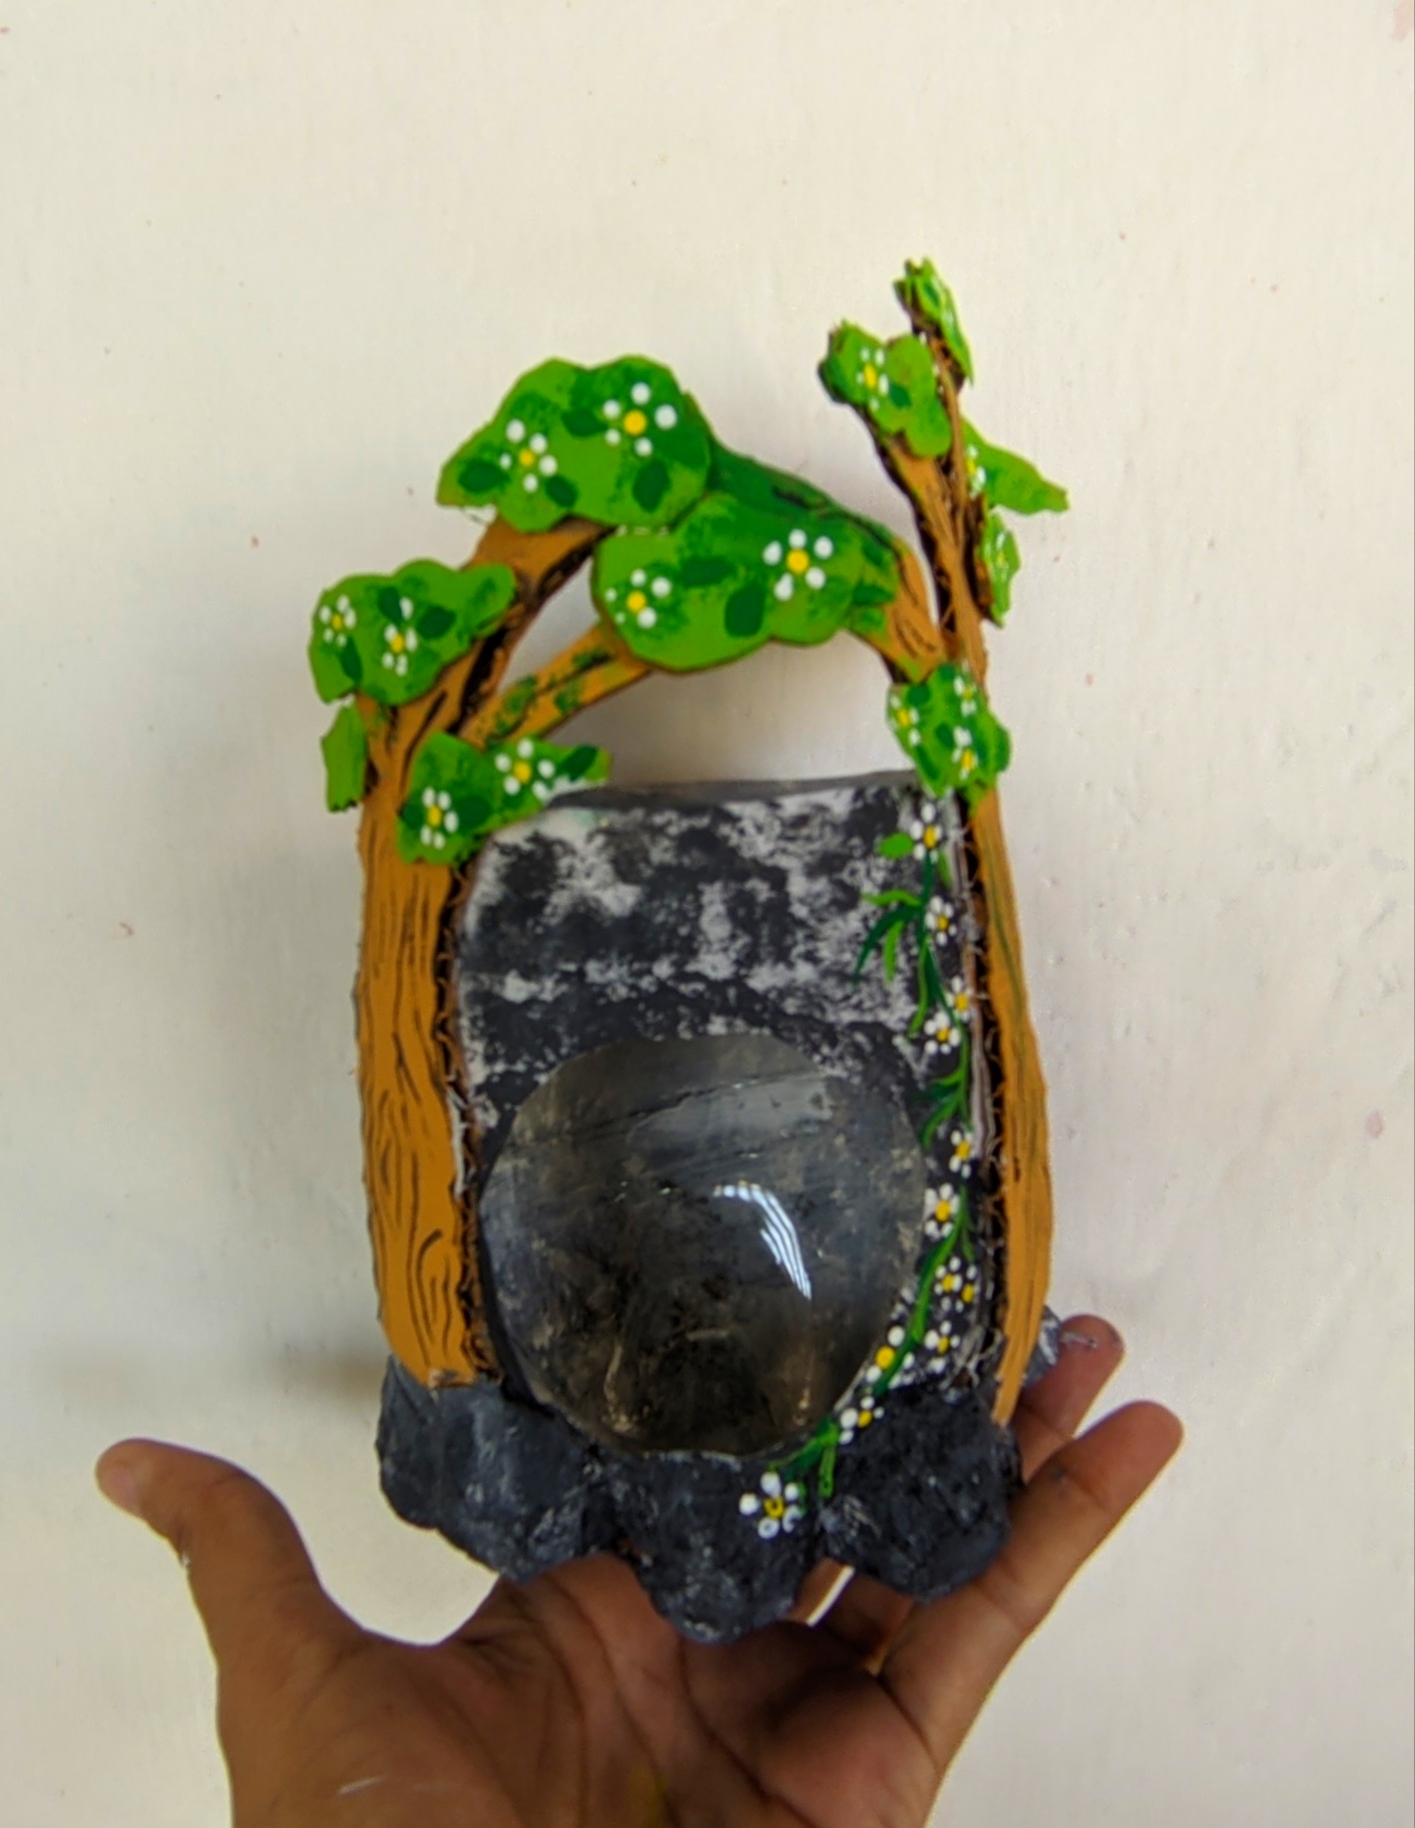
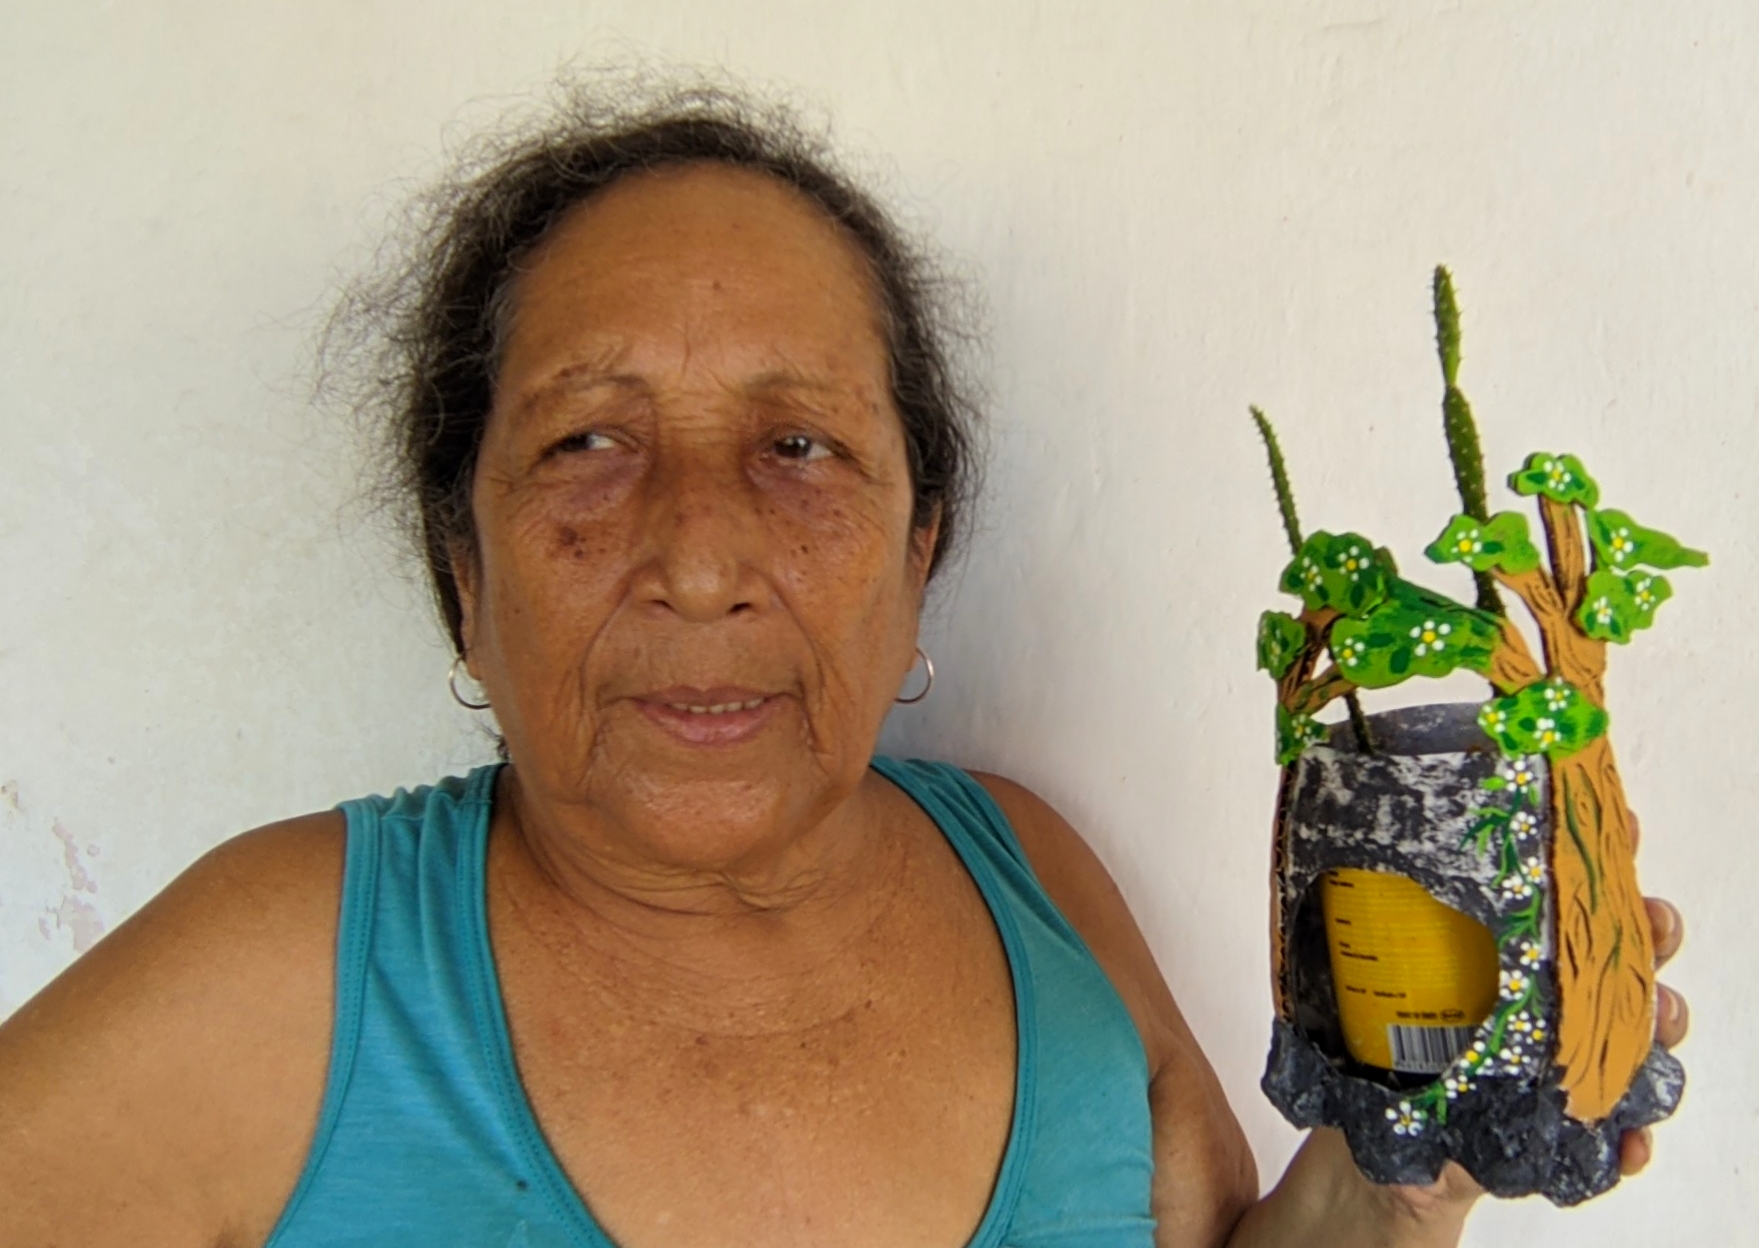
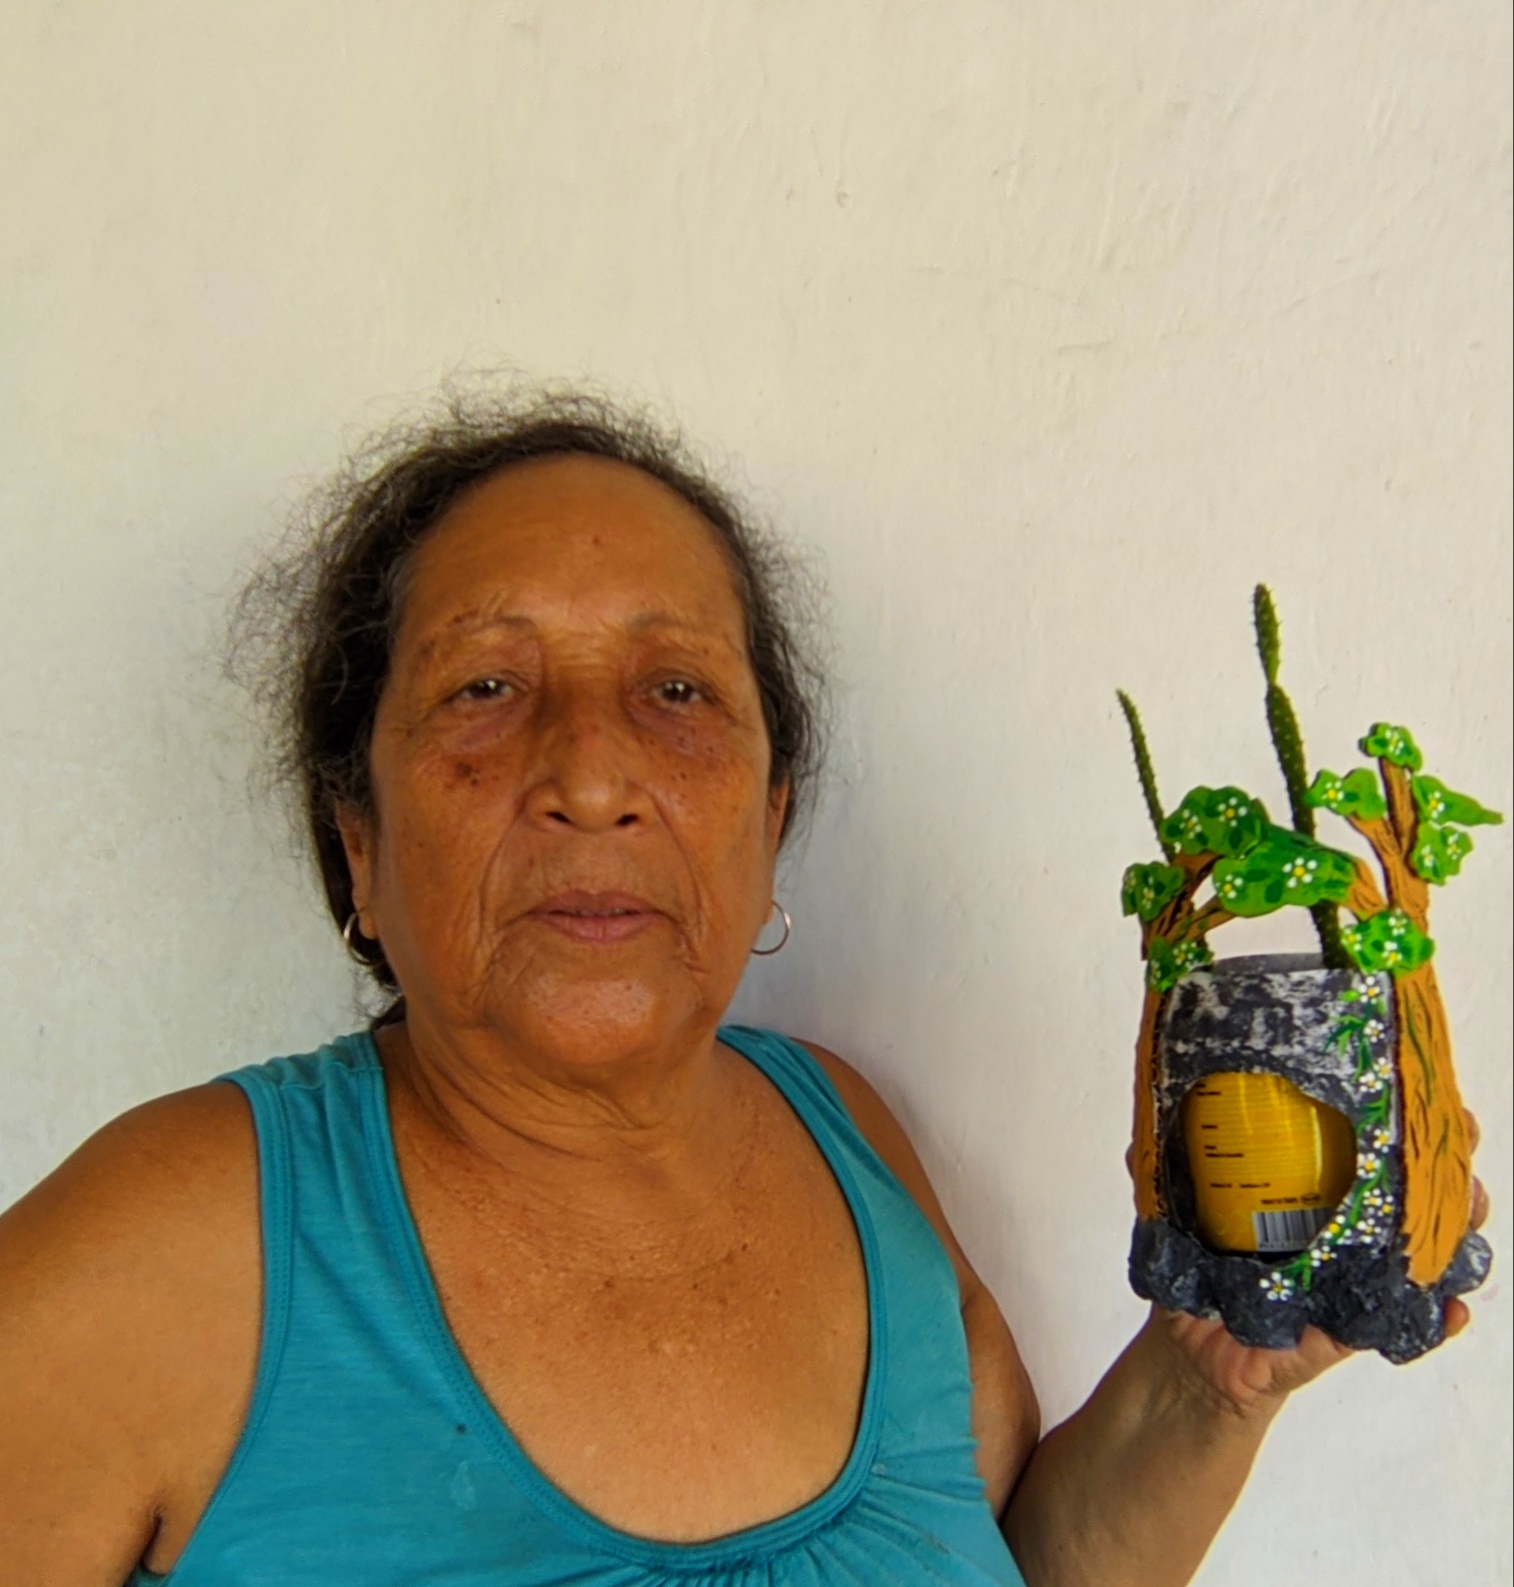
Las fotos fueron tomadas con mi teléfono y son mías y use el programa polish para editar y el traductor deepl versión gratis.
 🪴🪴🪴 ENGLISH 🪴🪴🪴
Hello and greetings to all my grandchildren of this wonderful ecosystem called #hive today in the morning I was fixing my plants and I noticed that I needed a pot to place one of my cactus because the one I had was damaged, and I tell you that they are very expensive, so I said to myself, let's make a nice pot with discarded materials to place my cactus.
The materials you may have at home and you will see that the steps to do it are few and easy, here I leave the step by step and the photos of the finished work.
🪴 Materials 🪴
🪴 Plastic soft drink bottle.
🪴 Cardboard box.
🪴 Egg carton.
🪴 Liquid silicone.
🪴 White, black, light green and dark green and brown paints.
🪴 Scissors.
🪴 Cutter.
🪴 Brushes.
🪴Step by step 🪴
🪴 Step 1:
We clean the plastic bottle well, remove the label and then with the help of the cutter we cut the bottle at the bottom which is what we are going to use, it measures approximately 12 cm high, then with the scissors we even out the edges, also cut a hole in the centre.
🪴Step 2:
On a piece of cardboard, draw two tree trunks, quite irregularly shaped, then cut them out with the scissors, making sure that they are not both the same shape.
🪴 step 3:
On the trunk part of the cardboard trees we put liquid silicone and I stuck it on the base that I made with the plastic bottle, I stuck it on the sides of the circle.
🪴 Step 4:
Grip the egg carton and cut out the bottoms.
🪴 Step 5:
When I had all the backgrounds cut out, I proceeded to apply liquid silicone to the bottle and glued the egg carton backgrounds on, to make them look like rocks.
🪴 Step 6:
Also take a small piece of cardboard from a box and cut out bush shapes. Then glue onto the branches.
🪴 Step 7:
It was time to paint, so I applied the brown for the trunk, then the apple green for the bushes and with the dark green I made the bushes to look like leaves in different shades of green.
🪴 Step 8:
</div class="text-justify">With the black paint draw the betas on the trunk.
🪴 Step 9:
Now with the thick brush I applied the white paint all over the rest of the pot and let it dry.
🪴 Step 10:
Now I took the black paint and with the thick brush I started to make splashes, then I also drew with a thin brush some vines and some flowers and that's it, I just put the cactus in there and that's it, we have a new pot.
🪴 Final photos 🪴

The photos were taken with my phone and are mine and I used polish for editing and deepl translator free version.


Hello there!
You must be proud of the finished item, after diligently crafting all those small parts together.
It's great to have original personal items that are designed by you:)
Thank you for your words, although it is a lot of work for me it is a pleasure to make it, and I enjoy it a lot, most of the things I make I give away and others like these I keep, thanks for taking the time to visit my post.
You're very welcome:)
Congratulations @laabuelita! You have completed the following achievement on the Hive blockchain And have been rewarded with New badge(s)
Your next target is to reach 3750 upvotes.
You can view your badges on your board and compare yourself to others in the Ranking
If you no longer want to receive notifications, reply to this comment with the word
STOPCheck out our last posts:
Buenas tardes @laabuelita mil felicitaciones realmente eres muy creativa, muchas gracia por compartir con nosotros el paso a paso tan detallado, me encanto la forma en que pintaste el tronco y las enredaderas, Dios bendiga tus manos abuelita, un abrazo.
Muchas gracias hijita
Buena manera de reciclar la botellas de plástico quedó muy creativo te felicito.
Hola amiguita, esa es la idea utilizar los materiales que ya consideramos desechos para ayudar al planeta, gracias por visitar mi post
Quedó muy bien tu matero, lo mejor es que fue con materiales de reciclaje, así ayudamos a cuidar y salvar el planeta. A mí me encanta tener plantas en casa. Buena iniciativa. Saludos.
Así mismo es hay que ayudar al planeta y que mejor que haciendo detalles para reutilizar, gracias amiga
this is very creative for plants! 😃 imagine having a shelf of them with actual flowers growing, very beautiful, thanks for sharing how to make these!

https://d.buzz