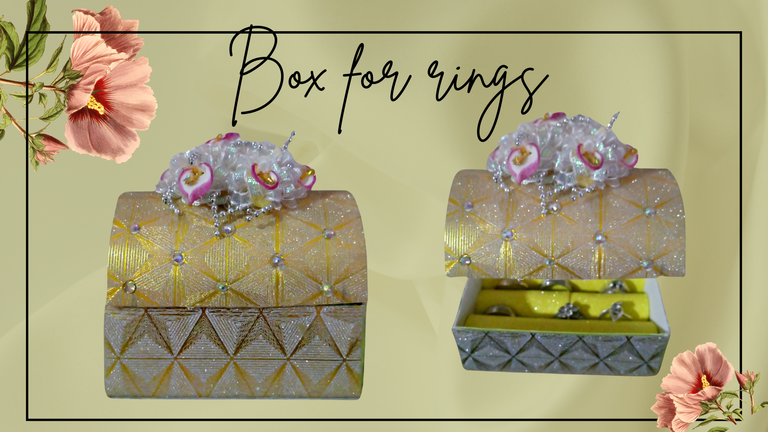
Hello creative friends, I hope you are well, having a great and productive week.
Today I share with you how I made a nice chest to store my rings, and is that not having a safe and suitable place to store the garments we are at risk of losing them because many times we do not have an ideal place to keep them, in my case I often left them on the nightstand, in a purse in a box of other clothes, in short, I always ended up losing my rings, which I like to use so much, so I came up with the idea of making a chest to store them, I liked the idea of chest because besides being decorative is very comfortable and ideal for this purpose.
Now I don't have to worry, since I have a specific place to put my rings.
I hope you like it.
The pictures you will see below were taken with my phone model TECNO SPARK GO 2024.
Hola amigos creativos, espero que se encuentren bien, pasando una gran semana productiva.
El día de hoy les comparto como hice un lindo cofre para guardar mis anillos, y es que no tener un lugar seguro y adecuado para guardar las prendas tenemos en riesgo de extraviarlas porque muchas veces no tenemos un sitio ideal donde resguardarlas, en mi caso las dejaba muchas veces sobre la mesa de noche, en una cartera en una caja de otras prendas, en fin siempre terminaba perdiendo mis anillos, que tanto me gusta usar, así que se me ocurrió la idea de hacer un cofre para guardarlos, me gusto la idea de cofre porque además de ser decorativo es muy cómodo e ideal para este fin.
Ahora no tengo por qué preocuparme, ya que tengo un lugar específico donde colocar mis anillos.
Espero que les guste.
Las fotografías que verán a continuación, fueron tomadas con mi teléfono modelo TECNO SPARK GO 2024.

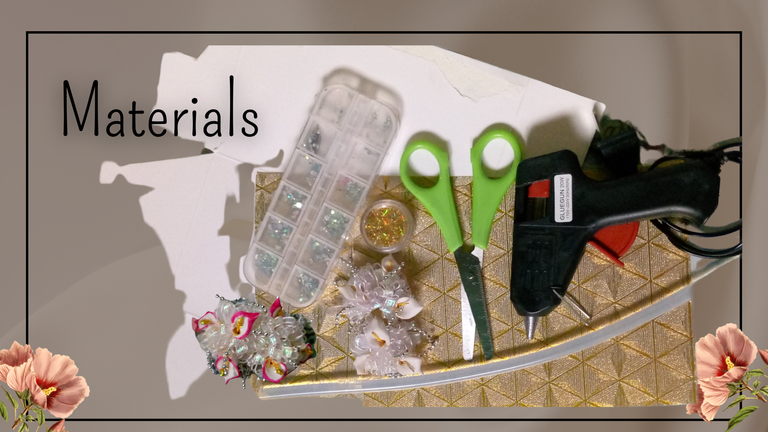
The materials I used are easy to obtain and the tools are always available at home.
- Sheet of gold cardboard stamped with stars.
- Recycled cardboard from a light bulb box
- Decorative flower arrangement
- Decorative stones
- Gold frosting
- Yellow foami with frosting
- Silicone stick
- Paper cutting scissors
- Silicone hot glue gun
- Pencil
- Ruler
Los materiales que utilice son fáciles de conseguir y las herramientas siempre las vamos a tener en casa.
- 1 Lámina de cartulina dorada estampada con estrellas
- Cartón reciclado de caja de bombillo
- Arreglo de flores decorativas
- Piedras decorativas
- Escarchas doradas
- Foami amarillos con escarcha
- Barra de silicona
- Tijera de cortar papel
- Pistola para silicona caliente
- Lápiz
- Regla

Paso (1)
 |  |  |
|---|
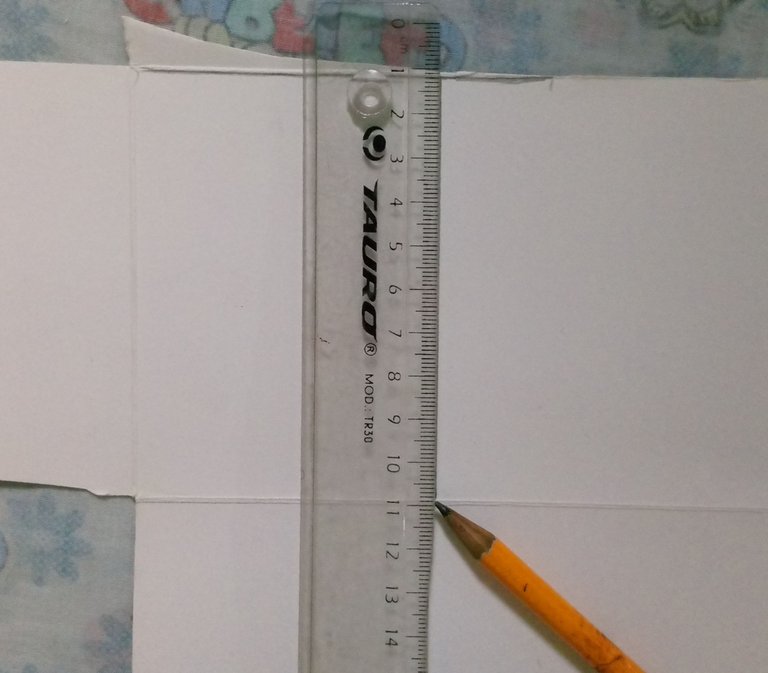
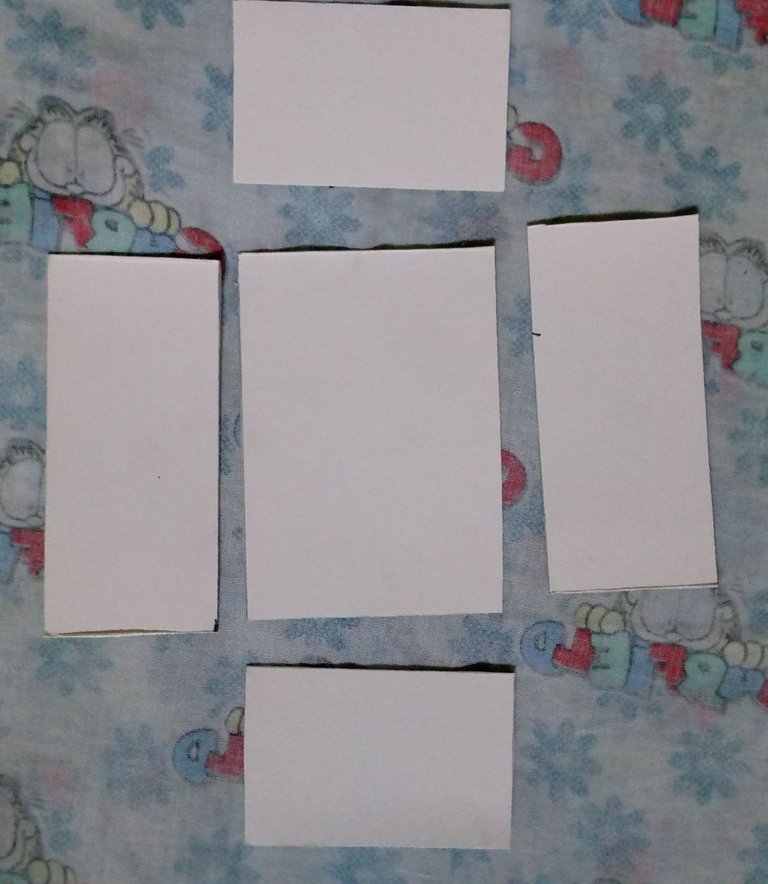
The ring box I made has dimensions of 9 cm high by 11 cm wide.
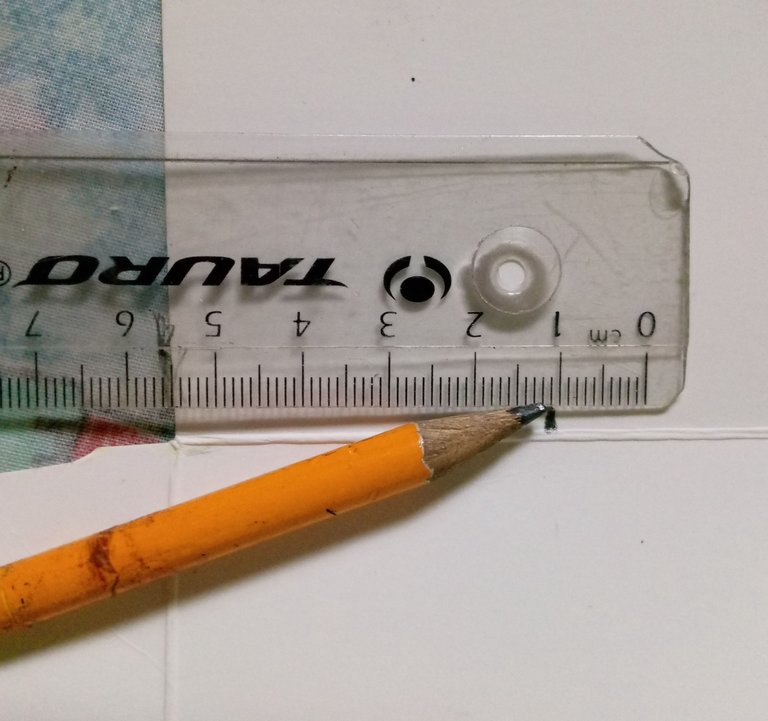
The first thing I did was to measure and mark the pieces, the first piece I started with was the base, I made it with a piece of cardboard that I measured with the help of the pencil and the ruler, this piece is a rectangle that measures 8 cm high by 11 cm long.
Secondly, I measured and marked the front and side pieces, the front pieces measure 11 cm long and 5 cm high.
The side pieces are 8 cm long by 5 cm high.
In this first step I cut out the 5 main pieces to make the lower base of the chest.
El cofre para anillos que hice tiene unas dimensiones de 9 cm de alto por 11 cm de ancho.
Lo primero que hice fue medir y marcar las piezas, la primera pieza con la que comencé fue con la base, esta la hice con un trozo de cartón que medí con la ayuda del lápiz y la regla, esta pieza es un rectángulo que mide 8 cm de alto por 11 cm de largo.
En segundo lugar, medí y marque las piezas frontales y laterales, las piezas frontales miden 11 cm de largo y 5 cm de alto.
Las piezas laterales miden 8 cm de largo por 5 cm de alto.
En este primer paso recorté las 5 piezas principales para realizar la base inferior del cofre.

Paso (2)
 |  |  |
|---|
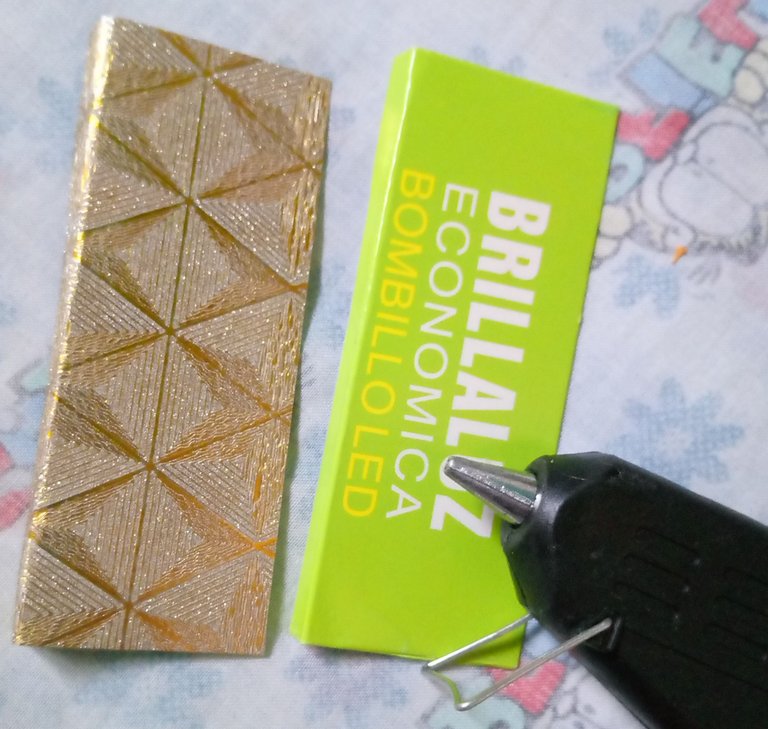
In step 2 I cut out the same number of pieces again, but this time I made them with the golden cardboard to cover the cardboard and embellish the chest.
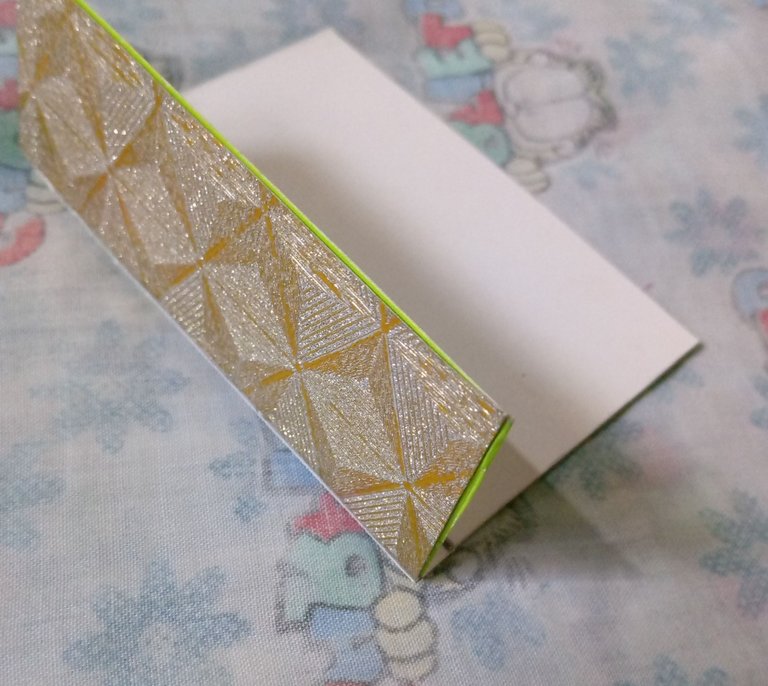
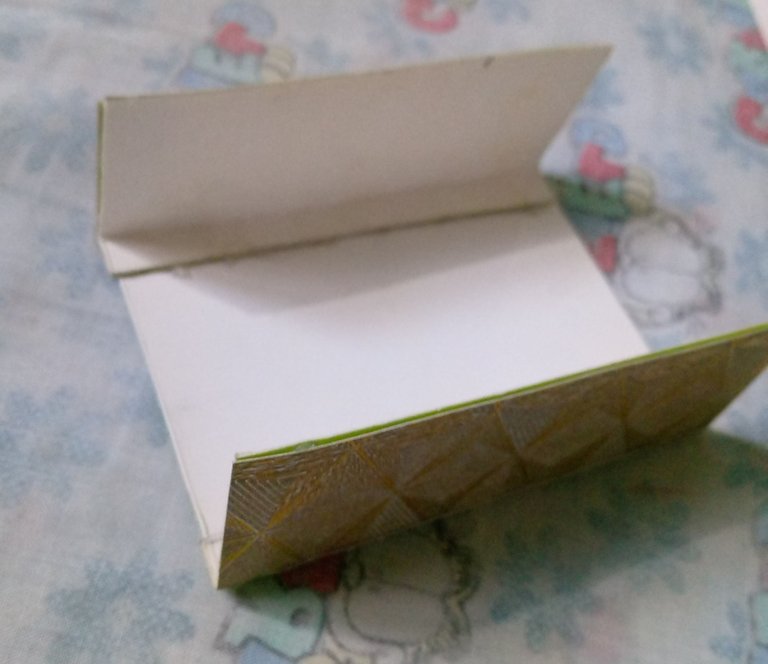
At this point I began to glue all the pieces with the hot silicone, I started first gluing the recycled cardboard pieces,
these I glue them making a line of 1 cm that I fold, so that it would take greater resistance and form at the moment of gluing the pieces that go on this cardboard, as it is the decorative golden cardboard. In the 3rd photo you can notice the double, which I did to the front pieces and later you can notice it in the side pieces.
En el paso 2 volví a recortar el mismo número de piezas, pero esta vez las hice con la cartulina dorada que para cubrir el cartón y embellecer el cofre.
En este momento comencé a pegar todas las piezas con la silicona caliente, comencé primero pegando las piezas de cortón reciclado,
estas las pego haciendo una línea de 1 cm que doble, para que tomara mayor resistencia y forma al momento de pegarle las piezas que van sobre este cartón, como lo es la cartulina decorativa dorada. En la 3 era foto pueden notar el doble, que le hice a las piezas frontales y más adelante se puede notar en las piezas laterales.

Paso (3)
 |  |  |
|---|
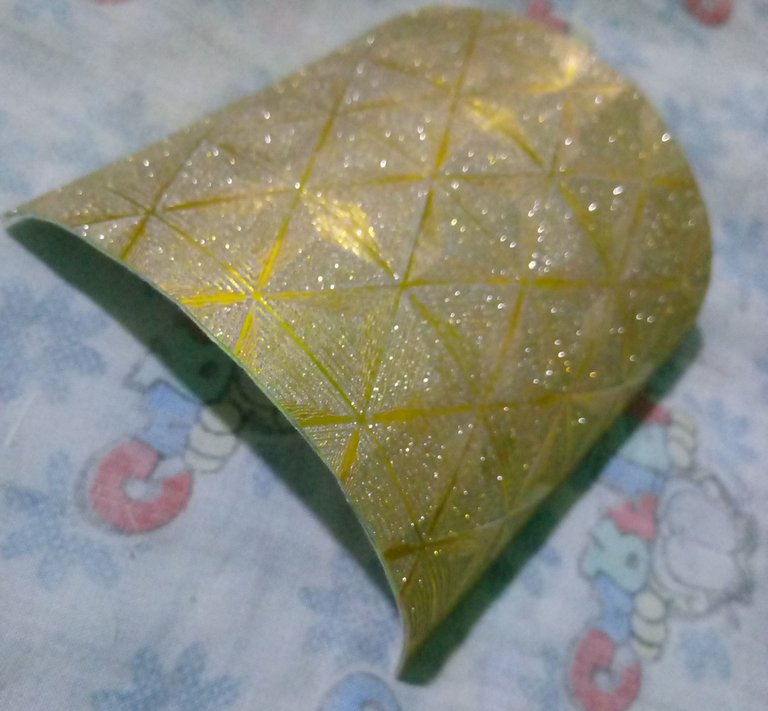
In this step 3 I made the upper pieces of the lid of the chest, the upper piece that is folded, I measured it in 13 cm wide and 11 cm long, everything has to match for it to be neat.
As I explained before, the pieces are 2 of recycled cardboard and 2 of gold cardboard.
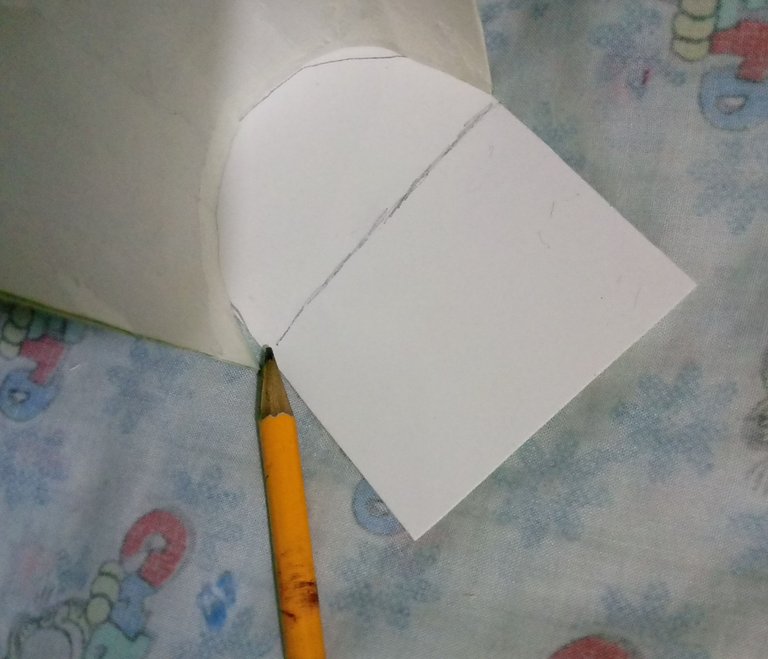
For the top side pieces of the lid, I measured the sides of the top piece, then I took those measurements to the cardboard, marked them and cut them with the following measurements, I measured 2 arches of 13 cm long and 5 cm wide, these pieces I glued them to the top piece, and lined the sides with frosted foami.
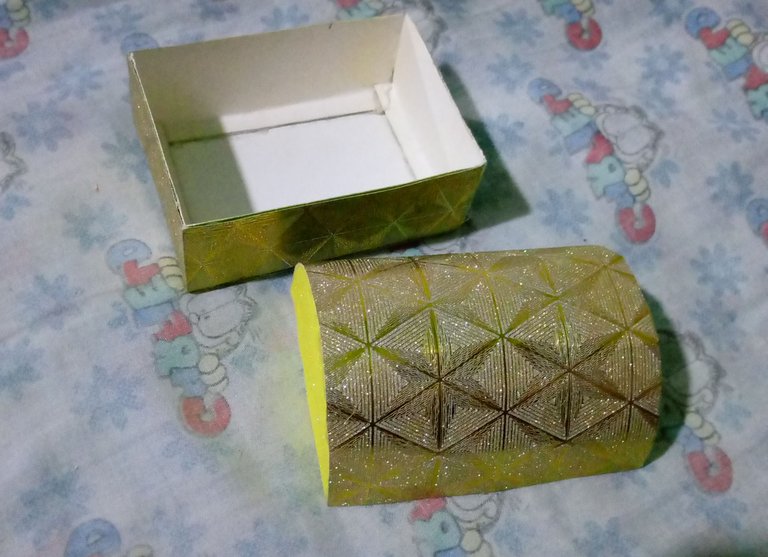
With these steps I have the 2 parts of the chest almost ready.
El este paso 3 hice las piezas superiores de la tapa del cofre, la pieza superior que va doblada, la medí en 13 cm de ancho y 11 cm de largo, todo tiene que coincidir para que quede prolijo.
Como les explique anteriormente, las piezas son 2 de cartón reciclado y dos de cartulina dorada.
Para las piezas laterales superiores de la tapa, medí los laterales de la pieza superior, luego esas medidas las lleva al cartón, las marque y recorte con las siguientes medidas, medí 2 arcos de 13 cm de largo y 5 cm de ancho, estas piezas las pegue a la pieza superior, y forre los laterales con foami escarchado.
Con estos pasos ya tengo las 2 partes del cofre casi listo.

Paso (4)
 |  |  |
|---|
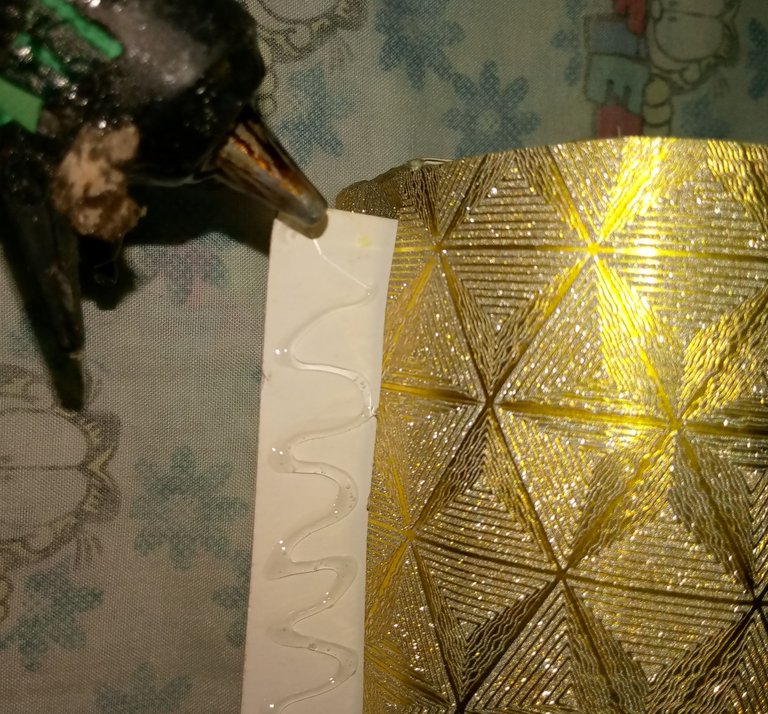
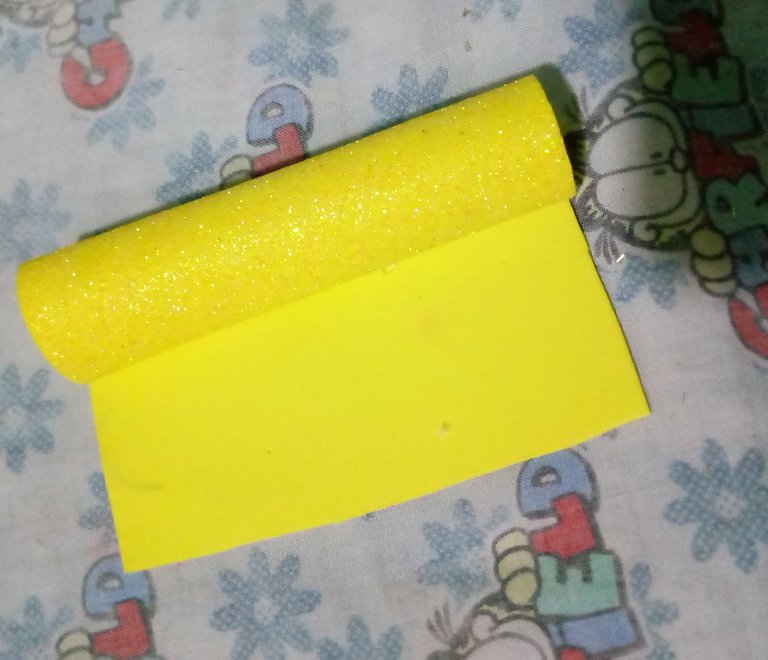
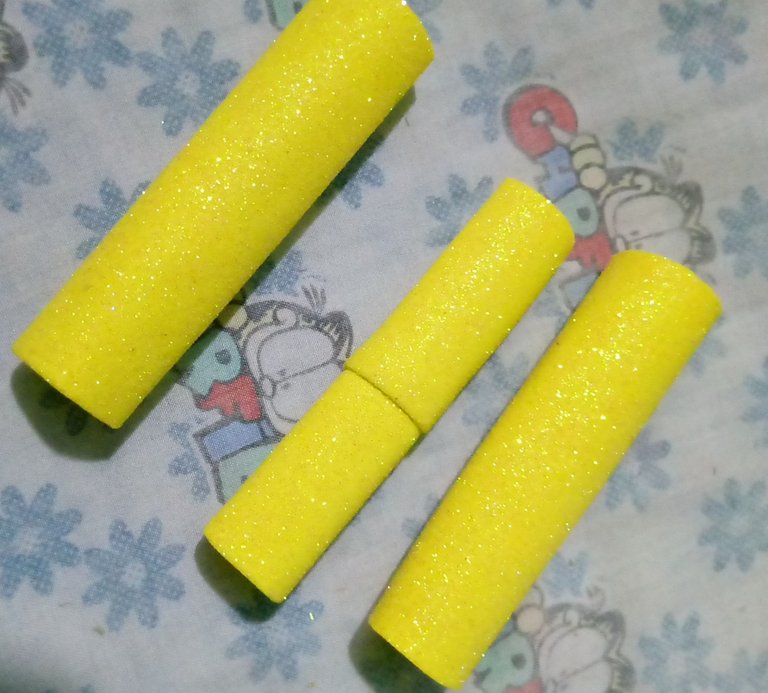
To join the two parts of the box I cut a gold cardboard ribbon 11 cm long and 5 cm wide that I glued with hot silicone on the back of the box, as a support for opening and closing.
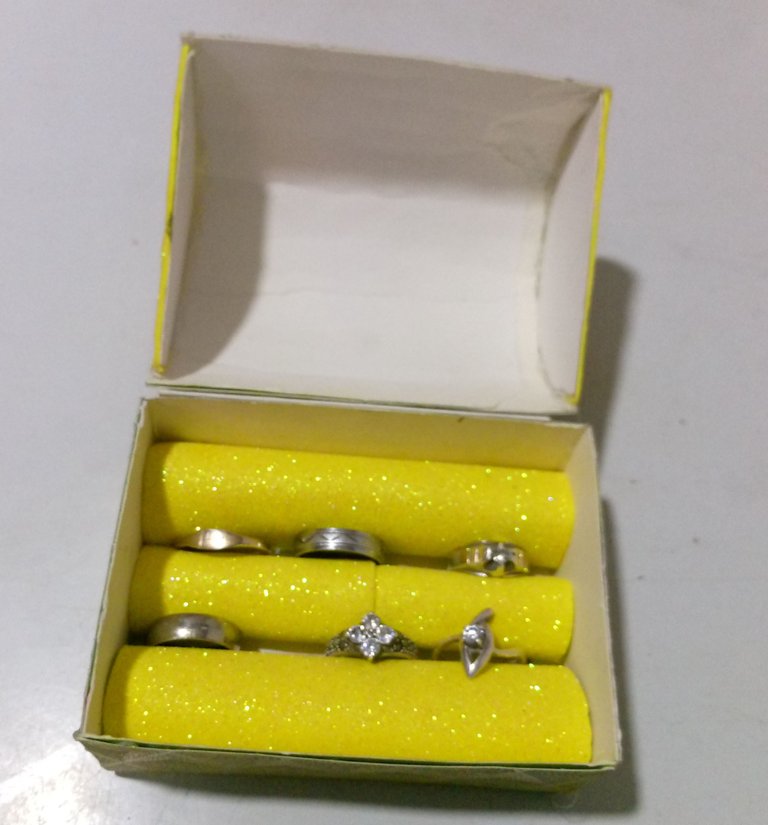
Then I made some rolls of gold foami to place on the inside of the box, as a support and separator of the rings, which will prevent rubbing and damage to the rings.
Para unir las dos partes del cofre recorte una cinta de cartulina dorada de 11 cm de largo y 5 cm de ancho que pegue con silicona caliente, en la parte posterior de la caja, como soporte para abrir y cerrar.
Luego hice unos rollos de foami dorado para colocarlos en la parte interna del cofre, como soporte y separador de los anillos, lo que evitara el frote y daño a los anillos.

Paso (5)
 |  |  |
|---|
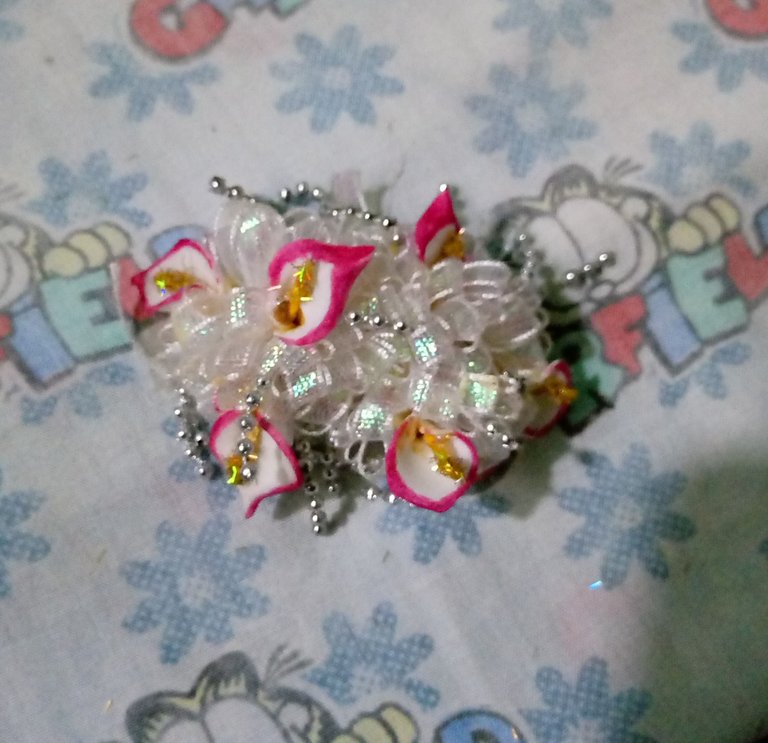
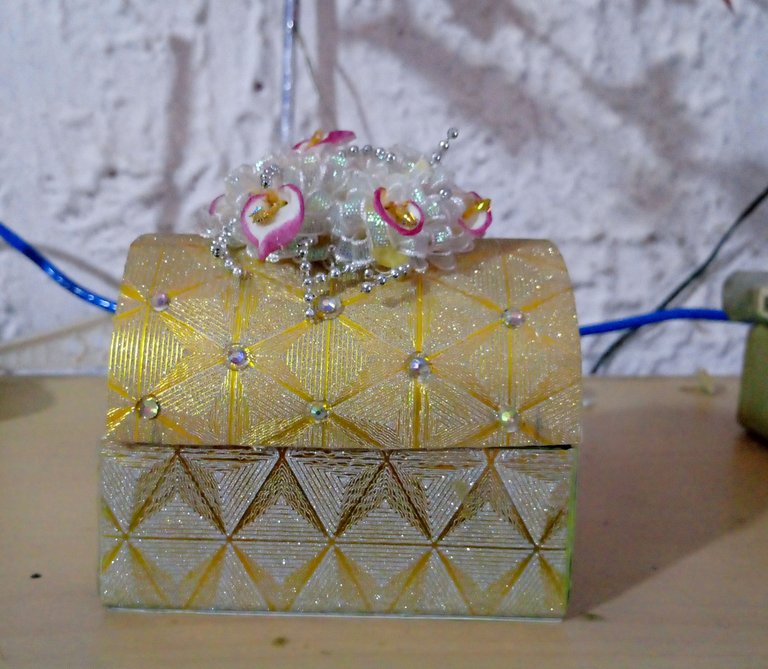
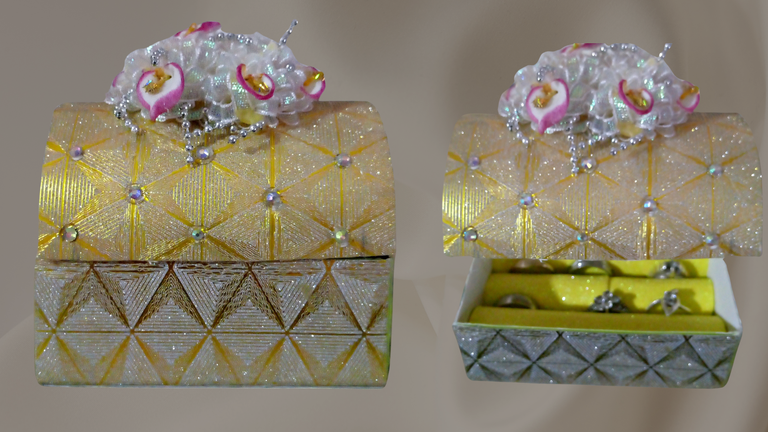
Step 5 to finish, in this step decorate the chest with the rhinestones, glue the ring spacers and decorate with the floral arrangement that has flowers with fuchsia edges, I had classified 2 bouquets of flowers to decorate, some more simple and those that have flowers with fuchsia edges, so I thought that the fuchsia ones told more, and I decided to choose those, but it is a matter of taste dear friends.
And so I end this wonderful post today hoping that you like it enough so that you can encourage you to do it.
A hug to all of you, you are loved infinitely.
Paso 5 para finalizar, en este paso decore el cofre con la pedrería, pegue los separadores de los anillos y decore con el arreglo floral que tiene las flores con orillas de color fucsia, había clasificado 2 ramos de flores para decorar, unas más simples y las que tienen flores con orillas fucsias, así que me pareció que las de fucsia relataban más, y decidí elegir esas, pero es cuestión de gustos queridos amigos.
Y así finalizo este maravilloso post de hoy esperando que les guste lo suficiente para que puedan animarse hacerlo.
Un abrazo para todos, se les quiere infinito.


social networks / redes sociales
Traductor Deepl
Translated Deepl
Ediciones Canva
Editions Canva

Posted Using InLeo Alpha

Muy bonita y de utilidad,npara organizar.. gracias por compartir.
Gracias bella, me alegra que te haya gustado, se ve muy linda en la mesita de noche.🤗
Que linda, se ve elegante 😊
Gracias cariño 😊
Ains, me ha encantado, el diseño de la cartulina lo hace genial, tengo ganas de seguir tus pasos y hacerme uno.
Jajajaj😊 qué bueno amiga, sé que eres amante de estas ternuras y estoy segura que te va a quedar precioso.💞
Wow mi bella esto es hermoso, que cofrecito tan cuchi tan lleno de detalles, y qué nivel de prolijidad.
De verdad me encanta. Gracias por regalarnos tu proceso creativo. Dios bendiga esas manos de manera infinita...
!discovery 40
Amen mi amor, que bonitas palabras, realmente son muy halagadoras y motivantes, se te quiere muchote mi linda. Un gran abrazo con todo el cariño.😊❣️
This post was shared and voted inside the discord by the curators team of discovery-it
Join our Community and follow our Curation Trail
Discovery-it is also a Witness, vote for us here
Delegate to us for passive income. Check our 80% fee-back Program
A truly beautiful work full of creativity, great detail and an excellent creative process. This is a very nice box to use both personally and to make an excellent gift. There is nothing better than doing things with our own hands. Thank you for giving us your step by step instructions.
Thanks to you for all the support you always give me. I'm glad you like my work.😊💞
Thank you.🤗👍
It is true that rings are often scattered everywhere and in fact, I often lose mine.
Oh, that is a great ring box idea, also a low budget. Thanks for sharing :)
It really is a great idea, very nice and useful, without having to make a lot of investment.🙂
te quedo preciosa está cajita, me encanta 😘
Ainss gracias mi bella.😘
Wow this is beautiful 😍✨
Thanks!!! and it can be done without investing a lot because the base is made with recycling.🤗
Hola amiga, que hermosa te quedó la caja, el diseño de la cartulina es espectacular y le da un toque de glamour y elegancia ❤️😍, las flores y pedrería se ven hermosas; es una gran idea para llevar los anillos de boda, gracias por compartir tu talento y creatividad, Dios bendiga tus manos 🙏🌺🌸🌼
Feliz y bendecido jueves!
Que linda amen!, gracias amiga, me alegra que te parezca tan linda, mi hija también me dijo que se veía glamorosa y elegante, ideal para anillos de bodas y regalos, la tengo sobre la mesita de noche y luce radiante.🙂
Hermoso, excelente trabajo y muy elegante, te felicito amiga. Saludos
Muchas gracias amiga. Saludos!
Esta manualidad es maravillosa, poder organizar nuestros anillos nos ayuda a tenerlos accesibles y también a garantizar su integridad, ya que no se andan tropezando o en lugares no destinados para ello.
Te quedó bellísimo y te durará por mucho tiempo
Gracias querida @yennysferm71 qué honor me haces, me alegra que te haya gustado.😘
Que luce bastante bien su cofre y seguro que es muy útil.
Gracias amigo, realmente sí, este cofre está siendo muy útil en estos momentos 😊