
Saludos amigos artistas y reciban todo una cálida bienvenida.
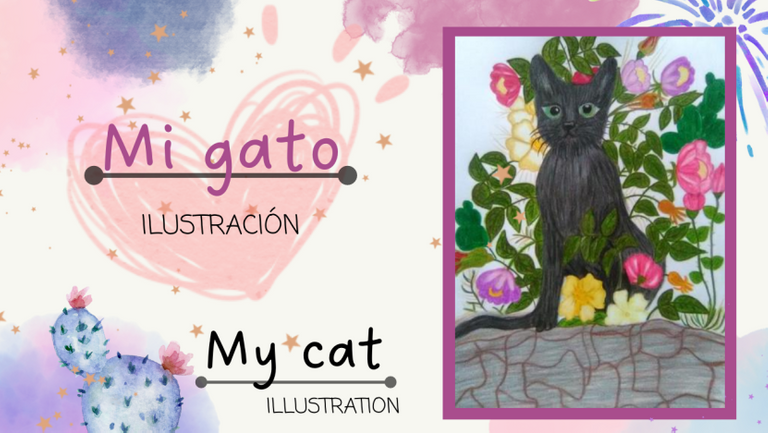
Hoy les vengo a compartir un pedazo del alma de mi hija y de mi persona, puesto que el dibujo de hoy se trata de un hermoso gato que teníamos mi hija y yo llamado Ostin, le dimos este nombre porque el gato era un poco obstinado, por lo que siempre estaba de mal humor haciendo su sonido peculiar de gato, por lo que un día cuando Salí con mi hija de paseo, al regresar a nuestra casa lo encontramos ahogado, fue un momento muy difícil para nosotras porque era muy apreciado para nosotras, siempre no hacía reír con sus locuras de gato pequeño y nos daba mucha tranquilidad.
Este dibujo también lo hice como regalo para mi hija porque tenía un buen tiempo pidiéndome que le dibujara nuestro gato, por lo que ahora me siento preparada para dibujarlo, no fue fácil para mí recordar todos los hermosos momentos que compartimos con nuestro gato.
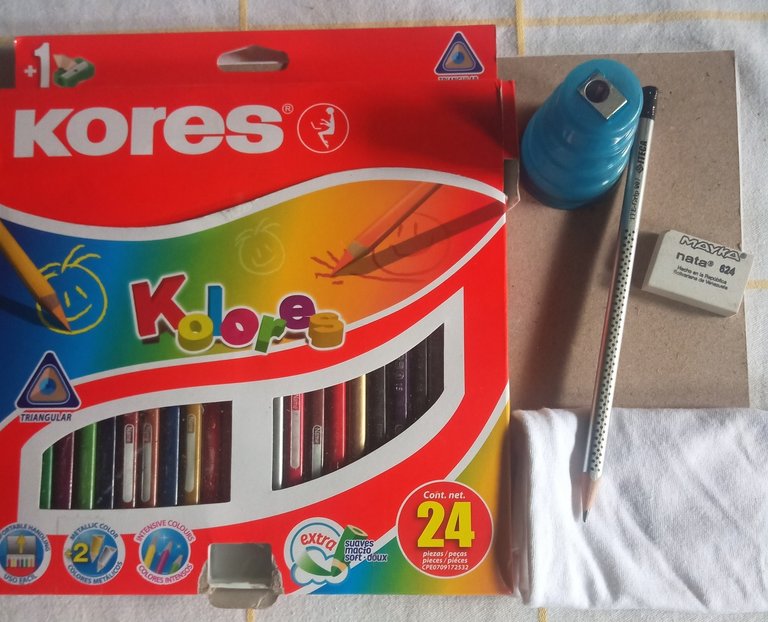
Al final de la publicación les estaré mencionando los materiales que utilice para poder crear este hermoso dibujo.
Las fotografías que verán a continuación, fueron tomadas con mi teléfono modelo Alcatel_5044R.
A continuación, les presentaré el proceso de elaboración que implemente para realizar este dibujo.

Greetings artist friends and receive a warm welcome.
Today I come to share with you a piece of the soul of my daughter and myself, since today's drawing is about a beautiful cat that my daughter and I had called Ostin, we gave him this name because the cat was a little stubborn, so he was always in a bad mood making his peculiar cat sound, So one day when I went out with my daughter for a walk, when we returned home we found him drowned, it was a very difficult moment for us because he was very dear to us, he always made us laugh with his crazy little cat antics and gave us a lot of peace of mind.
I also made this drawing as a gift for my daughter because she had been asking me for a long time to draw our cat, so now I feel ready to draw it, it was not easy for me to remember all the beautiful moments we shared with our cat.
At the end of the publication I will be mentioning the materials I used to create this beautiful drawing.
The pictures you will see below were taken with my phone model Alcatel_5044R.
Next, I will show you the elaboration process that I implemented to make this drawing.


Paso 1
Como punto de inicio, comencé en realizar una línea vertical, luego en la misma línea comencé a crear tres espacios de la misma separación, esto me permitirá tener una idea de qué tamaño voy a crear el gato, por lo que seguidamente comencé a trazar las líneas del boceto.
Quise darle esta pose porque él siempre posaba en las plantas que tengo afuera de mi casa, por lo que también le gustaba estar siempre cerca de ellas, le transmitían mucha tranquilidad y se pasaba horas hay durmiendo.
Luego comencé a darle forma al rostro del gato comenzando por los ojos, luego la nariz y de último la boca, no fue fácil hacer esta parte del dibujo, porque primero se me venían recuerdos de mi hermoso gato y segundo porque es la primera vez que dibujo un gato.

Step 1
As a starting point, I began by making a vertical line, then on the same line I began to create three spaces of the same separation, this will allow me to have an idea of what size I will create the cat, so then I began to draw the lines of the sketch.
I wanted to give him this pose because he always posed in the plants that I have outside my house, so he also liked to be always near them, they transmitted him a lot of tranquility and he spent hours there sleeping.
Then I began to shape the face of the cat starting with the eyes, then the nose and finally the mouth, it was not easy to do this part of the drawing, because first I had memories of my beautiful cat and secondly because it is the first time I draw a cat.


PASO 2
Al terminar con el rostro del gato comencé a trabajar en las plantas y flores que tiene a su alrededor, como siempre estaba rodeado de ellas, quise hacerlo tal cual como lo recuerdo.
Luego de tener todo el boceto realizado, mi siguiente paso fue comenzar a colorearlo, así que primero opte por usar el color negro para remarcar la forma de los ojos junto con la pupila.

STEP 2
When I finished with the face of the cat I started to work on the plants and flowers that he has around him, as he was always surrounded by them, I wanted to do it as I remember it.
After having the whole sketch done, my next step was to start coloring it, so first I chose to use black to highlight the shape of the eyes and the pupil.


PASO 3
Después utilicé el color marrón para colorear algunas plantas y tallos que se encuentran alrededor del gato.
Comienzo agregarle este color para que me sirva como efecto de venas que estas plantas poseen, por lo que he tenido que remarcarlas todas, recuerden que, ante todo remarcado, es necesario dejar el trazo que hicimos con el lápiz de dibujo lo más claro posible, esto también es posible con el borrador.
Hacer esto nos evitará manchar nuestro dibujo con el grafito del lápiz, ya que estos colores no suelen llevar muy bien con los lápices o cuáles otro tipo de marca de colores, en este caso estoy usando los colores Kores, los prismacolor los uso para dibujo un poco más avanzado para darle efectos llamativos.

STEP 3
Then I used the brown color to color some plants and stems that are around the cat.
I start adding this color to serve me as an effect of veins that these plants have, so I had to highlight them all, remember that, before all highlighting, it is necessary to leave the line that we made with the drawing pencil as clear as possible, this is also possible with the eraser.
Doing this will avoid us to stain our drawing with the graphite of the pencil, since these colors usually do not take very well with the pencils or which other type of brand of colors, in this case I am using the Kores colors, the prismacolor I use them for drawing a little more advanced to give flashy effects.


PASO 4
Seguidamente, comencé a usar el color verde pino para colorear todas las plantas que anteriormente había remarcado con el color marrón.
Podemos notar como las venas de estas plantas destacan, gracias a esta mezcla de colores, las partes que antes había remarcado con el color marrón se puedan apreciar de un tono verde mucho más oscuro que el verde pino.
Después, con la ayuda de los colores rosado, fucsia, morado, blanco, amarillo, verde limón, ocre, quemado, le fui coloreando cada una de las flores.
Para poder darle el efecto de brillo a la gran mayoría de las flores, al momento de colorear cada una de ellas deje un pequeño espacio en blanco para después de colorearlas pasarle el color blanco sobre estas capas, así me serviría como sellado para terminar de rellenar los espacios en blanco que contiene la hoja de dibujo.
Luego para las plantas de blanco y ocre quemado, solamente trace las líneas base, sé la flor por los bordes, el mismo, luego a partir de esa línea lo fui difuminando poco a poco hasta que quedara totalmente blanco, esto solamente se logra dejando de afincar él creyó hasta no poder más para dejar los espacios en blanco, haciendo esto podrás lograr creas estos fantásticos efectos en las flores.
También quise dibujar el gato sobre una pared para darle un ambiente tierno, ya que los gatos por naturaleza les encantan estar montados sobre algo, a demás de que se ven tan tiernos.

STEP 4
Next, I started to use the pine green color to color all the plants that I had previously highlighted with the brown color.
We can notice how the veins of these plants stand out, thanks to this mixture of colors, the parts that I had previously highlighted with the brown color can be seen in a much darker shade of green than the pine green.
Then, with the help of the colors pink, fuchsia, purple, white, yellow, lemon green, ocher, burnt, I colored each of the flowers.
In order to give the effect of brightness to most of the flowers, at the time of coloring each one of them I left a small blank space to pass the white color over these layers after coloring them, so I would serve as a seal to finish filling in the blanks contained in the drawing sheet.
Then for the plants in white and burnt ocher, I only drew the base lines, I know the flower by the edges, the same, then from that line I was blurring it little by little until it was completely white, this is only achieved leaving to sharpen it believed until you can not more to leave the blanks, doing this you can achieve these fantastic effects in the flowers.
I also wanted to draw the cat on a wall to give it a tender atmosphere, since cats by nature love to be mounted on something, besides they look so tender.


PASO 5
Al terminar de pintar todas las flores de mi hermoso gato, comencé a colorear el cuerpo del mismo, el cual como mi gato era de color negro, tuve que usar el mismo, esta fue mi parte favorita, ya que aquí aprendí una técnica de dibujo que me ayuda a darle hermosos efectos al pelaje de los animales.

STEP 5
When I finished painting all the flowers of my beautiful cat, I started to color the body of the cat, which as my cat was black, I had to use the same, this was my favorite part, because here I learned a drawing technique that helps me to give beautiful effects to the fur of the animals.


PASO 6
Al terminar de colorear totalmente el cuerpo de mi hermoso Ostin, con la ayuda del color blanco y gris, comencé a crear trazos sobre el color negro en muchas direcciones y afincando un poco más fuerte el crayón para poderle dar el efecto de pelaje de gato a mi querido Ostin.
Mi gato tenía los ojos de color verde, por lo que usé el mismo color verde limón para colorear los ojos, y de esta manera pude crear mi hermoso dibujo de mi pequeño gato.
No fue fácil dibujarlo por el sentimiento que me da al haber llegado a mi casa y verlo en el estado en la que se encontraba, ahora cada vez que salgo y vuelvo a la casa y no verlo me trae mucho sentimiento.
MATERIALES
BLOC DE DIBUJO.
BORRADOR.
SACAPUNTAS.
Lápiz de dibujo 2B.
PAÑO.
Colores como:
Verde limón.
Verde pino.
Blanco.
Marrón.
Morado.
Rosado.
Fucsia.
Ocre quemado.
Amarillo claro.
Amarillo cromo.
Negro.
Gris.
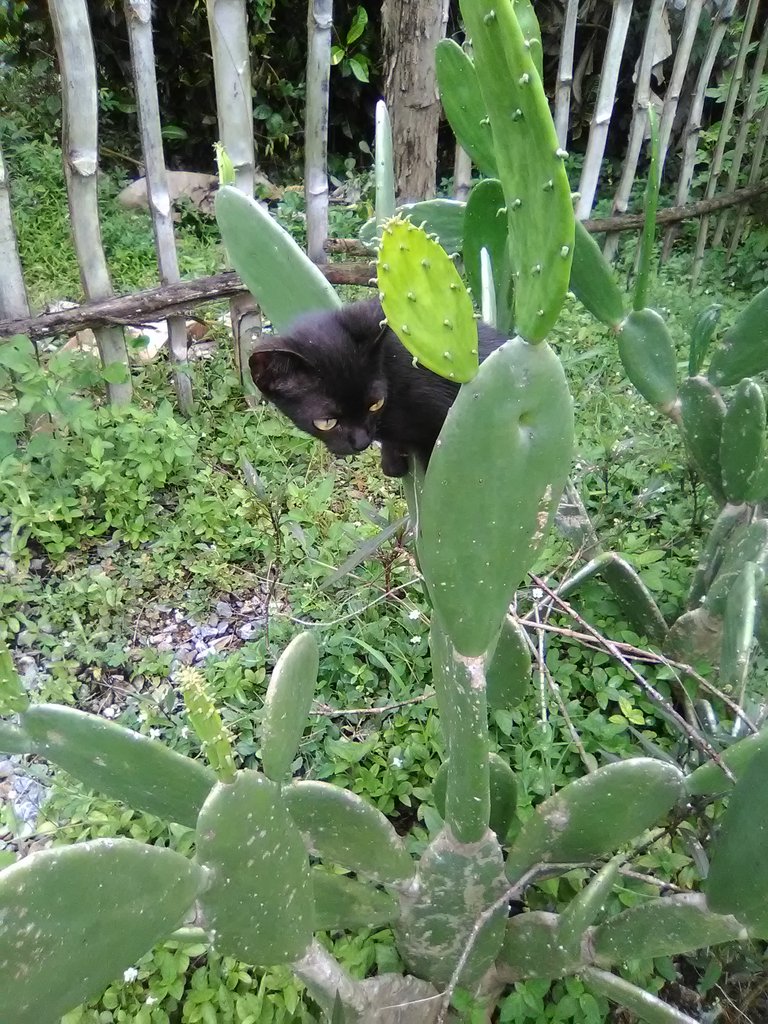
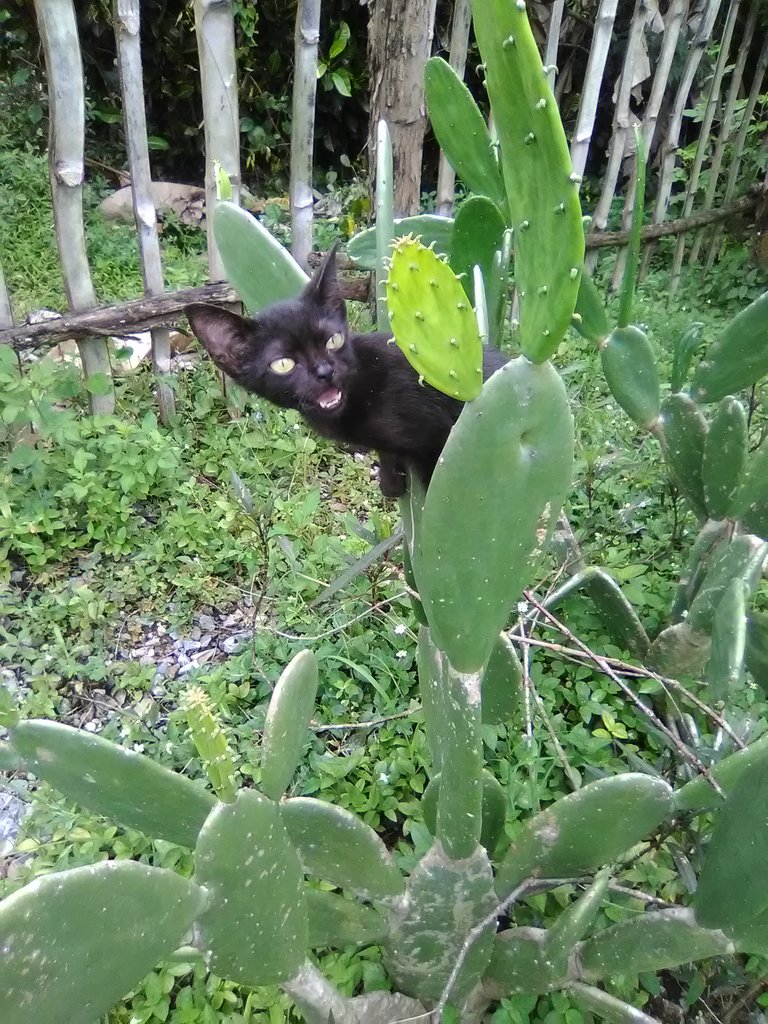
La imagen que use en referencia fue una fotografía que mi gato, el cual el dibujo fue sacado de mi mente recordando los hermosos momentos que vivimos mi hija y yo con él.
Así culmino mi publicación amigos, espero que te haya gustado y que hayas aprendido algo nuevo el día de hoy con esta publicación.
Nos veremos en otra publicación basada en el hermoso mundo del arte del dibujo.

STEP 6
When I finished fully coloring the body of my beautiful Ostin, with the help of the white and gray color, I started to create strokes on the black color in many directions and sharpening the crayon a little bit stronger to give the effect of cat fur to my dear Ostin.
My cat had green eyes, so I used the same lime green color to color the eyes, and this way I was able to create my beautiful drawing of my little cat.
It was not easy to draw it because of the feeling it gives me when I came home and saw him in the state he was in, now every time I go out and come back to the house and not see him it brings me a lot of feeling.
MATERIALS.
SKETCH PAD.
DRAWING PAD.
SACAPTER.
2B drawing pencil.
RAG.
Colors such as:
Lime green.
Pine green.
White.
Brown.
Purple.
Pink.
Fuchsia.
Burnt ocher.
Light yellow.
Chrome yellow.
Black.
Gray.
The image that I used in reference was a photograph of my cat, which the drawing was taken from my mind remembering the beautiful moments that my daughter and I lived with him.
I hope you liked it and that you have learned something new today with this publication.
See you in another publication based on the beautiful world of the art of drawing.


social networks / redes sociales
Traductor Deepl
Translated Deepl
Ediciones Canva
Editions Canva


