
English
Greetings welcome to my publication, today I want to share with you, the elaboration of a tender bear in clay, it is very easy to make, ideal for decorating the children's room or any space in the house I hope you like it.

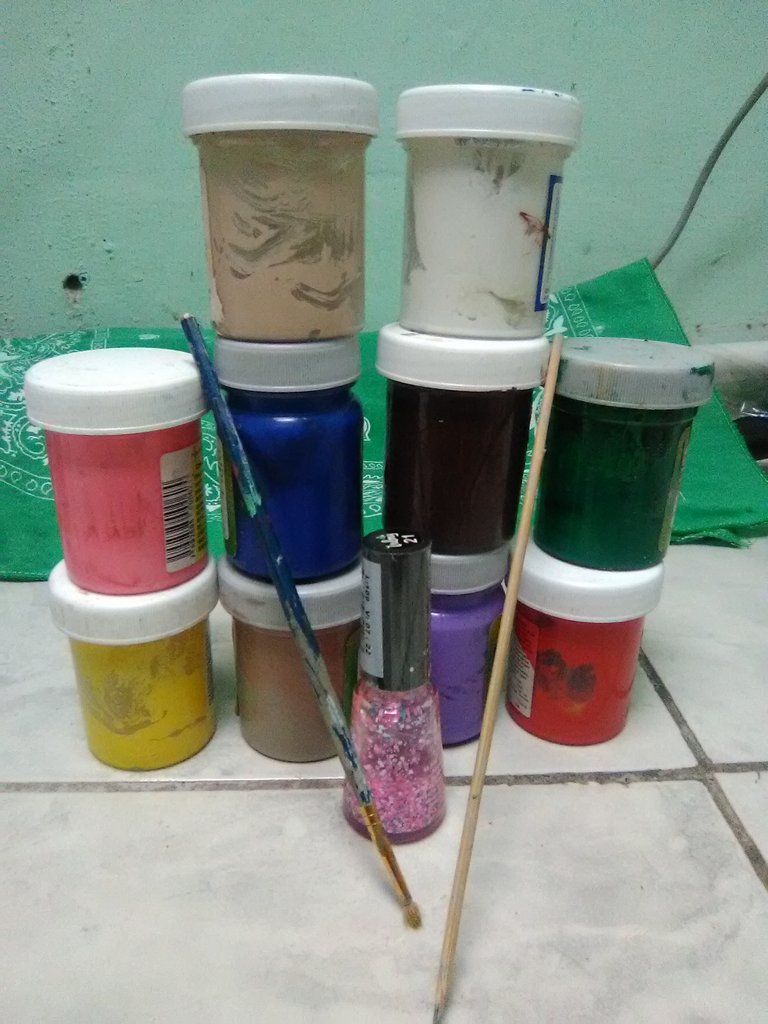
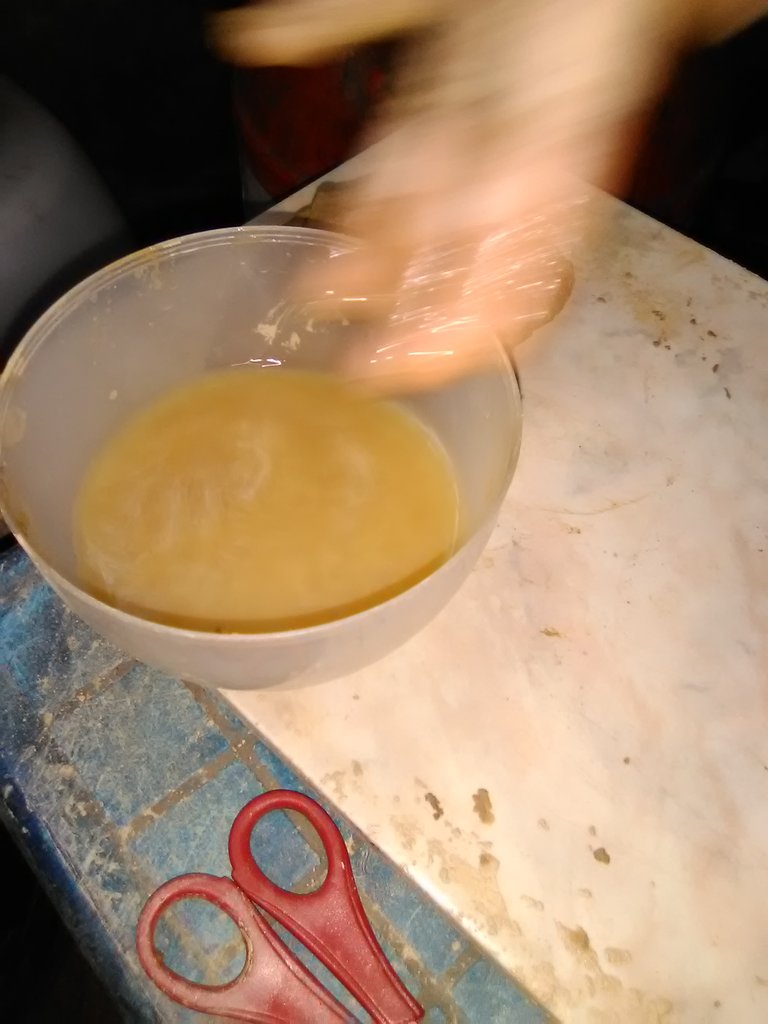
To make this craft we need:
Materials:
Paints
Paintbrush
Brochet stick
Cardboard
Glue
Water

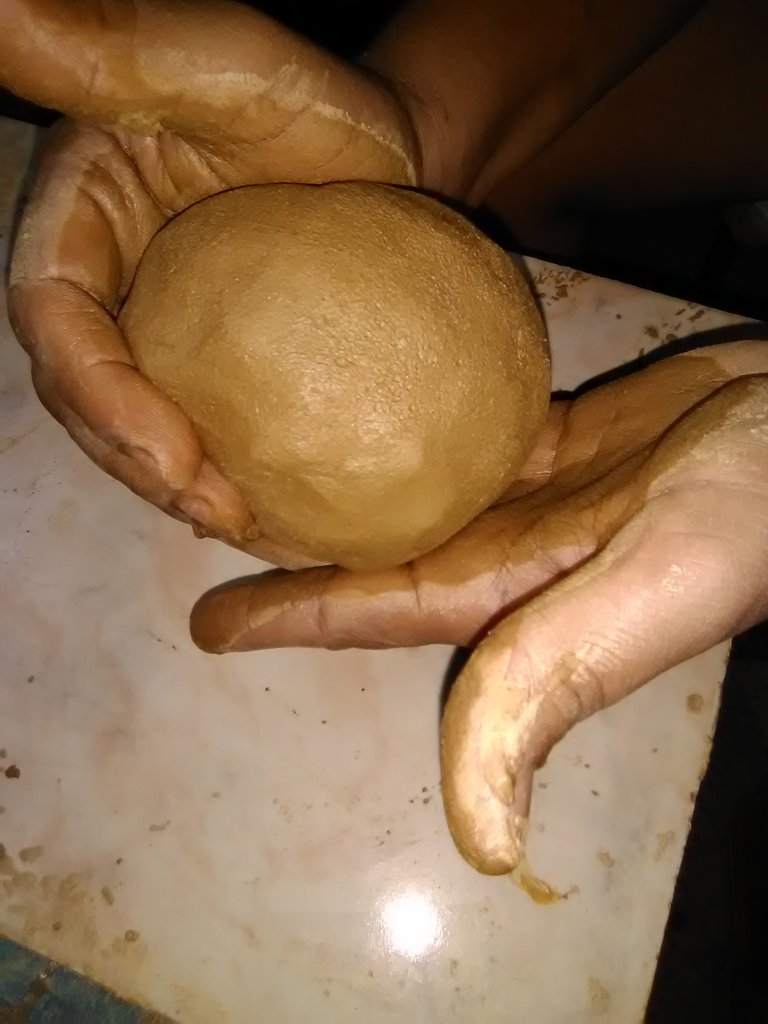
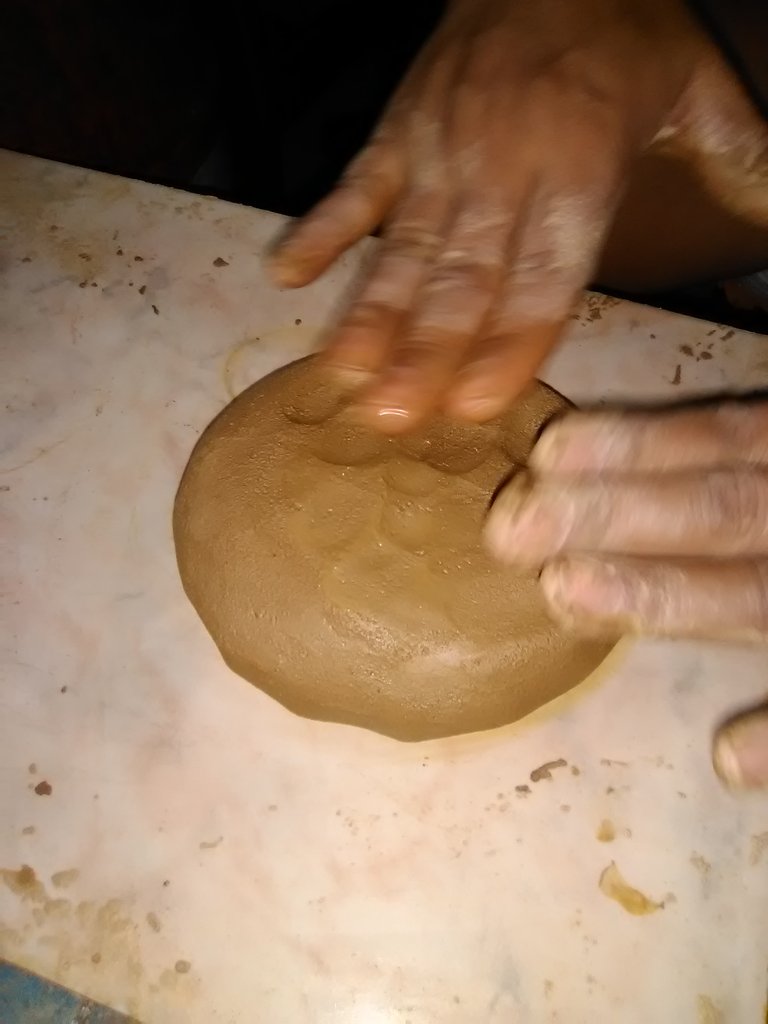
To begin, a ball of clay of the desired size is made, placed on the wet table with a little water and the clay is stretched with wet hands.

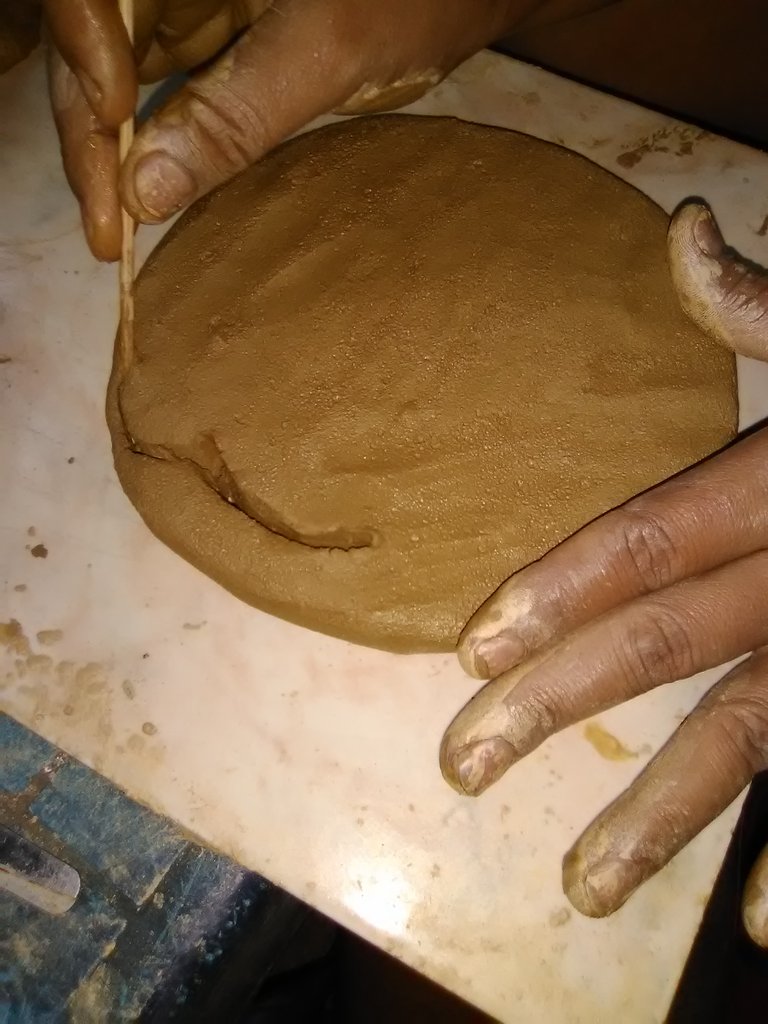
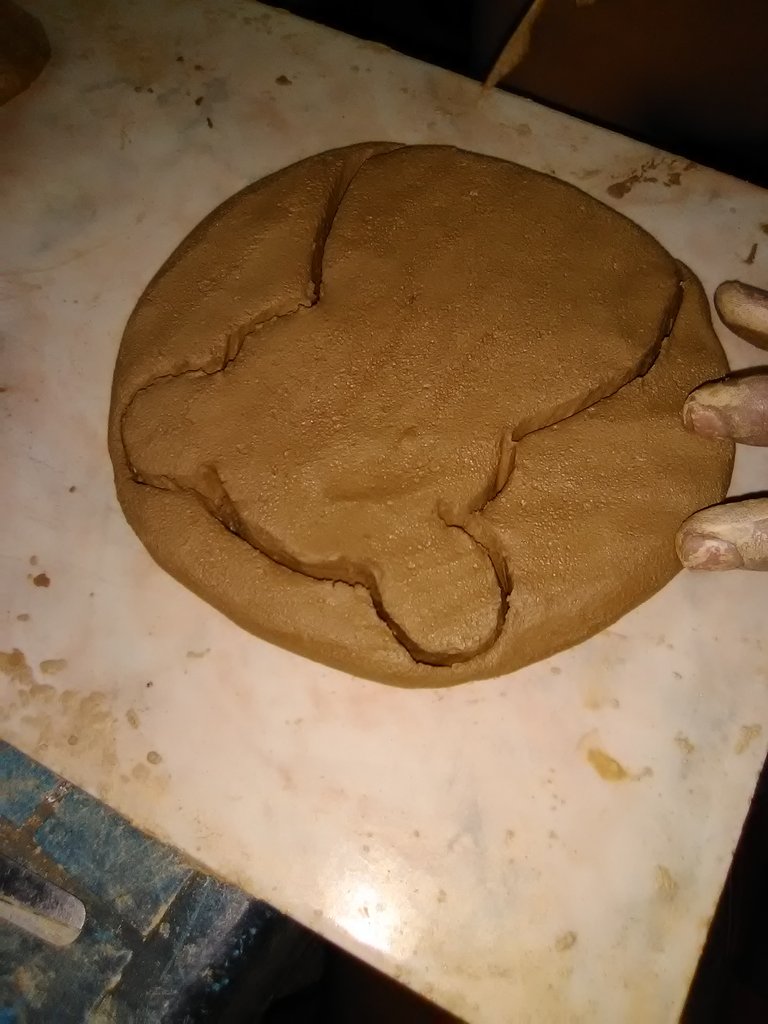
With the help of the skewer stick, draw and cut out the shape of the bear.

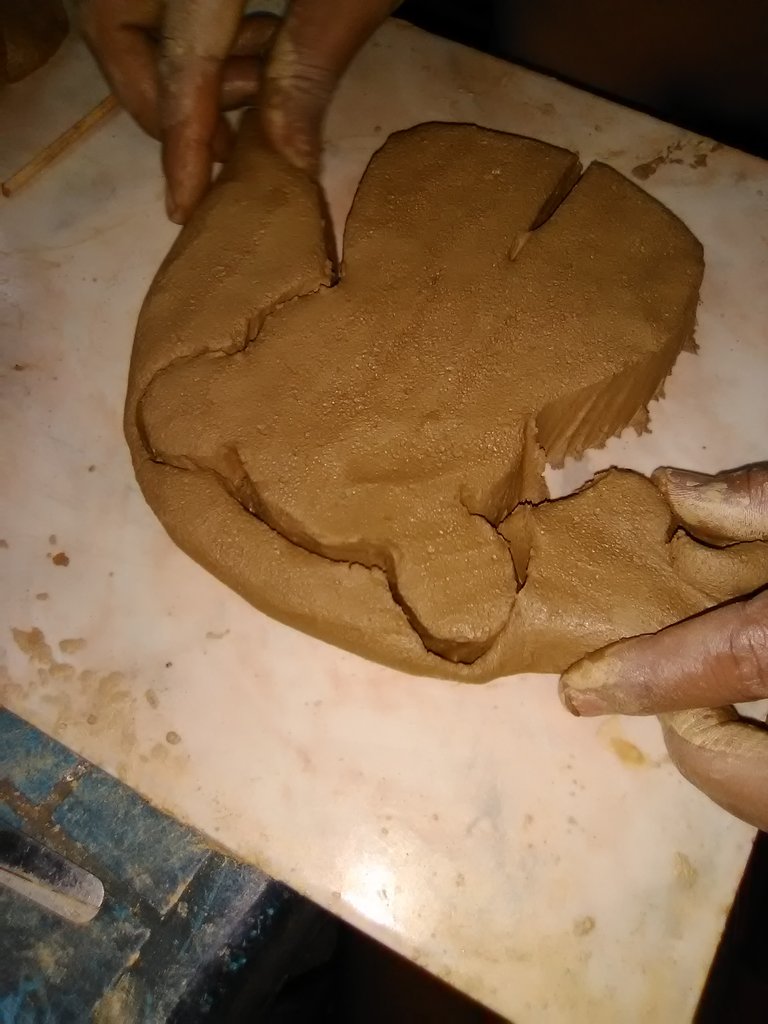
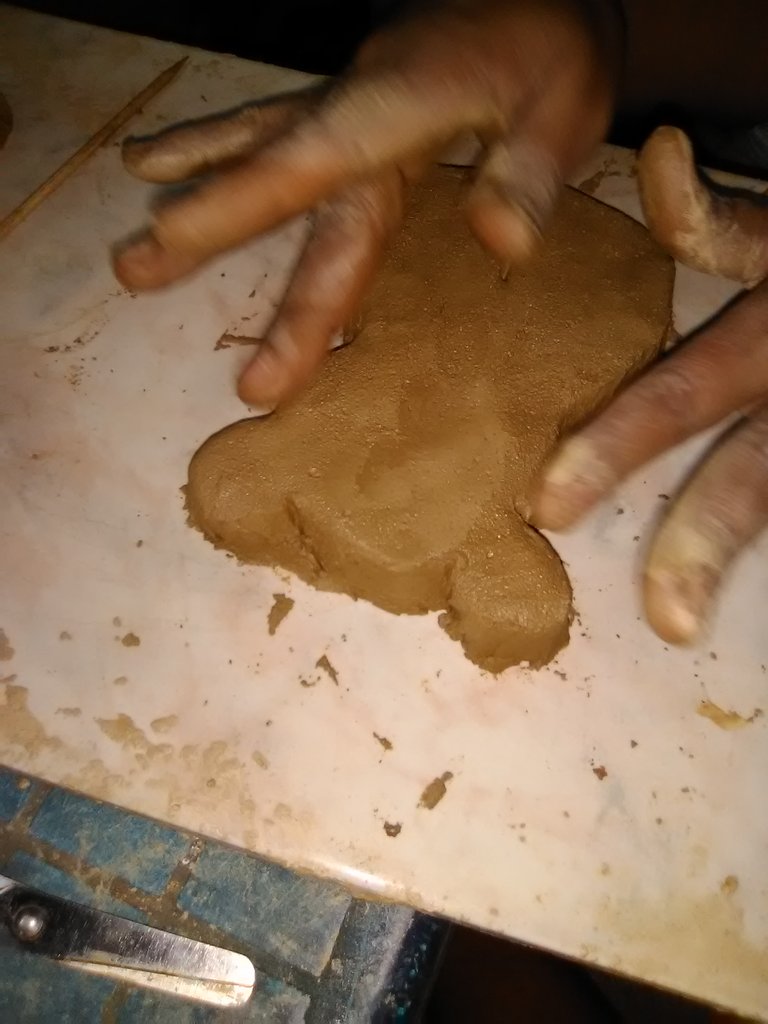
Remove the leftover clay, mold the sides of the bear to look defined, reserve the rest of the clay to use for the arms, roses and other details

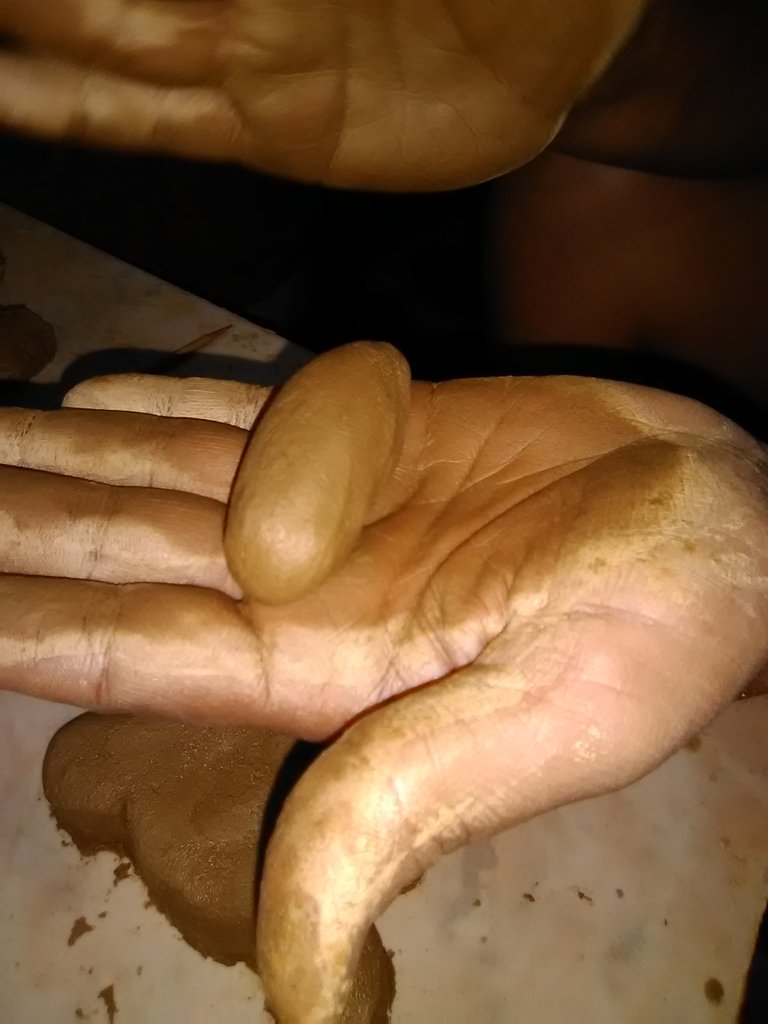
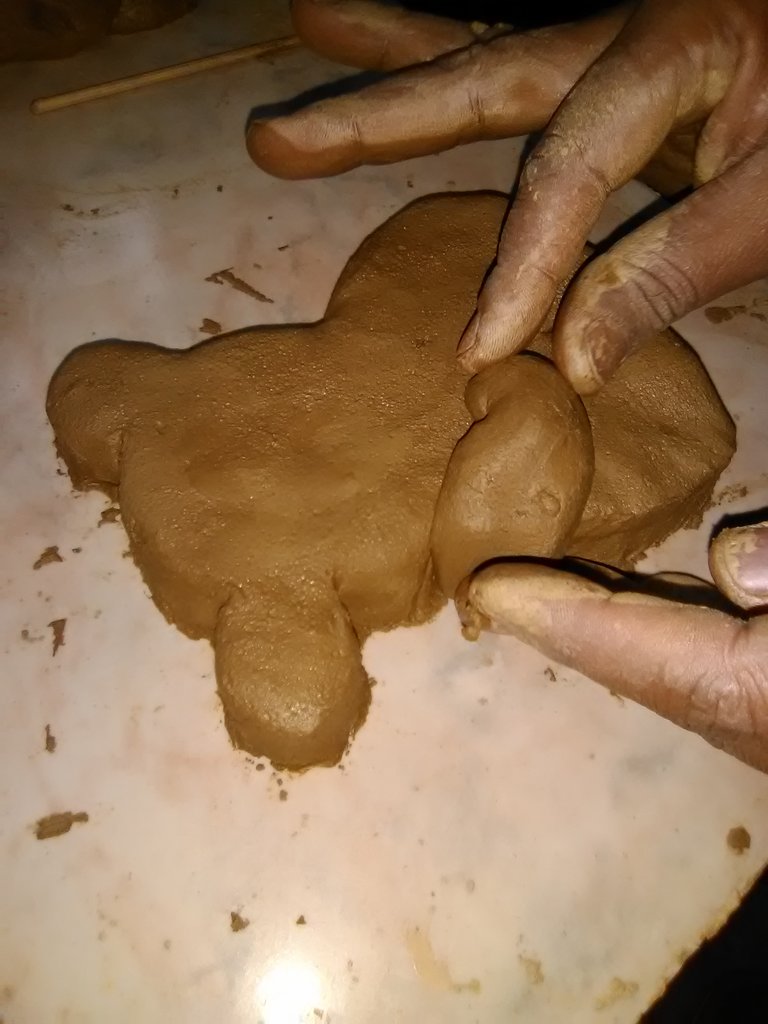
After making the arms, fold them to hug the roses and glue them to each side.

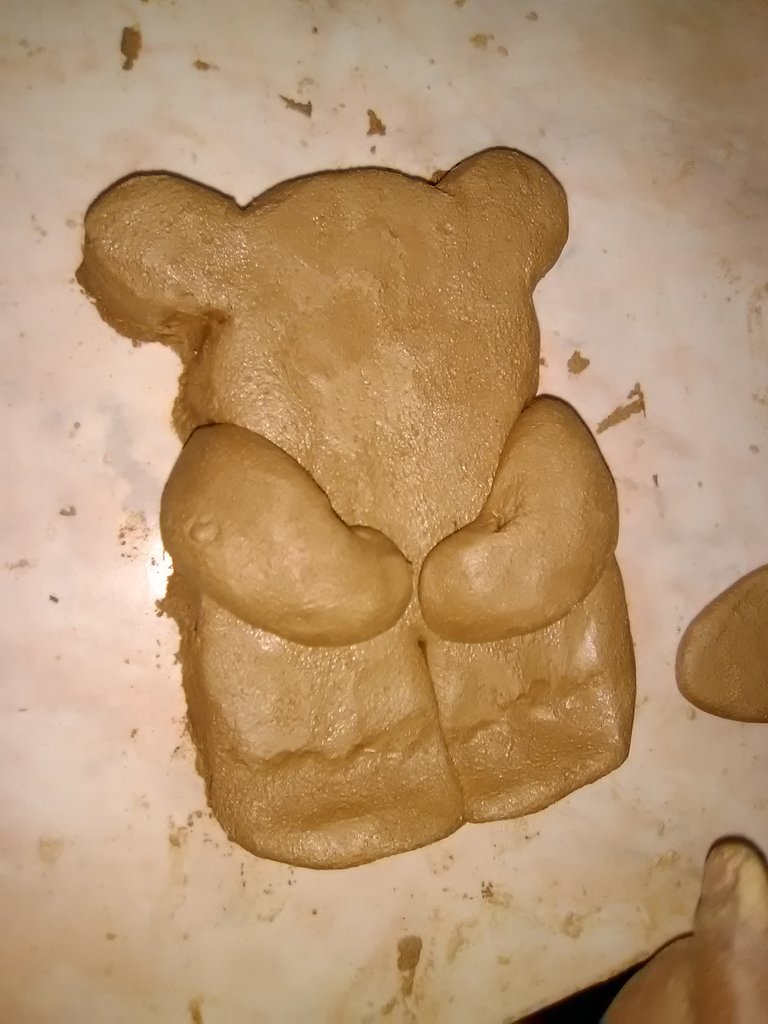
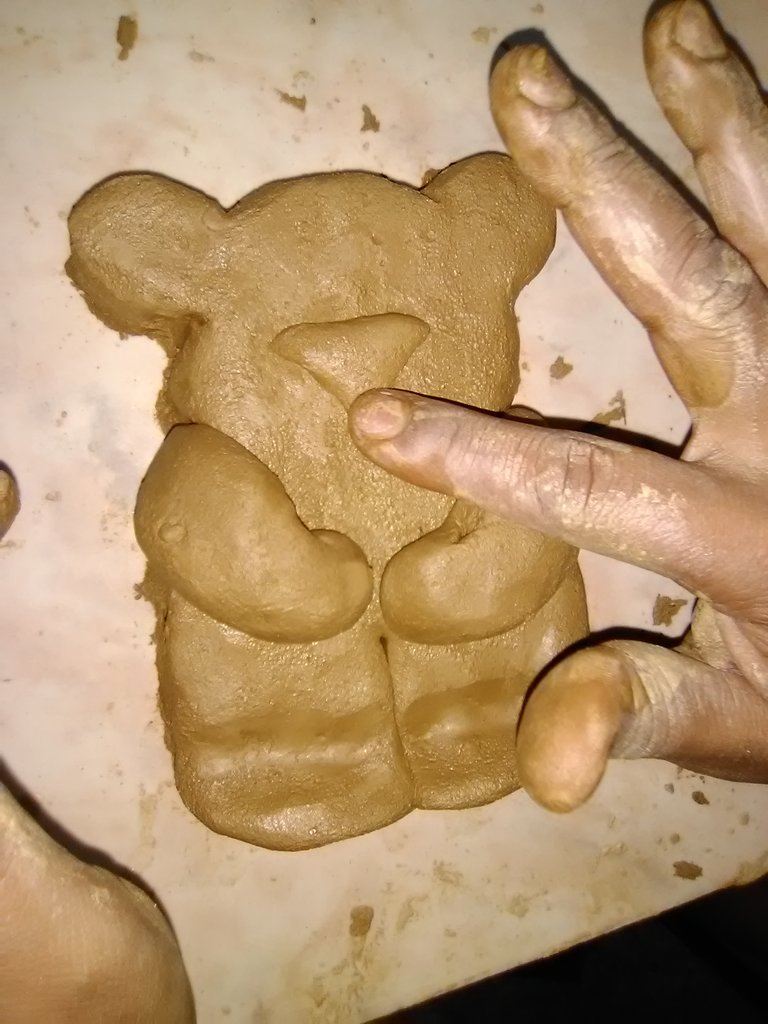
This is what this bear looks like, the nose is placed by simply cutting out a triangle of clay and gluing it on.

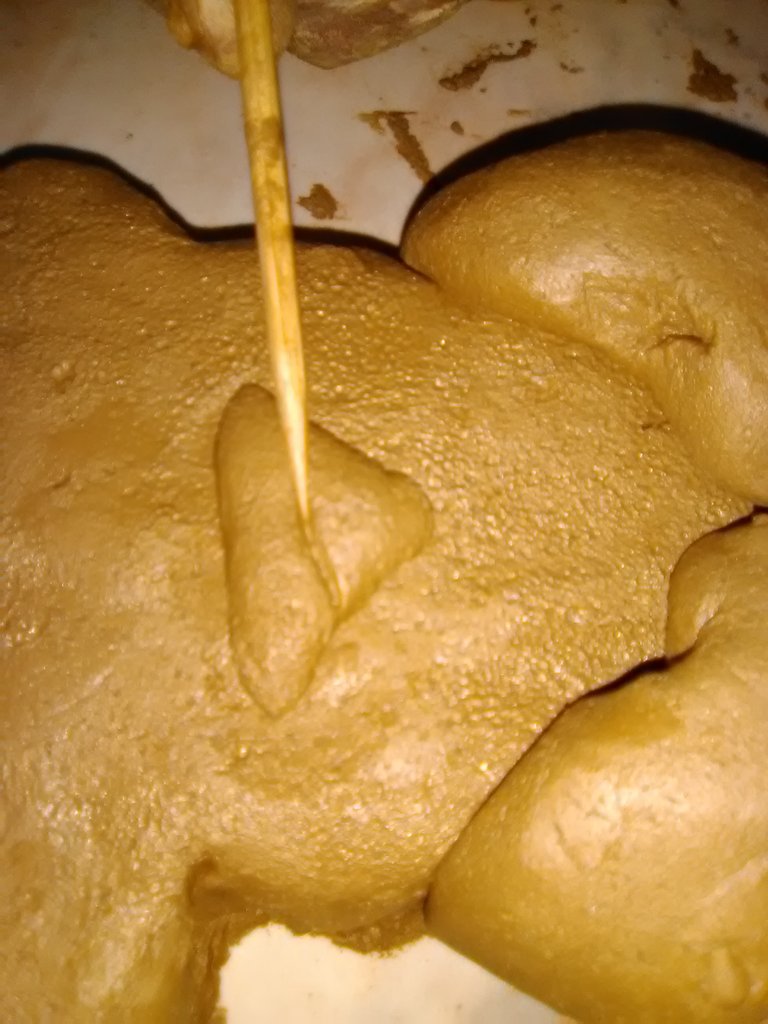
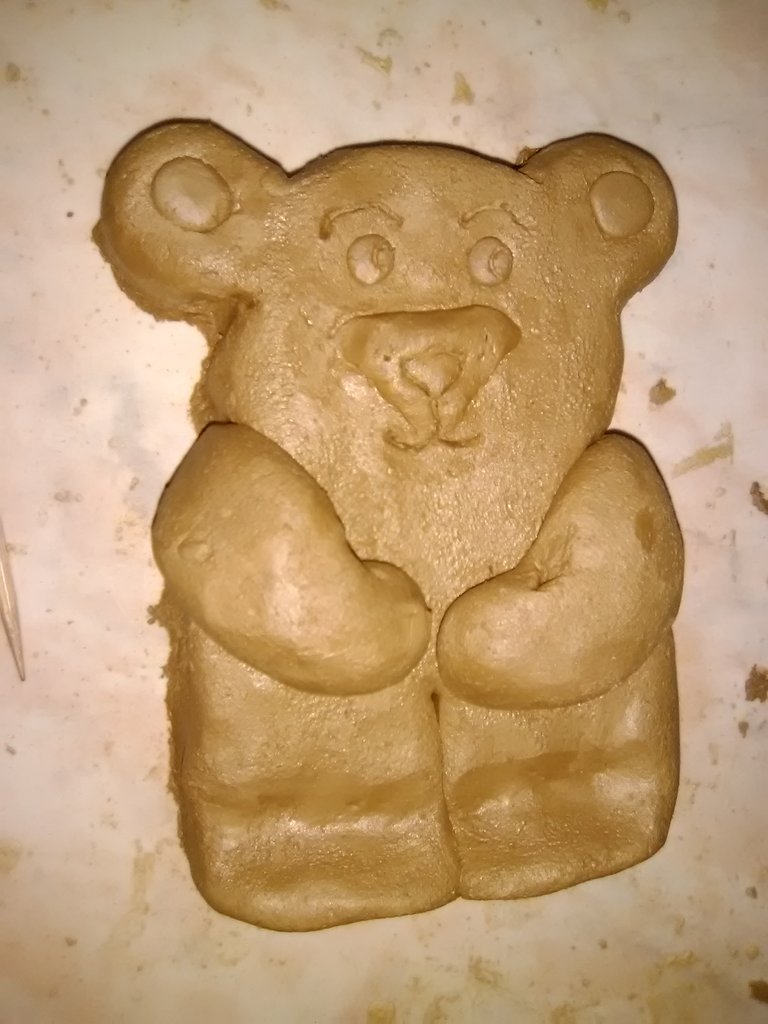
Draw the eyes and nose with the skewer stick.

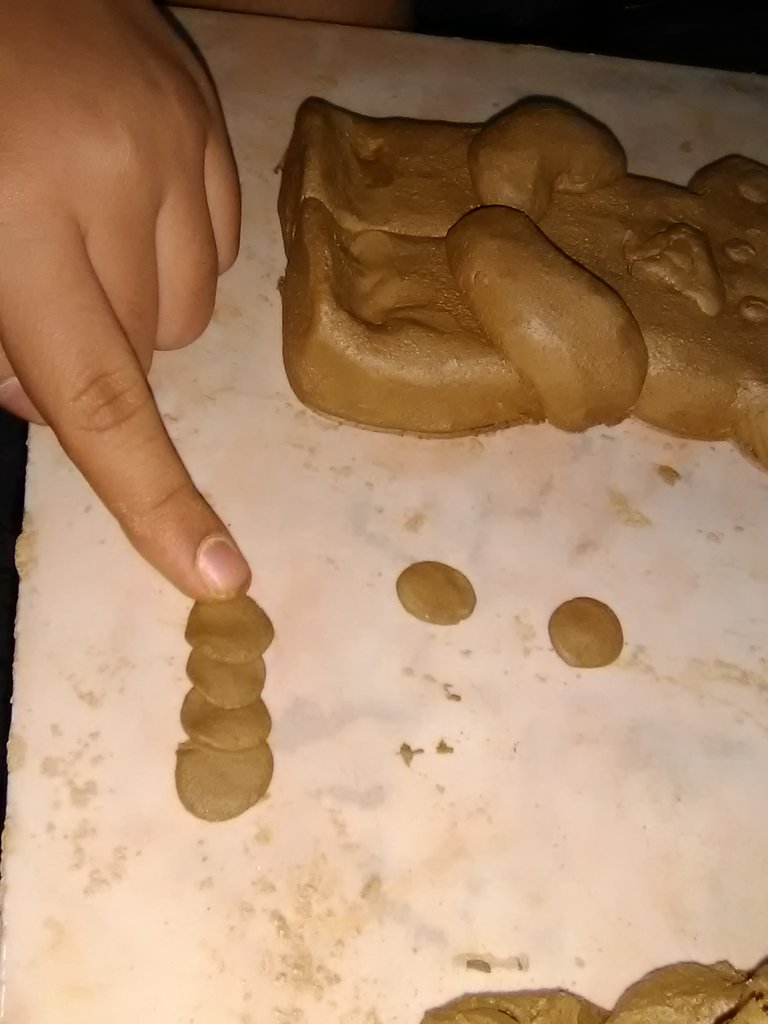
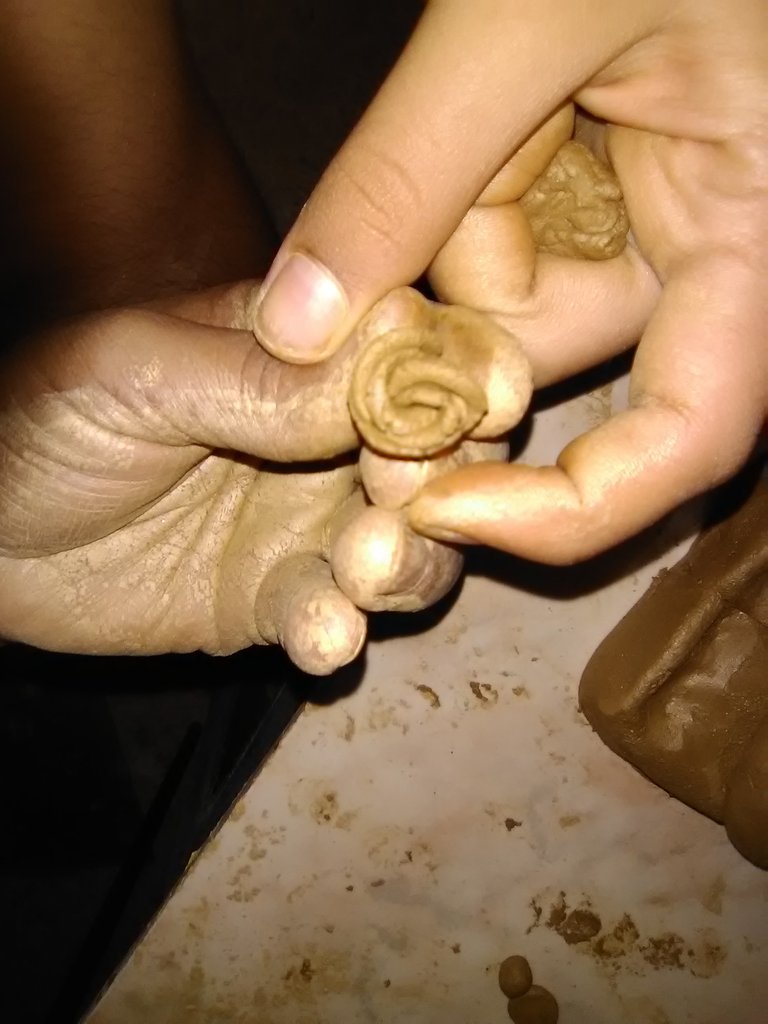
To make the roses make small circles and roll them up.

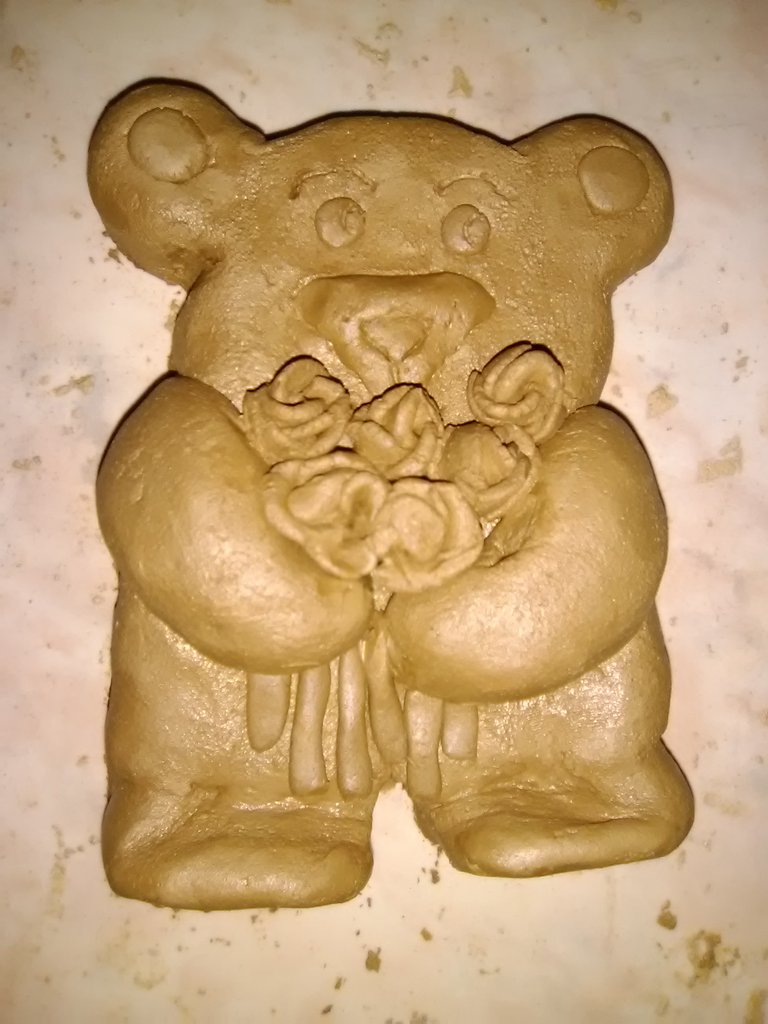
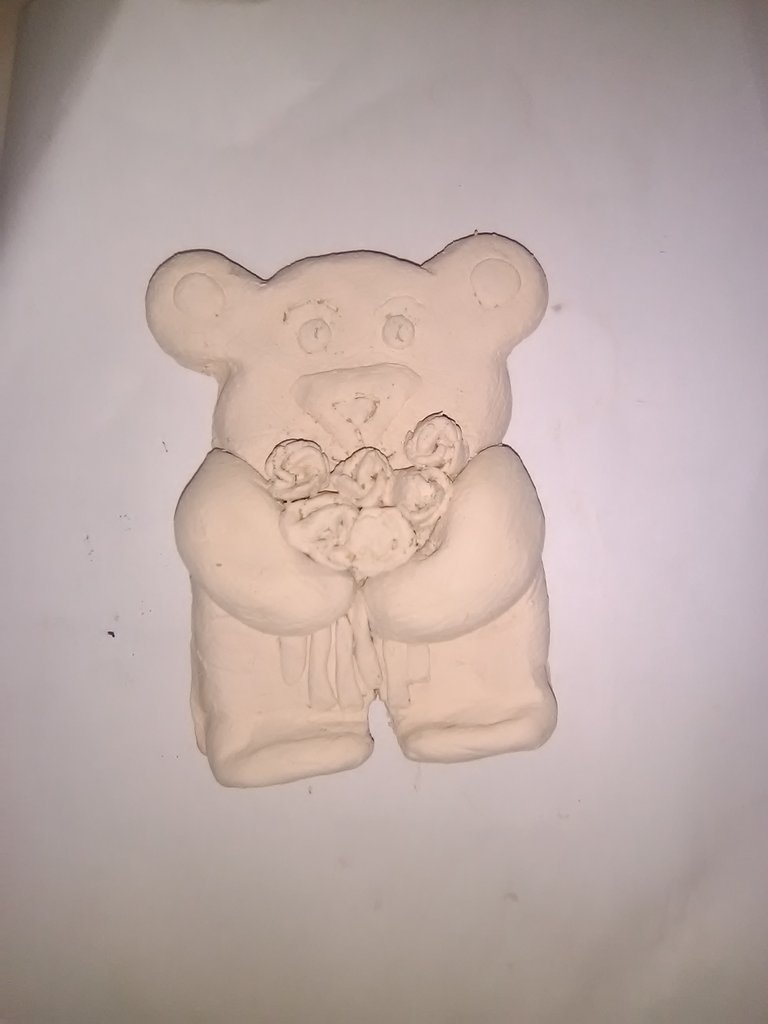
After finishing gluing the roses on the bear, separate the paws by making a triangular cut, then bend the paws so it can stand up, let it dry for about 3 days in the open air and paint it.

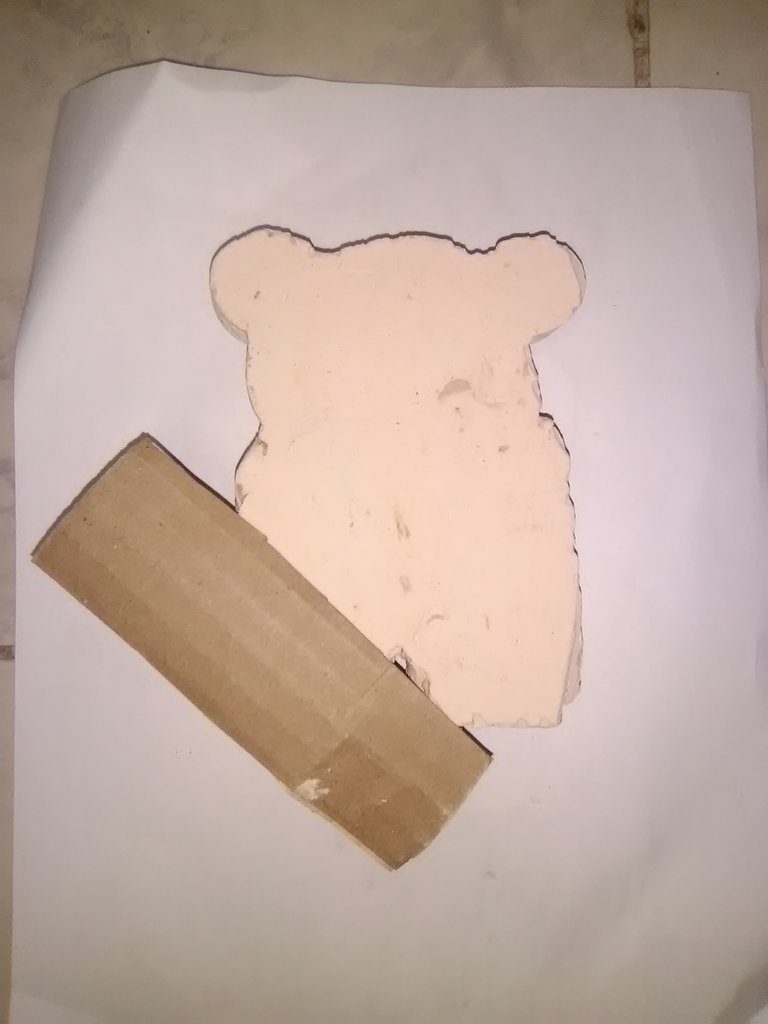
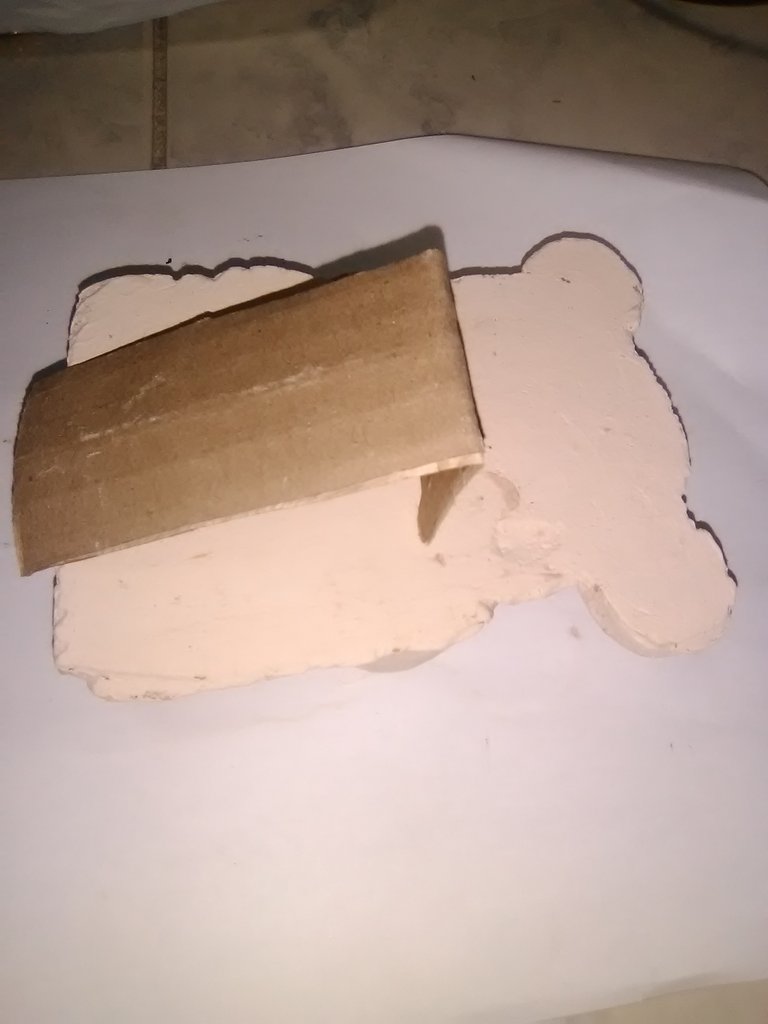
With the base paint of the bear, proceed to cut a piece of cardboard, fold the top of the cardboard and glue it with white glue so that this cute bear can stand up.

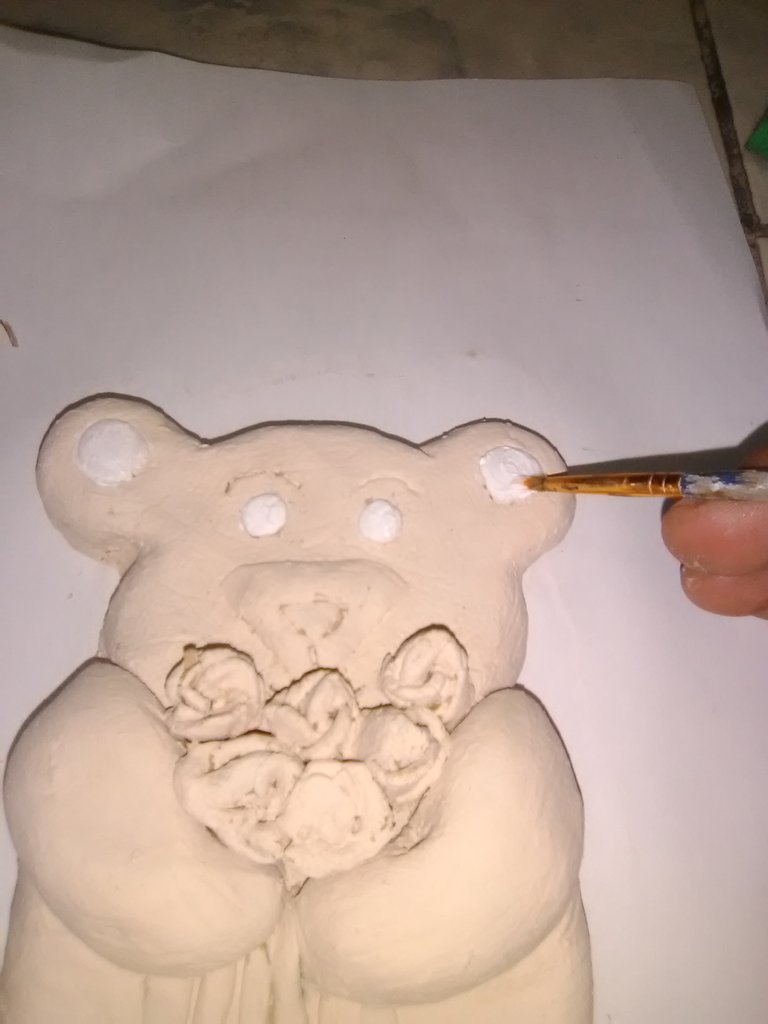
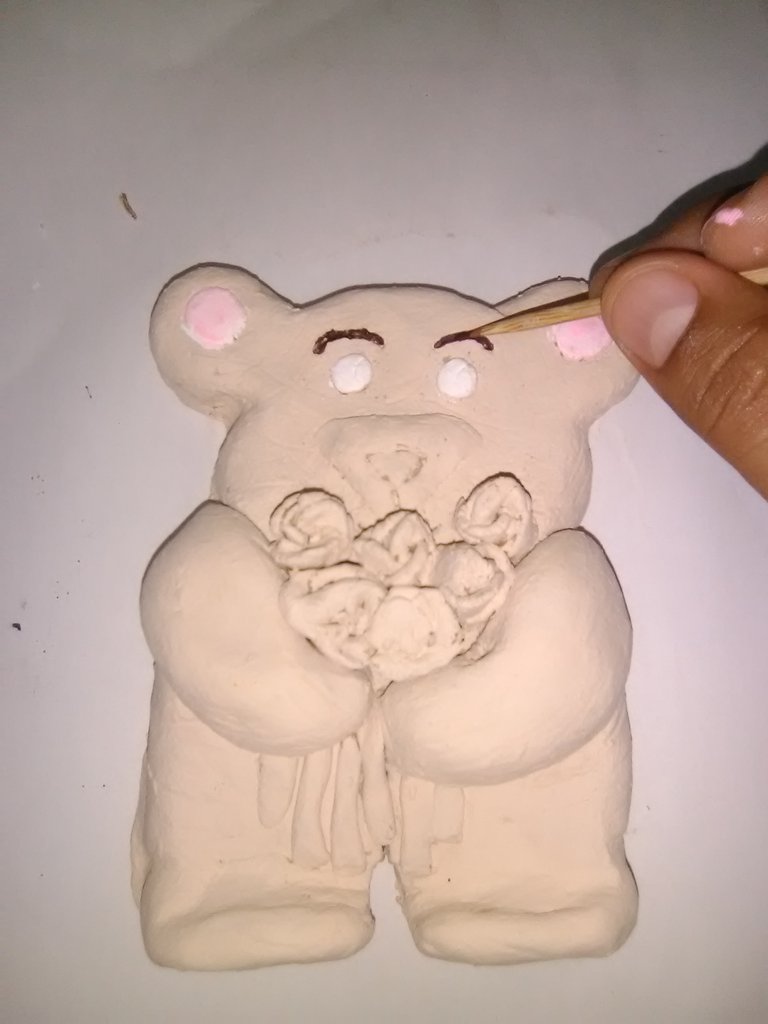
Now you are going to paint the eyes and ears, using the paintbrush and the skewer stick very carefully so it doesn't smudge.

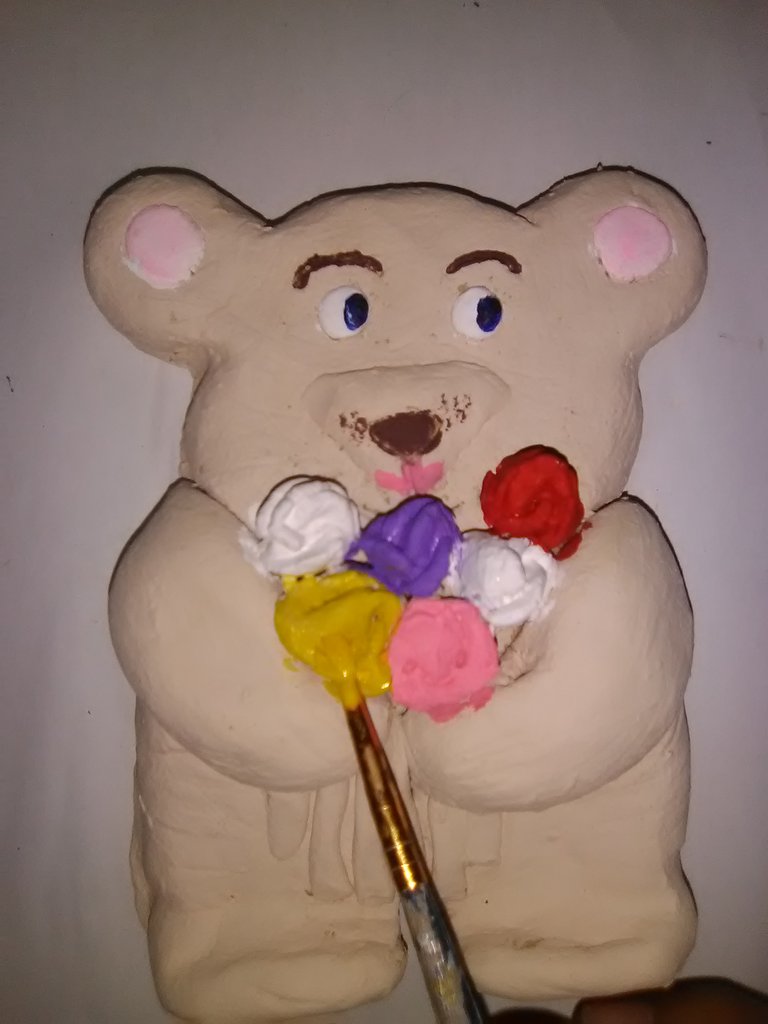
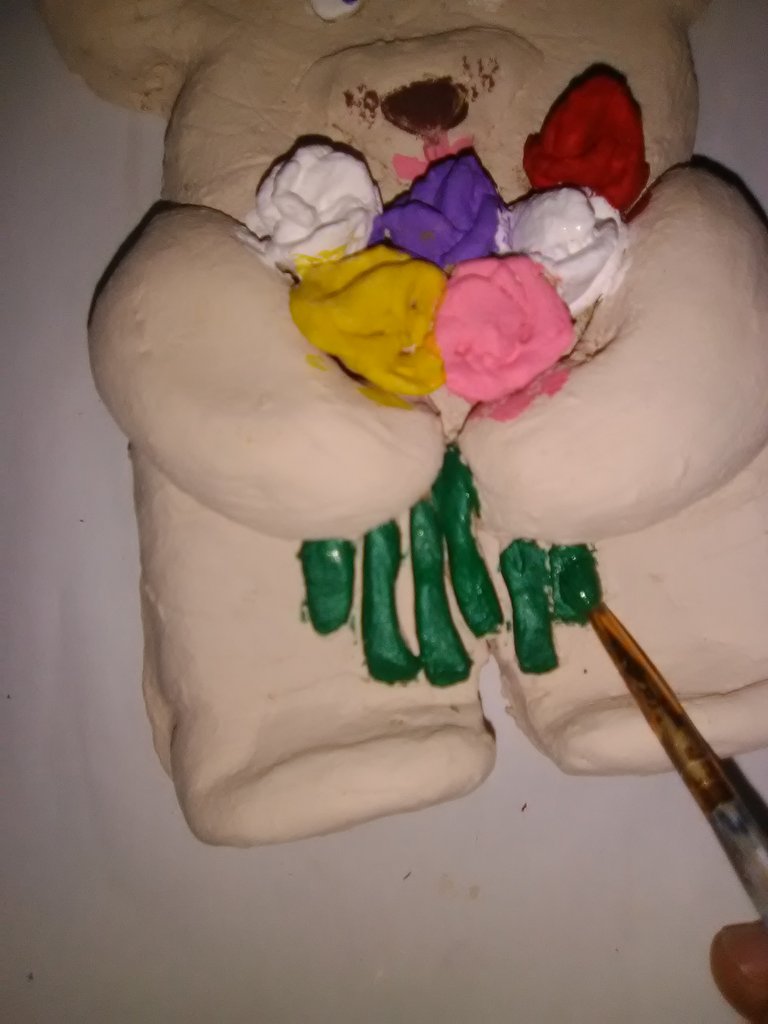
We painted the roses with different colors and the branches with a strong green.

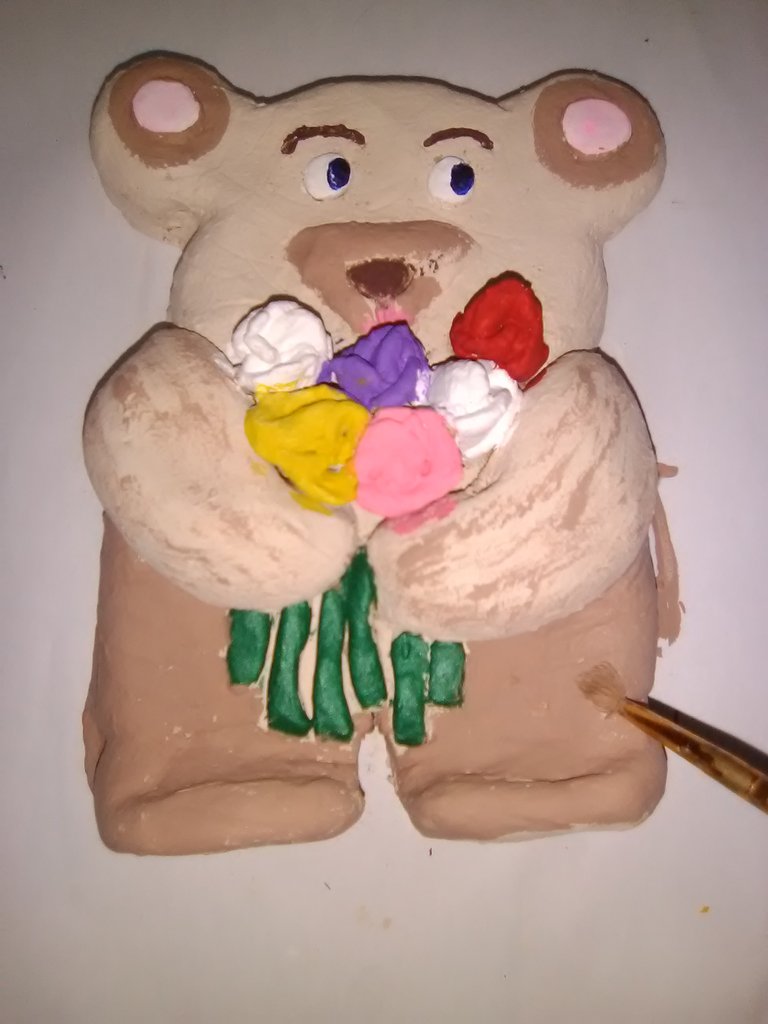
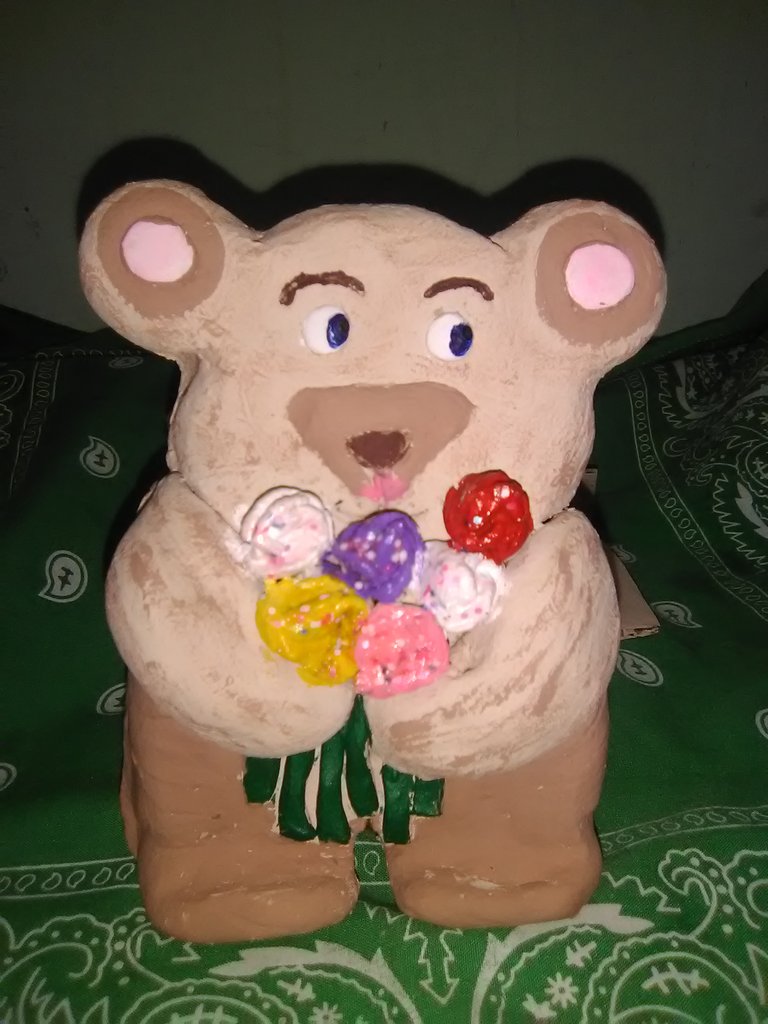
Place the brown color and combine the colors, and that's how this cute bear looks like, I hope you have fun making it with the kids at home, they will love it.
social networks

Spanish
Saludos bienvenidos a mi publicación, el día de hoy quiero compartir con ustedes, la elaboración de un tierno osito en arcilla, es muy fácil de hacer, ideal para decorar el cuarto de los niños o cualquier espacio de la casa espero les guste.


Para hacer esta manualidad necesitamos:
Materiales:
Pinturas
Pincel
Palo de brochet
Cartón
Pega
Agua


Para empezar, se hace una bola de arcilla del tamaño deseado, se coloca en la mesa húmeda con un poco de agua y se estira la arcilla con las manos mojadas.


Con la ayuda del palo de brocheta, dibuja y corta la forma del oso.


Retira la arcilla sobrante, moldea los lados del oso para que parezca definido, reserva el resto de la arcilla para usarla en los brazos, las rosas y otros detalles


Después de hacer los brazos, dóblalos para abrazar las rosas y pégalos a cada lado.


Este es el aspecto de este oso, la nariz se coloca simplemente cortando un triángulo de arcilla y pegándolo.


Dibuja los ojos y la nariz con el palo de brocheta.


Para hacer las rosas se hacen pequeños círculos y se enrollan


Después de terminar de pegar las rosas en el oso, separa las patas haciendo un corte triangular, luego dobla las patas para que pueda ponerse de pie, déjalo secar unos 3 días al aire libre y píntalo.


Con la pintura base del oso, procede a cortar un trozo de cartulina, dobla la parte superior de la cartulina y pégala con cola blanca para que este simpático oso pueda ponerse de pie.


Ahora vas a pintar los ojos y las orejas, utilizando el pincel y el palo de brocheta con mucho cuidado para que no se manche.


Pintamos las rosas con diferentes colores y las ramas con un verde fuerte.


Coloca el color marrón y combina los colores, y así es como queda este lindo oso, espero que te diviertas haciéndolo con los niños en casa, les encantará.

redes sociales
Las fotografias fueron tomadas con la ayuda de mi telefono Alcatel 5044R.
Traductor Deepl
Translated Deepl
Ediciones Canva
Editions Canva
Separador de textos Freepik
Text separator Freepik

Congratulations @lauracraft! You have completed the following achievement on the Hive blockchain and have been rewarded with new badge(s) :
Your next target is to reach 900 upvotes.
You can view your badges on your board and compare yourself to others in the Ranking
If you no longer want to receive notifications, reply to this comment with the word
STOPCheck out the last post from @hivebuzz:
Congratulations, your post has been upvoted by @dsc-r2cornell, which is the curating account for @R2cornell's Discord Community. Enhorabuena, su "post" ha sido "up-voted" por @dsc-r2cornell, que es la "cuenta curating" de la Comunidad de la Discordia de @R2cornell.