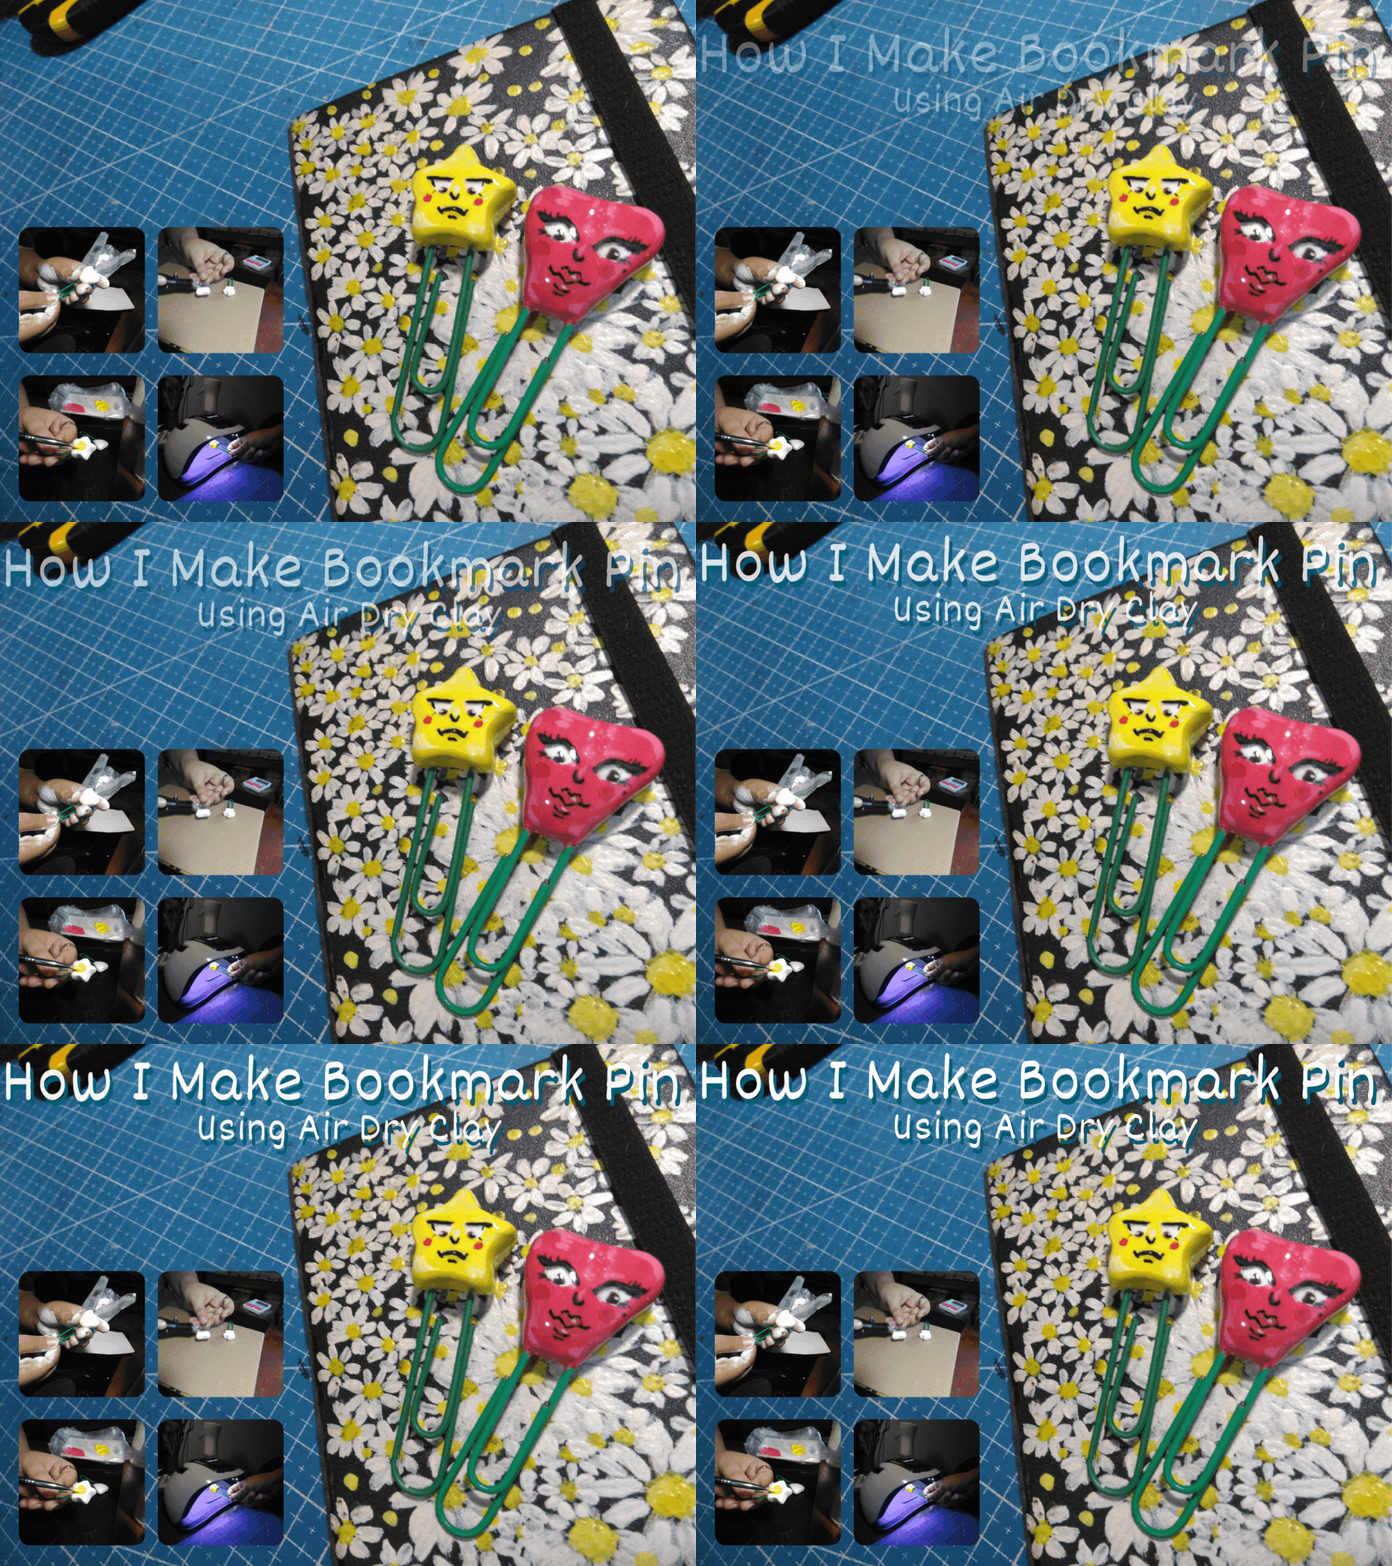
Hello! How are you? It has been a while since I used the Air-Dry Clay I purchased. I decided to buy a new one because the one I had before was little and it was not enough for the next craft I am going to make, so I decided to use that to make bookmark pins. The process of making them is a bit messy but worth it, but just the start.
I've been thinking of what design I will make out of it, so I decided to make a shape out of their face with their eyes looking below, like pointing to the place where the bookmark is, if I make sense LOL. I know the reason why I stopped working with air-dry clay for a while. The drying time will take a day, so patience is the number one key for this craft.
I did my best for this one, but I did miss playing with Air Dry Clay.
So, I hope you like it. :D
Materials I Used:
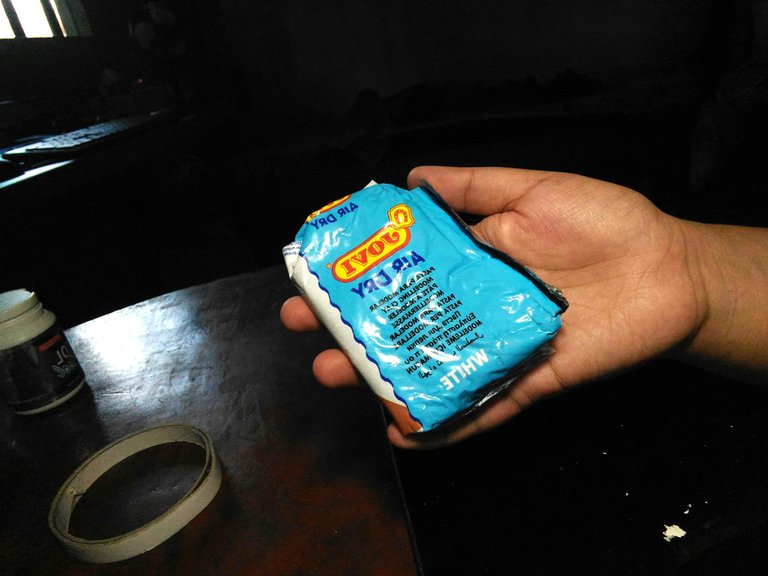
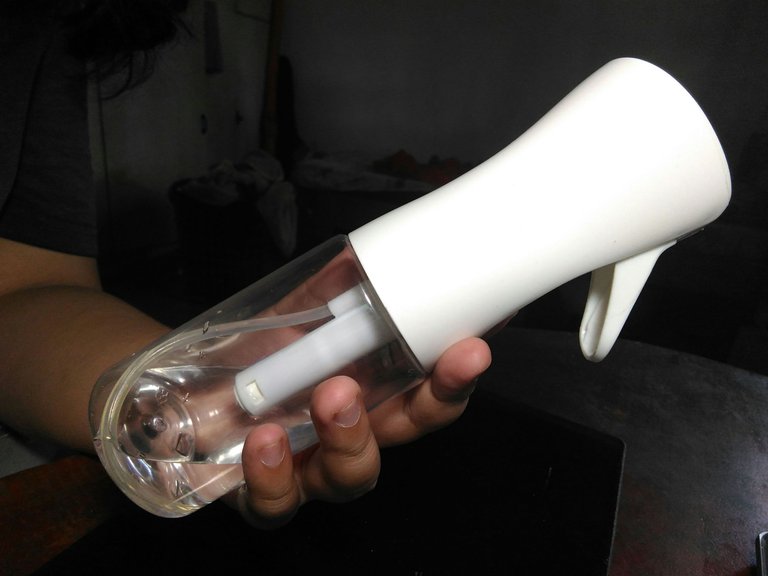
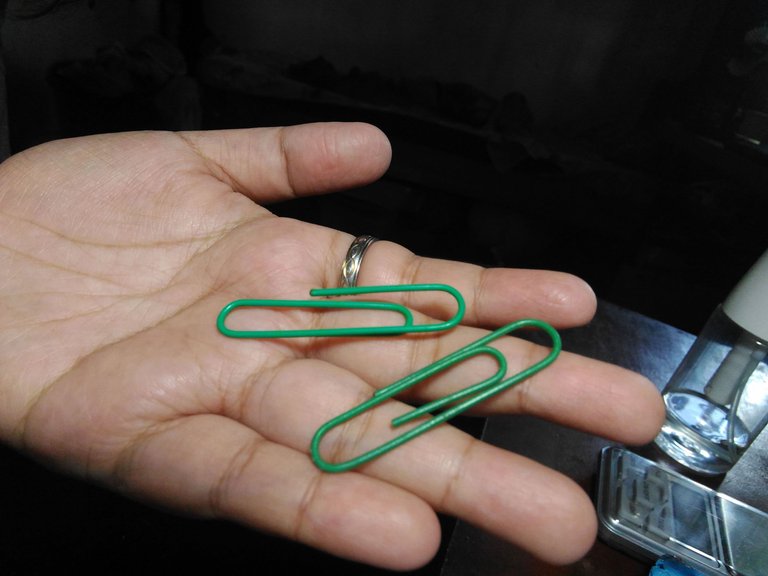
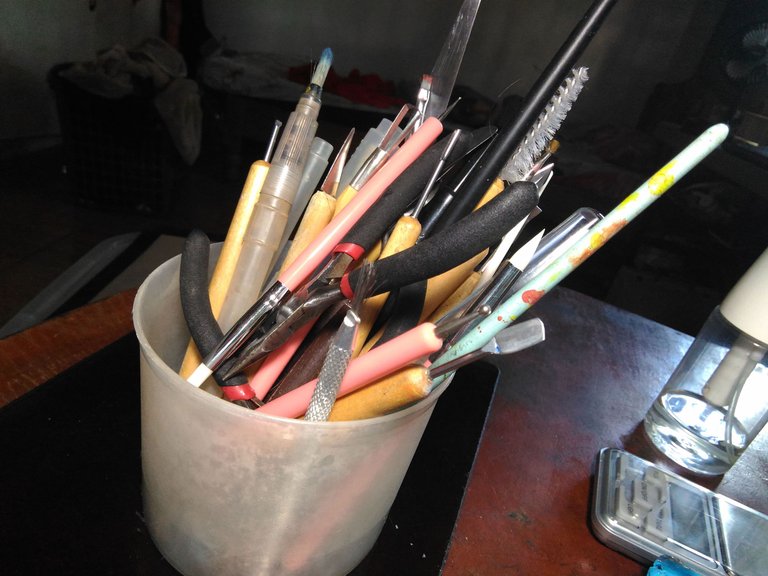
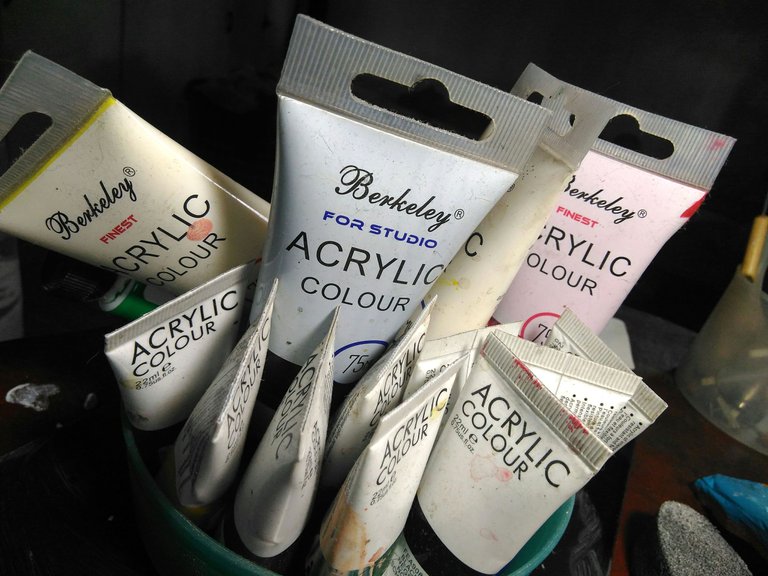
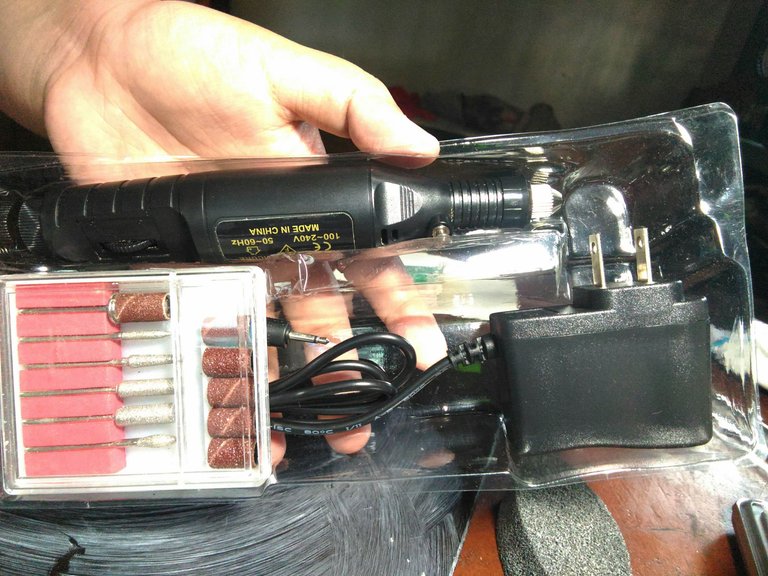
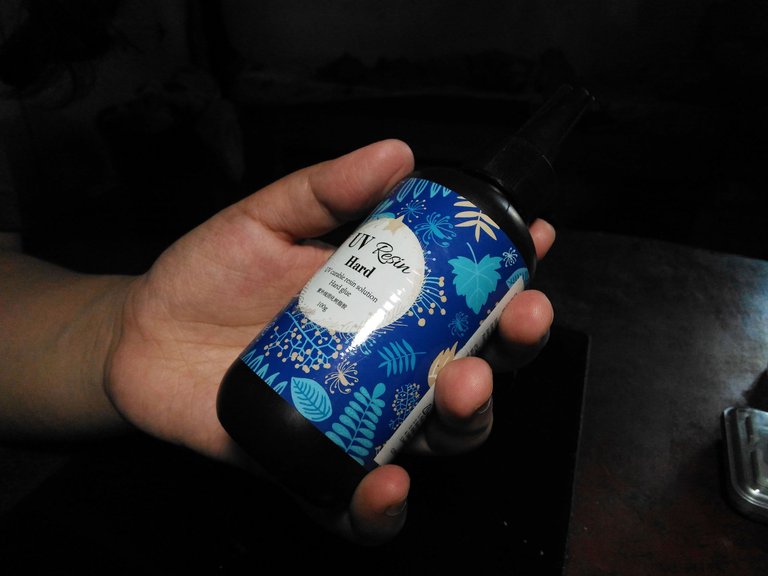
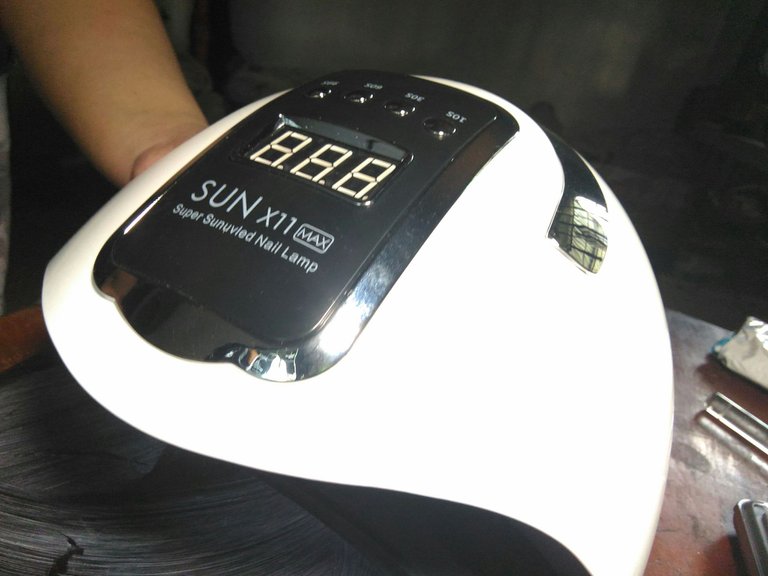
- Air Dry Clay
- Water
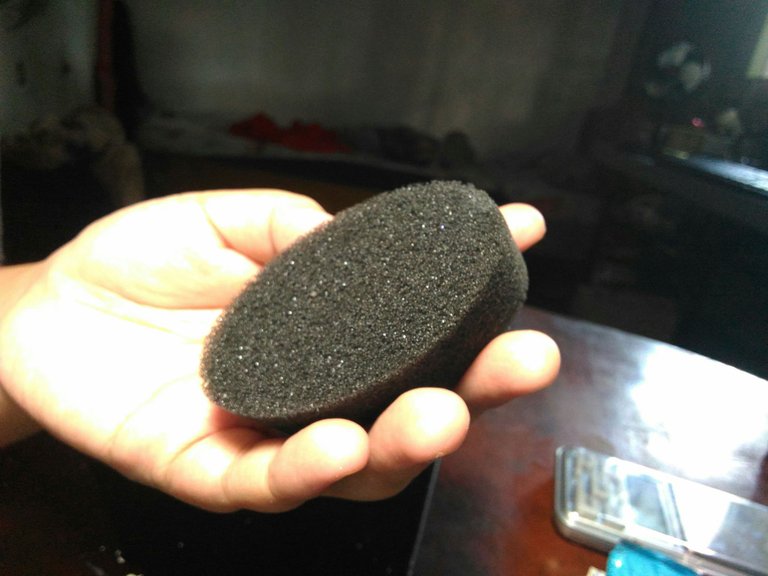
- Sponge
- Electric File
- Acrylic Paint
- UV Resin
- UV Lamp
- Paint Brush
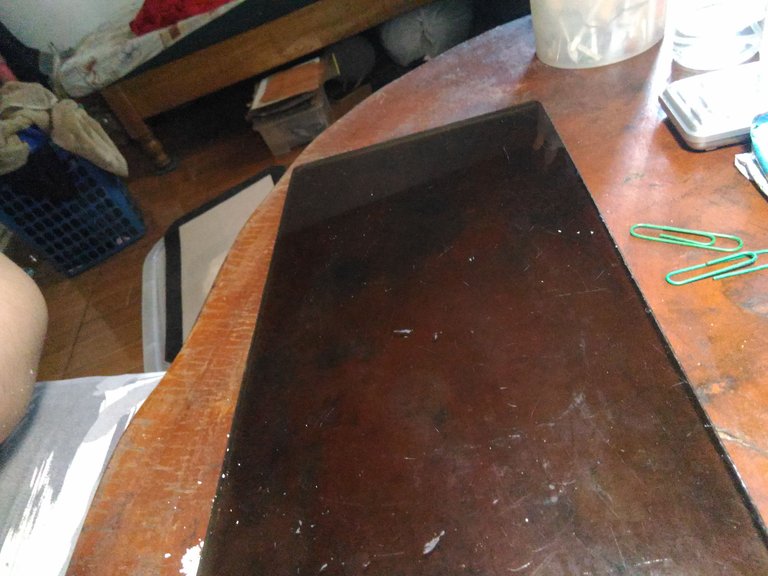
- Glass Sheet
- Pin
- Clay Tools
- Acrylic Rolling Pin
Clay Time:
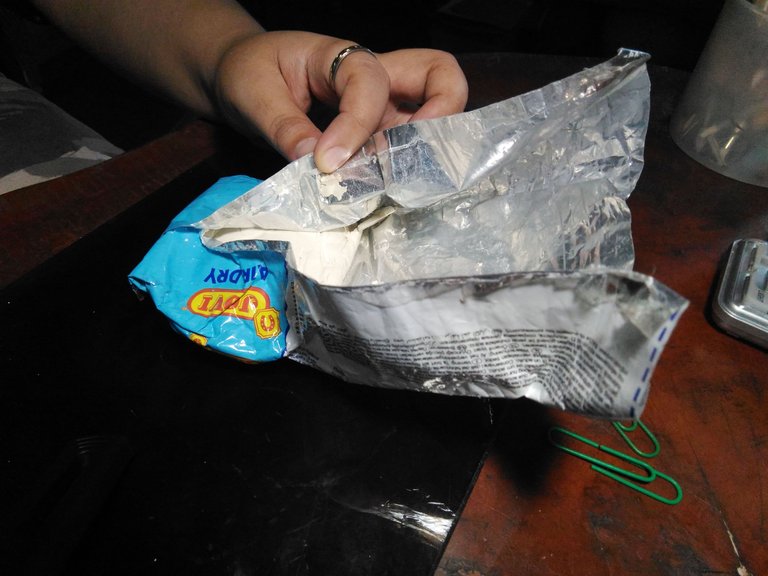
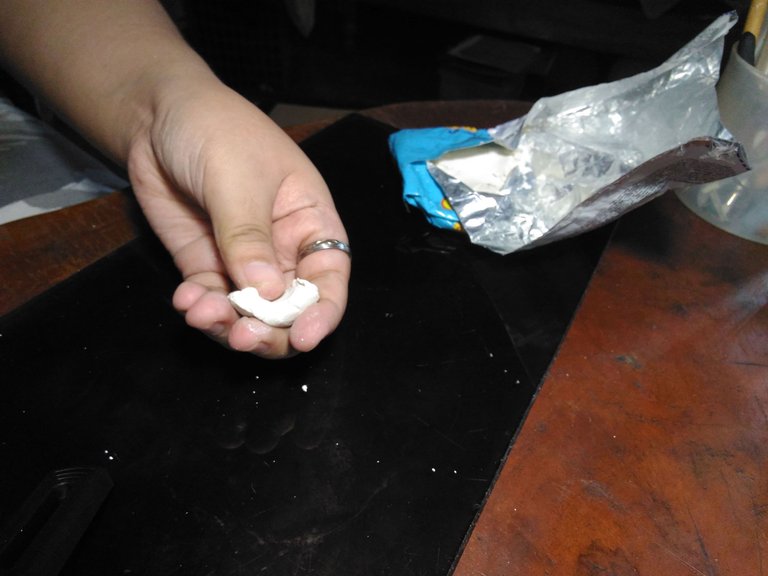
I first condition the Air-Dry Clay by kneading it in my hand.
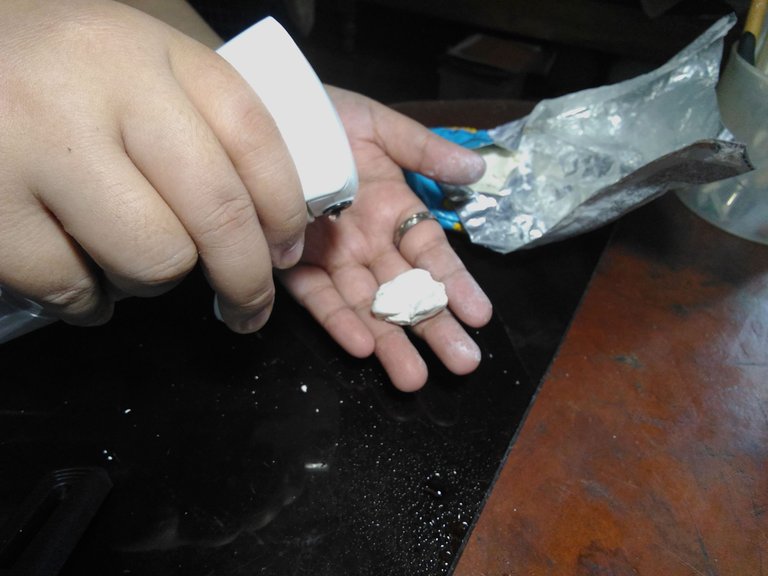
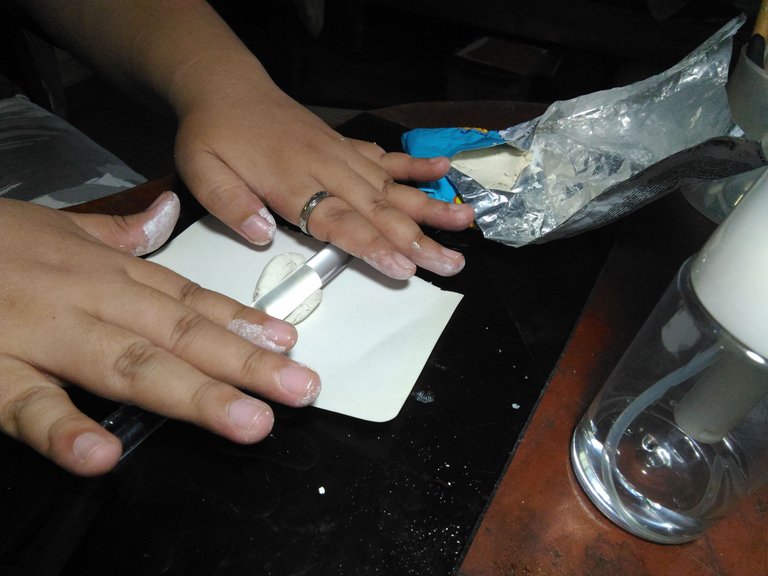
After kneading it by hand I then spray a little bit of water on the Air-Dry Clay because the clay dries easily and then I knead it with an acrylic rolling pin until soft.
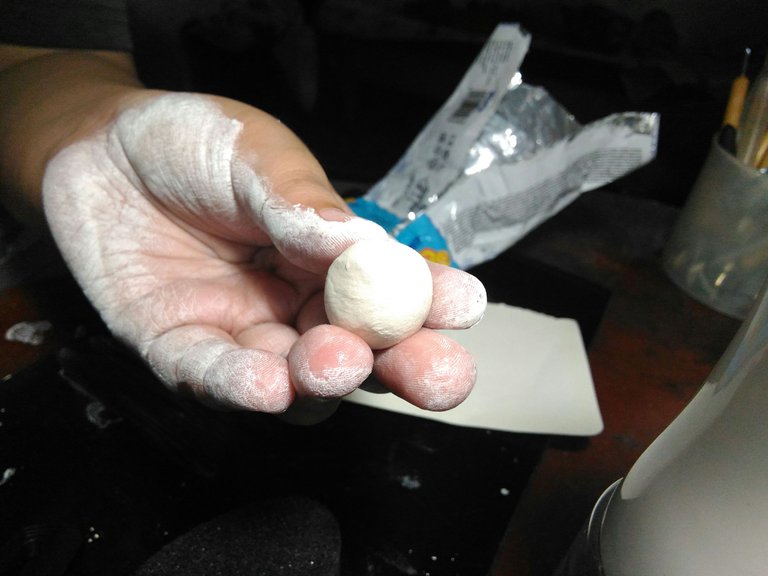
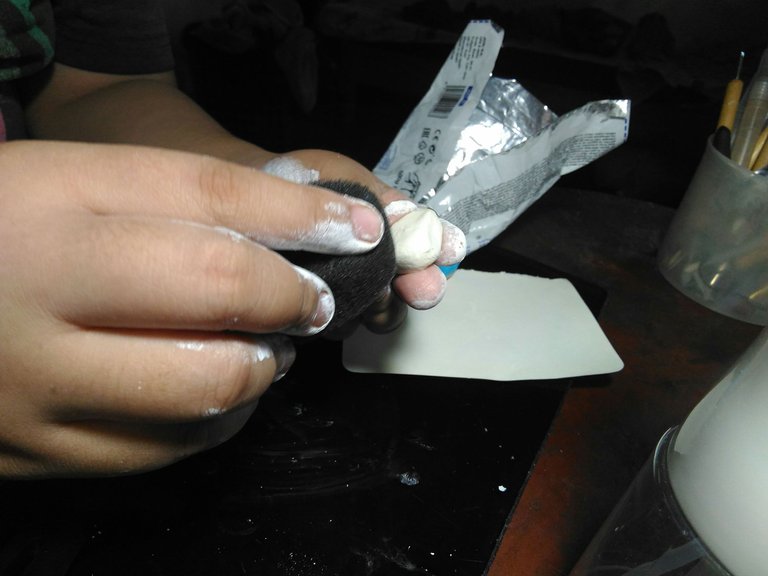
After that, I sculpted the clay to the shape of a heart and because air dry clay tends to have uneven parts it will need to smoothen it with a wet sponge.
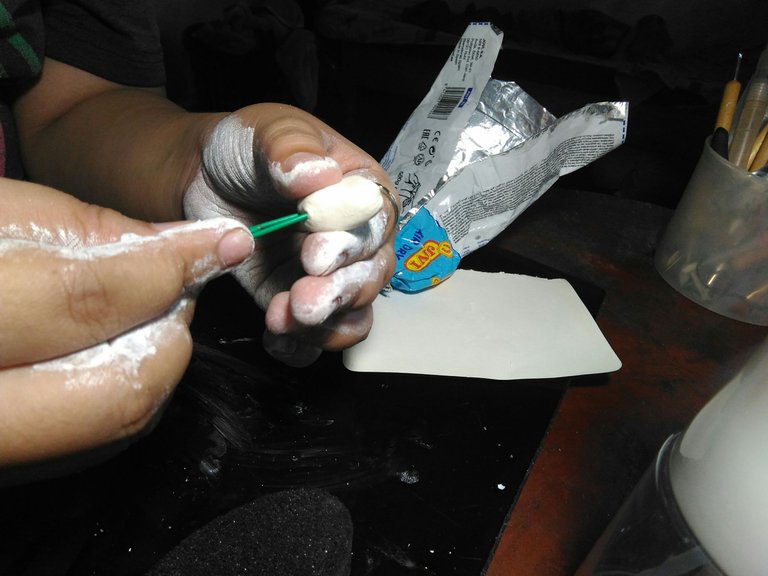
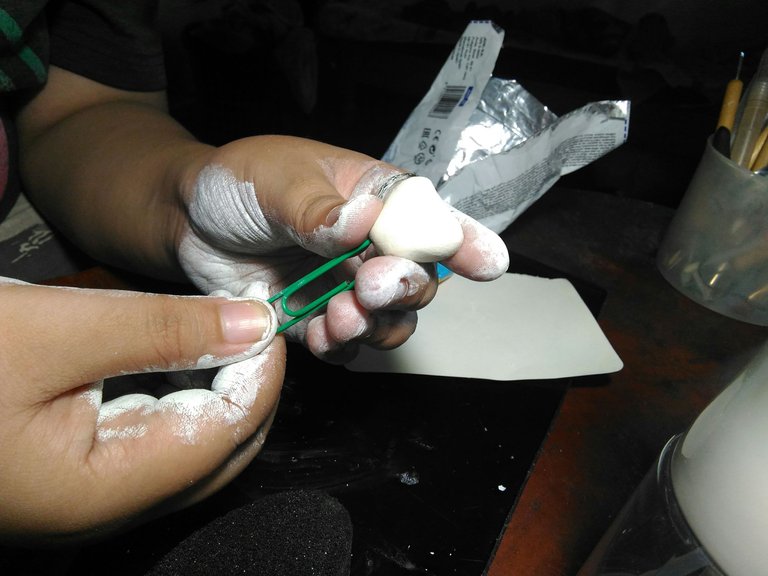
After I smoothen the clay I then next put in the pin in the clay.
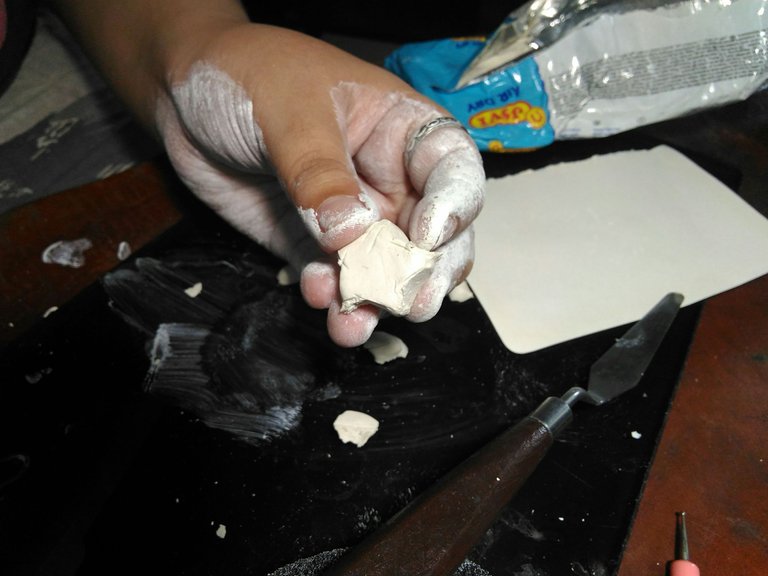
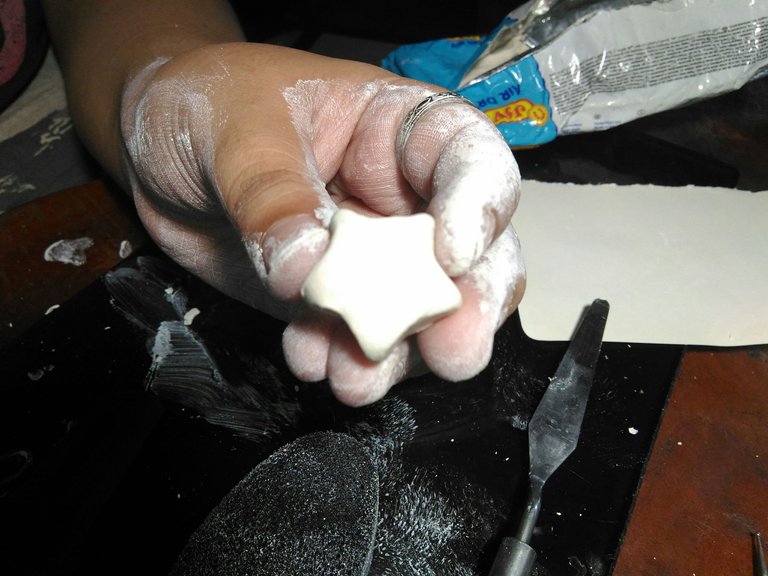
And I made another bookmark pin with the shape of a star.
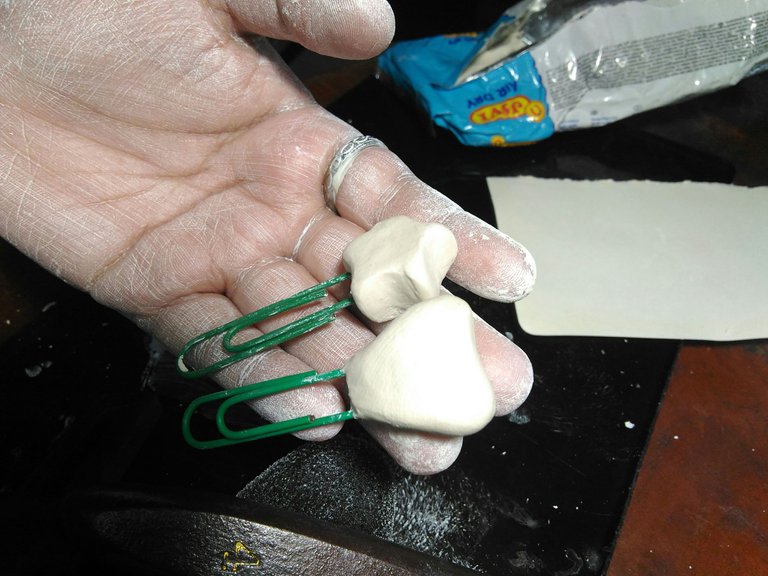
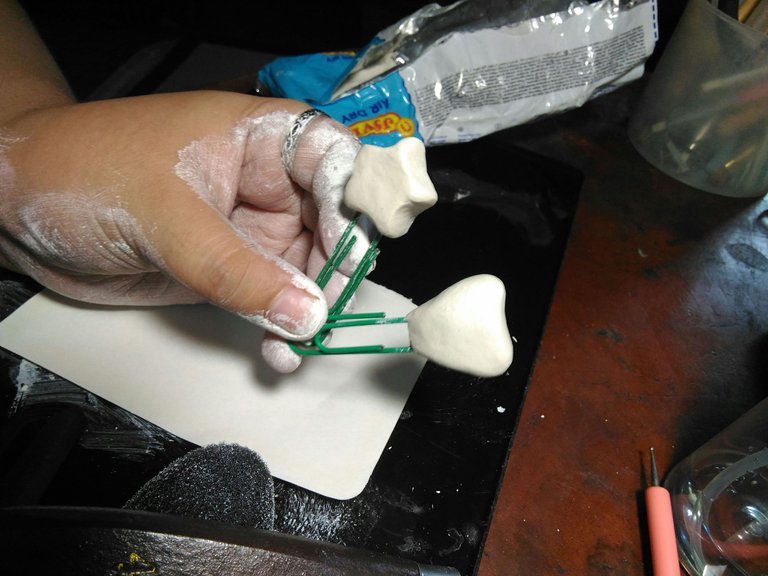
After that, It needs to be dry for 24 hours or more depending on what weather are you in.
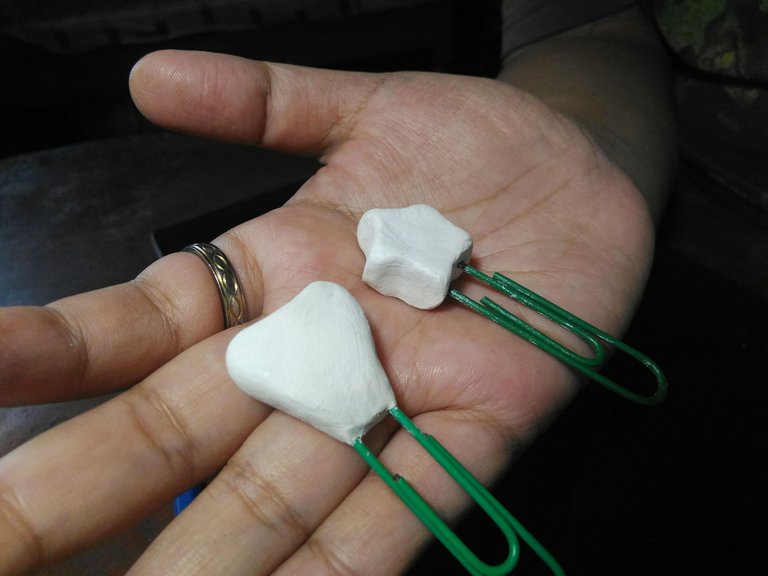
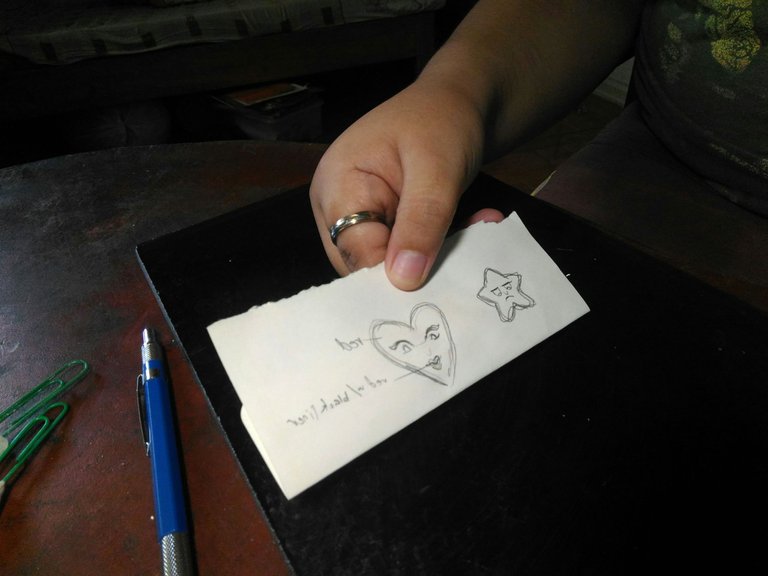
Now they are dried because they have a little bit of imperfection I will file and smoothen that later and by the way this is the design I wanted to paint.
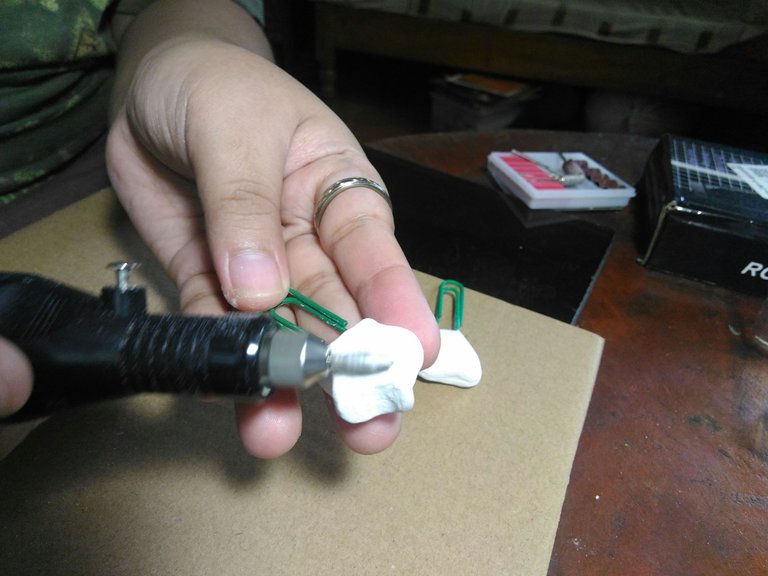
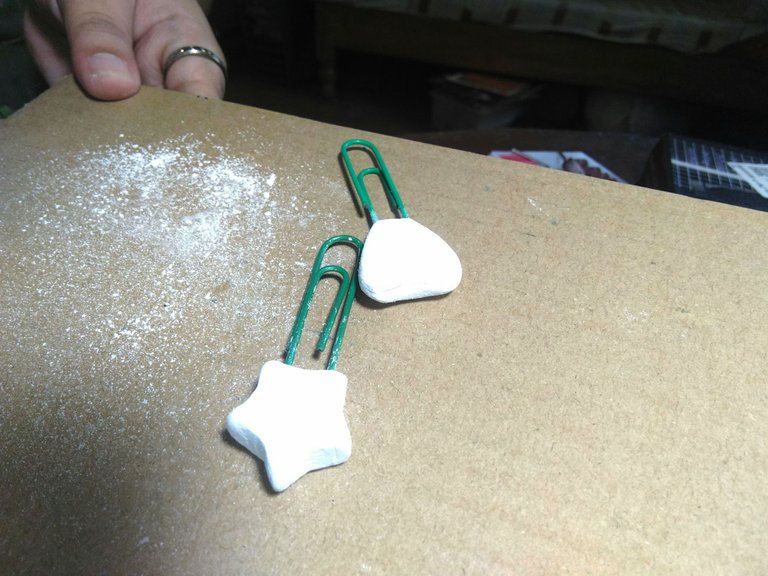
Using an electric file I smoothen the air-dry clay.
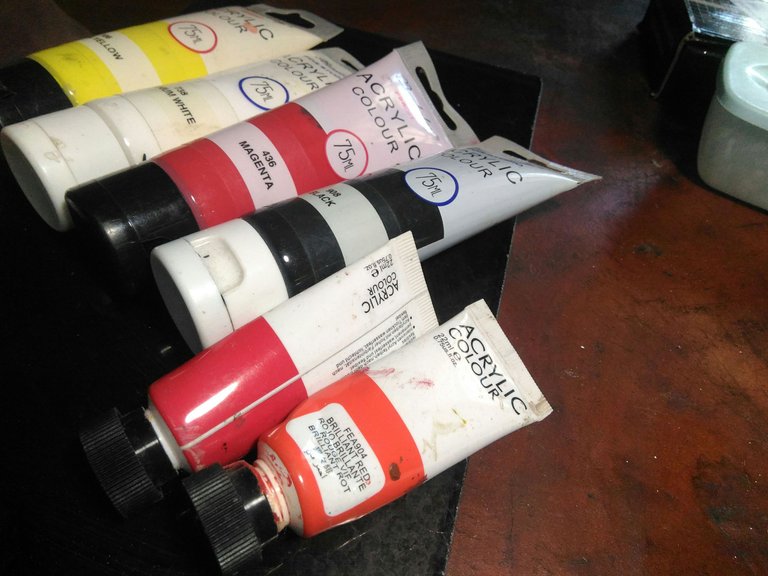
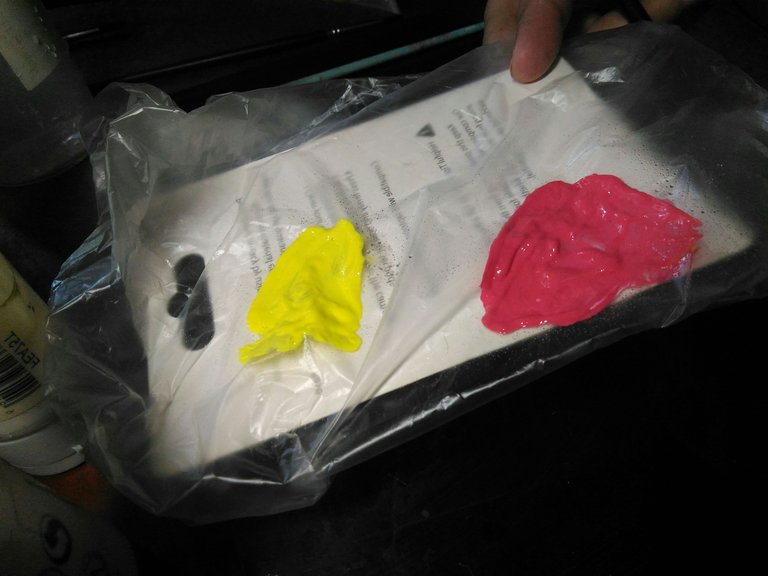
And then I prepare the acrylic paint I am going to use and then mix the paint on disposable plastic.
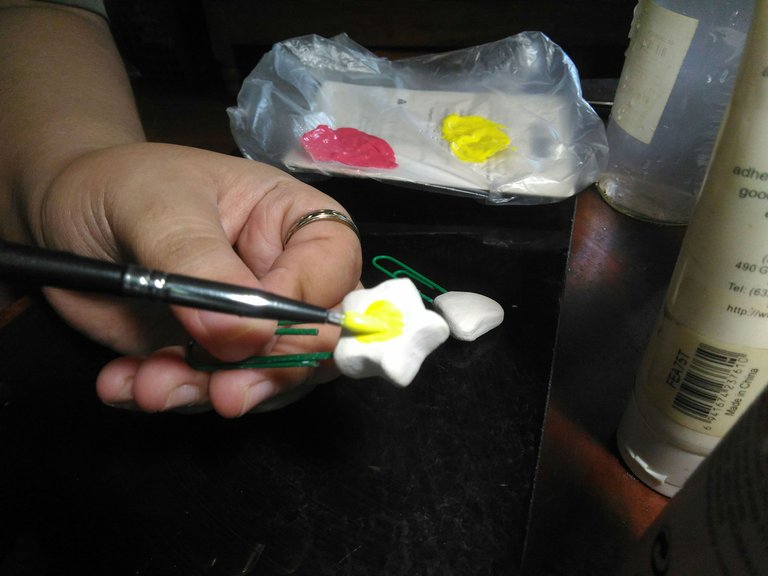
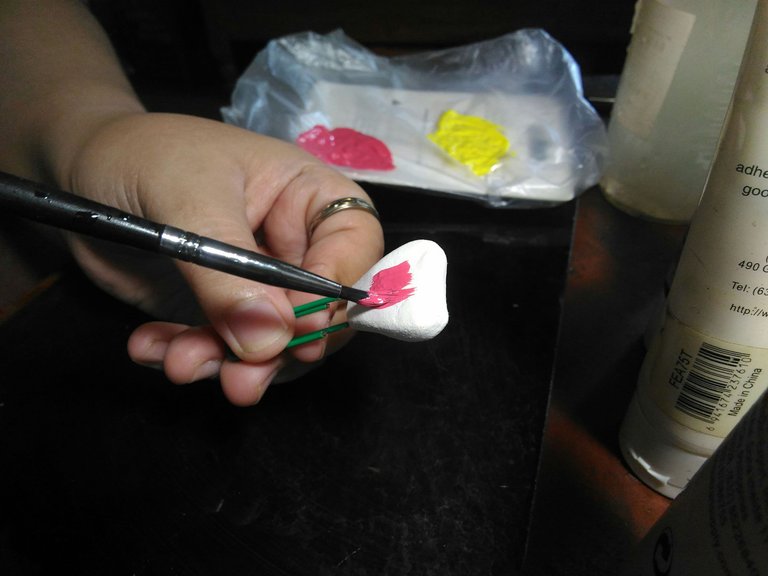
And then I painted the air-dry clay first layer first and let it dry first before painting the next layer.
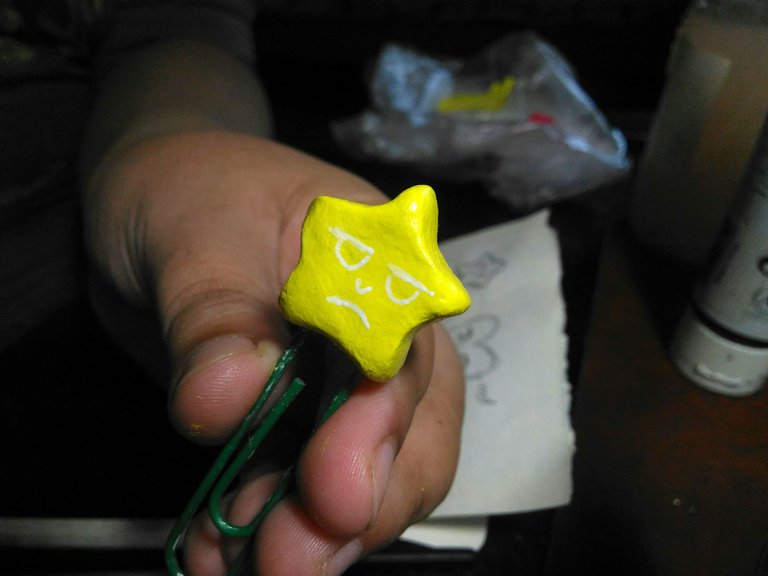
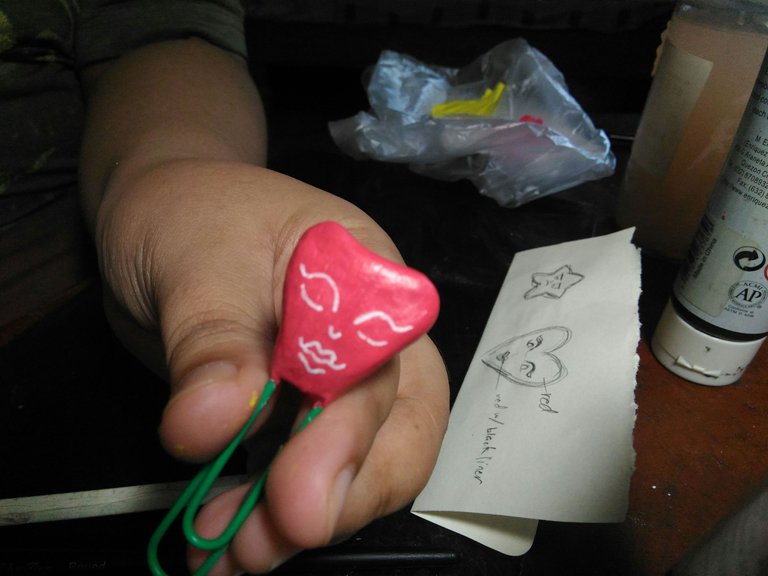
And then I painted the line art of the face, and I let it dry again.
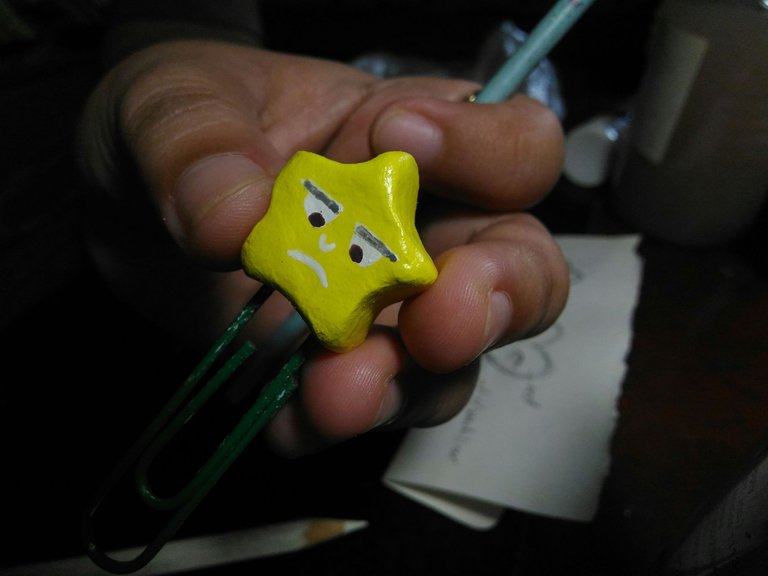
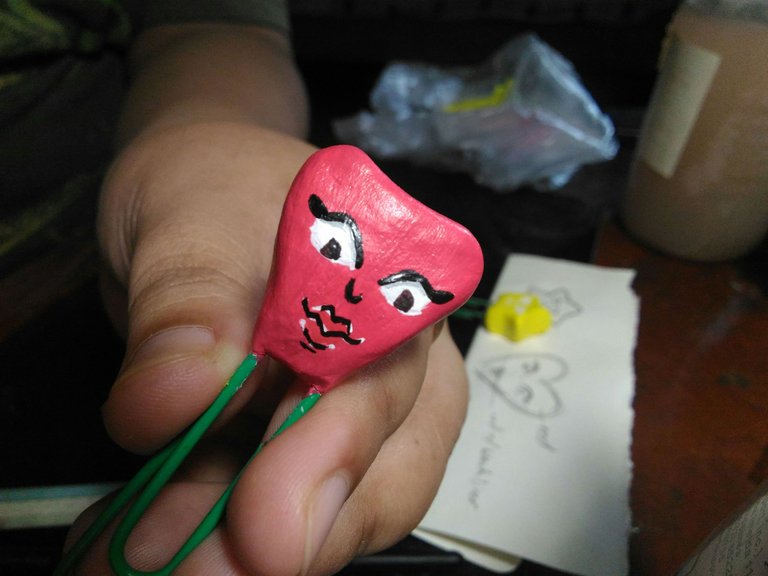
And then I painted the eyes.
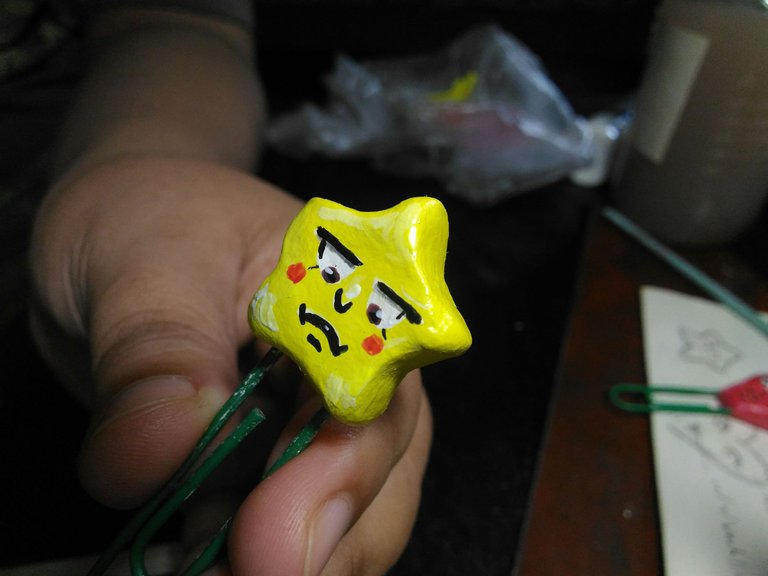
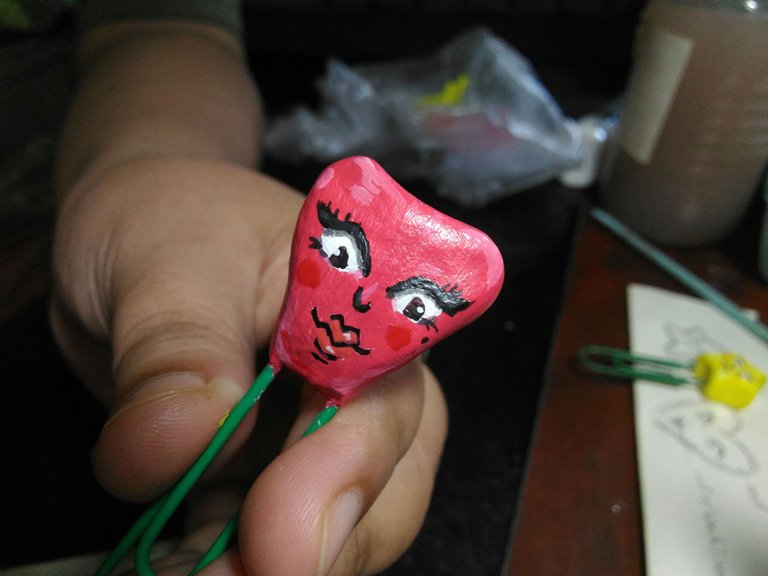
After that, I added more details on the face.
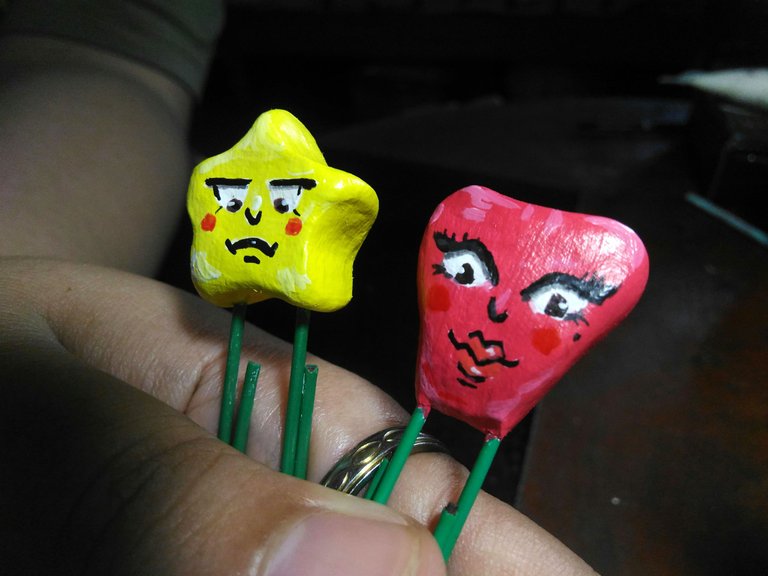
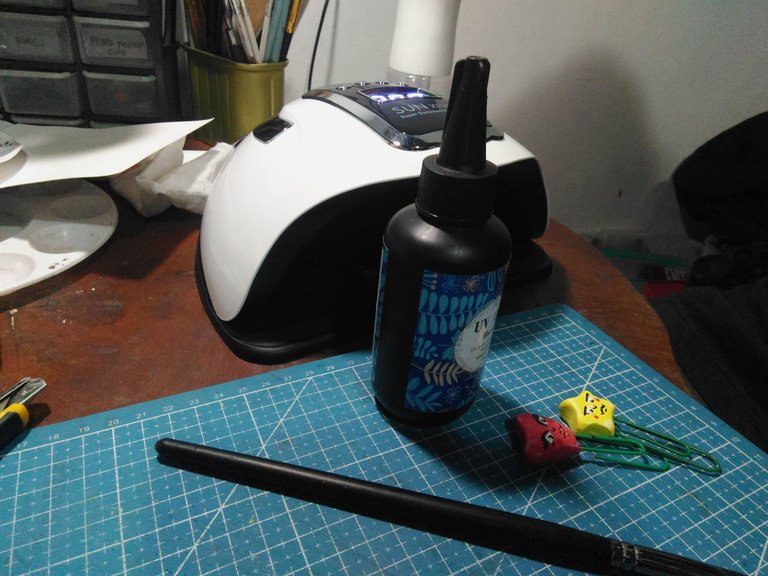
Now I am ready to apply the UV Resin.
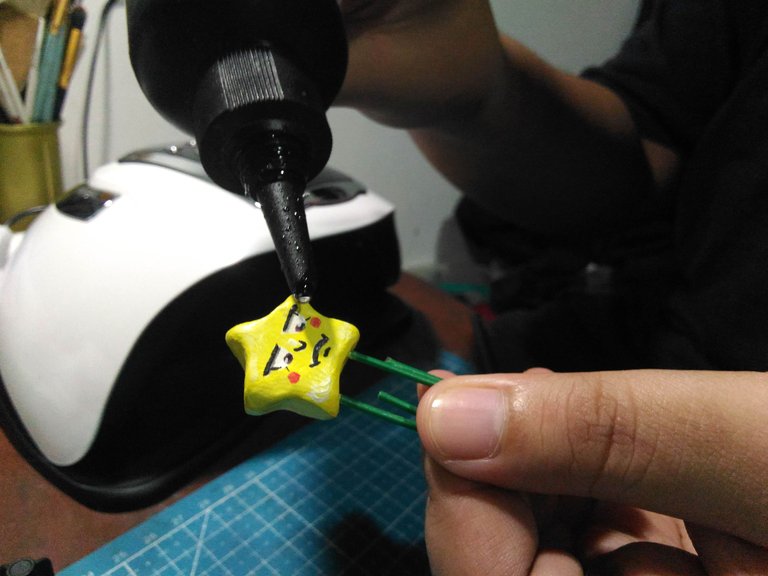
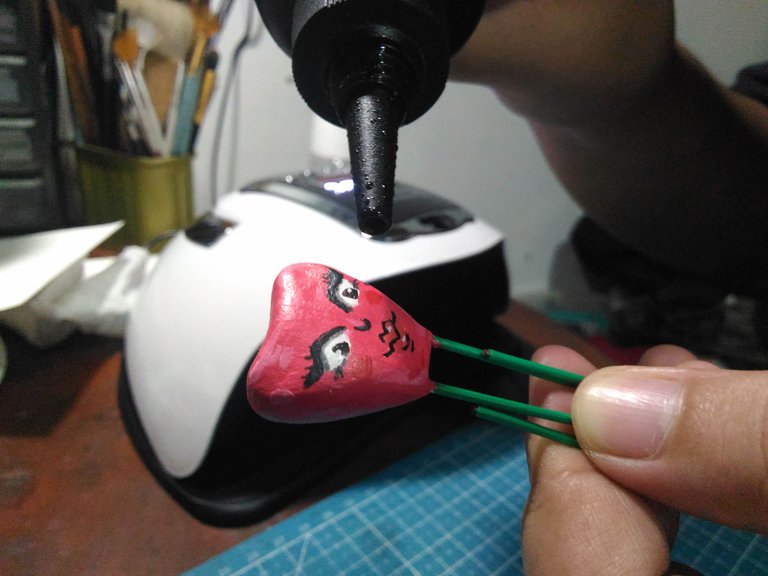
First I put enough UV Resin on the Bookmark Pins.
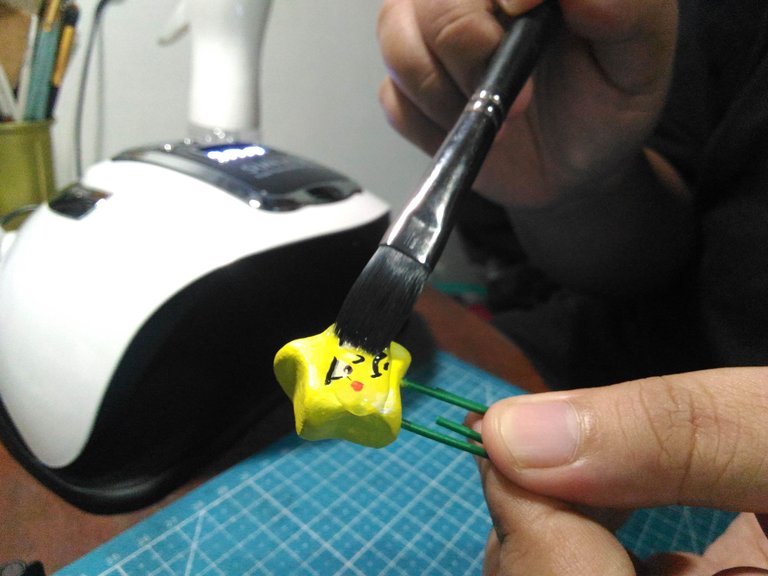
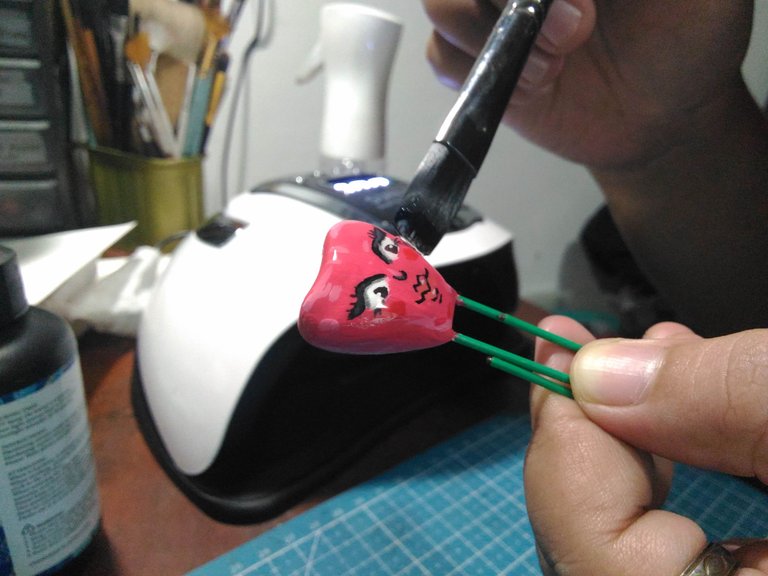
After that, I carefully apply UV Resin using a flat paintbrush. I make sure I use a clean paintbrush.
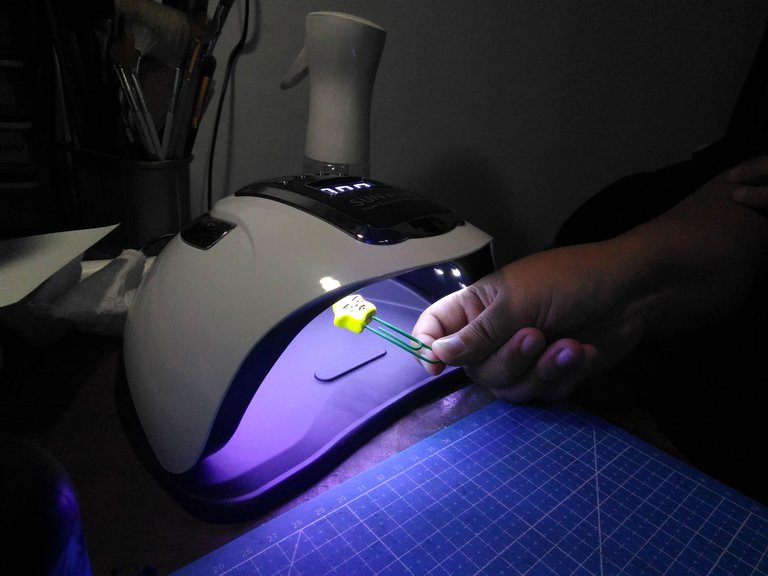
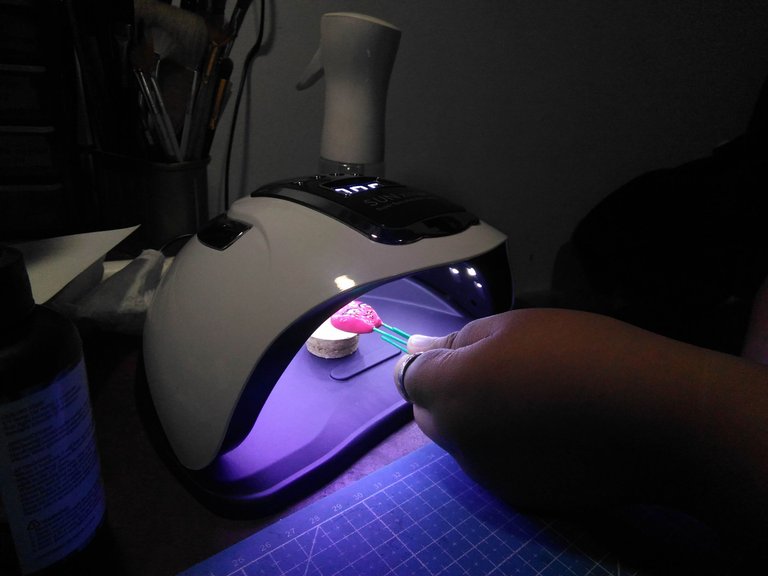
Next, I cure it under a UV Lamp many times until the UV Resin on the clay is not sticky anymore.
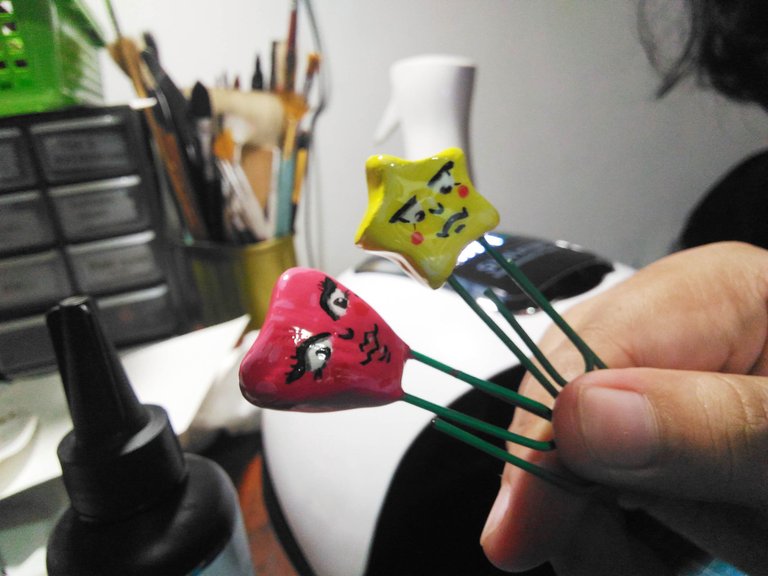
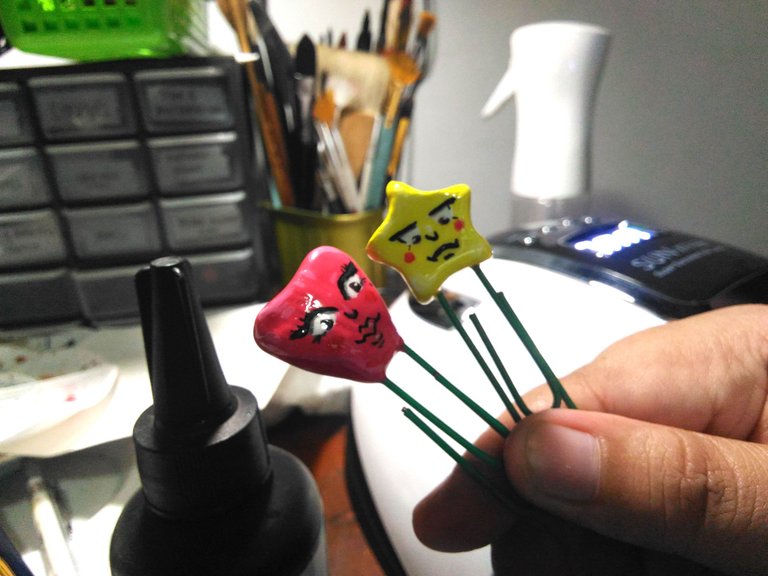
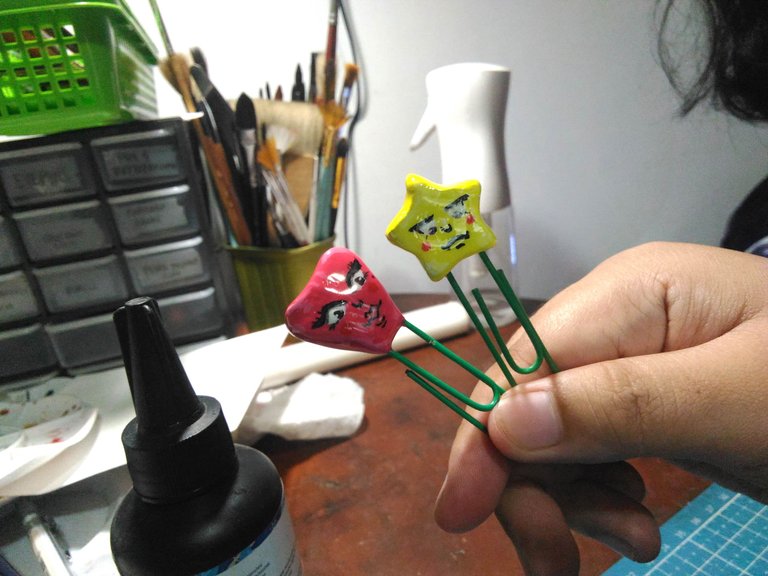
Now that the Bookmark Pins, are ready to be used.
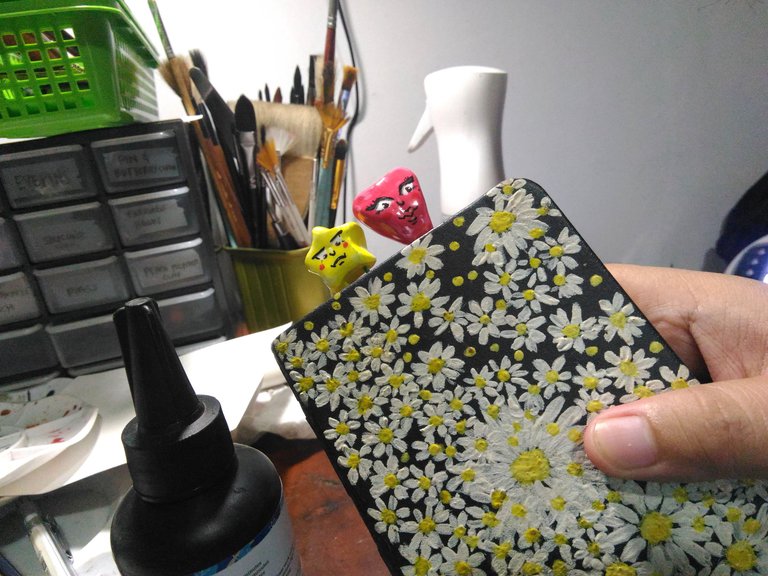
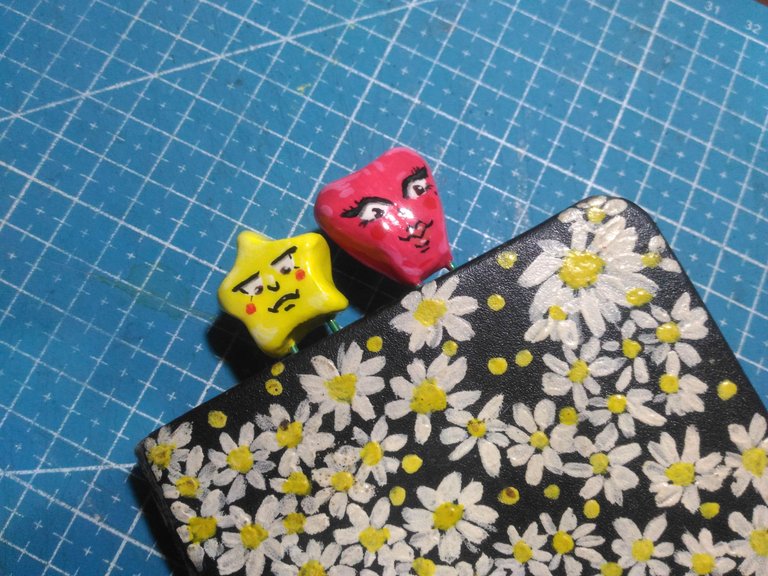
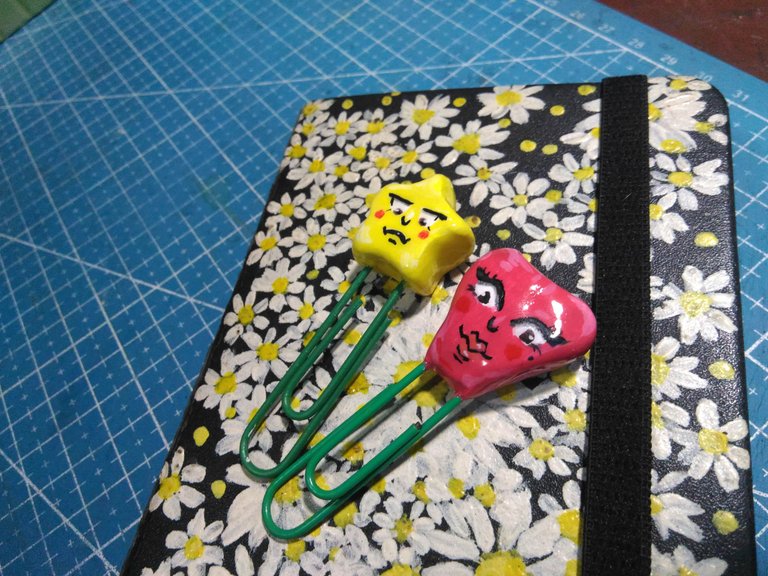
I use it as a Bookmark for my notebook.
Thank you for visiting, see you on my next blog. :D
Please take care of your mental health as well.
I hope you are okay today :))
Please take care of your mental health as well.
I hope you are okay today :))

The face painting is so cute and funny, xD. It adds a nice perspective to the bookmark pin. Good work
That is true! Thank you so much :D
That look so fun, the whole process of making it. The outcome is just cute, and what more amazing is, you can create mote of that. With your own design eme, kainggit 🤧
yes, it is fun! Even though it is a little bit messy using the airdry clay it is worth it till the end :D thanks :D