Hola, hola mis amigos Hivers. Siguiendo el motivo de este mes de febrero con respecto al día del amor y la amistad, sigo creando cositas para este día muy chéveres y creativas, que comparto con todos ustedes y espero les sean de su agrado y útiles a la hora de dar un detalle o planificar algo.
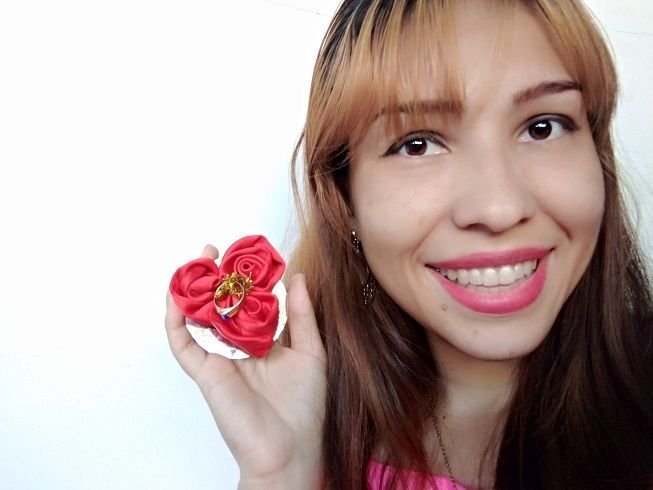
Thinking about what to create came to my mind... If I were someone who had to give a ring, how would I give it away in an artisanal, manual and creative way? So this went ¡boom! in my mind, like a light bulb that has just been turned on and I started looking for those recycling materials to get down to work.
Pensando en que crear vino a mi mente... Si fuera alguien que tuviera que regalar un anillo ¿Cómo lo regalaría desde una manera artesanal, manual y creativa? Entonces esto hizo un ¡boom! en mi mente, así como un bombillo que se acaba de encender y comencé a buscar esos materiales de reciclaje para poner manos a la obra.

Materials: / Materiales:
Entre los materiales conseguí una cinta de raso en en tonalidad roja gruesa y un espejo de los estuches de polvo compacto que ya se me había terminado. Hice uso de tijeras, silicón, un encendedor, aguja e hilo.

Step by Step: / Paso a paso:
1- 1- Fold the 15 cm long thick ribbon in half. Fold the corner towards the center forming a triangle, which fixes with the help of a needle and thread.
1- Doblar la cinta gruesa de 15 cm de largo a la mitad. Doblar la esquina hacia el centro formando un triángulo, el cual fija con ayuda de aguja e hilo.
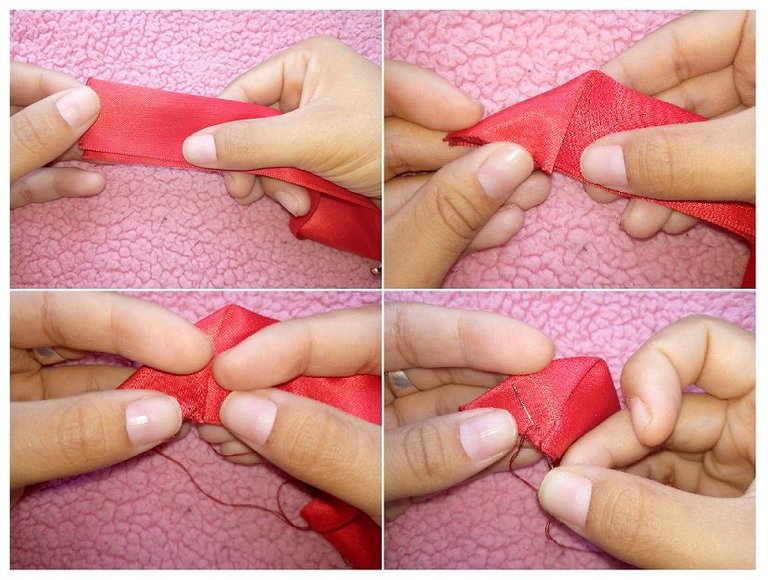
2- Take both external points of your triangle to the center and sew with discreet stitches, go around the center of your flower, giving petal shapes and with the help of the needle and thread, stitching so that it does not come apart. At the end of this step, burn the edge of the tape with a lighter.
2- Lleva ambas puntas externas de tu triángulo al centro y haz costura con puntadas discretas, ve dando vueltas alrededor de ese centro de tu flor, dando formas de pétalos y con ayuda de la aguja y el hilo dando puntadas para que no se desarme. Al finalizar este paso quema la orilla de la cinta con un encendedor.
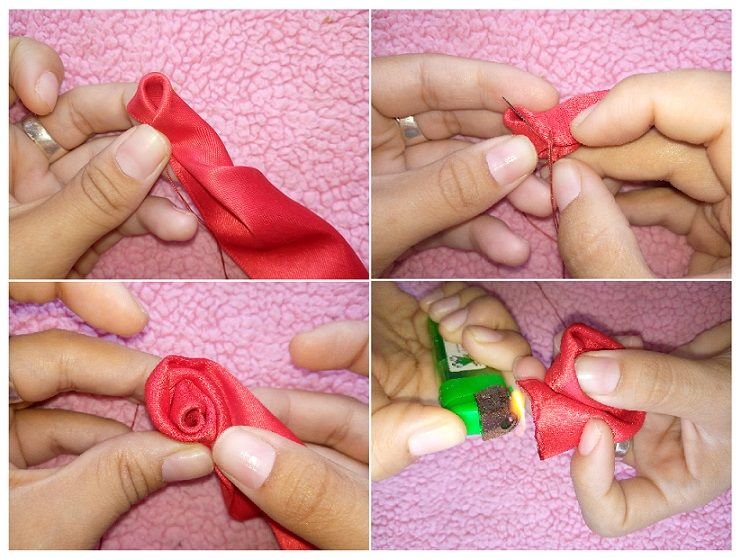
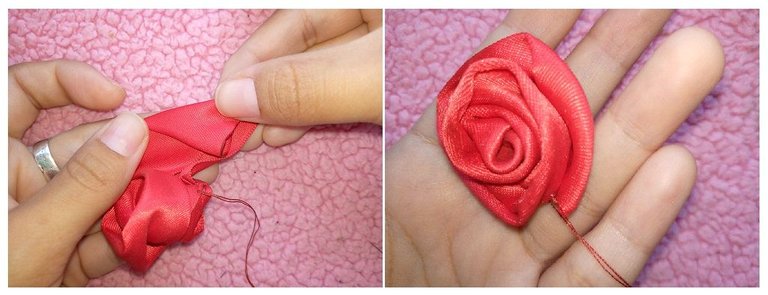
3- In the last or leftover part of the ribbon, fold towards the center just inside, forming a triangle as at the beginning of these steps, and finish giving the stitches to close and finish your rose. (In total there are three flowers or roses).
3- En lo último o sobrante de la cinta dobla hacia el centro justo al interior formando un triángulo como al inicio de estos pasos y termina de dar las puntadas para cerrar y finalizar tu rosa. (En total son tres flores o rosas).
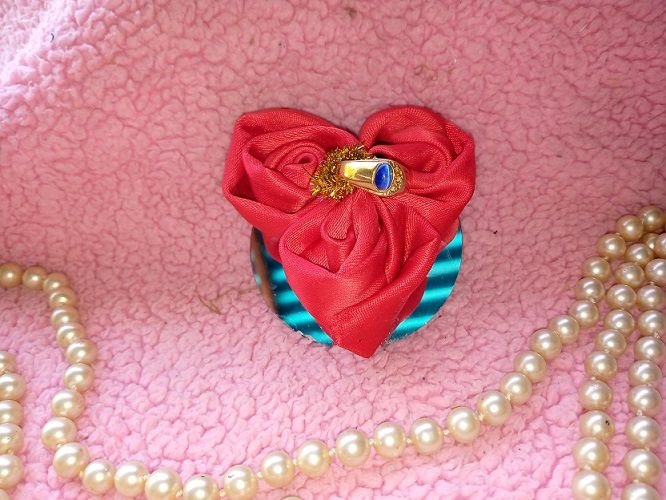
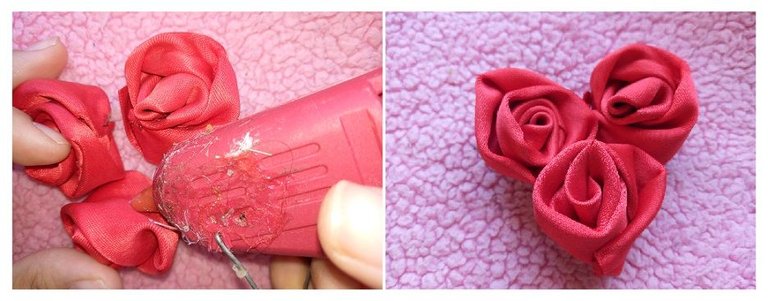
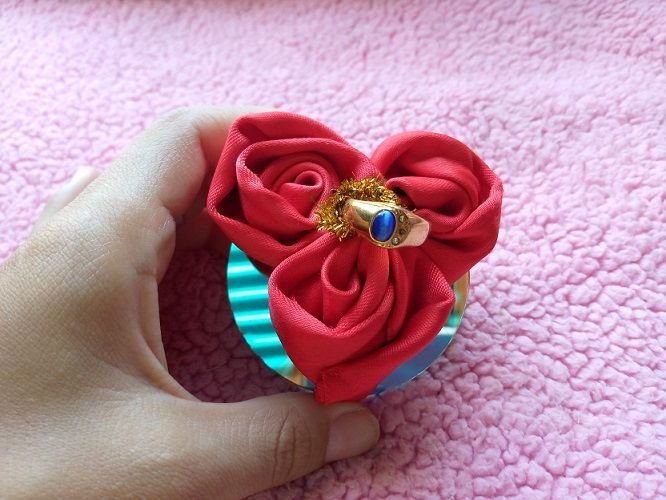
4- With silicone glue one rose next to the other, the third flower is glued in the middle of both, towards the bottom; forming a heart between the three roses as shown in the following image.
4- Con silicón pegar una rosa junto a la otra, la tercera flor se pega en medio de ambas, hacia la parte inferior; formando entre las tres rosas un corazón tal como se muestra en la siguiente imagen.
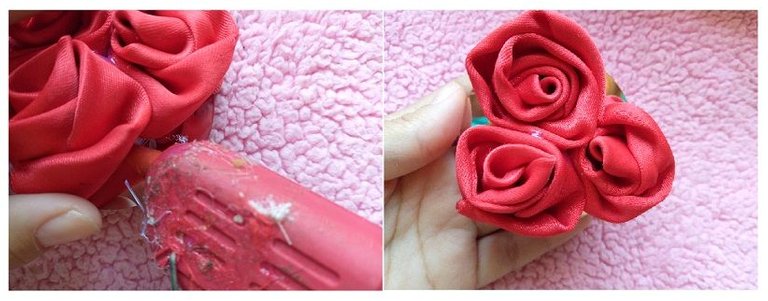
5- Place silicone on the back of the flowers and fix it in the center of the mirror.
5- Coloca silicón en la parte trasera de las flores y la fijas en el centro del espejo.
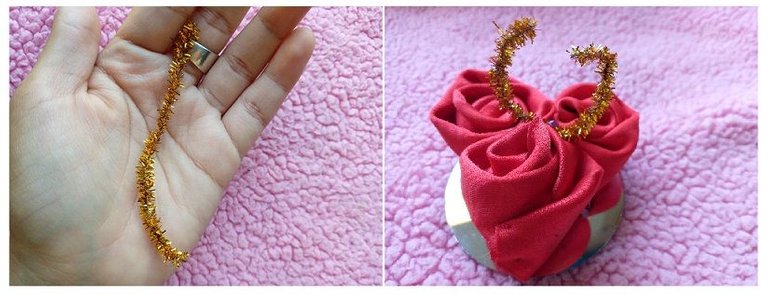
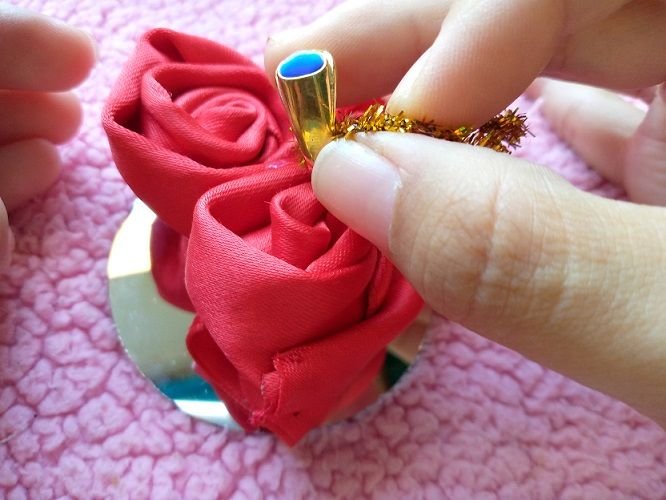
6- Between the space of the roses with silicone fix a hairy wire hehe (I think they call it pipe cleaners) of approximately 6 cm, where you insert and screw your ring to give.
6- Entre el espacio de las rosas con silicón fije un alambrito peludo jeje ( creo que le dicen limpiapipas) de aproximadamente unos 6 cm, donde introduces y enroscas bien tu anillo a regalar.

¿What do you think? / ¿Qué les parece?
At the end of this craft it seemed so cute to me "so to speak" because of its size and delicacy, as well as being a cute and economical option without so much complication when it comes to making it. You can use not only satin ribbon, but silky fabrics to make it. Place appliqués perhaps of pearls or stones and even some lace that surround the small mirror.
Al finalizar esta manualidad me pareció tan cuchi "por así decir" por su tamaño y delicadeza, además de ser una opción tierna y económica sin tanta complicación a la hora de elaborarla. Puedes usar no solo cinta de raso, sino telas sedosas para elaborarla. Colocar apliques tal vez de perlas o piedrería y hasta algún encaje que rodeen el pequeño espejo.
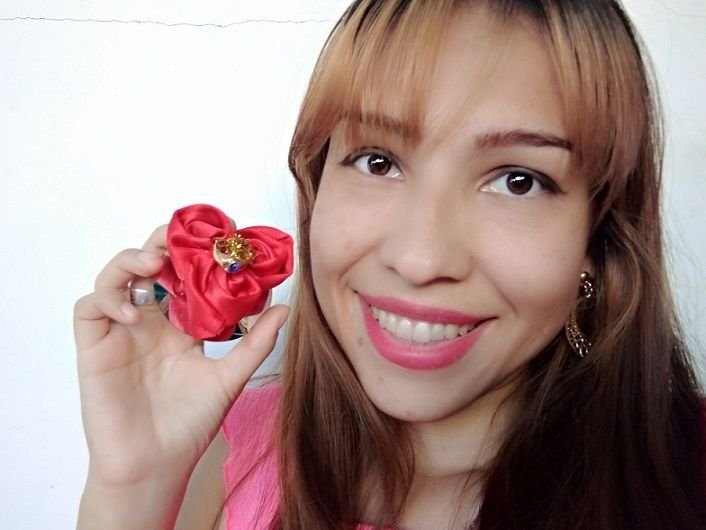
I tell you that it is a very quick craft to do since it did not take me an hour to do it. I hope you liked it, thank you very much for visiting my blog, which is also yours to learn and interact as friends of this community. Until the next occurrence and content. God bless you very much.
Les cuento que es una manualidad muy rápida de hacer ya que no me llevo ni una hora en hacerla. Espero les haya gustado, muchas gracias por visitar mi blog, que también es el tuyo para aprender e interactuar como amigos de esta comunidad. Hasta la próxima ocurrencia y contenido. Dios bendiga les bendiga muchísimo.

Las fotografías son de mi autoría tomadas con mi celular Alcatel Tetra/ photographs are my own, taken with my Alcatel Tetra cell phone.
Programa de edición de la imagen de portada: postermywall / Cover image editor: postermywall
Traductor de Google es el utilizado en los contenidos./ Google Translate is the one used in the contents.

dios que hermoso ya me quiero hacer uno
Realmente no tiene nada de complicado y es una lindura. Gracias por pasar y leer este contenido
Thank you for sharing this amazing post on HIVE!
non-profit curation initiative!Your content got selected by our fellow curator @rezoanulvibes & you just received a little thank you via an upvote from our
You will be featured in one of our recurring curation compilations and on our pinterest boards! Both are aiming to offer you a stage to widen your audience within and outside of the DIY scene of hive.
Join the official DIYHub community on HIVE and show us more of your amazing work and feel free to connect with us and other DIYers via our discord server: https://discord.gg/mY5uCfQ !
If you want to support our goal to motivate other DIY/art/music/homesteading/... creators just delegate to us and earn 100% of your curation rewards!
Stay creative & hive on!
Thanck you!!
Thank you!!