Welcome to my blog
Bienvenidos a mi blog
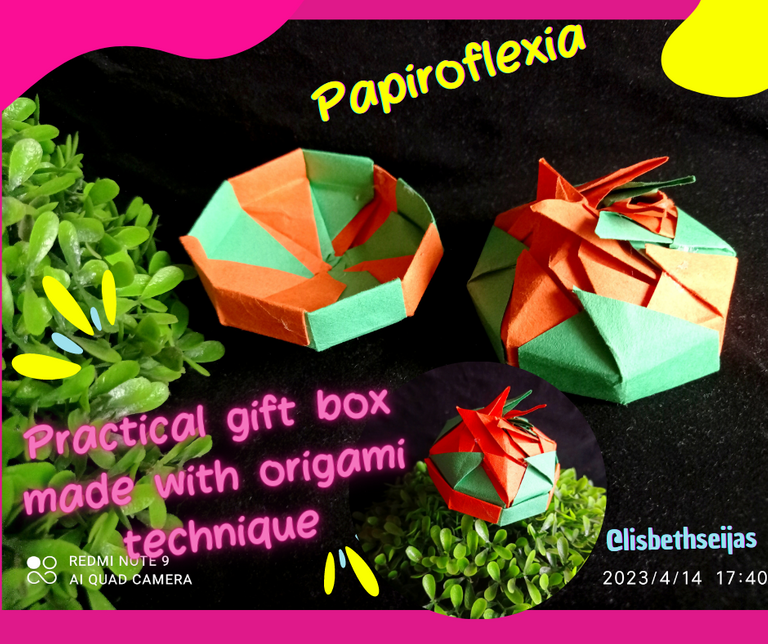
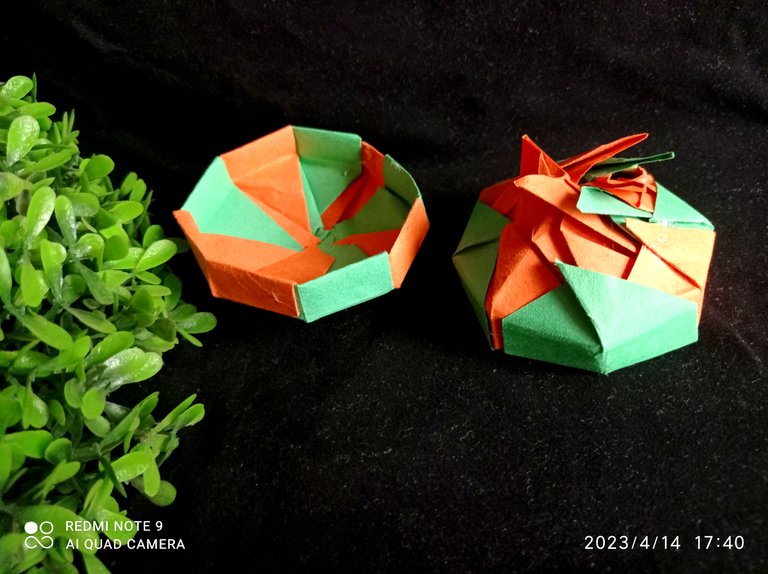
Greetings creative friends, today I bring you a new project using the technique of origami or origami, a technique that works with paper. Today I made a practical gift box, which is very useful when we are going to give something as a gift and by chance you don't have one at hand, you can make it yourself with the paper you have. I tell you that at first I was going to use metallic cardboard, but for the doubles it was a little uncomfortable and the doubles are very important that they are well marked for a good result. Well then I decided to work with construction paper which is much softer and versatile to work with. I will show you step by step how practical it is to make this box
Saludos amigos creativos, hoy les traigo un nuevo proyecto utilizado la técnica de origami o papiroflexia, técnica que se trabaja con papel. Hoy realice una práctica caja de regalo, que es muy útil cuando vamos a obsequiar algo y por casualidad no tienes una a la mano, la puedes realizar tu mismo con el papel que poseas. Les cuento que en un principio iba a realizar con cartulina metalizada, pero para los dobles era algo incómodo y los dobles son muy importantes que queden bien marcados para un buen resultado. Bueno entonces decidí trabajar con cartulina de construcción que es mucho más suave y versátil para trabajar. Te mostraré paso a paso lo practico de elaborar esta caja
Materials
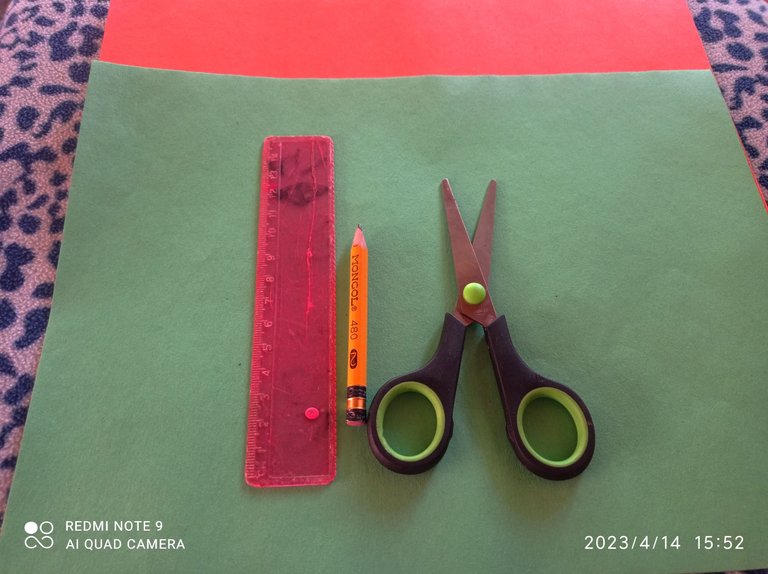
Green and orange construction paper
Ruler
Scissors
Pencil
Materiales
Cartulina de construcción verde y naranja
Regla
Tijera
Lápiz
Step by step
Paso a paso
Step 1
Paso 1
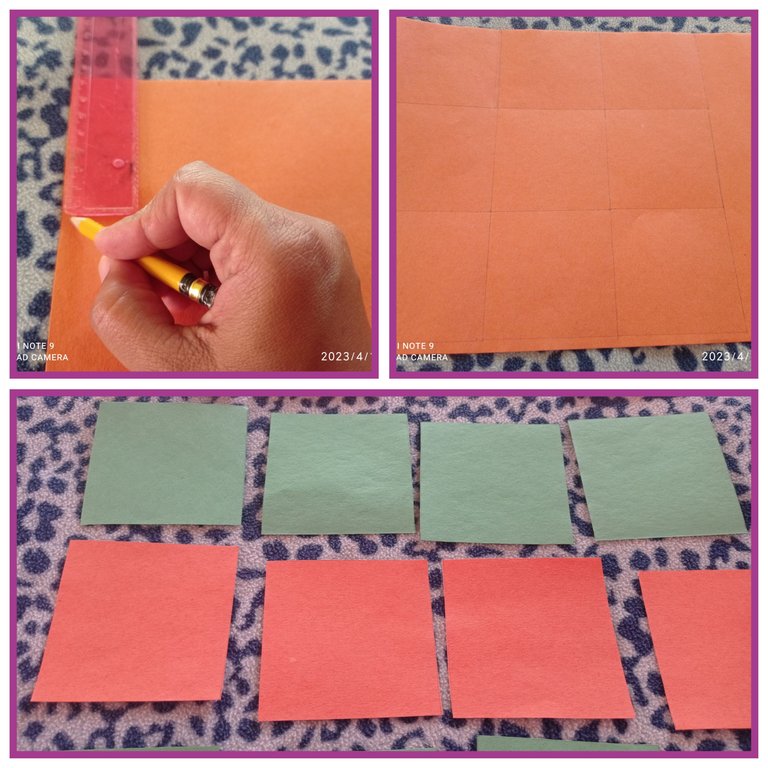
To start with this project we will need squares of paper measuring 7.5cm, so take the ruler and draw 8 orange squares and 8 green squares, for a total of 16 squares for the whole project.
Para comenzar con este proyecto necesitaremos cuadrados de papel de medidas de 7,5cm , para ello tome la regla y trace 8 cuadros naranjas y 8 cuadros verdes, para un total de 16 en total para todo el proyecto
Step 2
Paso 2
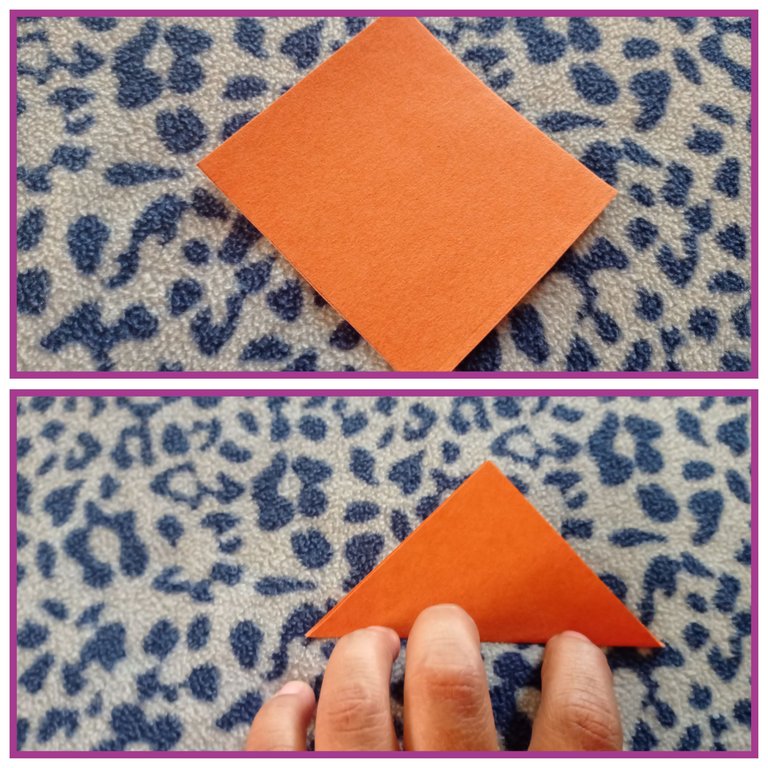
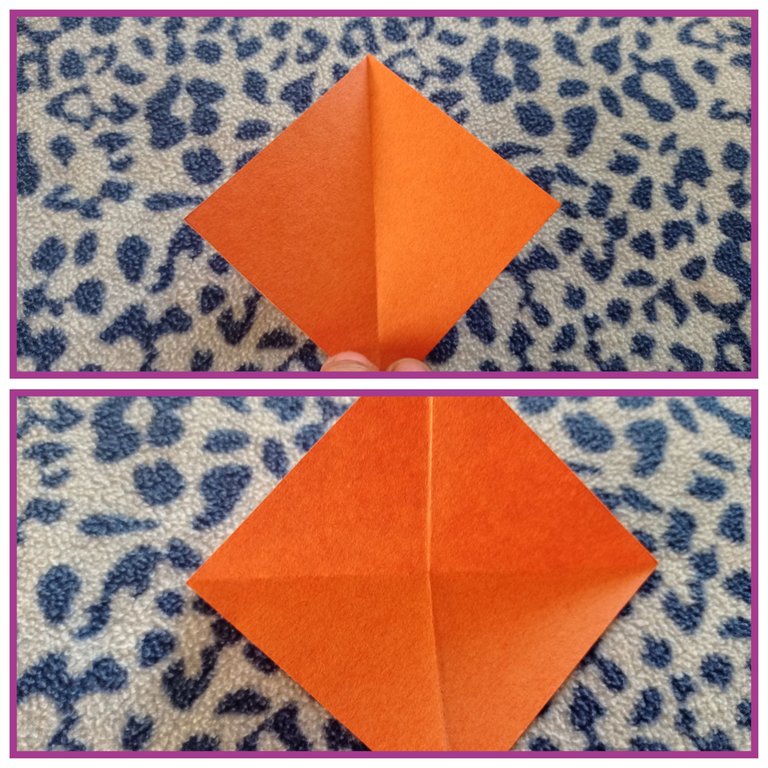
I took one of the squares and placed it in the shape of a rhombus and proceeded to raise the lower point upwards forming a triangle.
Tome uno de los cuadrados y coloque en forma de rombo y procedí a subir la punta inferior hacia arriba formando un triángulo
Step 3
Paso 3
After having made the first triangle, we now open the square and make another triangle by taking the right corner and bringing it to the left. Here we already have a cross.
Posteriormente después de haber realizado el primer triángulo, ahora abrimos el cuadrado y realizamos otro triángulo tomando la esquina derecha y la llevamos a la izquierda. Aquí ya tenemos una cruz .
Step 4
Paso 4
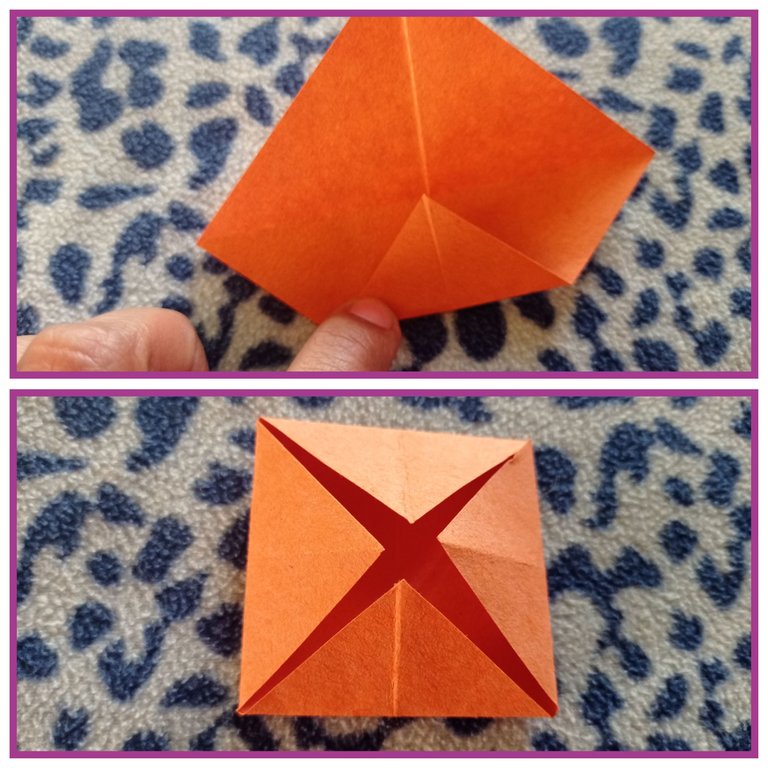
We continue with the rhombus shape and start to raise the ends taking the center as a reference, we will do this with all the ends, as you can see in the picture.
Seguimos con la forma de rombo y empezamos a subir las puntas tomando como referencia el centro, esto lo haremos con todas las puntas, quedando como lo ven en la fotografía
Step 5
Paso 5
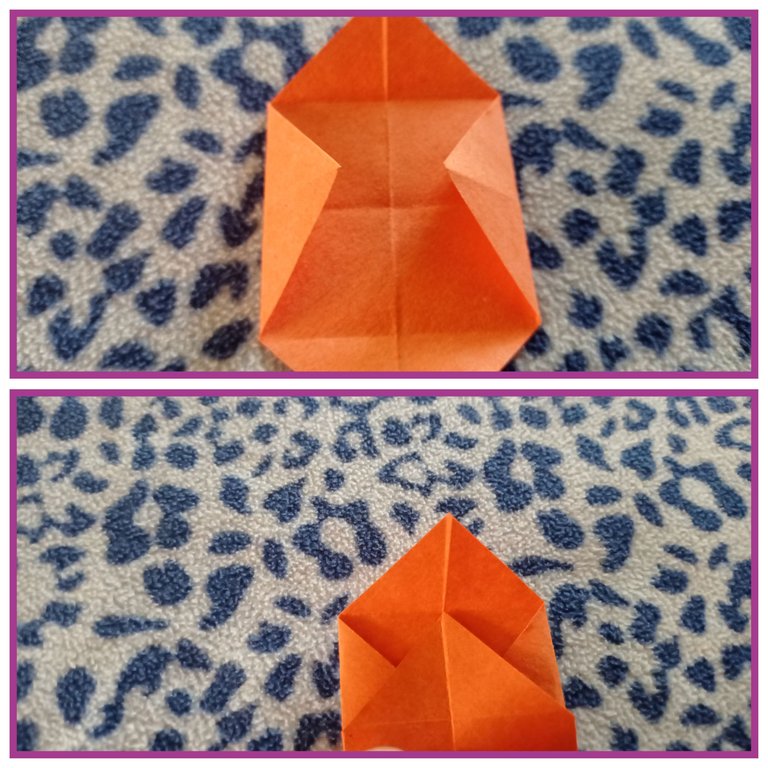
Now we open only the top and bottom ends, and then bring the top end to the top line above.
Ahora abrimos solo las puntas de arriba y abajo, para luego llevar la punta de arriba hacia la línea superior de arriba
Step 6
Paso 6
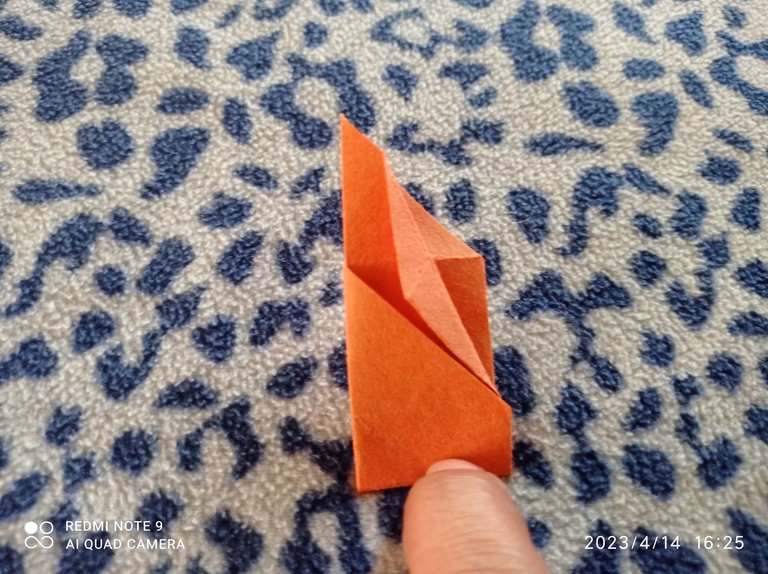
Now we make a double as you can see in the picture on the right side and proceed to bend
Ahora realizamos un doble como lo ven en la fotografía del lado derecho y procedemos a doblar
Step 7
Paso 7
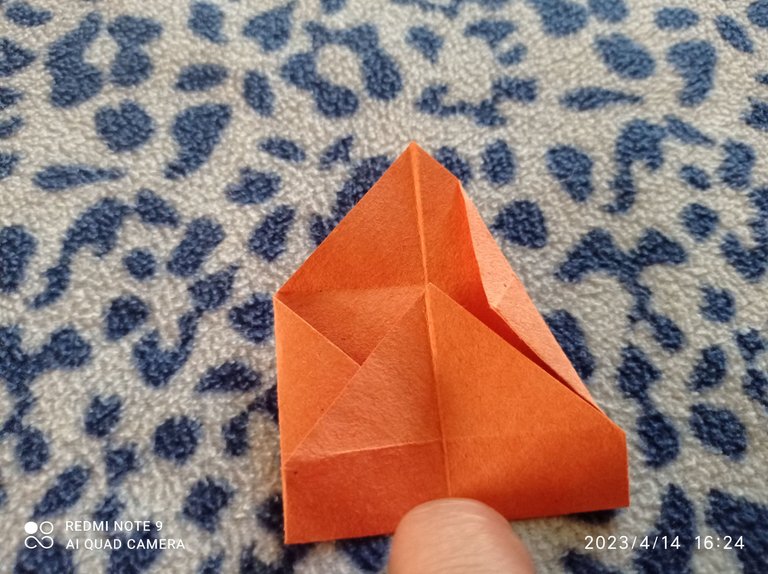
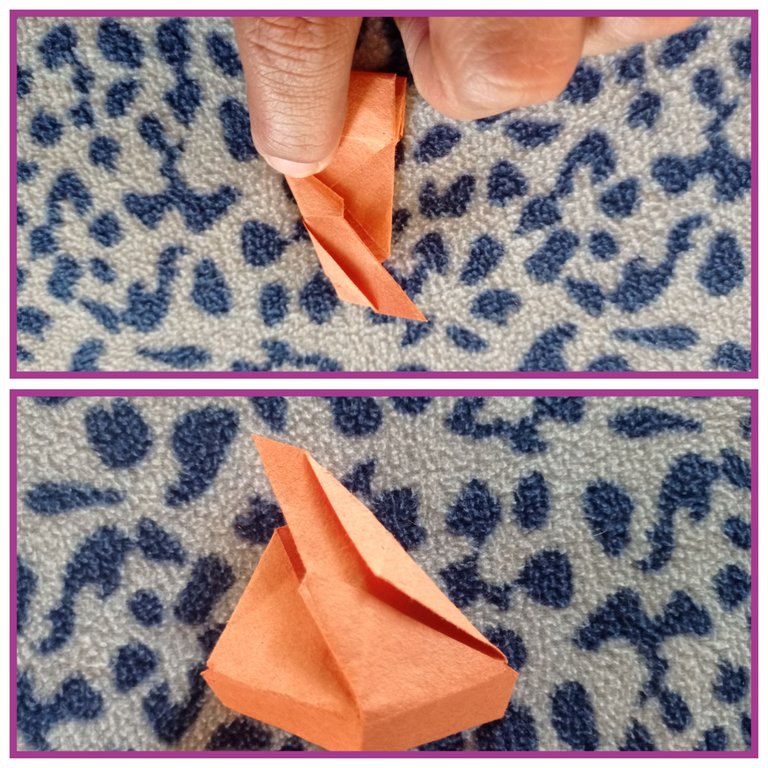
We flip the piece we are carrying and make another double, in this way we already have the piece we need.
Volteamos la pieza que llevamos y realizamos otro doble, de esta manera ya tenemos la pieza que necesitamos
Step 8
Paso 8
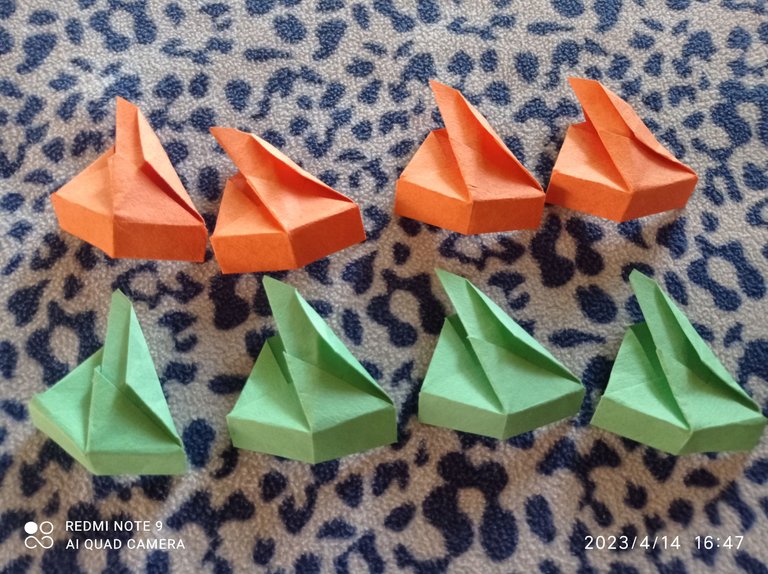
Here are the first 8 pieces I need
Ya aquí las primeras 8 piezas que necesito
Step 9
Paso 9
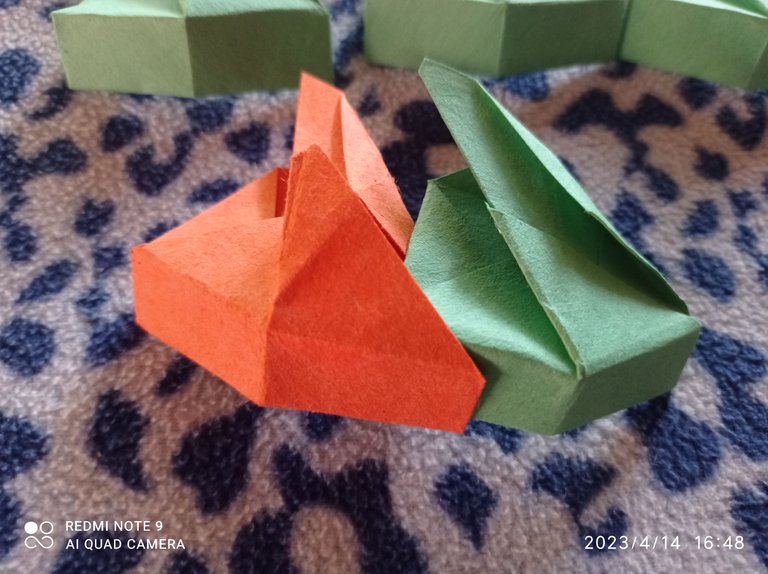
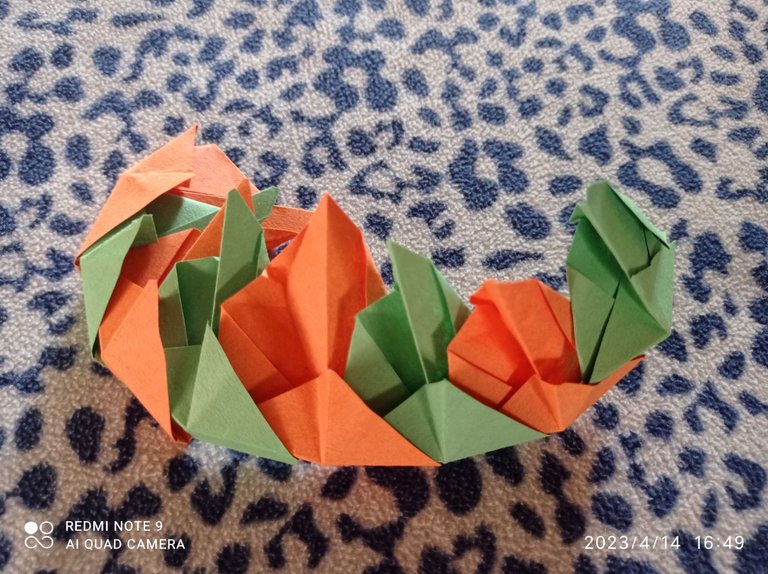
To start assembling, we must intercalate each piece by inserting each one through the slots. It is important to put some glue to make the box more resistant.
Para comenzar armar, debemos ir intercalando cada pieza introduciendo cada una por las ranuras. Es importante colocar un poco de pegamento para que sea más resistente la caja.
Step 10
Paso 10
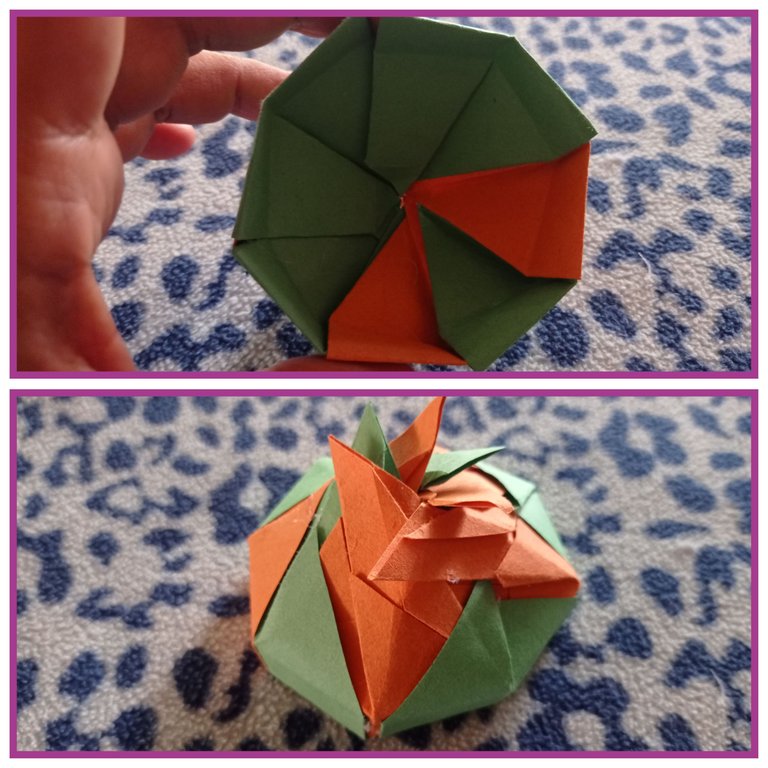
Already here the top of the box
Ya aquí la parte de arriba de la caja
Step 11
Paso 11
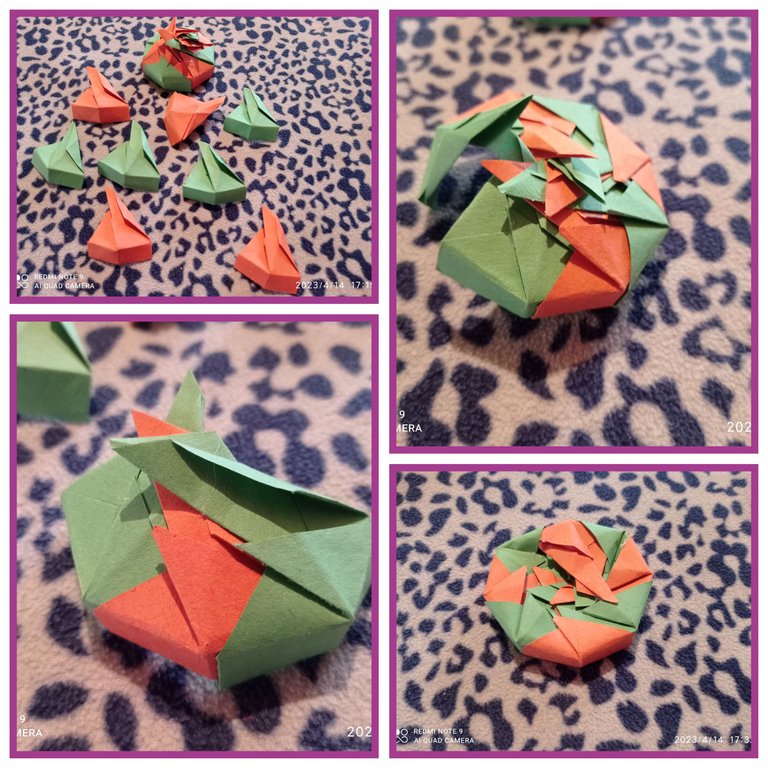
I made with the same procedure 8 pieces for the bottom part, I was intercalating in the same way, with the difference that at the end it does not remain with the ornament since it will be the base of the box, at the beginning it looks a little complicated but after you make the first piece the others come out quickly by practice.
Realice con el mismo procedimiento 8 piezas para la parte de abajo, fui intercalando de la misma manera, con la diferencia que al final no queda con el adorno ya que será la base de la caja.Les cuento al principio se ve un poco complicado pero después que haces la primera pieza las demás salen rápido por la práctica
Final Result
Resultado Final
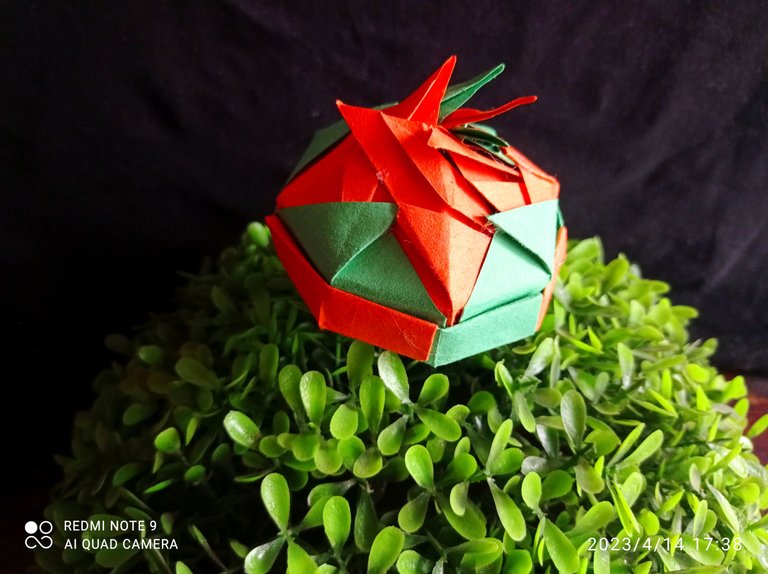
Practical gift box with origami technique.
Práctica caja de regalo con técnica origami.

Vote la-colmena for witness
By @ylich
I hope you like it
Photographs are my property
Translator used Deelp
Cover edited in canva
Collage made in Gridart
Thanks for reading me
Espero les guste
Fotografías son de mi propiedad
Traductor utilizado Deelp
Portada editada en canva
Collage realizado en Gridart
Gracias por Leerme

~~~ embed:1647043724570943488 twitter metadata:MTMyNTI1NjI3NjcwNDY4NjA4Mnx8aHR0cHM6Ly90d2l0dGVyLmNvbS8xMzI1MjU2Mjc2NzA0Njg2MDgyL3N0YXR1cy8xNjQ3MDQzNzI0NTcwOTQzNDg4fA== ~~~
The rewards earned on this comment will go directly to the people( @lisbethseijas, @yennysferm71 ) sharing the post on Twitter as long as they are registered with @poshtoken. Sign up at https://hiveposh.com.
Una vez hice cajitas de papel, diblando la hoja sin cortar nada. Creo que fue uno de mis primeros tutoriales acá en hice... pero esto que nos muestra es muy mas complica jajaja... si me animi a hacerla le muestro el resultado.
!discovery 35
Hola amigo @gaboamc2393 , realmente la técnica del origami es así sin cortar nada y solo dobles que darán el resultado que desees buscar. Esta caja se ve complicada pero no lo es, ya que al practicar con la primera pieza, las demás las haces en un dos por tres, osea rápido. Espero te animes y me cuentes como te fue. Saludos
Tiene su grado de dificultad, uy! siempre he sido mala con el origami, por eso los amo más. La propia cajita ya es una sorpresa y los colores que elegiste son hermosos y divertidos. Gracias por compartir con nosotros.
Hola amiga si es un poco complejo, pero una vez que haces la primera pieza las demás las haces rápido y todo encaja muy bien. Que bueno te gustó.Saludos
Excelente proyecto de Origami, esa técnica tiene todo mi respeto porque la veo muy difícil.
Felicitaciones @lisbethseijas por este bello resultado
Lo que hay es que intentar y verás que si te sale. Gracias por la visita a mi blog
Gracias por compartir el paso a paso, precisamente ando buscando opciones para entregar las prendas que realizo, me gustó mucha la idea!
Que bueno le puedas sacar utilidad, gracias por la visita. Saludos
Genial cajita amiga, queda bien chevere de verdad 👍 me gusta para guardar cositas.
Es bien práctica amiga , que bueno fue de tu agrado. Saludos
Aww this is so beautiful and it has a lot of steps. I'm not sure if I will get the process when I try it.
Hahaha
This post was shared and voted inside the discord by the curators team of discovery-it
Join our Community and follow our Curation Trail
Discovery-it is also a Witness, vote for us here
Delegate to us for passive income. Check our 80% fee-back Program