Materials
A 10cm gold chain
fleece or yarn
A cardboard of the desired size.
Scissors
pliers
Steps to make the pompom keychain.
In this case, take the 14 cm cardboard and the yarn, and fold it vertically, making the desired turns. The more turns we give to the wool, the more padded and dense our pompom will be, in my case I made 110 turns. , when the space on the cardboard is finished, we proceed to continue turning over the yarnin the opposite direction.

At the end, 15 cm of thread is left unwound to make the tie. The worsted thread is carefully removed from the cardboard so that it does not to become disorderly, with your hand it is crumpled in half and with the excess thread it is twisted and knotted to secure it well.
With the scissors, place it in each fold and cut it, then grab the pompom in half and cut it in a rounded shape, then arrange it so that it is like a ball.


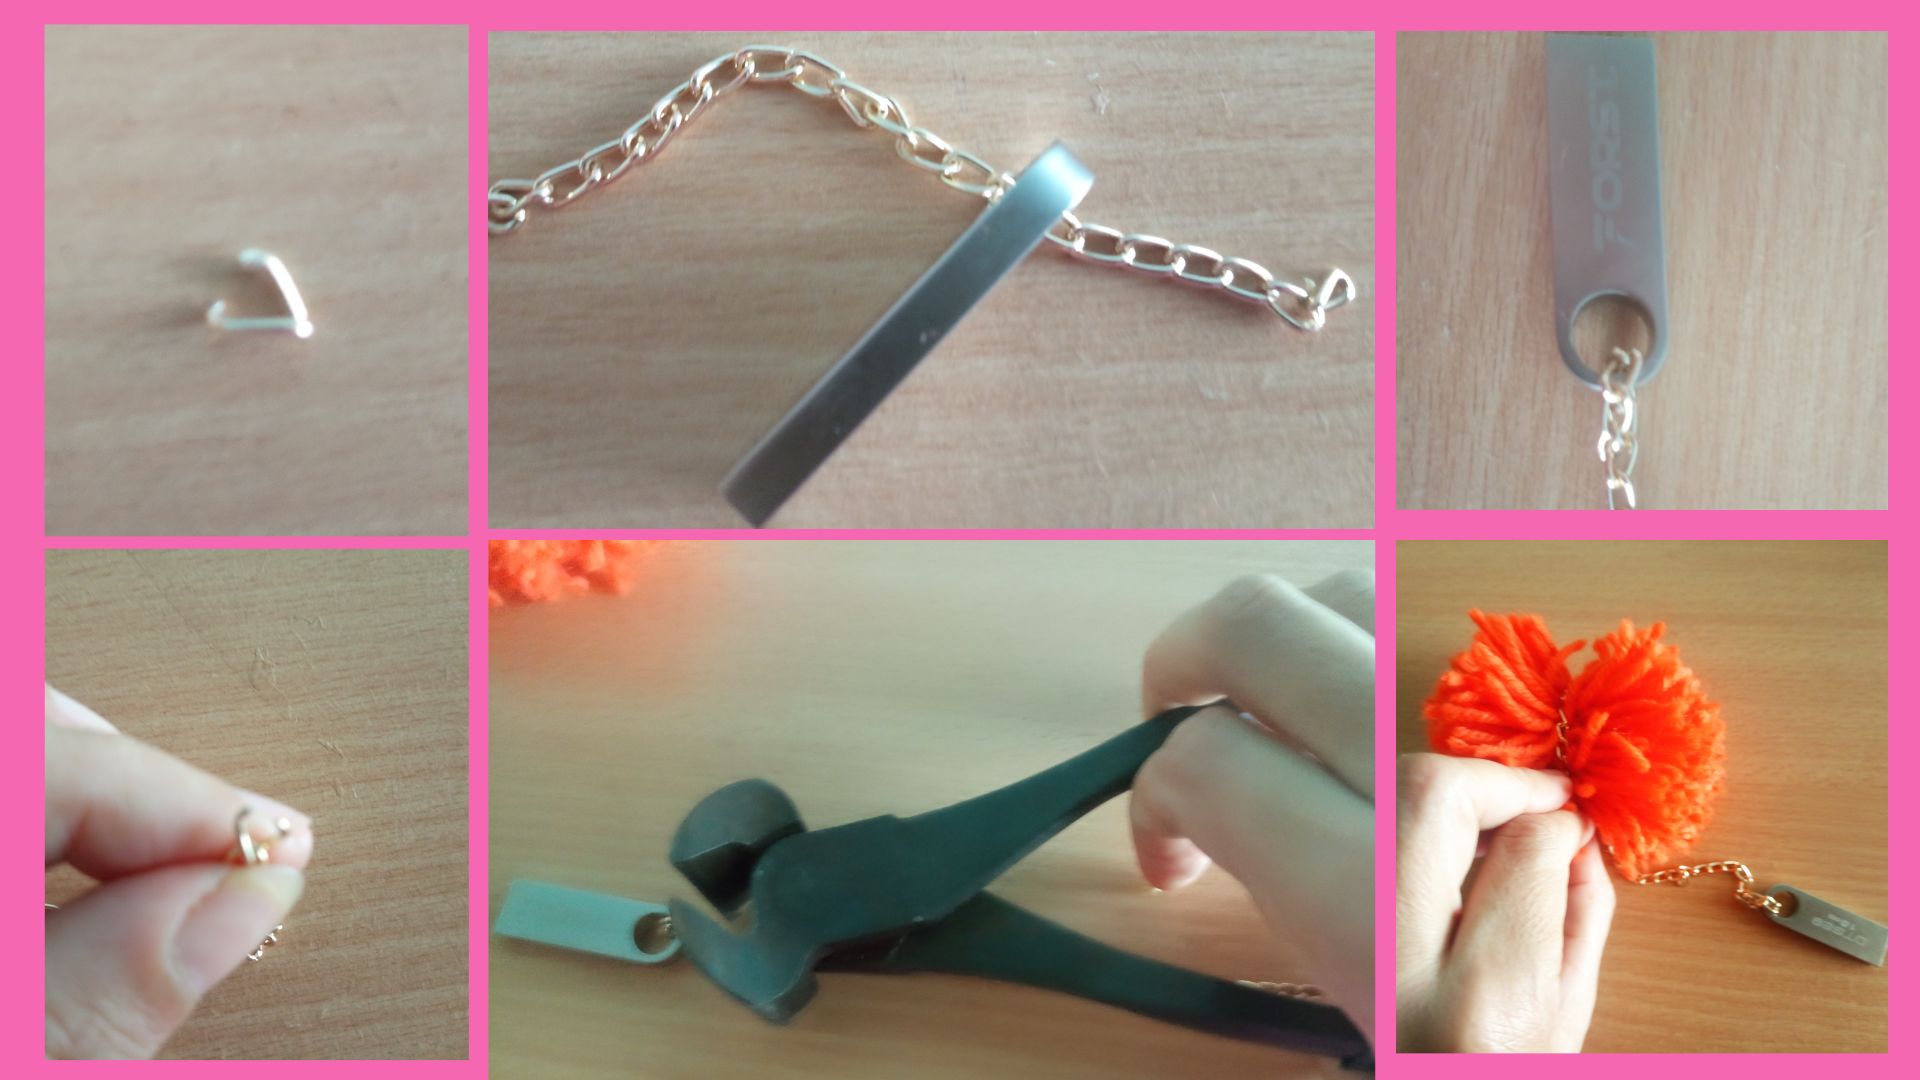
Find the center of the pompom and put it around the chain. Take the pliers and remove one of the circles from the chain and then fix both sides of the chain with the pendrive and seal both sides using the pliers.

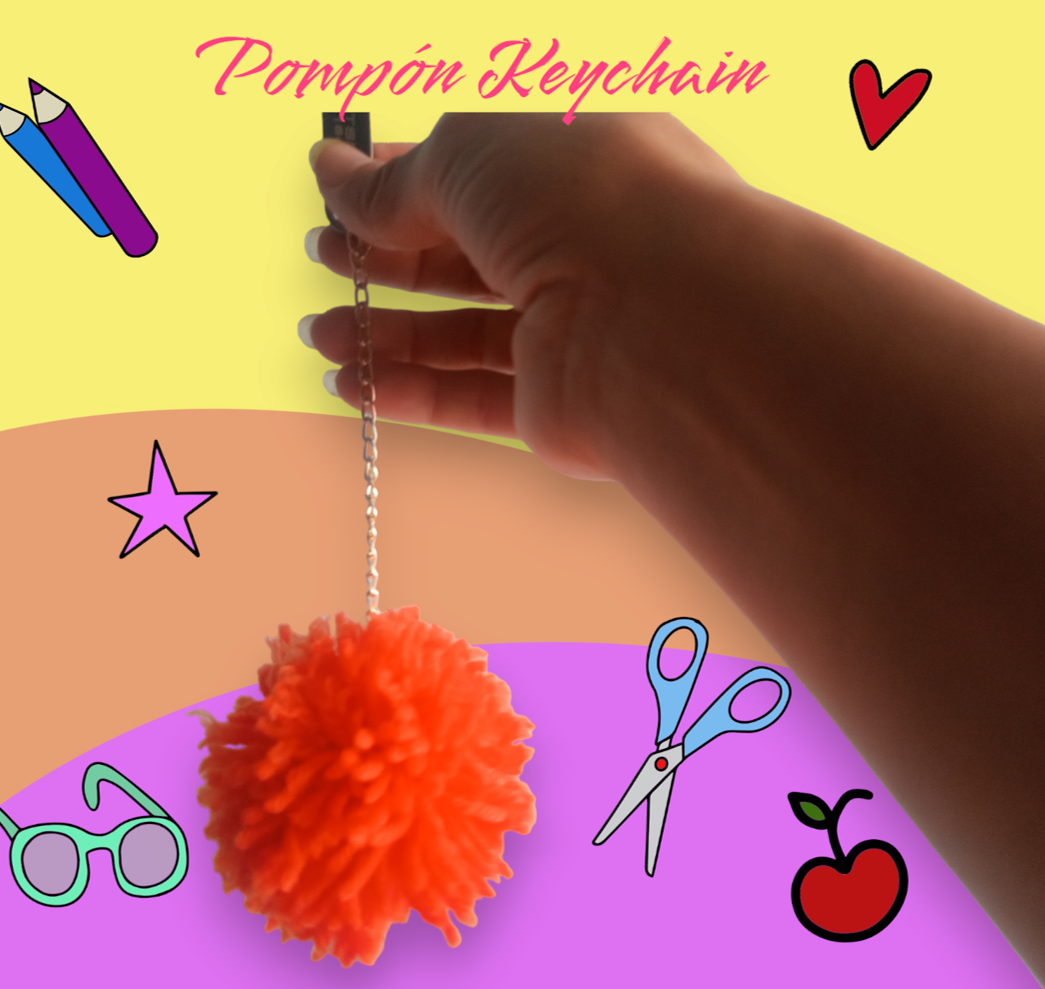
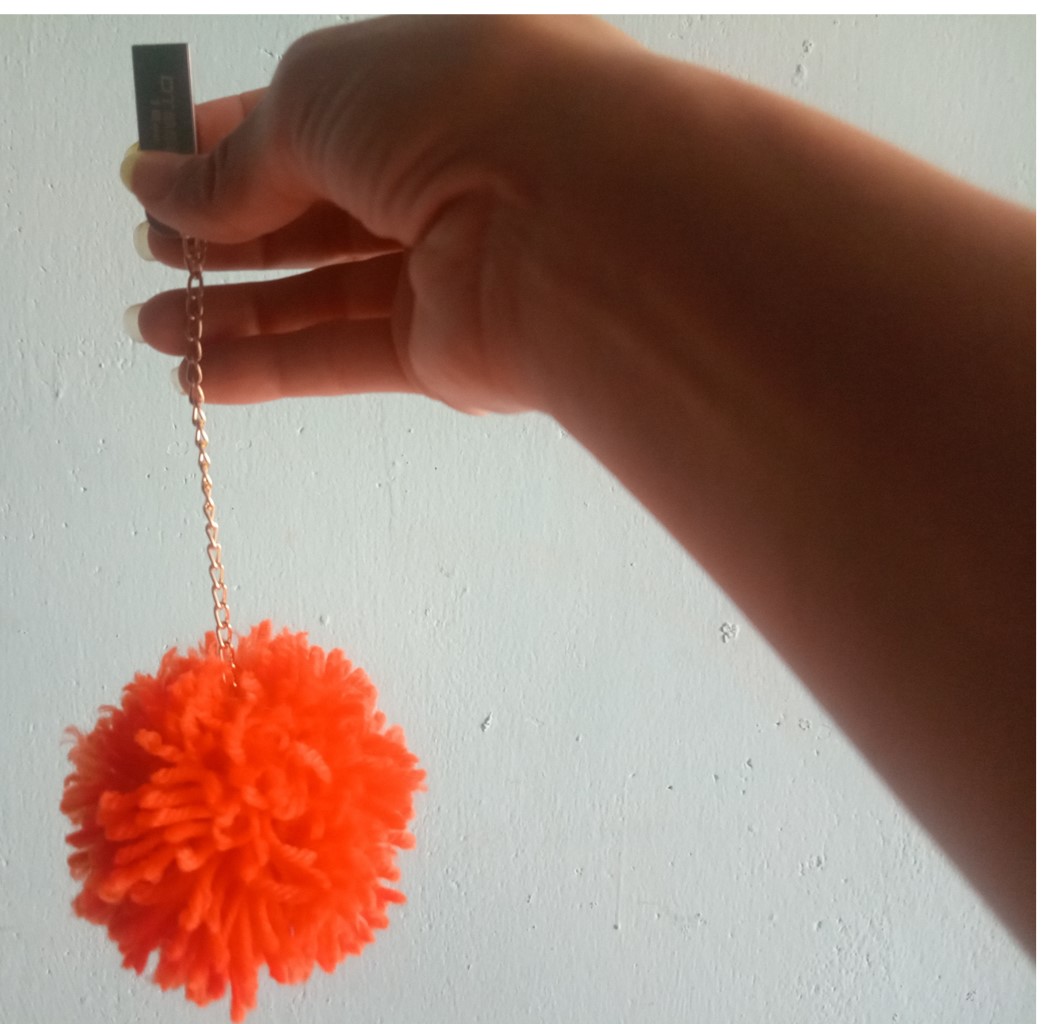
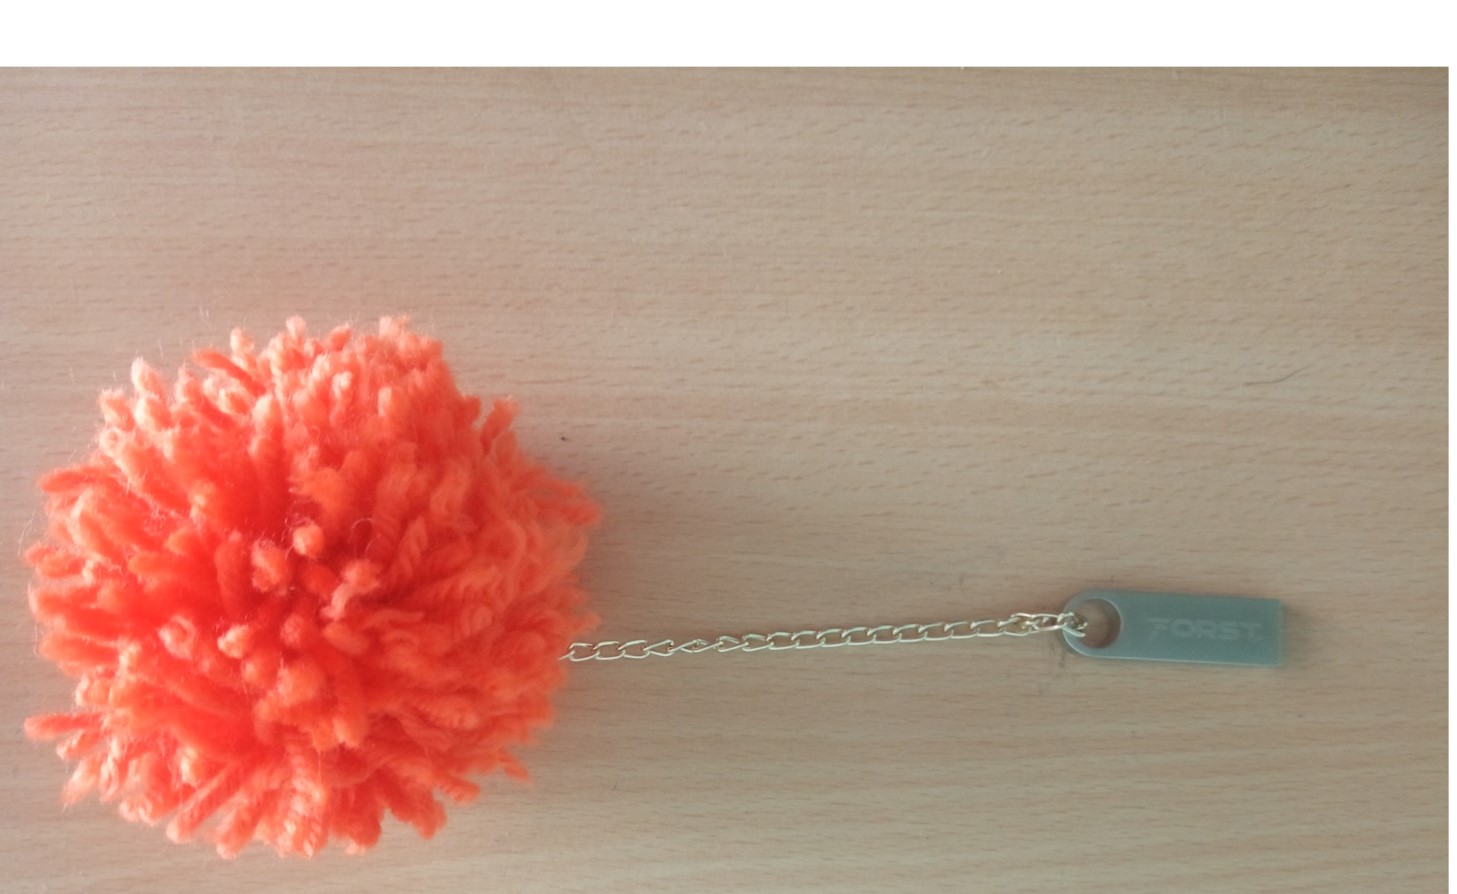
We arrange the chain and the pompom well and that's it, I present to you my pompom keychain that will be very helpful so that I don't lose the pendrive.


I hope you liked this craft that is economical and very useful. That's all from me, dear creative friends, see you next time, until then.

Translated by Deelp
Image design with Canva.com and Roo
Own exclusive images for Hivediy
Español

Materiales
Una cadena de 10 cm.
Estambre
Una cartulina del tamaño deseado.
Tijeras
alicates
Pasos para hacer el llavero de pompones.
Se agarra la cartulina de 14 cm y el estambre y dóblala verticalmente realizando las vueltas deseadas. Cuantas más vueltas le demos a la lana más acolchado y denso quedará nuestro pompón, en mi caso hice 110 vueltas , cuando se termina el espacio en la cartulina, procedemos a seguir dando vueltas a la lana regresivamente.

Al final se dejan desenrollados 15 cm de hilo para realizar el nudo. El hilo de estambre se retira con cuidado del cartón para que no se desordene, con la mano se arrucha por la mitad y con el hilo sobrante se retuerce y anuda para asegurarlo bien.
Con las tijeras colócalo en cada pliegue y córtalo, luego agarra el pompón por la mitad y córtalo en forma redondeada, luego se acooda de manera que quede como una bola.


Encuentra el centro del pompón y colócalo alrededor de la cadena. Coge los alicates y retira uno de los círculos de la cadena y luego fija ambos lados de la cadena con el pendrive y sella ambos lados con el alicate.

Acomodamos bien la cadena y el pompón y listo, os presento mi llavero de pompones que me será de mucha ayuda para no perder el pendrive.


Espero que os haya gustado esta manualidad que es económica y muy útil. Eso es todo de mi parte, queridos amigos creativos, hasta la próxima, hasta entonces.

Traducido por Deepp
Diseño de imagen con Canva.com y Roo
Imágenes propias exclusivas para Hivediy.

Queda muy lindo, en especial en colores vivos ♥️
Si, este color tiene la función de que se vea a simple vista, muy conveniente para que no se me olvide el pendrive en los cyber, gracias por tu visita y apoyo
Congratulations @liyuxiexie! You have completed the following achievement on the Hive blockchain And have been rewarded with New badge(s)
Your next target is to reach 3750 upvotes.
You can view your badges on your board and compare yourself to others in the Ranking
If you no longer want to receive notifications, reply to this comment with the word
STOPCheck out our last posts:
Muy buena tu publicación, explicaste correctamente el paso a paso para que otras personas lo puedan realizar.