ES
Diseño en Canva.com
Para esta manualidad vamos a necesitar los siguientes:
Materiales
Tela azul
Tela fucsia
Cuerina de color marrón
Cierre mágico
Hilo y aguja
Tijera
Maquina de coser
Sesgo elastico color azul
cadenita dorada
silicon
Yesquero
Patrón de patita.
.jpg)
Procedimiento
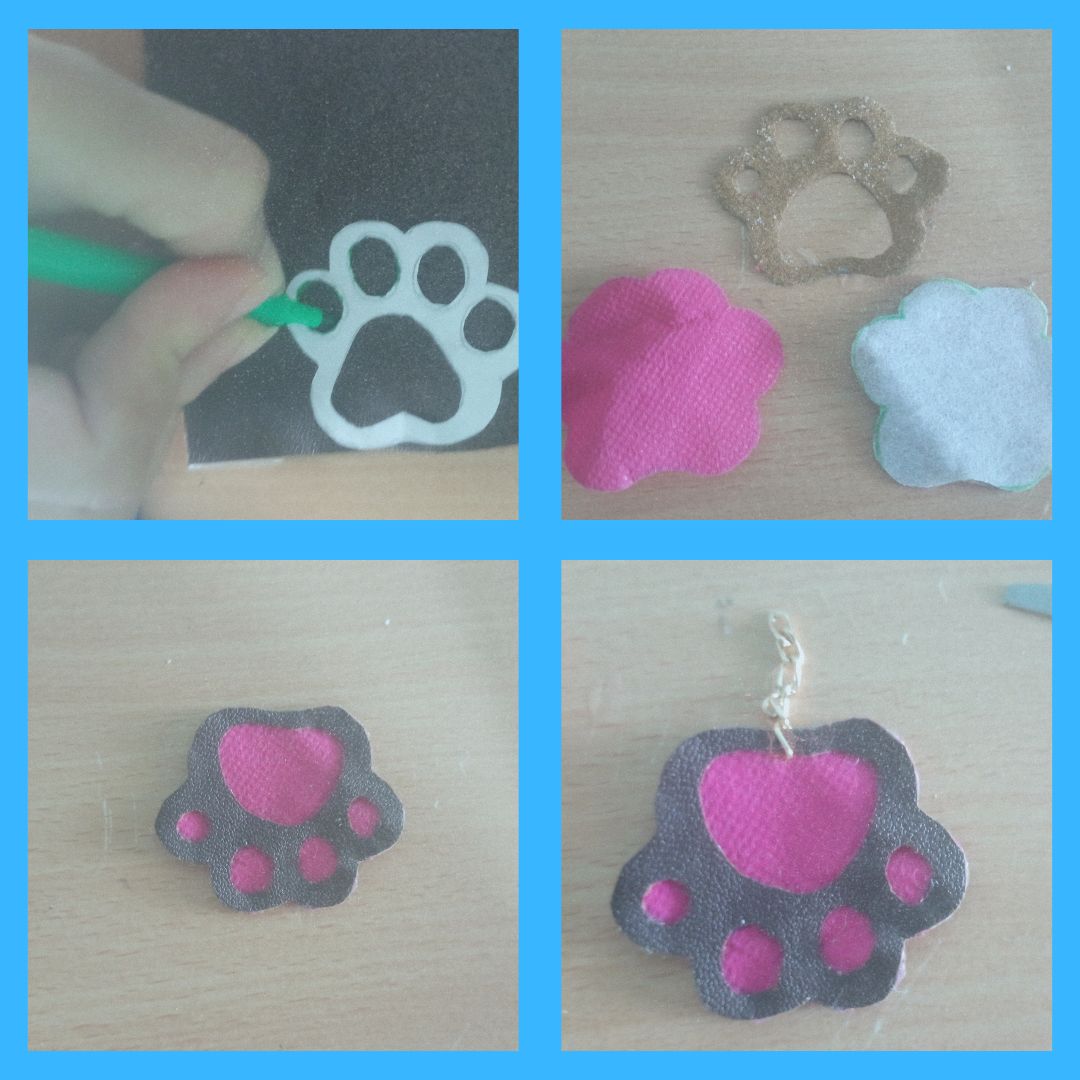
Lo primero que debemos realizar es el patrón de patita y recortarlo por todas las lineas dibujadas, posteriormente colocamos el patrón sobre la cuerina en este caso de color marrón y con la ayuda de un marcador dibujamos la figura dos veces en la cuerina y una vez en la tela rosada.
Recortamos con cuidado la primera cuerina recortando todas las lineas para que queden los huequitos de las huellas, las otras telas se recortan solo la parte de afuera de las lineas sin recortar las lineas internas.
Ordenamos cada pieza recortada y pegamos con silicon, luego con una aguja abrimos un huequito en el medio de la huella que allí es donde ira la cadenita, se abre con cuidado uno de los círculos de la cadenita y se coloca en la pieza que realizamos.
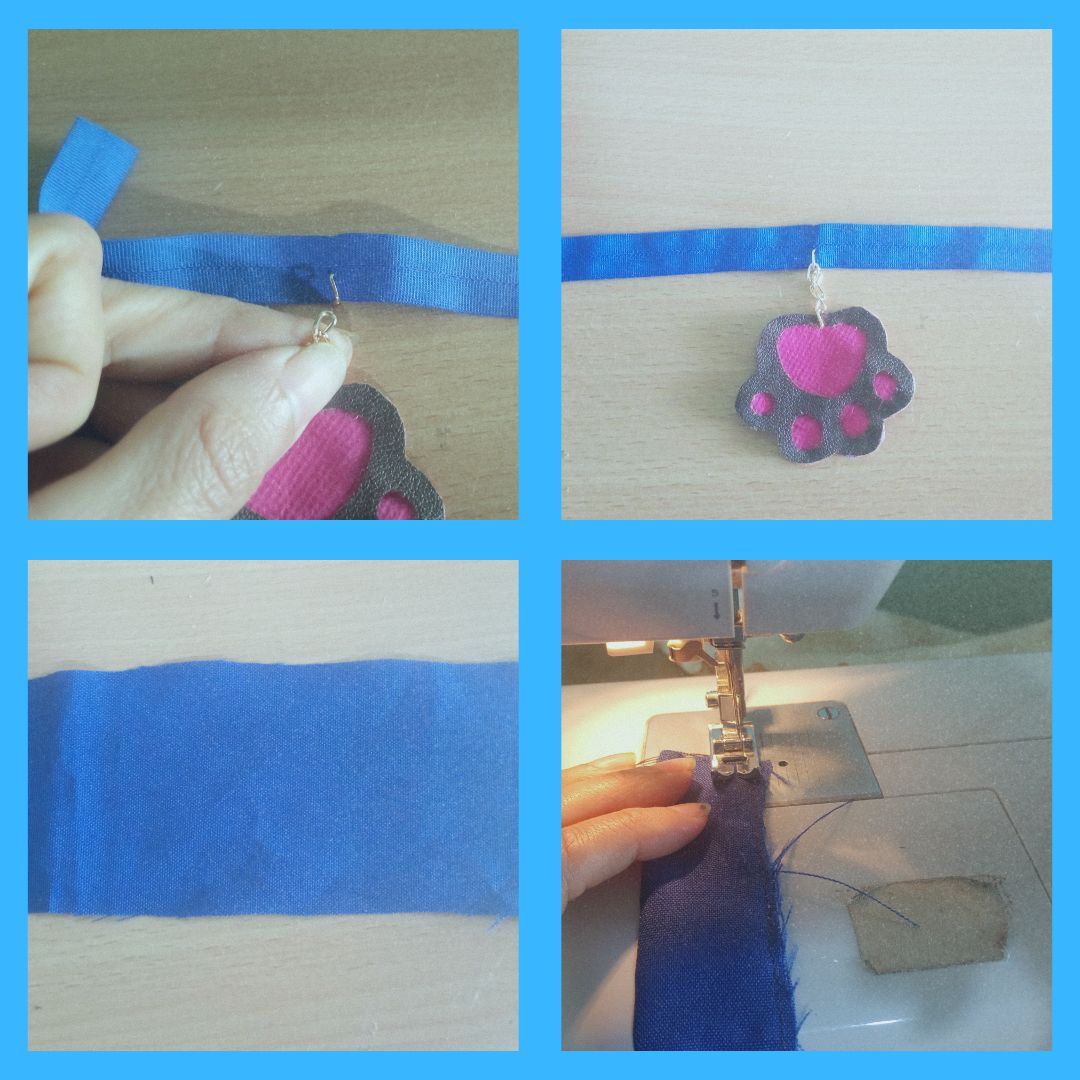
Medimos con el sesgo elastico de color azul el tamaño del cuello del gatico y recortamos, tomamos el centro de la elástica y con la aguja le abrimos un huequito para que quede centrado la cadenita con la huella, colocamos la cadena y aseguramos bien.
Tomamos la tela azul y recortamos un rectangulo segun el ancho y largo que queremos el lazo y doblamos la tela por la mitad y cosemos con costura recta, se voltea la tela para que la costura quede escondida y planchamos.
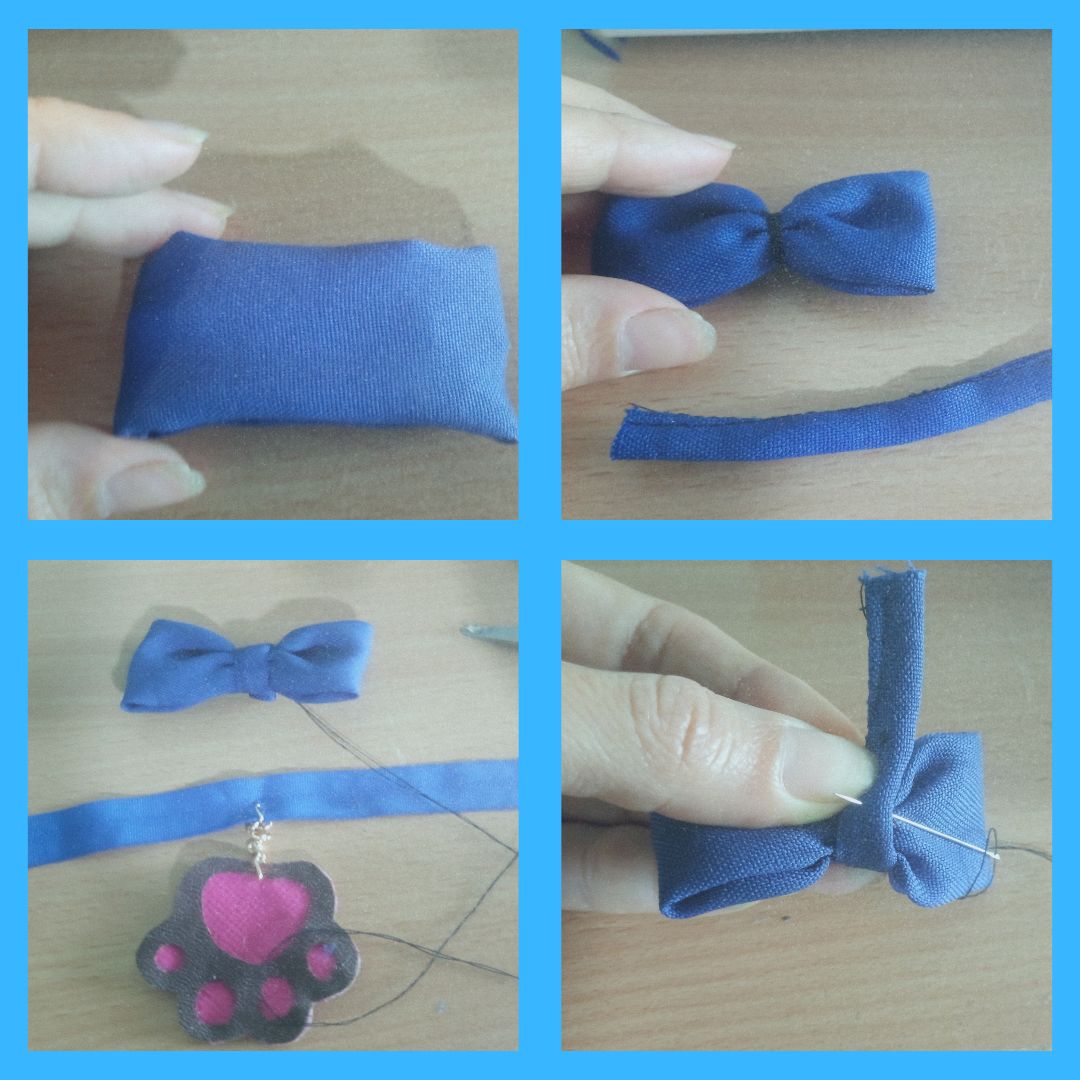
Buscamos el centro de la tela y ubicamos ambas esquinas y cosemos, buscamos la mitad y con hilo fijamos para hacer el lazo, para el medio del lazo cosemos una tira y luego la pasamos alrededor del lazo y se cose, luego tomamos el sesgo que tiene la patita y fijamos el lacito en el medio.
Se recorta un cuadrito de cierre mágico, se mide y se pone en cada esquina del collar y se cose por todo el alrededor del cierre mágico, para que el collar se pueda poner y quitar las veces que sea necesario.
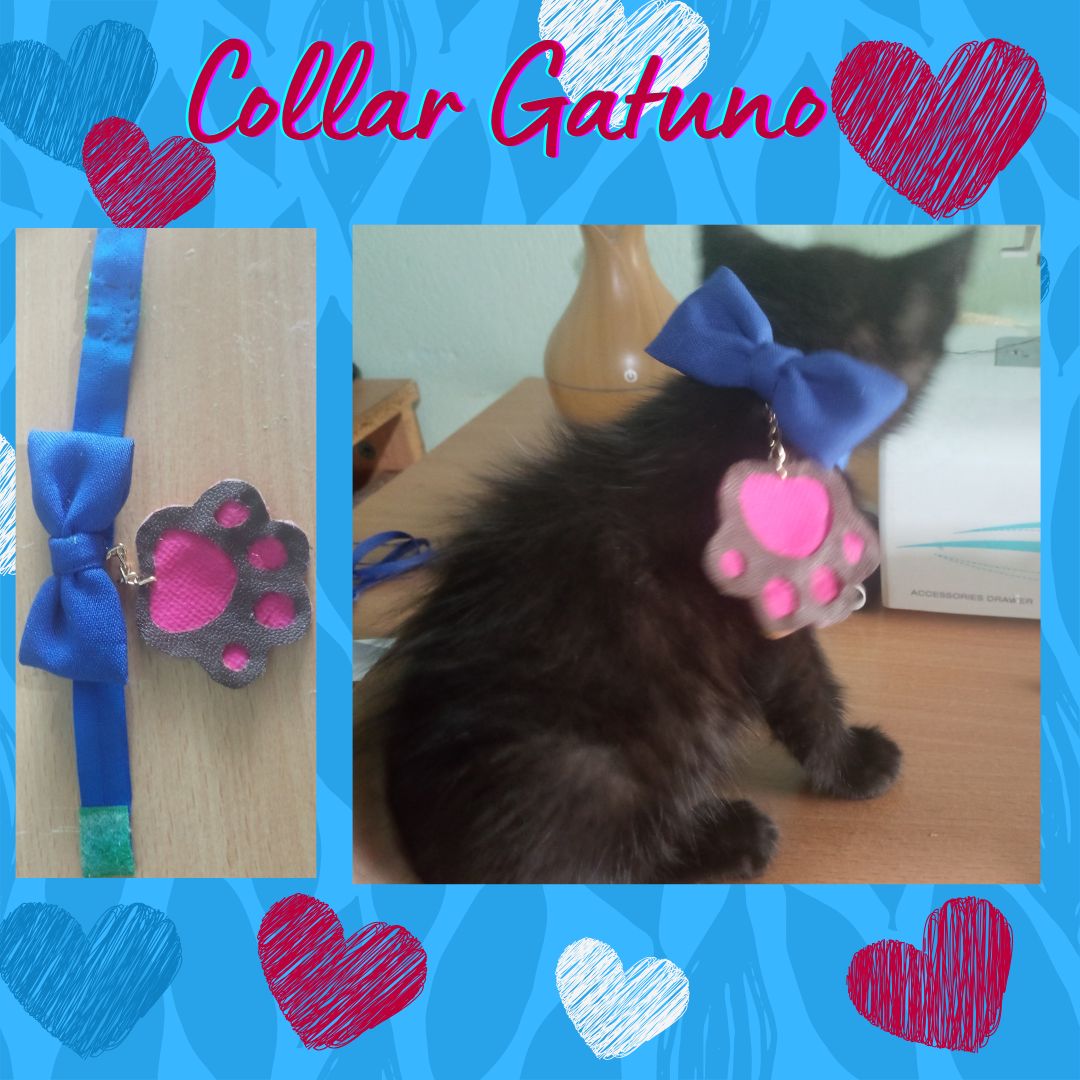
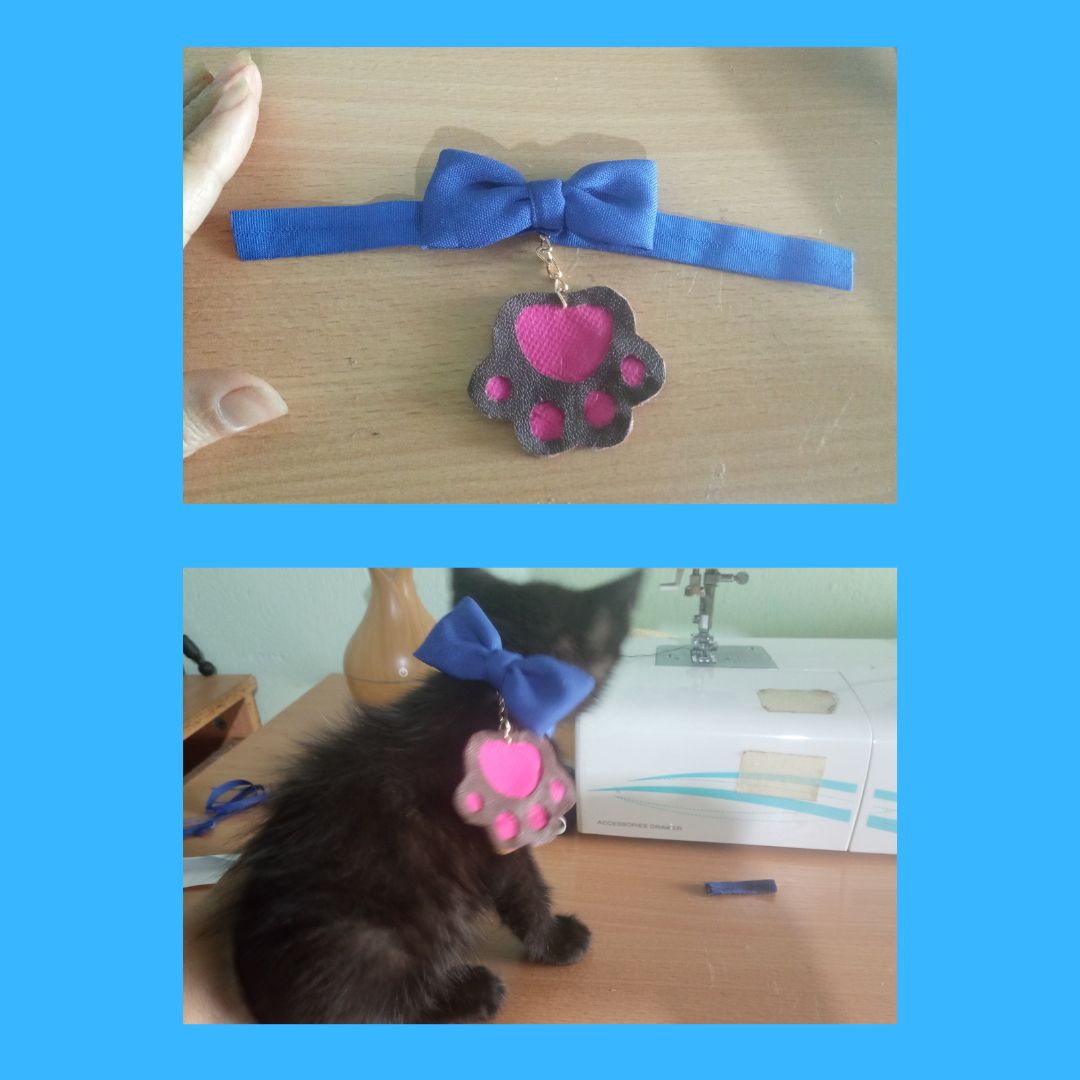
Y asi nos quedo el resultado final de nuestro collar, se lo probe al gatito y le quedo muy bien, conforme vaya creciendo se le ajustara el cierre magico para que le dure por varios meses.
Bueno amigos espero que les haya gustado la manualidad del dia, si tienes una mascota puedes tener una idea de collar con este tutorial que les traje. Nos vemos en una próxima oportunidad con mas manualidades.

EN
Design on Canva.com
For this craft we will need the following:
Materials
Blue fabric
Fuchsia fabric
Brown rope
Magic clasp
Thread and needle
Scissors
Sewing machine
Blue elastic bias binding
golden chain
silicon
Tinder
Paw Pattern.
Procedure
The first thing to do is to make the pattern of the paw and cut out all the lines drawn, then place the pattern on the leather in this case brown and with the help of a marker draw the figure twice on the leather and once on the pink fabric.
Carefully cut out the first leather, cutting all the lines so that the holes of the footprints remain, the other fabrics are cut out only the outside of the lines without cutting the inner lines.
We order each cut piece and glue with silicone, then with a needle we open a hole in the middle of the print that is where the chain will go, carefully open one of the circles of the chain and place it in the piece we made.
We measure with the blue elastic bias the size of the neck of the kitten and cut it out, we take the center of the elastic and with the needle we open a hole to center the chain with the print, we place the chain and secure it well.
We take the blue fabric and cut a rectangle according to the width and length we want the bow and fold the fabric in half and sew with a straight seam, turn the fabric over so that the seam is hidden and iron.
We look for the center of the fabric and place both corners and sew, we look for the middle and with thread we fix to make the bow, for the middle of the bow we sew a strip and then we pass it around the bow and sew, then we take the bias that has the leg and we fix the bow in the middle.
A square of magic closure is cut out, measured and placed in each corner of the necklace and sewn all around the magic closure, so that the necklace can be put on and taken off as many times as necessary.
And this is the final result of our collar, I tried it on the kitten and it looked very good, as he grows the magic closure will be adjusted so that it lasts for several months.
Well friends, I hope you liked the craft of the day, if you have a pet you can have an idea for a collar with this tutorial that I brought you. See you next time with more crafts.
Designer in canva.com
traduce in deepl.com
photos own.
Qué tierno quedó. ✨ Me gustaron los materiales
Si, son materiales faciles de conseguir, me alegra que te haya gustado, saludos
Te quedo muy bonito y además son fácil de elaborar, solo hay que proponerse.
Muchas gracias por tu apreciación, si, un pequeño detalle para nuestros animalitos no está demas. Saludos y bendiciones
Your car accessory looks nice and it suits your cat, well done and thanks for sharing.
Que buena idea para las mascotas, gracias por compartir 😊😉
Muchas gracias por leerme🥳saludos y bendiciones
Que cuchitura 😳 Quisiera hacerle muchos a mi gato, pero sé que no se los dejaría poner 😆 Precioso collar, me encantó y más como se ve puesto en el bello modelo 🤗💚
Muchas gracias por tu apreciación, si, ya hoy le hice otro lacito porque este lo ensucio en un día, uy, a tu gato le gusta estar 100% al natural.
Saludos y bendiciones
Y se vistió elegante ese gatito jeje. Que lindo 🤩😊
Jajajjaaj, si, se hace lo que se puede, esa es la manera de verlo porque con su pelaje no se ve en la oscuridad, gracias por pasar, saludos y bendiciones