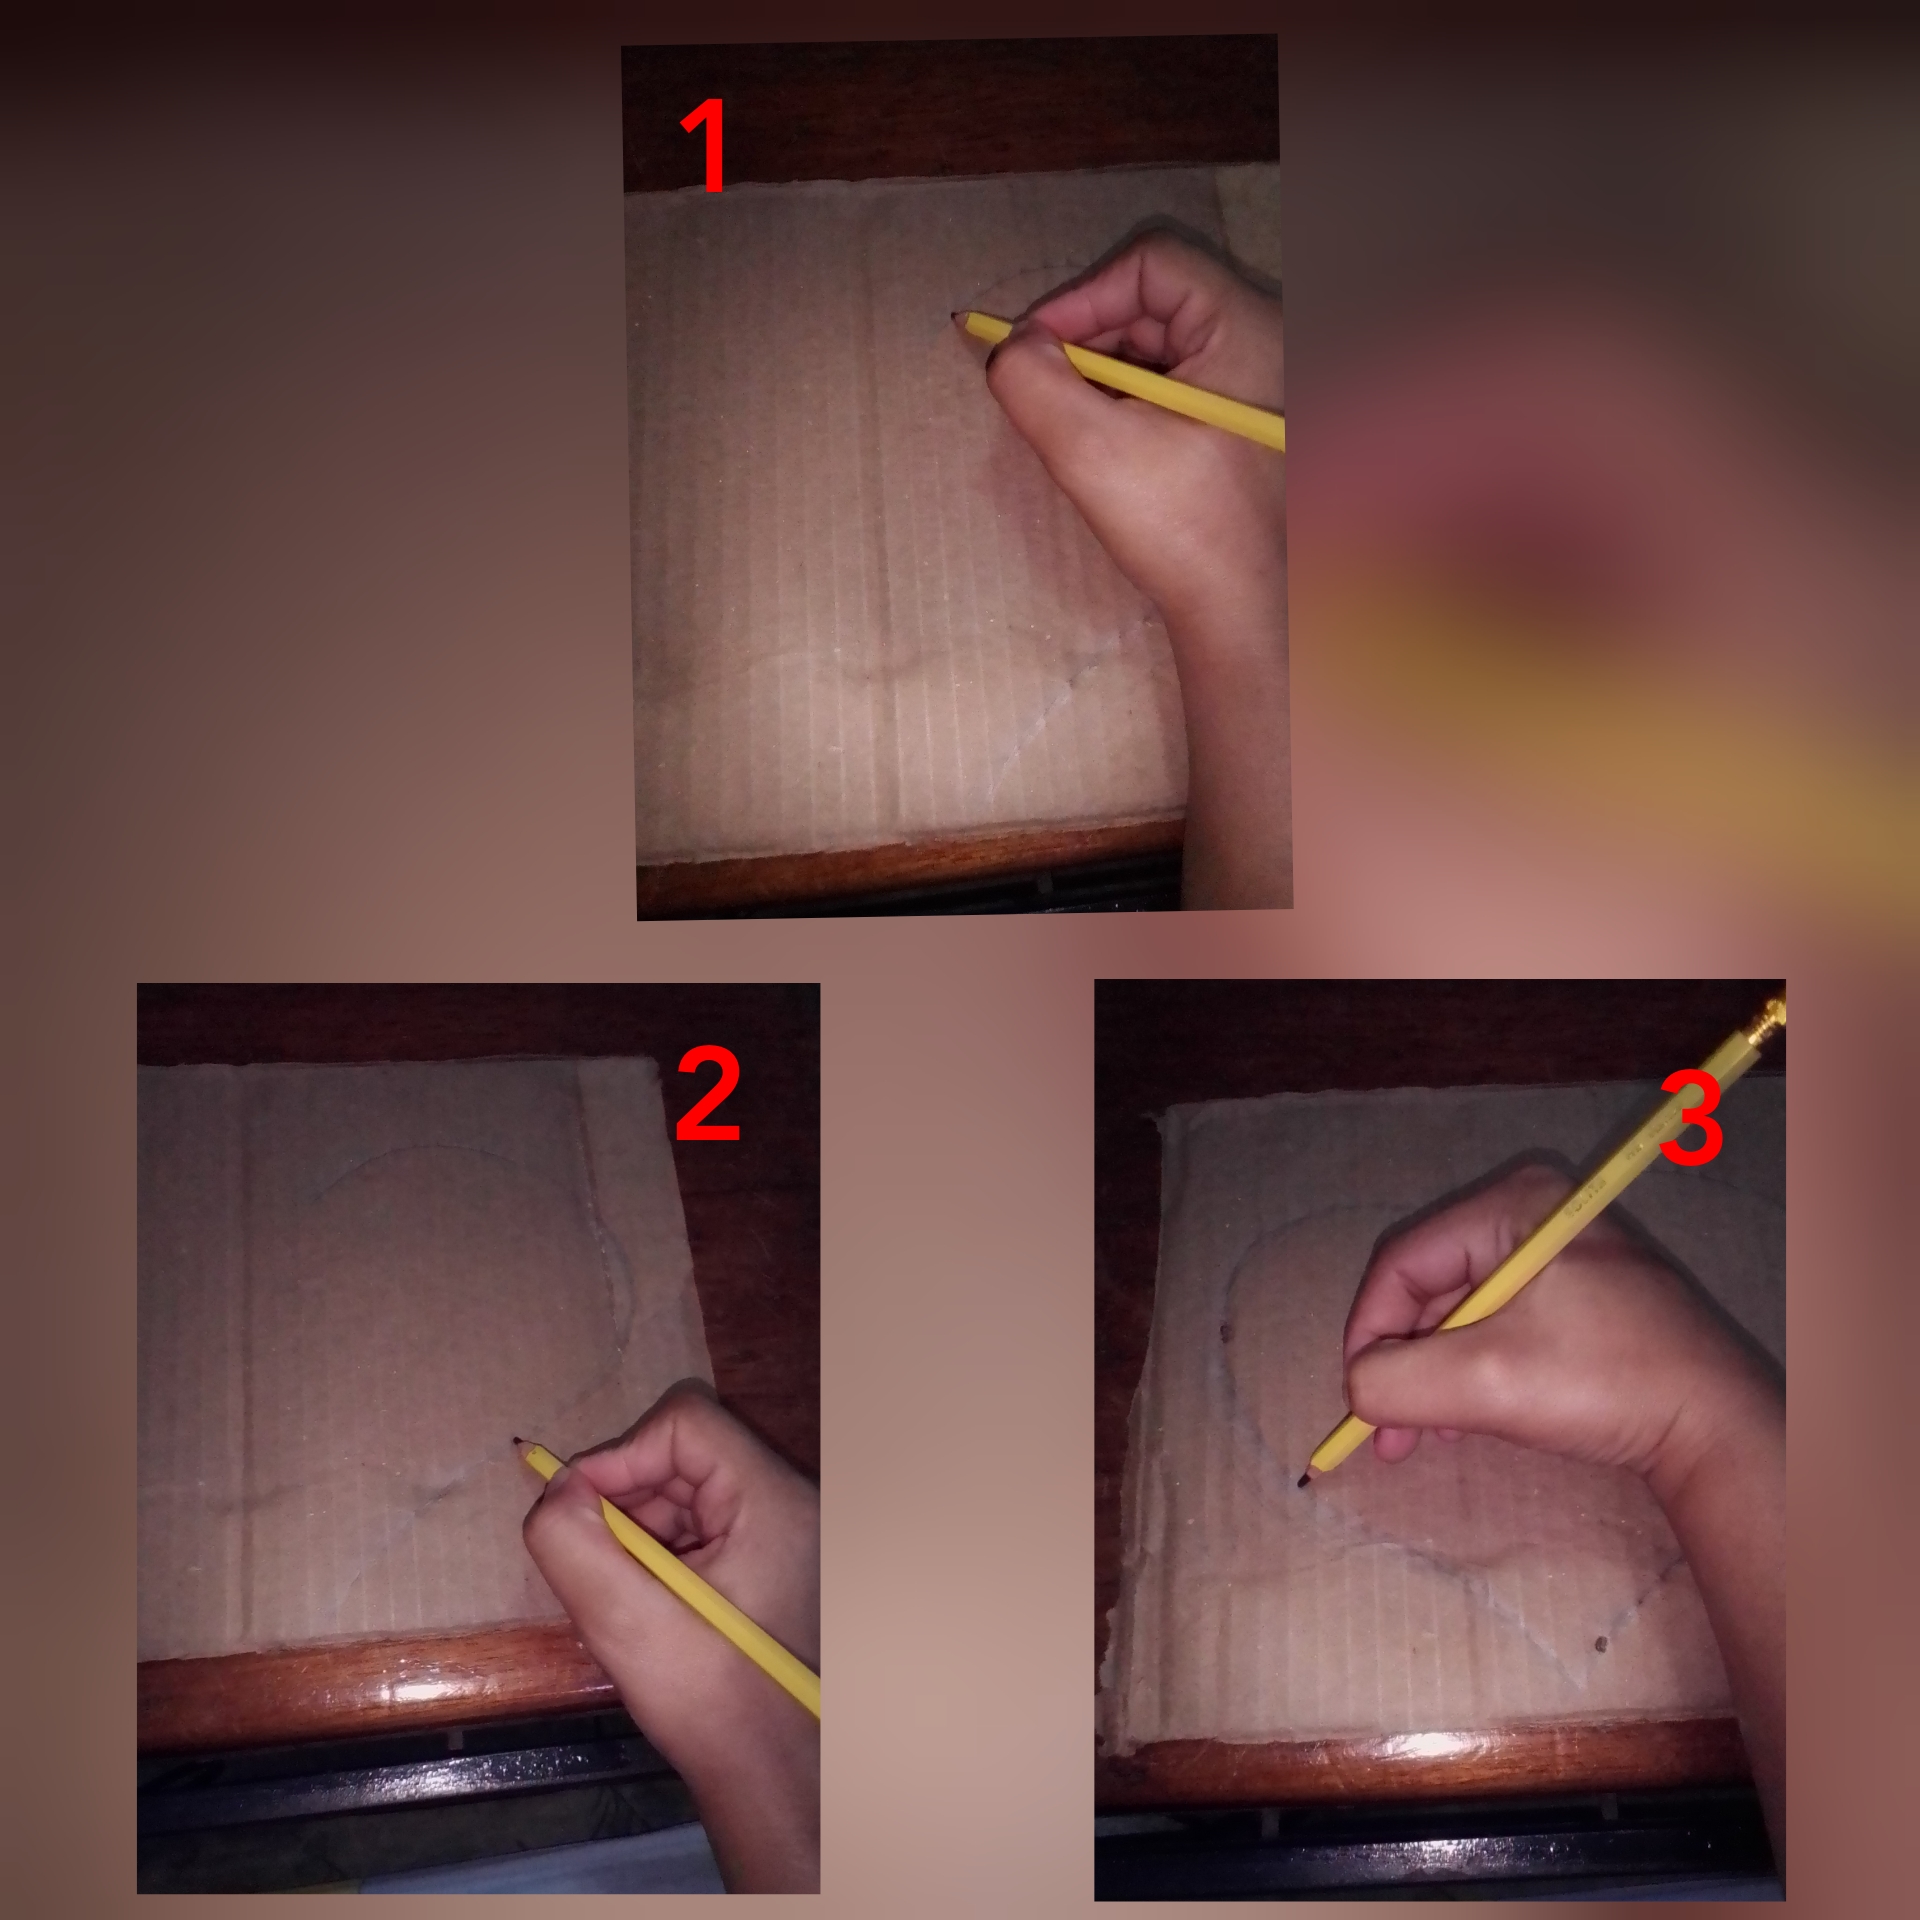
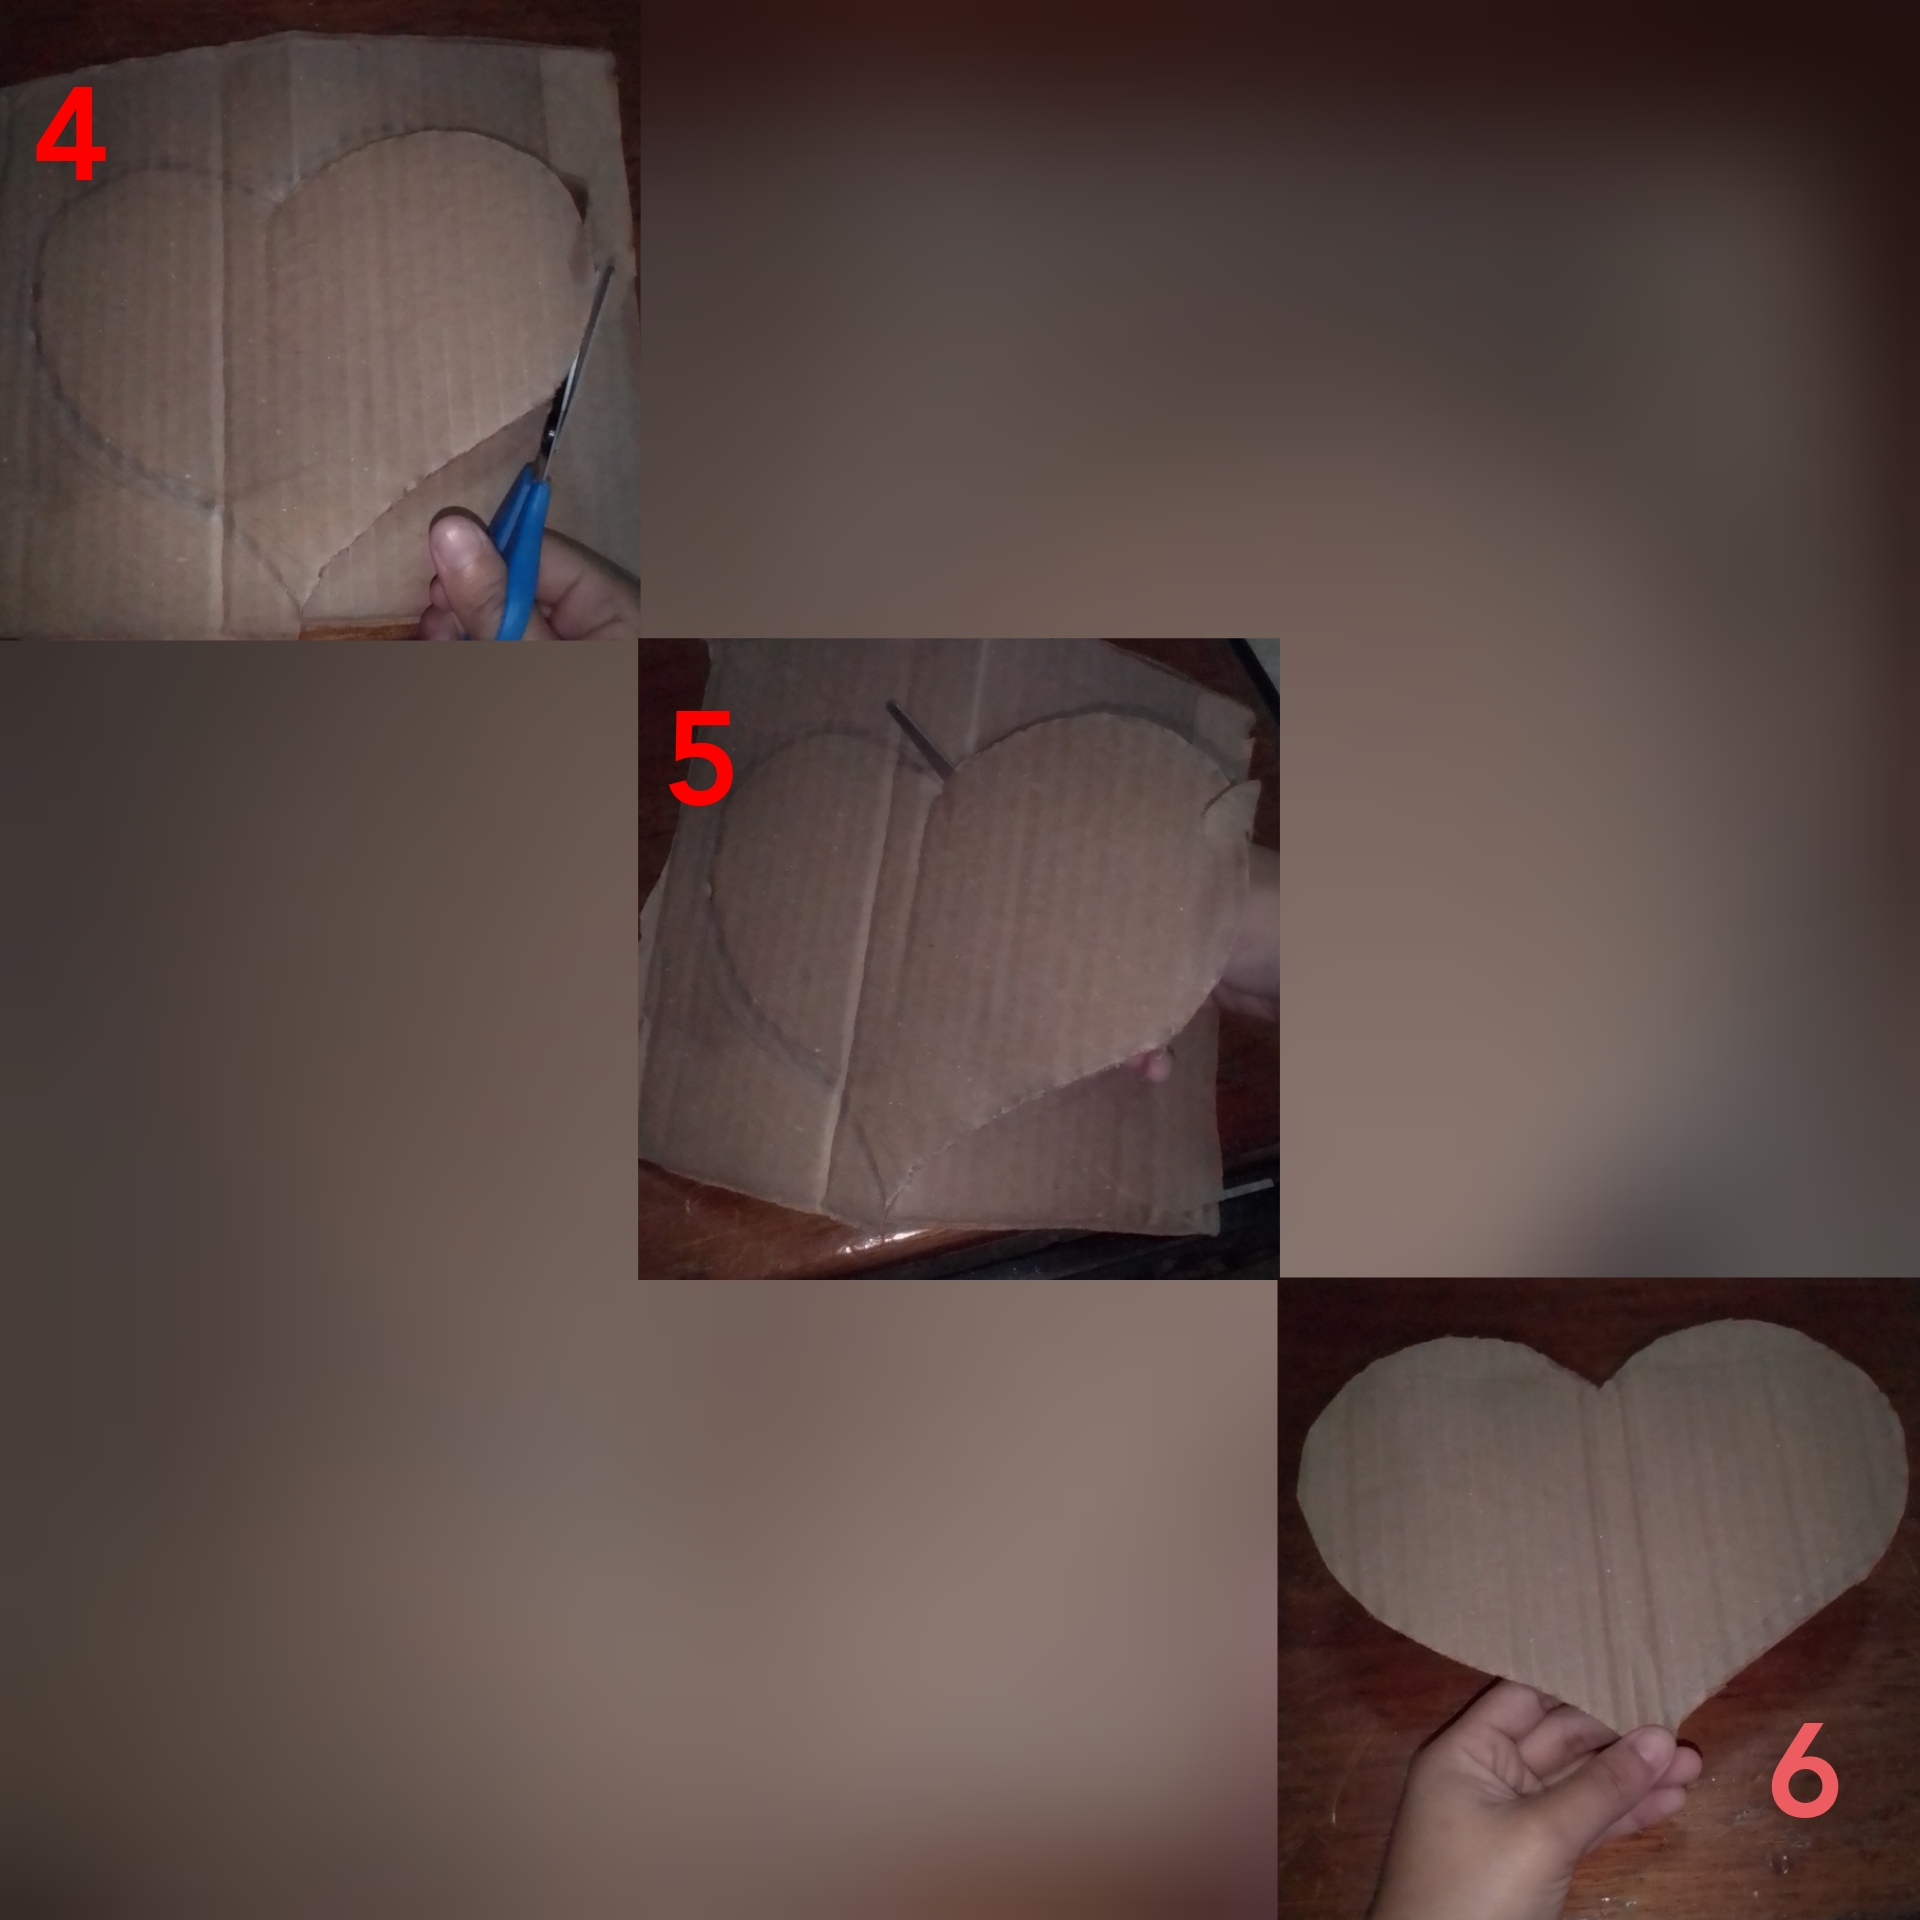
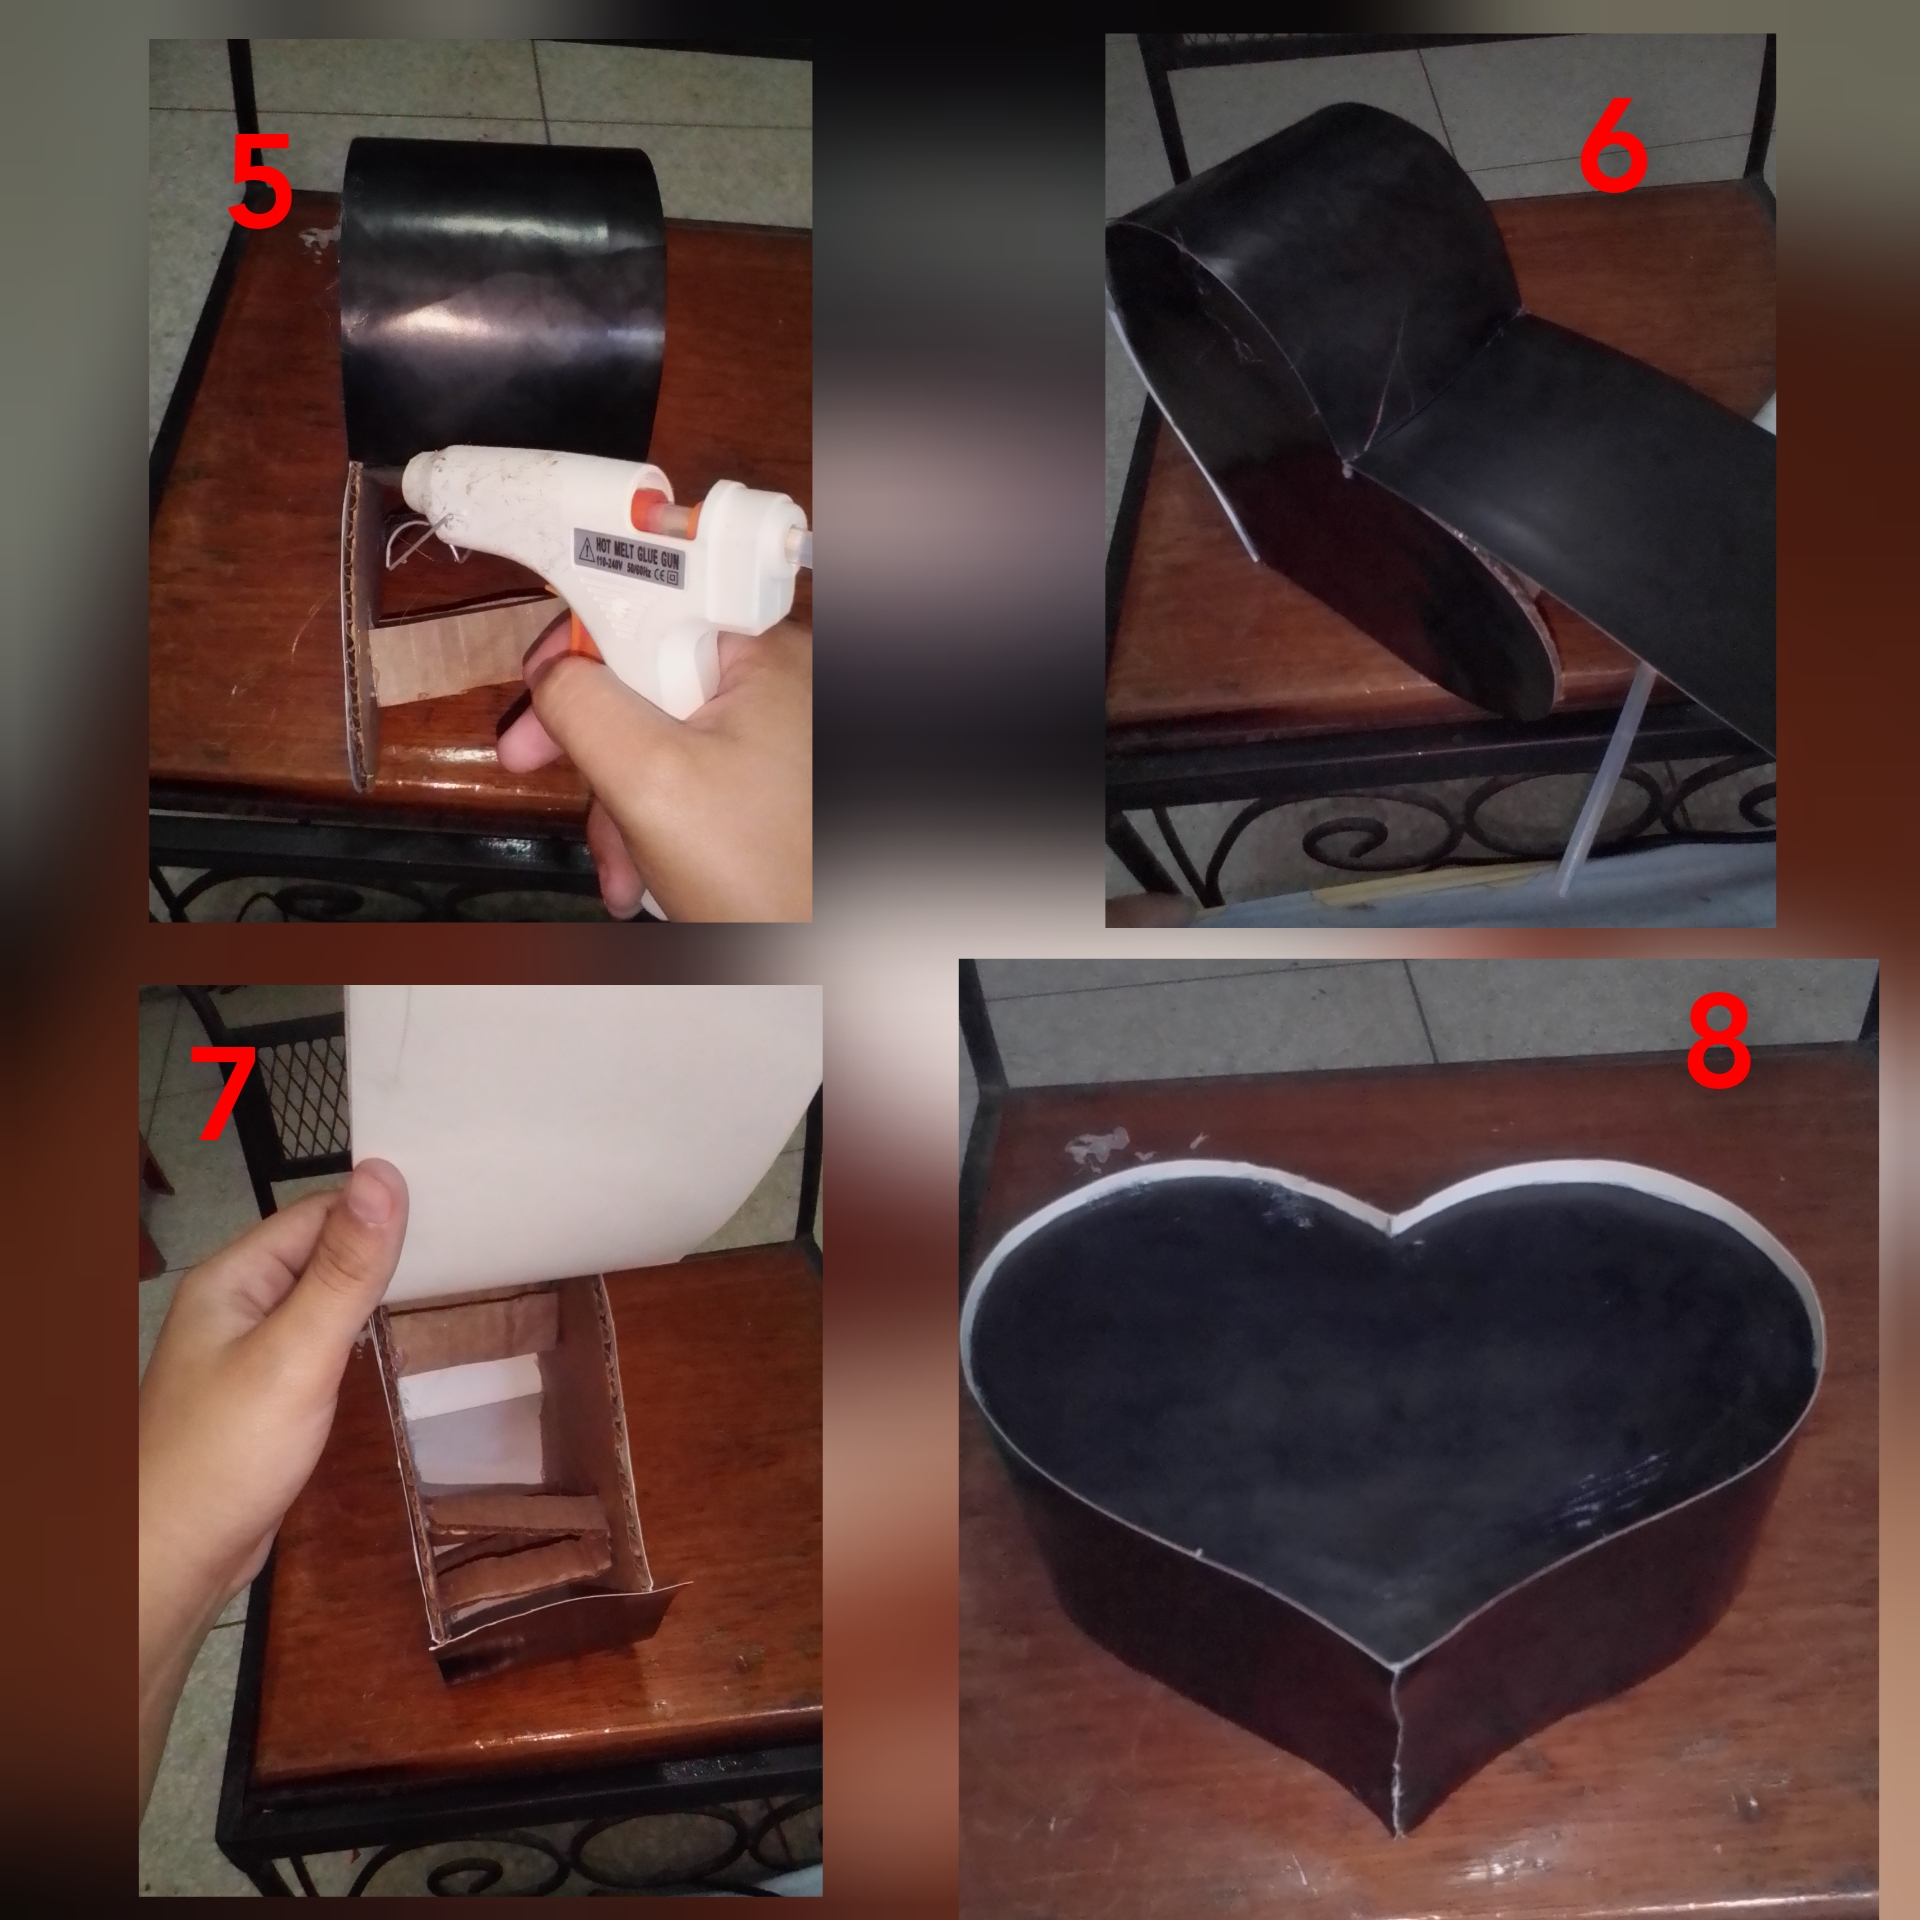
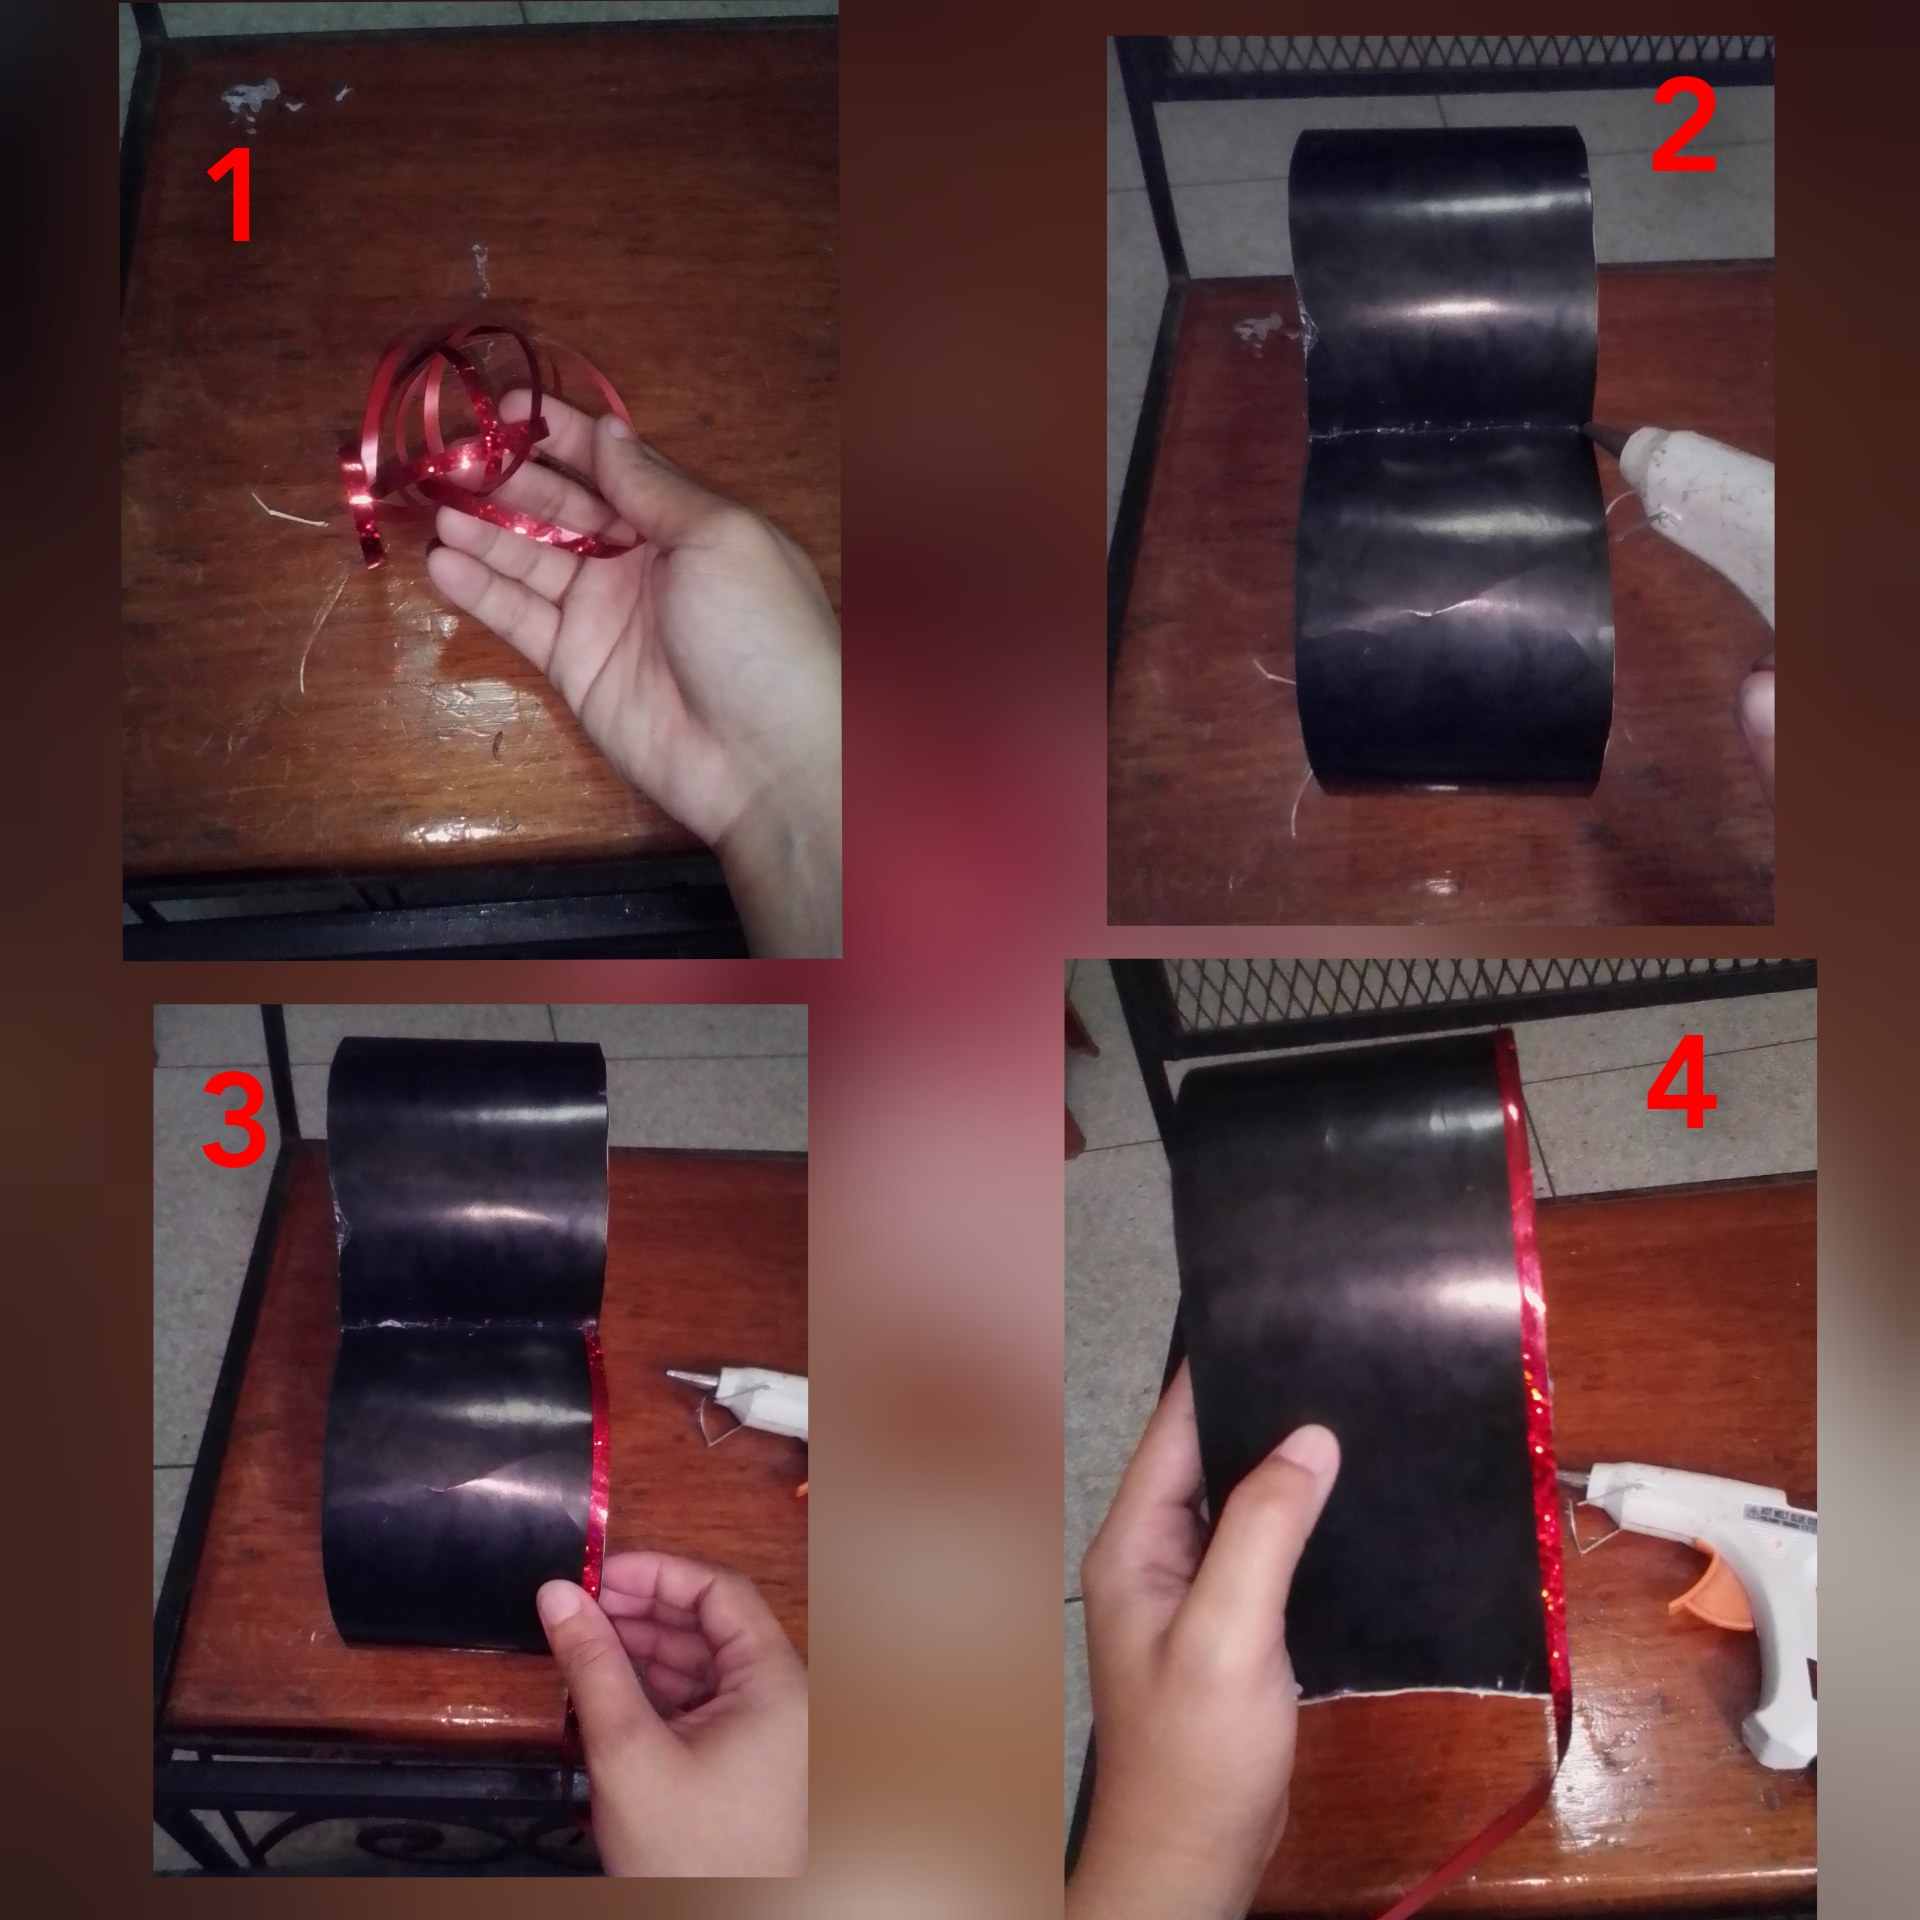
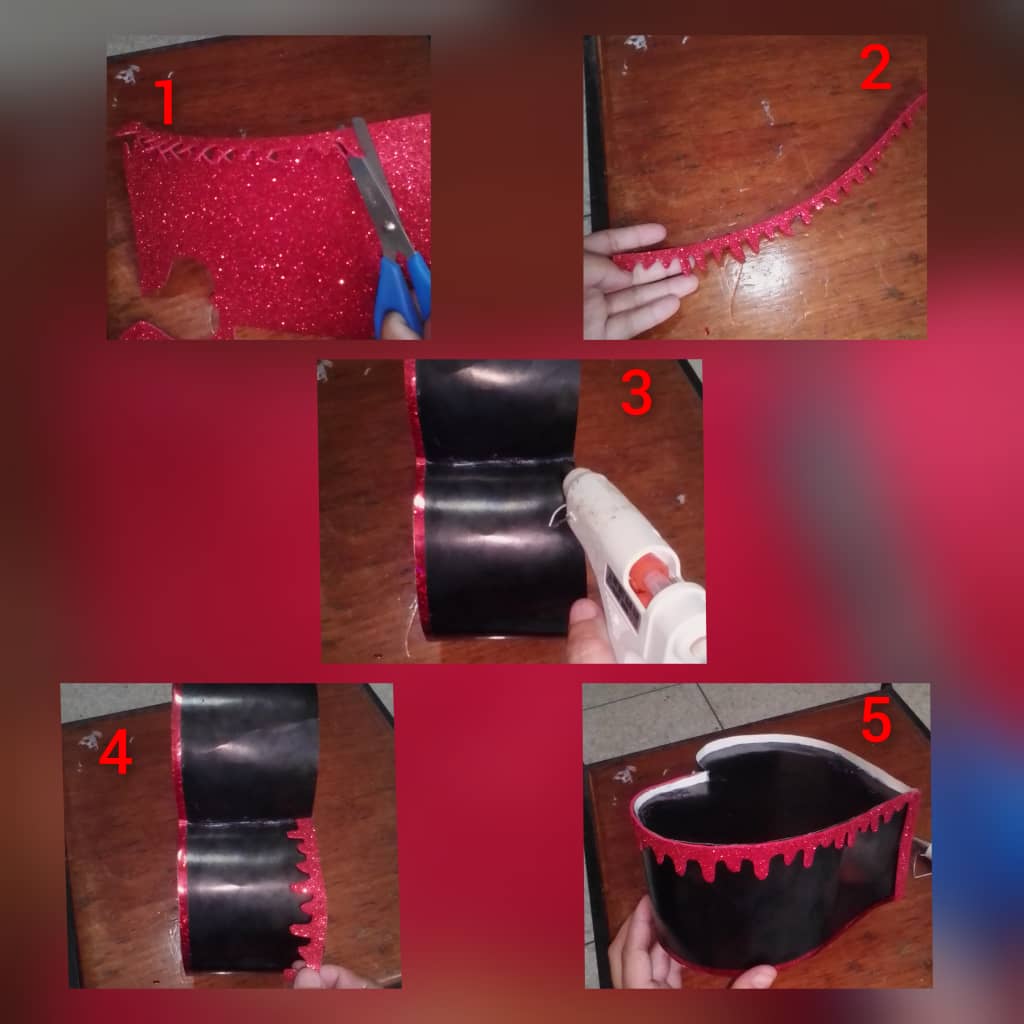
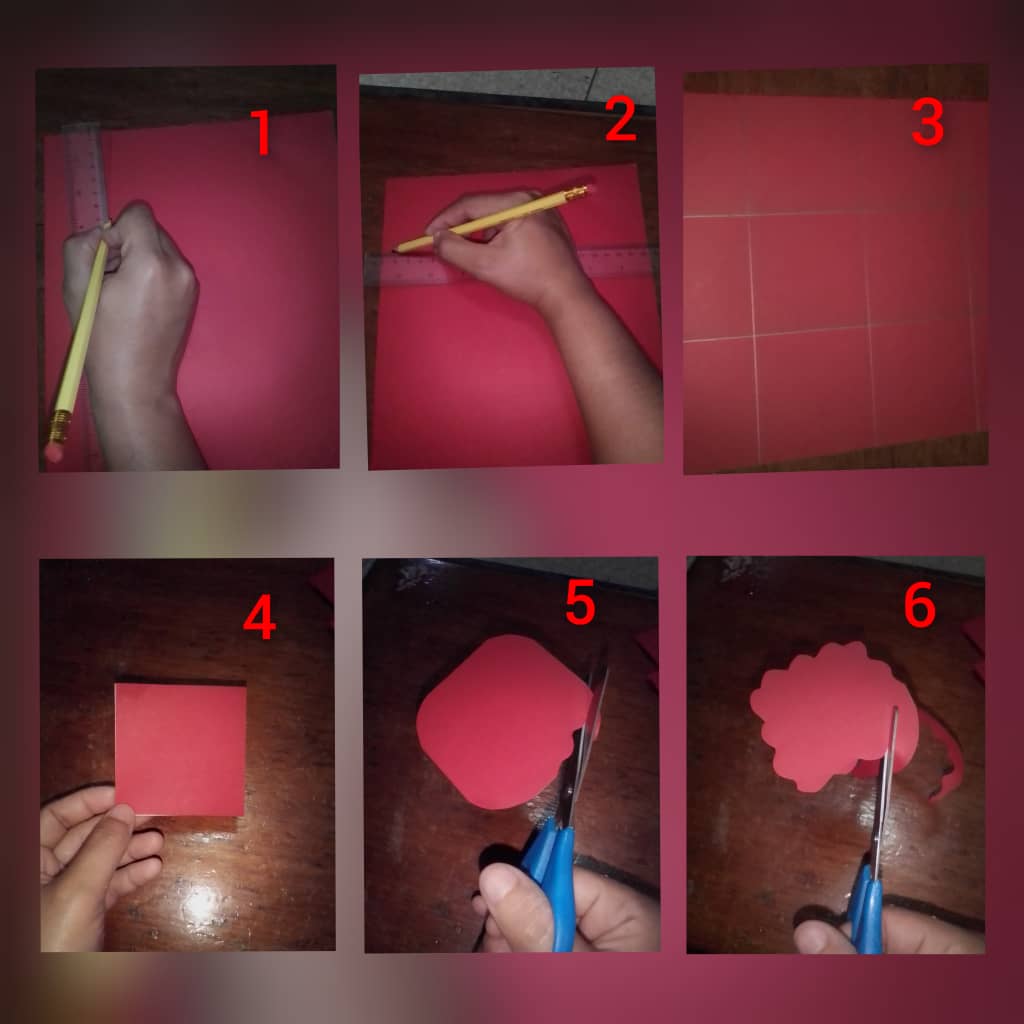
Comenzaremos dibujando en el cartón dos corazón, del tamaño de su preferencia y cortamos el dibujo para sacar dichos molde. Aquí procedemos a remarcar el molde del corazón en la cartulina para asi cortar la misma. Luego procedemos a pegar en el cartón los dos molde de corazones que sacamos de la cartulina. Continuamos en sacar tiras de cartón con medidas de 3cm de ancho por 8cm de largo y lo pegamos de este molo en una case de corazón, esto sera nuestra base para pegar en la parte superior el otro molde de corazón. Seguimos y en este paso sacamos en la cartulina un rectángulo con medidas de 10cm de ancho por 30cm de largo y cortamos. Con el paso anterior cubriremos todo los lados del corazón así, de esta manera. Hasta quedar completamente cubierto. Luego con la cinta pegamos la orilla de la parte inferior de nuestro corazon. Con el foami haremos cualquier detalle, en mi caso lo corte en forma de ondas. Haremos un lazo en foami de esta manera. Acá sacaremos en la hoja de colores varios cuadrados de tamaño 8cm de ancho por 8cm de largo. Seguidamente procedemos a cortar en forma de zic zac nuestros cuadrados y enrollamos los mismos hasta formar un pétalo de rosa y luego pegar. Empezaremos a pegar los nuestro pétalos en la parte superaos del corazón así mismo los chocolates. We will begin by drawing two hearts on the cardboard, the size of your preference and cut the drawing to remove said mold. Here we proceed to mark the mold of the heart on the cardboard in order to cut it. Then we proceed to paste the two heart molds that we took out of the cardboard on the cardboard. We continue to take cardboard strips with measurements of 3cm wide by 8cm long and we glue this mold in a heart case, this will be our base to glue the other heart mold on top. We continue and in this step we take out a rectangle on the cardboard with measurements of 10cm wide by 30cm long and cut. With the previous step we will cover all the sides of the heart like this, like this. Until completely covered. Then with the tape we stick the edge of the lower part of our heart. With the foami we will do any detail, in my case I cut it in the form of waves. We will make a loop in foami in this way. Here we will take out on the colored sheet several squares of size 8cm wide by 8cm long. Next we proceed to cut our squares in the form of a zic zac and roll them up to form a rose petal and then paste. We will begin to glue our petals on the upper part of the heart, as well as the chocolates.
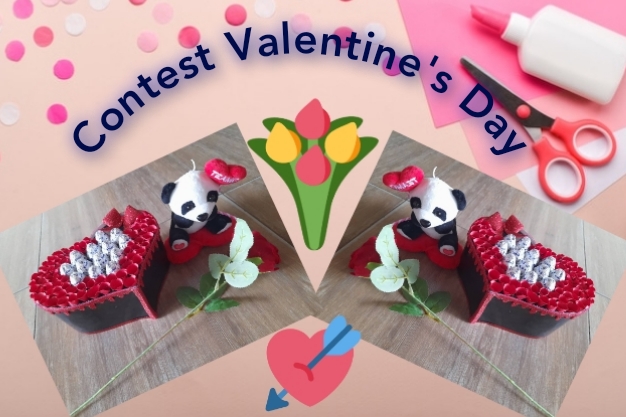
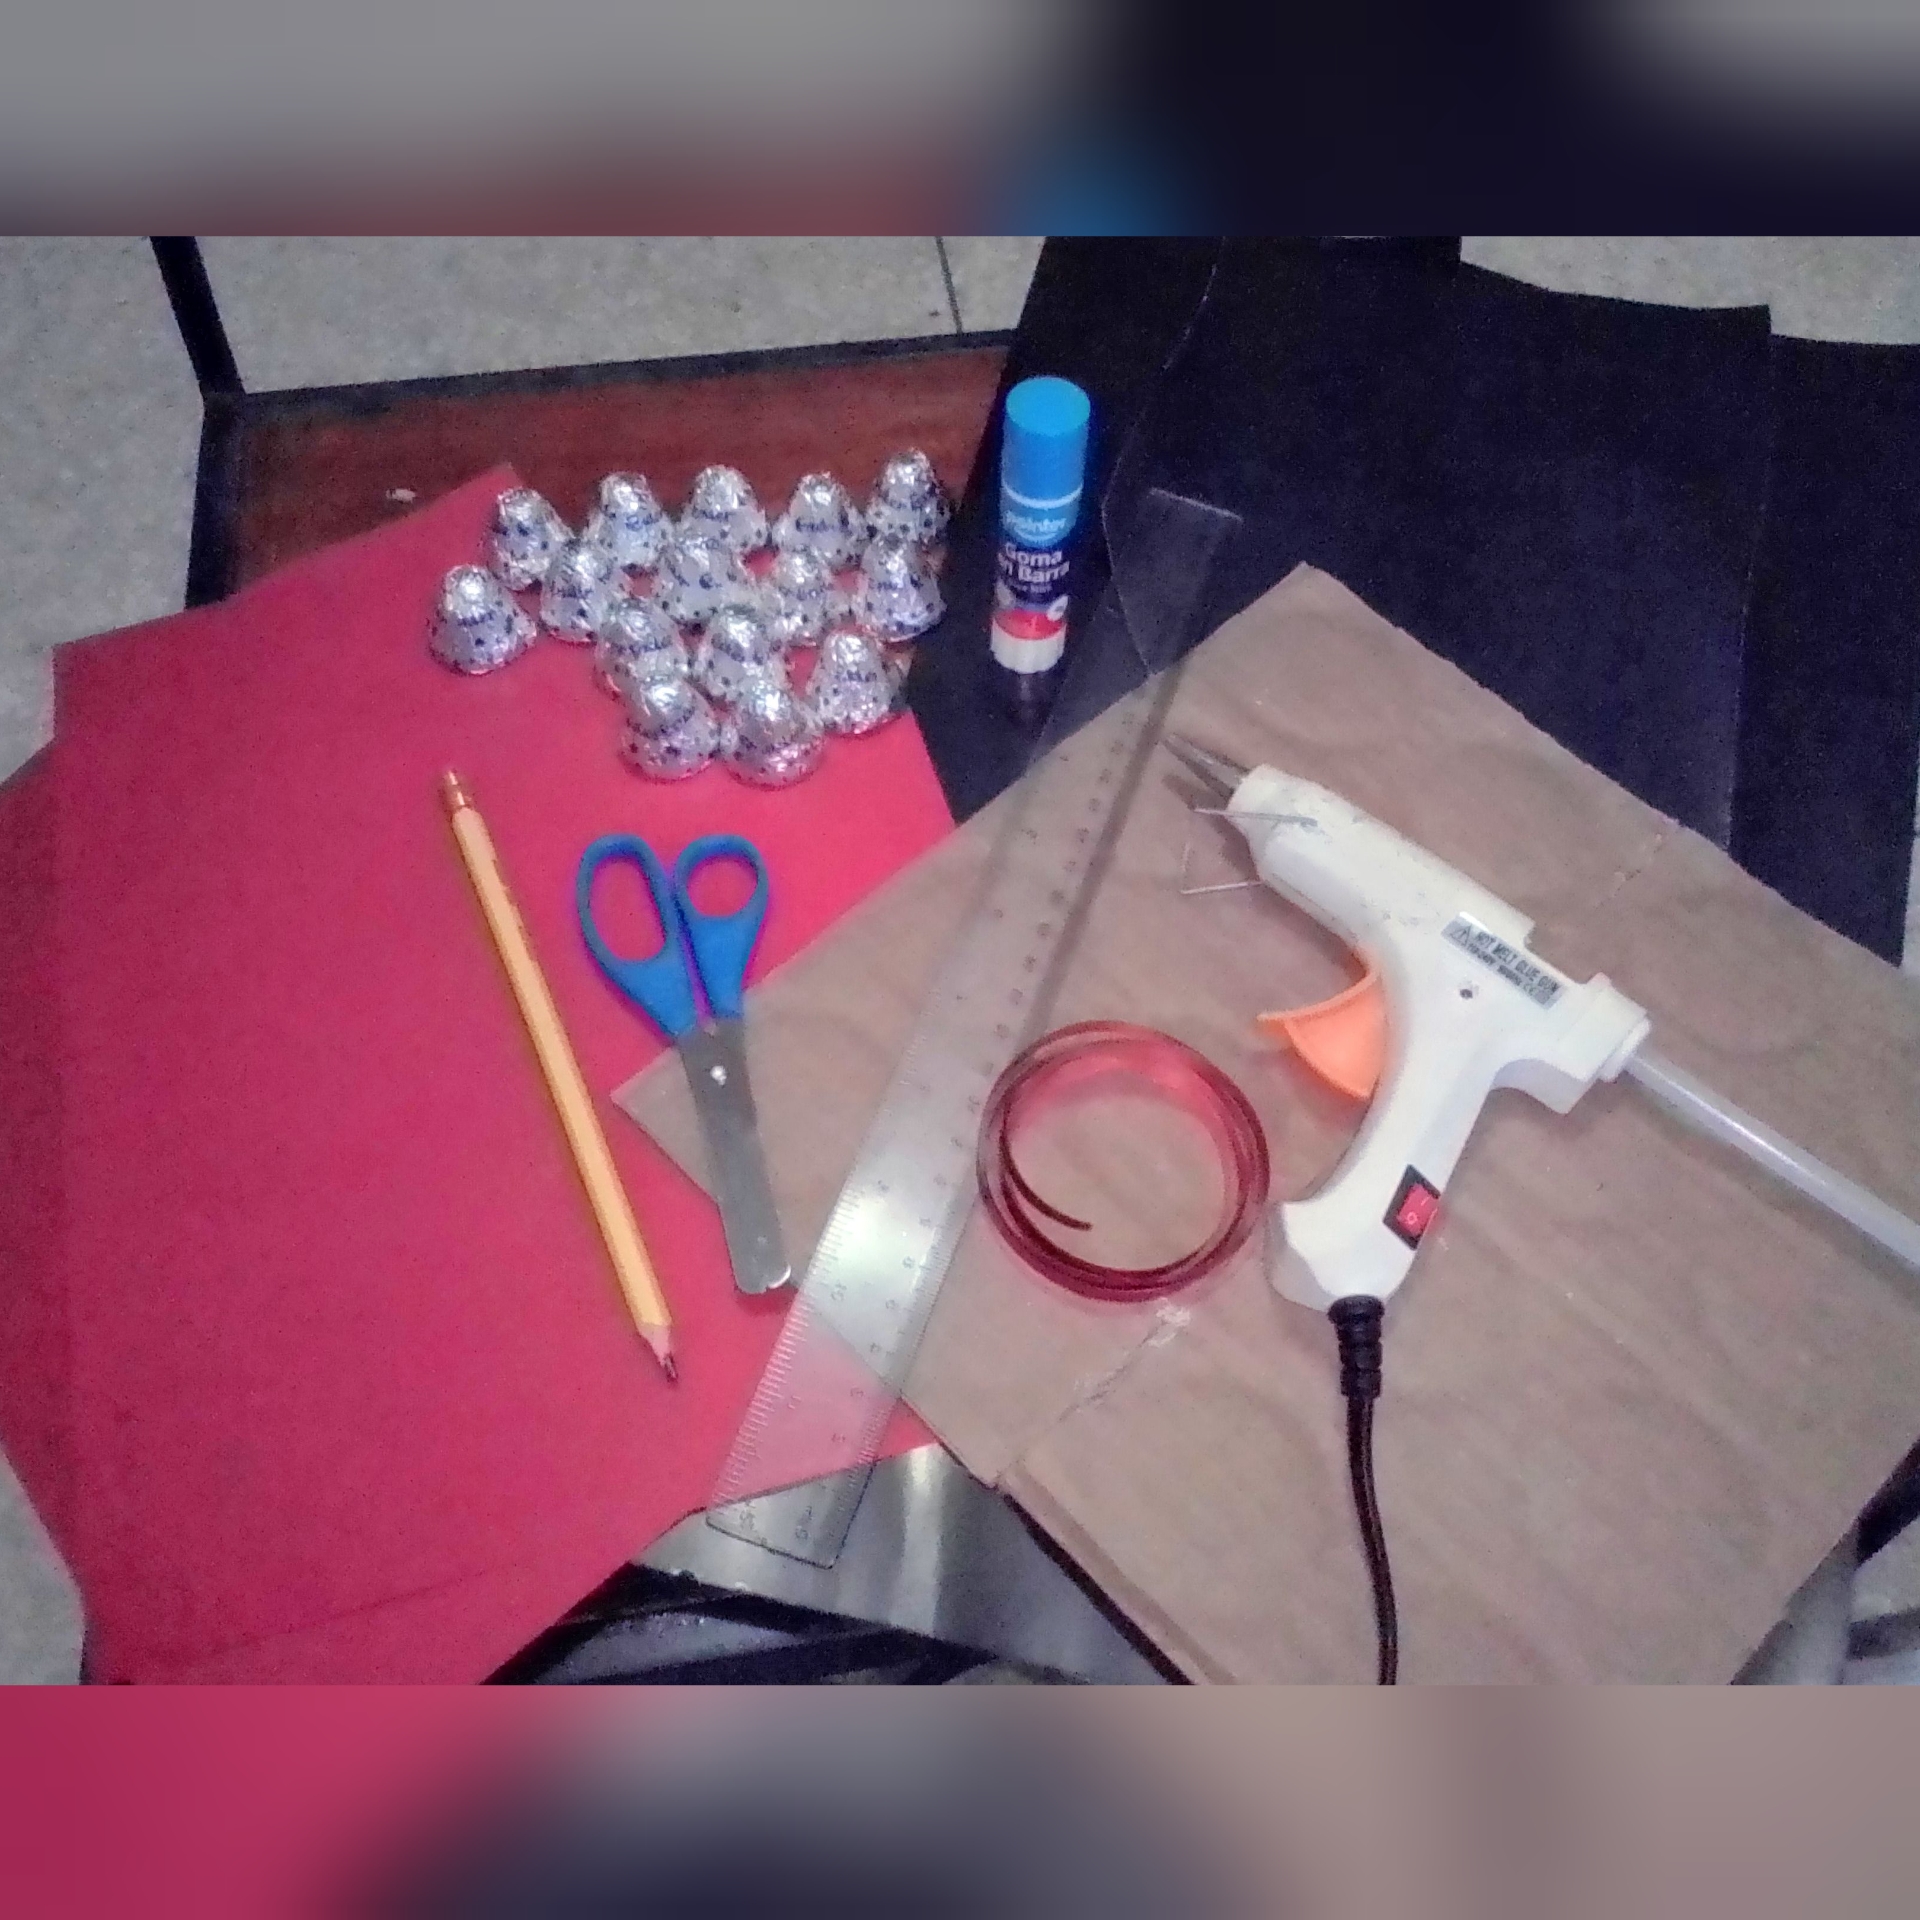
Friends of #hivediy and #hive Happy Afternoon everyone, receive my best regards. I hope you are good! and that they had a pleasant and very pro-active day. Today I have the opportunity to share with you this contest with this craft, the month of February is not over yet, that is to say, we are in a month of much love, and this contest has not ended either, for this reason I want to teach you how to make this beautiful heart of chocolate, this very easy detail to prepare is used to give to that special person in your life whom you love very much and long to have by your side every day. Here I will be leaving you the step by step of this fun craft. Greetings, they are loved!.Los materiales necesarios para comenzar a elaborar este sencillo corazón son los siguientes:
Paso 1
Paso 2
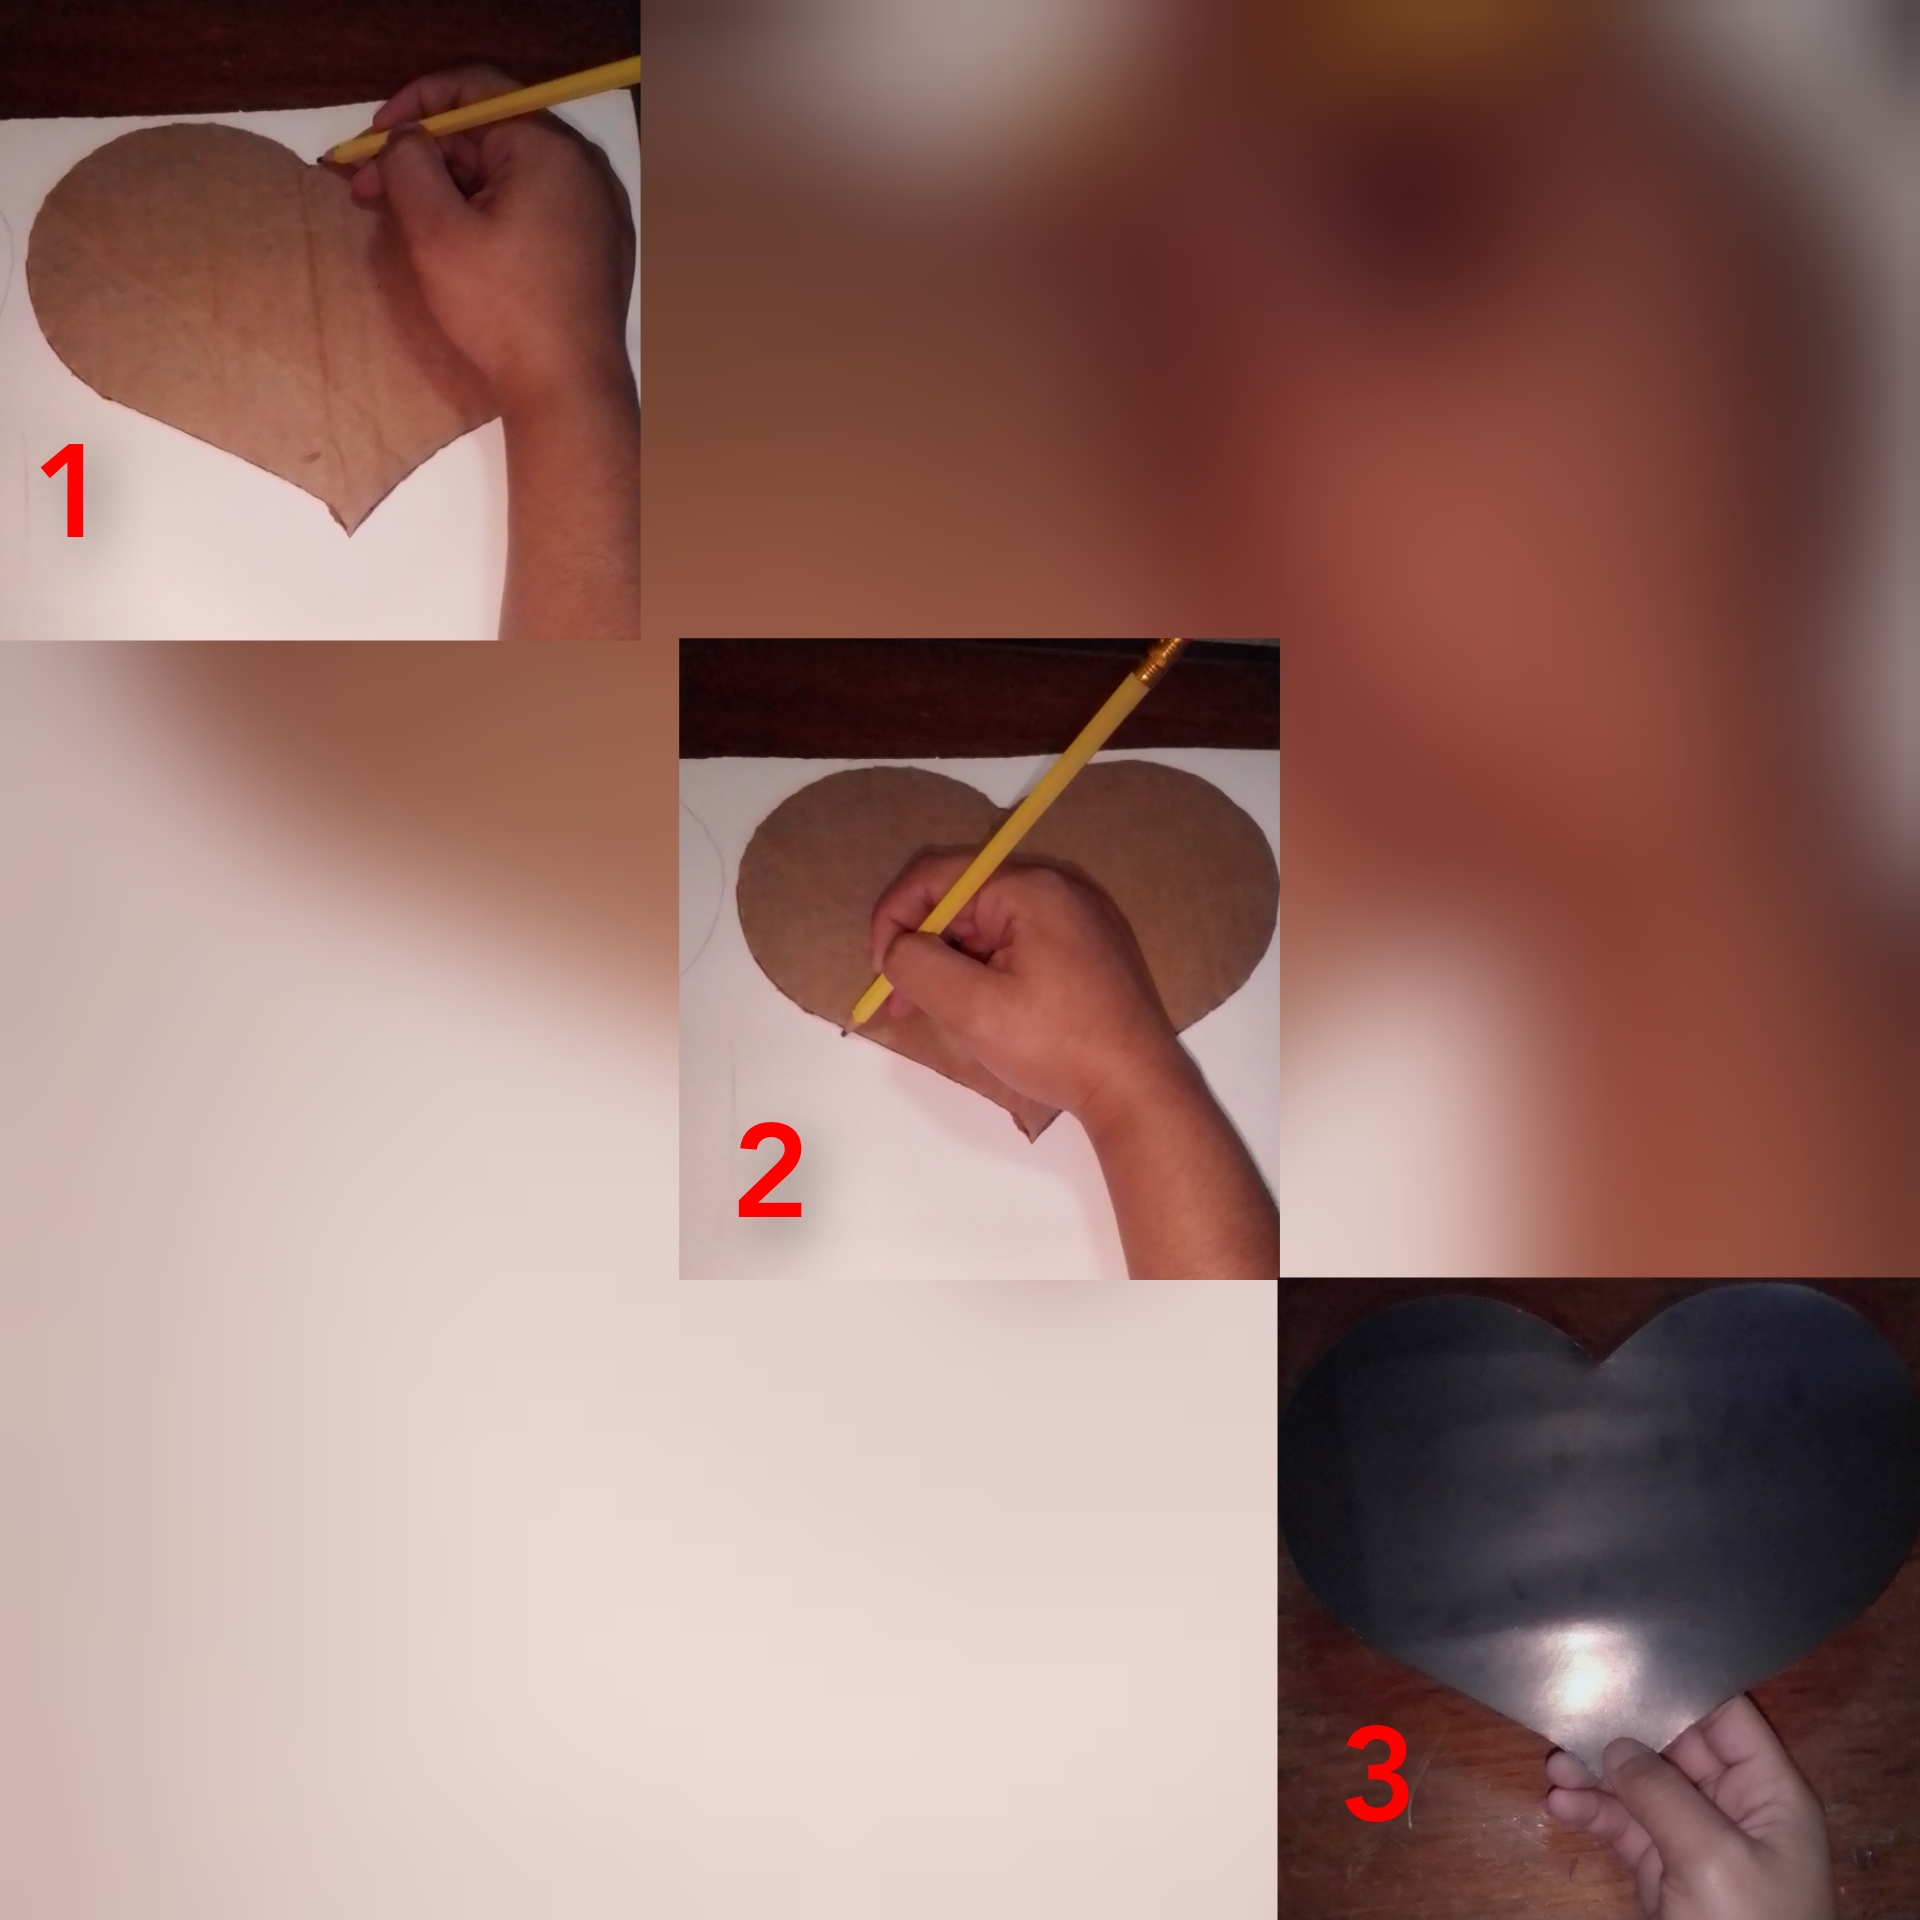
Paso 3
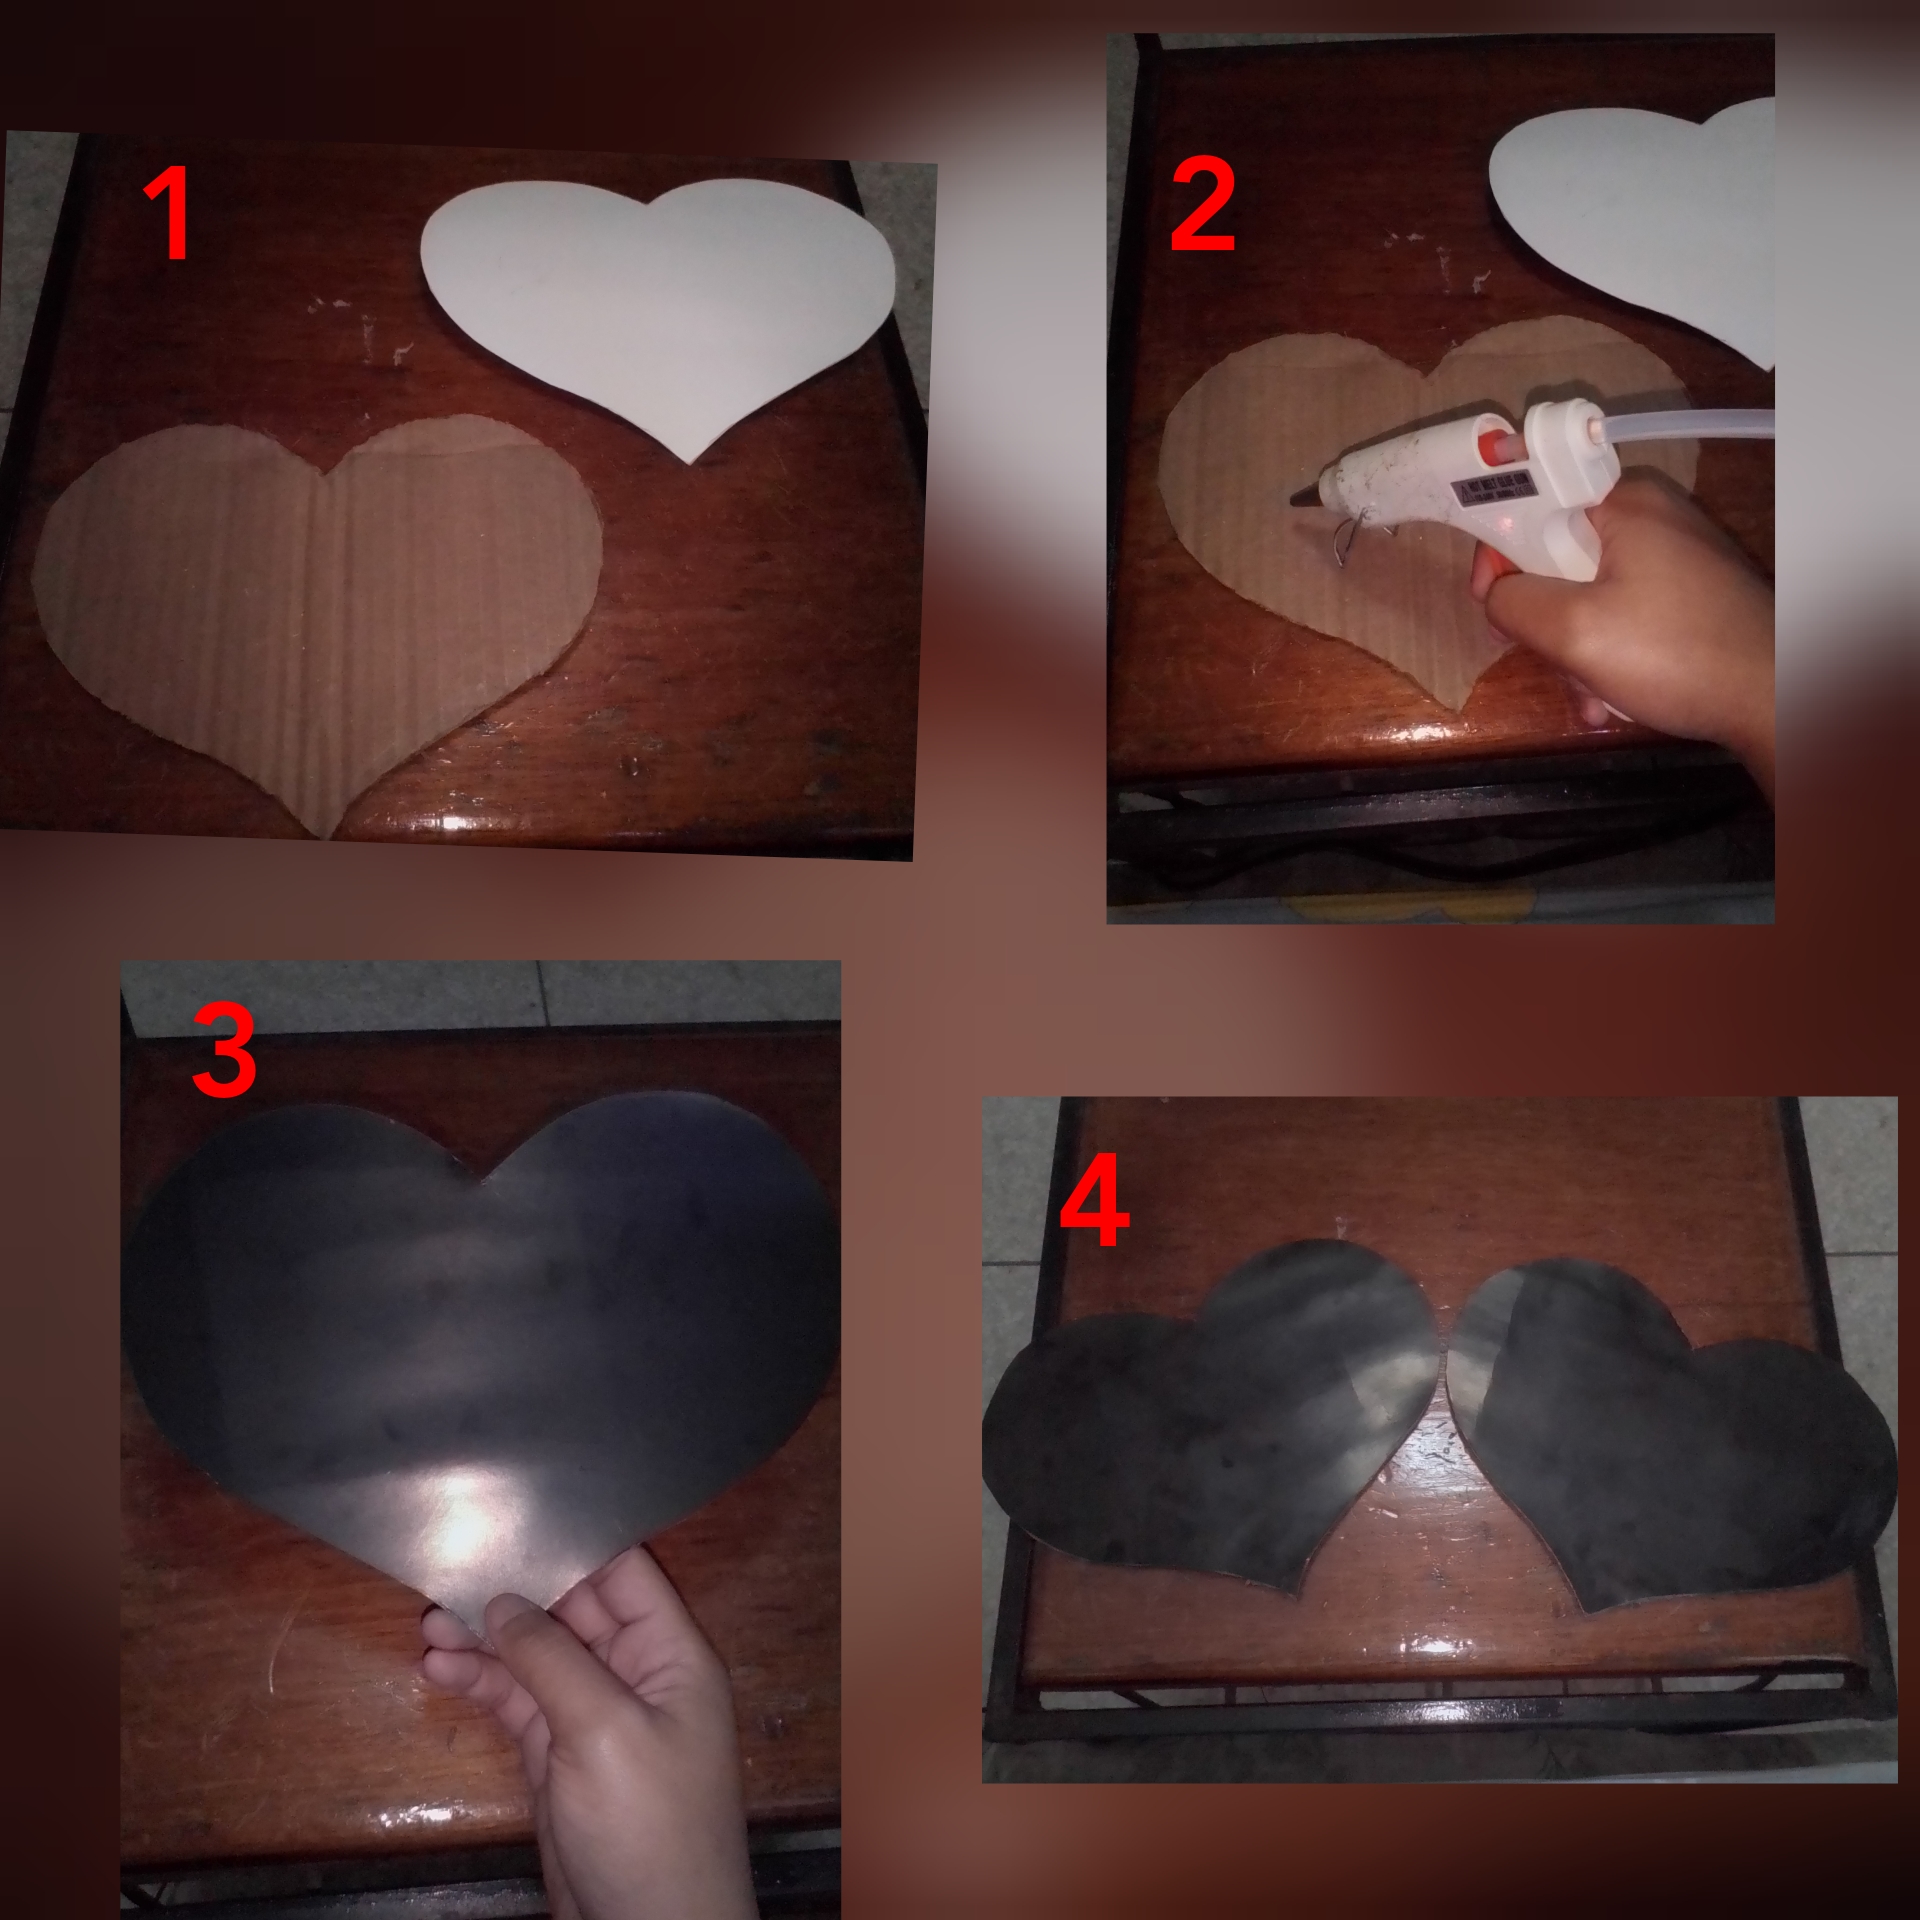
Paso 4
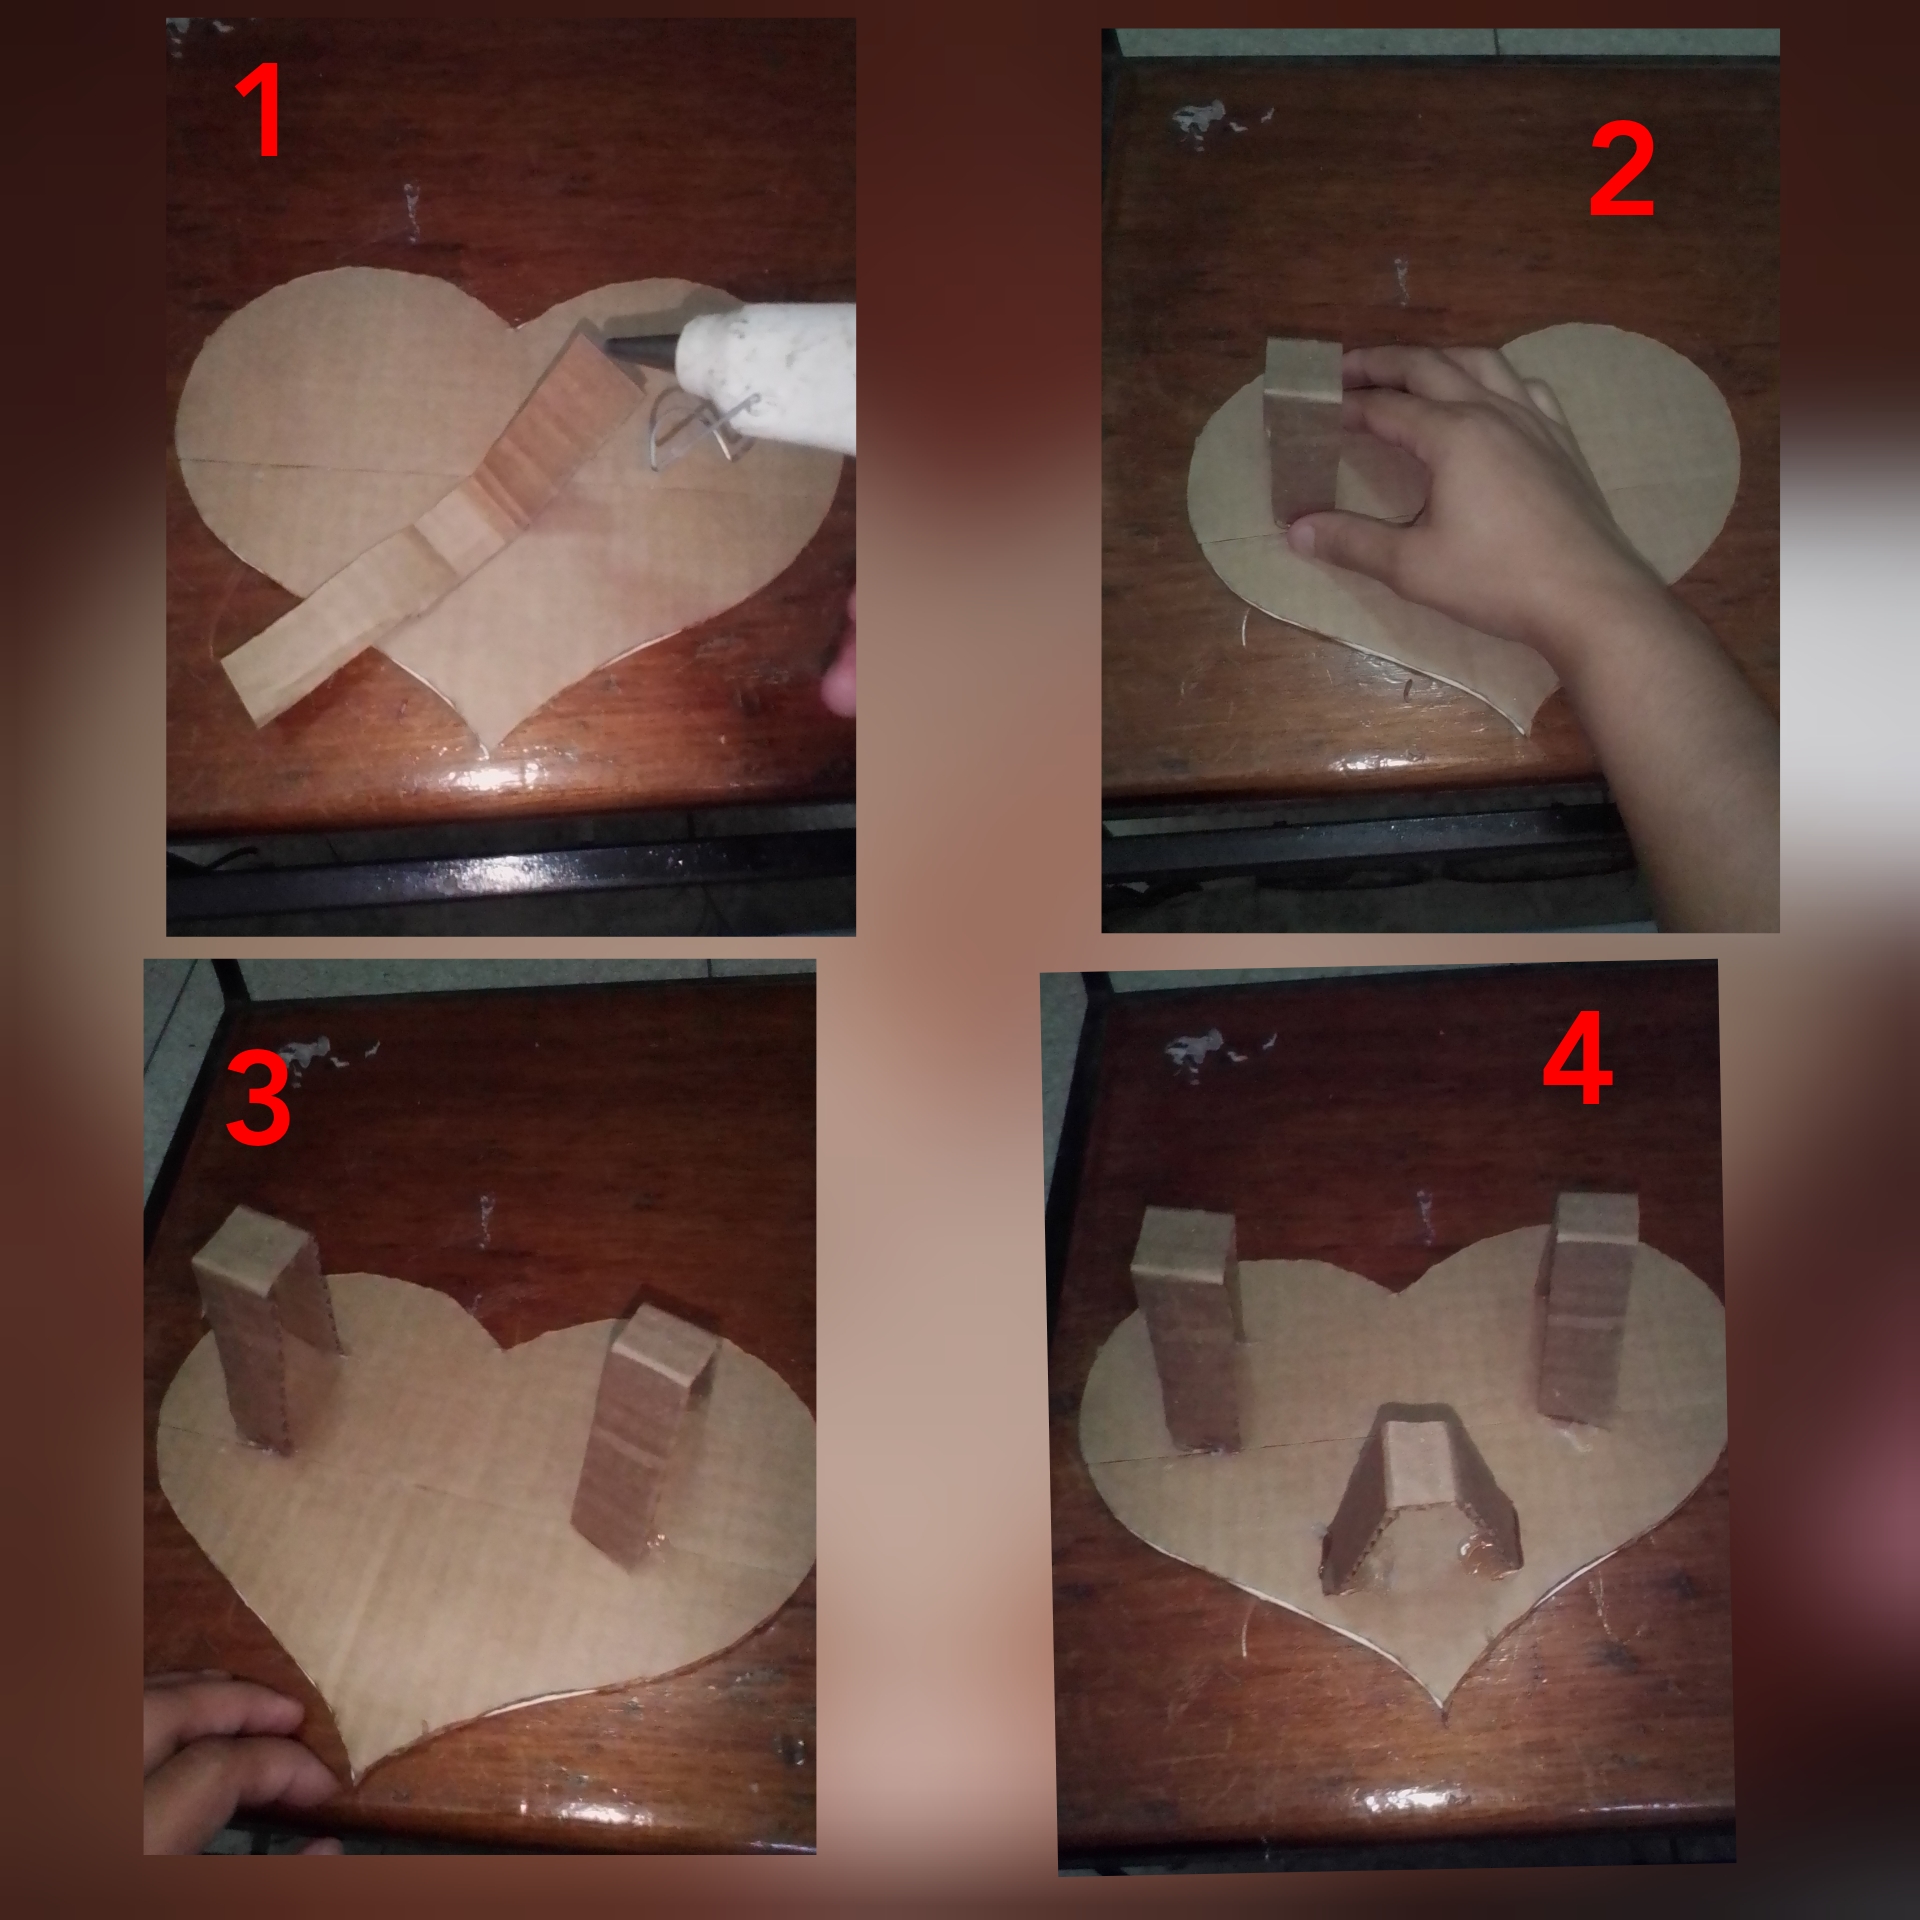
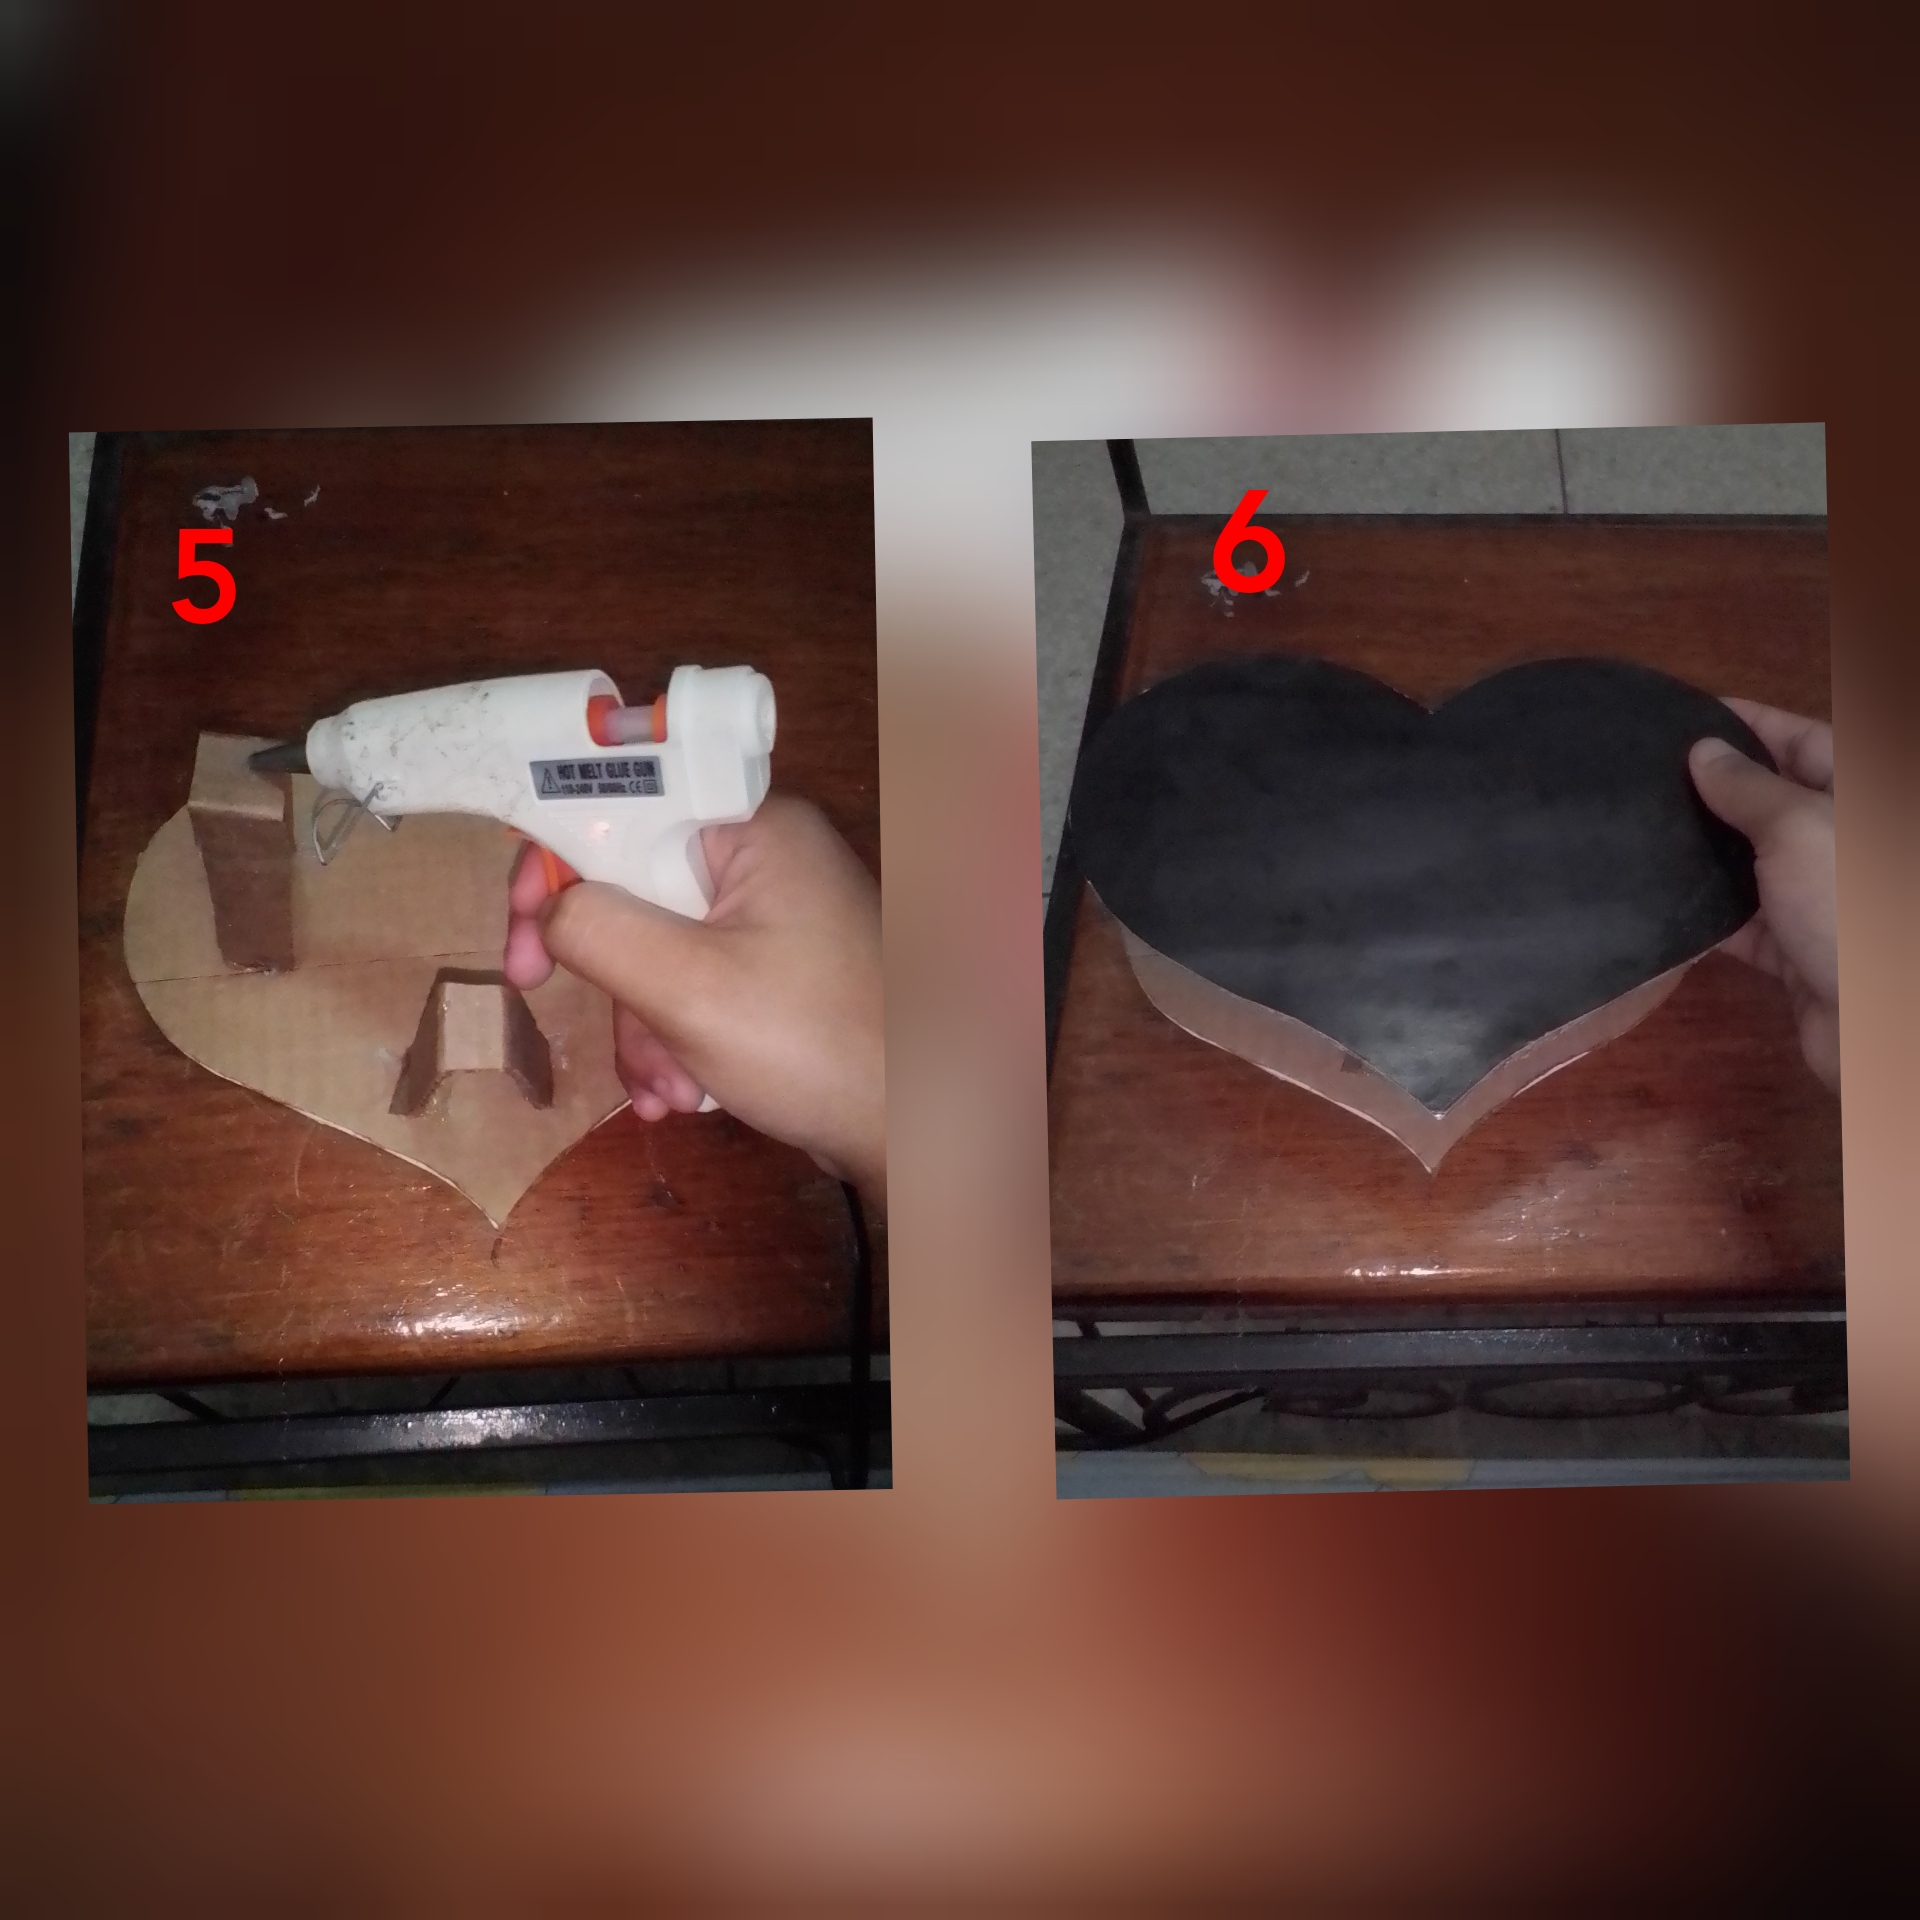
Paso 5
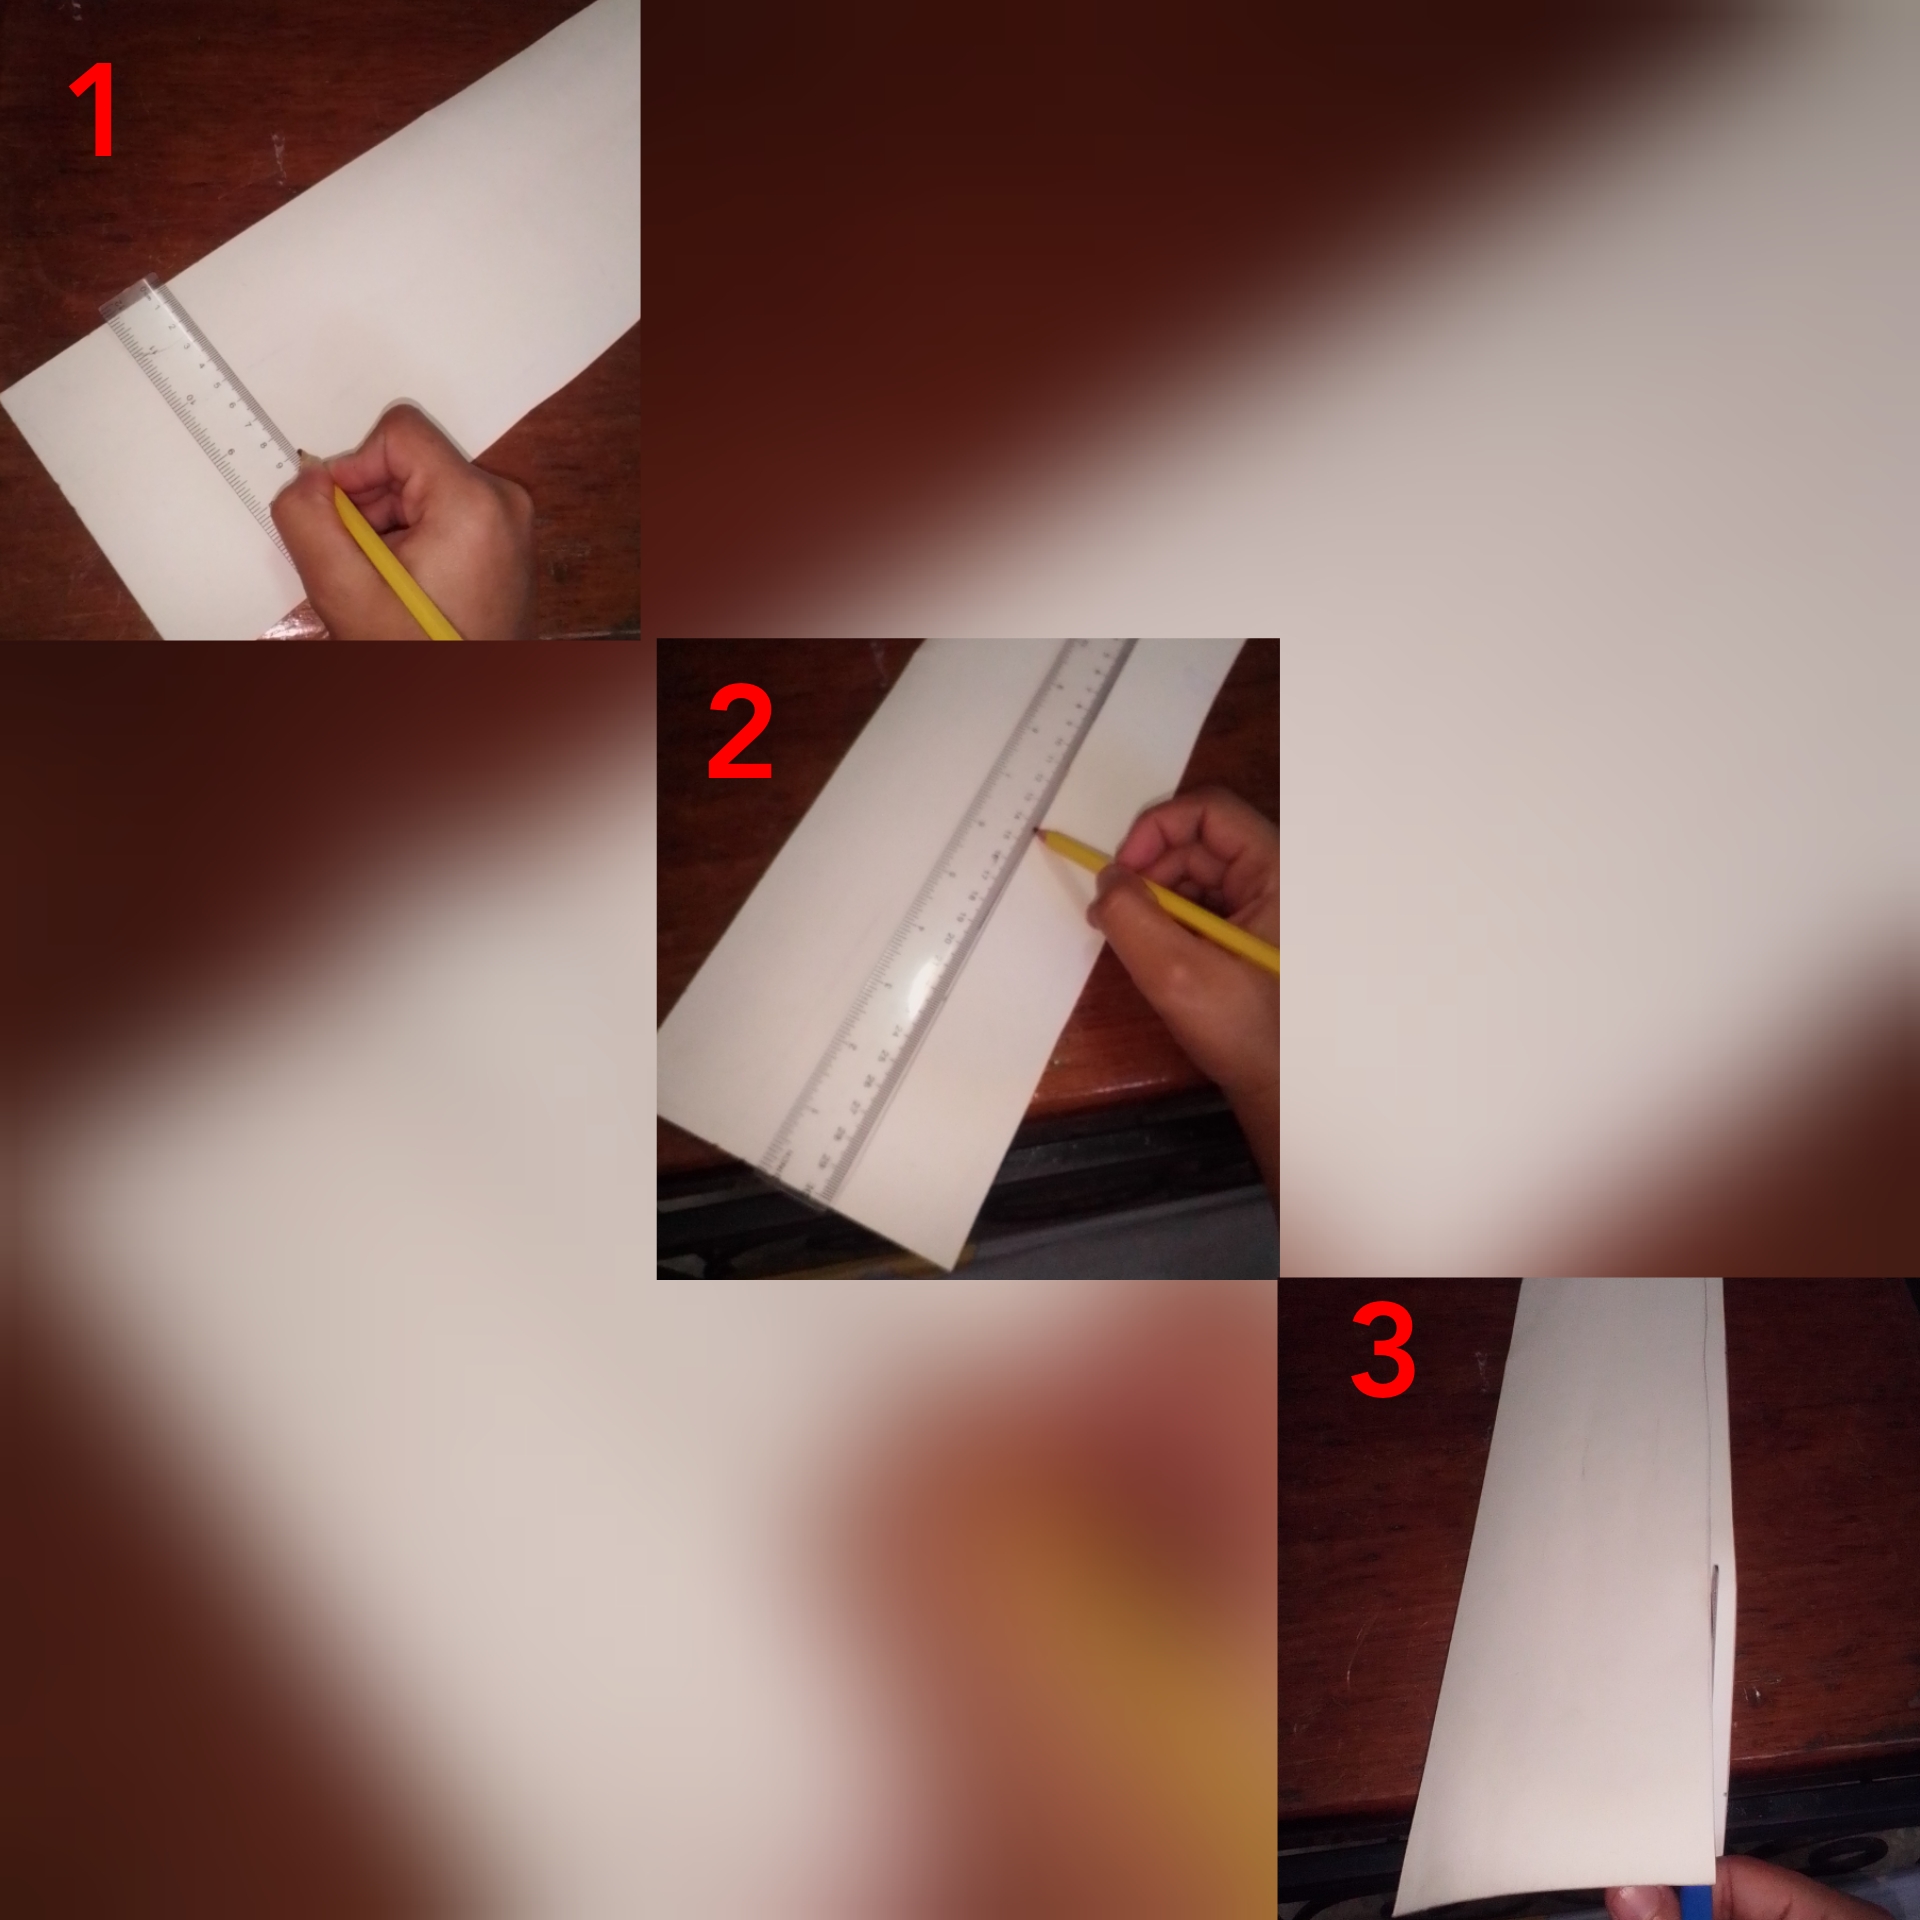
Paso 6
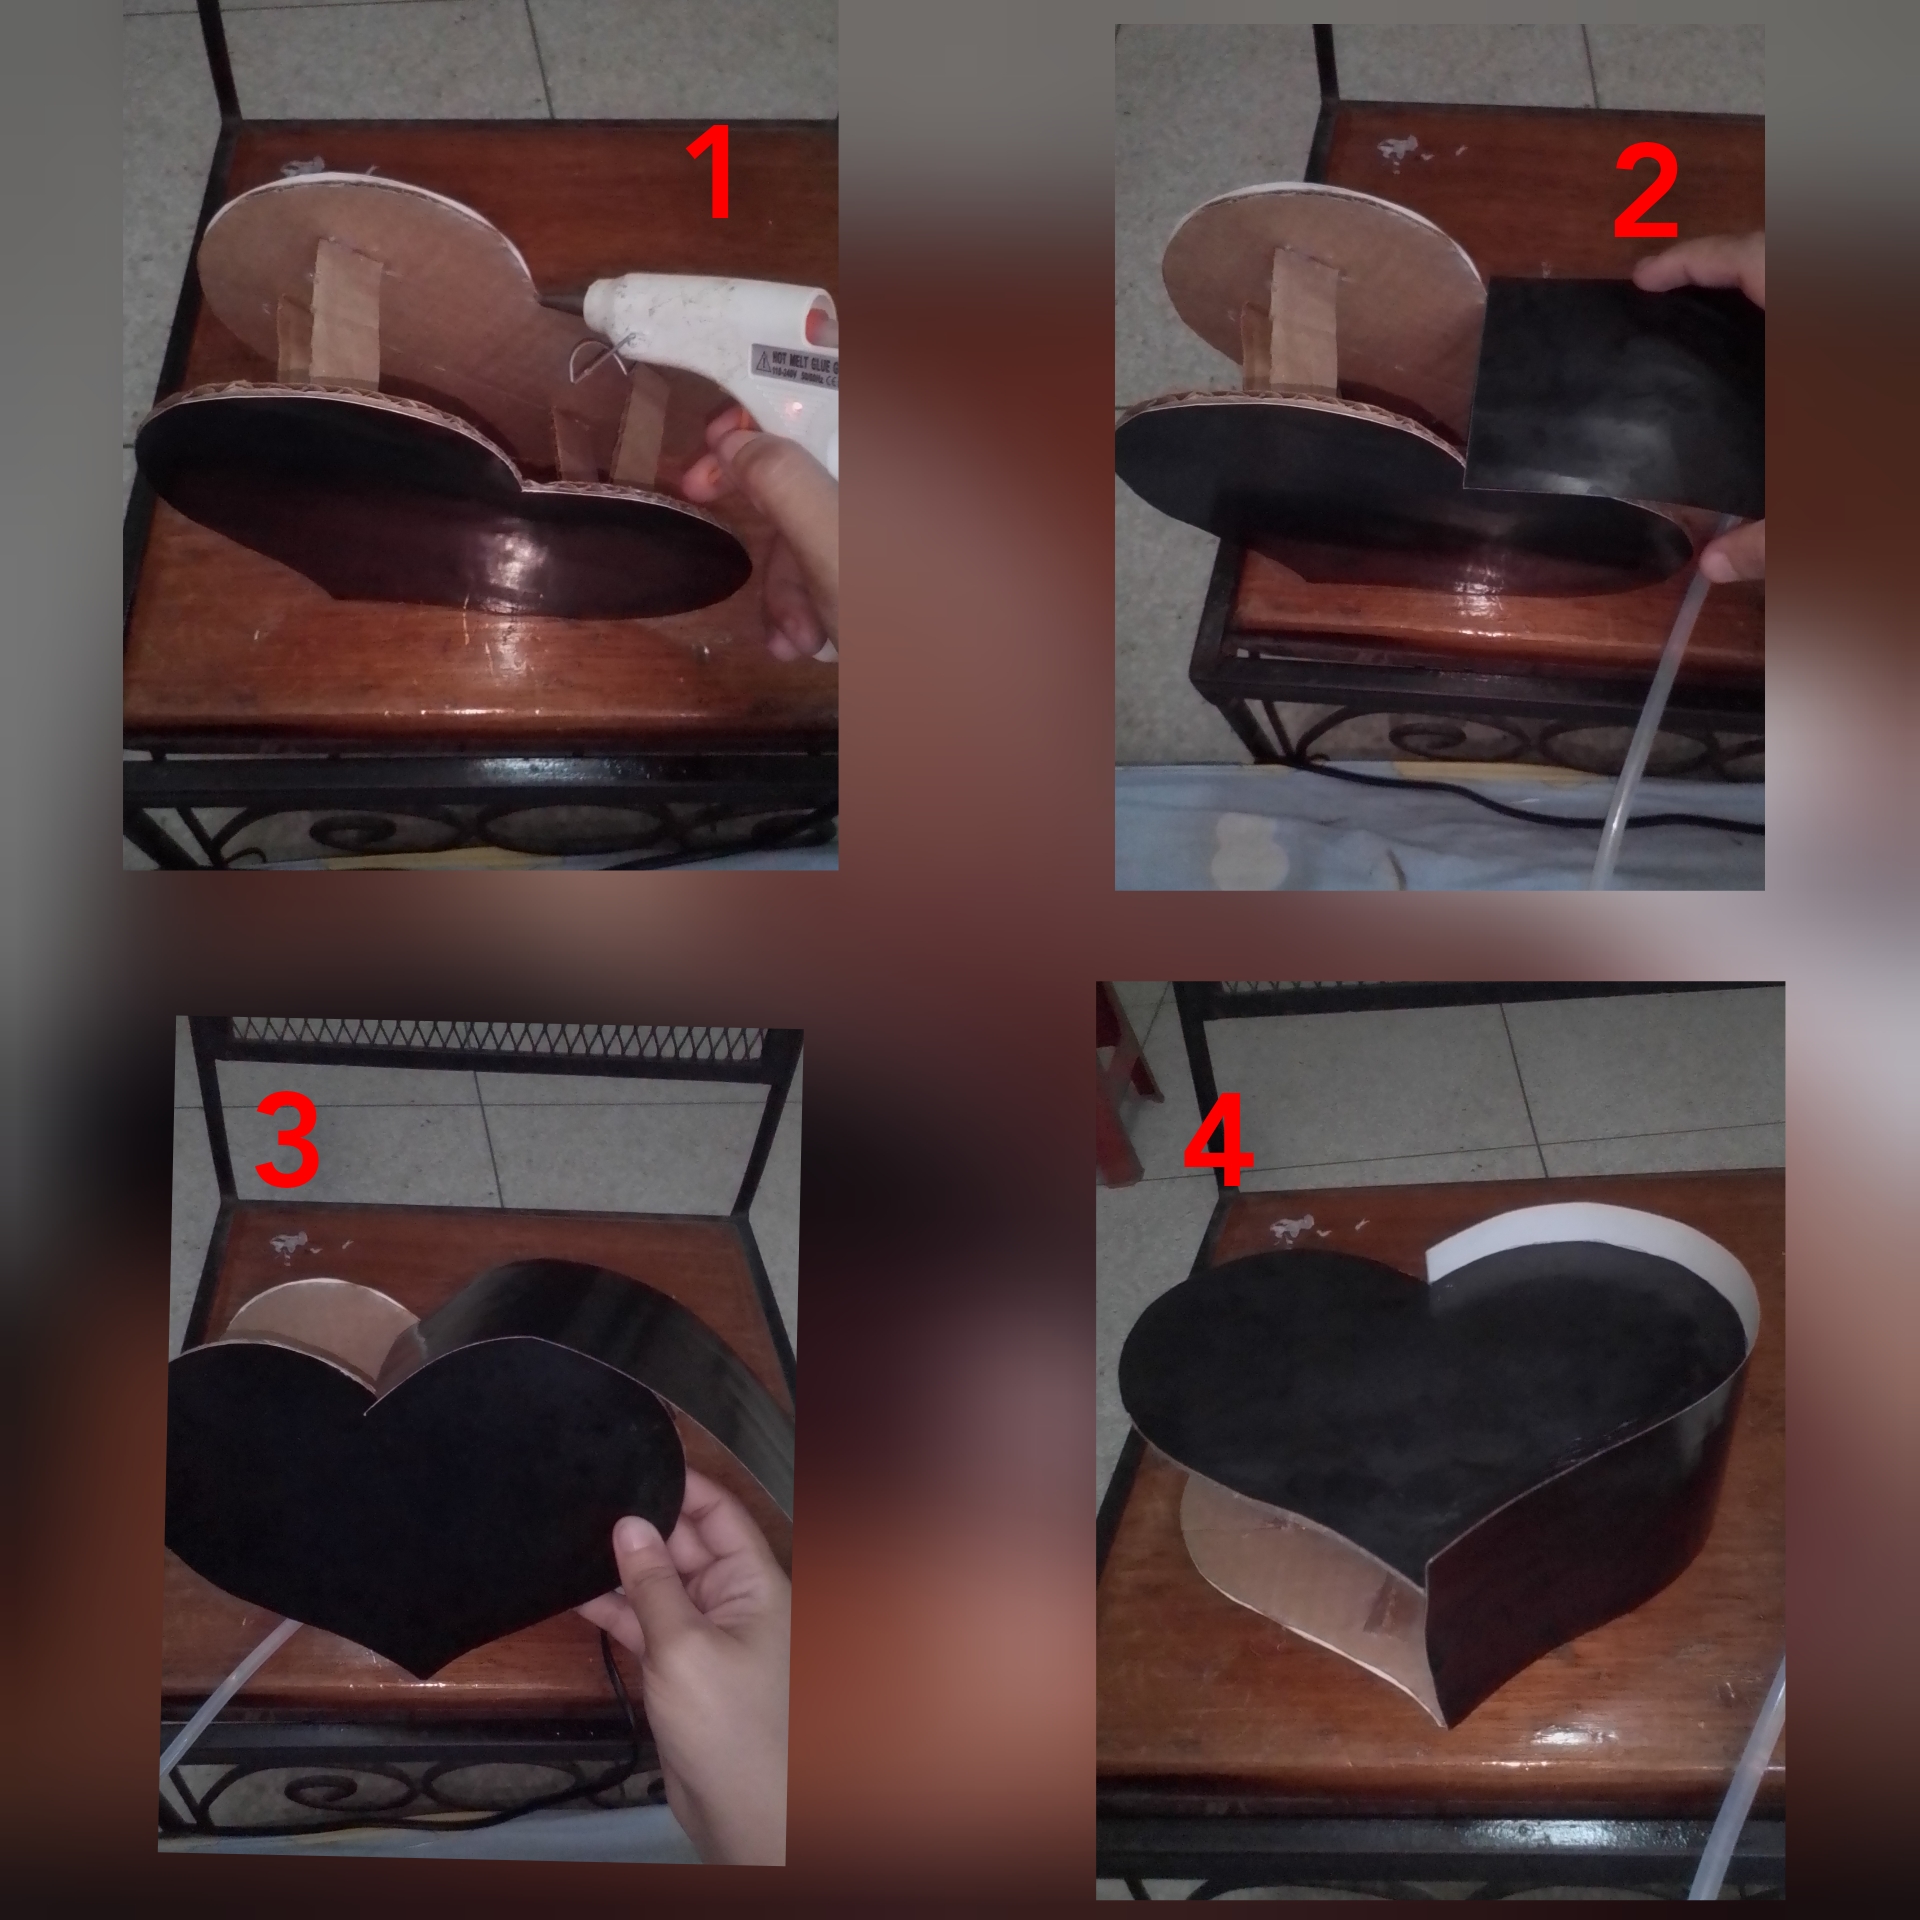
Paso 7
Paso 8
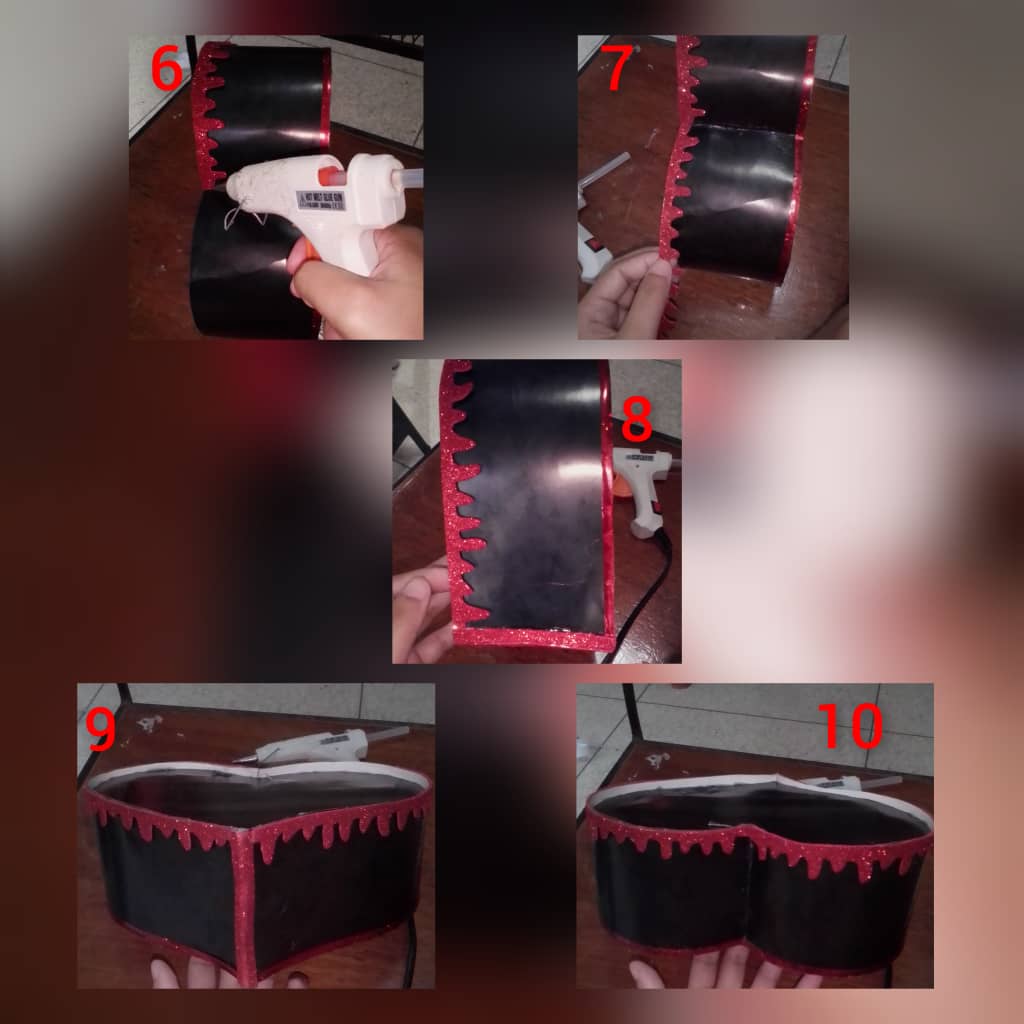
Paso 9
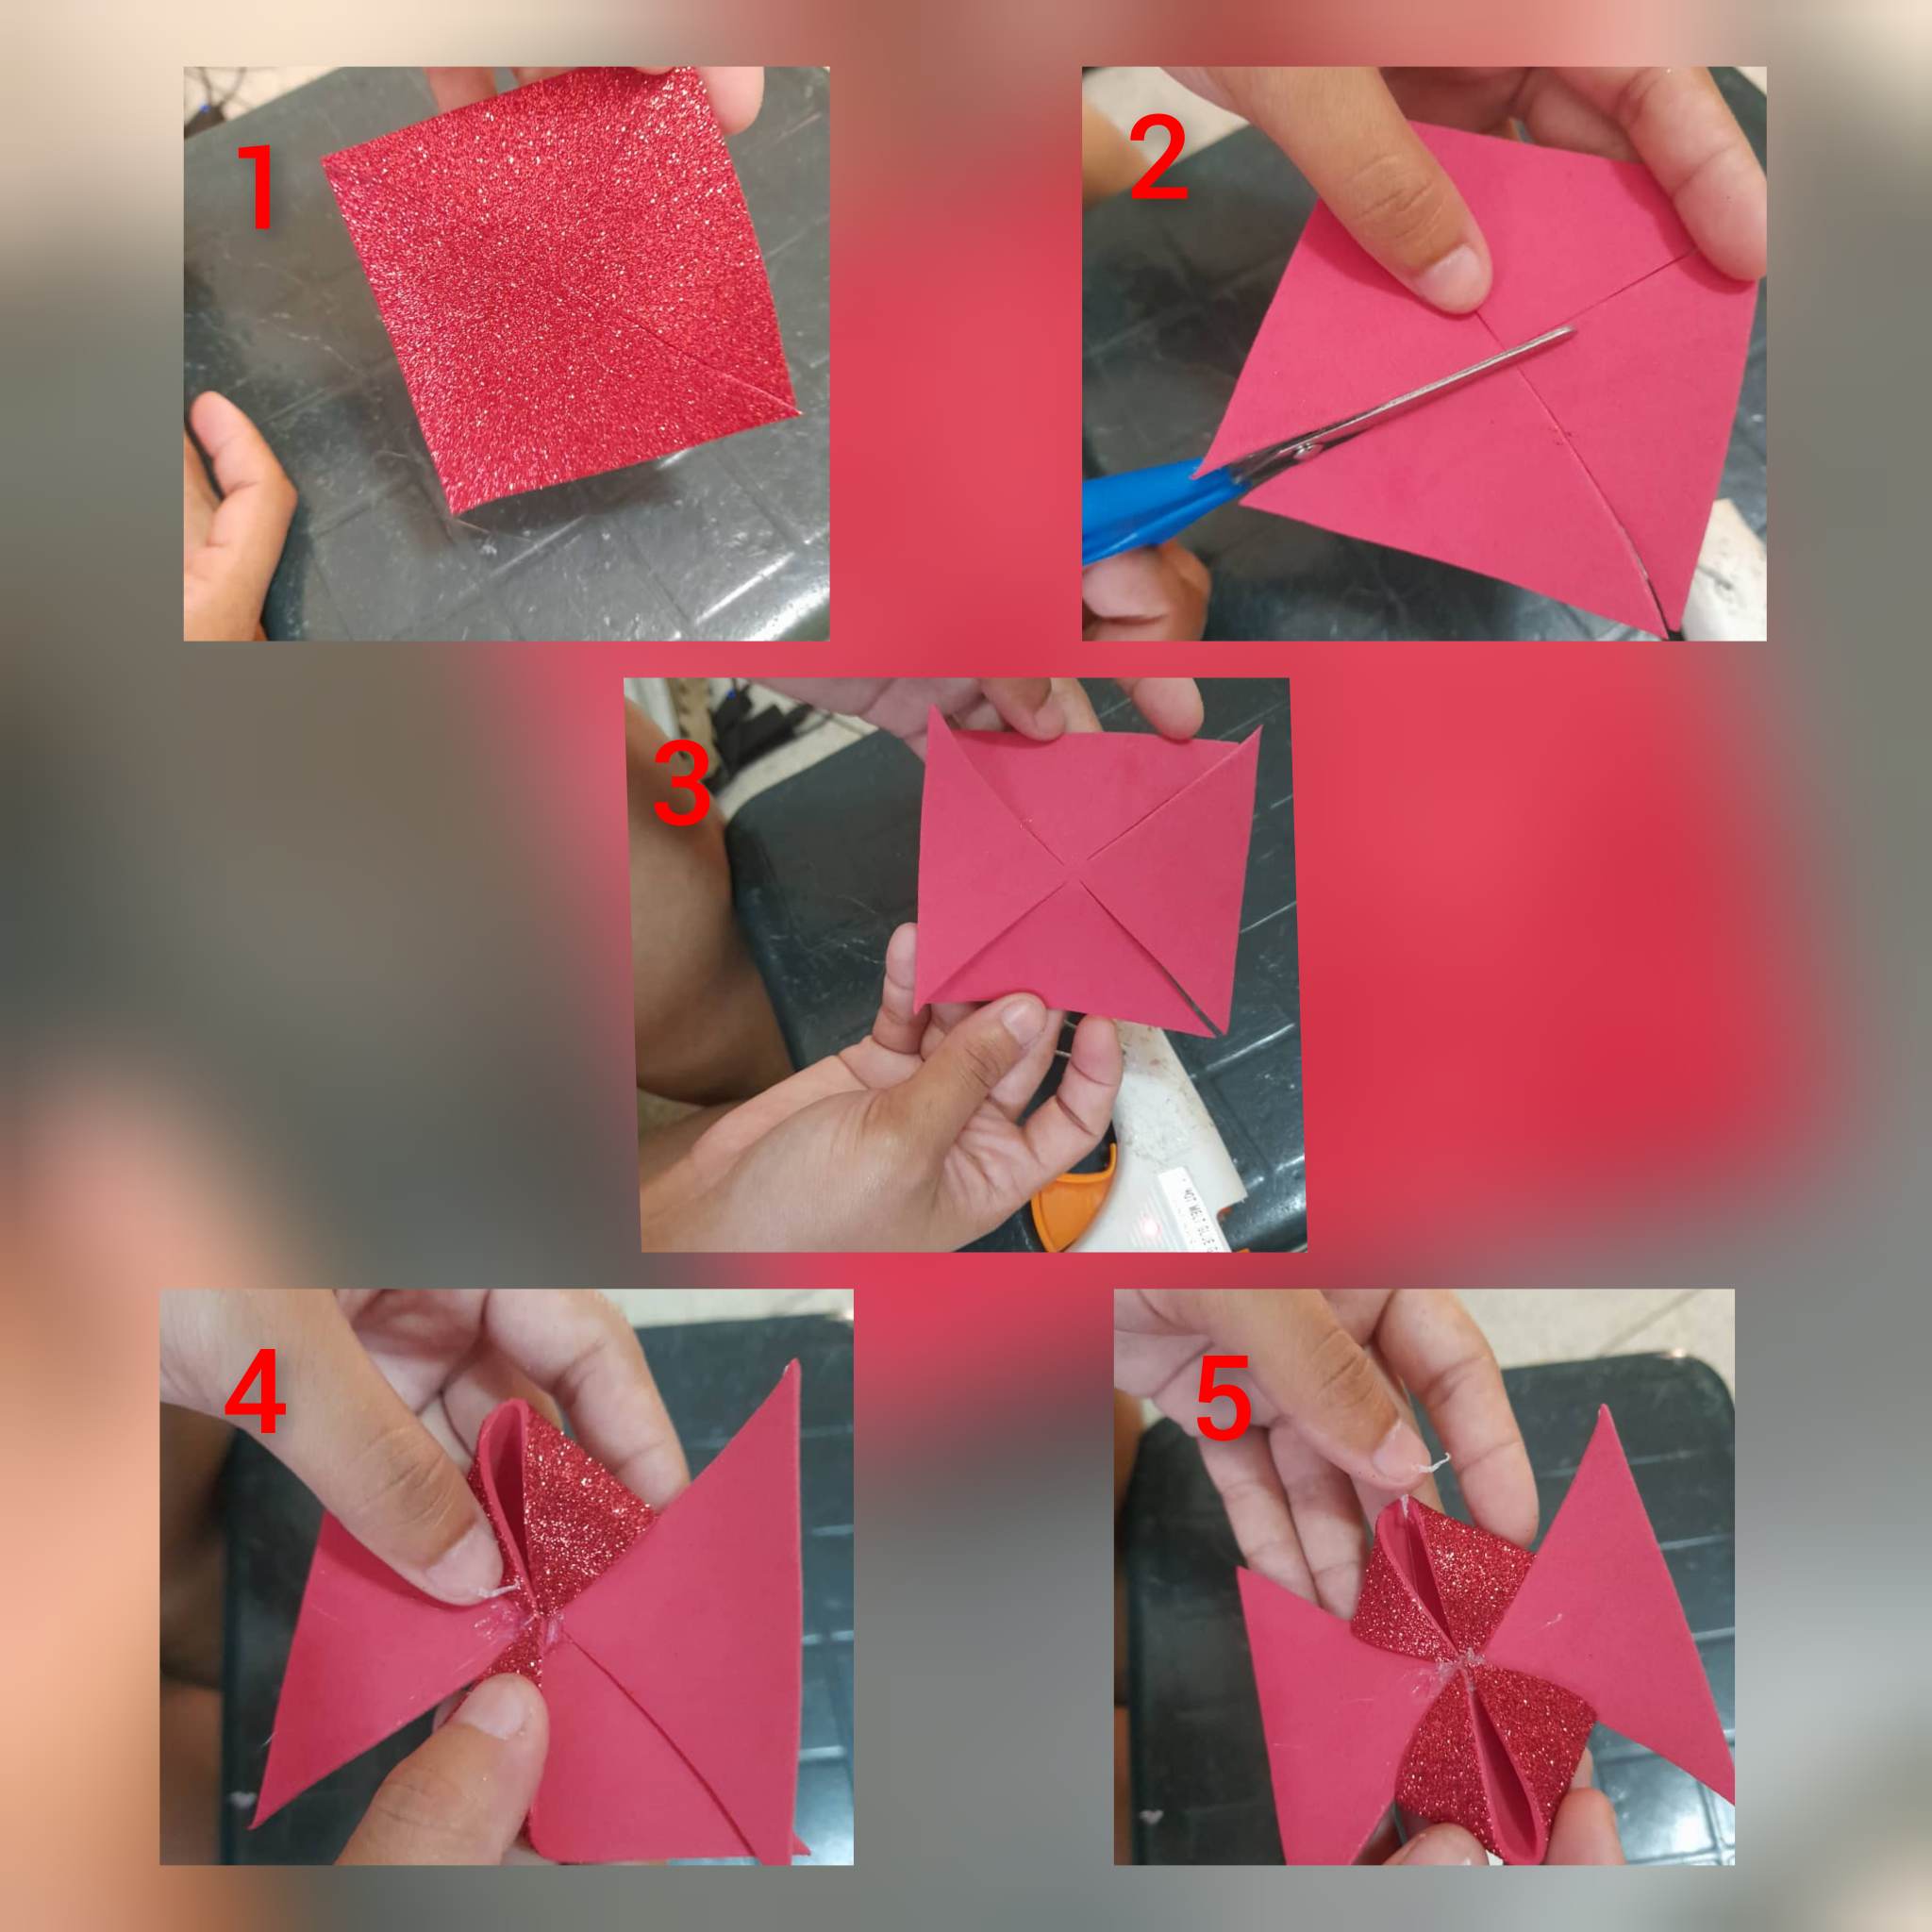
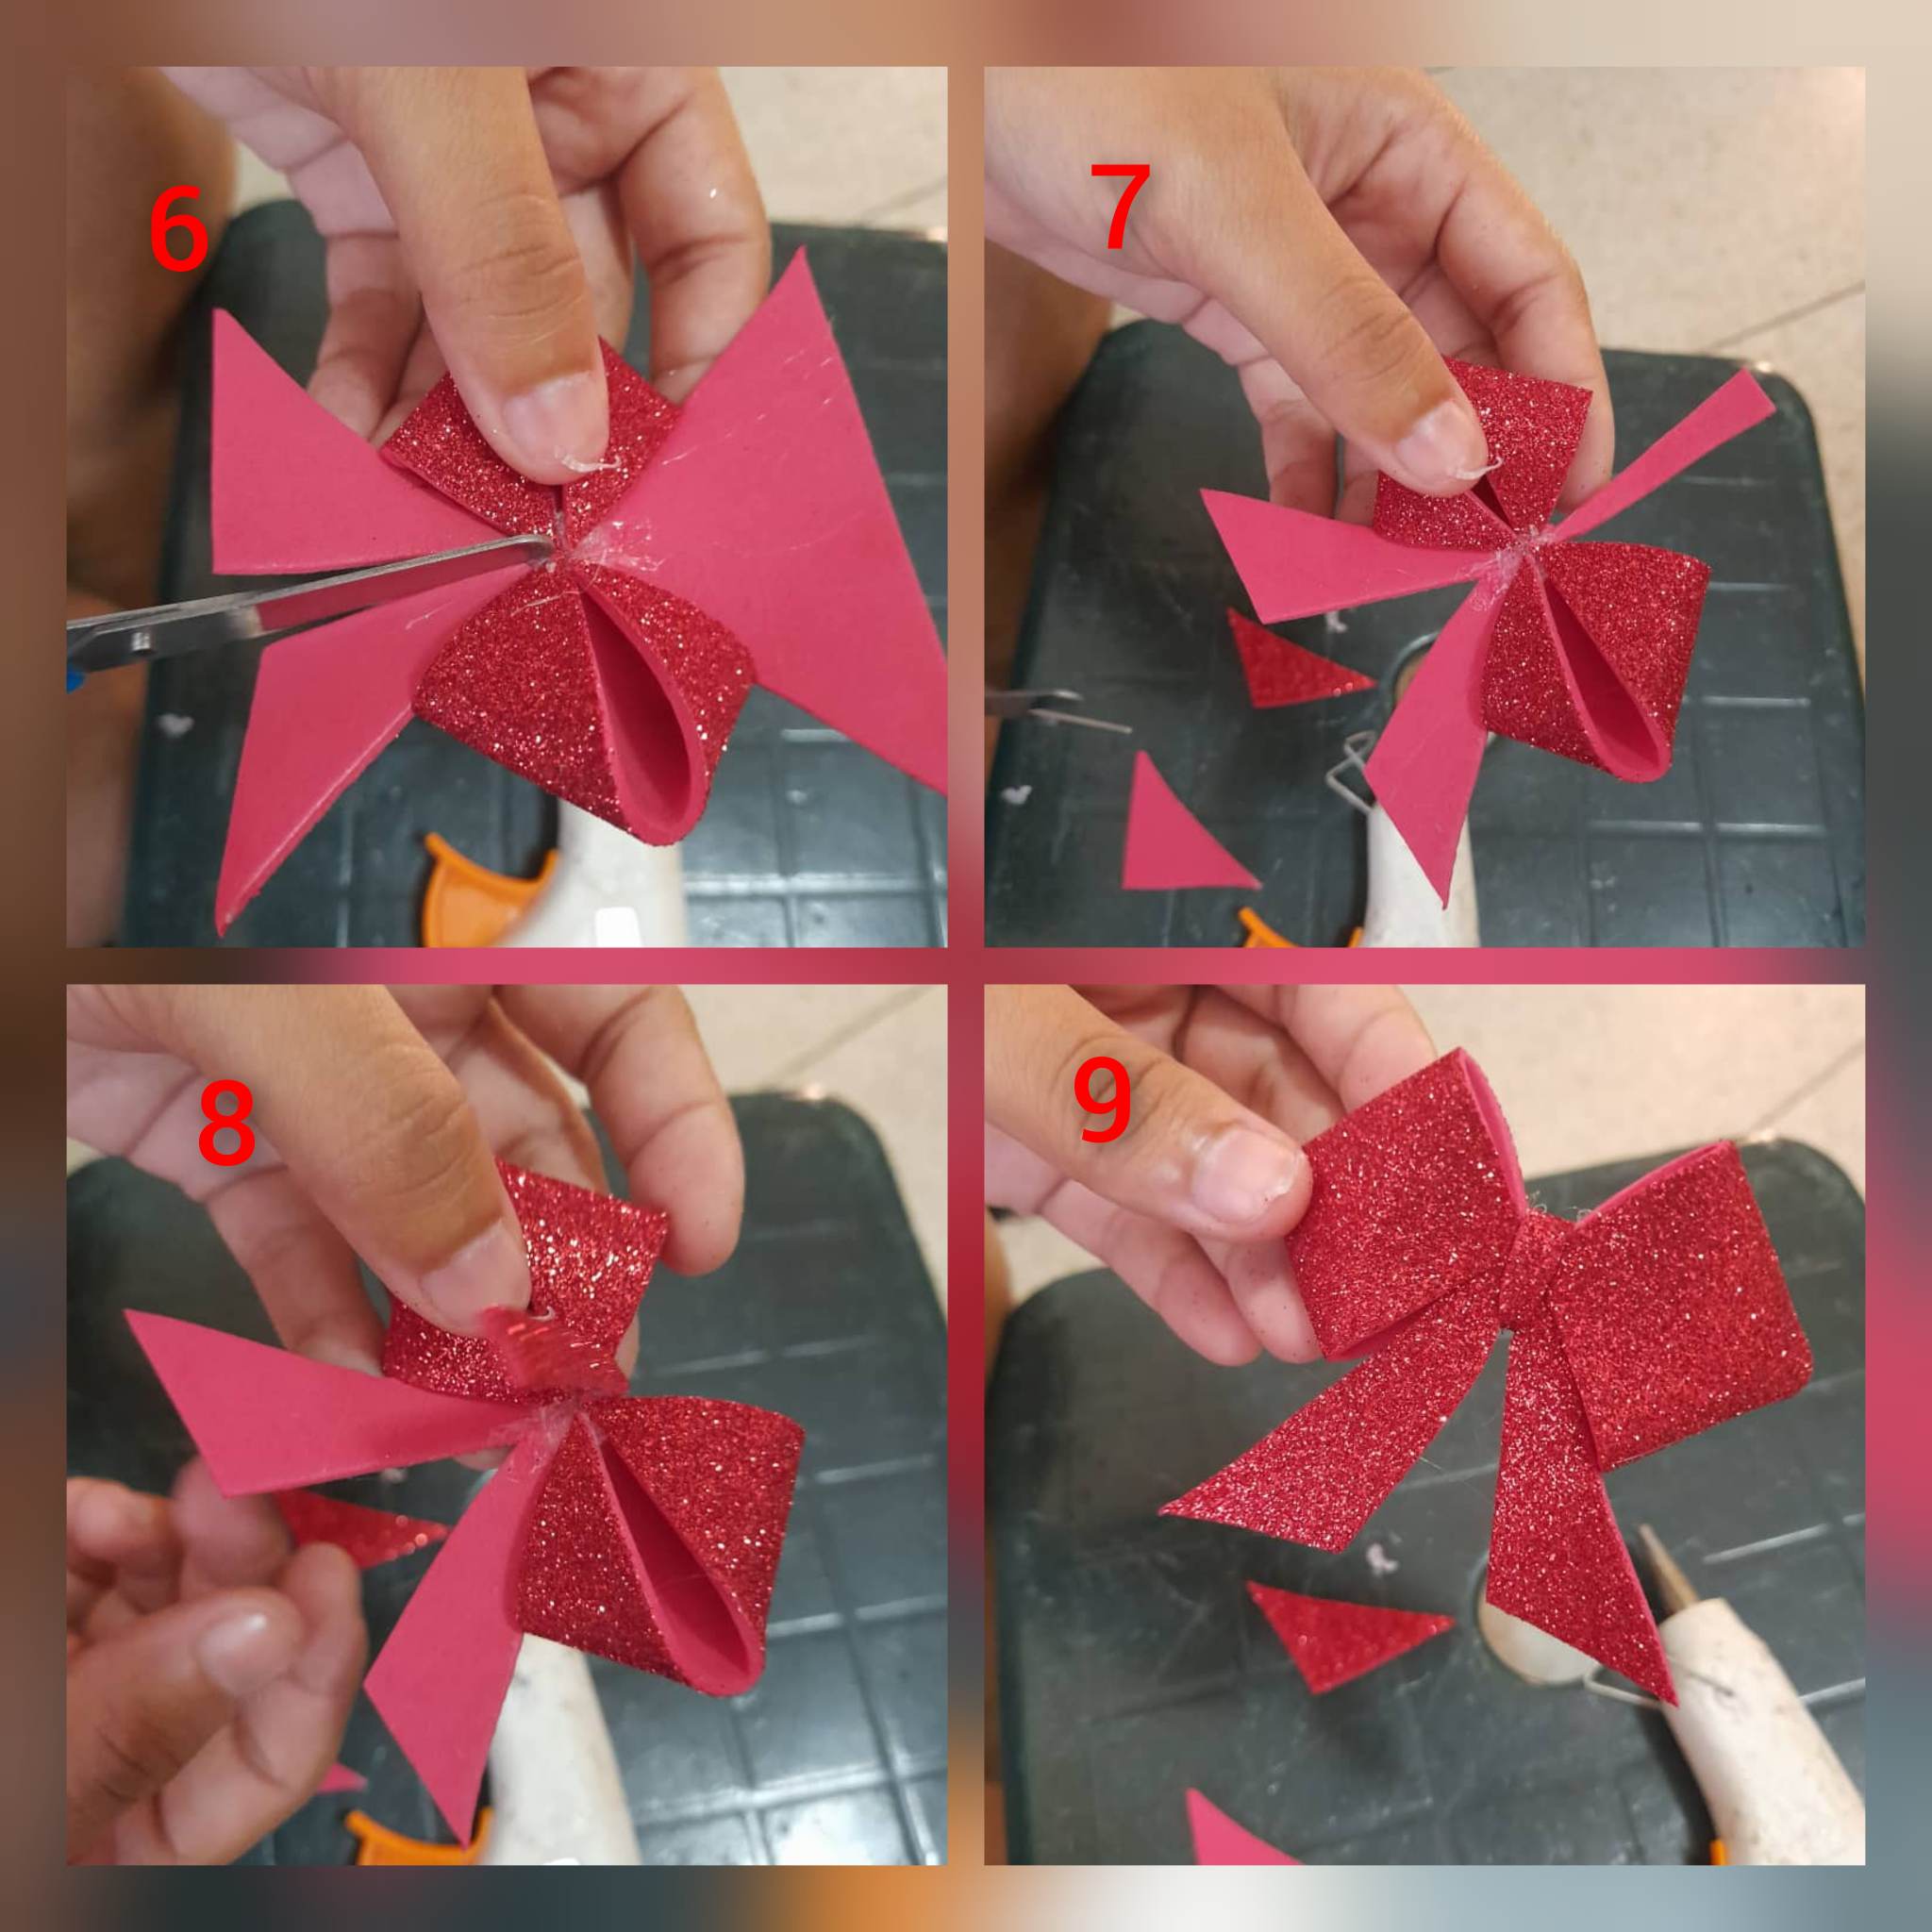
Paso 10
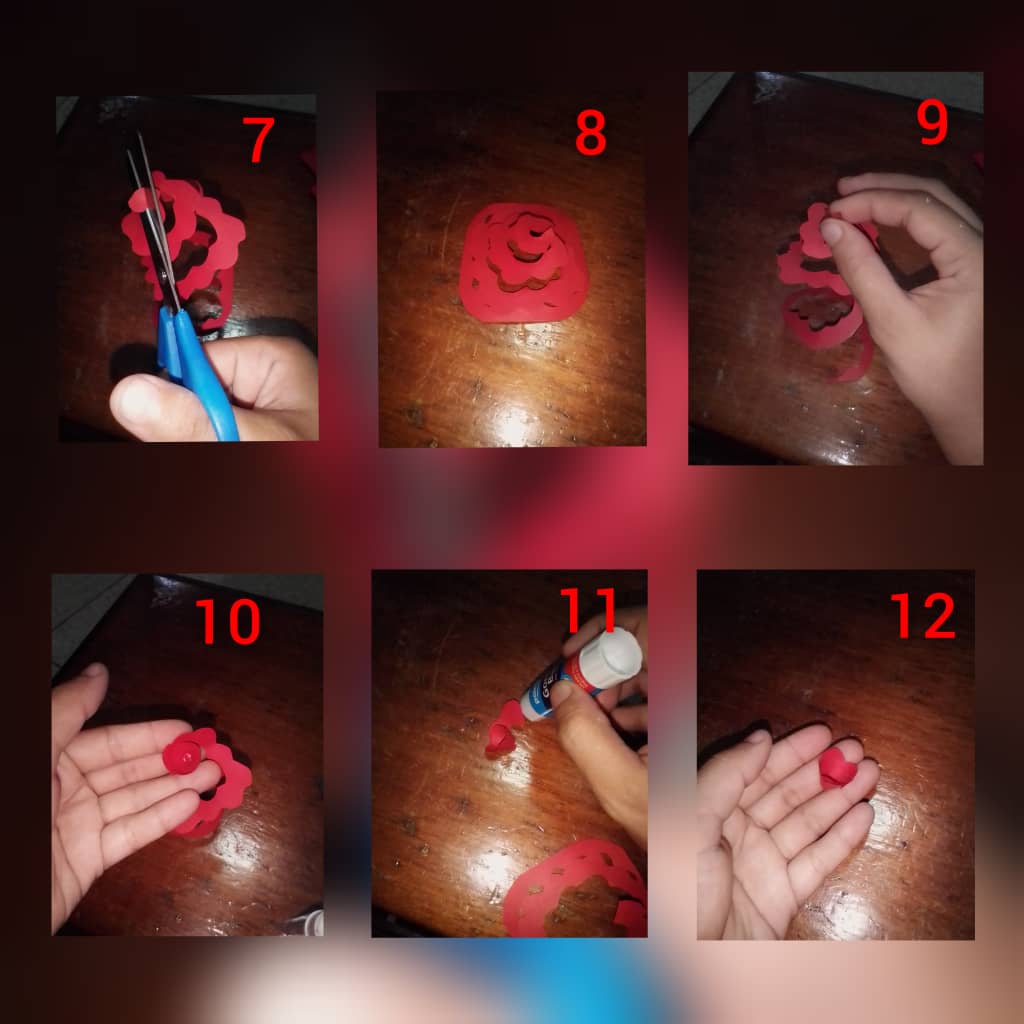
Paso 11
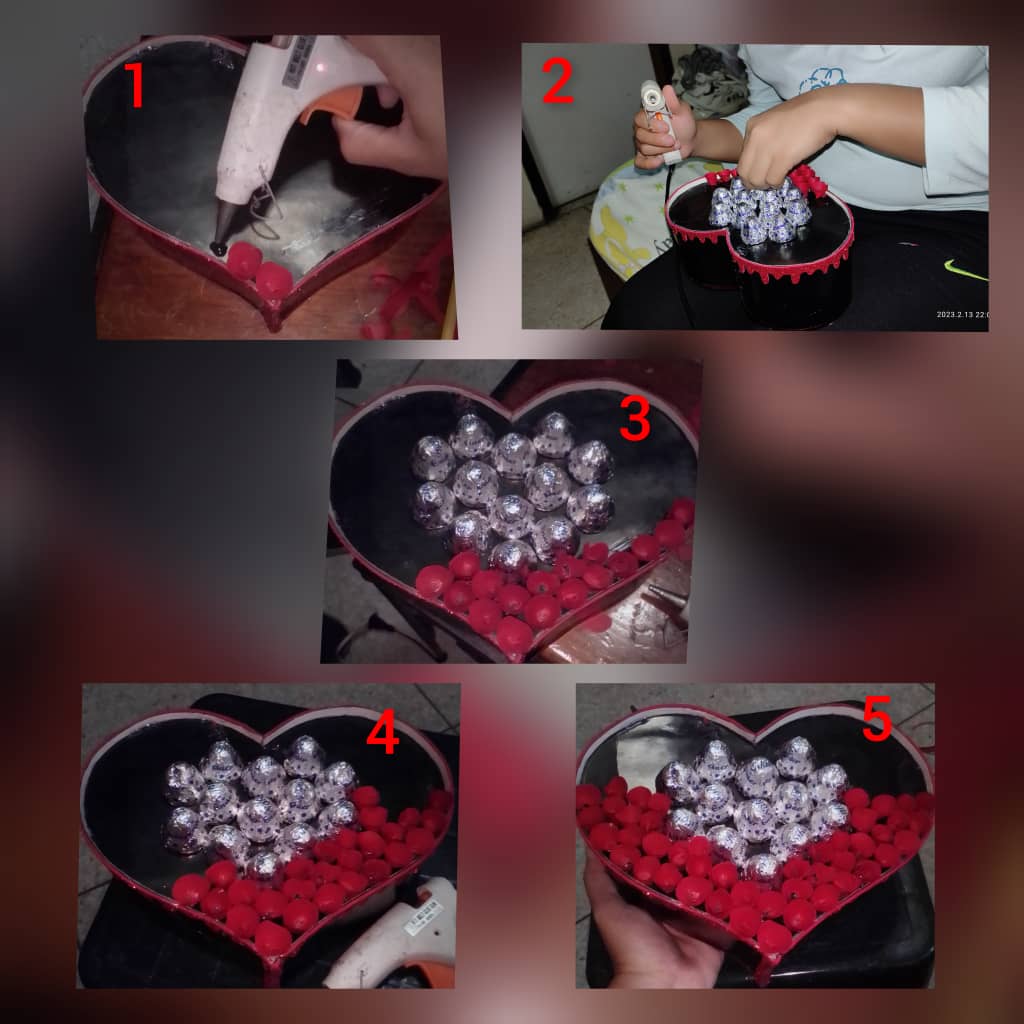
Ya finalizado estos pasos, este será el resultado de mi presentación.
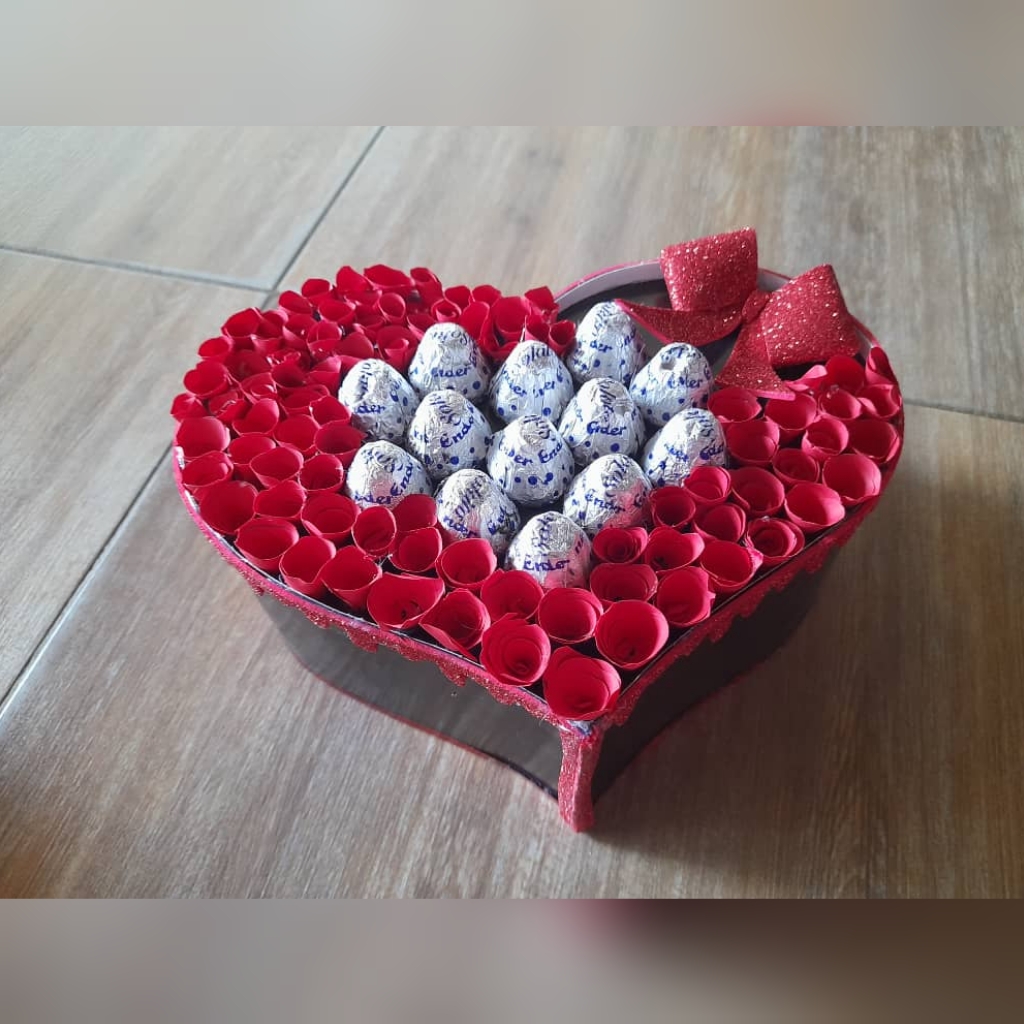
The materials needed to start making this simple heart are the following:

Step 1


Step 2

Step 3

Step 4


Step 5

Step 6


Step 7

Step 8


Step 9


Step 10


Step 11

After completing these steps, this will be the result of my presentation.

Espero le haya gustado post, Gracias por pasar y recuerda no dudes en dejar tu comentario.
I hope you liked the post, thanks for stopping by and remember to leave your comment.

Discord Server.This post has been manually curated by @steemflow from Indiaunited community. Join us on our
Do you know that you can earn a passive income by delegating to @indiaunited. We share more than 100 % of the curation rewards with the delegators in the form of IUC tokens. HP delegators and IUC token holders also get upto 20% additional vote weight.
Here are some handy links for delegations: 100HP, 250HP, 500HP, 1000HP.
100% of the rewards from this comment goes to the curator for their manual curation efforts. Please encourage the curator @steemflow by upvoting this comment and support the community by voting the posts made by @indiaunited.
Enormemente Agradecida por su apoyo. Grácias! 🤗✨
Hermoso regalo de amorrrrr, relleno de cositas ricas. Ay! que bello te ha quedado tu proyecto! Gracias por participar en el concurso. Todo pasito a pasito se ve hecho con mucho pero mucho amor.
Muchas Gracias @equipodelta, Felizmente contenta de que le haya gustado, es un lindo y delicioso detalle 😍 para regalar, sin duda alguna. Saludos y nuevamente Gracias bpor su comentario 🤗🌈😊⭐
Wow esto si que debe llevar un monton de trabajo y tiempo, mis felicitaciones!
Jajajajaja si, pero mientras las cosas se hacen con amor no importa el tiempo solo que el trabajo sea un excelente logro y más para alguien especial. Muchísimas Gracias, Agradecida por su tiempo y comentario. 😊✨💫😌