Hello Hivers, how's your day? Another day, another strive, another hive. It's mac once again, welcomes you to my new blog.
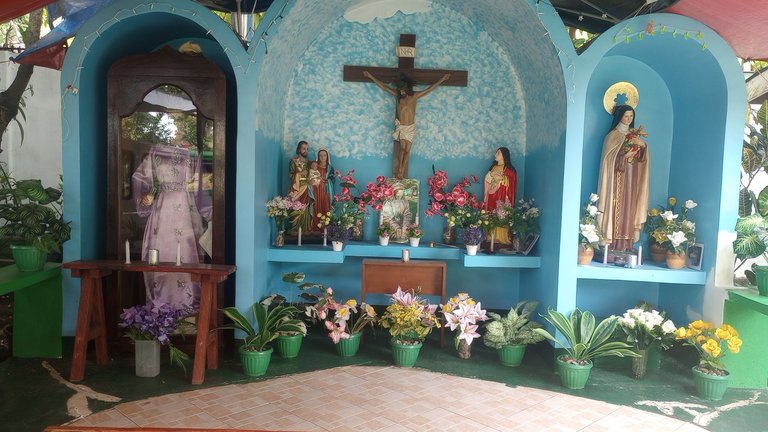
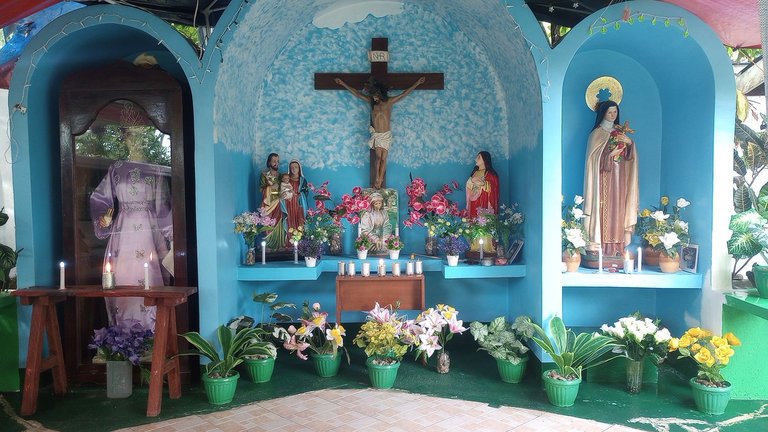
I'm just facing the altar, saying a silent prayer and looking for something on the surface that needs to be cleaned. It's been a while since the image of the saints and the crucifix were wiped. The dust is almost visible by my naked eyes. So I wiped it a little bit just to remove the topmost dirt. I also see the flowers were unorganized.
So I decided to rearrange it accordingly to be favorable with my sight🤣. It's also about two months since the battery of the candles were changed. The lights are out and it's dark at night. So, I look for some battery in the cabinet inside the house and change it with new ones. Thanks God, there's still one remaining pack with 20 pieces inside.
We used to pray the rosary here every 3:00 in the afternoon since the chapel has been built and blessed. Our patron saints were St. Mary Magdalene and St Therese of Lisieux. This coming July 22, were going to celebrate the feast day of St. Mary Magdalene.
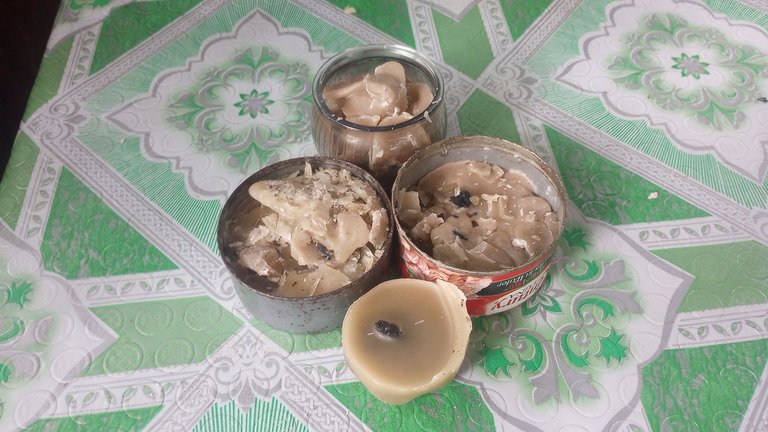
I noticed that my DIY Candles were almost out. So, I decided to make more and share with you through this blog. First of all, I collected all the molten wax. It's not yet a waste for my creative mind 😂...
7 STEPS ON HOW TO MAKE A CANDLE.
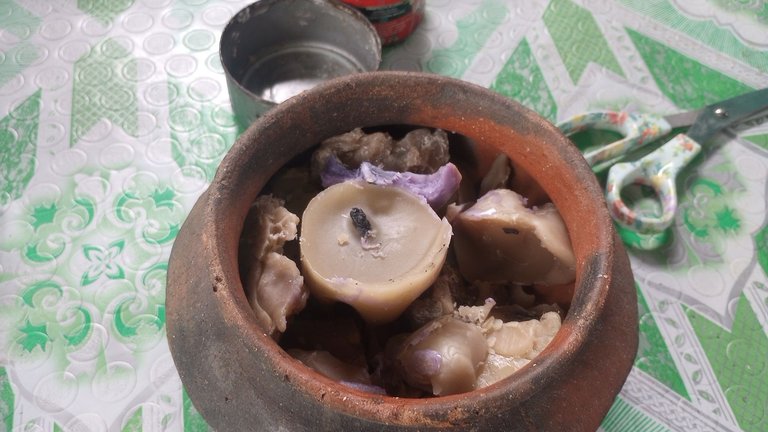
1. Collect an exact amount of molten wax.
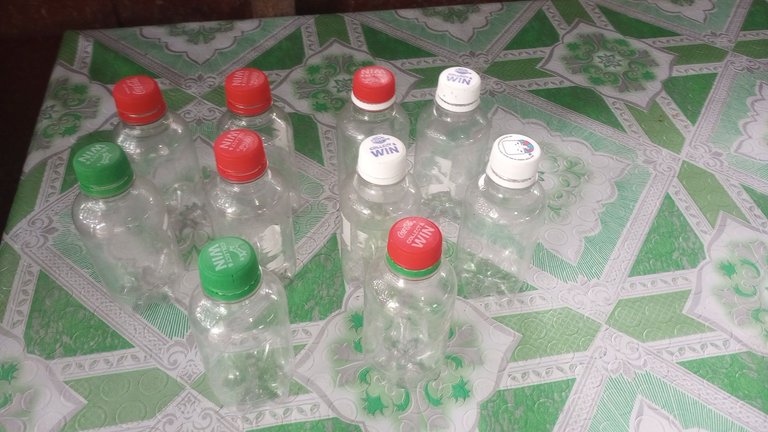
Next, I went to the back where we stored the plastic bottles. I'm looking for an empty one. As usual, I chose to use the smallest. Empty bottles of coke, sprite and royal swakto pack are perfect for my DIY hack😜😂😝.
2. Look for empty plastic bottles to and cut them according to the length of candle you want to make and put a hole at the bottom center.
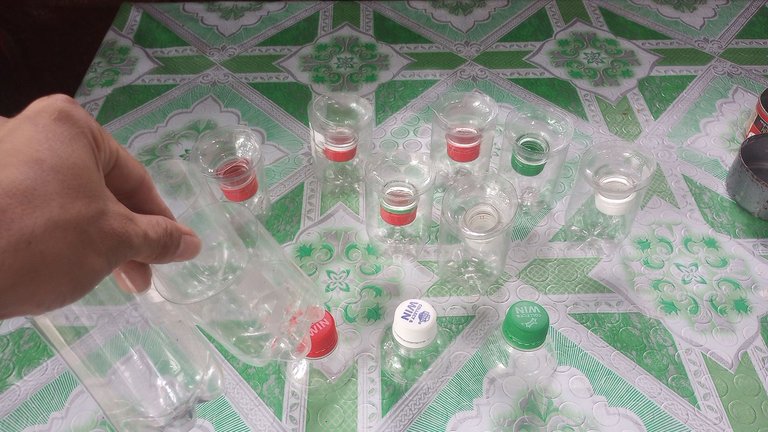
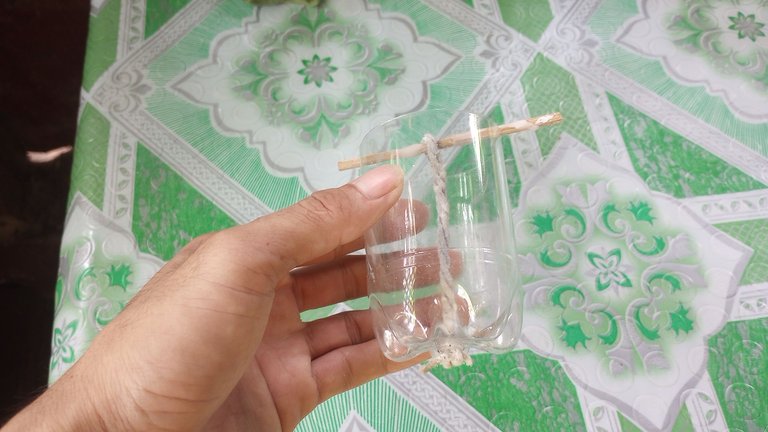
Then, I heated two and a half inches nails to put a hole at the bottom center of that cup. I need it to tie a knot for the wick and secure its center position.
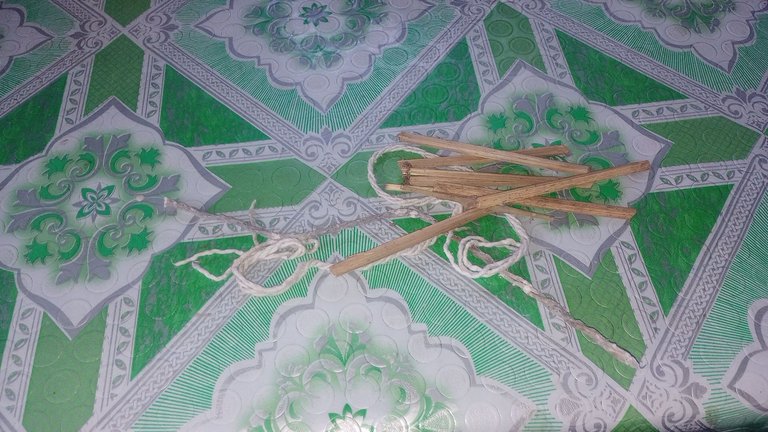
By the way, the choice of wick is a strict one. We need a string that is soft, cottony and not rubberized for a smooth burn. As for me, I suggest using a string from the mop😂🤣😅. Since our candle is large enough, we are going to use three strands. I also prepared one short stick per cup. I need it to securely fix the string at the center from the bottom to the top.
3. Prepare a string and a stick and place the wick
Before we start heating the wax, we'll prepare a pail or anything flat. Fill in enough water to cool the wax inside the cup.
Now that we're all set, let's start the fire. Look for an unused cooking pot to melt the wax.
4. Start the fire to melt the wax.
When it boils, take it out from the fire and set it to cool for a moment(we let it boil so that the dirt and other unwanted substances will settle down to the bottom of the pot). This time, you can add a food coloring or a scent if you want. Don't pour it directly into the molder cup if it's too hot because it could melt and deform the plastic cup... Believe me, a molten wax is hotter than a boiling cocoa chocolate coffee. It can easily melt even a styrofoam cup. To test its temperature, use your finger to dip into the pot. If you think that the wax is not so hot, you can pour it into your prepared molder cup. It must have a string readily attached from the bottom with a stick on top.
5. Pour it slowly and dip into the water where it sets until it solidifies.
Repeat the process until all the wax is used up. Always check the wick if it still sets at the center before the wax solidifies.
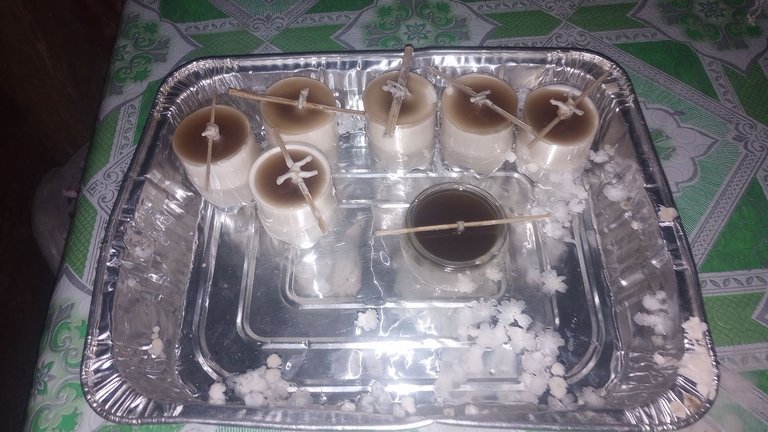
The next morning, here's the finished product. We've made 6 DIY Candles. Now it's ready for the final touch.
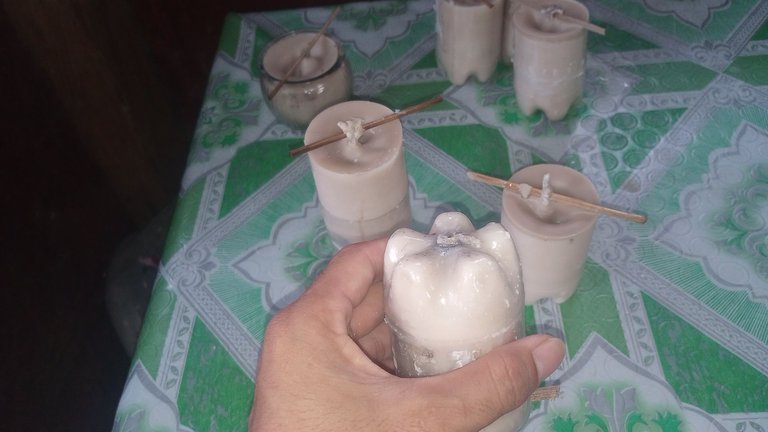
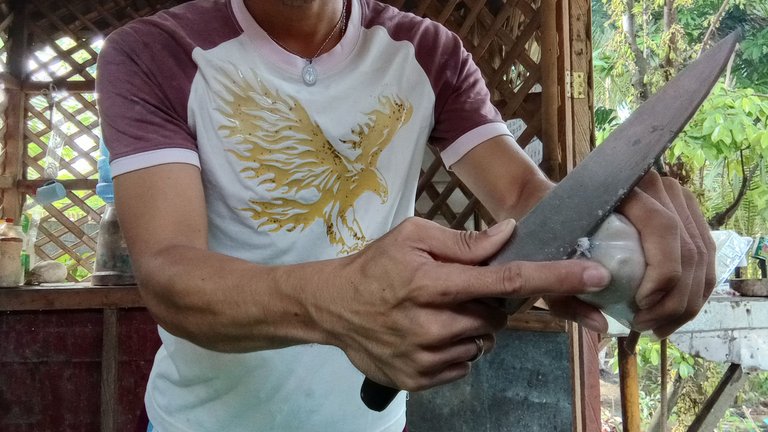
6. Take it out from the molder as shown below.
First, cut the knot at the bottom with a knife. Then, hold the wick and slowly pull the wax out of the molder/cup. If it's hard, we can just tear the plastic cup.
As much as possible, don't tear all the cups so we can reuse them.
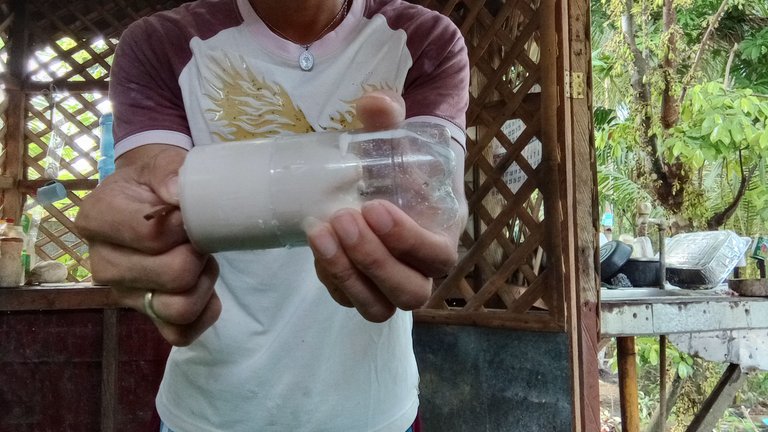
Here's all the candles without the cup. I've torn 2 cups since it's hard to pull out.
Now, we need to finish this up.
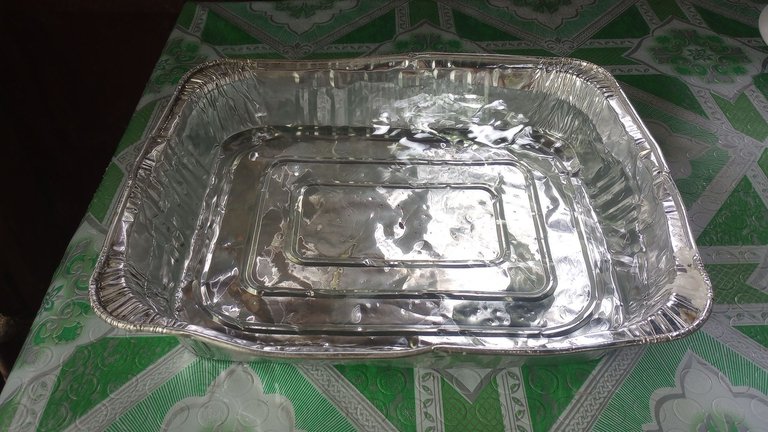
7. Wrap it with a tin foil.
Another hack to economize the wax. We're gonna use a tin foil to wrap the candle. In this way, the molten wax won't just flow freely as a waste, instead, it stays in position and keeps fueling the wick or hardens when it's off until everything burns out.
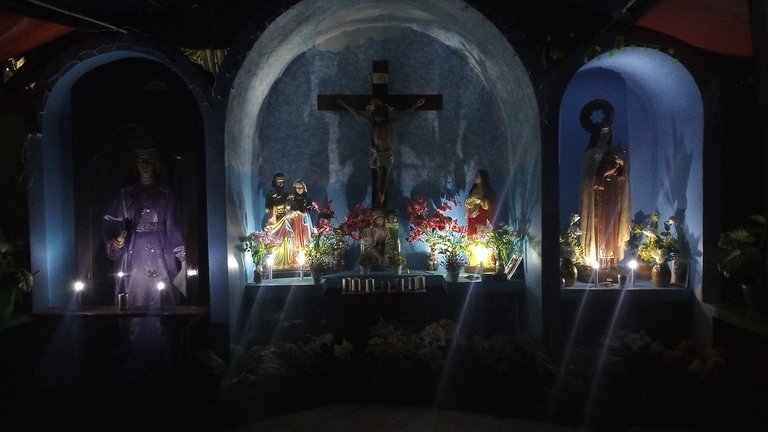
Here's How it looks like during the night. Battery operated candles produced a bright light.
I think That's all for this blog😊 thanks for reading. I hope this can help you one day😉
Adios! For now🤗🤗🤗
This is cool! I knew that melted candle wax could be reused, but I never had the chance to try the process myself. I had fun reading your blog, and it must be a fulfilling feeling to reuse old candles and save money in the process
Thanks for reading my blog. You should try this some time. It's really fulfilling ☺️😊
I will, hihi. I might share my experience here on Hive as well. :))
That's promising. Looking forward to that. See you around sir @cli4d
Congratulations @macben! You have completed the following achievement on the Hive blockchain And have been rewarded with New badge(s)
Your next target is to reach 2500 upvotes.
Your next target is to reach 200 replies.
You can view your badges on your board and compare yourself to others in the Ranking
If you no longer want to receive notifications, reply to this comment with the word
STOPYour blog Sir @macben reminded me of my grandmother who is very good in making candles. When it is almost fiesta in our sitio or neighboring barangay and sitio, she always make candles to sell
Wow 😲 salute to a grandma like her mam @diamondinthesky . She's expert for sure. Commercial candles are not easy to make. It needs patience. Thanks for dropping by 😊.
Qué genial manera de poder recuperar las velas y a la vez muy útil, no ahorraríamos un poco entre tantas compras y a su vez le sacaríamos el máximo provecho, excelente idea
Escrito por lionsaturbix / Written by lionsaturbix
¡¡¡Buen trabajo!!! Gracias por publicar tu excelente contenido en Hive Diy.
Thanks for the notice😊 I'm always happy to post contents like this in here☺️😊
Wow I have always been curious about how these candles are made. Thanks for sharing, brother.
Thanks a lot😊