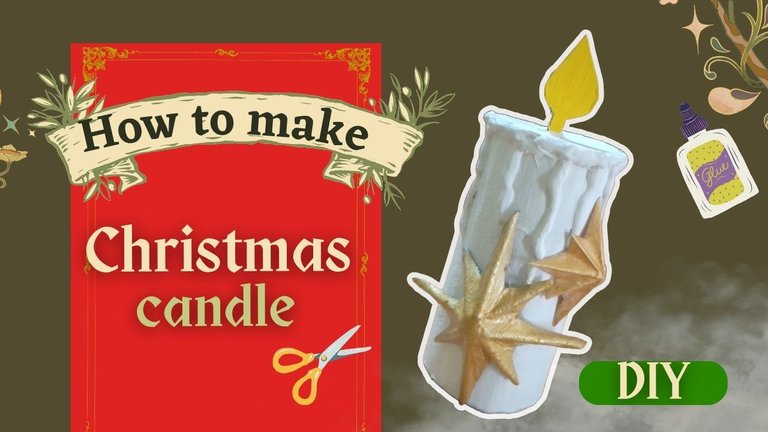
Portada diseñada por mi en el editor de Canva
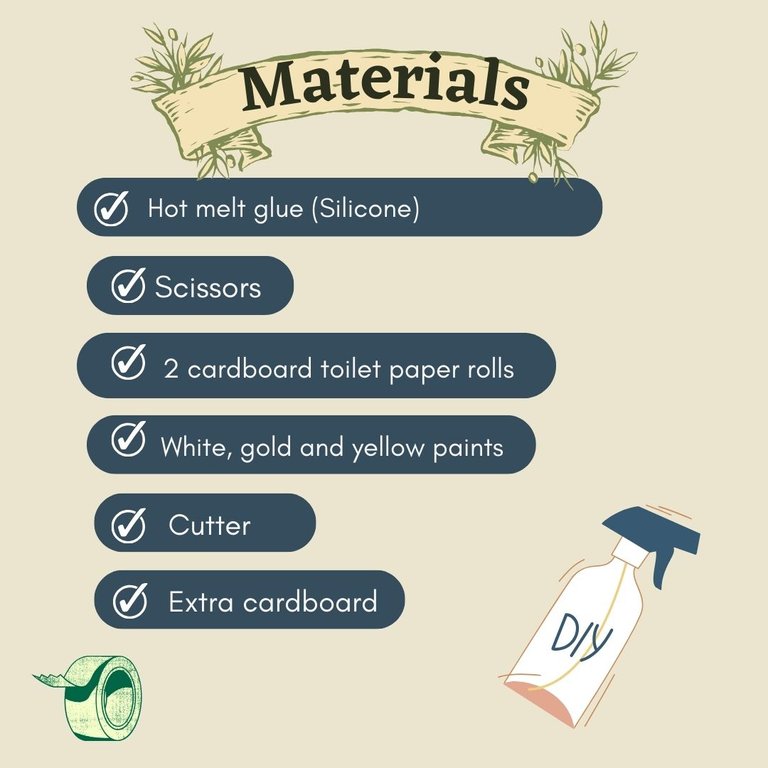
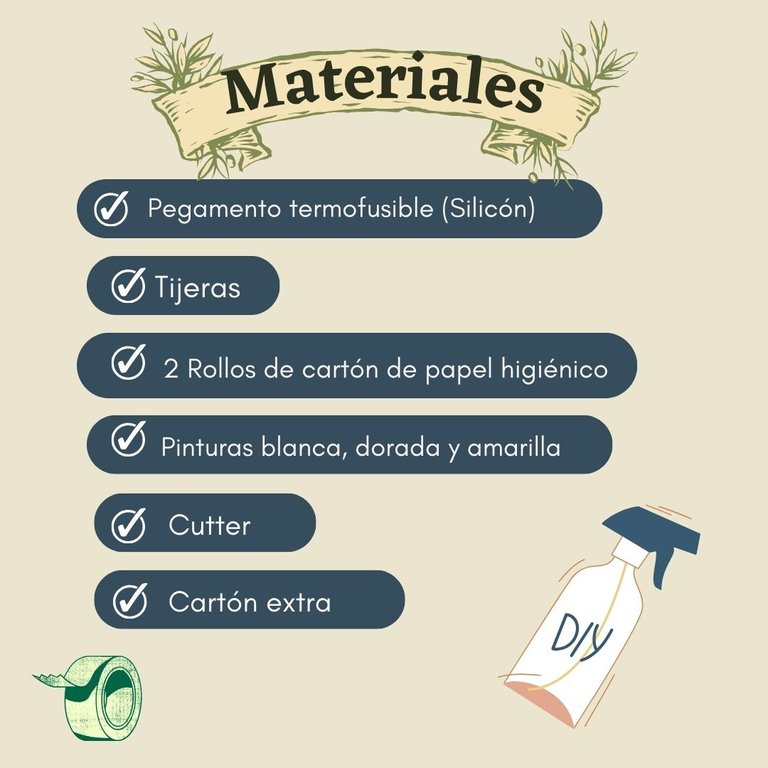
Hello friends, how are you? It's been a long time since I uploaded content in this community, but today I have come with a beautiful craft that will serve as Christmas decoration, it is very simple but best of all is that we will use some recycled materials, such as toilet paper tube, they are quite useful because of its structure, I hope you like it. Below is a list of the materials I used.
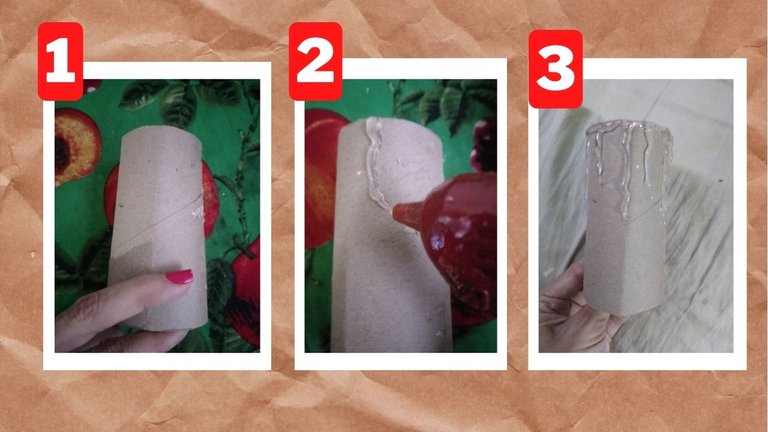
The first thing to do is quite simple, take the toilet paper tube paper and apply lines of hot melt glue along the length as shown in picture 2 and also apply on the top edge, at the end it should look like in picture 3.
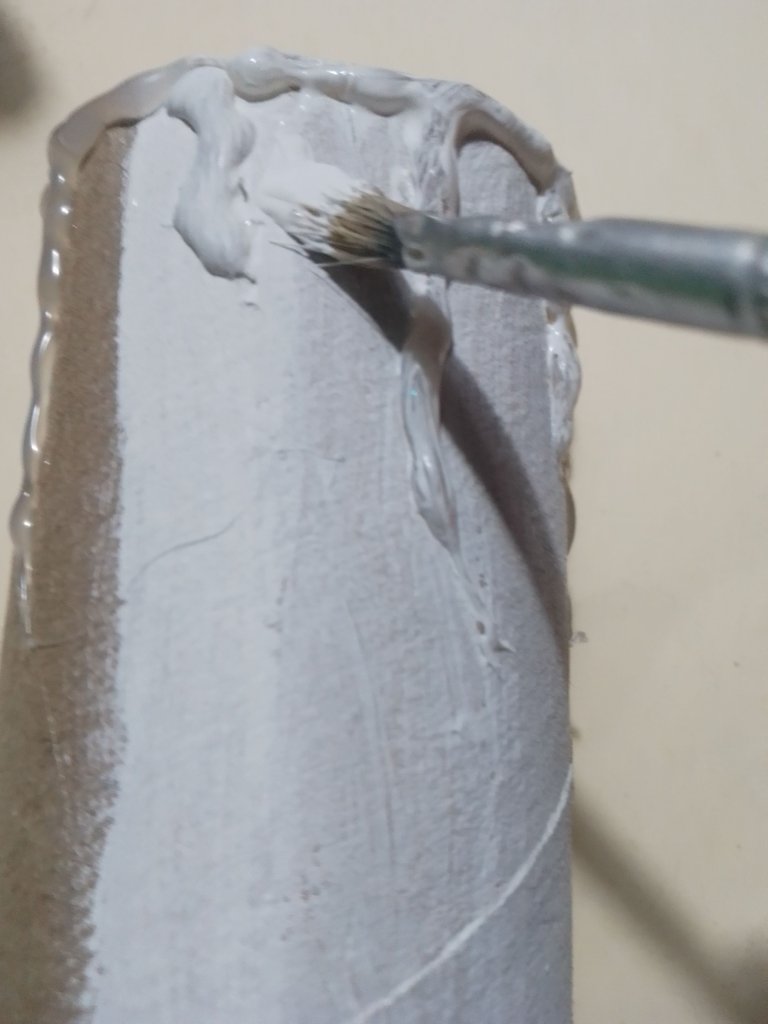
Then apply plenty of white paint as shown in the picture, even covering the hot-melt glue we applied earlier.
To make the top of the candle (which is where the flame will be) we will use more cardboard but of a different type, one that has a smoother and softer texture, in this case I used a toothpaste box. Draw a circle on it using the toilet paper tube as a reference and then cut it out.
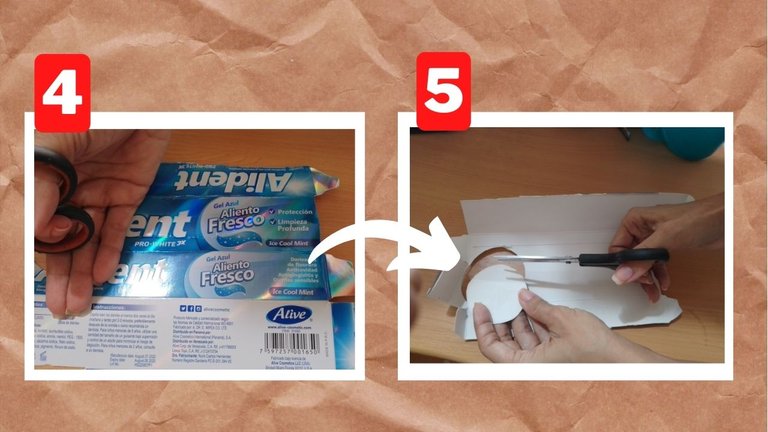
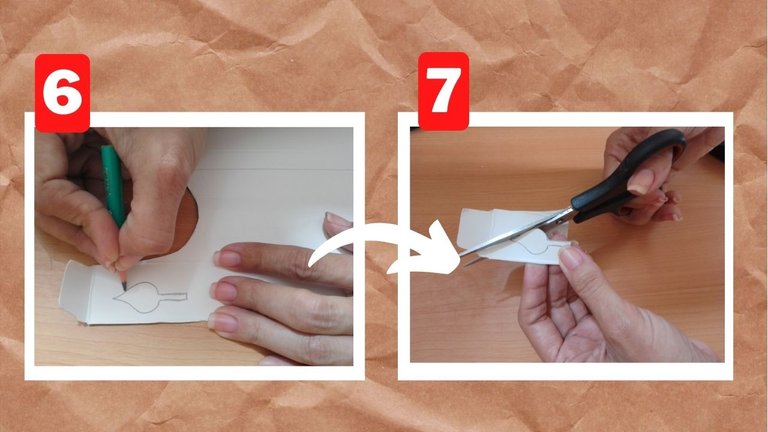
To make the flame of the candle I used the same cardboard from the toothpaste box, drew the flame and then cut it out, as you can see in the pictures.
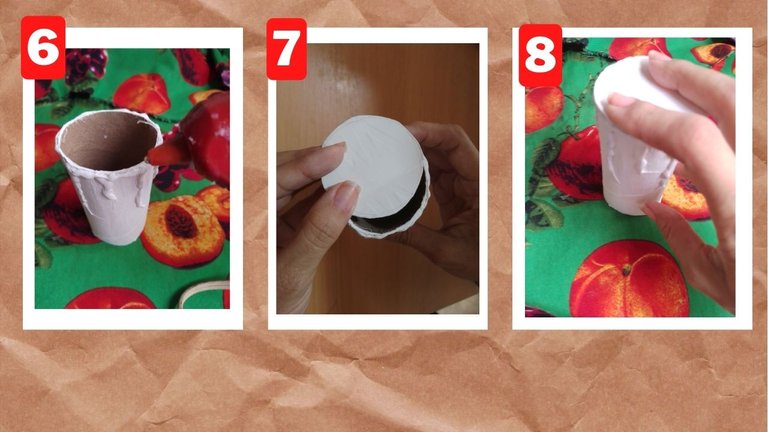
Then apply hot melt glue to the top edge and glue the circle you previously cut out, press a little with your fingers as shown in picture 8 to make sure it sticks well.
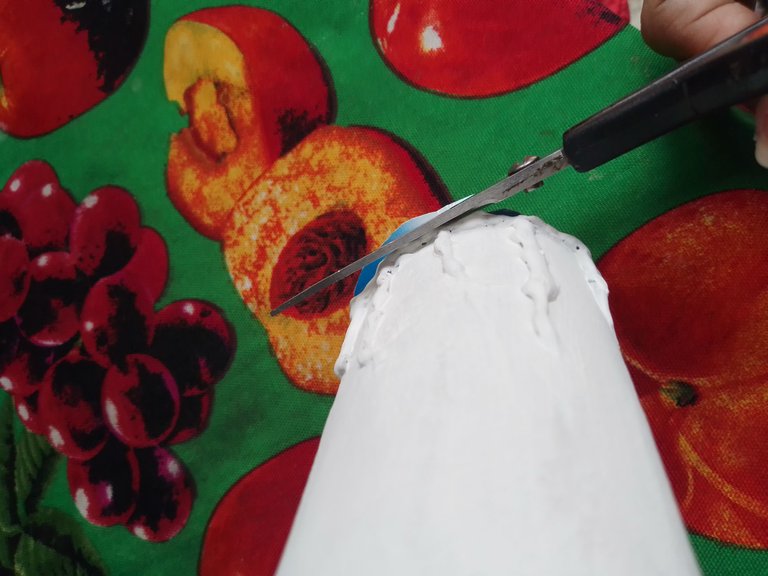
Now cut off the surplus.
Using a cutter, make a small incision at the top, embed the candle flame and secure it with a little glue.
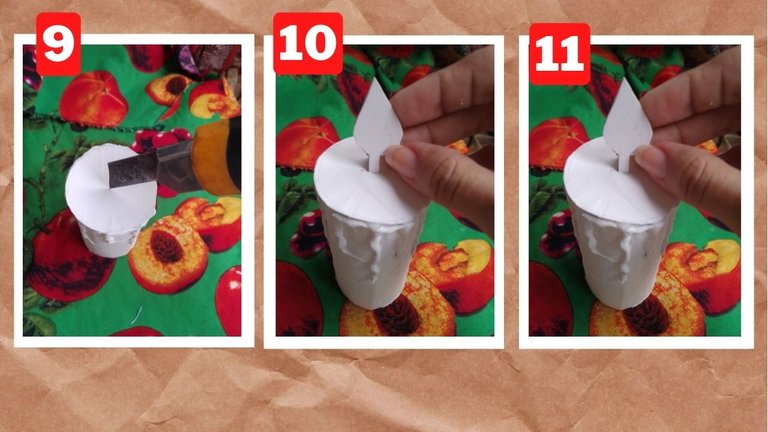
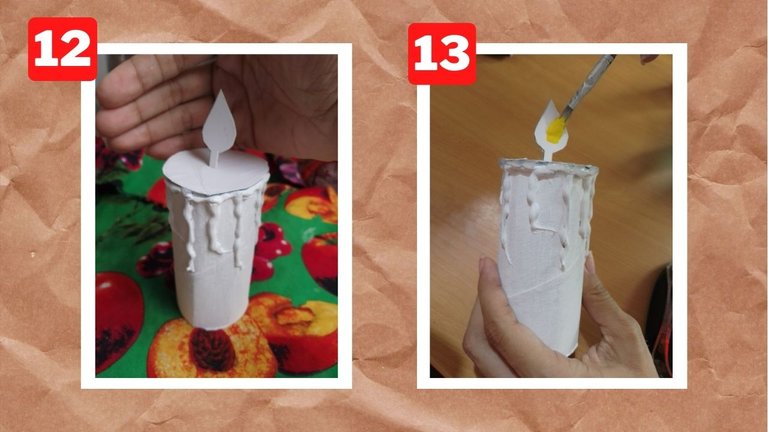
Now paint the flame yellow, you can even add some details of your choice, such as blue or orange tones.
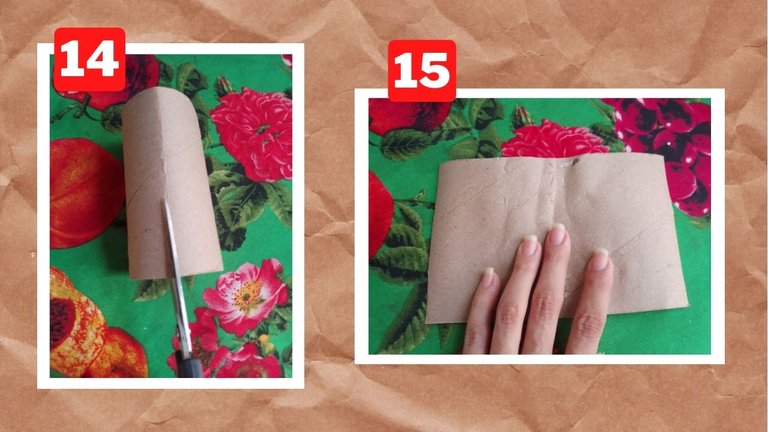
To make the stars that will decorate the candle, take another toilet paper tube, cut it in half as shown in picture 9 and unfold it as shown in picture 10.
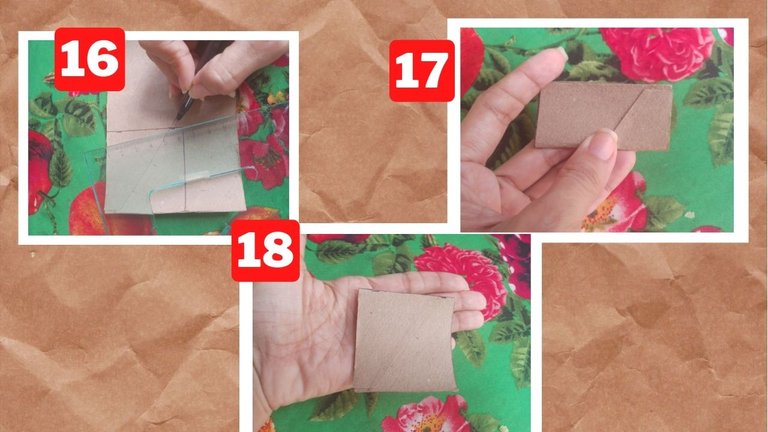
Then draw a square of 5cm x 5cm, you can use a ruler to get the exact measurements and then fold the square in half as in the picture 17.
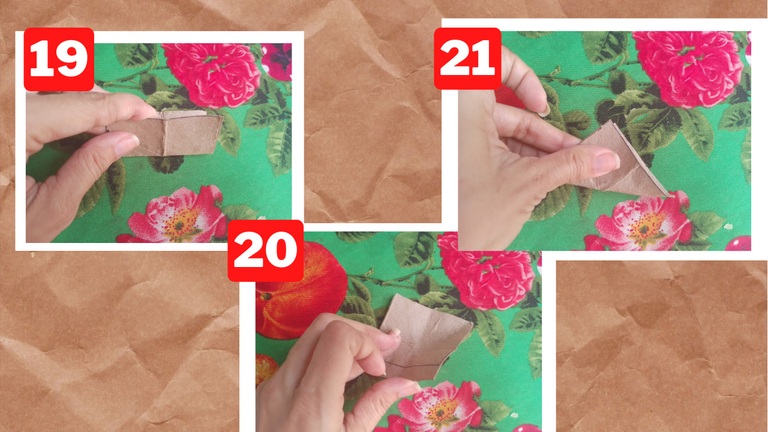
Then you have to fold the square on the other side as in picture 19 and finally you have to join the corners as shown in pictures 20 and 21.
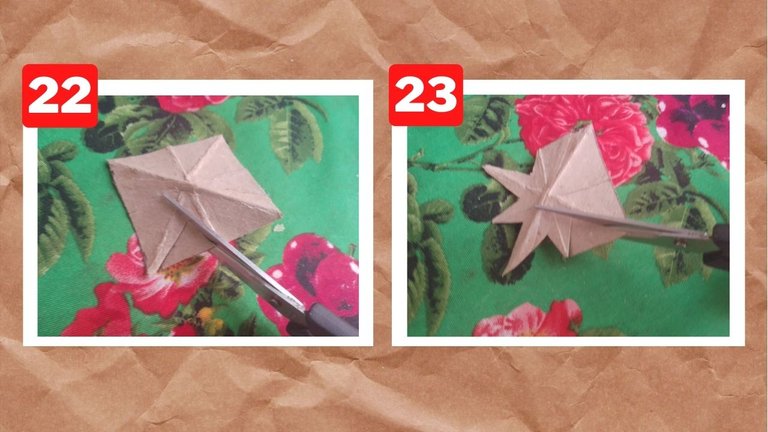
The idea is to leave some marked lines that we will use as a guide to cut out with the scissors to form a star as shown in the photographs.
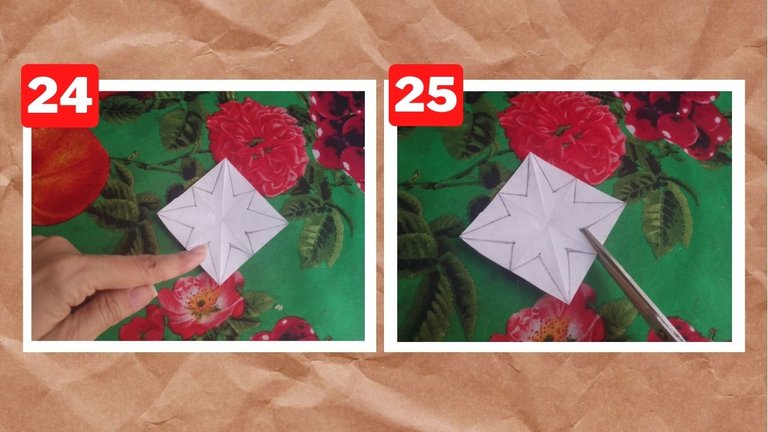
To give you an idea of the shape you should follow when cutting out, I drew the star on paper, this way it will be more noticeable.
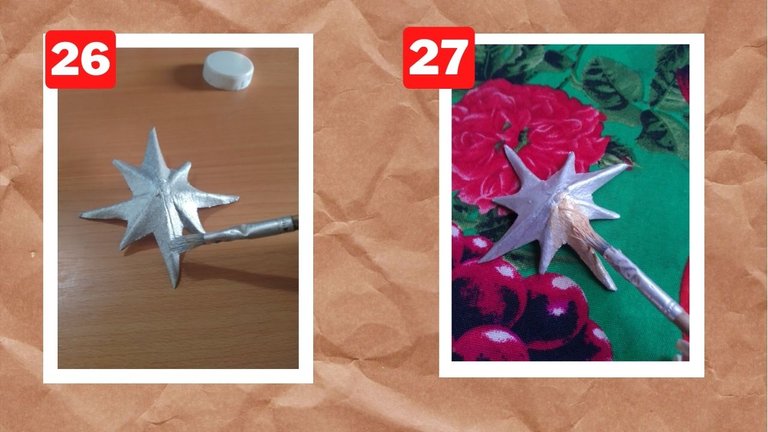
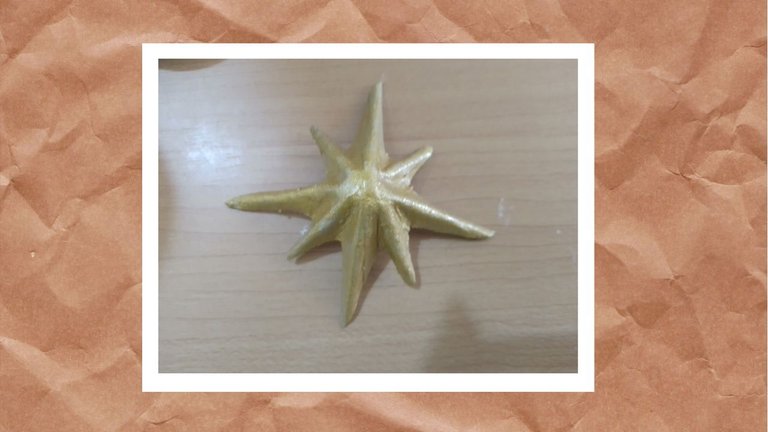
Afterwards I applied some silver paint but I didn't like the result, so I applied some gold paint and loved it.
This is the result of the star
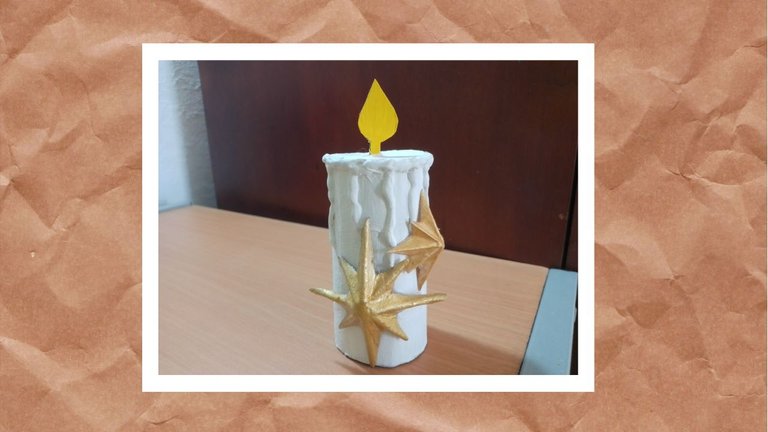
I then glued the star on top of the candle, and also added a smaller star because I think it looks prettier that way.
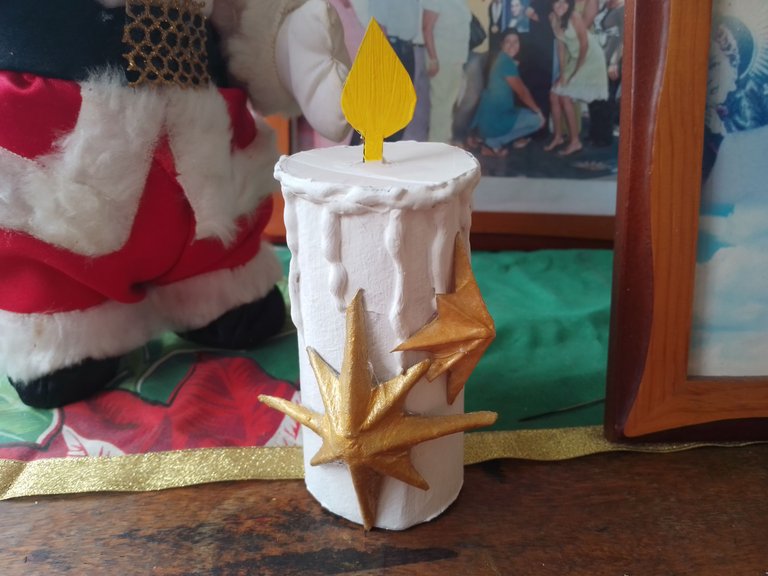
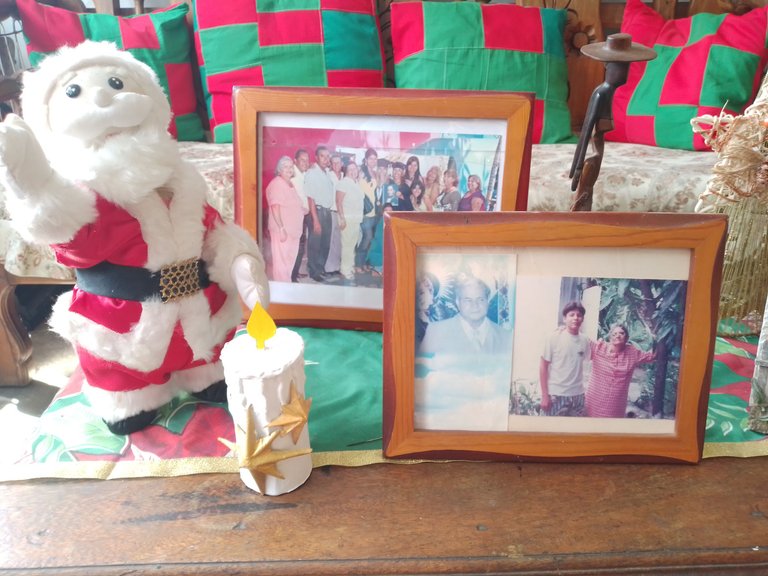
The result is beautiful, I put this candle next to the other Christmas decorations and it really looks beautiful.
Well friends, that's all for today, I hope you liked it, it's a beautiful decoration, easy to make and very cheap. Thank you very much for all your attention.

Imagen diseñada por mi en el editor de Canva.
All images in this post are my own, taken with a ZTE Blade A51.
Todas las imágenes de este post son de mi propiedad, las tomé con un teléfono celular ZTE Blade A51.

Hola amigos ¿Cómo están? Hace mucho tiempo que yo no subo contenido en esta comunidad, pero hoy he venido con un hermoso trabajo de manualidades que nos servirá como decoración de navidad, es muy sencillo pero lo mejor de todo es que utilizaremos algunos materiales reciclados, como rollos de cartón de papel higiénico, son bastante útiles debido a su estructura, espero que les guste. A continuación les dejaré una lista con los materiales que usé.
Lo primero que debemos hacer es bastante simple, debemos tomar el rollo de cartón de papel higiénico y aplicar líneas de pegamento termofusible a lo largo tal y como se muestra en la fotografía 2 y también debemos aplicar en el borde superior, al final se debería ver como en la fotografía 3

Posteriormente debes aplicar abundante pintura blanca tal y como se muestra en la fotografía, cubriendo incluso el pegamento termofusible que aplicamos anteriormente.

Para hace la parte superior de la vela (que es donde estará la llama) usaremos más cartón pero de otro tipo, uno que sea de textura más lisa y suave, en este caso yo usé una caja de pasta de dientes. Dibuja un círculo en el usando el tubo de papel sanitario como referencia y después recórtalo

Para hacer la llama de la vela usé el mismo cartón de la caja de pasta de dientes, dibujé la llama y luego la recorté, tal como pueden apreciar en las fotografías.

Luego aplica pegamento termofusible en el borde superior y pega el circulo que recortaste previamente, presiona un poco con los dedos como se muestra en la fotografía 8 para asegurarte de que quede bien pegado.

Ahora recorta el excedente

Usando un cutter haz una pequeña incisión en la parte superior, incrusta la llama de la vela y asegúralo con un poco de pegamento

Ahora pinta la llama de color amarillo, incluso puedes añadir algunos detalles de tu preferencia, como tonos azules o naranja.

Para hacer las estrellas que decorarán la vela toma otro tubo de papel higiénico, córtalo por la mitad como se muestra en la imagen 9 y despliégalo como se muestra en la imagen 10.

Posteriormente debes dibujar un cuadrado de 5 cm x 5cm, puedes usar una regla para que las medidas sean exactas y luego debes doblar el cuadrado por la mitad como en la fotografía 17.

Después debes doblar el cuadrado en el otro lado como en la fotografía 19 y finalmente debes unir las esquinas como se ve en las fotografías 20 y 21

La idea es que queden unas líneas marcadas que usaremos como guía para recortar con l tijera formando una estrella tal y como se muestra en las fotografías.

Para que tengan una idea de la forma que deben seguir al recortar dibujé la estrella en papel, de esta forma se notará más.

Posteriormente apliqué un poco de pintura plateada pero no me gustó el resultado, así que apliqué pintura dorada y me encantó

Este es el resultado de la estrella.

Después pegué la estrella encima de la vela, y también añadí una estrella más pequeña porque creo que así queda más bonito.

El resultado es hermoso, puse esta vela junto a las demás decoraciones de navidad y la verdad es que se ve hermosa.


Y bien amigos, esto ha sido todo por el día de hoy, espero que les haya gustado, es una hermosa decoración, fácil de hacer y muy barata. Muchas gracias por toda su atención.

Imagen diseñada por mi en el editor de Canva.
All images in this post are my own, taken with a ZTE Blade A51.
Todas las imágenes de este post son de mi propiedad, las tomé con un teléfono celular ZTE Blade A51.
Realmente te quedo muy linda, una buena decoración para nuestros espacios en esta navidad. Gracias por dejarnos tu proceso creativo @mairene1 ✨
!DIY
Muchísimas gracias de verdad, me alegra que te haya gustado. 😊
You can query your personal balance by
!DIYSTATSMe ha gustado mucho esta manualidad. Si fuese bueno para hacer manualidades como tú, seguro que la haría y la colocara en mi casa, porque me gusta personalmente la navidad gracias a mi mamá. Todos los adornos navideños y lo relacionado con la navidad me recuerda a una época más simple en la que no tenía tantas preocupaciones como ahora y compromisos.
¡Espero poder seguir viendo tus decorados y manualidades! @mairene1
Seguro que sí, la navidad tiene esa magia en la que todos nos animamos a adornar la casa, llenarla de luces nos hace sentir felices, tranquilos y en paz.
Proximamente traeré más decoraciones, me alegra que te haya gustado, pero puedes animarte a hacerlo ya que es muy sencillo si sigues los pasos 😉
Si me animo prometo publicar el resultado jajajaja un abrazo @mairene1
Hola Mairene, te ha quedado preciosa, gracias por mostrarnos cómo se hace.
De nada, me alegra que te guste. 😊
Congratulations @mairene1! You have completed the following achievement on the Hive blockchain And have been rewarded with New badge(s)
Your next target is to reach 100000 upvotes.
You can view your badges on your board and compare yourself to others in the Ranking
If you no longer want to receive notifications, reply to this comment with the word
STOPThank you very much for your support.
All good @mairene1! You are a true inspiration for Hive! Keep going and reach your new target!
Super real esa vela, te ha quedado muy bien elaborada. Te felicito
Muchas gracias, que bueno que te guste. 😊
El resultado es espectacular, impecable!
Muchas gracias, que bueno que te guste. 😊