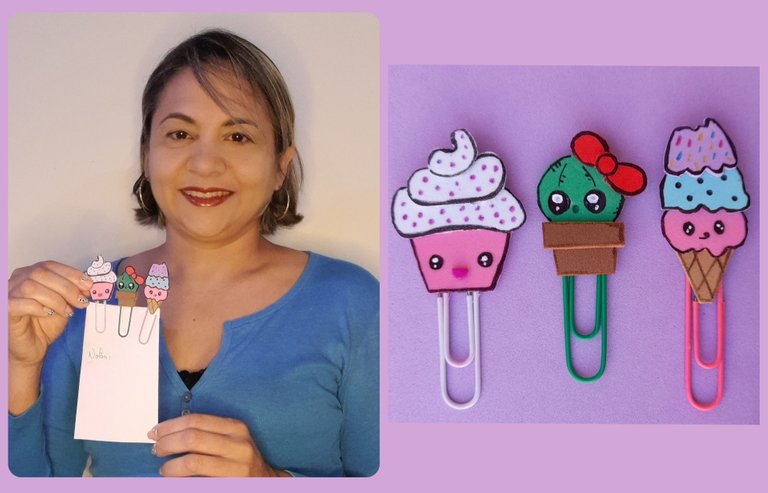
Greetings friends of #hivediy. I hope that the day has been productive and that you have carried out all your activities. For today I propose a very simple, easy and quick project to make. It is about decorating some clips that can serve as dividers, organizers or simply bookmarks. Sometimes we need to section our documents and we must do them with gray clips, it is fine for office work or academic work, but not for our daily life that always has to be colored. For this reason, today I have asked my daughter for some colored clips and I have decorated them in a nice way, the fun thing about these projects is that you adapt them to your personality and tastes, and they are also used for many things, including as details in party favors. So I invite you to continue reading and see how they are made.
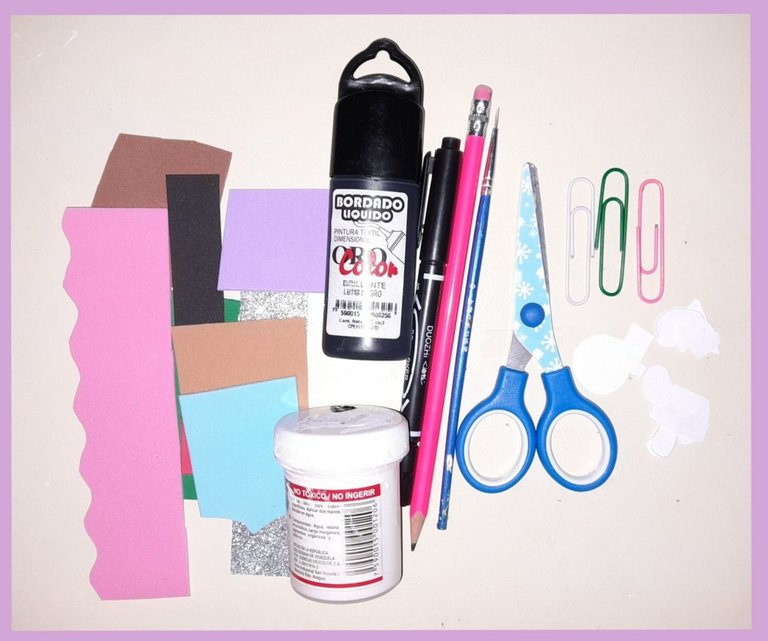
Materiales:
- Foami rosado,azul,lila, piel, verde, marrón, rojo y blanco.
- Clips.
- Marcador negro y de colores.
- Tijeras.
- Silicón frío.
- Pincel.
- Lápiz.
- Pintura blanca y negra.
Materials:
- Foami pink, blue, purple, skin, green, brown, red and white.
- Clips.
- Black and colored marker.
- Pair of scissors.
- Cold sylicon.
- Brush.
- Pencil.
- Black and white paint.
Paso a paso:
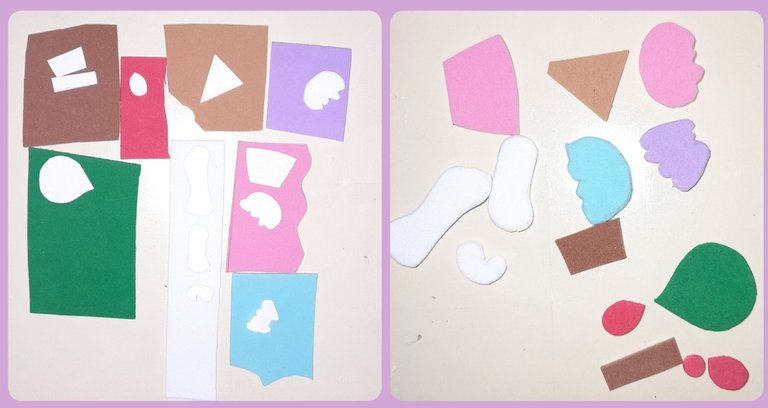
Para decorar los clips vamos a utilizar tres motivos, un cupcake, un helado y un cactus, para esto recortamos los diversos patrones y luego los trasladamos al foami ubicando las piezas en el color que corresponde.
Step by Step:
To decorate the clips we are going to use three motifs, a cupcake, an ice cream and a cactus, for this we cut out the different patterns and then we transfer them to the foami placing the pieces in the corresponding color.
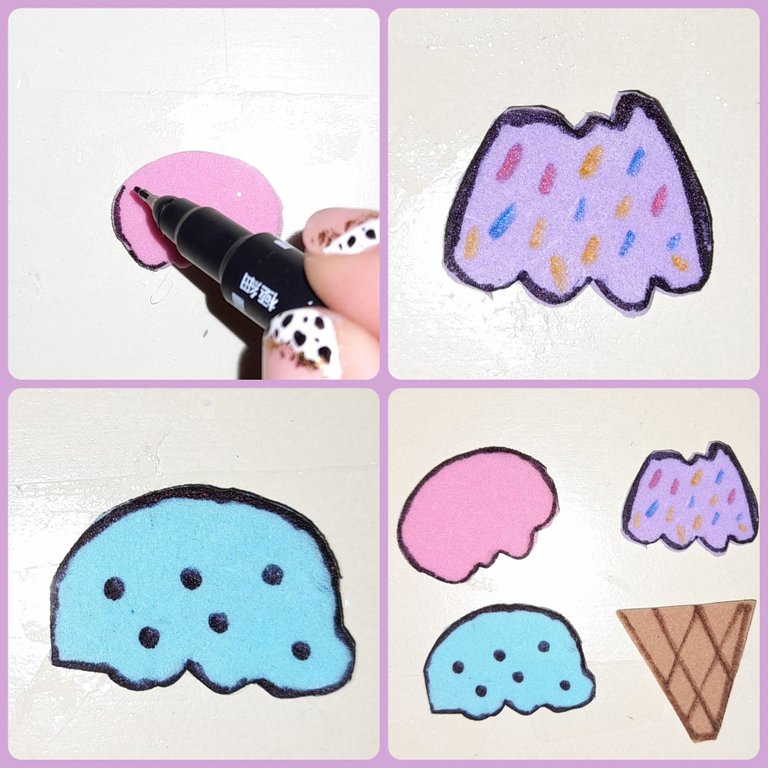
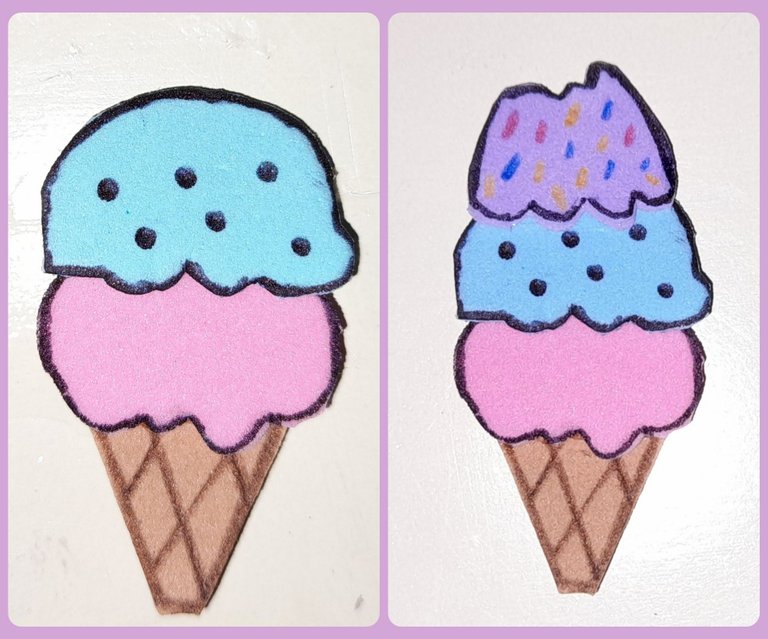
Para armar el la barquilla: Esta formada por tres bolas de helado y la galleta, con el marcador punta fina delineamos los bordes de las figuras y con el marcador marrón simulamos la barquilla bordeando las orillas y trazandos líneas transversales. En la parte morada con los marcadores dibujamos pequeñas líneas de colores para simular las chispas sobre el helado. En la parte azul pintamos pequeños puntos negros.
To assemble the tray: It is made up of three balls of ice cream and the cookie, with the fine tip marker we outline the edges of the figures and with the brown marker we simulate the tray bordering the edges and tracing transverse lines. In the purple part with the markers we draw small colored lines to simulate the sparks on the ice cream. On the blue part we paint small black dots.
Luego vamos uniendo cada una de las partes del helado, colocando primero la galleta, luego el color rosado, azul y por último el morado.
Then we join each of the parts of the ice cream, placing the cookie first, then the pink, blue and finally the purple.
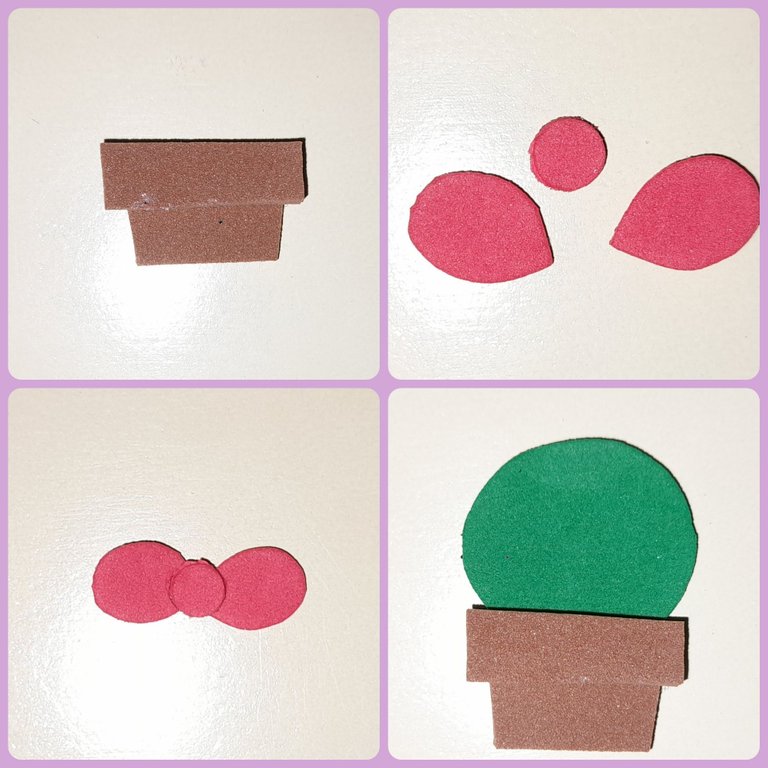
Para armar el cactus: una vez que tenemos recortados todas piezas empezamos a unirlas, empezando por la maceta, luego unimos las partes del lazo y por último pegamos el cactus a la maceta y le pegamos el lazo en la parte superior izquierda.
To assemble the cactus: once we have cut out all the pieces we begin to join them, starting with the pot, then we join the parts of the bow and finally we glue the cactus to the pot and we glue the bow in the upper left part .
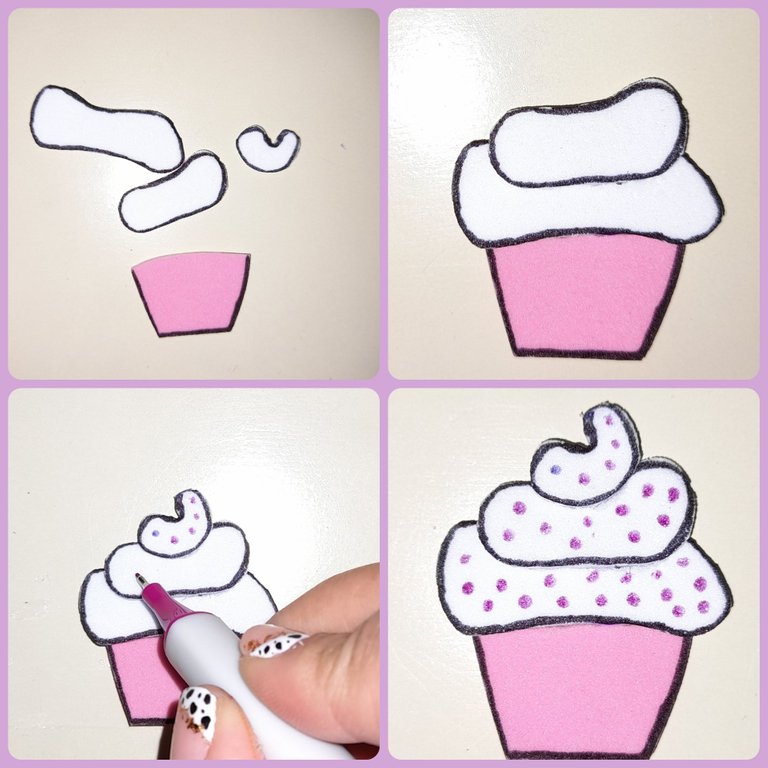
Para armar el cupcakes: Con el marcador puntafina de líneas las partes que lo conforman, luego las vamos uniendo poniendo una capa sobre otra, luego con el marcador morado pintamos pequeños puntos para simular la lluvia de chispas.
To assemble the cupcakes: With the fine point marker we line the parts that make it up, then we join them by putting one layer on top of another, then with the purple marker we paint small dots to simulate the shower of sparks.
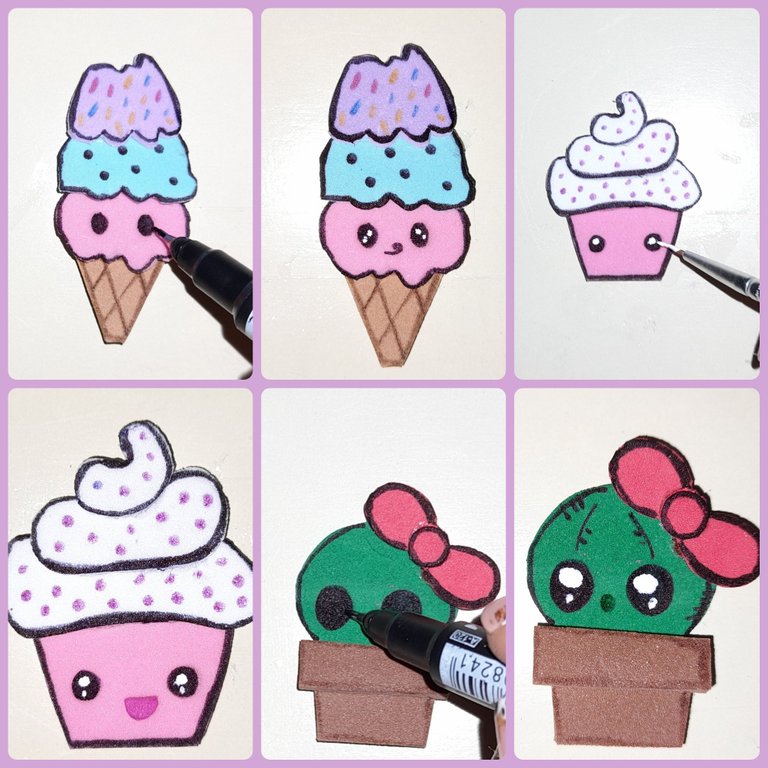
Una vez que ya tenemos todas las figuras listas, vamos a pintarle los ojos, para esto hacemos dos pequeños círculos negros en cada una de ellas,luego con el pincel y la pintura blanca pintamos puntos blancos sobre el negro de manera de darle brillo a los ojos. Luego le pintamos la nariz al cactus y a la barquilla, al cupcakes le recortamos un semicírculo y se lo pegamos entre los dos ojos para simular la nariz.
Once we have all the figures ready, we are going to paint the eyes, for this we make two small black circles in each of them, then with the brush and the white paint we paint white dots on the black in order to give shine to the eyes. eyes. Then we paint the nose of the cactus and the basket, we cut a semicircle out of the cupcakes and glue it between the two eyes to simulate the nose.
Por último pegamos las figuras a cada uno de los clips y de esta manera fácil, rápida y sencilla tenemos listos unos lindos clips para decorar nuestras carpetas e informes.
Finally we stick the figures to each of the clips and in this easy, fast and simple way we have some nice clips ready to decorate our folders and reports.
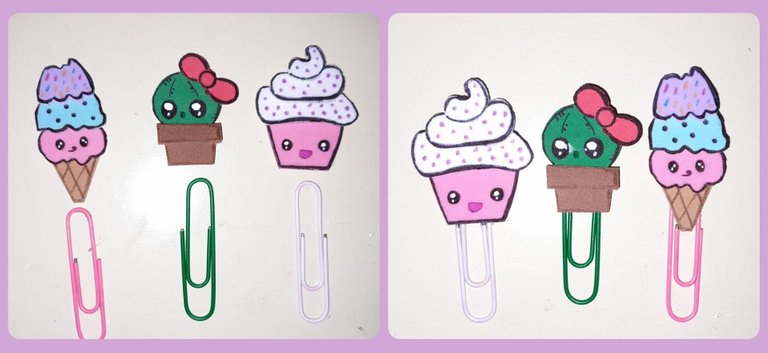
-Las fotos son de mi propiedad, tomadas con un Samsung A21S,cámara de 48MP.
-Para la traduccion Google Traductor.
-The photos are my property, taken with a Samsung A21S, 48MP camera.
-For Google Translate translation.
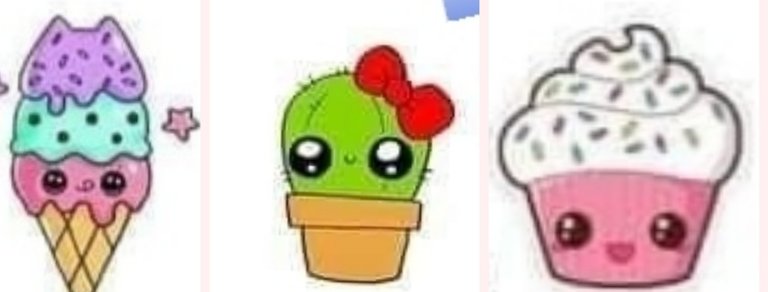
[Imagen de referencia]:

Muy hermosos esos clips gran idea 💡
Gracias @yolimarag.
Se ven super tiernos, mi novia los amaría. Me animo a decir que quedaron mucho mas lindos que las referencias originales.
Gracias @nitsuga12 me alegro que te hayan gustado, te invito a poner en práctica wste paso a paso para que sorprendas a tu novia con estos clips.😄
Congratulations @marciabon! You have completed the following achievement on the Hive blockchain and have been rewarded with new badge(s):
Your next target is to reach 800 replies.
You can view your badges on your board and compare yourself to others in the Ranking
If you no longer want to receive notifications, reply to this comment with the word
STOPCheck out the last post from @hivebuzz:
Support the HiveBuzz project. Vote for our proposal!
Que hermoso les quedaron son tan rosas 💕💕💕💕💕✨✨✨✨✨ los ame gracias por compartir gran idea.
Hola buenos días, gracias 😀 que bueno que te hayan gustado. Saludos 🤗
Son muy cute @marciabon 💞🤩