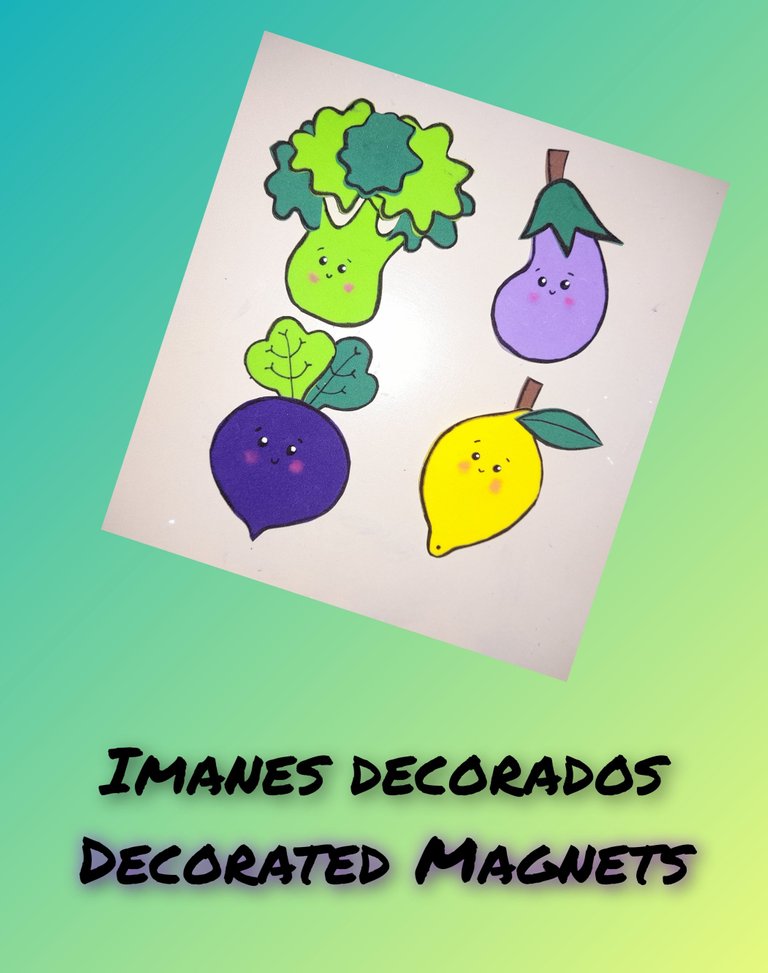
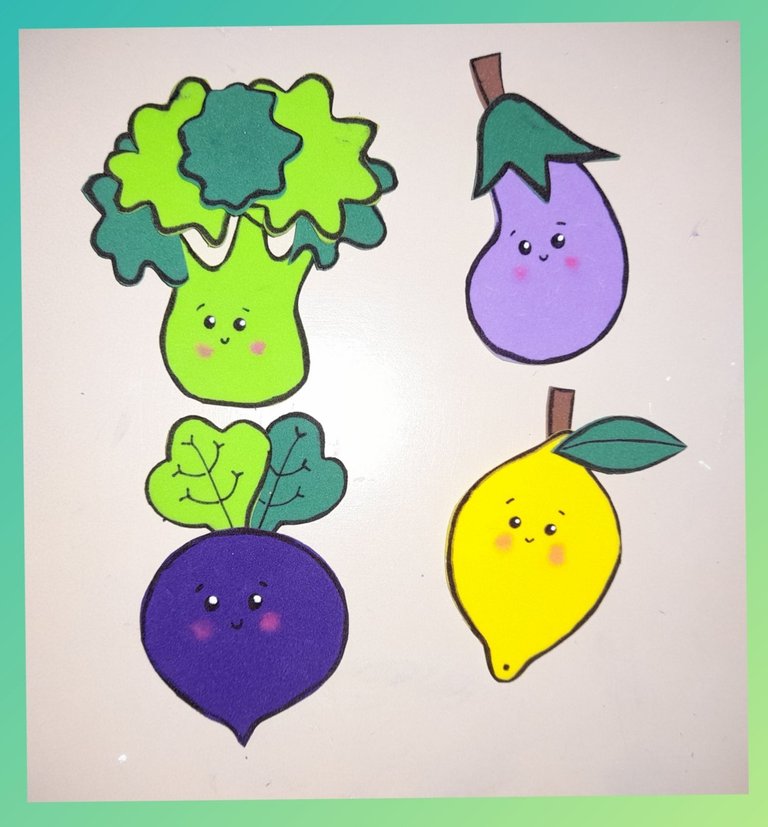
Greetings dear community of #hivediy I hope you are well and enjoy with your family and friends these carnival festivities. My project consists of How to decorate magnets for the fridge with the motif of legumes. Today I was at a friend's house who has just moved and is decorating some spaces in her house, she loves all the small and curious things, like her fridge is without any decoration, she asked me to make several decorated magnets for her, some of them foami and others made of felt with motifs of sweets and vegetables, so I got down to work to make the decorated magnets, I started with the foami ones, she chose her favorite vegetables: broccoli, eggplant, beetroot and lemon. I invite you to continue reading so you can see how easy, fast and simple it is to decorate these magnets.
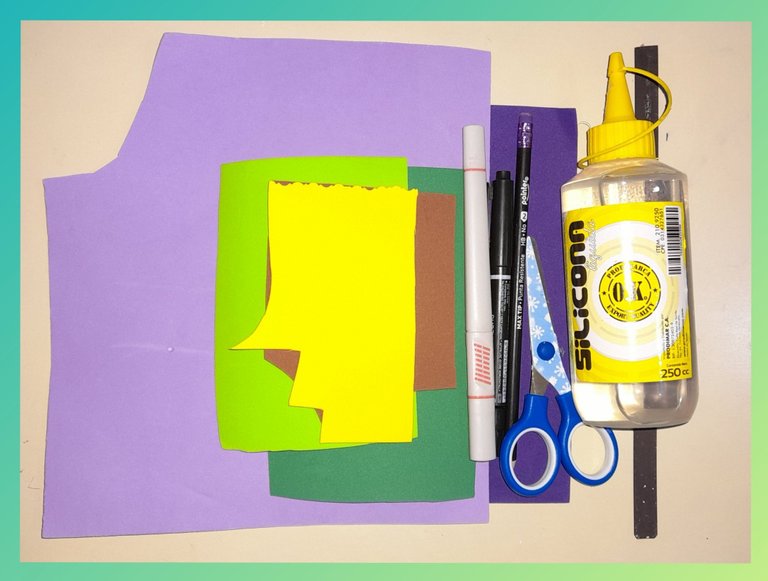
Materiales:
- Foami de los colores: Morado claro y oscuro, verde claro y oscuro, marrón y amarillo.
- Cinta imantada.
- Marcador puntafina negro.
- Pintura blanca.
- Pincel.
- Lápiz.
- Tijeras.
- Silicón.
Materials:
- Color foami: light and dark purple, light and dark green, brown and yellow.
- Magnetic tape.
- Black fine point marker.
- White paint.
- Brush.
- Pencil.
- Pair of scissors.
- Silicon.
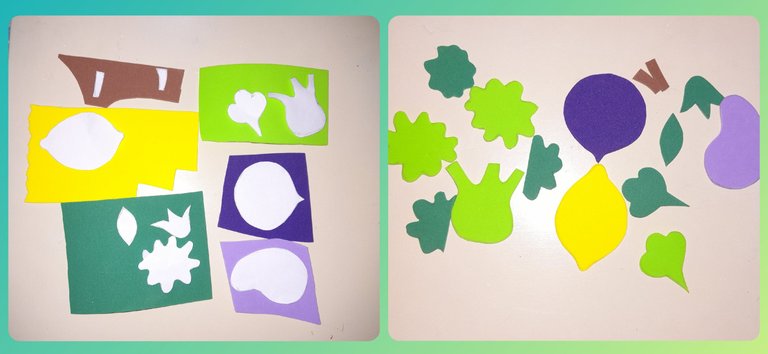
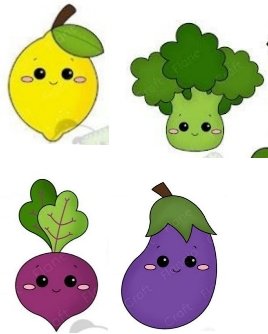
Recortamos los patrones del limón, el brocolis, la berenjena y la remolacha, luego los trasladamos al foami ubicandolo en el color que le corresponden y recortandolos.
We cut out the lemon, broccoli, aubergine and beet patterns, then transfer them to the foami, placing it in the corresponding color and cutting them out.
Luego con el marcador negro sobreamos cada una de las piezas que conforman los vegetales.
Then with the black marker we cover each of the pieces that make up the vegetables.
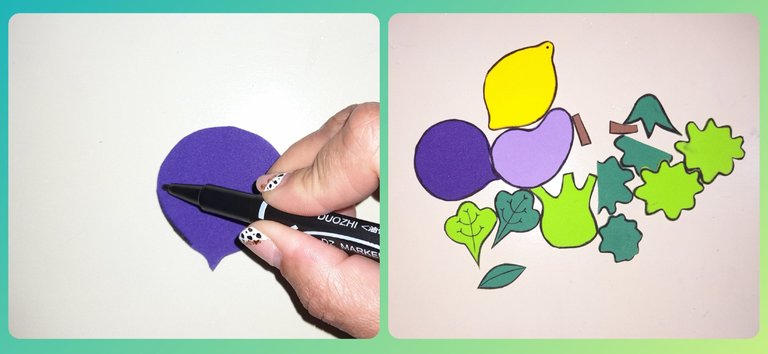
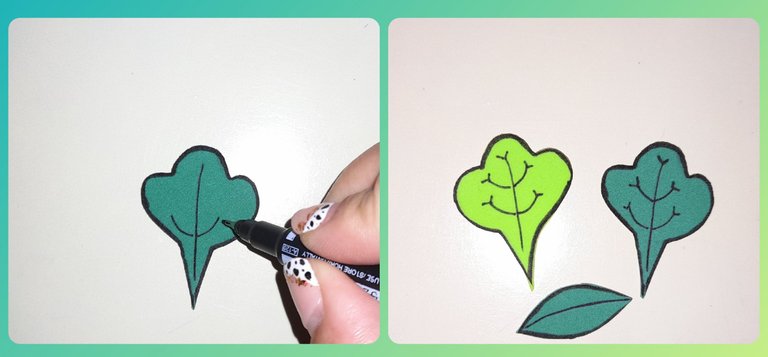
Con el marcador puntafina dibujamos las membranas de la hoja del limón y las hojas de la remolacha.
With the fine-point marker we draw the membranes of the lemon leaf and the beet leaves.
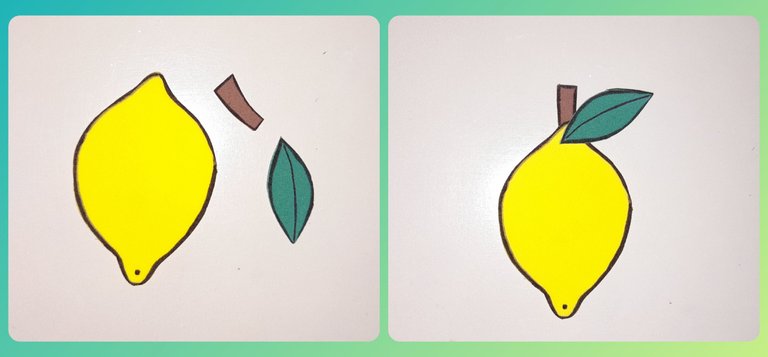
Estos pasos que siguen son muy sencillos, ya que solo tenemos que armar cada uno de los vegetales, empezando por el limón pegamos la rama que va en una de los extremos y la hoja tal como lo indica la figura.
These steps that follow are very simple, since we only have to assemble each of the vegetables, starting with the lemon, we glue the branch that goes on one of the ends and the leaf as indicated in the figure.
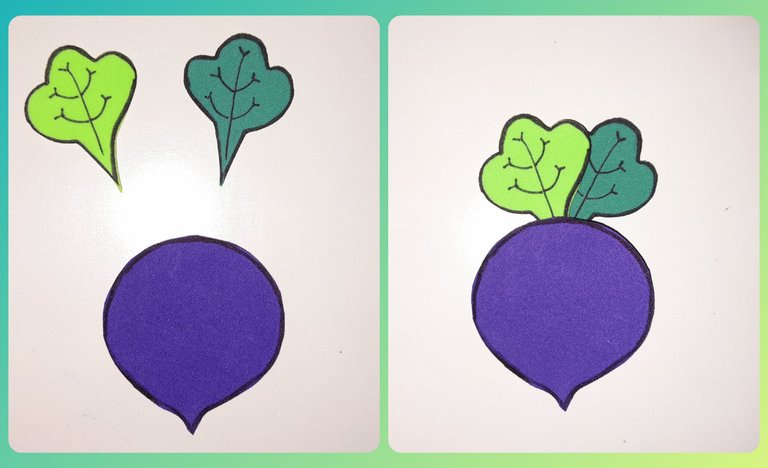
En la remolacha unimos las dos hojas y luego las pegamos a la remolacha.
On the beet we join the two leaves and then glue them to the beet.
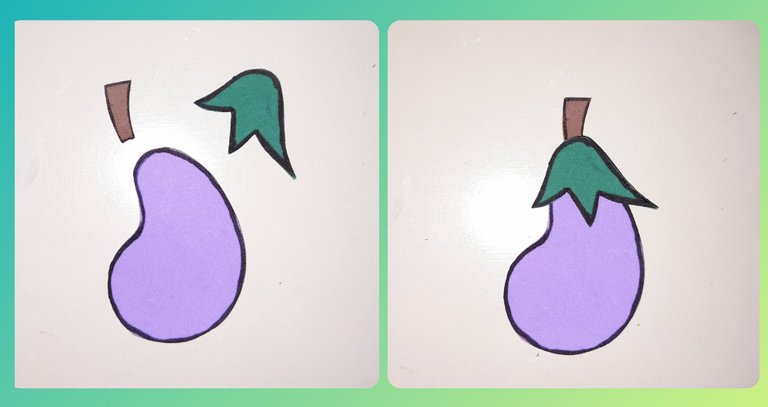
Para formar la berenjena solo tememos que pegar la parte superior verde y la rama.
To form the eggplant we only have to glue the top green part and the branch.
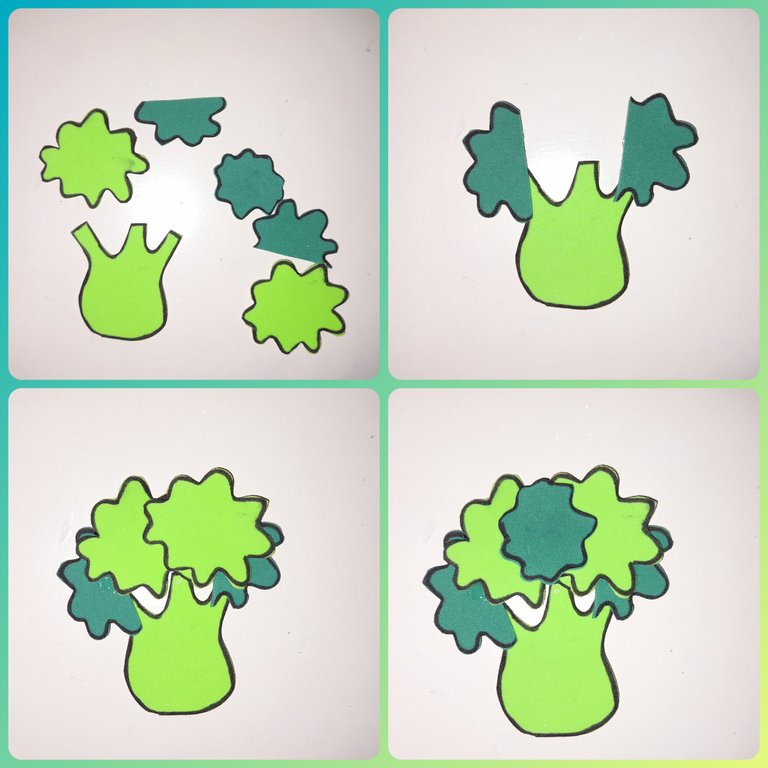
Del brócolis recortamos dos mitad de flores, dos flores verde claro y una verde oscura pequeña. Para armar el brócolis pegamos al tallo las dos mitad de las flores en ambos extremos,luego pegamos sobres estos las dos flores verde claro y por último pegamos la flor más pequeña verde oscuro en la parte superior.
From the broccoli we cut two half flowers, two light green flowers and one small dark green. To assemble the broccoli we glue the two half of the flowers to the stem at both ends, then we glue the two light green flowers on top of these and finally we glue the smaller dark green flower on top.
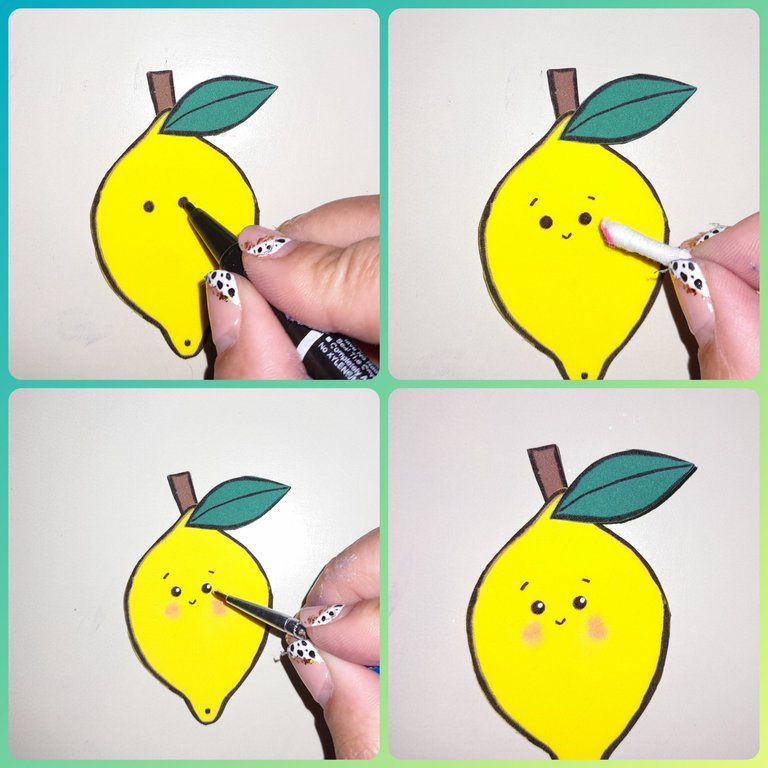
Las figura son del estilo kawaii, para darle esa imagen con el marcador puntafina dibujamos los ojos, la boca y las cejas, con la pintura blanca pintamos un punto blanco en los ojos para darles brillo, con el hisopo y rubor dibujamos las mejillas.
The figures are of the kawaii style, to give it that image with the puntafina marker we draw the eyes, the mouth and the eyebrows, with the white paint we paint a white dot on the eyes to give them shine, with the swab and blush we draw the cheeks.
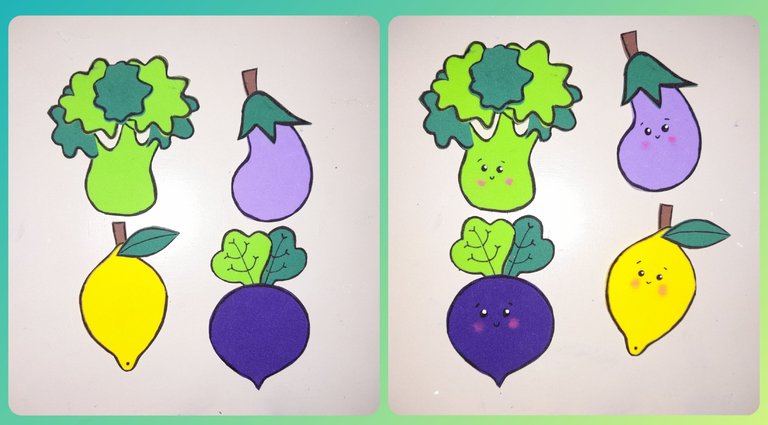
El paso anterior donde se definen las facciones se va a repetir para la remolacha, el brócolis y la berenjena.
The previous step where the factions are defined is going to be repeated for the beet, the broccoli and the eggplant.
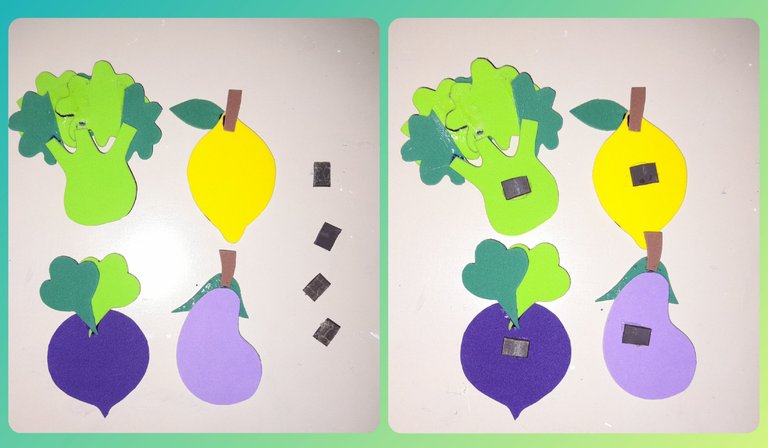
Por último cortamos cuatro pedacitos de la cinta imantada y la pegamos con el silicón en la parte posterior de las figuras de los vegetales.
Finally, we cut four pieces of the magnetic tape and stick it with the silicone on the back of the vegetable figures.
¡Listo! hemos terminado los imanes decorados,viste lo fácil, rápido y sencillo que son de elaborar, no dejes de ponerlo en práctica.
-Las fotos son de mi propiedad, tomadas un Samsung A21S,cámara de 48MP.
-Para la traduccion Google Traductor.
-The photos are my property, taken with a Samsung A21S, 48MP camera.
-For Google Translate translation.
[Imagen de referencia]

Your content has been voted as a part of Encouragement program. Keep up the good work!
Use Ecency daily to boost your growth on platform!
Support Ecency
Vote for new Proposal
Delegate HP and earn more
¡Felicidades! Esta publicación obtuvo upvote y fue compartido por @la-colmena, un proyecto de Curación Manual para la comunidad hispana de Hive que cuenta con el respaldo de @curie.
Si te gusta el trabajo que hacemos, te invitamos a darle tu voto a este comentario y a votar como testigo por Curie.
Si quieres saber más sobre nuestro proyecto, acompáñanos en Discord: La Colmena.
Se ven super tiernos y están tan bien hechos que hasta parecen sticker impresos