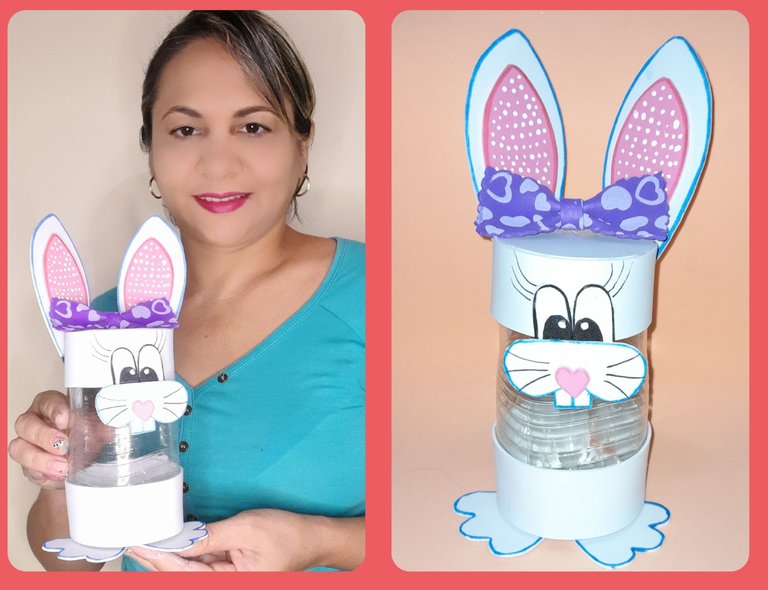
Saludos amigos de hivediy, espero que todos hayan tenido un excelente y maravilloso día. Mi proyecto de hoy esta elaborado con material reciclado y foami, consiste en un cotillón con la temática de un conejo. En casa tenemos botellas plásticas que muchas veces desechamos o no sabemos que hacer con ellas, sin saber que con un poco de imaginación y creatividad podemos hacer cosas realmente hermosas. Te invito a seguir este paso a paso para que veas los fácil, rápido y sencillo que es de elaborar este cotillón.
Greetings hivediy friends, I hope you all had a great and wonderful day. My project today is made with recycled material and foami, it consists of a party favors with the theme of a rabbit. At home we have plastic bottles that we often throw away or don't know what to do with them, not knowing that with a little imagination and creativity we can make really beautiful things. I invite you to follow this step by step so you can see how easy, fast and simple it is to make this party favors.
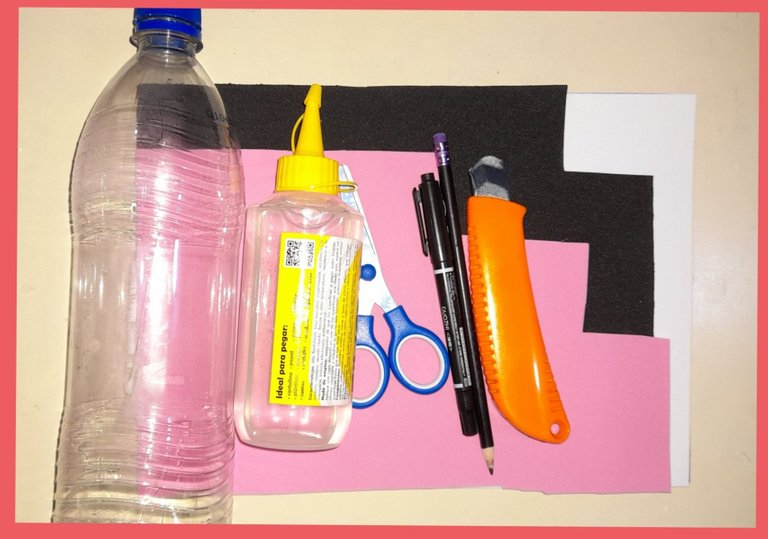
Materiales:
- Foami blanco, negro, rosa y morado estampado.
- Botella de plástico.
- Pintura al frío blanca.
- Cartón.
- Cutter.
- Marcadores negro, rosado y azul.
- Lápiz.
- Silicón frío.
Materials:
- Printed white, black, pink and purple foami.
- Plastic bottle.
- White cold paint.
- Paperboard.
- Cutter.
- Black, pink and blue markers.
- Pencil.
- Cold sylicon.
Paso a paso:
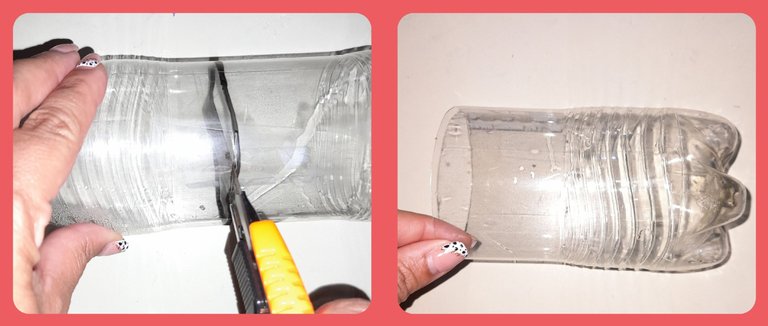
Con el marcador negro marcamos alrededor de la botella, luego con el cutter la cortamos. De la botella vamos a utilizar la parte inferior.
Step by Step:
With the black marker we mark around the bottle, then with the cutter we cut it. From the bottle we will use the lower part.
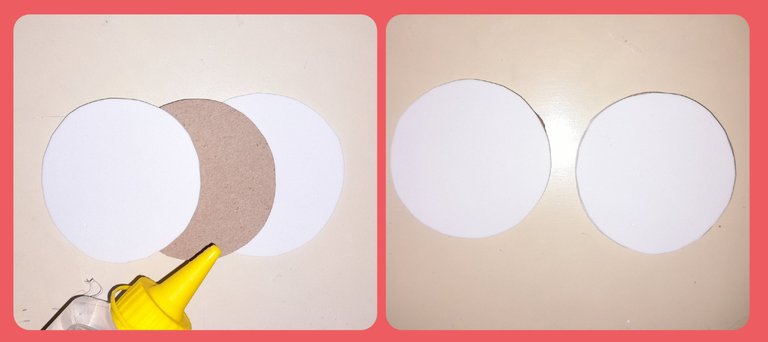
En el cartón marcamos y recortamos dos círculos para colocarlos en el fondo y tapa de la botella. También recortamos tres círculos de foami blanco.
On the cardboard we mark and cut out two circles to place them on the bottom and top of the bottle. We also cut out three circles of white foami.
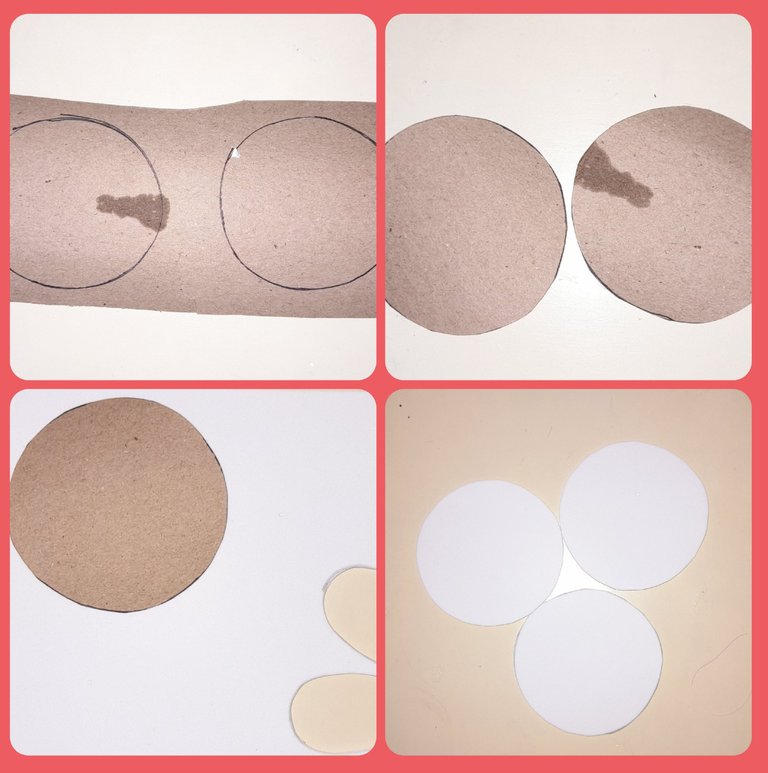
Luego forramos los círculos de cartón con los círculos de foami.
Then we line the cardboard circles with the foami circles.
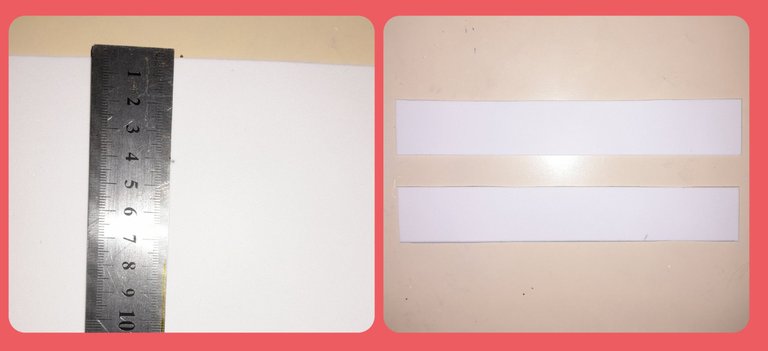
Recortamos dos tiras de 4cm cada una para colocarlas en la tapa y alrededor de la botella.
We cut two strips of 4cm each to place them on the lid and around the bottle.
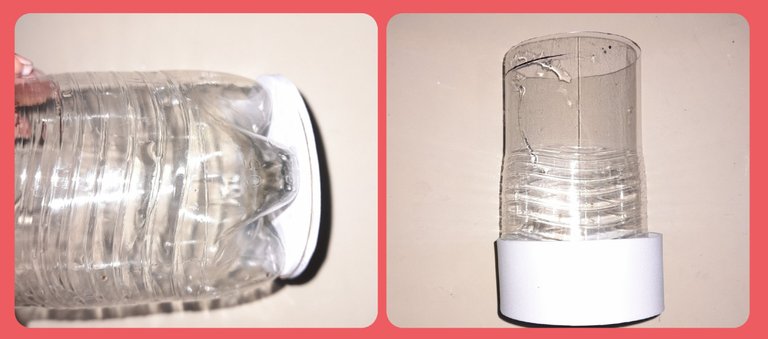
Con el silicón pegamos el círculo en el fondo de la botella y luego pasamos la tira alrededor de la botella.
With the silicone we paste the circle at the bottom of the bottle and then we pass the strip around the bottle.
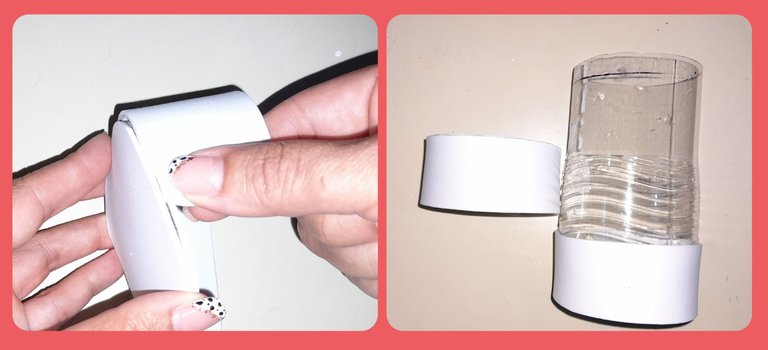
Para elaborar la tapa pegamos con el silicón alrededor del círculo la tira de foami.
To make the lid, glue the foam strip around the circle with the silicone.
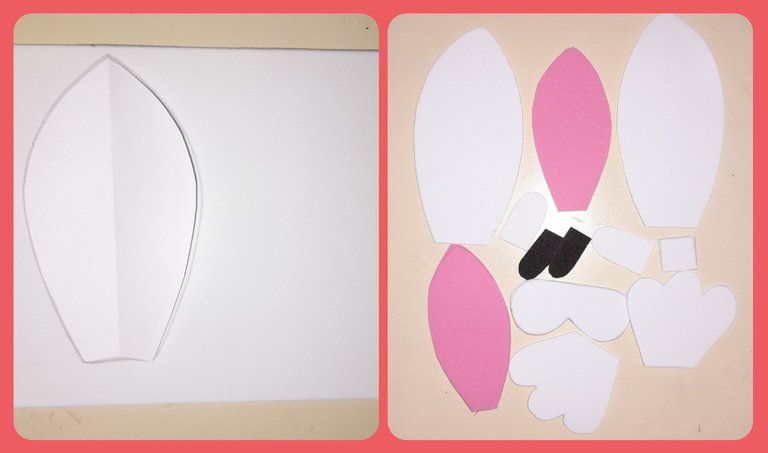
Luego trasladamos al foami los patrones de las orejas, patas, nariz, ojos, hocico.
Then we transfer the patterns of the ears, legs, nose, eyes, snout to the foami.
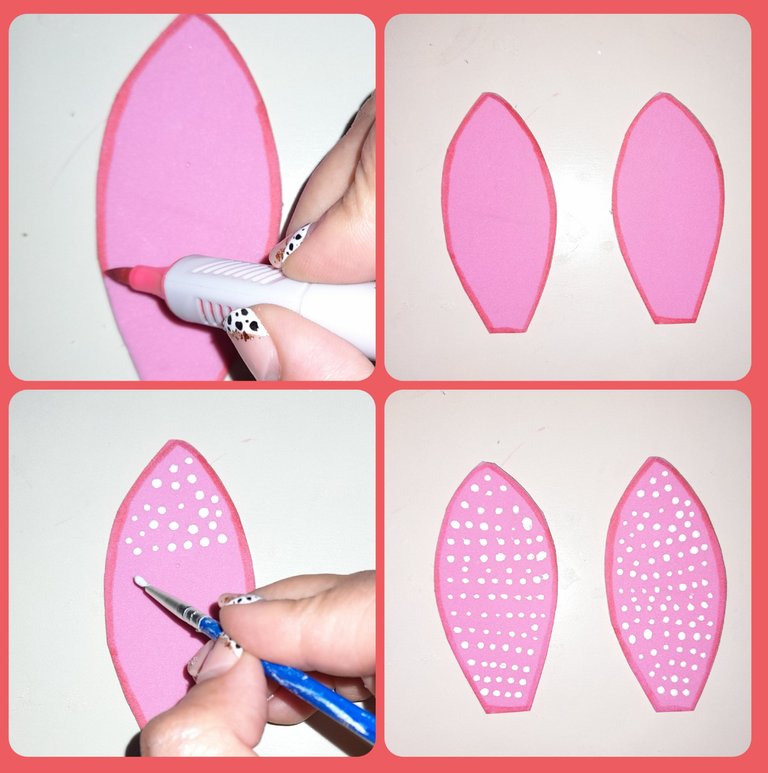
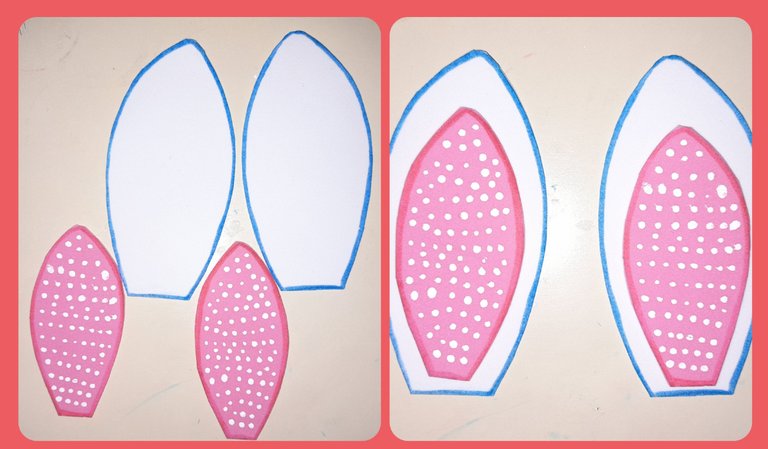
Con el marcador rosado sombreamos las orillas de las orejas internas, luego con la pintura al frío pintamos pequeños puntos blancos.
With the pink marker we shade the edges of the inner ears, then with the cold paint we paint small white dots.
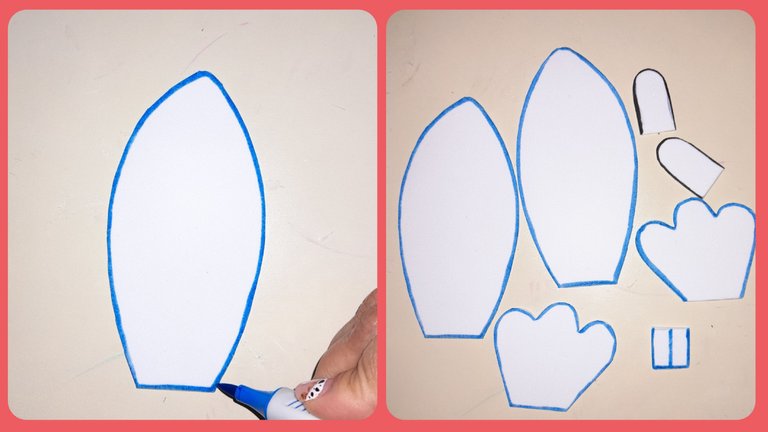
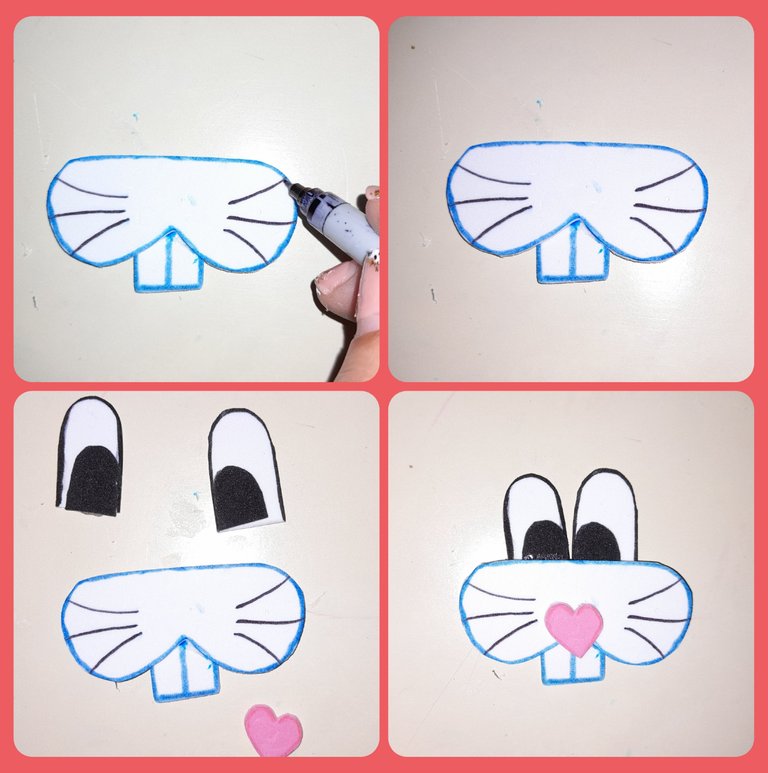
Con el marcador azul sombreamos las orejas externas, las patas, hocico y dientes. Con el marcador negro delineamos las orillas de los ojos.
With the blue marker we shade the external ears, legs, snout and teeth. With the black marker we outline the edges of the eyes.
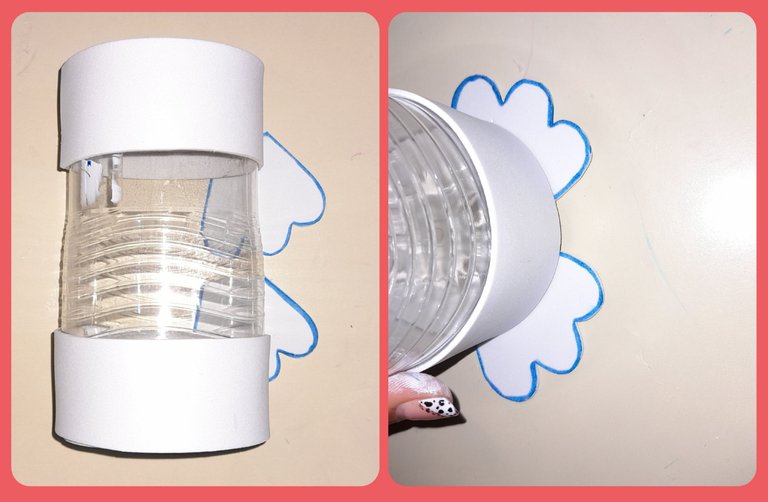
Luego pegamos las patas en la parte inferior de la botella.
Then we glue the legs to the bottom of the bottle.
En esta paso pegamos los dientes al hocico y con marcador puntafina delineamos los bigotes del conejo, pegamos los ojos superponiendo la parte negra sobre la blanca y la nariz en forma de corazón.
In this step we glue the teeth to the snout and with a fine-point marker we outline the rabbit's whiskers, we glue the eyes superimposing the black part on the white and the heart-shaped nose.
Para terminar de elaborar las orejas superponemos la parte interna que es de color rosada sobre la externa que es la blanca. Tal como lo indica la figura.
To finish making the ears, we overlap the inner part, which is pink, over the outer part, which is white. As indicated in the figure.
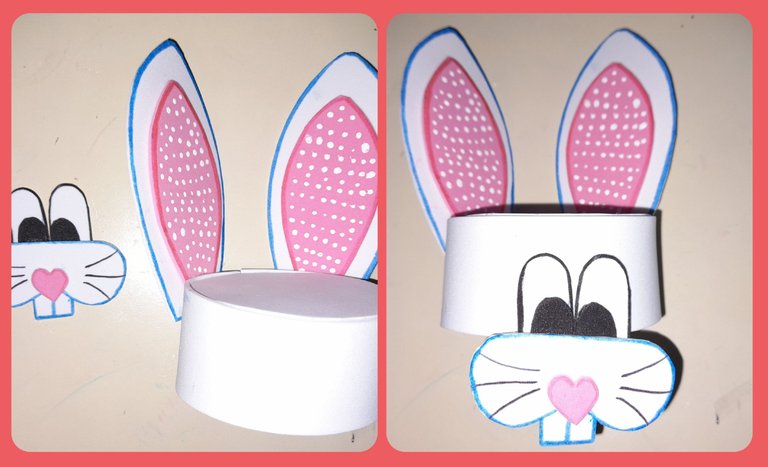
En este paso con el silicón pegamos las orejas,los ojos, hocico y ojos del conejo.
In this step with the silicone we glue the ears, eyes, snout and eyes of the rabbit.
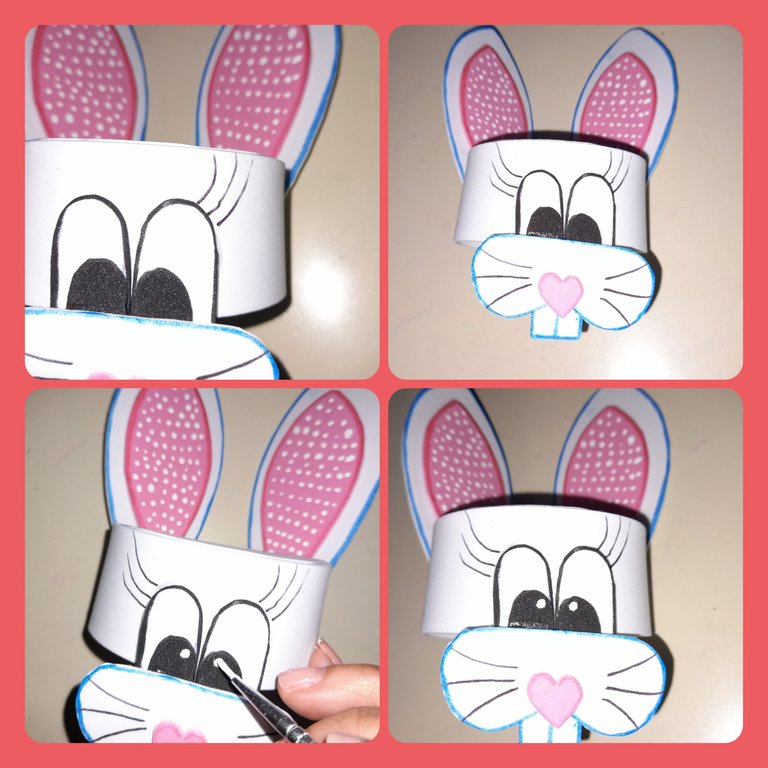
Para terminar de delinear las facciones del conejo con el marcador puntafina delineamos las pestañas y con la pintura al frío blanca hacemos un punto blanco en cada ojo para darle luminosidad.
To finish outlining the features of the rabbit with the fine point marker we outline the eyelashes and with the white cold paint we make a white dot in each eye to give it light.
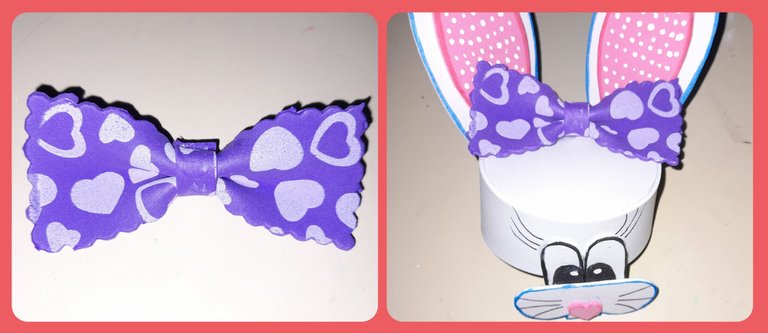
Por último elaboramos un lazo con el foami morado cortando un pequeño rectángulo y arruchandolo en el centro. Luego lo pegamos en la tapa en el centro de las orejas del conejo.
Finally we make a bow with the purple foami cutting a small rectangle and crumpling it in the center. Then we glue it on the lid in the center of the rabbit's ears.
Espero que les haya gustado este tutorial y lo pongan en práctica.
I hope you liked this tutorial and put it into practice.
-Las fotos son de mi propiedad, tomadas un Samsung A21S,cámara de 48MP.
-Para la traduccion Google Traductor.
-The photos are my property, taken with a Samsung A21S, 48MP camera.
-For Google Translate translation.

Simpático conejo @marciabon, creo que lo llenaría de muchos bombones para comer chocolates todo el día. Genial 🥳 amiga saludos.