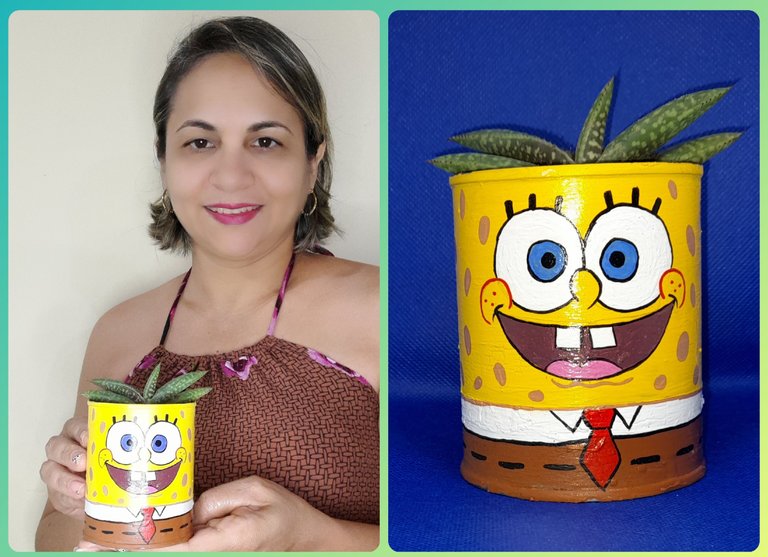
Hello! friend of #hivediy, it's nice to meet you again today, starting a new week with new projects and ideas, today has been very active and productive thanks to God. As I told you in a previous post, I love cacti and succulents and today they gave me a succulent but the packaging was very nice, so I wanted to change the image, so my project consists of making a small pot and giving a cozy house to my succulent to make it look more attractive and showy, for this I designed its facade with the images of SpongeBob. To make this project we only need an aluminum can and paints. I invite you to follow this step by step so you can see how easy, fast and simple it is to make this pot.
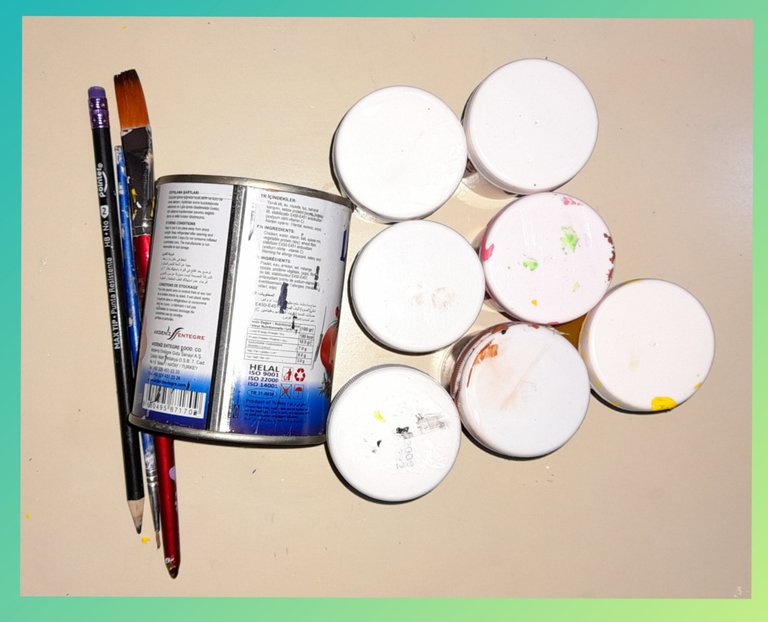
Materiales:
- Lata de aluminio pequeña.
- Pintura de los colores: amarillo, marrón, blanco, rojo, azul, vino tinto, marrón claro.
- Lápiz.
- Pincel grueso y delgado.
- Barniz en spray.
- Destornillador.
Materials:
- Small aluminum can.
- Painting colors: yellow, brown, white, red, blue, red wine, light brown.
- Pencil.
- Thick and thin brush.
- Spray varnish.
- Screwdriver.
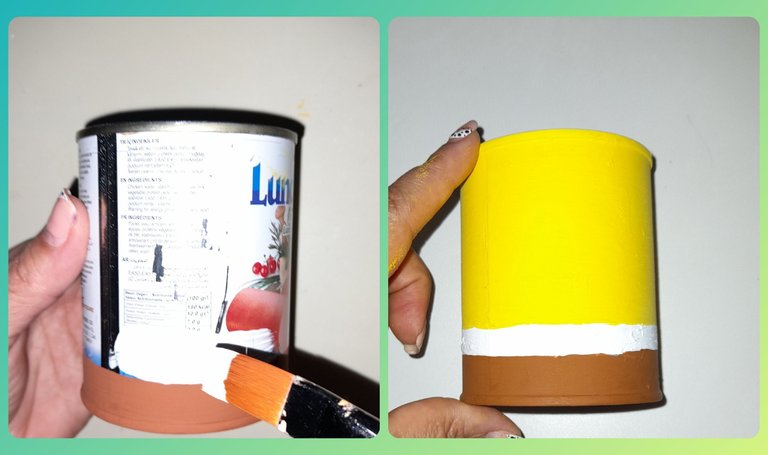
Paso a paso:
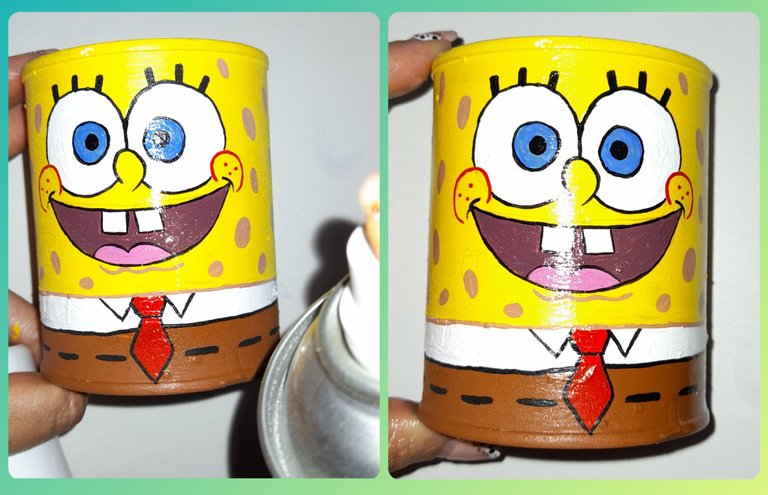
Lo primero que hacemos es pintar la lata con los colores de Bob Esponja, empezando en la parte inferior pintamos una línea de color marrón de 2cm se ancho alrededor de toda la lata. Luego pintamos una de color blanco de 1.5cm. ancho y por último pintamos el resto de la lata de amarillo.
Step by Step:
The first thing we do is paint the can with the SpongeBob colors, starting at the bottom we paint a 2cm wide brown line around the entire can. Then we painted a 1.5cm white one. width and finally we paint the rest of the can yellow.
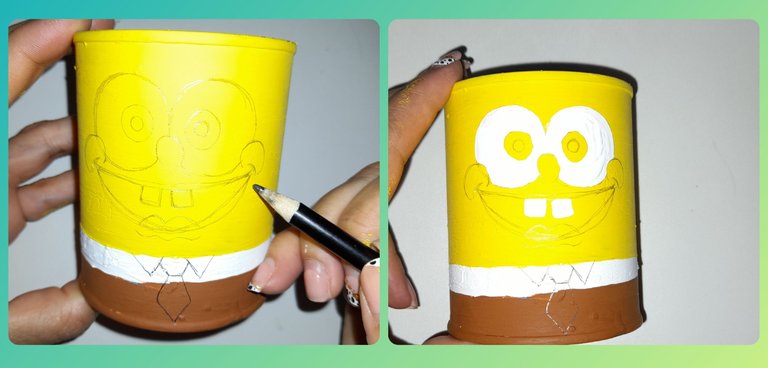
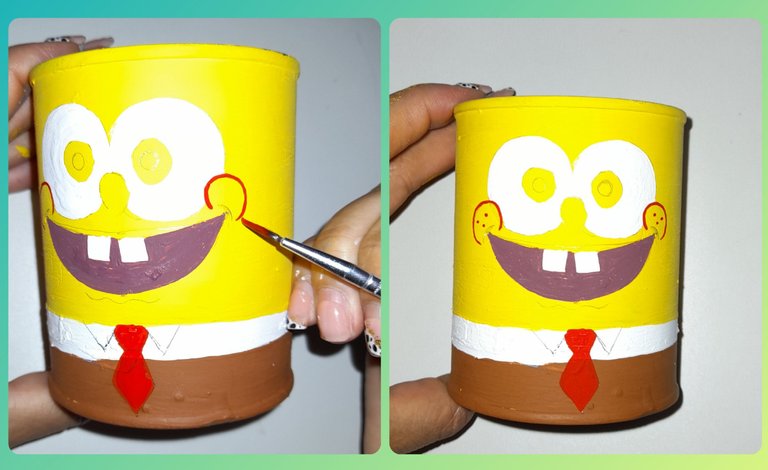
Con el lápiz de grafito dibujamos las facciones de Bob Esponja, luego empezamos a pintar con la pintura blanca los ojos y los dientes.
With the graphite pencil we draw the features of SpongeBob, then we begin to paint the eyes and teeth with the white paint.
Con la pintura roja pintamos la corbata y las mejillas haciendo un semicírculo y tres puntos en ellas. La boca la pintamos de color vinotinto.
With the red paint we paint the tie and the cheeks making a semicircle and three points on them. We painted her mouth a burgundy color.
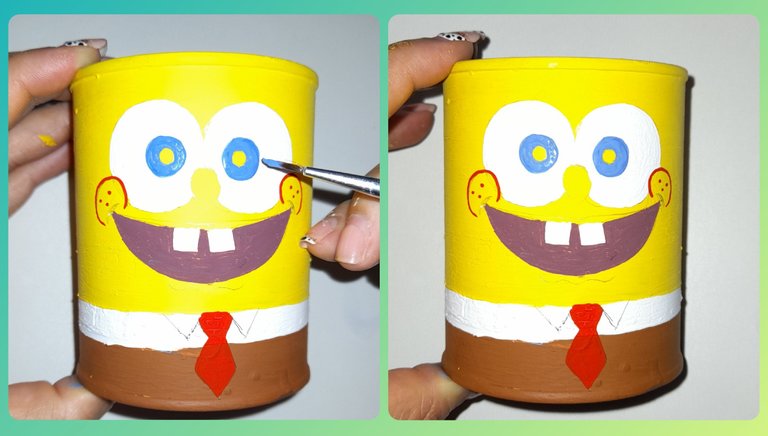
Una vez que esté seca la pintura de los ojos blanca, pintamos la parte interna de los ojos de color azul claro.
Once the white eye paint is dry, we paint the inner part of the eyes light blue.
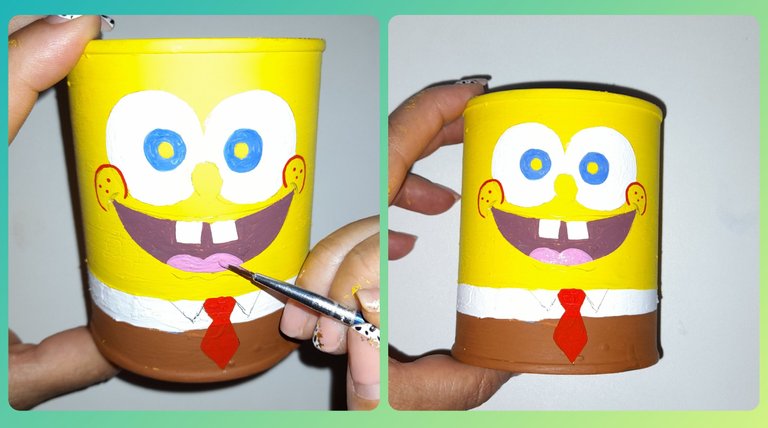
En este paso pintamos la lengua de color rosado.
In this step we paint the tongue pink.
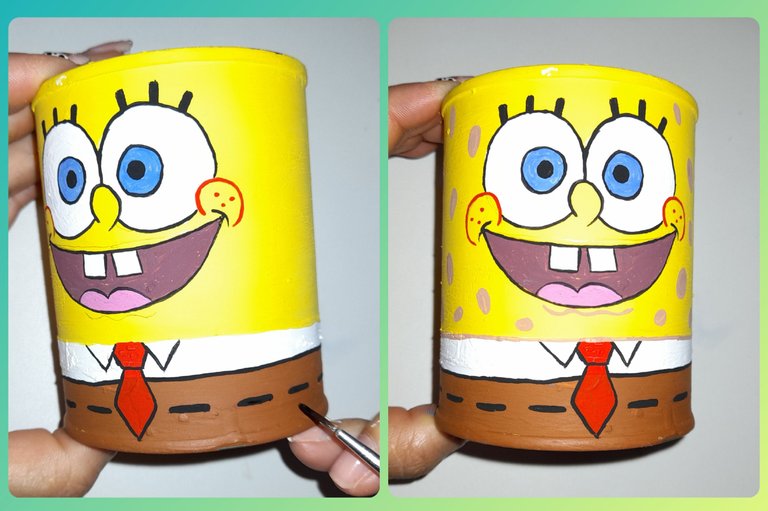
Luego con la pintura negra definimos todas la orillas de la imagen, la boca,la nariz, los ojos, pestañas, corbata y pantalones.
Then with the black paint we define all the edges of the image, the mouth, the nose, the eyes, eyelashes, tie and pants.
Para evitar que la pintura se dañe y darle brillo a la imagen del matero aplicamos barniz en spray en toda la lata.
To prevent the paint from being damaged and to brighten the image of the pot, we apply spray varnish on the entire can
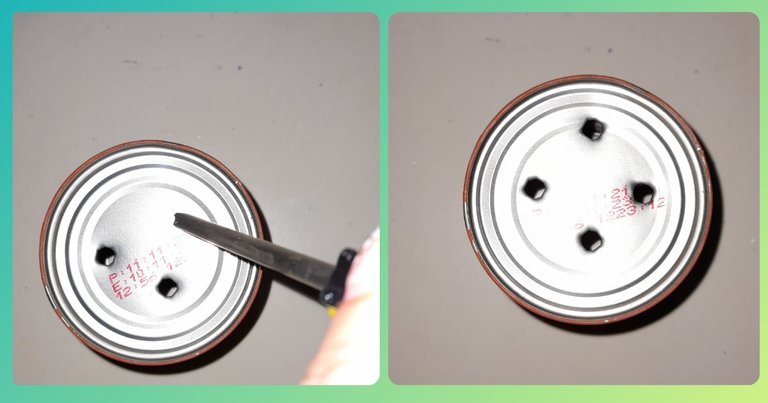
En el fondo de la lata vamos abrir con un destornillador y un martillo cuatro orificios de manera que al momento de regar la suculenta el agua circule.
At the bottom of the can we are going to open four holes with a screwdriver and a hammer so that when watering the succulent the water circulates.
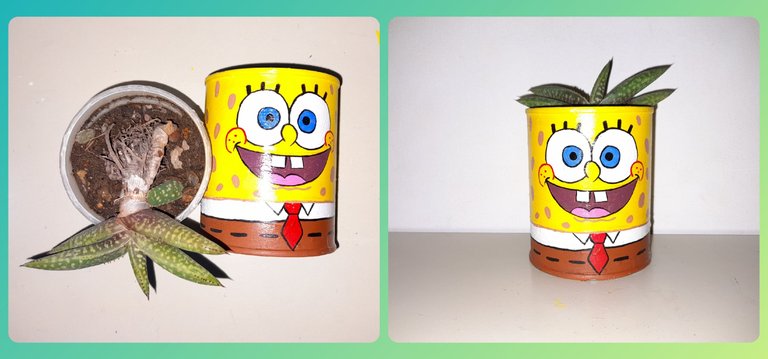
Para culminar con este paso a paso trasplantamos la suculenta a su nuevo matero, y de esta manera tenemos listo un colorido y divertido matero para adornar el rincón de los cactus.
To complete this step by step, we transplant the succulent to its new pot, and in this way we have a colorful and fun pot ready to decorate the corner of the cacti.
-Las fotos son de mi propiedad, tomadas un Samsung A21S,cámara de 48MP.
-Para la traduccion Google Traductor.
-The photos are my property, taken with a Samsung A21S, 48MP camera.
-For Google Translate translation.

Congratulations @marciabon! You have completed the following achievement on the Hive blockchain and have been rewarded with new badge(s):
Your next target is to reach 1250 upvotes.
You can view your badges on your board and compare yourself to others in the Ranking
If you no longer want to receive notifications, reply to this comment with the word
STOPTo support your work, I also upvoted your post!
Check out the last post from @hivebuzz:
Support the HiveBuzz project. Vote for our proposal!