Greetings friends of #hivediy. Wishing everyone a great weekend, full of rest and recreation. These weeks I have been dedicated to please request, today it's my daughter's turn again. She had some wireless headphones, but they were damaged and she is now using the ones she brought with her phone, which by the way have a very long cable. She told me that she was very uncomfortable when it came to keeping them, because they were always getting tangled up and if she put them in her bag it was worse. She made me choose between buying her some cordless phones or making her one to store the ones she has. Of course I went for the best option: make them hahaha. She looked for the model for me and since she loves pussycats, she asked me to make her a cat to put her hearing aids on. So my project is to make a headphone holder, for this I invite you to continue reading this step by step and see how easy, fast and simple it is to make.
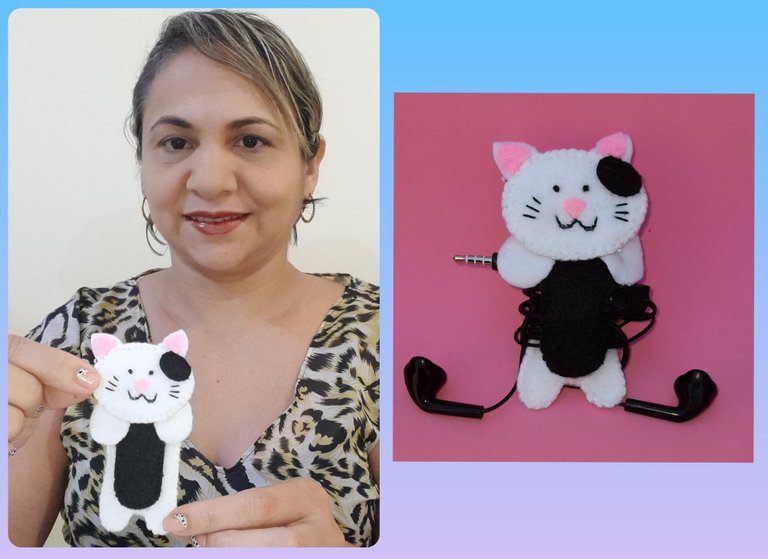
Materiales:
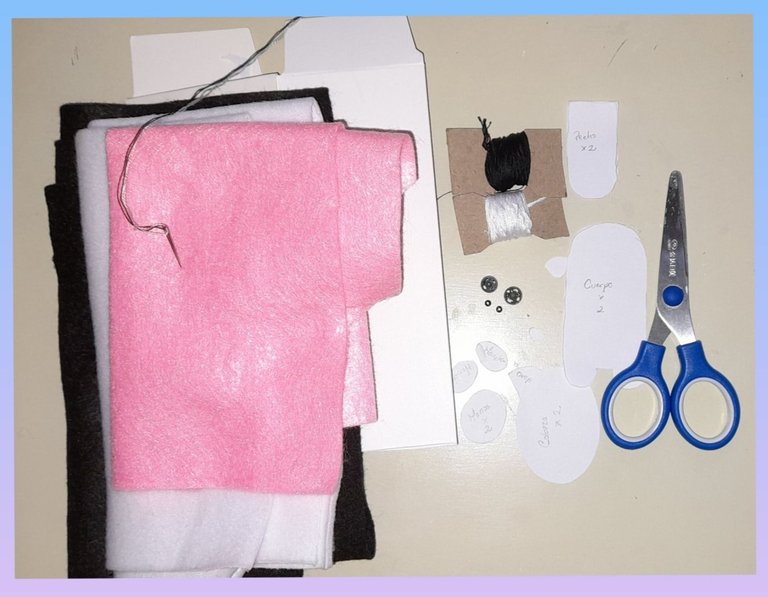
- Fieltro negro, blanco y rosado.
- Hilo blanco y negro.
- Agujas.
- Cartón.
- Patrones.
- Tijeras.
Materials:
- Black, white and pink felt.
- Black and white thread.
- Needles.
- Paperboard.
- Patterns.
- Pair of scissors.
Paso a paso:
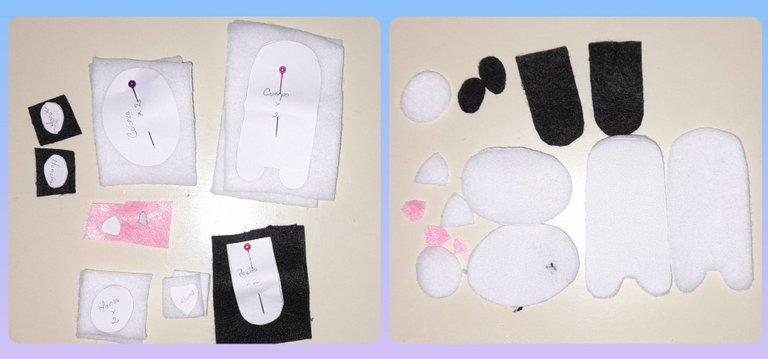
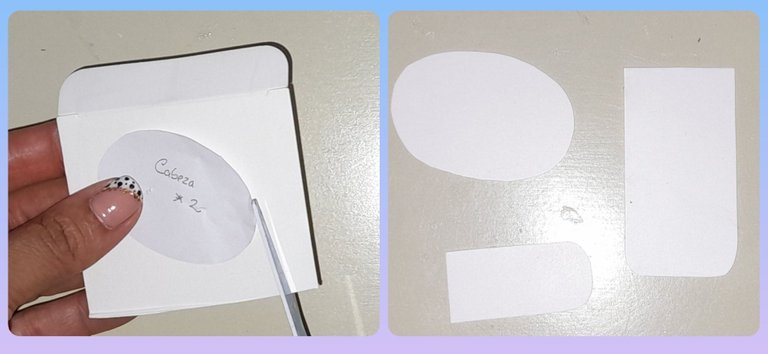
Dibujamos y recortamos los patrones del gato y luego lo traslados al fieltro fijándonos con alfileres de manera que el corte en el fieltro sea más preciso.
Step by Step:
We draw and cut out the patterns of the cat and then transfer it to the felt, fixing it with pins so that the cut on the felt is more precise.
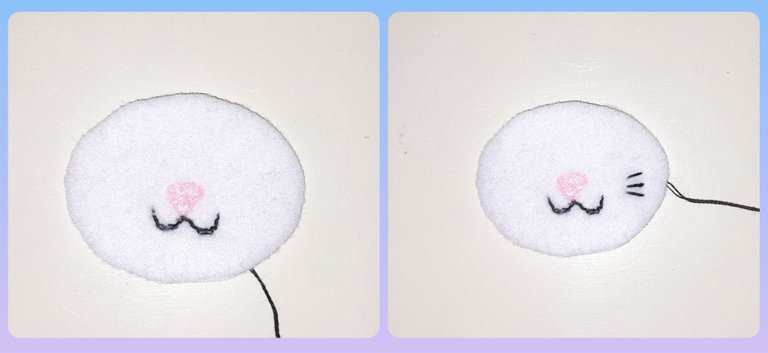
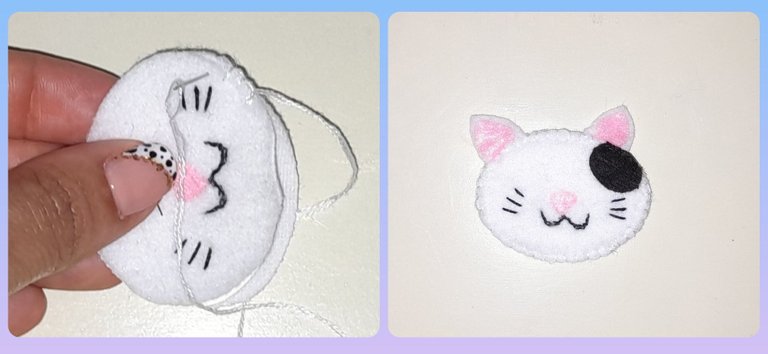
Empezaremos por elaborar las facciones del gato, para esto pegamos la nariz, luego con el hilo de bordar negro, bordamos la boca y los bigotes del gato.
We will start by making the features of the cat, for this we glue the nose, then with the black embroidery thread, we embroider the cat's mouth and whiskers.
En un cartón delgado recortamos la forma de la cabeza, el cuerpo y el pecho del gato unos centímetros más pequeños que los patrones del fieltro, estos cartones los ubicaremos dentro de la costura de las piezas mencionadas.
In a thin cardboard we cut out the shape of the cat's head, body and chest a few centimeters smaller than the felt patterns, we will place these cardboards inside the seam of the mentioned pieces.
Para elaborar la cabeza unimos las dos piezas de fieltro con el cartón en el centro y pasamos una costura punto de ojal por toda la orilla, pegamos la mancha y las orejas del gato.
To make the head, we join the two pieces of felt with the cardboard in the center and we pass a buttonhole stitch seam along the edge, we glue the stain and the cat's ears.
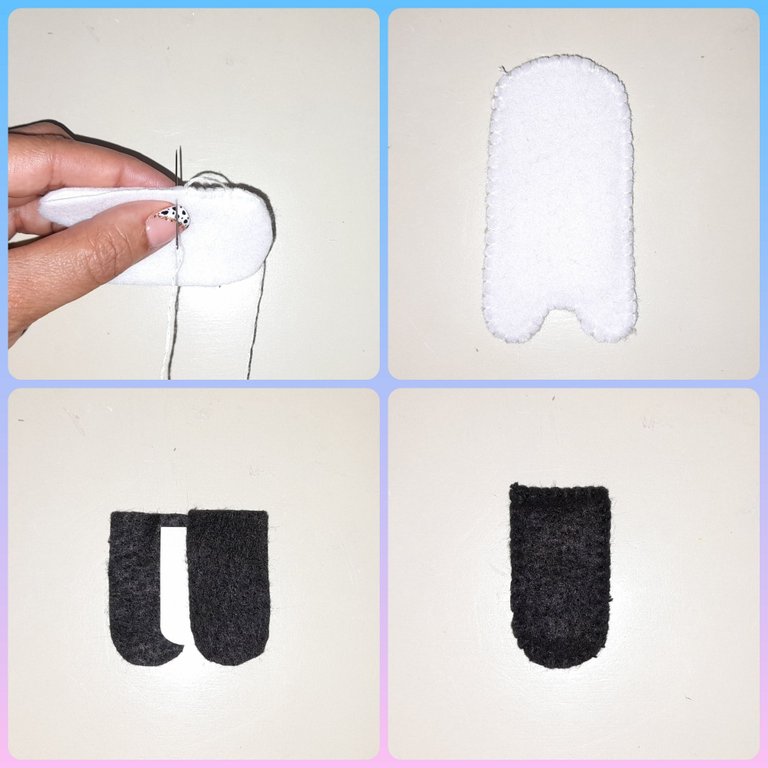
Para elaborar el cuerpo y el pecho del gato, utilizamos la misma técnica que usamospara la cabeza, unimos las dos piezas de fieltro, colocamos el cartón en el medio del fieltro y pasamos una costura punto de ojal por toda la orilla.
To make the body and chest of the cat, we use the same technique that we used for the head, we join the two pieces of felt, we place the cardboard in the middle of the felt and we sew a buttonhole stitch along the edge.
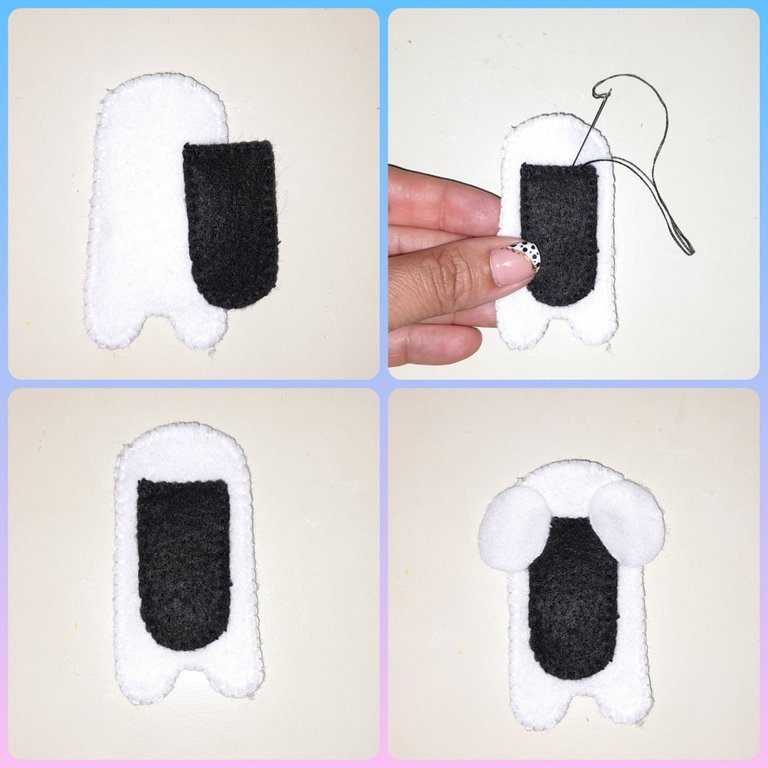
Luego pegamos el pecho al cuerpo uniendo con unas puntadas y pegamos las patas delanteras del gato una a cada lado del cuerpo.
Then we glue the chest to the body joining with some stitches and glue the cat's front legs one on each side of the body.
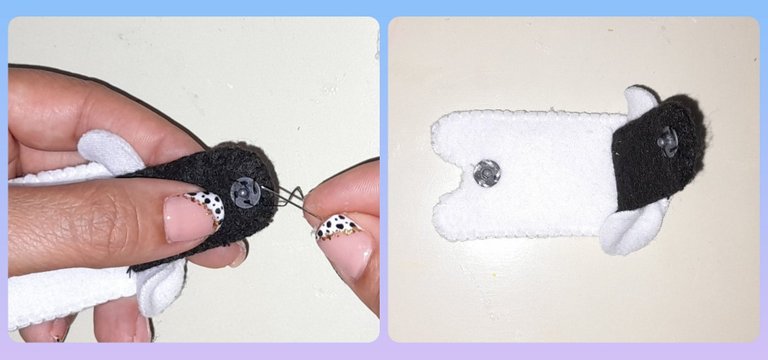
Los audífonos van enrollados alrededor del cuerpo del gato y el pecho es quien lo sostiene. Para esto colocamos un broche en la parte superior del pecho y otro en la parte inferior del cuerpo para unirlos.
The headphones are wrapped around the cat's body and are supported by the chest. For this we place a brooch in the upper part of the chest and another in the lower part of the body to join them.
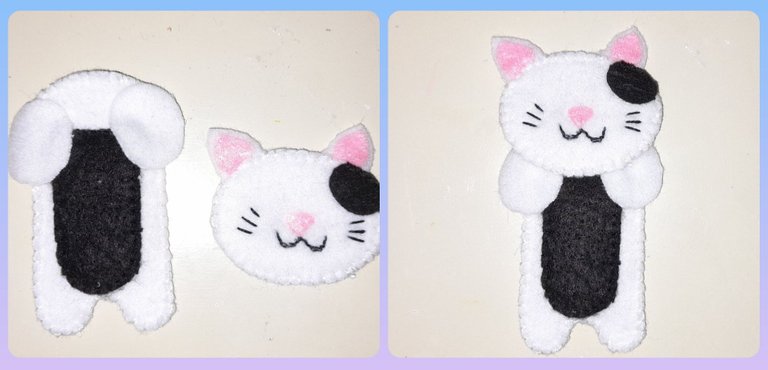
Ya estamos terminando este portaaudifonos, en este paso unimos la cabeza con el cuerpo, a través de unas puntadas.
We are already finishing this headphone holder, in this step we join the head with the body, through some stitches.
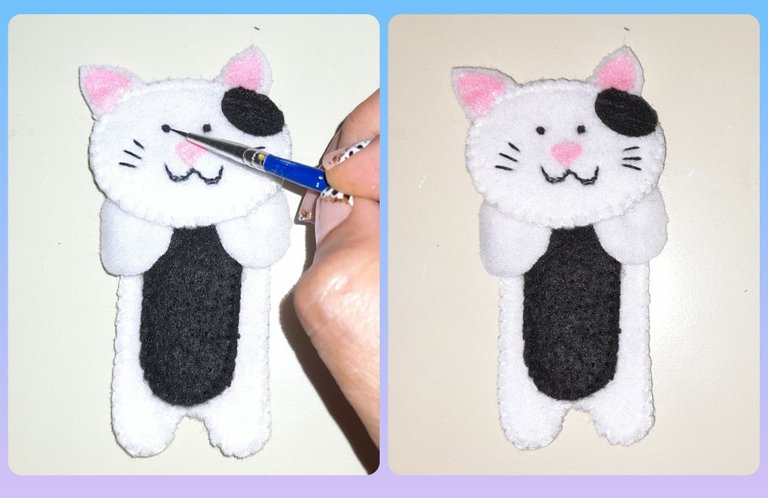
Por último pintamos los ojos con pintura frío negra. Y tenemos listo nuestro portaaudifonos listo para usarlo.
Finally we paint the eyes with black cold paint. And we have our headset ready to use.
-Las fotos son de mi propiedad, tomadas con un Samsung A21S,cámara de 48MP.
-Para la traduccion Google Traductor.
-The photos are my property, taken with a Samsung A21S, 48MP camera.
-For Google Translate translation.
 [Imagen de referencia] (https://pin.it/1D2YnSf)

Wow this looks so good, you've done a great job
Thanks @vickoly.
You're welcome.
Muy creativo este portaaudifonos 😍😍 está genial amiga.
Hola, @mayi04 gracias me alegro que te haya gustado.