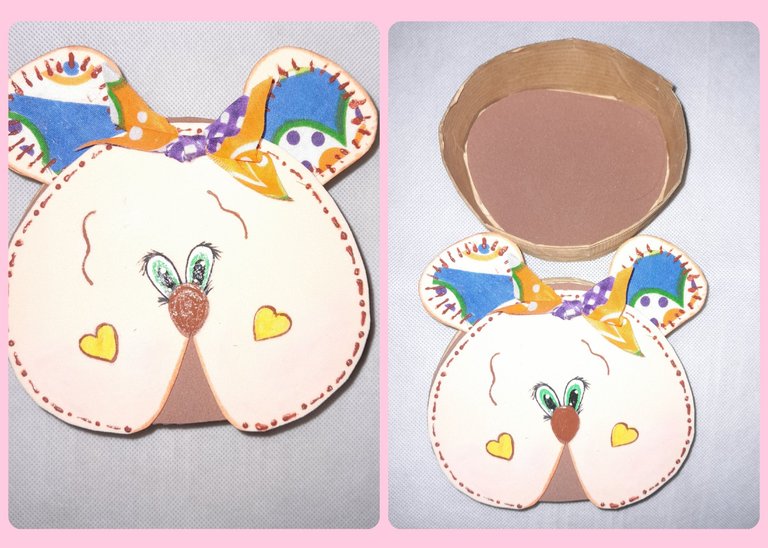
Greetings friends from #hivediy, happy Wednesday, at this time we are finishing the day, I hope you had an excellent day and tomorrow will be better. I had some small things that I had nowhere to store them so I started to make a small box, but since they look nicer decorated I wanted to turn it into a project to show it to this community, so my project today is How to make a nice box bear which we can place anywhere in our home and store what we want in it, we can also use it as a gift. I invite you to read this step by step so you can see how you can make it, it is very easy, fast and simple to make.
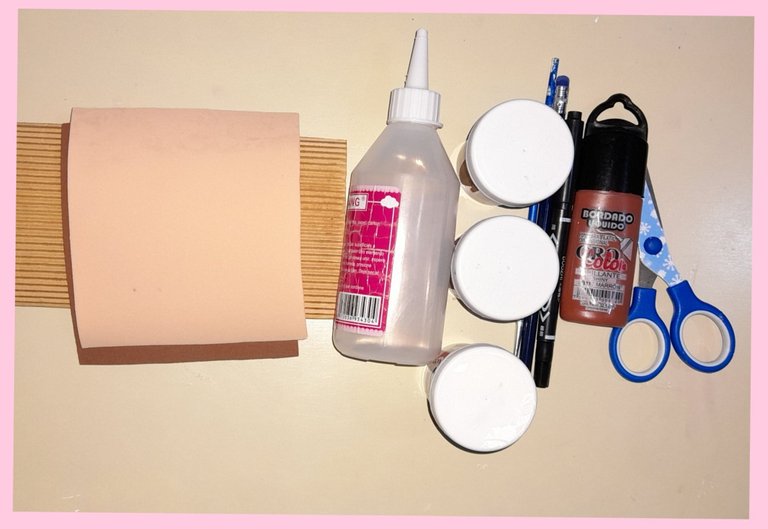
Materiales:
- Foami color piel y marrón.
- Cartón corrugado beige.
- Tela.
- Pintura al frío marrón, amarilla, negra, blanca y verde.
- Pintura bordado líquido marrón.
- Pincel.
- Lápiz.
- Tijeras.
- Silicón frío.
Materials:
- Foami skin color and brown.
- Beige corrugated cardboard.
- Cloth.
- Brown, yellow, black, white and green cold paint.
- Brown liquid embroidery paint.
- Brush.
- Pencil.
- Pair of scissors.
- Cold sylicon.
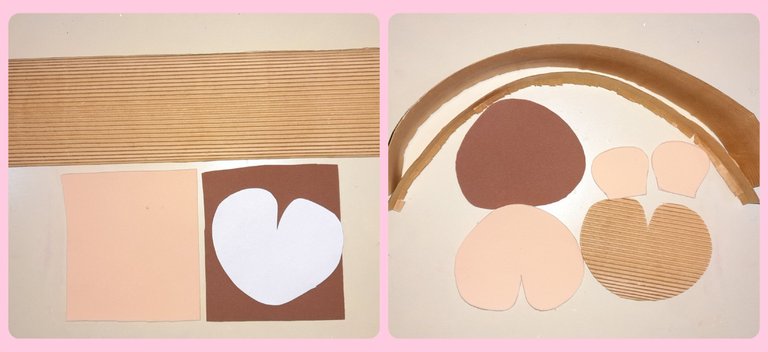
Paso a paso:
Trasladamos al foami el patrón de la cara de la osita, recortamos la parte inferior en marrón, en color piel recortamos la cara y las orejas. Para la caja recortamos en cartulina corrugado la forma de la cara de la osita y dos tiras una de 4cm de ancho y la otra de 2cm.
Step by Step:
We transfer the pattern of the bear's face to the foami, we cut out the lower part in brown, in skin color we cut out the face and ears. For the box we cut out the shape of the bear's face from corrugated cardboard and two strips, one 4cm wide and the other 2cm.
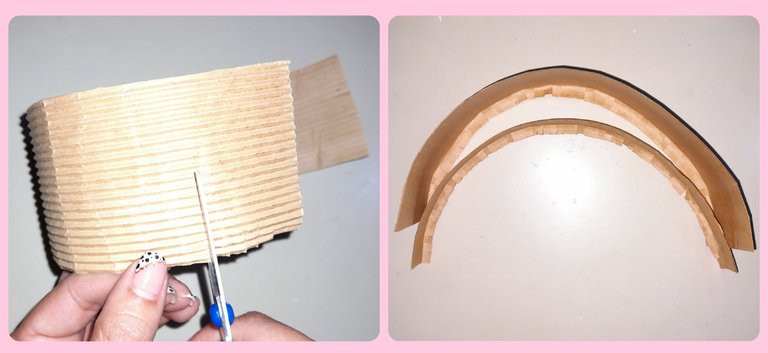
Para elaborar la caja recortamos 2 tiras una de 4cm de ancho x 16cm de largo, para la tapa utilizaremos una de 2cm de ancho por 18 cm de largo, esta es un poco más grande de modo que pueda calzar bien en la caja. Le hacemos pequeños cortes por toda la orilla de manera que se haga mas fácil pegarlas.
To make the box we cut 2 strips, one 4cm wide x 16cm long, for the lid we will use one 2cm wide x 18cm long, this one is a little larger so that it can fit well in the box. We make small cuts along the edge so that it is easier to stick them.
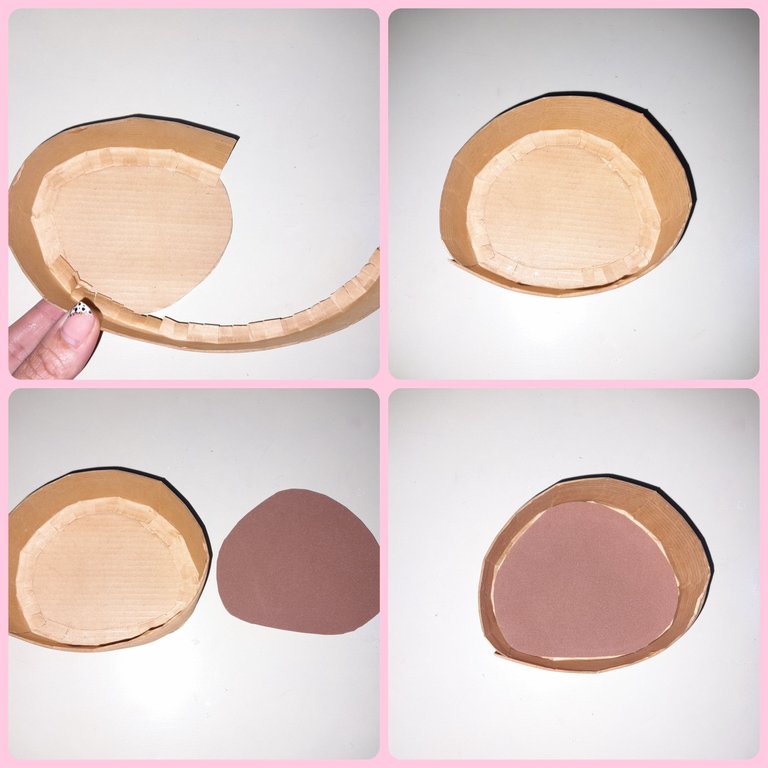
Luego pegamos con silicón las tiras por el lado que tiene los pequeños cortes en la cartulina corrugada que va a ser el fondo de la caja. Una vez pegada la tira pegamos el foami al fondo de la caja,tal como lo indica la figura. este mismo procedimiento se repite para la tapa de la caja.
Then we glue the strips with silicone on the side that has the small cuts in the corrugated cardboard that will be the bottom of the box. Once the strip is glued, we glue the foami to the bottom of the box, as indicated in the figure. this same procedure is repeated for the lid of the box.
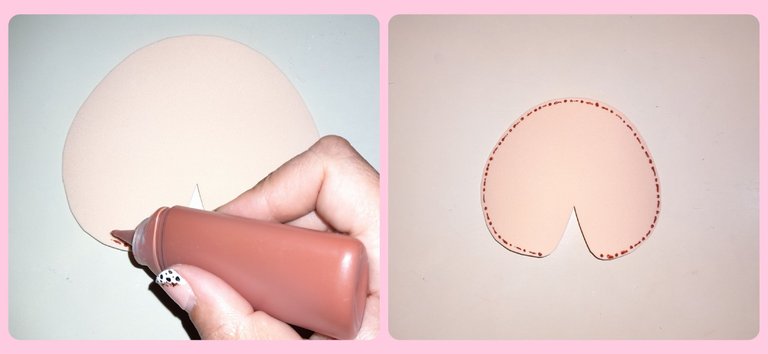
En este paso elaboraremos la cara de la osita, lo primero que hacemos es dibujar líneas punteada con la pintura de bordado líquido marrón por toda la orilla y esperamos que seque bien.
In this step we will make the face of the bear, the first thing we do is draw dotted lines with the brown liquid embroidery paint all over the edge and wait for it to dry well.
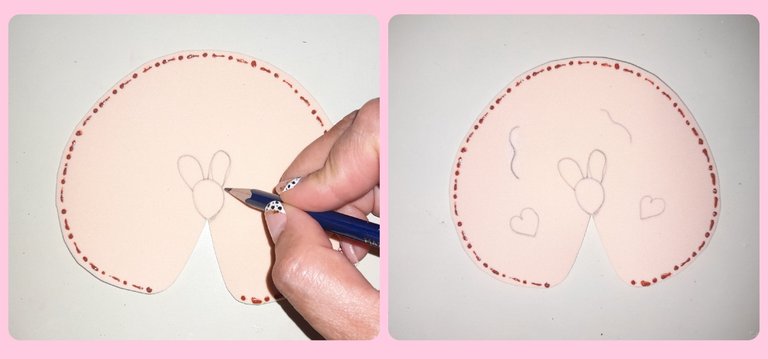
Luego con el lápiz de grafito dibujamos las facciones del la osita.
Then with graphite pencil we draw the features of the osita.
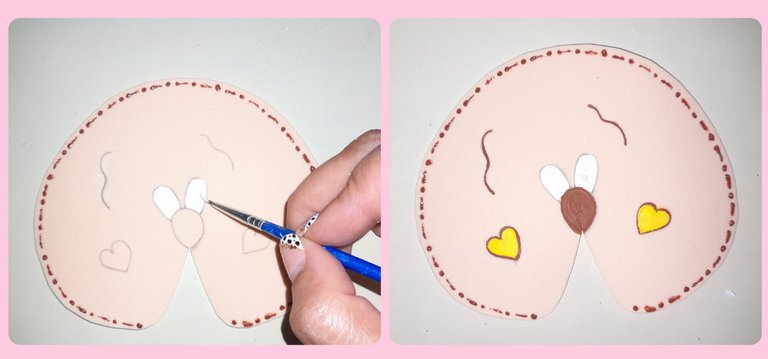
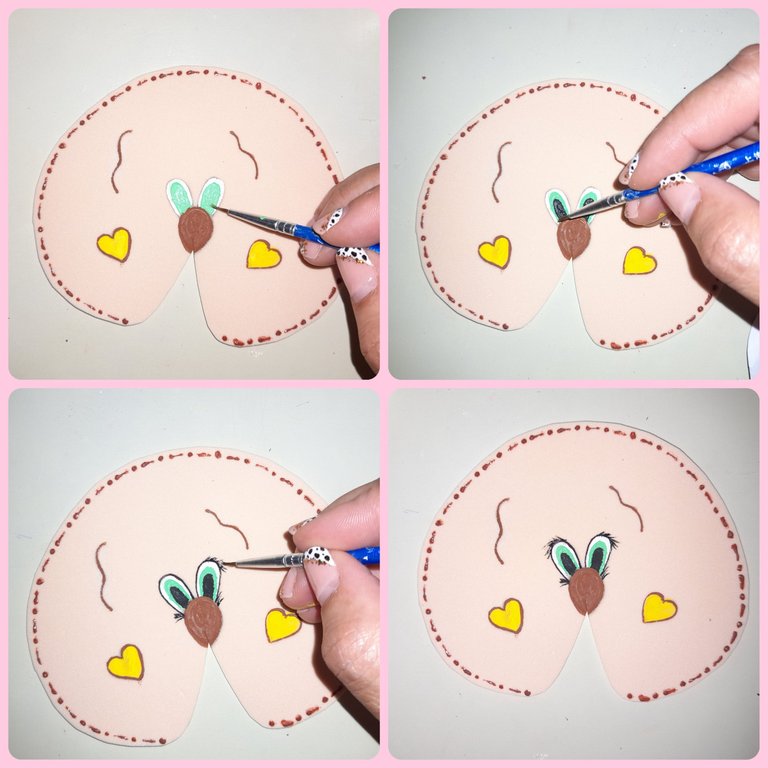
Con la pintura blanca dibujamos el fondo de los ojos, con la amarilla los corazones a ambos lados y con la marrón las cejas y los bordes de los corazones.
With the white paint we draw the bottom of the eyes, with the yellow the hearts on both sides and with the brown the eyebrows and the edges of the hearts.
Para continuar pintando los ojos sobre el fondo blanco pintamos un ovalo verde y sobre este uno negro,luego pintamos las pestañas y pintamos dos puntos blancos en cada ojo para darle brillo.
To continue painting the eyes on the white background we paint a green oval and on this a black one, then we paint the eyelashes and paint two white dots on each eye to give it shine.
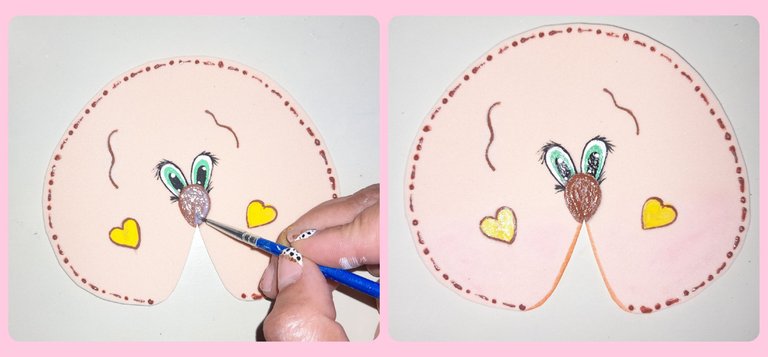
Para darle un poco más de brillo a los ojos y a los corazones aplicamos pintura brillo al agua y esperamos a que seque bien.
To give the eyes and hearts a little more shine, we apply glitter paint to water and wait for it to dry well.
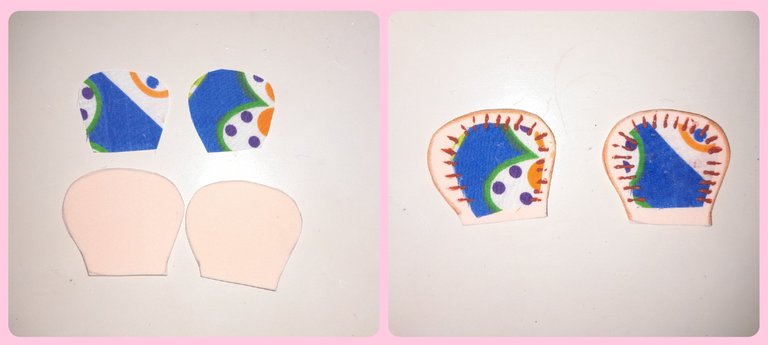
Para elaborar las orejas recortamos en tela las orejas pero de un tamaño más pequeño y las pegamos en las de foami, luego con la pintura bordado líquido marrón vamos pintando pequeñas líneas alrededor de la oreja.
To make the ears we cut the ears out of fabric but smaller in size and glue them onto the foami ones, then with the brown liquid embroidery paint we paint small lines around the ear.
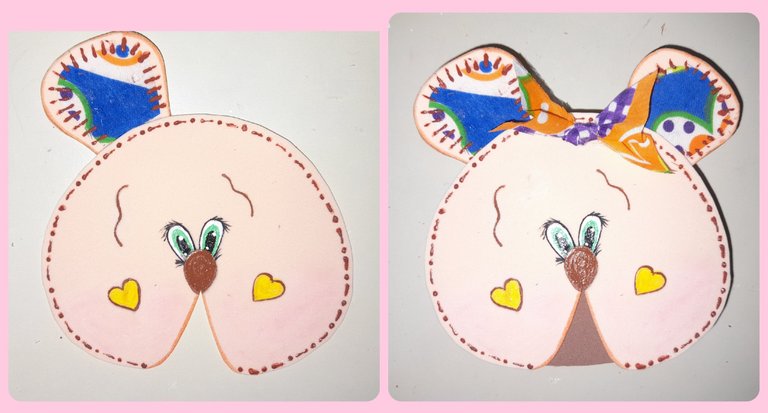
Luego pegamos las orejas a la cara de la osita,un pequeño lazo al frente y por último la pegamos en la tapa de la caja y de esta manera fácil, rápido y sencilla hemos elaborado un linda caja de osita.
Then we glue the ears to the face of the bear, a small bow in front and finally we glue it to the lid of the box and in this easy, fast and simple way we have made a cute bear box.
-Las fotos son de mi propiedad, tomadas un Samsung A21S,cámara de 48MP.
-Para la traduccion Google Traductor.
-The photos are my property, taken with a Samsung A21S, 48MP camera.
-For Google Translate translation.

Thank you for sharing this amazing post on HIVE!
non-profit curation initiative!Your content got selected by our fellow curator @rezoanulvibes & you just received a little thank you via an upvote from our
You will be featured in one of our recurring curation compilations and on our pinterest boards! Both are aiming to offer you a stage to widen your audience within and outside of the DIY scene of hive.
Join the official DIYHub community on HIVE and show us more of your amazing work and feel free to connect with us and other DIYers via our discord server: https://discord.gg/mY5uCfQ !
If you want to support our goal to motivate other DIY/art/music/homesteading/... creators just delegate to us and earn 100% of your curation rewards!
Stay creative & hive on!
Felicidades tienes mucha creatividad!!Hola amiga @marciabon , me encantó 😍 como te quedó la caja decorada está preciosa.
@marciabon gracias por compartir quedó hermosa