¡Saludos Comunidad Creativa! | ¡Greetings Creative Community!
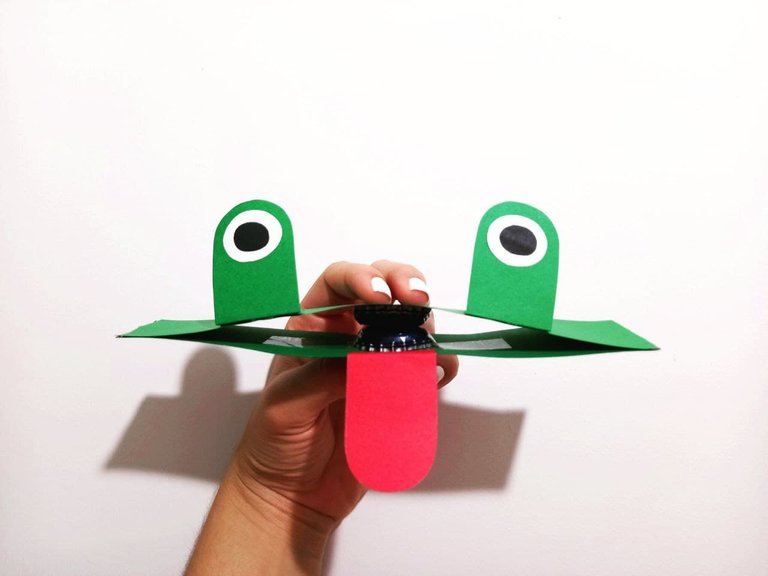
¡Feliz Día de Reyes! Hoy les traigo un tutorial de una linda manualidad muy creativa ideal para elaborar con los más pequeños de la casa, de trata de un divertido sapito ruidoso elaborado con cartulina y chapas, bien podría considerarse como un juguete didáctico para los niños por su facilidad de elaborar y su divertida forma que proporciona un sonido al chocarse las chapas, a continuación les muestro el procedimiento, espero que les guste.
¡Happy king's day! Today I bring you a tutorial of a beautiful and very creative craft ideal to make with the little ones in the house, it is about a funny noisy frog made with cardboard and plates, it could well be considered as a didactic toy for children due to its ease of making and its fun way that provides a sound when the plates collide, below I show you the procedure, I hope you like it.

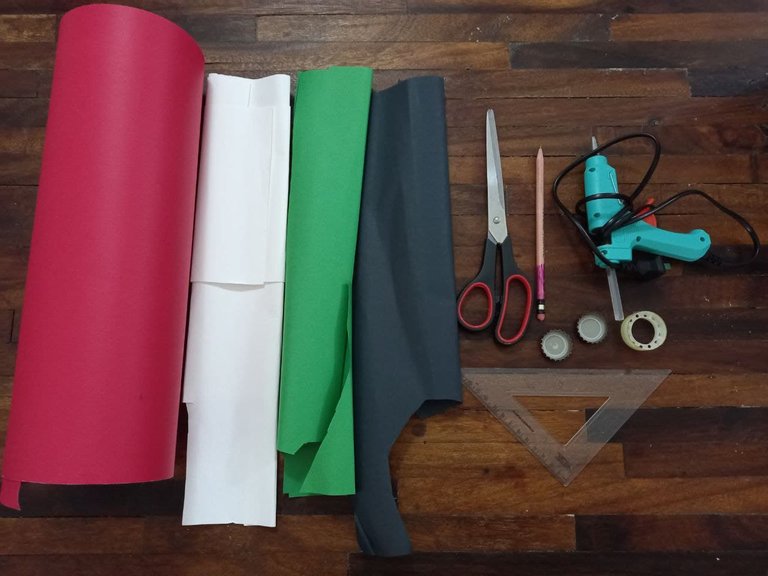
Materiales | Materials
◎Cartulina escolar verde, roja, negra y blanca.
◎Tijeras.
◎Silicón.
◎Lápiz.
◎Regla.
◎Cinta adhesiva transparente.
◎2 Chapas.
◎ Green, red, black and white school card.
◎ Scissors.
◎ Silicone.
◎ Pencil.
◎ Ruler.
◎ Transparent adhesive tape.
◎ 2 Plates.
Procedimiento ✂ | Process ✂
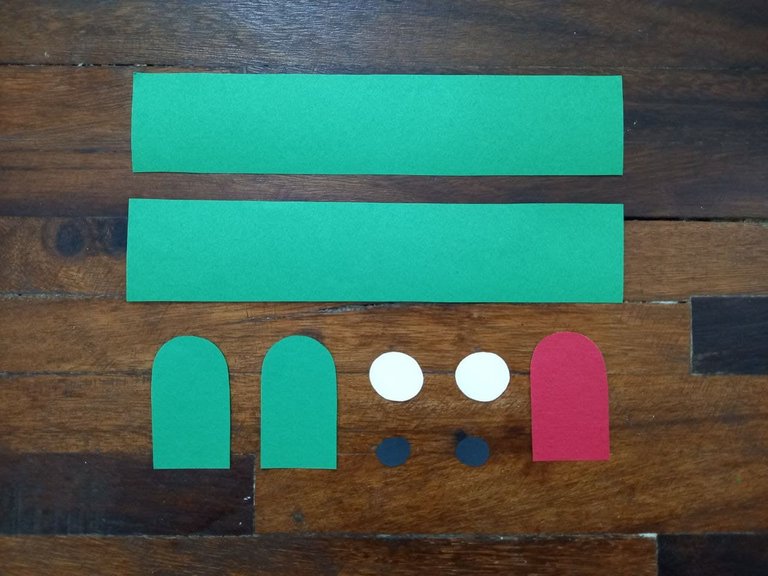
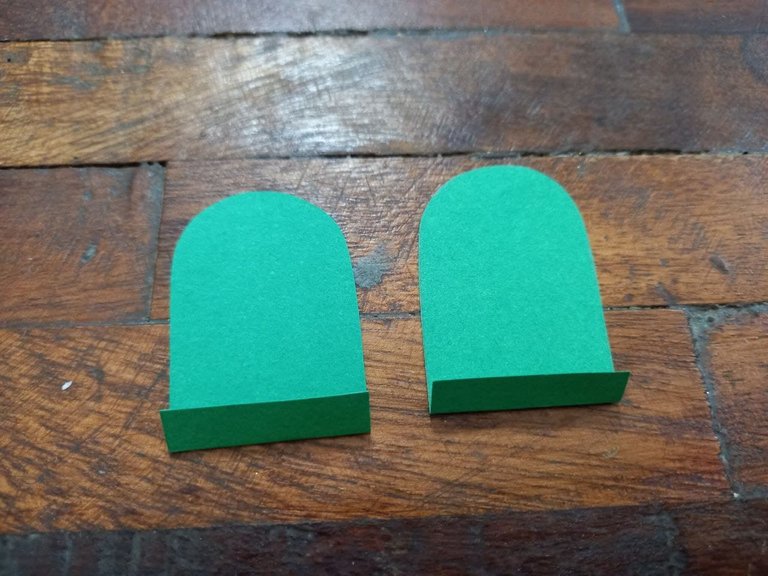
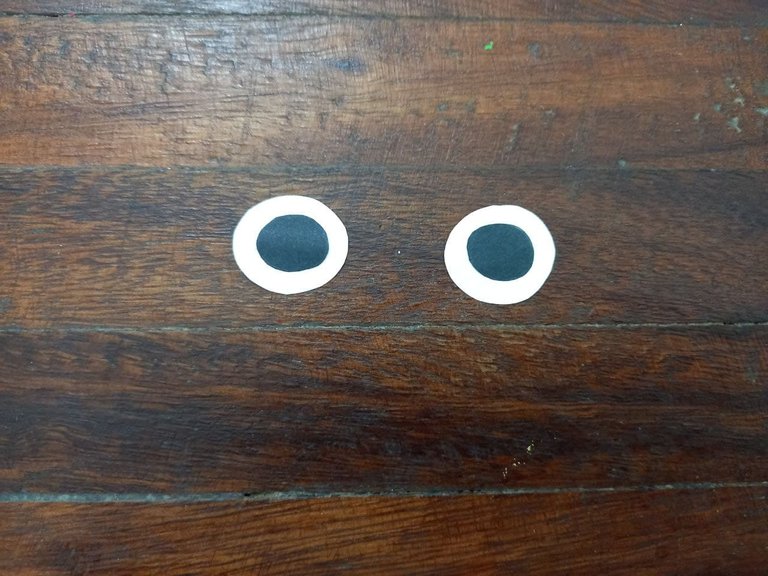
◆ PASO 1. Lo primero es hacer las piezas para formar a nuestro divertido sapito, necesitamos 2 tiras de cartulina verde de unos 15 cm de largo y un poco más ancho que el tamaño de la chapa, también necesitaremos 2 círculos medianos de cartulina blanca y 2 más pequeños de cartulina negra, además 3 piezas de la forma que se muestra en la foto, 2 en verde que serán los ojos y una en rojo que será la lengua.
◆ STEP 1. The first thing is to make the pieces to form our funny little frog, we need 2 strips of green cardboard about 15 cm long and a little wider than the size of the sheet, we will also need 2 medium circles of white cardboard and 2 smaller ones of black cardboard, plus 3 pieces of the shape shown in the photo, 2 in green that will be the eyes and one in red that will be the tongue.
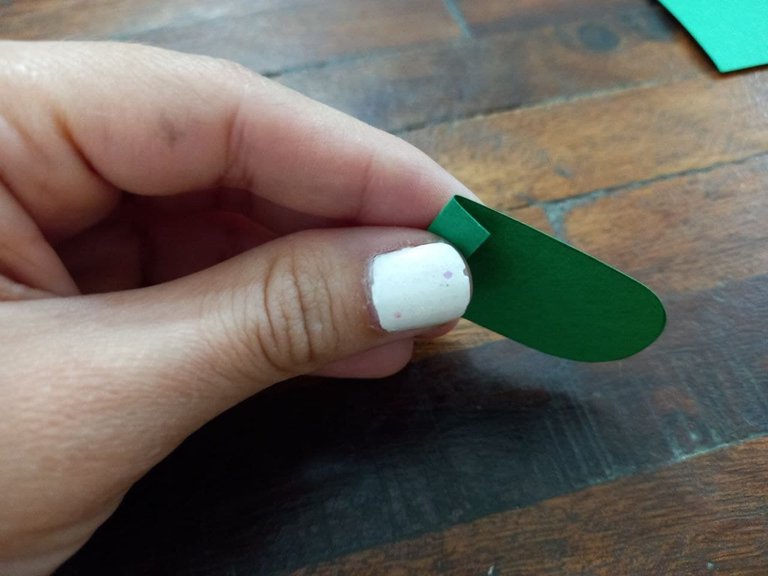
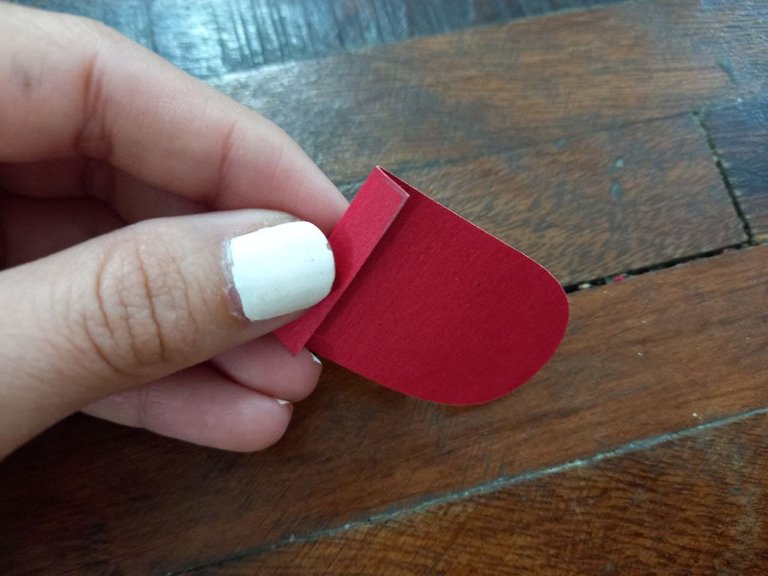
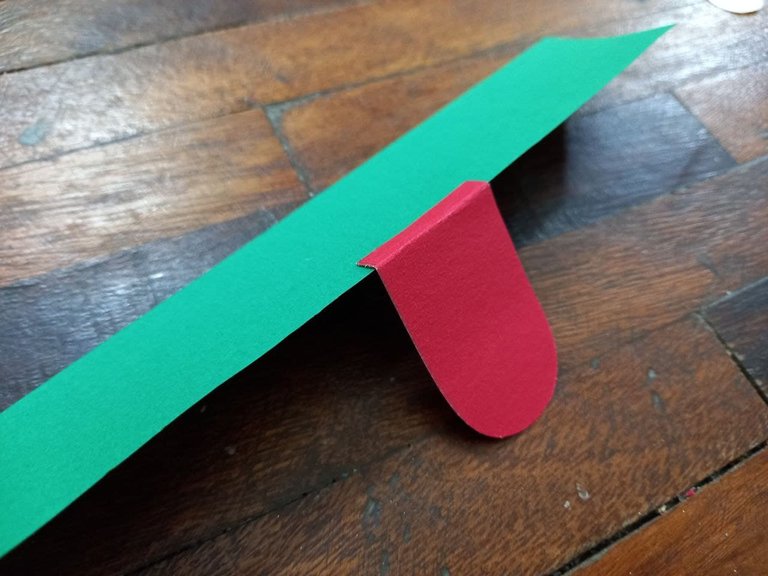
◆ PASO 2. Doblamos las orillas inferiores de los ojos y la lengua quedando como unas pequeñas solapas de estas piezas, luego pegamos la lengua en la orilla de una de las tiras de cartulina verde, justo en el centro, pegándola por la solapa y quedando la lengua hacia afuera.
◆ STEP 2. We fold the lower edges of the eyes and the tongue, remaining like small flaps of these pieces, then we glue the tongue on the edge of one of the green cardboard strips, right in the center, gluing it by the flap and the tongue sticking out.
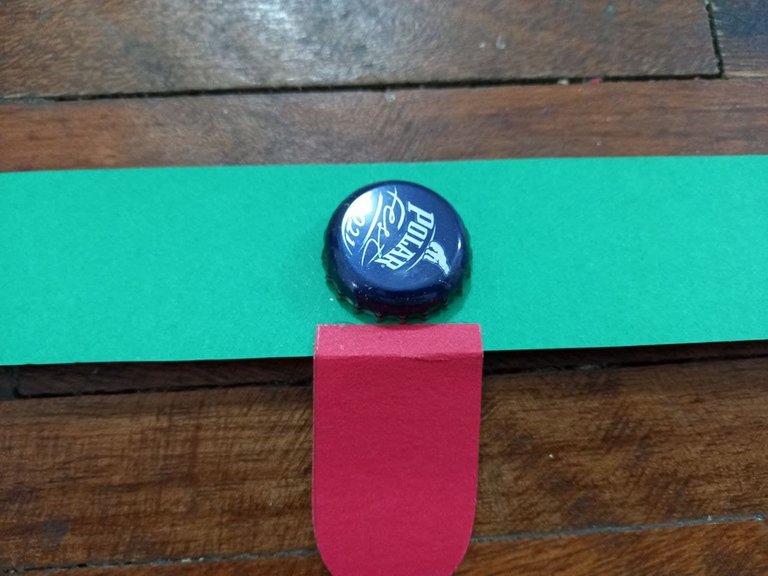
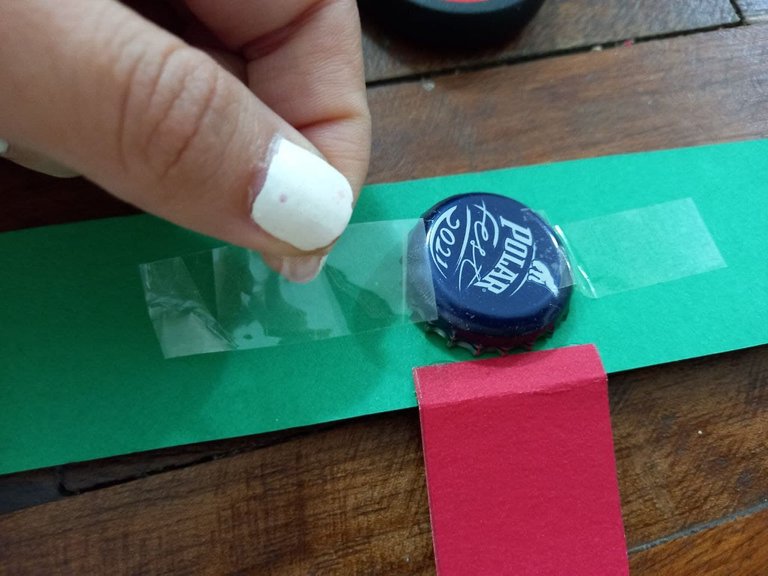
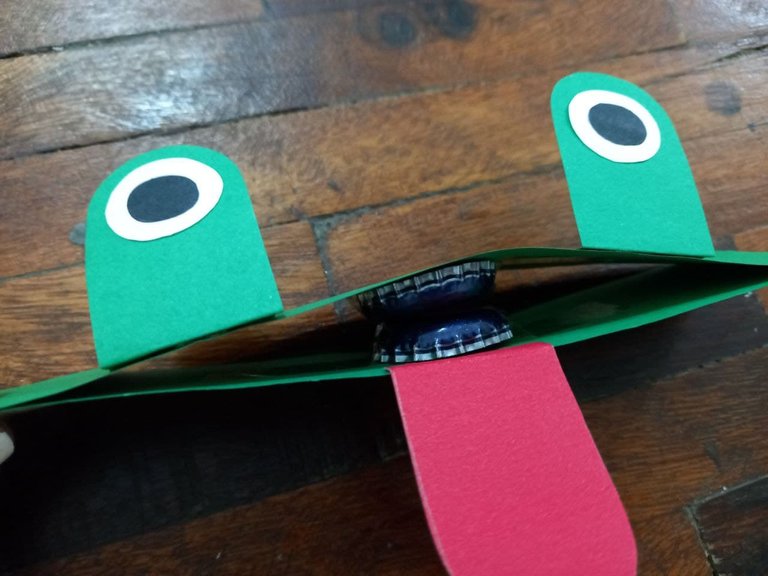
◆ PASO 3. Colocamos una de las chapas sobre la tira de cartulina verde donde ya pegamos la lengua, la colocaremos con la parte hueca hacia abajo y justo en el centro a la par de la lengua y la pegaremos con un poco de cinta adhesiva por ambos lados, es importante no pasar la cinta adhesiva por la parte superior de la chapa o de lo contrario no producirá el sonido que debería, luego pegamos la otra chapa en la otra tira de cartulina verde siguiendo los mismos procedimientos de la primera y quedando también justo en el centro.
◆ STEP 3. We place one of the plates on the green cardboard strip where we already glued the tongue, we will place it with the hollow part down and right in the center next to the tongue and we will stick it with a little of adhesive tape on both sides, it is important not to pass the adhesive tape on the upper part of the sheet or else it will not produce the sound that it should, then we stick the other sheet on the other strip of green cardboard following the same procedures of the first and also being right in the center.


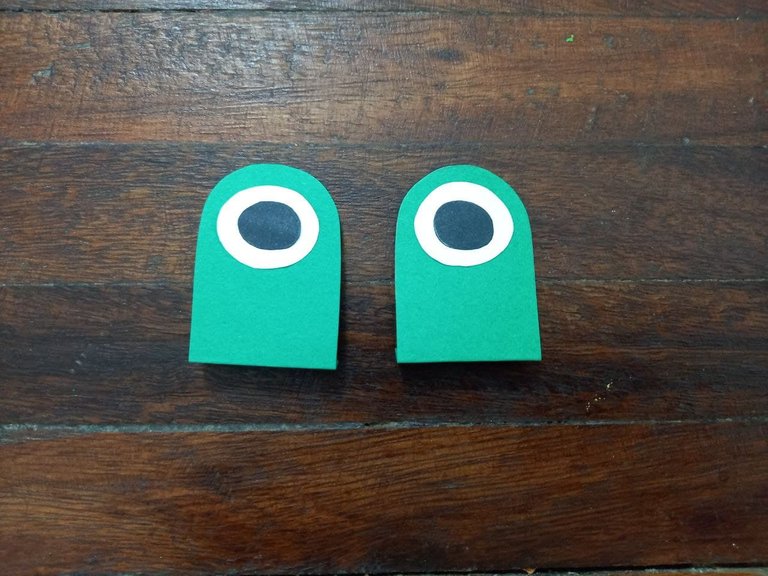
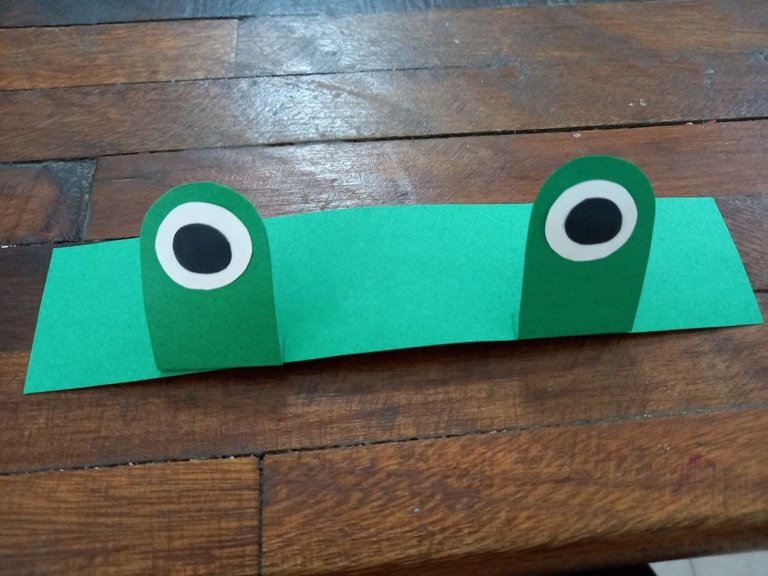
◆ PASO 4. Pegamos los círculos negros sobre los círculos blancos, luego los pegamos sobre los ojos para darle una mejor forma, por ultimo aplicamos silicón en la solapa de los ojos los pegamos en la orilla de la tira de cartulina verde (la que no tiene la lengua) quedando la chapa en la parte de abajo y los ojos en la parte de arriba, debemos pegar los ojos a los lados de la chapa tomando en cuenta que esta está en el centro.
◆ STEP 4. We glue the black circles on the white circles, then we glue them on the eyes to give them a better shape, finally we apply silicone on the eye flap, we glue them on the edge of the green cardboard strip (the one that does not have a tongue) leaving the plate at the bottom and the eyes at the top, we must glue the eyes to the sides of the plate taking into account that it is in the center.
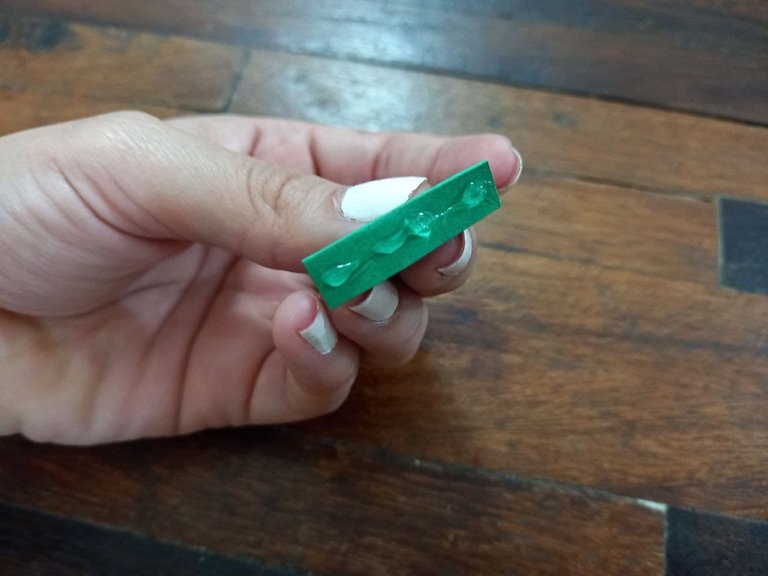
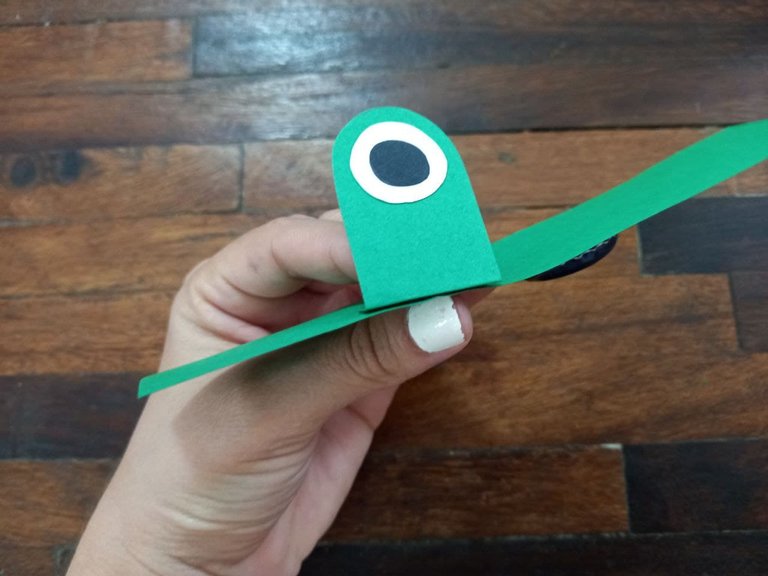
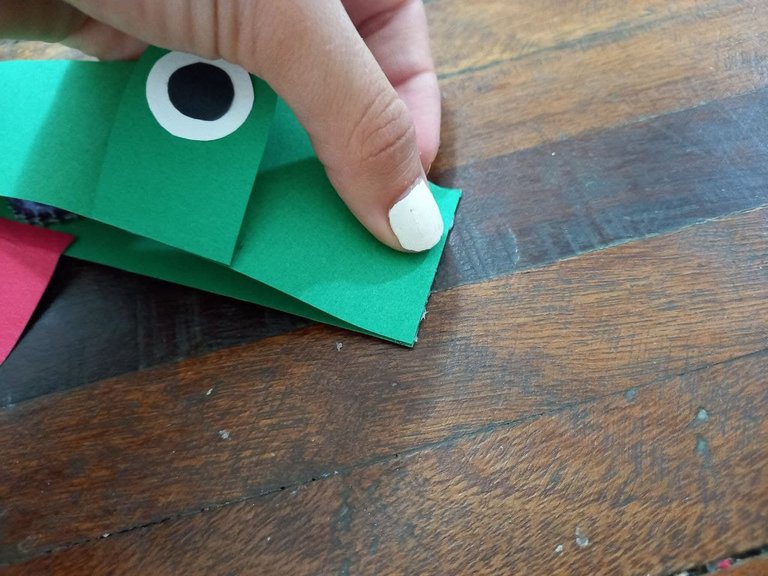
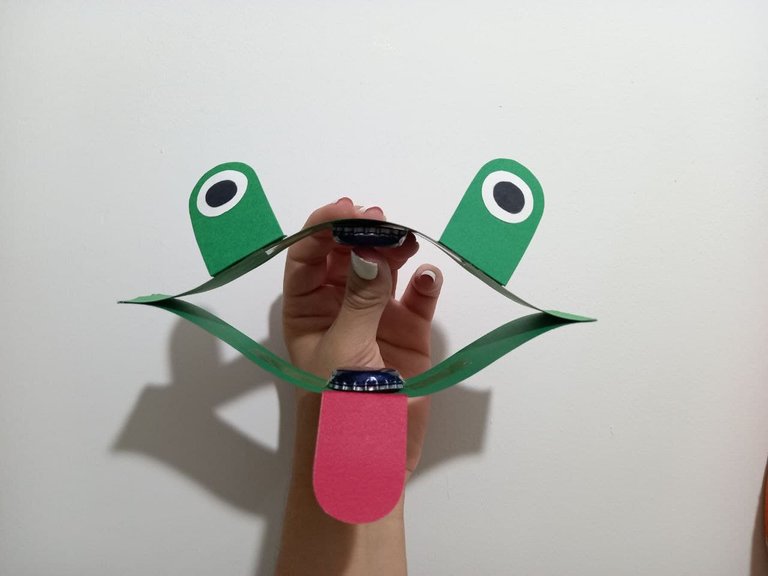
◆ PASO 5. Es momento de unir las piezas de cartulina verde y forma nuestro sapito, aplicamos silicón en la orilla superior de la pieza que tiene la lengua y pegamos la orilla de la otra pieza de cartulina verde, luego hacemos lo mismo con las otras 2 puntas, debemos asegurarnos que las chapas queden una sobre la otra y que puedan tocarse.
◆ STEP 5. It is time to join the pieces of green cardboard and form our little frog, we apply silicone to the upper edge of the piece that has the tongue and glue the edge of the other piece of green cardboard, then we do the The same with the other 2 tips, we must make sure that the plates are one on top of the other and that they can be touched.


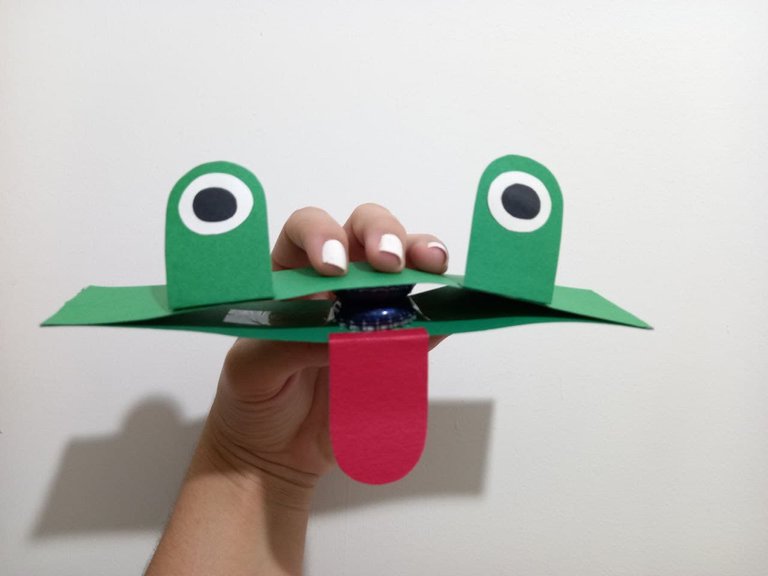
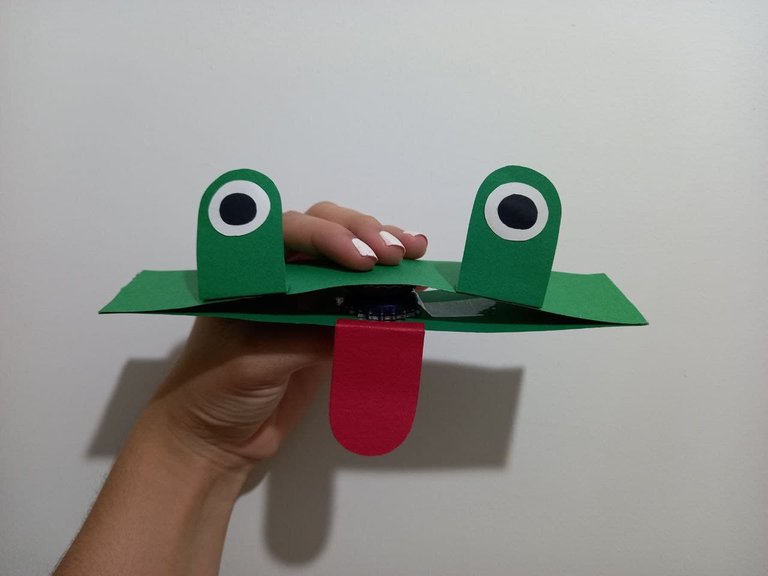
¡Y listo! Ya tenemos nuestro lindo sapito ruidoso, es ideal para los niños por su divertida función que al chocar las chapas producen sonido, es una manera fácil de enseñar a los niños a crear manualidades y poner a volar su imaginación, espero que les haya gustado esta idea y puedan intentarla en casa con sus niños.
¡And ready! We already have our cute noisy frog, it is ideal for children for its fun function that when the plates collide they produce sound, it is an easy way to teach children to create crafts and set their imaginations soaring, I hope you liked this idea and they can try it at home with their children.
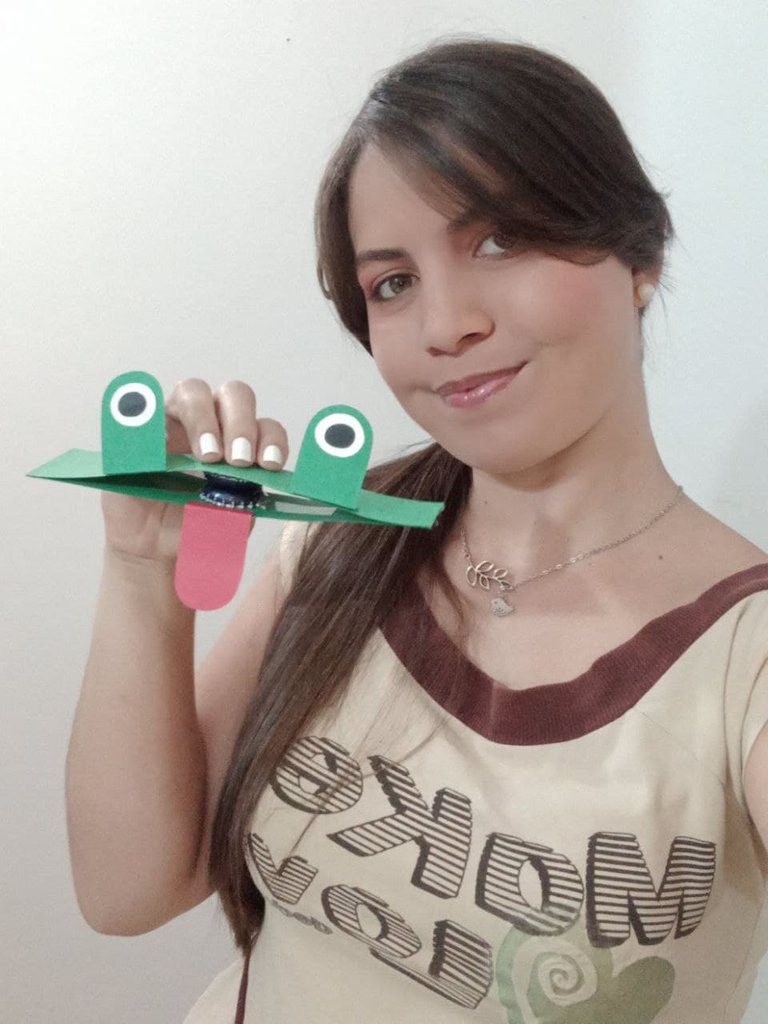
Resultado 🐸 | Result 🐸

Todas las fotografías son de mi propiedad.
Fotografías capturadas con mi Samsung Galaxy A12
Separador de texto elaborado en Canva.
Nos vemos en mi próxima publicación.
¡Tengan un feliz día!
All photographs are my property.
Photos captured with my Samsung Galaxy A12
Text separator made in Canva.
See you in my next post.
¡Have a happy day!
Hola saludos. Muy creativo me encantó el resultado excelente idea para jugar con los más chicos de la casa
Hoola, gracias, que bueno saber que te gustó, y si, es ideal para los niños, estoy segura de que les gustará, gracias por leer, un abrazo!
The rewards earned on this comment will go directly to the person sharing the post on Twitter as long as they are registered with @poshtoken. Sign up at https://hiveposh.com.
Es una manualidad muy bonita y sencilla para que los niños pueden realizar junto a un adulto. Gracias por compartir tus ideas
Hola amiga, muchas gracias por tu comentario, me encantó la idea y no podía esperara para compartirla, no tengo niños pero estoy segura de que a cualquiera le encantaría, gracias por pasar, un abrazo!
Si es muy sencillo de hacer, asi que me parece una actividad perfecta para crear junto a los niños y algo con lo que ellos se pueden divertir luego.