Espero estén teniendo un bendecido martes amigos de Hive, hoy, momento de hacer una manualidad, para esta ocasión les mostraré como realicé una Cajita Organizadora de clips con cartulina de colores, solo debemos recortar y doblar la cartulina, es muy fácil, les encantará.
I hope you are having a blessed Tuesday Hive friends, today, time to make a craft, for this occasion I will show you how I made a Paper Clip Organizer Box with colored cardboard, we just need to cut and fold the cardboard, it is very easy, you will love it.
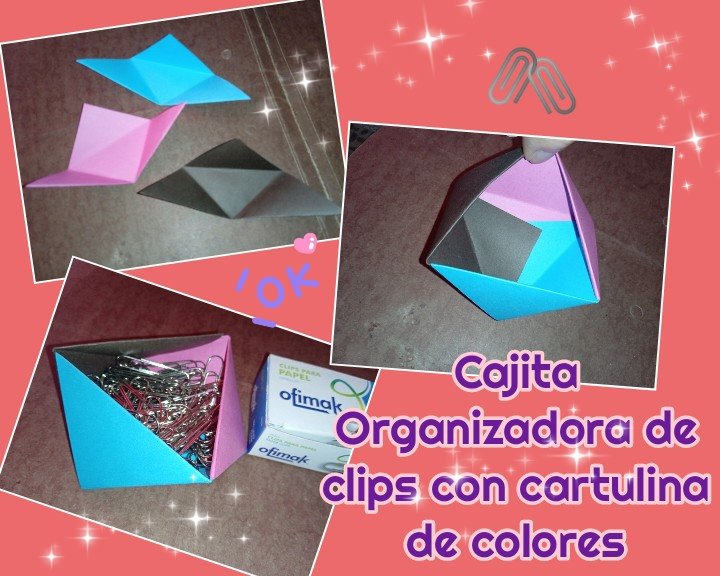
Cajita Organizadora de clips con cartulina de colores
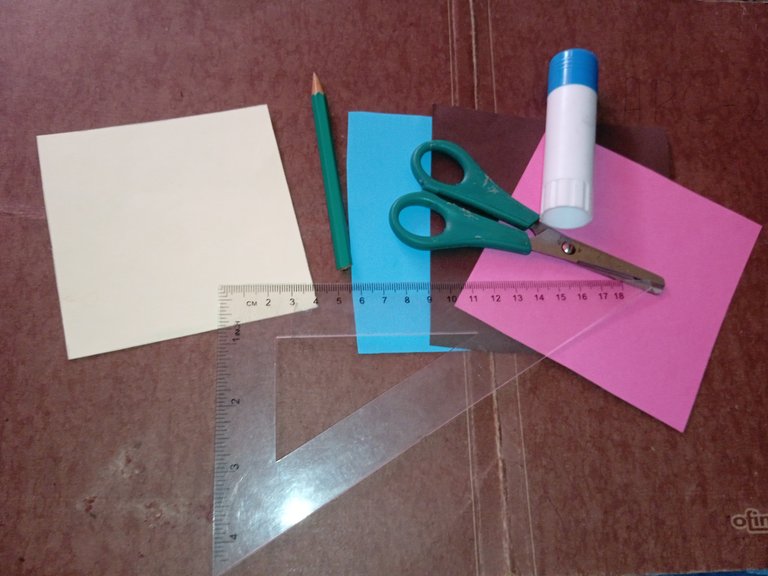
Materiales
Cartulina de color, rosado, azúl y marrón
Tijera
Pega en barra
Lápiz
Patron de cuadrado 10x10cm
Paper clip organizer box with colored cardboard
Materials
Color cardboard, pink, blue and brown
Scissors
Glue stick
Pencil
10x10cm square pattern
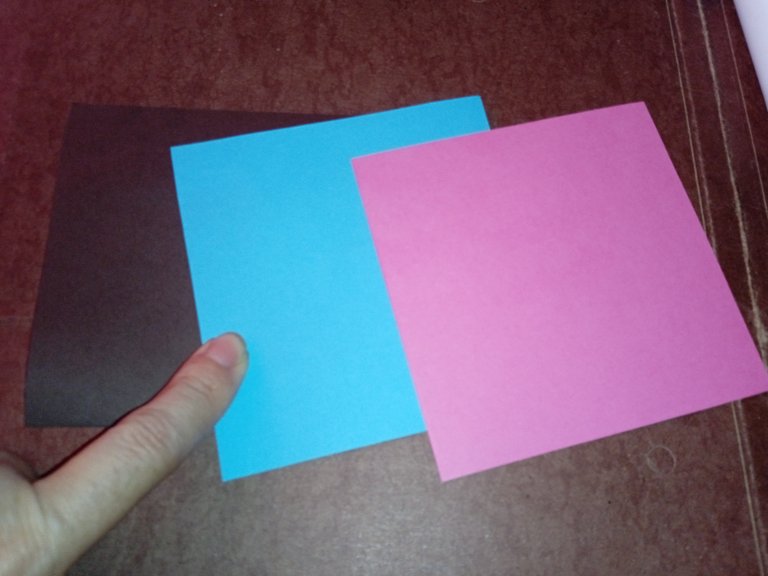
Procedimiento
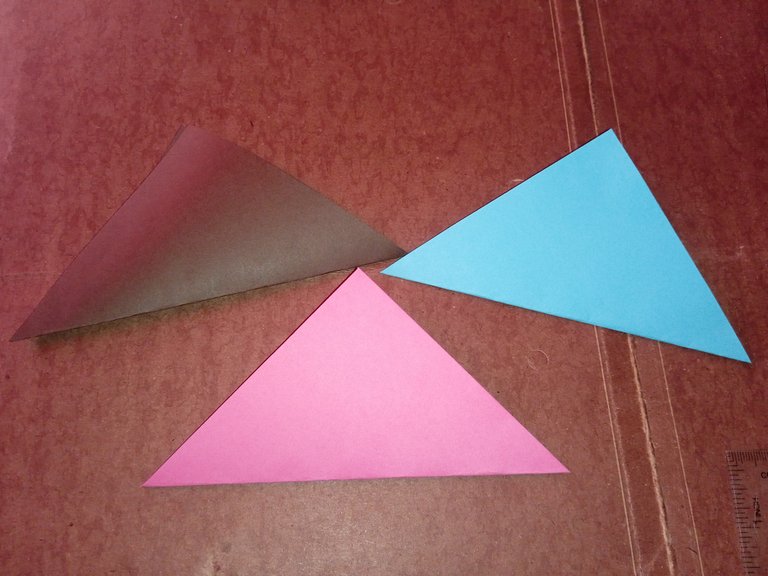
1.Lo primero que vamos a hacer, es transferir el patrón del cuadrado en la cartulina de 10x10 centímetros, obtenemos 3 cuadrados.
Procedure
1.The first thing we are going to do is to transfer the square pattern on the 10x10 centimeters cardboard, we get 3 squares.

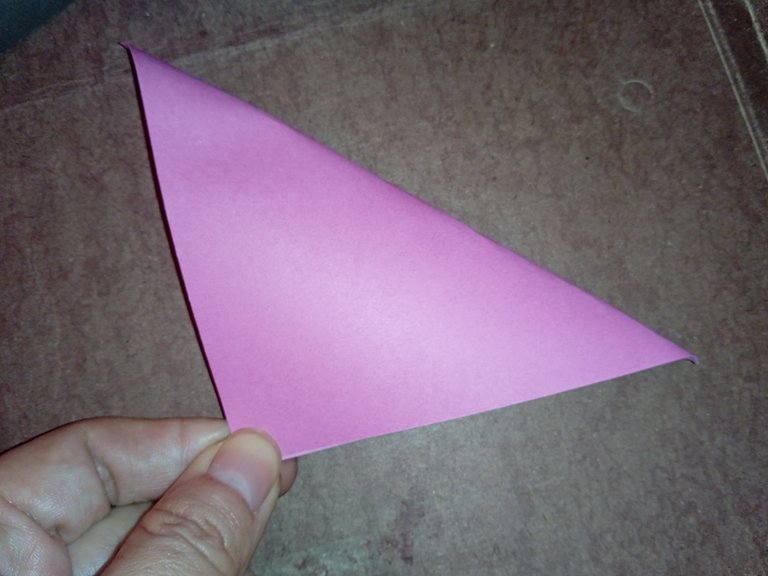
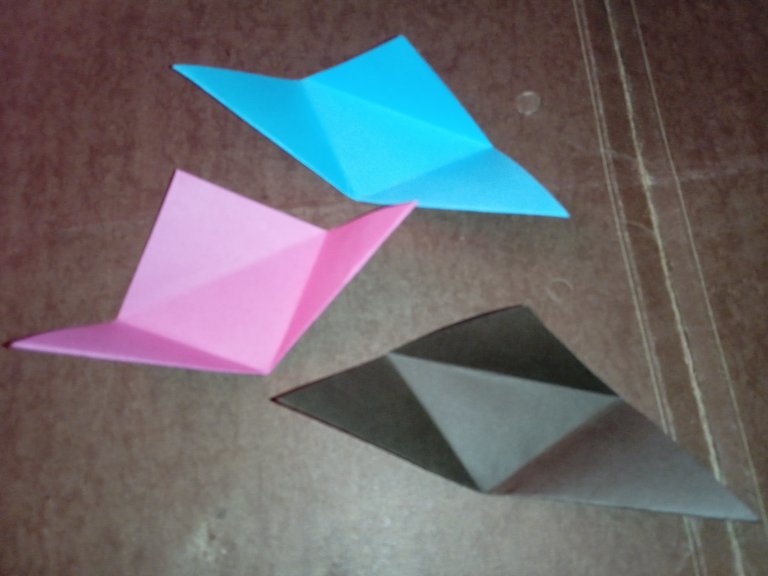
2.Luego doblamos la cartulina en forma de triángulo.
2.Then we fold the cardboard in the shape of a triangle.
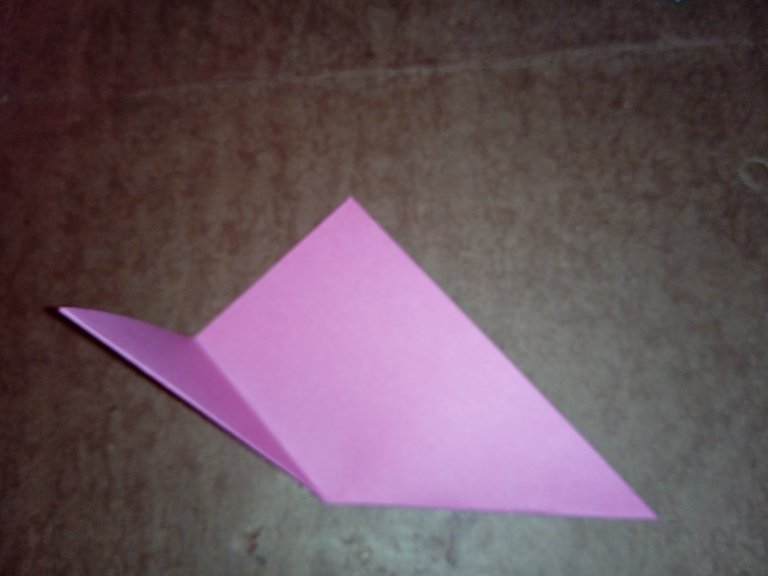
3.Seguidamente doblamos las solapas de la base del triángulo hacia la punta del mismo, marcamos los pliegues y desdoblamos.
3.Then fold the flaps of the base of the triangle towards the tip of the triangle, mark the folds and unfold.
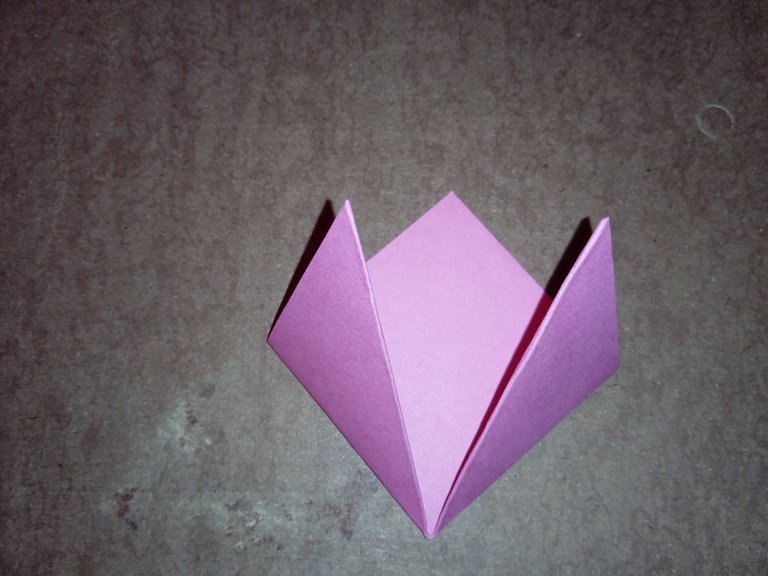
4.Despues doblamos la punta del triángulo hacia la base, marcar y desdoblar, repetimos esto, con las tres cartulinas.
4.Then fold the tip of the triangle towards the base, mark and unfold, repeat this with the three pieces of cardboard.
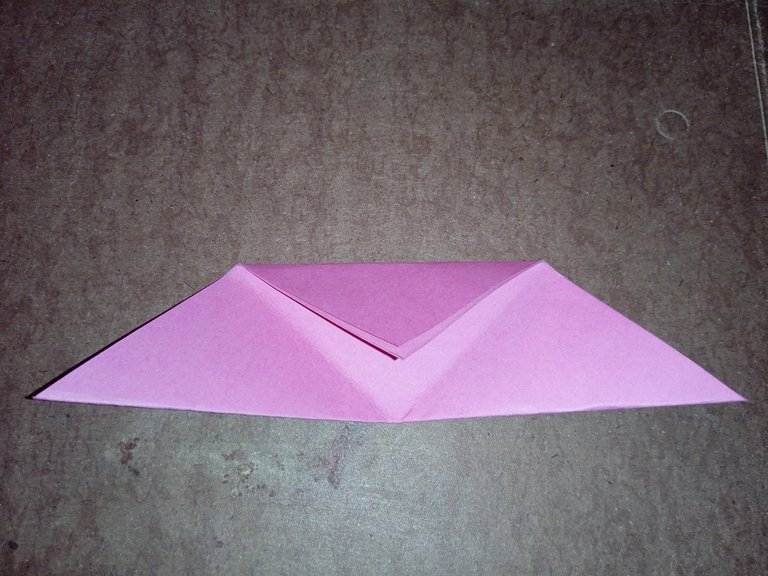
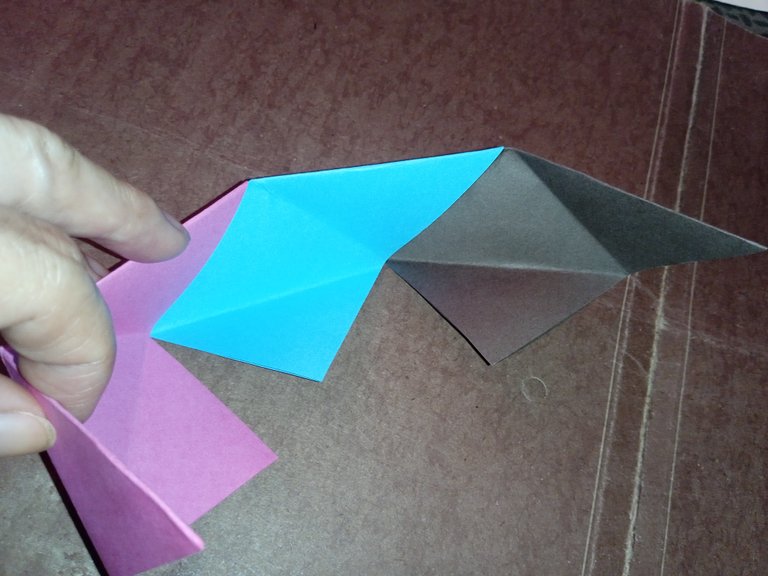
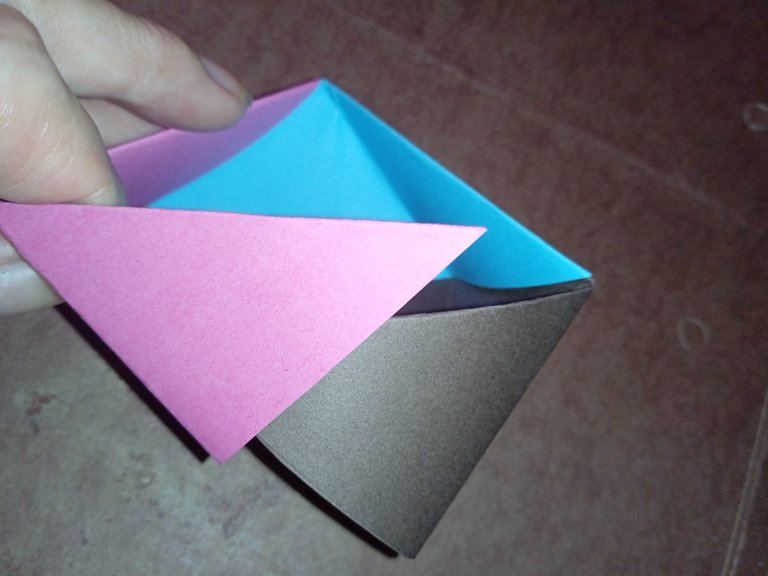
5.Ahora hay que insertar una cartulina doblada dentro de la otra, hacia abajo va la punta del triángulo, hacia arriba queda la parte recta, de modo de cerrar y formar la cajita.
5.Now we have to insert a folded cardboard inside the other one, downwards the tip of the triangle goes, upwards the straight part remains, in order to close and form the little box.
6.Por último pegamos la base de la caja para que la cajita no se abra por debajo.
6.Finally, glue the base of the box so that the box does not open from underneath.

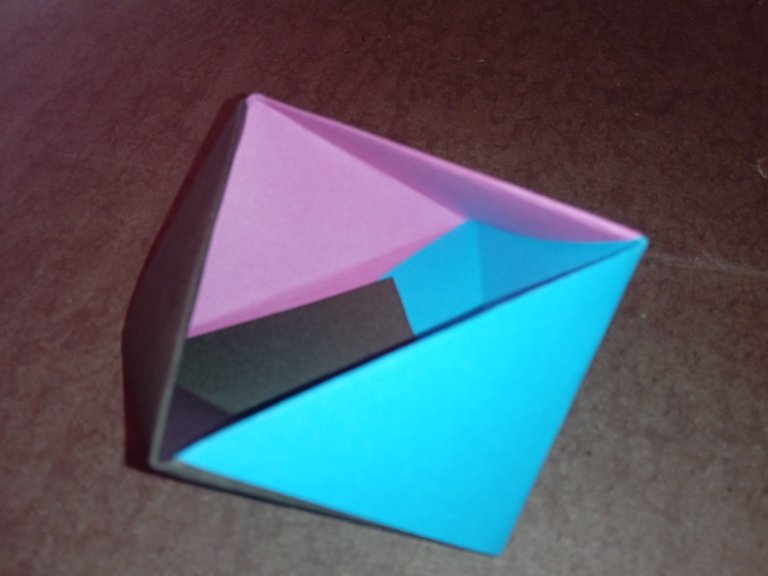
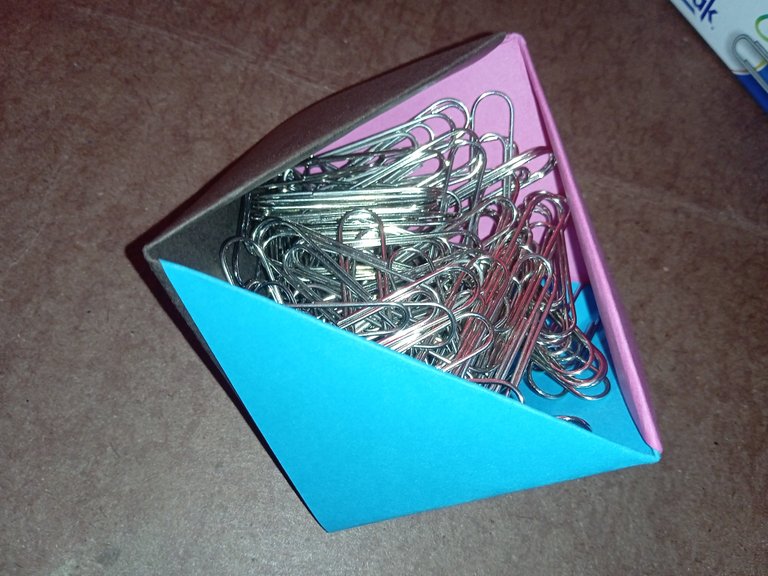
Y cajita para clips lista!
And the clip box is ready!
Hasta aquí mi publicacion de este día, espero les haya gustado, muchas gracias a todos por el apoyo brindado. Saludos
That's it for my publication today, I hope you liked it, thank you all very much for the support provided. Greetings
Translated with DeepL.com
Todas las imágenes son de mi autoria por @mariarodriguez, tomadas especialmente para esta publicación.
All images are my own by @mariarodriguez, taken especially for this publication.

Lindo y práctico 🌻
Super practica, esos clips siempre se pierden por ahi jaja y esta cajita los puede mantener siempre en el mismo lugar, buena idea 😊
So beautiful