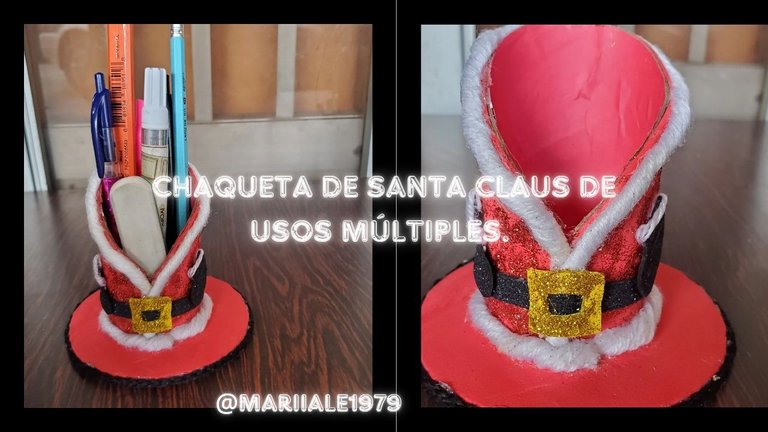
Aprovechando que se está en temporada navideña, y ya algunas personas comenzaron a adornar sus espacios donde pasan la mayor parte de su tiempo. No quise quedarme atrás, a mí me gusta la navidad, esta vez la llevaré de una forma diferente por ahora, no con el entusiasmo de años anteriores, pero por mis hijas lo hago.
Mis pequeñas están muy emocionadas, definitivamente los que más disfrutan la navidad son los niños, se alegran tanto por la llegada de Santa Claus, se encuentran a la espera de ese acontecimiento.
Los negocios, oficinas, escuelas, casas, he visto al menos un símbolo asociado a la época más bonita del año, tengo la oportunidad de realizar una manualidad para adornar mi mesa. Decidí realizar un objeto en el que se pueda colocar diferentes artículos en él, desde lápices, servilletas, vasos, cubiertos entre otros.
Ese objeto que haré con la forma de la chaqueta de Santa Claus, se te hará fácil realizar si te animas. Te diré cómo hacerlo en el paso a paso, los materiales son muy fáciles de conseguir, y gastarás poco, te sugiero seguir leyendo…
Materiales:
- Tubo de papel higiénico.
- Foami rojo.
- Foami negro
- Foami amarillo.
- Estambre blanco.
- Estambre negro.
- Silicona líquida.
- Escarcha roja.
- Escarcha dorada.
- Pega blanca.
- Tijera.
- Escuadra.
- Hoja de cartulina roja
- Lápiz.
- Cartón.
- Compás.
Procedimiento:
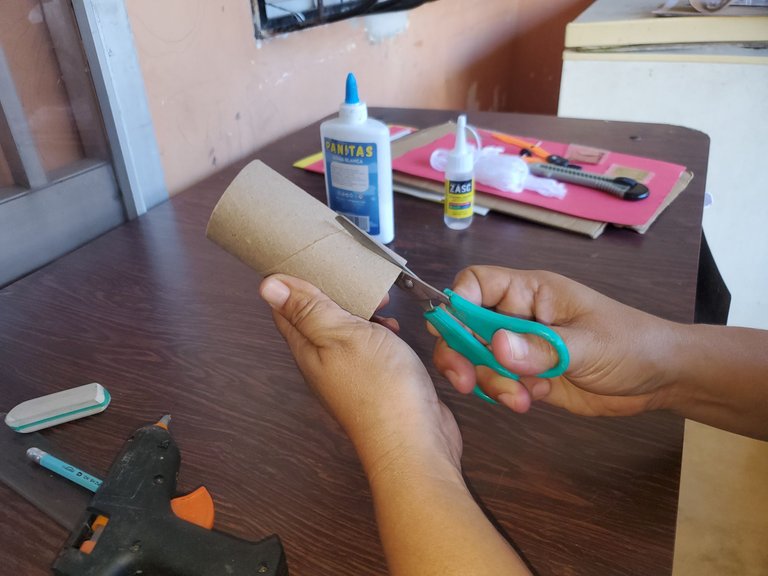
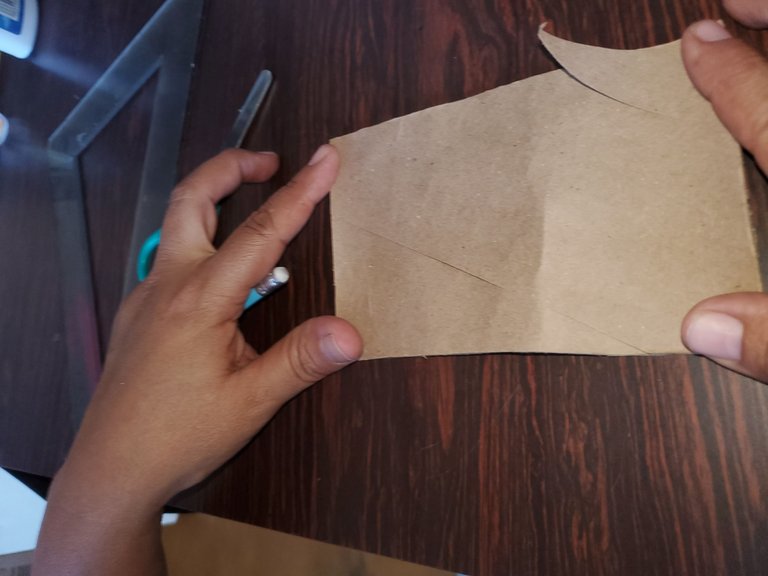
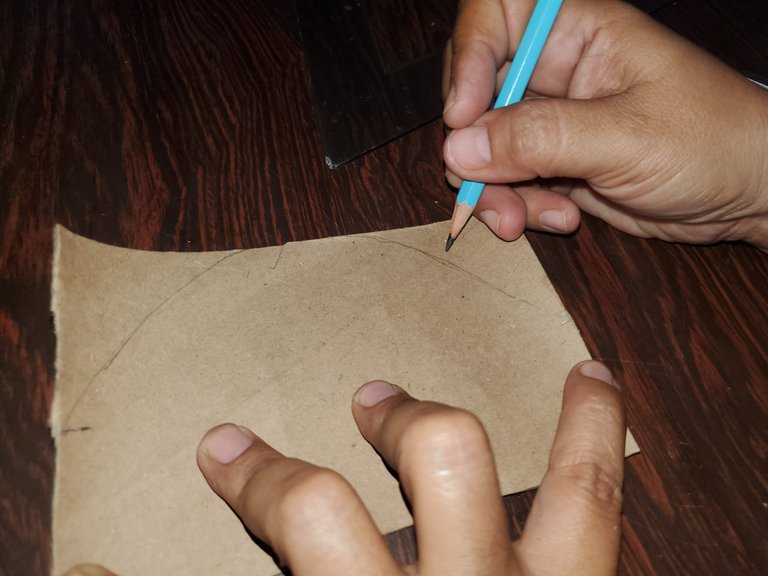
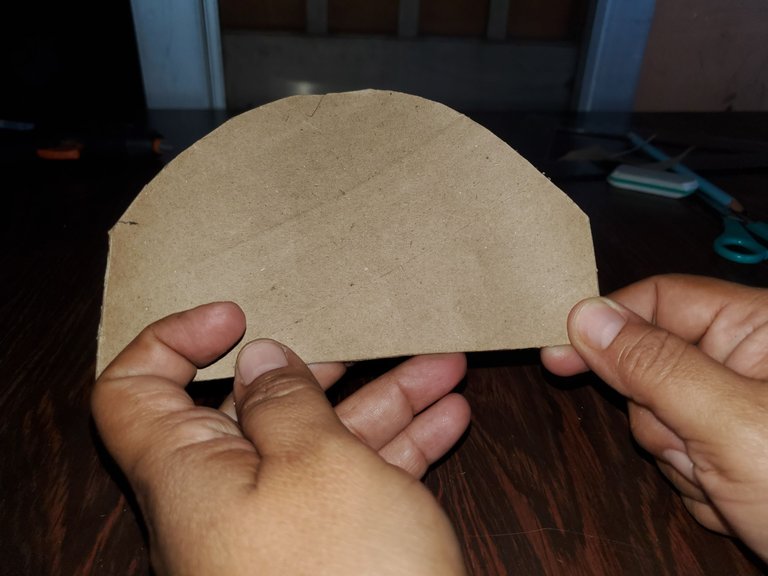
Se agarra el cilindro de papel higiénico y se corta para abrirlo completamente, se mide 4,5 centímetros en ambos extremos y desde la parte superior se busca hacer un semicírculo como se ve en la imagen, y se corta para dar forma.
 |  |
|---|
 |  |
|---|
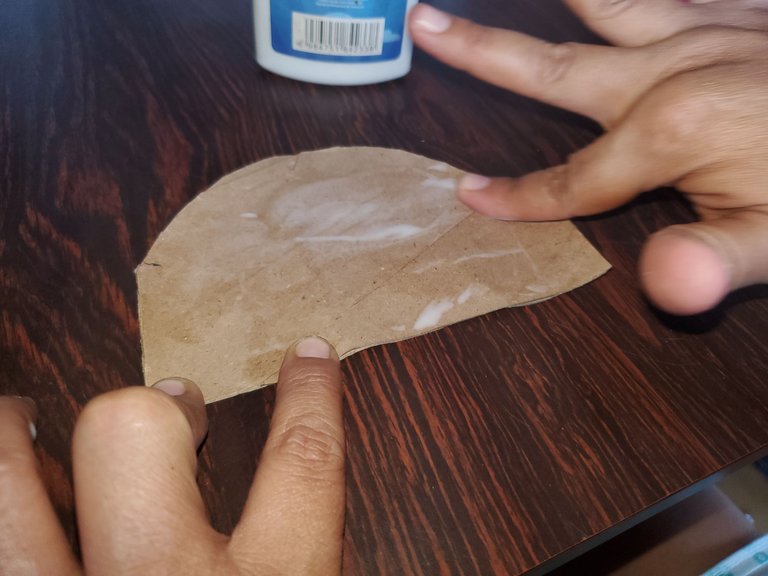
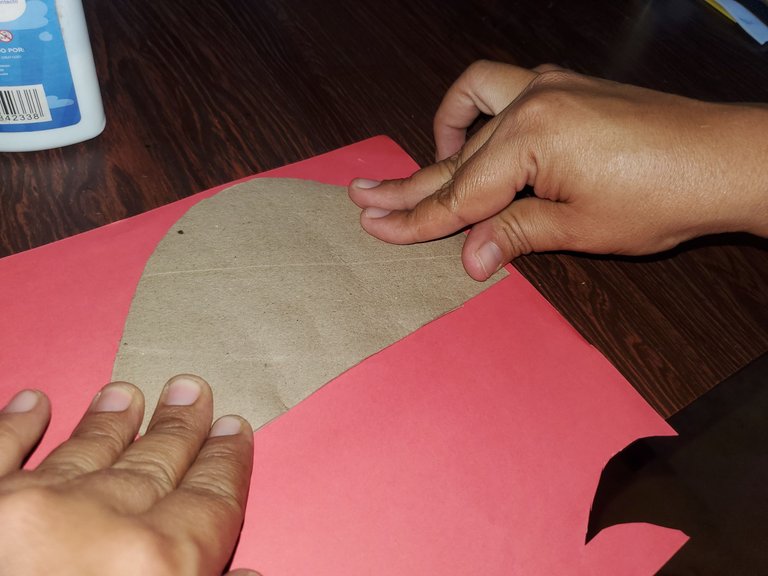
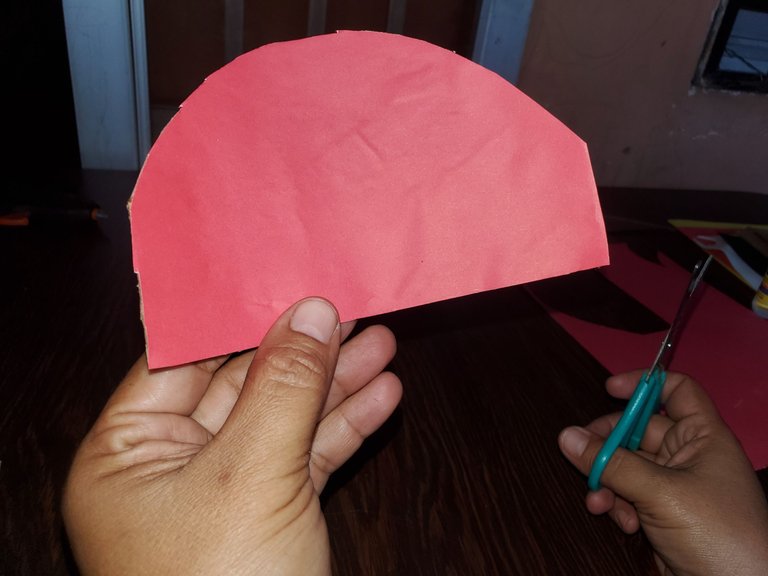
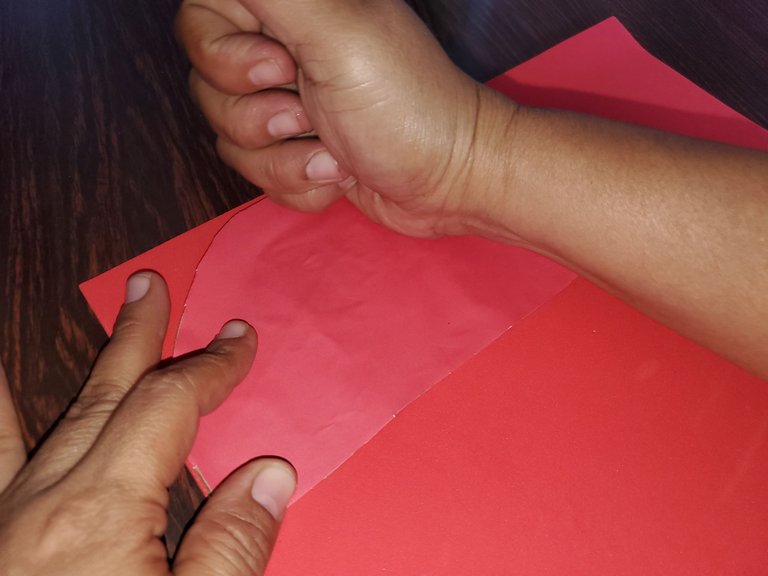
Ya listo el molde, se le hecha pega para pegar la cartulina de color rojo, por un lado, que será la parte interior de la chaqueta, y se corta el sobrante. Este procedimiento se hace con el foami de color rojo que quedará de lado externo y se corta el excedente.
 |  |
|---|
 |  |
|---|
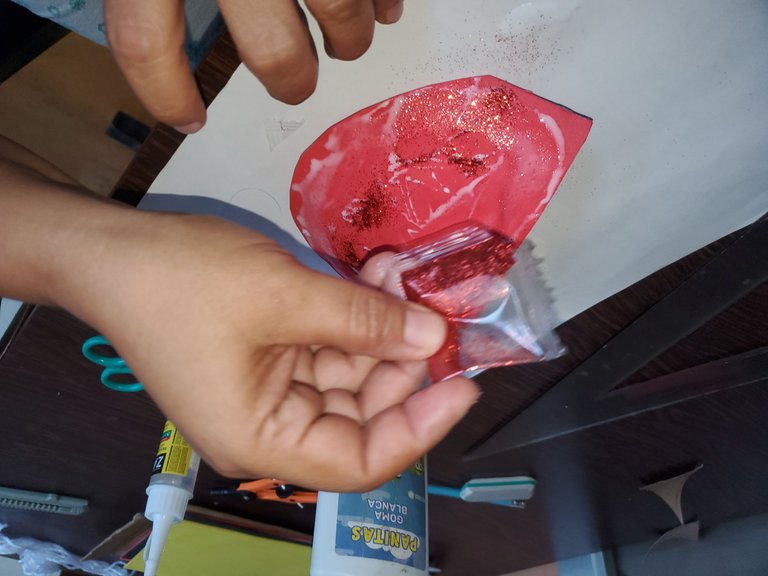
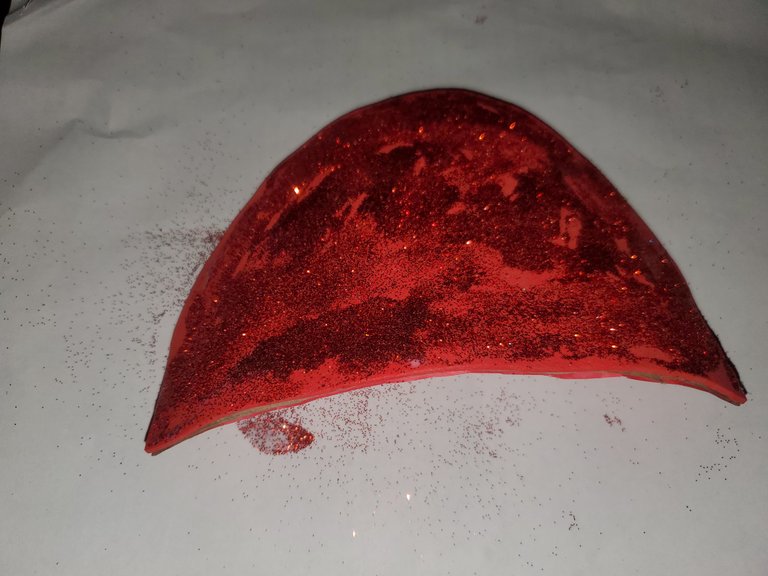
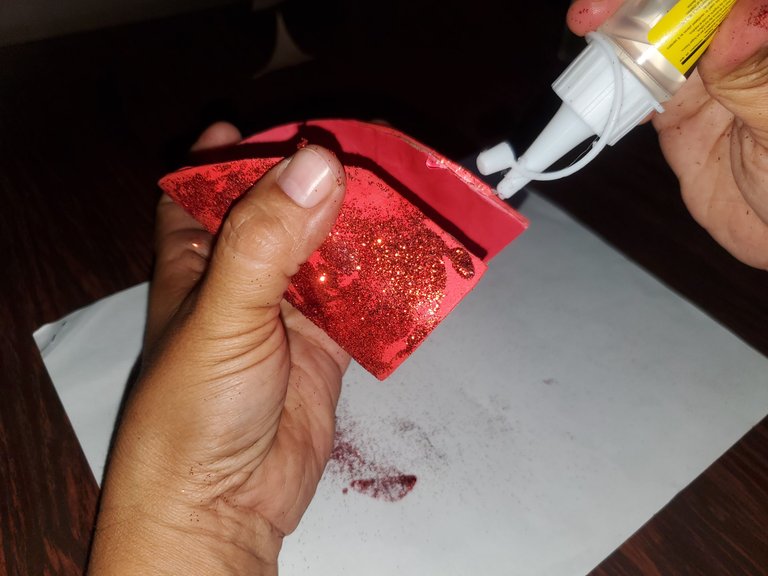
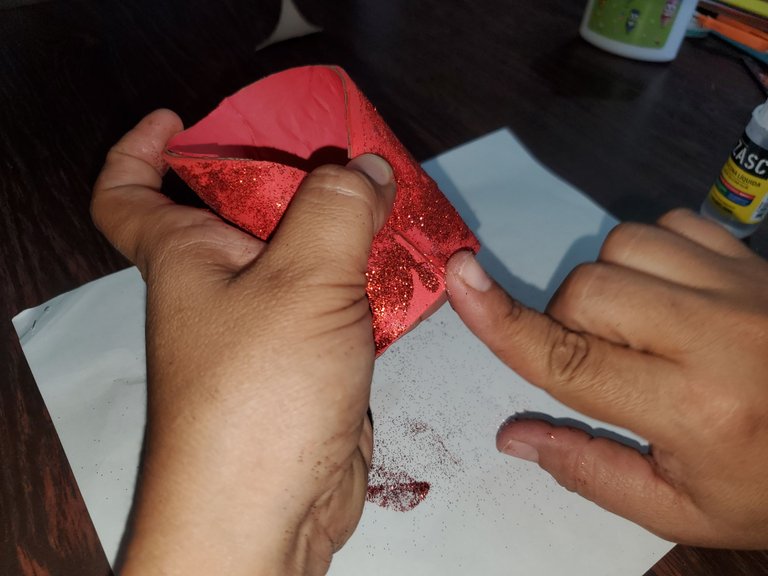
Luego al foami le agregué pega y le incorporé escarcha de color rojo, deje secar para cerrar ambos extremos con silicona líquida, haciendo presión y de esta manera darle forma a la chaqueta.
 |  |
|---|
 |  |
|---|
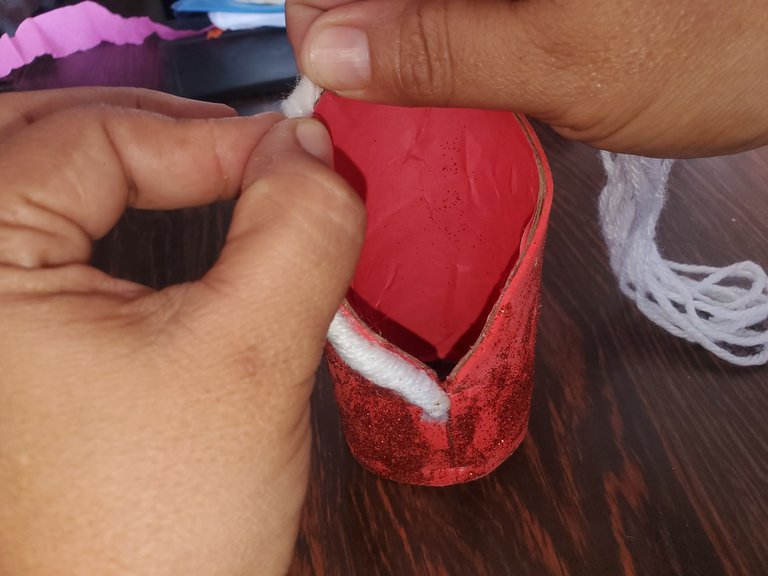
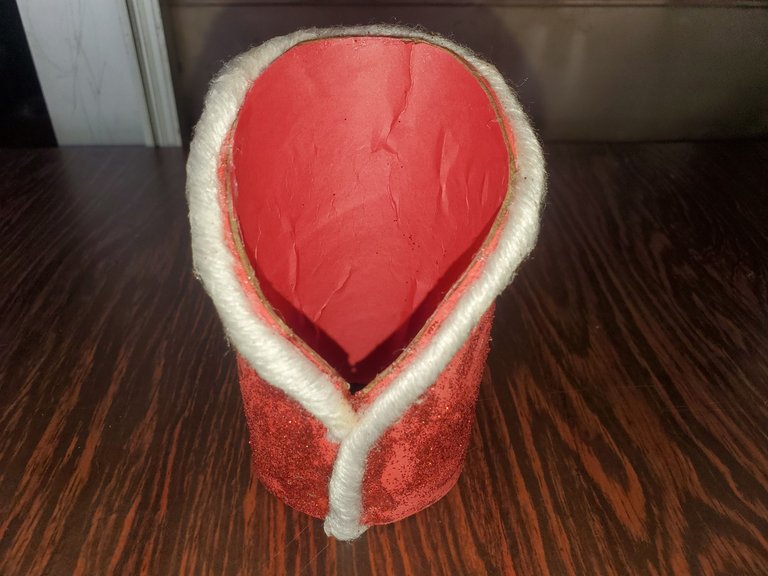
Con el estambre de color blanco saqué 12 hilos de 27 centímetros, que retorcí y comencé a pegar con silicona líquida desde la parte inferior del cuello y ascendí por todo el contorno del mismo hasta terminar.
 |  |
|---|
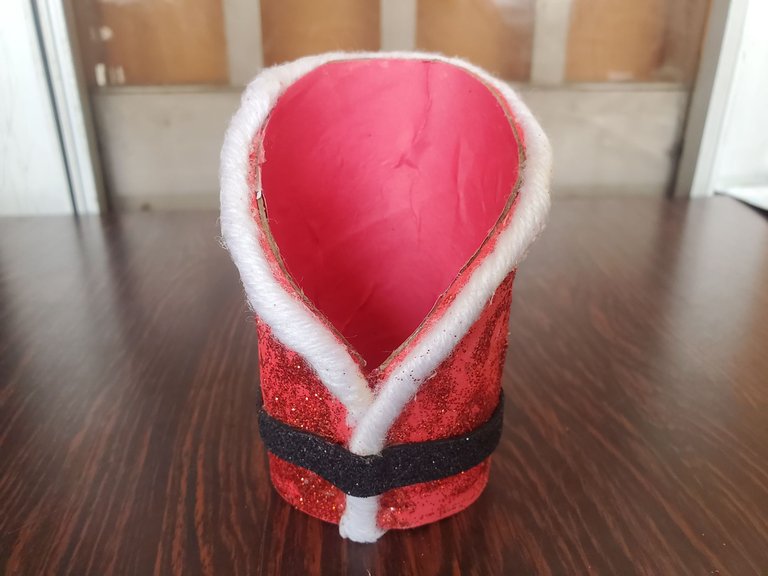
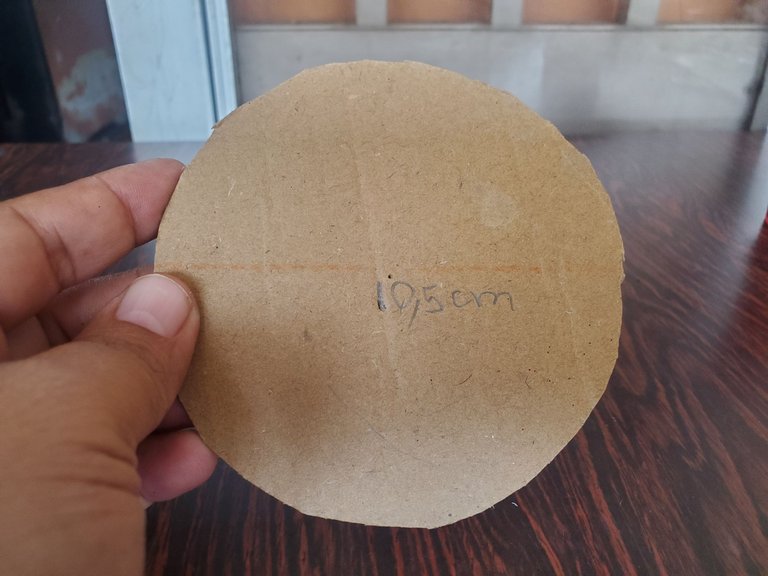
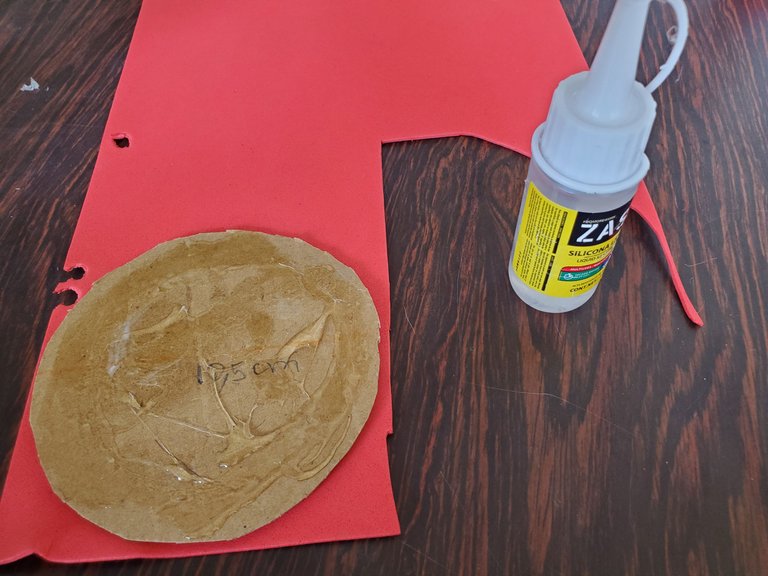
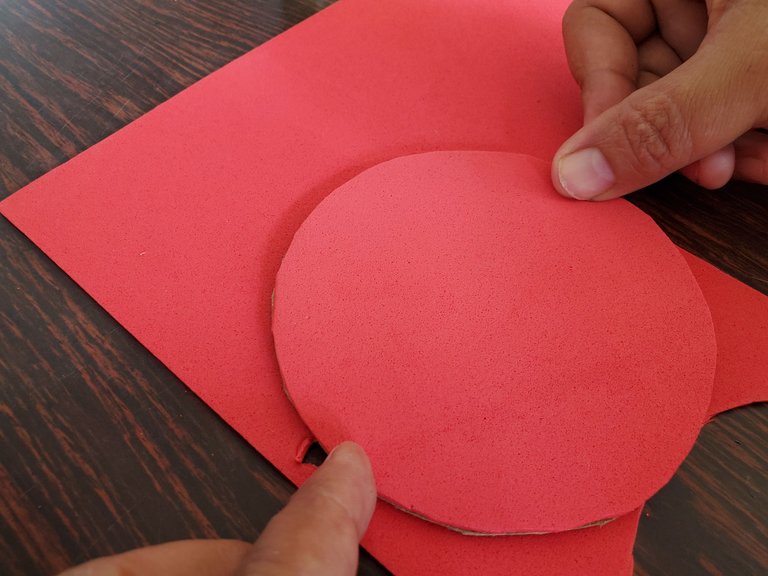
Medí una tira de foami negro escarchado de 19 centímetros de largo por 1 centímetro de ancho para la correa y pegué con silicona líquida., faltaba realizar la base de la chaqueta para que no se salgan los artículos que irán contenidos en él. Utilicé un compás para hacer una circunferencia en el cartón de 10,5 centímetros de diámetro, corté, pegué foami y quité el sobrante y la otra cara del círculo, le hice lo mismo, deje secar.
 |  |
|---|
 |  |
|---|
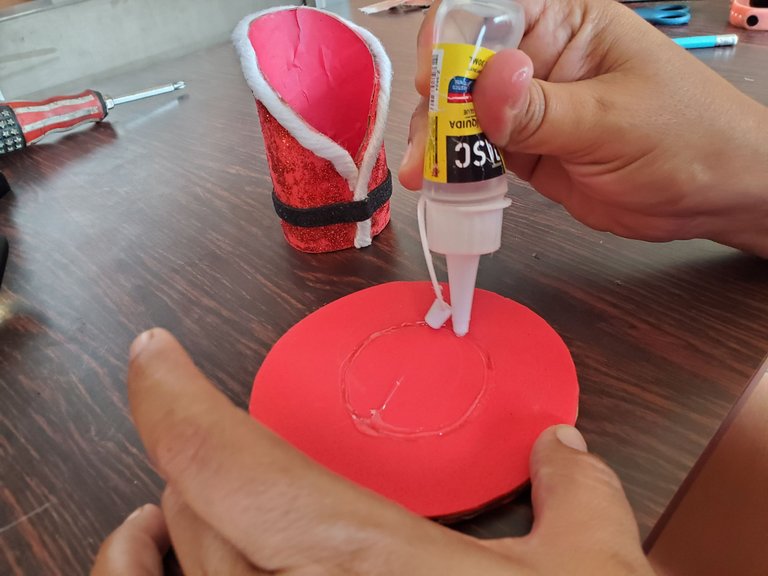
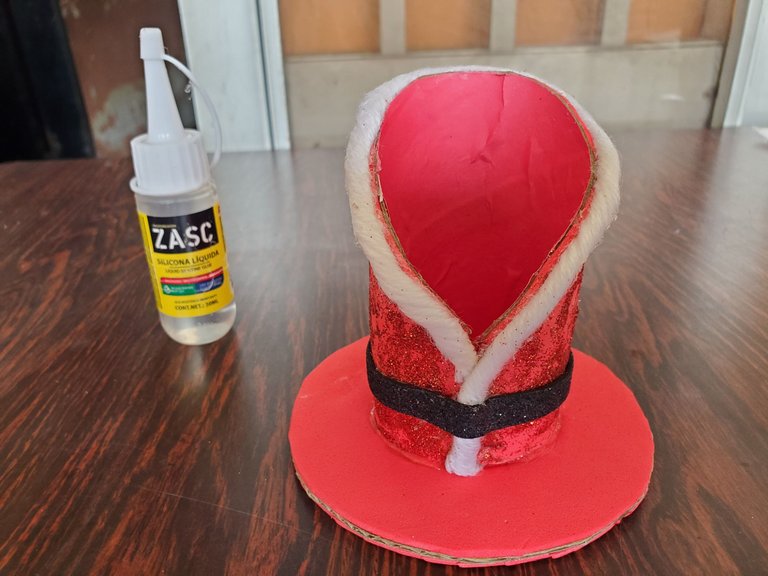
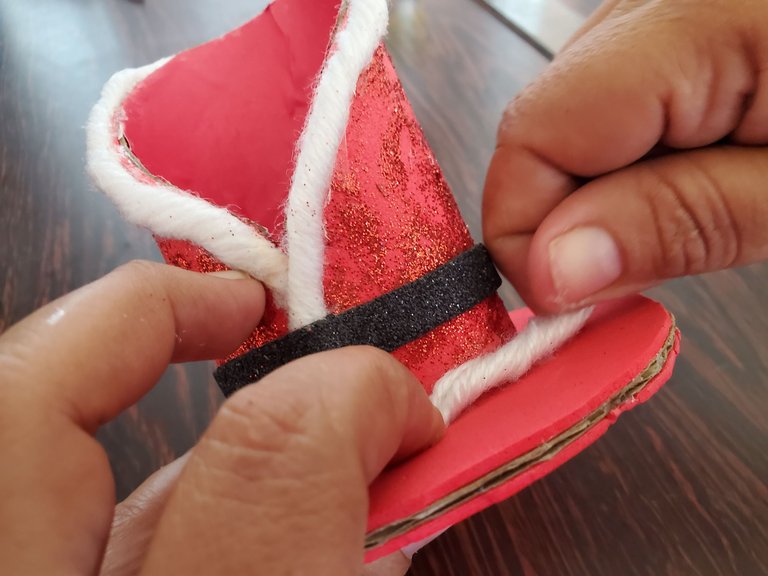
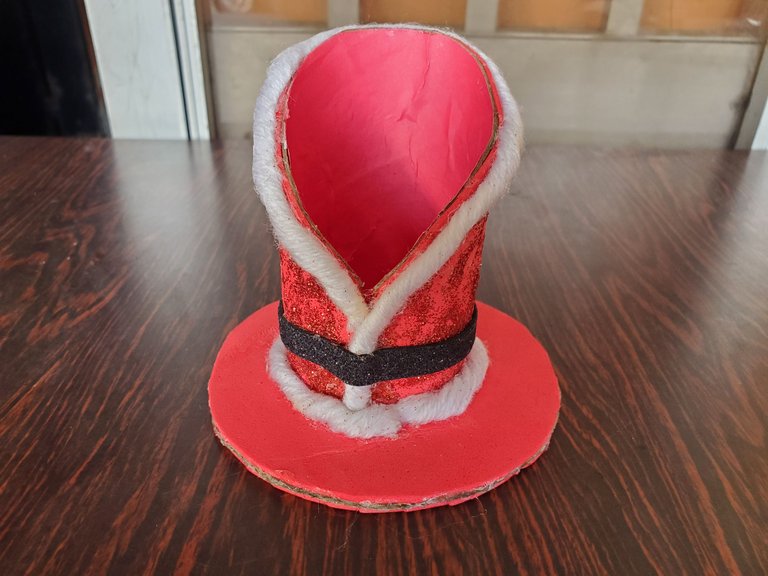
Coloqué pega en la base donde iba a ir la chaqueta, deje secar, al ver la base unida dije falta algo, le pegue estambre blanco a la parte inferior de la chaqueta y quedo genial, fueron 19 centímetros.
 |  |
|---|
 |  |
|---|
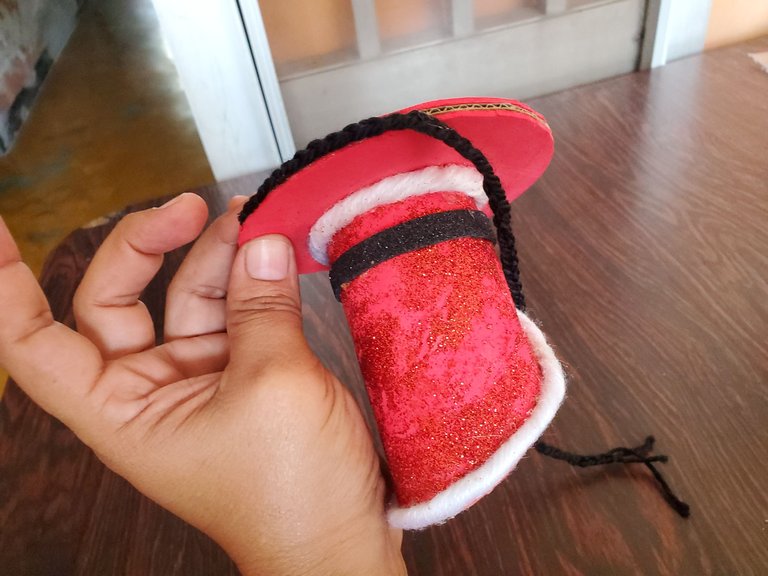
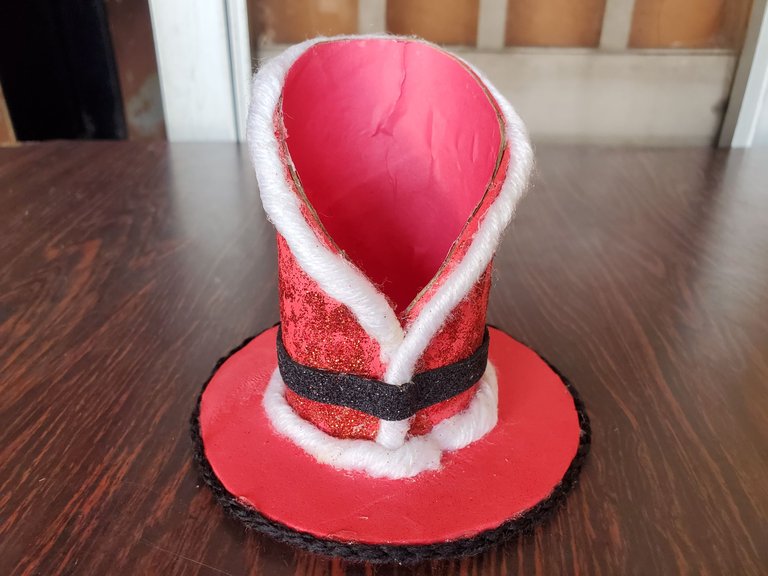
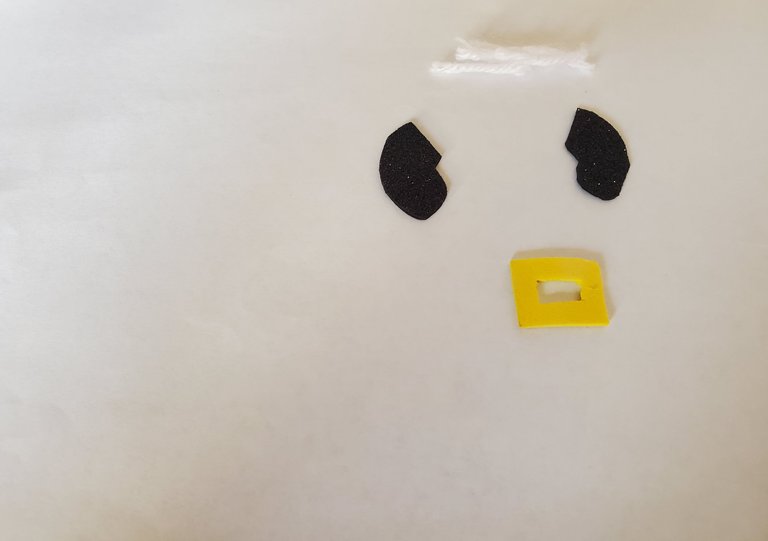
Pude notar que en la base se veía el cartón y pegué 38 centímetros de estambre de color negro. Faltaban solo detalles como la hebilla y los guantes, así que fui a pegar.
 |  |  |
|---|
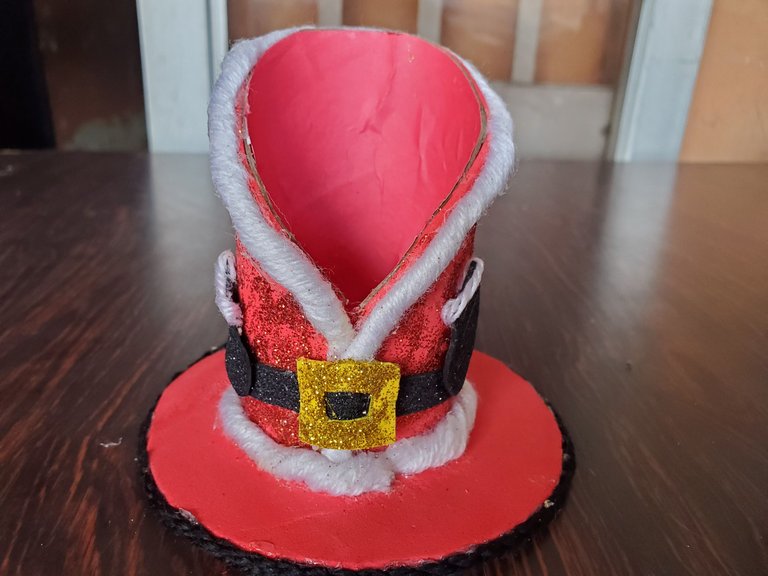
Y este es el resultado final, me gusto como me quedó, el uso que le quiera dar dependerá de ti.
 |  |
|---|
La creatividad juega un papel importante a medida que uno va realizando la manualidad,surgen ideas, te invito a crear. Cuando decidas hacerlo, puedes sustituirlo por otros materiales de los que quizas tienen en su casa.
Me despido de ustedes, hasta la próxima.


Todas las fotos son de mi propiedad y
son tomadas con mi celular Samsung Galaxy S10+.Edición, banner y separador hechos con Canva.
Gif realizado con GifShop.
Traducción con DeepL.com (versión gratuita).

ENGLISH (click AQUI!)
Multipurpose Santa Claus Jacket.

Taking advantage of the fact that it is Christmas season, and some people have already started to decorate their spaces where they spend most of their time. I did not want to stay behind, I like Christmas, this time I will take it in a different way for now, not with the enthusiasm of previous years, but for my daughters I do it.
My little ones are very excited, definitely the ones who enjoy Christmas the most are the children, they are so happy for the arrival of Santa Claus, they are waiting for that event.
Businesses, offices, schools, homes, I have seen at least one symbol associated with the most beautiful time of the year, I have the opportunity to make a craft to decorate my table. I decided to make an object in which you can place different items on it, from pencils, napkins, glasses, cutlery among others.
This object that I will make in the shape of Santa's jacket, will be easy for you to make if you dare. I will tell you how to do it in the step by step, the materials are very easy to get, and you will spend little, I suggest you keep reading....
Materials:
- Toilet paper tube.
- Red foami. - Black foam
- Yellow foami.
- White yarn.
- Black stamen.
- Liquid silicone.
- Red frost.
- Golden frost.
- White glue.
- Scissors.
- Squad.
- Red cardboard sheet.
- Pencil.
- Cardboard.
- Compass.
Procedimiento:
Take the toilet paper cylinder and cut it to open it completely, measure 4.5 centimeters at both ends and from the top, try to make a semicircle as shown in the image, and cut it to shape.
 |  |
|---|
 |  |
|---|
Once the mold is ready, glue the red cardboard on one side, which will be the inside of the jacket, and cut off the excess. The same procedure is done with the red foami that will be on the outside and the excess is cut off.
 |  |
|---|
 |  |
|---|
Then I added glue and red frosting to the foami, let it dry and then I closed both ends with liquid silicone, applying pressure to give shape to the jacket.
 |  |
|---|
 |  |
|---|
With the white yarn I pulled out 12 strands of 27 centimeters, which I twisted and began to glue with liquid silicone from the bottom of the neck and went all the way around the neck until I finished.
 |  |
|---|
I measured a strip of frosted black foami 19 centimeters long by 1 centimeter wide for the strap and glued it with liquid silicone, I needed to make the base of the jacket so that the items that will be contained in it do not come out. I used a compass to make a circumference in the cardboard of 10.5 centimeters in diameter, cut, glued foami and removed the excess and the other side of the circle, I did the same, let it dry.
 |  |
|---|
 |  |
|---|
I put glue on the base where the jacket was going to go, let it dry, when I saw the base joined I said something was missing, I glued white yarn to the bottom of the jacket and it was great, it was 19 centimeters.
 |  |
|---|
 |  |
|---|
I could see the cardboard at the base, so I glued 38 centimeters of black yarn. The only details missing were the buckle and the gloves, so I went to glue.
 |  |  |
|---|
And this is the final result, I liked the way it looked, the use you want to give it will depend on you.
 |  |
|---|
Creativity plays an important role as you make the craft, ideas arise, I invite you to create. When you decide to do it, you can substitute other materials that you may have at home.
I bid you farewell, until next time.


-All photos are my property and are taken with my are taken with my Samsung Galaxy S10+ cell phone.
- Editing, banner and separator made with Canva.
- Gif realizado con GifShop.
- Translation with DeepL.com (free version).

Posted Using InLeo Alpha
!discovery 30
Gracias.
Que lindo te quedó la chaqueta y que bien explicado, no dejaste ni un detalle al azar, eres muy buena, excelente trabajo, te felicito @mariiale1979 muchos éxitos
Gracias @cositav anímate a realizarlo es muy util y decorativo.
This post was shared and voted inside the discord by the curators team of discovery-it
Join our Community and follow our Curation Trail
Discovery-it is also a Witness, vote for us here
Delegate to us for passive income. Check our 80% fee-back Program
Thanks.
Very nice work and very useful for the home this Christmas An easy-to-follow step-by-step guide. Thank you for sharing your creative process with us.
This craft will decorate the spaces, hopefully people will be encouraged to do it. I did it in the simplest way for an easy understanding.
Thanks
Buenos días @mariiale1979, como estás cariño, espectacular te quedó el trabajo de manualidades con motivo navideño, felicitaciones
Gracias @cayitus63 me aplico a estas actividades, es muy chevere hacerlo.
Te quedó muy linda la chaqueta, podría colocar mis lápices, genial
Si es buena idea, intenta hacerlo @angeluxx
Saludos cordiales, linda iniciativa, me está provocando participar. te quedó muy bello
Realiza manualidades es muy bonito, hay que utilicar la calma la paciencia.
Esa chaqueta multi-usos te quedó muy bien @mariiale1979.
Abrazo.
Gracias @enraizar por apreciar mi trabajo.
So amazing 😍😍
Thanks🫂
Welcome
rewards you with NEON Tokens every week?Did you know that delegating your HP to @midnight-studio not only supports amazing projects, but also
Thanks
Muy hermoso estimada!
Me gusta mucho la navidad.
La navidad es muy bonita, gracias. Te invito a elaborarlo que te mejores.