Felíz miércoles comunidad Hive Diy, sean bienvenidos una vez más a mi blog, un gusto saludarles, espero se encuentren bien y que estén pasando una buena semana, hoy les quiero compartir un trabajo que realicé hace poquito, estoy contenta por el resultado y quería mostrarles de inmediato jaja.
Happy Wednesday Hive Diy community, welcome once again to my blog, it's a pleasure to greet you, I hope you are well and that you are having a good week, today I want to share with you a work that I did a little while ago, I am happy with the result and I wanted to show you immediately haha.
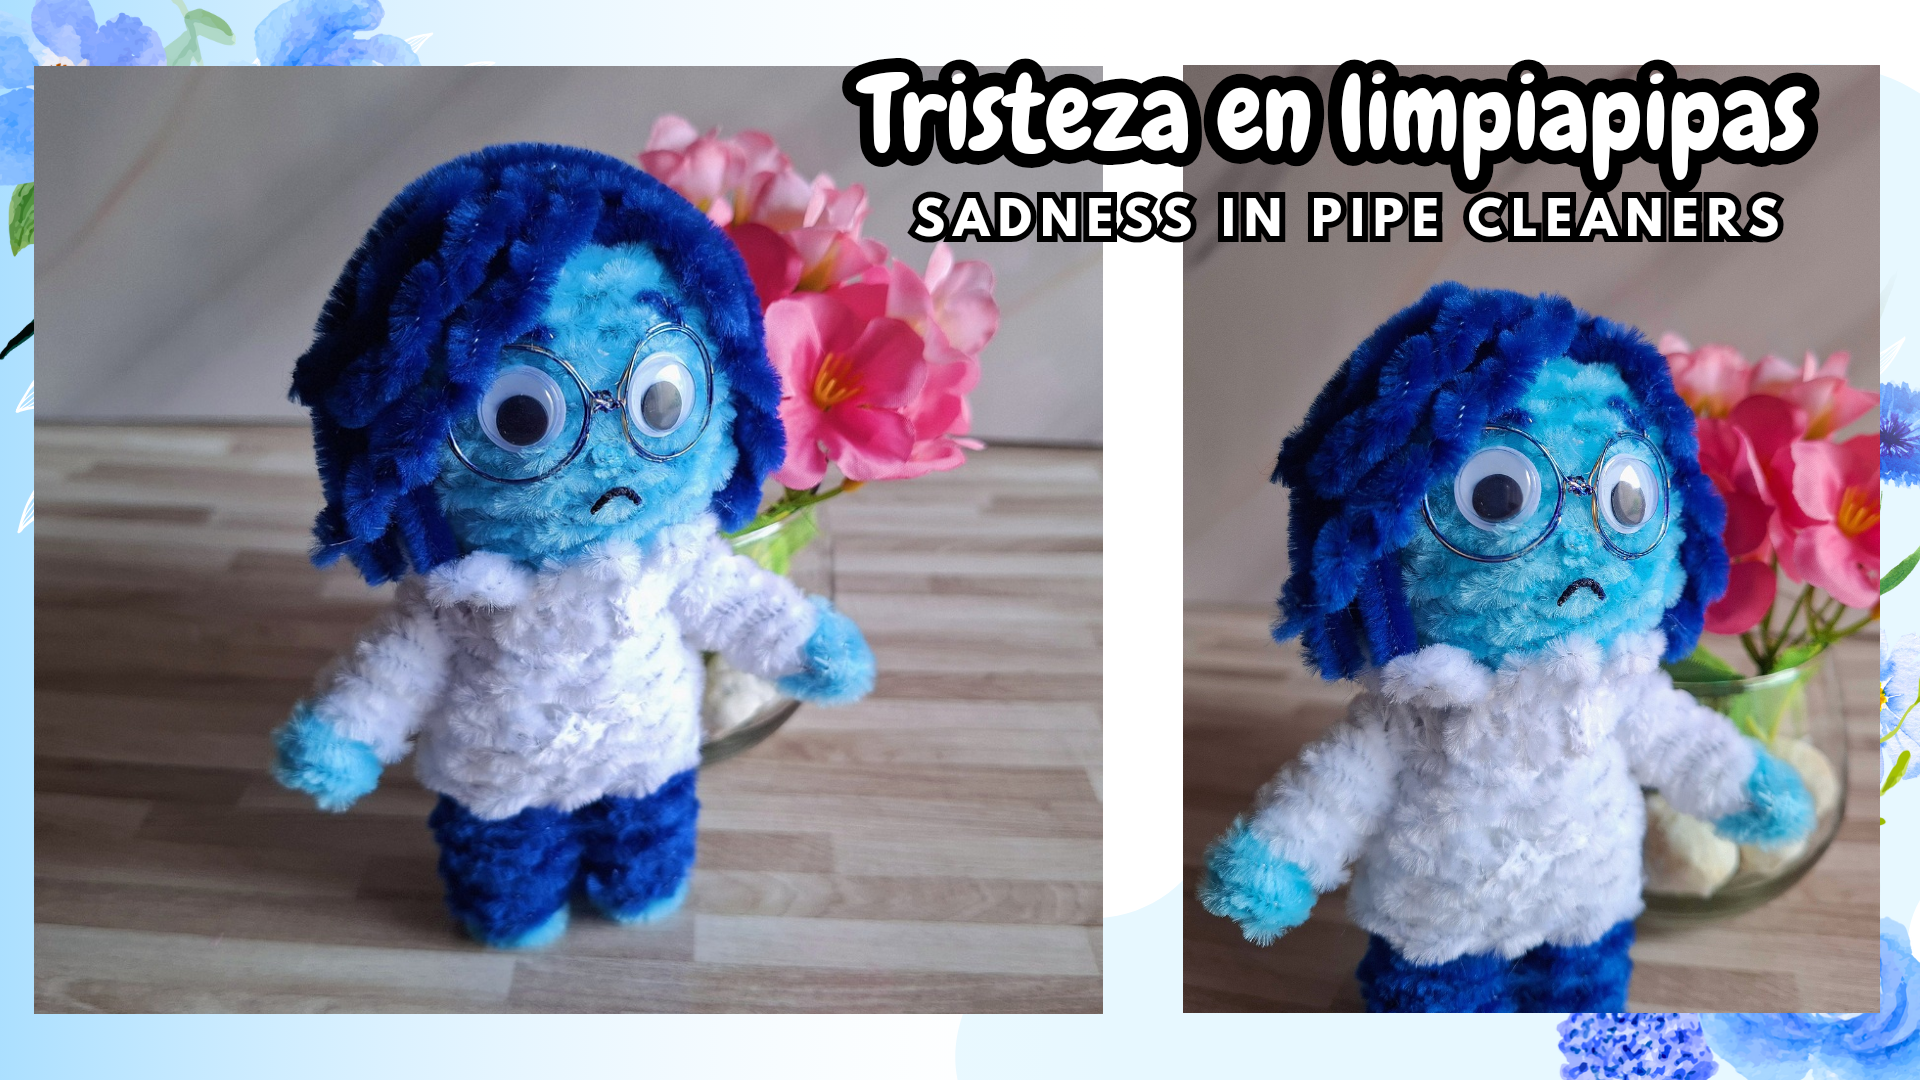
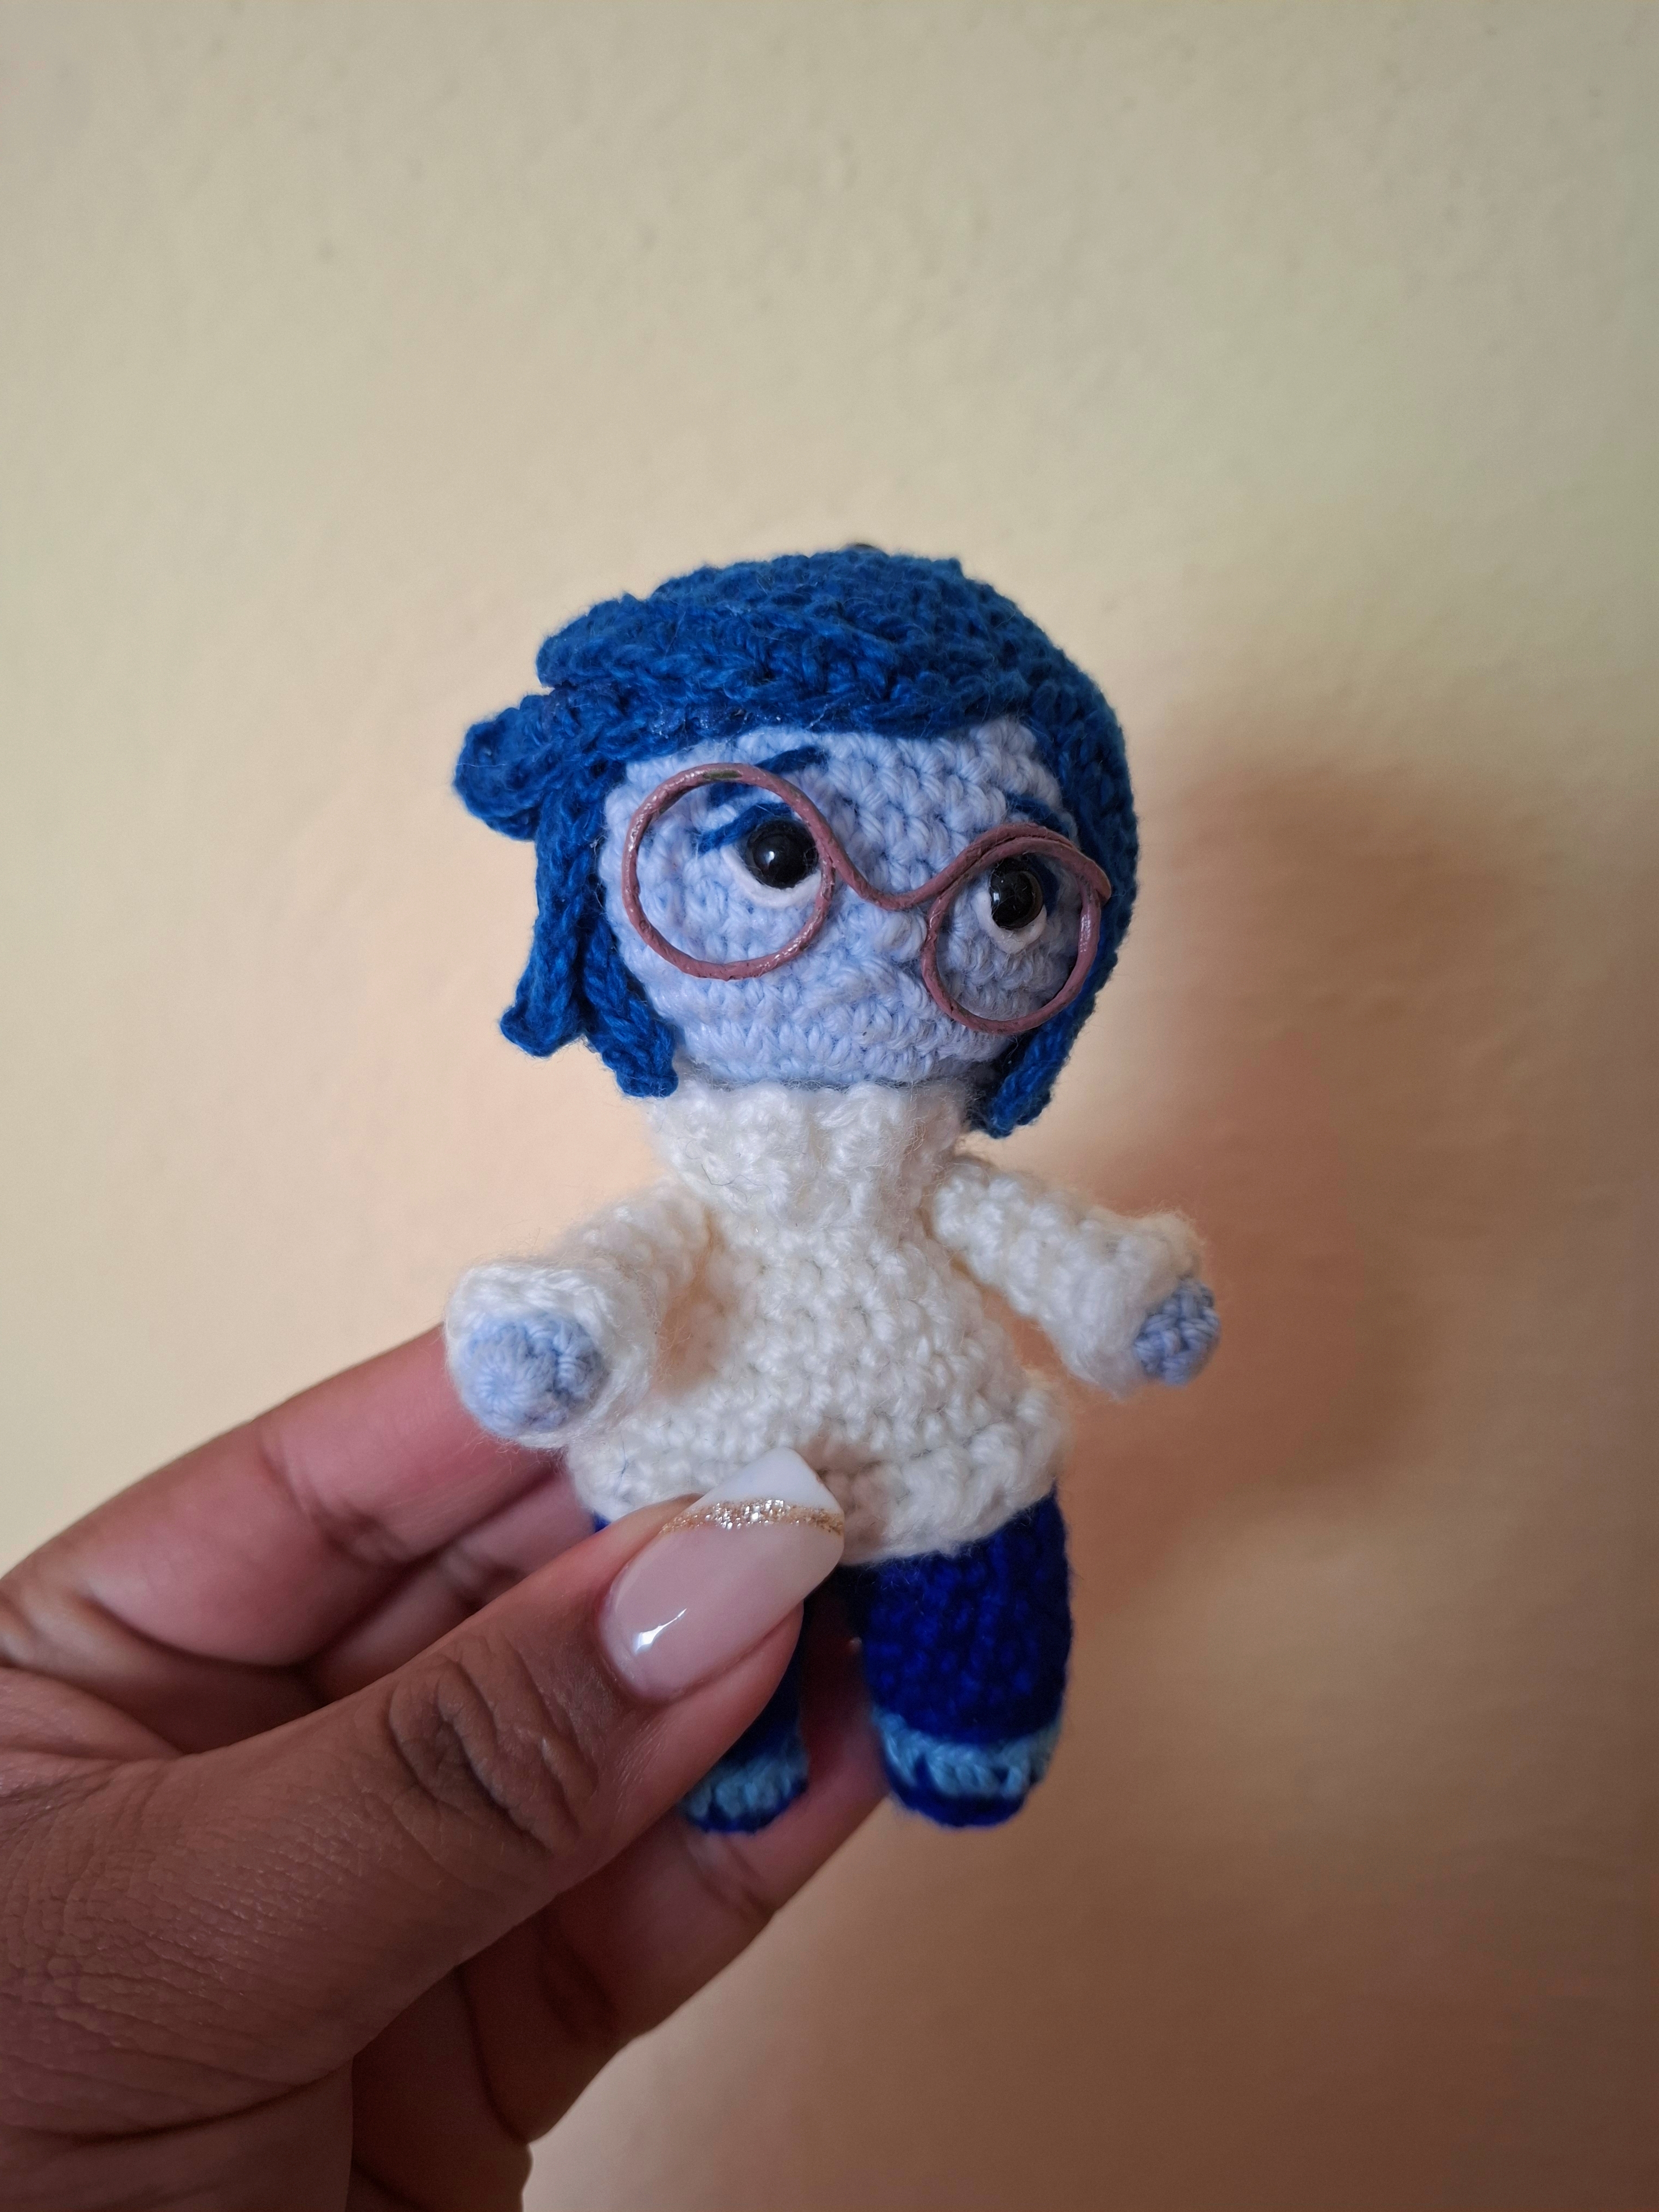
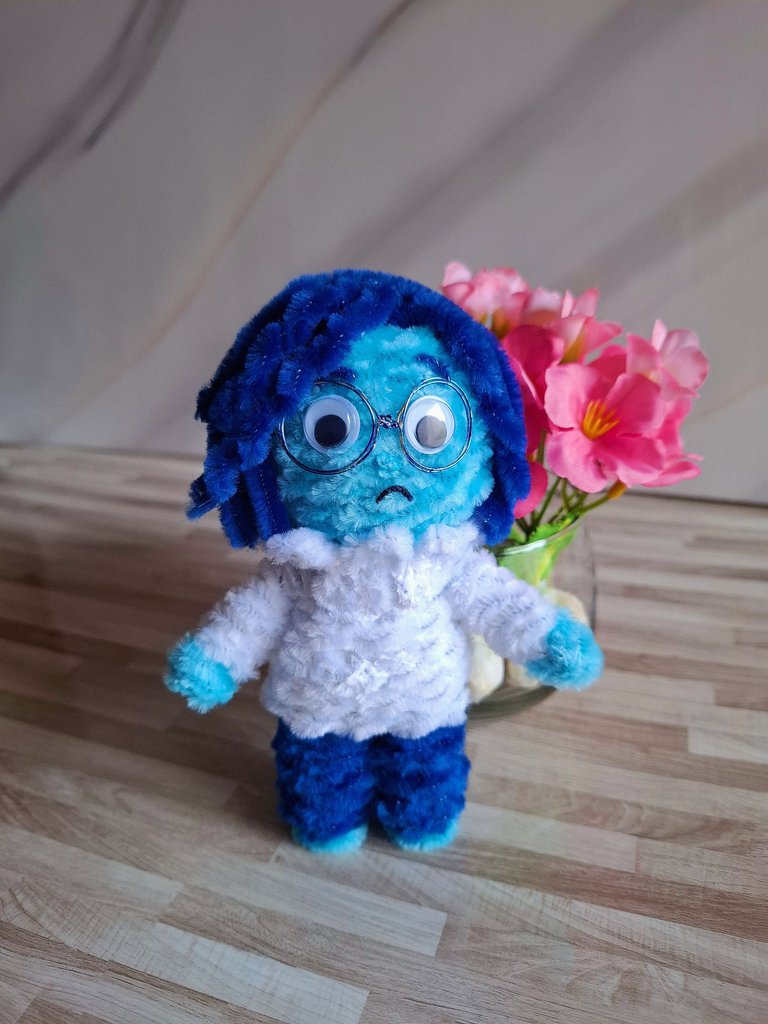
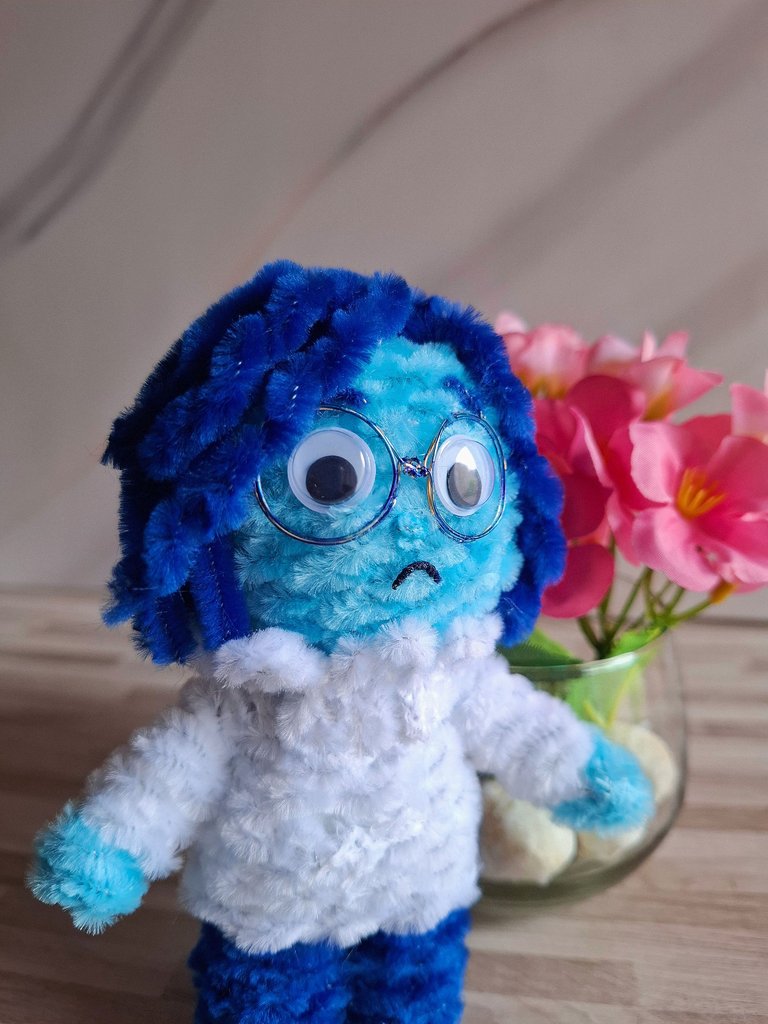
Realicé a tristeza de intensamente en limpiapipas, es uno de mis personajes favoritos de la película la verdad es primera vez que realizo algo como esto y la verdad si estaba confiando en el proceso, por un momento llegué a pensar que no quedaría bien, pero si le puse cariño 🥹, me inspiré en una tristeza de crochet que me regaló mi hermana el año pasado, por otra parte no contaba con todos los materiales por ejemplo para realizar la cabeza así que tuve que improvisar, ahora sí les muestro los materiales y el paso a paso.
I made tristeza from intensely with pipe cleaners, it's one of my favorite characters from the movie. The truth is that it's the first time I've done something like this and the truth is that I was trusting in the process, for a moment I thought it wouldn't turn out well, but I did put love into it 🥹, I was inspired by a crochet tristeza that my sister gave me last year, on the other hand I didn't have all the materials, for example to make the head, so I had to improvise. Now I'll show you the materials and the step by step.

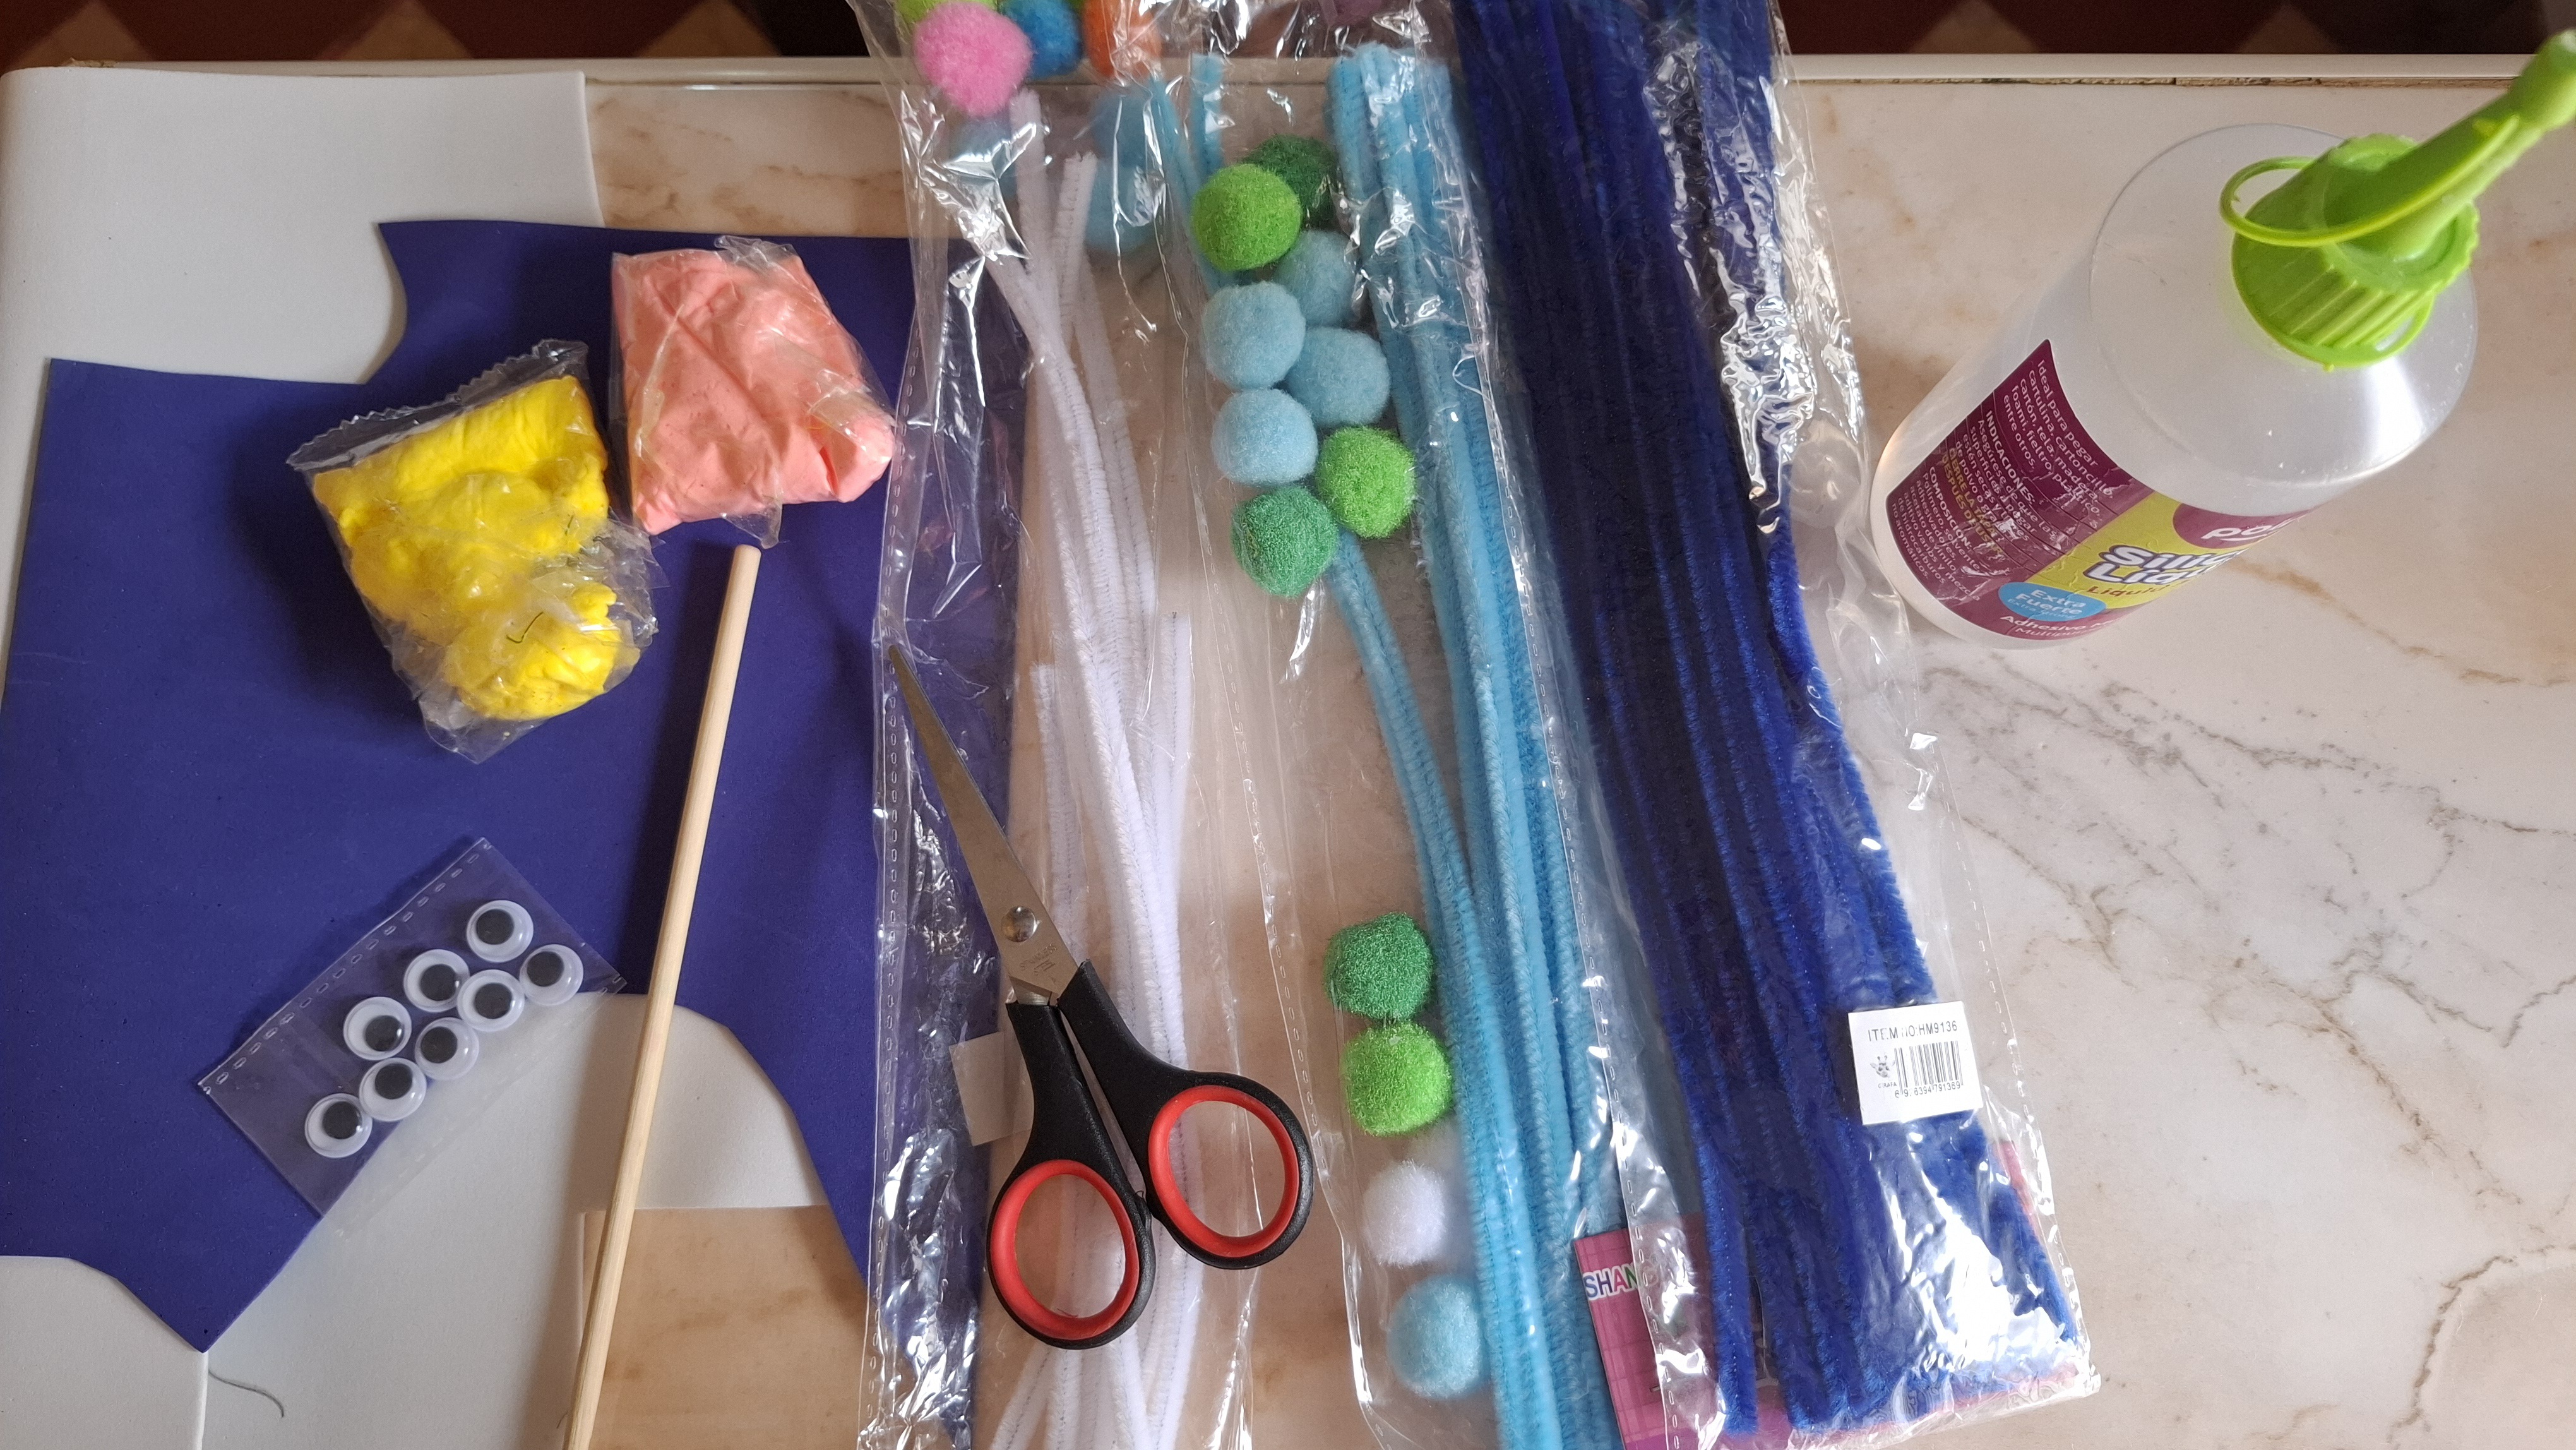
| Materiales | Materials |
|---|---|
| 8 limpiapipas color azul claro | 8 light blue pipe cleaners |
| 12 limpiapipas color azul rey | 12 royal blue pipe cleaners |
| 7 limpiapipas blancos | 7 white pipe cleaners |
| Retazos de foami | Scraps of foam |
| Foami moldeable | Moldable foam |
| Tijera | Scissors |
| Silicón | Silicone |
| Ojitos locos | Crazy eyes |
| Palillo | Toothpick |
| Marcador azul | blue marker |
| Alambre | Wire |

Paso a paso / Step by step
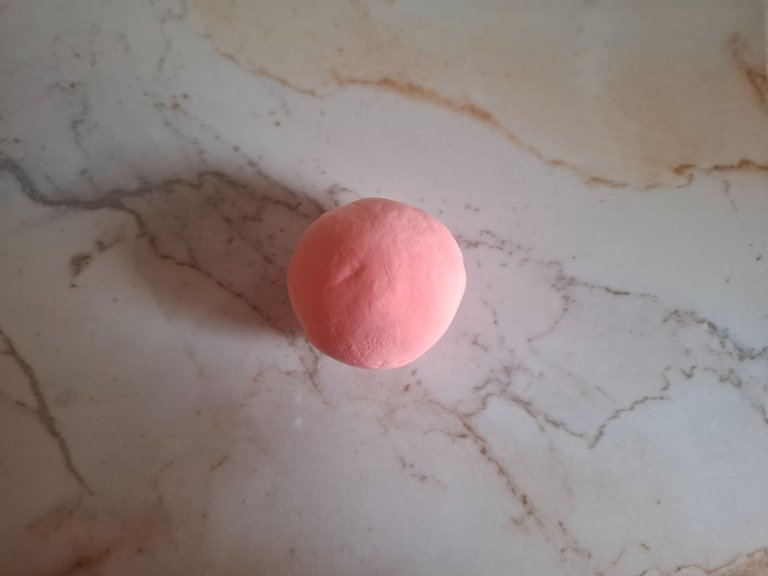
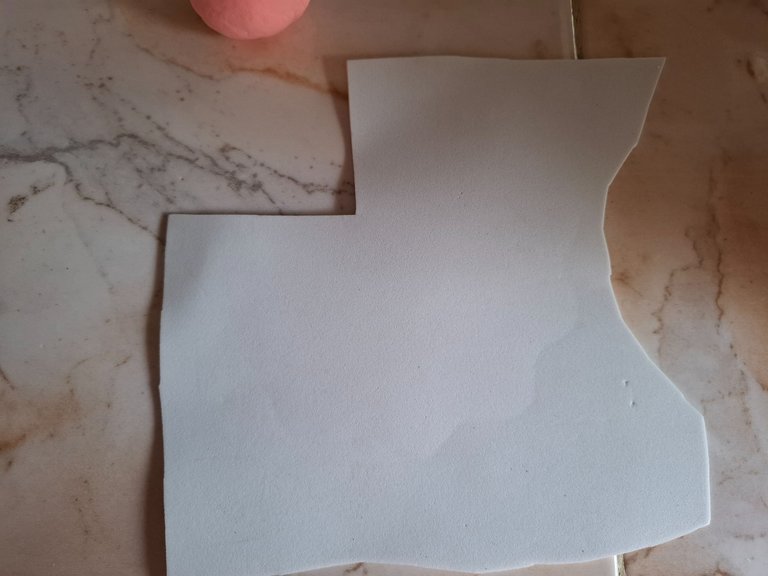
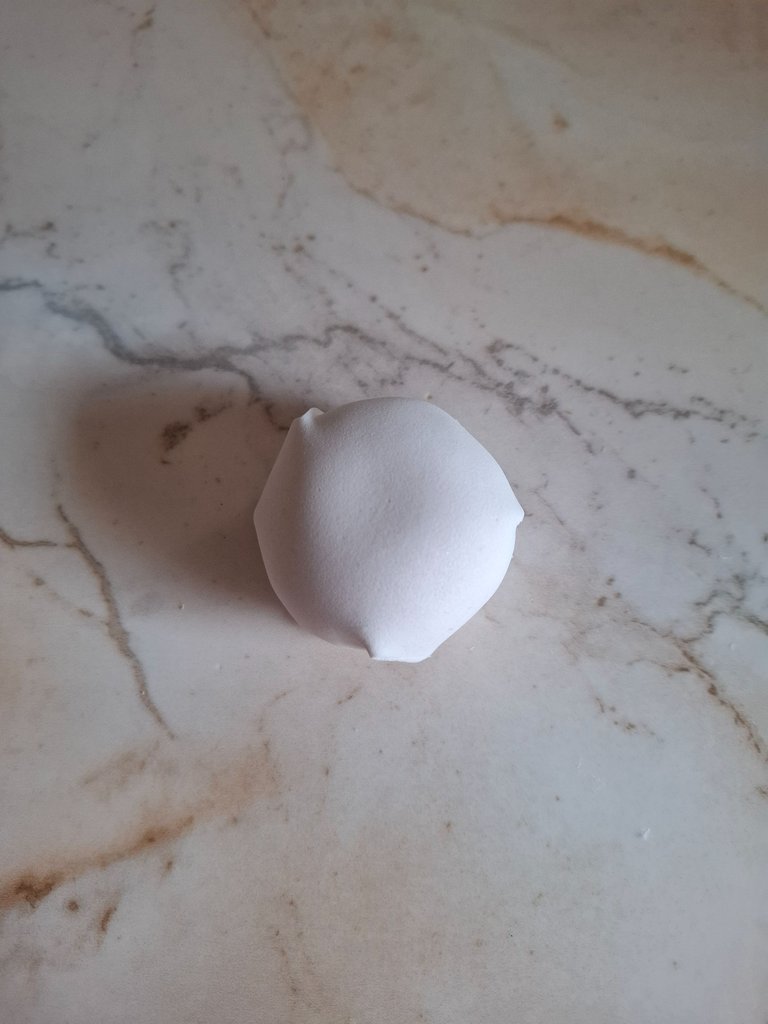
Como les comenté no tenía una bolita para realizar la cabeza así que tuve que improvisar con el foami moldeable que estaba casi seco, realicé una pequeña bolita y lo forre con foami blanco hasta lograr cubrir por completo, pero antes aplicamos calor al foami con una plancha.
As I mentioned, I didn't have a ball to make the head, so I had to improvise with the moldable foam that was almost dry. I made a small ball and covered it with white foam until it was completely covered, but first we applied heat to the foam with an iron.
 |  |  |
|---|

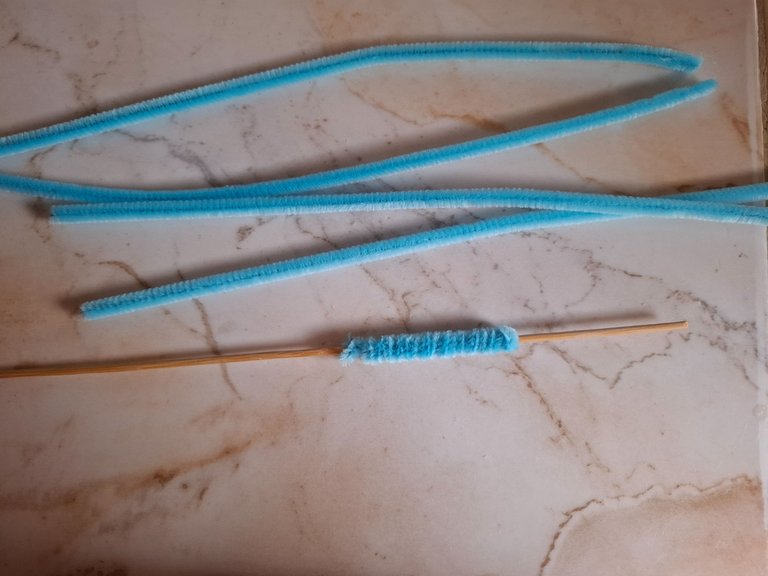
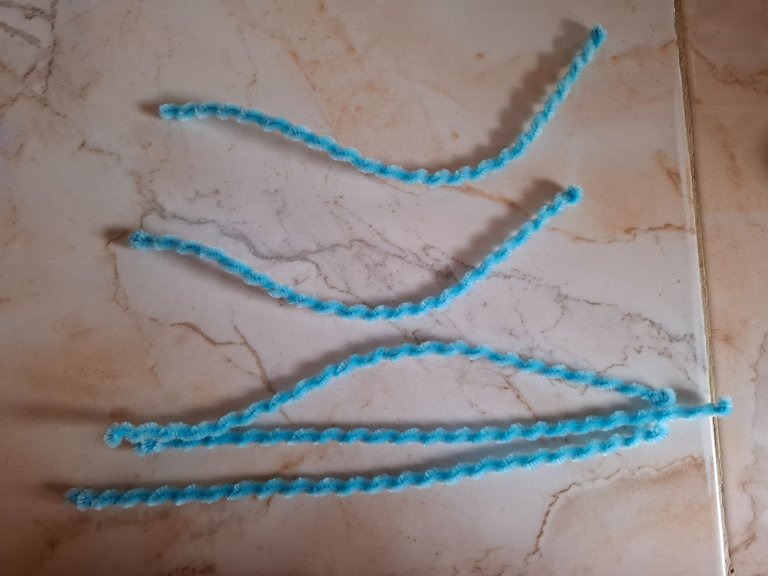
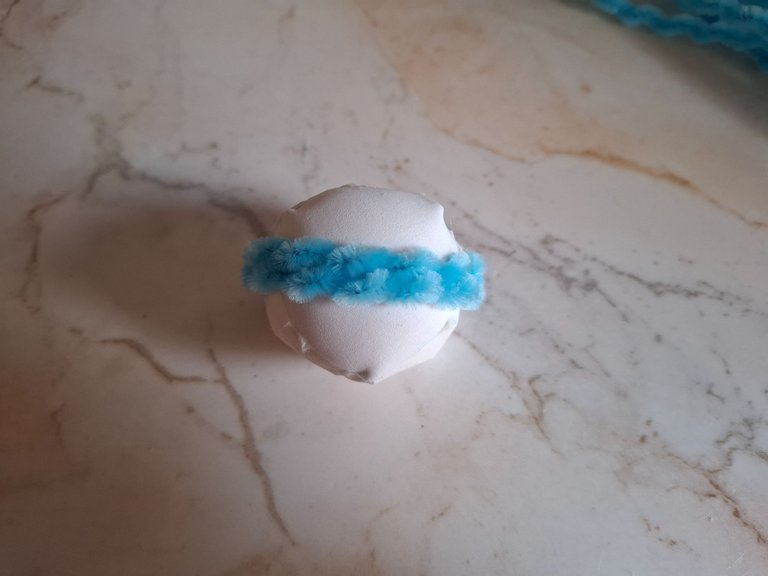
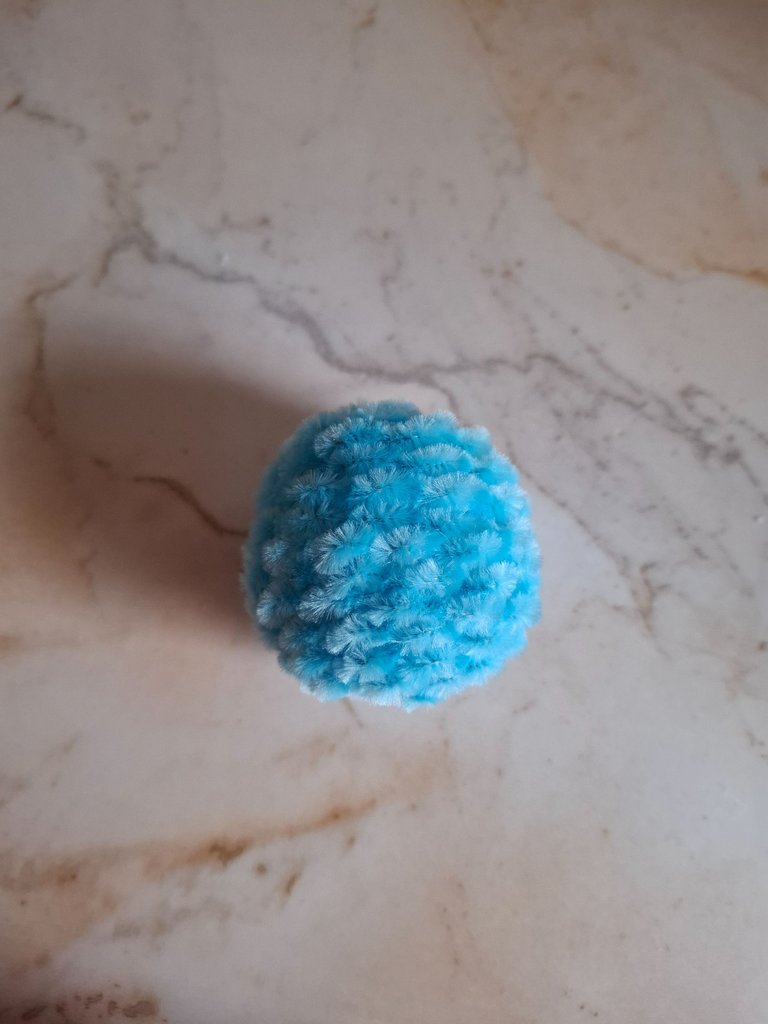
Comencé a enrollar el limpiapipas azul claro en un palillo fino esto para dar textura de peluche al limpiapipas, voy a ir pegando uno por uno de forma horizontal hasta cubrir toda la cabeza.
I started to roll the light blue pipe cleaner around a thin stick to give the pipe cleaner a plush texture. I'm going to glue them one by one horizontally until I cover the entire head.
 |  |  |
|---|

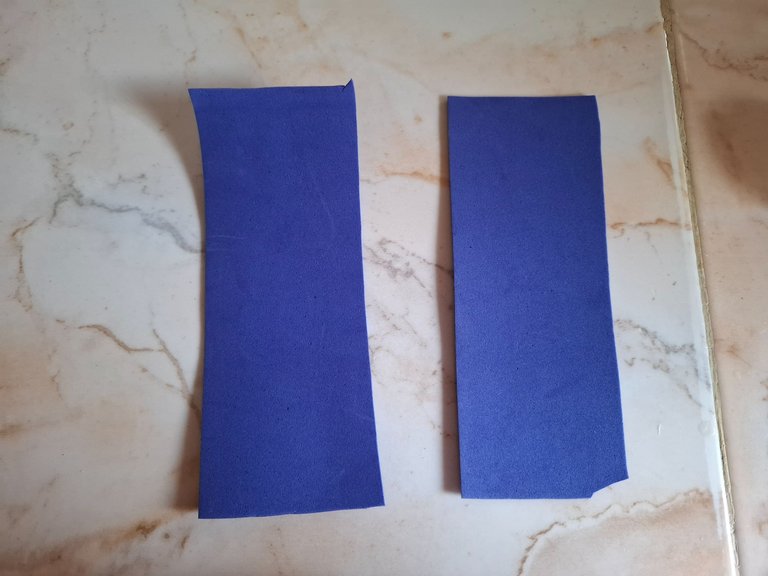
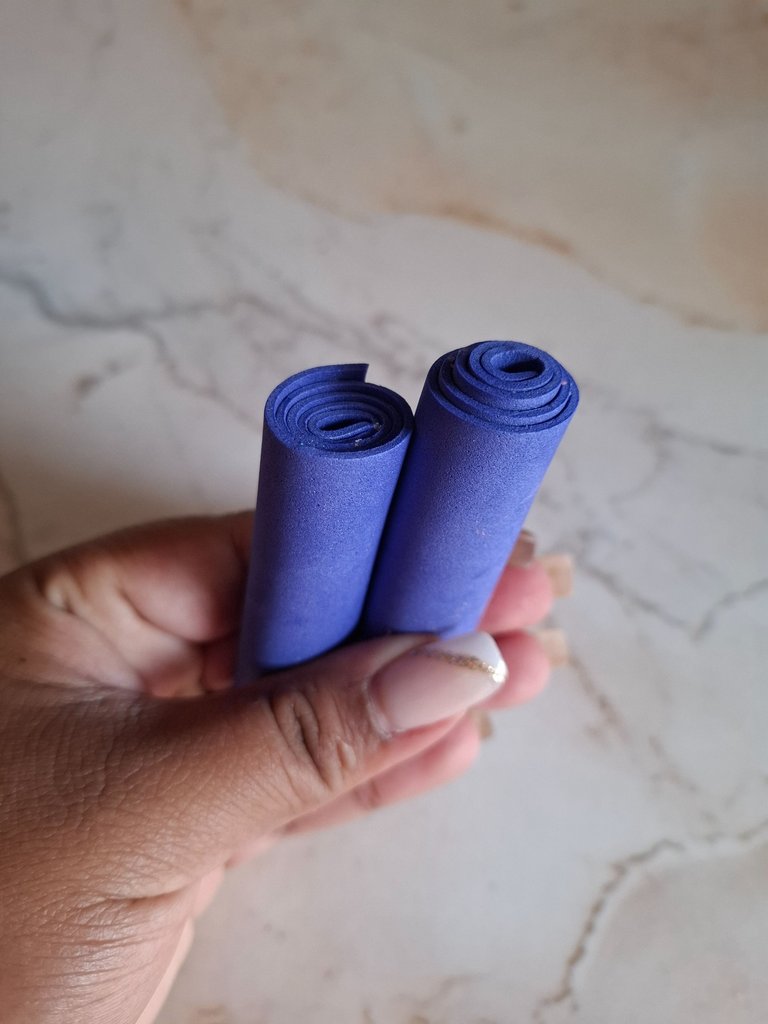
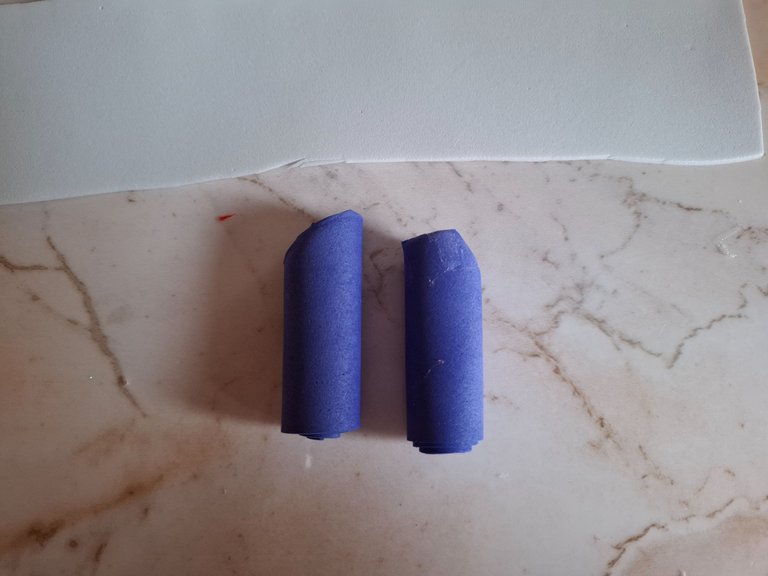
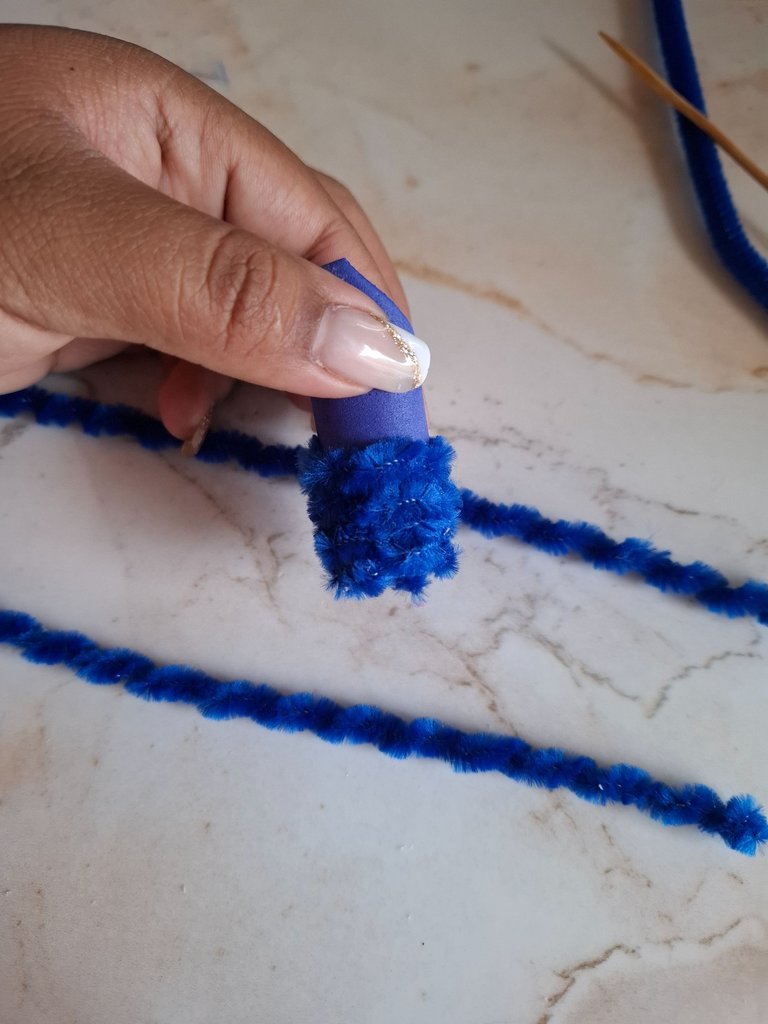
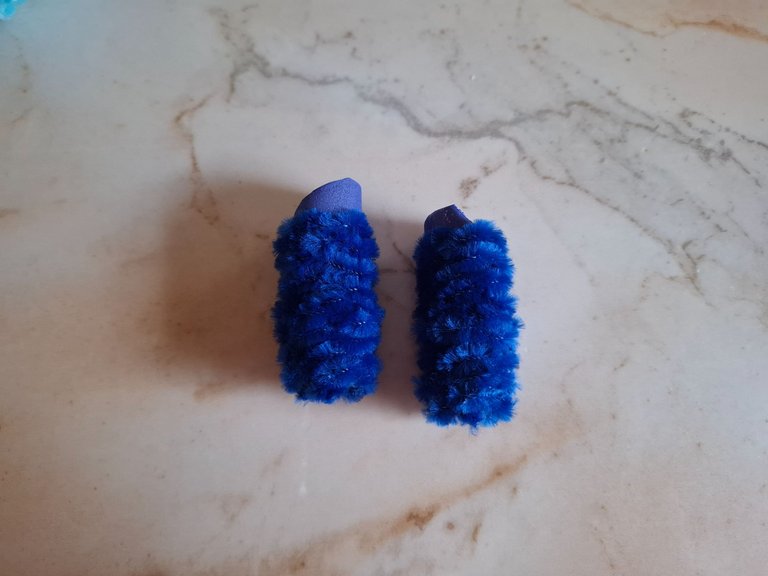
Luego voy a tomar dos retazos de foami azul rey y los voy a enrollar, pegamos el borde cortamos un poco de largo y hacia los laterales, voy a realizar el mismo procedimiento con los limpiapipas azul rey, y voy a ir pegando sobre el foami, de esta forma tenemos las piernas listas.
Then I'm going to take two scraps of royal blue foam and roll them up, glue the edge, cut a little too long and towards the sides, I'm going to do the same procedure with the royal blue pipe cleaners, and I'm going to glue them onto the foam, this way we have the legs ready.
 |  |  |
|---|
 |  |
|---|
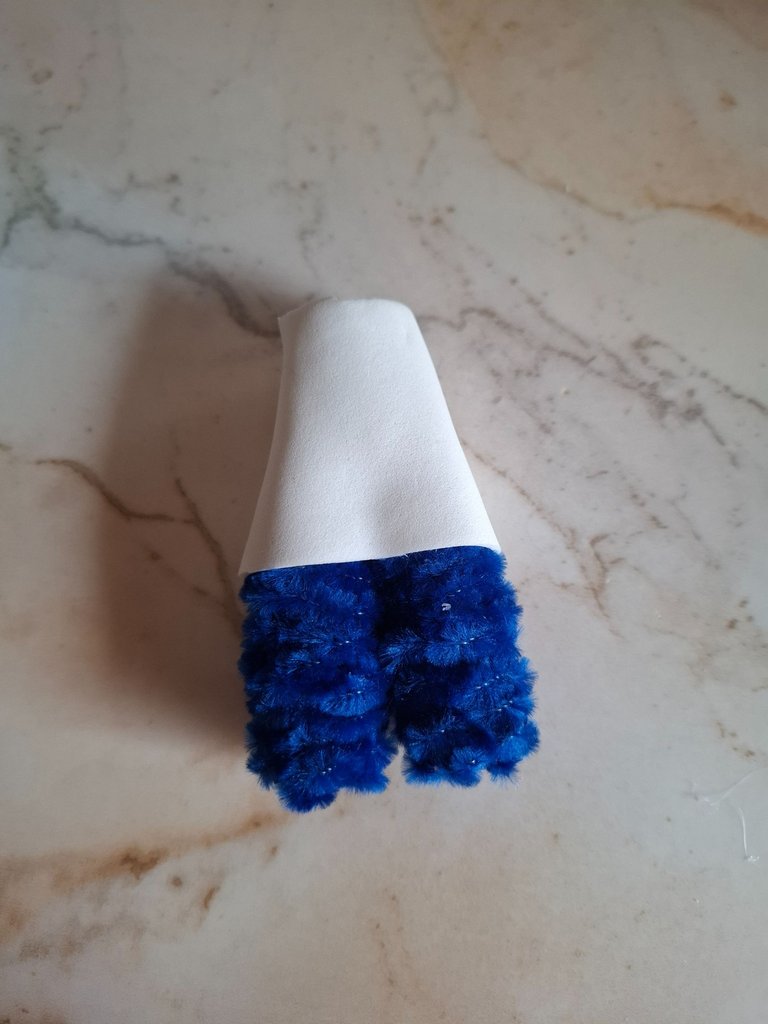
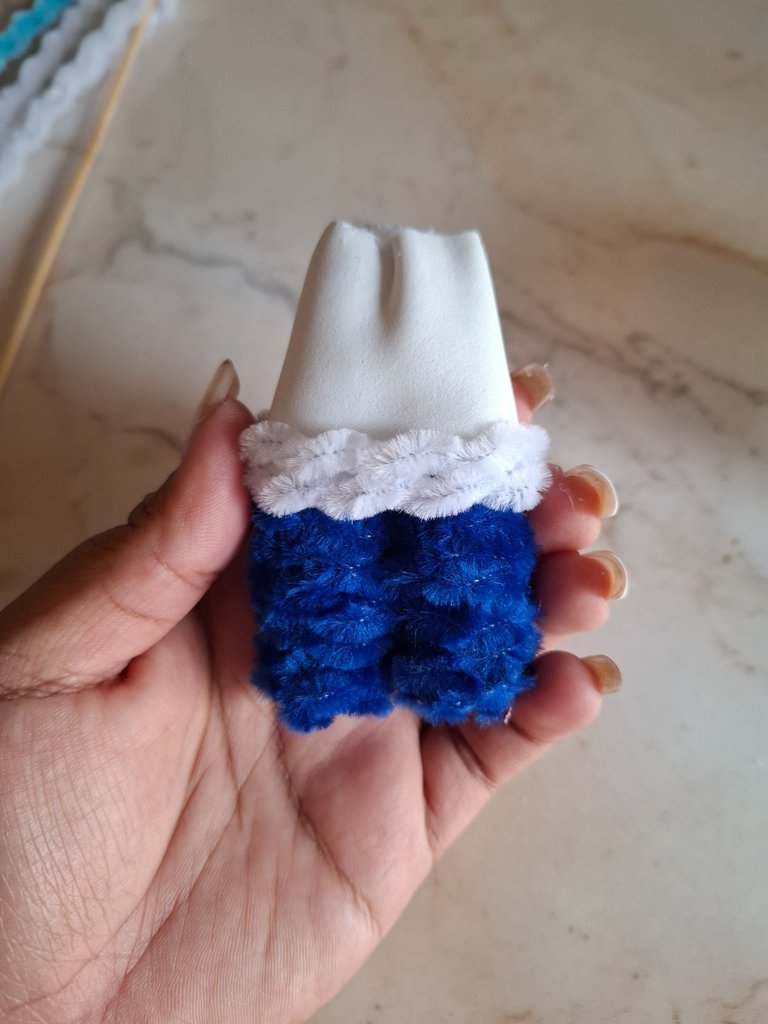
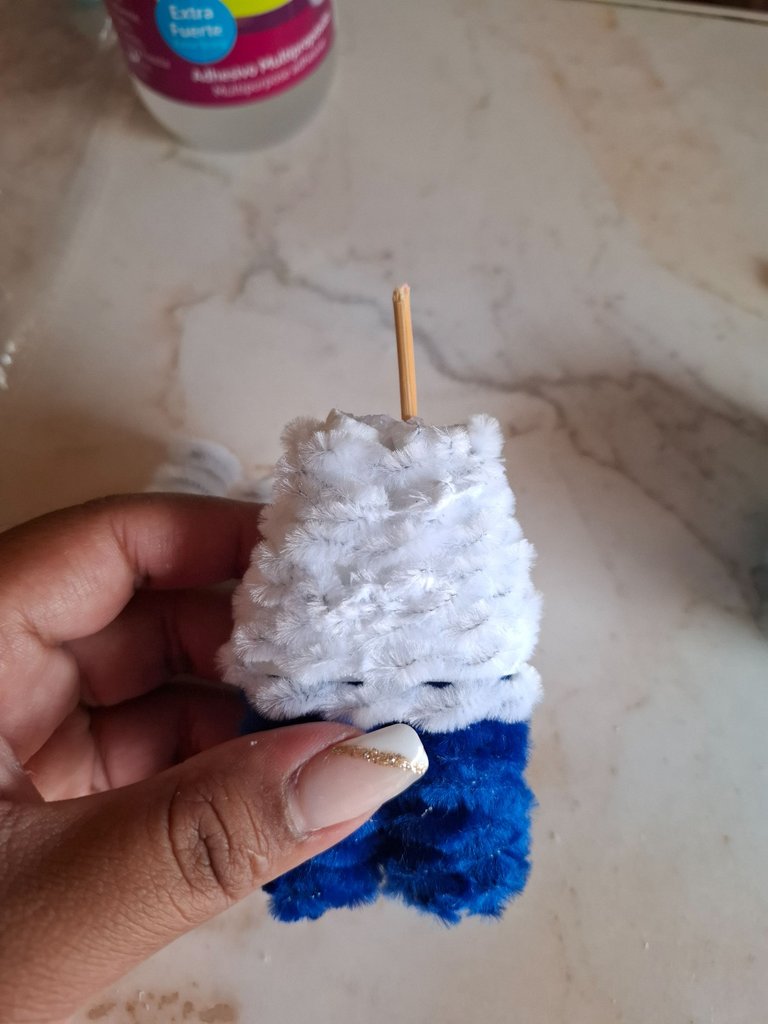
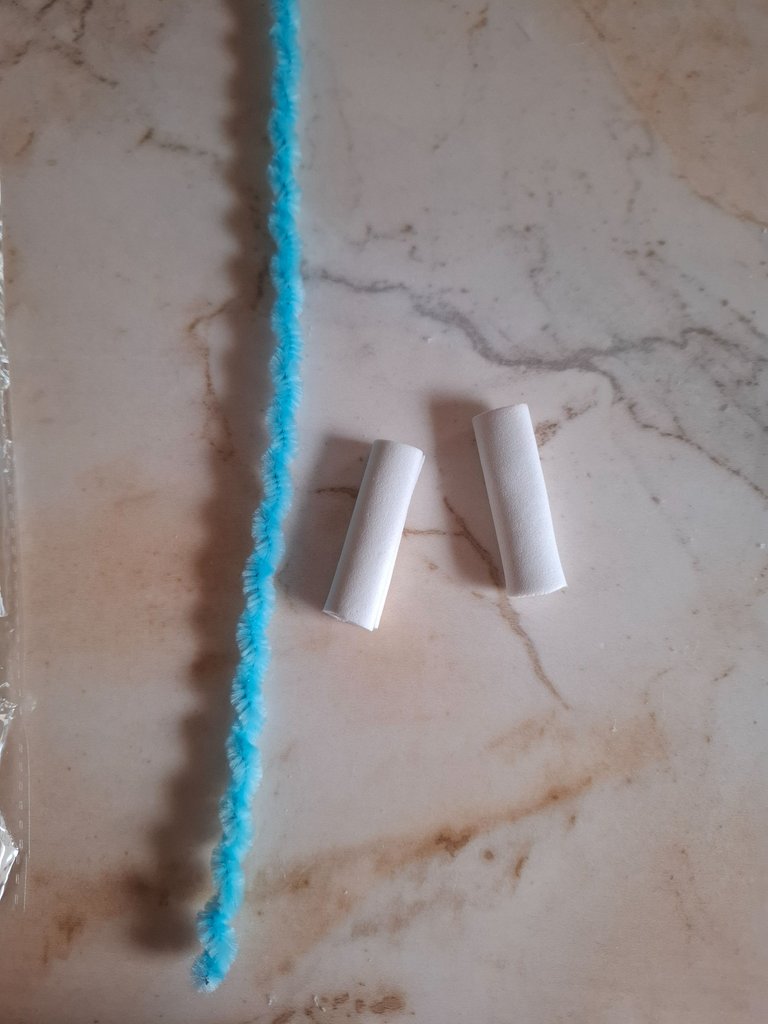
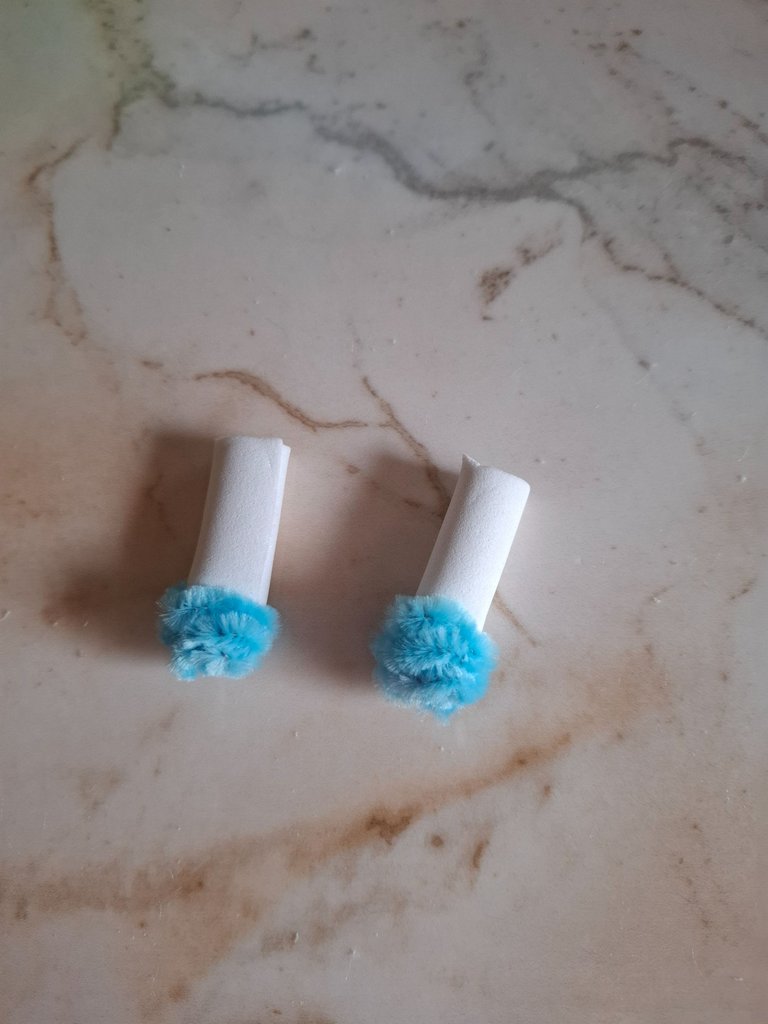
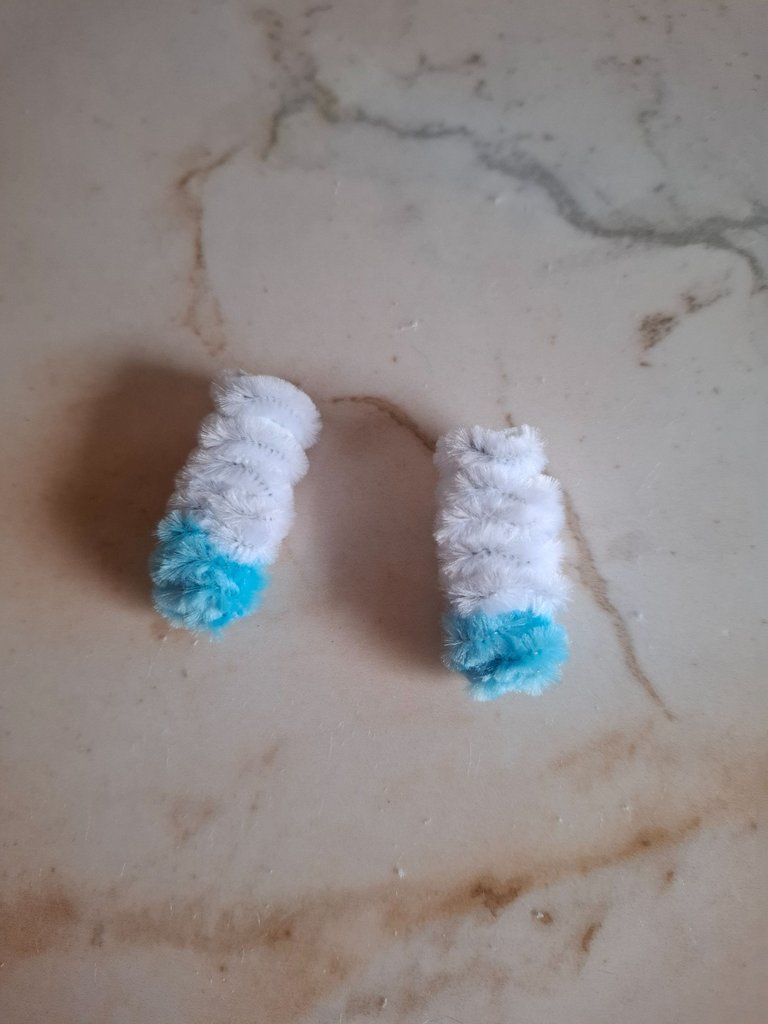
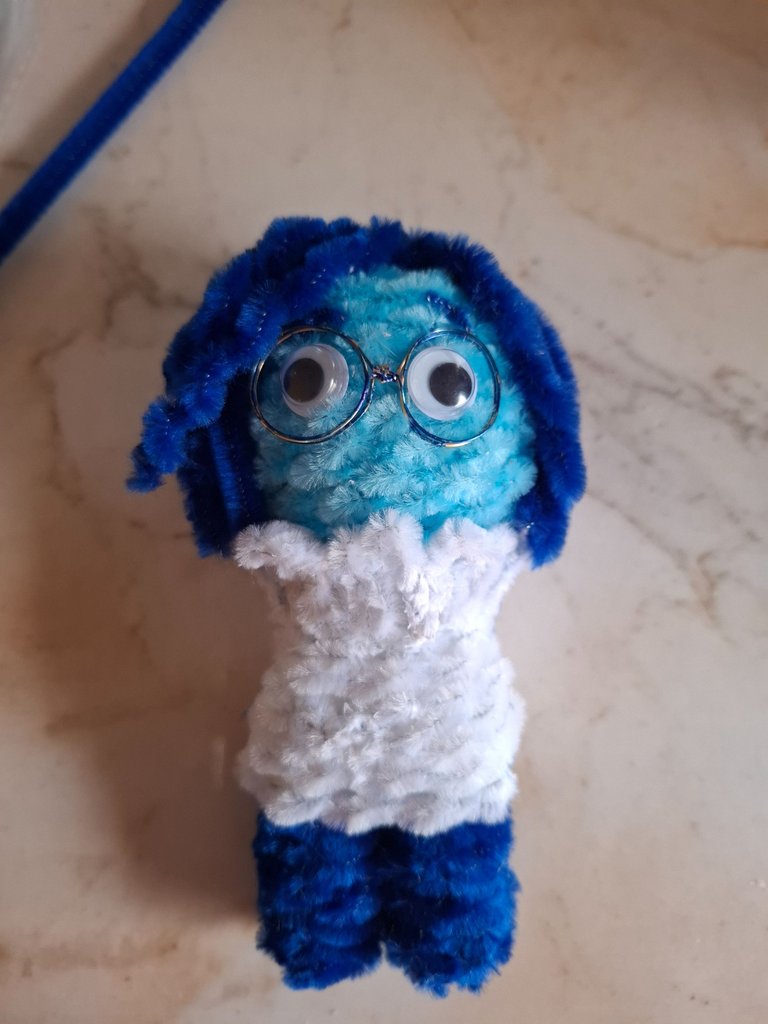
Luego voy a unir las piernas un poco, con foami blanco realicé una base para lo que seis el suéter blanco, debe quedar corto pegamos los limpiapipas, debemos asegurarnos que quede bien tanto por delante como por detrás, para los brazos corte un rollito de foami blanco y le coloqué limpiapipas color azul para la mano y blanco.
Then I'm going to join the legs a little, with white foam I made a base for what you will see in the white sweater, it should be short, we glue the pipe cleaners, we must make sure that it fits well both in front and behind, for the arms I cut a roll of white foam and placed blue pipe cleaners for the hand and white.
 |  |  |
|---|

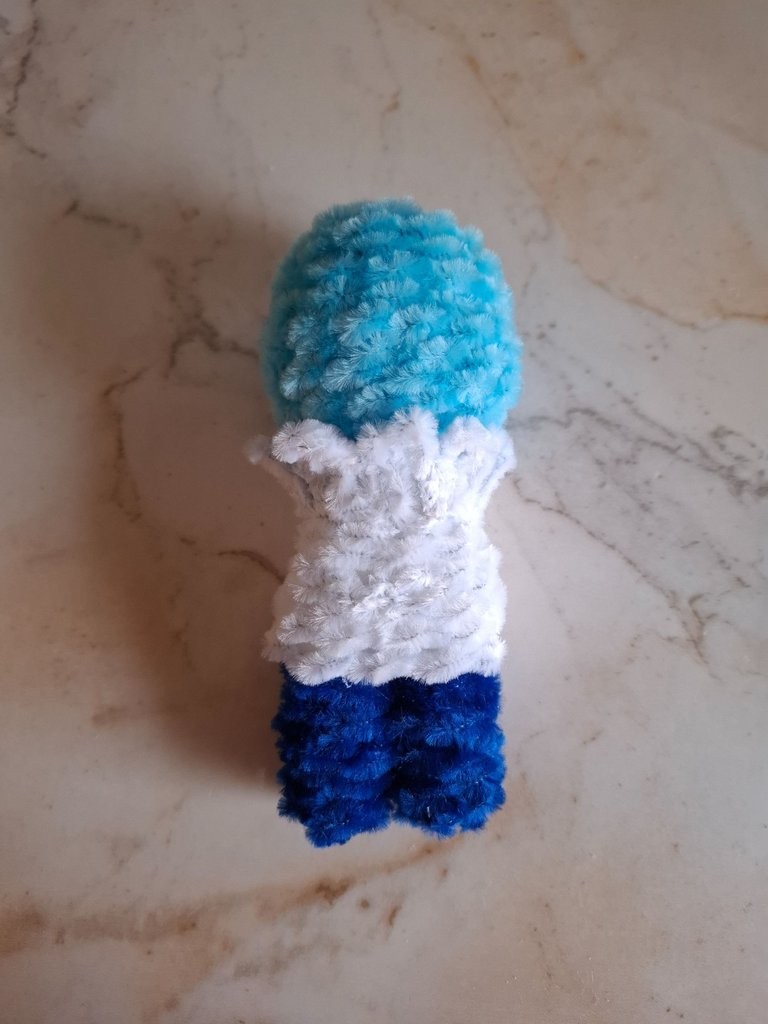
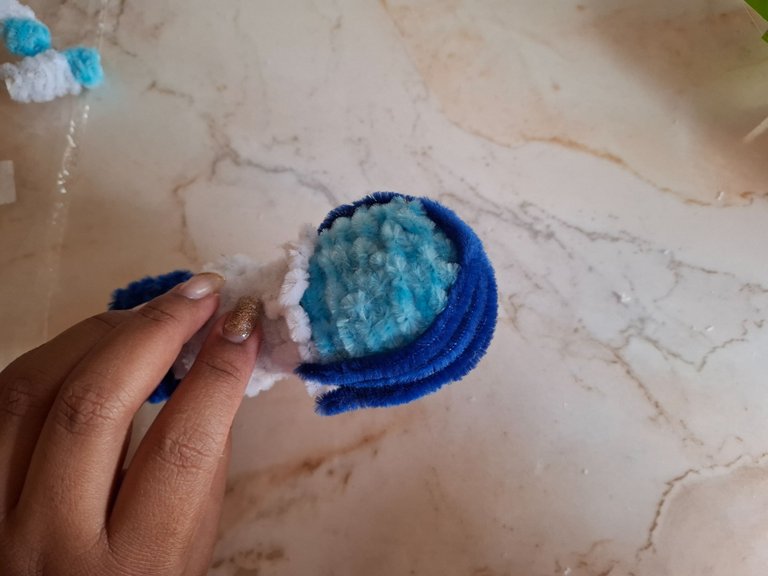
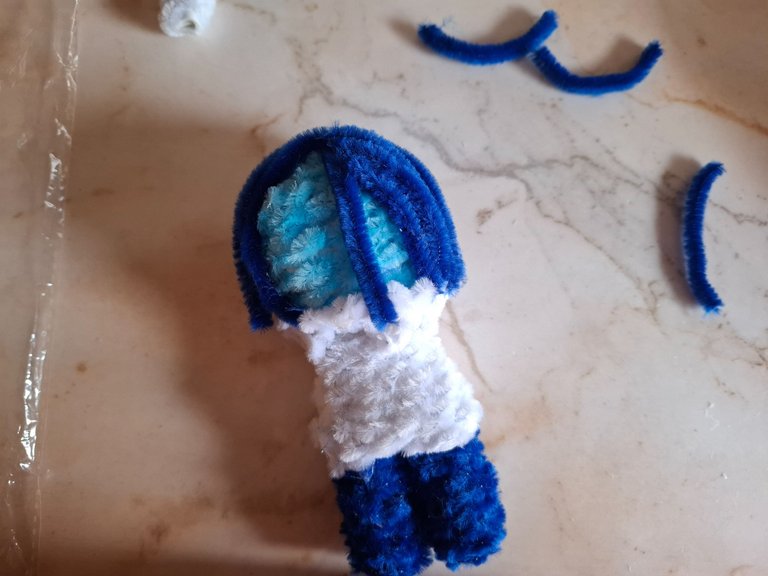
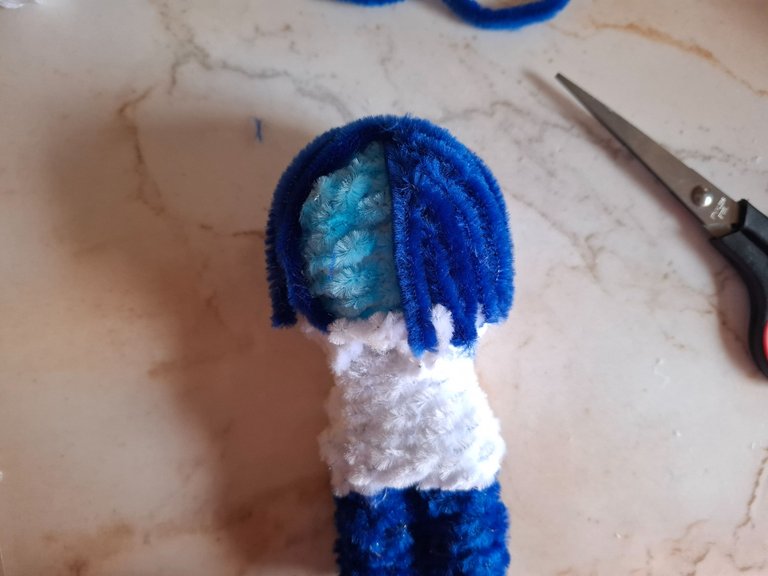
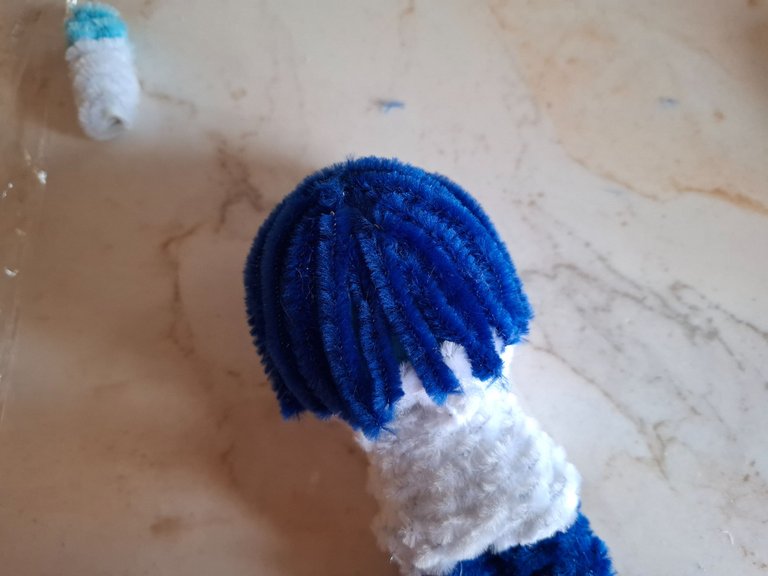
Voy a ubicar un palillo en medio y unimos con la cabeza, podemos aplicar silicón, con retazos de limpiapipas blanco realicé el cuello del suéter, moldeando el limpiapipas en foami de zig zag, de esta forma ya tenemos listo el cuerpo. El siguiente paso es realizar el cabello, para esto voy a cortar un limpiapipas en la mitad y lo voy a ir pegando sobre la cabeza cuando hayamos colocado tres voy a cortar retazos más pequeños y rellenamos la parte trasera.
I'm going to place a toothpick in the middle and join it to the head. You can apply silicone. With scraps of white pipe cleaners I made the neck of the sweater, molding the pipe cleaner in zigzag foam, this way we have the body ready. The next step is to make the hair. For this I'm going to cut a pipe cleaner in half and I'm going to glue it onto the head. When we've placed three, I'm going to cut smaller scraps and fill in the back.
 |  |  |
|---|
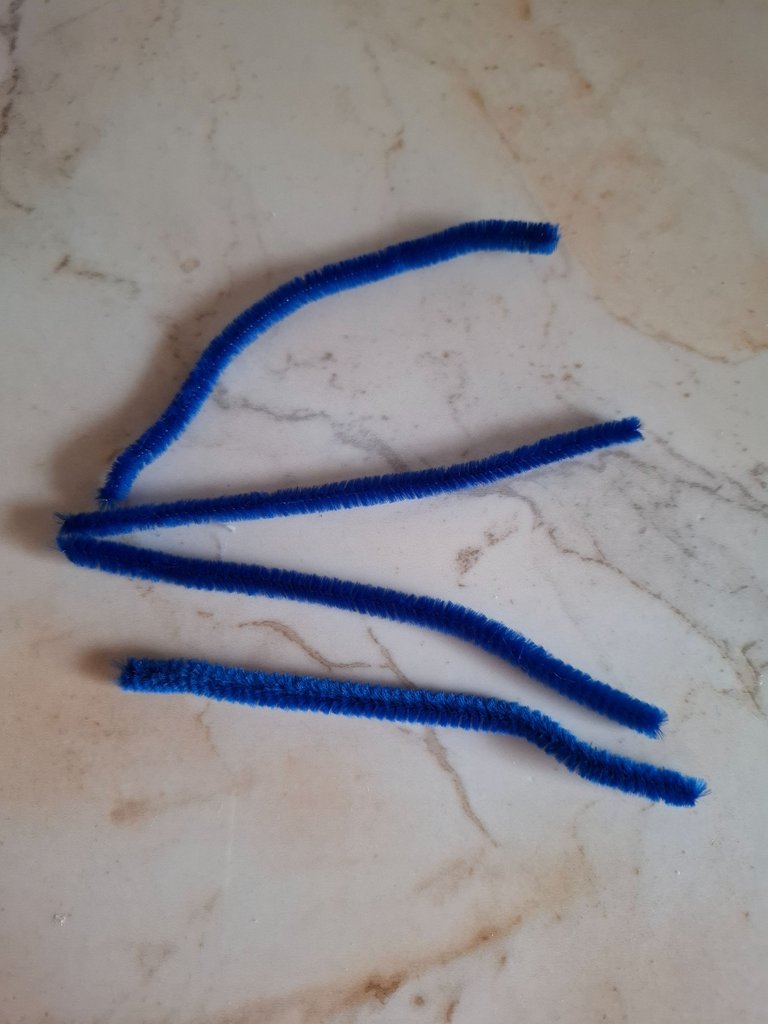
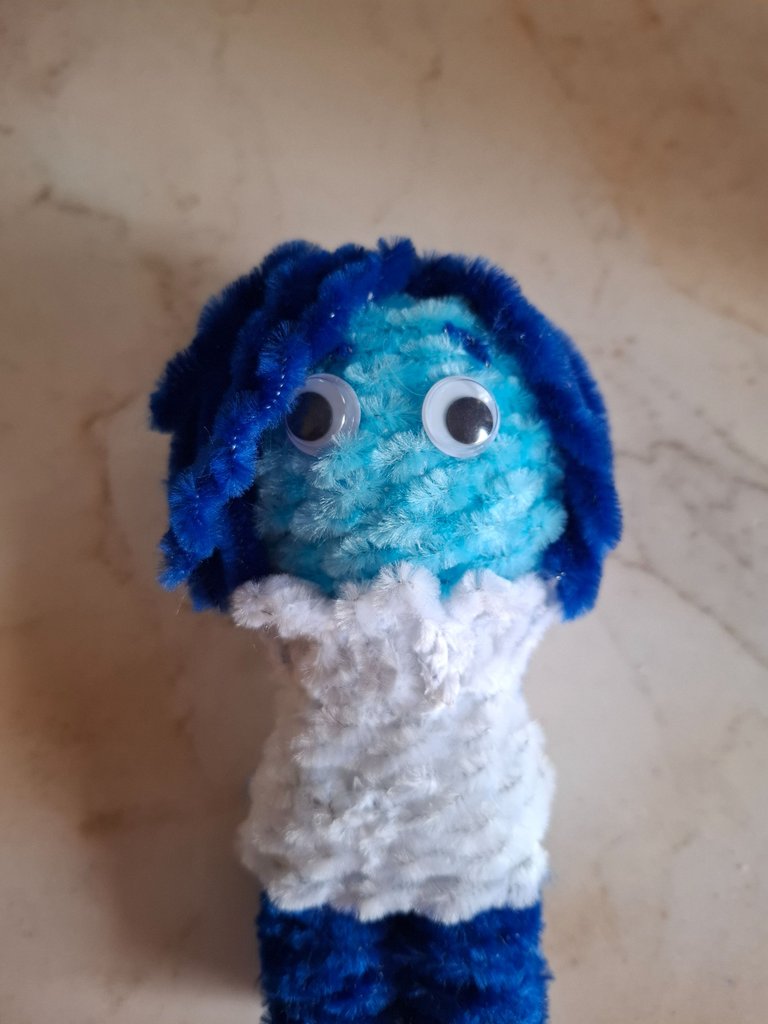
Luego con otro limpiapipas azul voy a realizar una especie de flequillo de lado, para la cara voy a pegar dos ojitos locos, para las cejas voy a cortar todos los pelitos del limpiapipas hasta que quede solo el alambre cortamos y pegamos como cejas.
Then with another blue pipe cleaner I'm going to make a kind of side fringe, for the face I'm going to glue two crazy eyes, for the eyebrows I'm going to cut all the hairs from the pipe cleaner until only the wire remains, we cut and glue them as eyebrows.
 |  |  |
|---|
 |  |
|---|
Para los lentes voy a utilizar alambre dorado, lo voy enrollar en un marcador, quedando ambos del mismo tamaño, voy a colocar un poco de marcador azul y pegamos, para la boca voy a quemar un trozo de limpiapipas con un encendedor, en dónde solo quedará el alambre y pegamos.
For the glasses I'm going to use gold wire, I'm going to wrap it around a marker, making sure they're both the same size, I'm going to put a little blue marker and glue them together, for the mouth I'm going to burn a piece of pipe cleaner with a lighter, leaving only the wire and glue them together.
 |  |
|---|

Por último pegamos los brazos y listo, de esta forma realicé a tristeza, súper contenta con esta muñequita, espero les haya gustado, muchas gracias por visitar y nos vemos en una próxima oportunidad con más ideas creativas.
Finally we glue the arms and that's it, this is how I made sadness, super happy with this little doll, I hope you liked it, thank you very much for visiting and we'll see you next time with more creative ideas.



Contenido original. - original content.
Los separadores y banner fueron realizados en Canva. - The dividers and banner were made in Canva.
Fotografías tomadas con mi Samsung A55. - Photographs taken with my Samsung A55.
Gif creado desde Giphy / Gif created from Giphy
Traducción de: Google traductor - Translation of: Google translator.
Posted Using INLEO
Thank you for your witness vote!
Have a !BEER on me!
To Opt-Out of my witness beer program just comment STOP below
View or trade
BEER.BEERHey @marile21, here is a little bit of from @isnochys for you. Enjoy it!Learn how to earn FREE BEER each day by staking your
BEER.Awww. The doll you make is looking cute. Quite creative.
Thank you very much for the support, a hug 🤗
Discord Felicitaciones, su publicación ha sido votada por @ dsc-r2cornell. Puedes usar el tag #R2cornell. También, nos puedes encontrar en
Estoy realmente impresionada con todo lo que se puede lograr con estos materiales, tu trabajo se ve muy creativo y original, te felicito amiga.💐🌼
🥹 muchísimas gracias 🫂
🙂 Encantada amiga, es un gran placer.
Es muy linda, es muy Tristeza al 100% me enamoré de ella.
Gracias bella 🥹
Wao te salio identica, que geniales trabajos que se pueden realizar con limpiapipas 😍 quedan resultados muy hermosos ❤️ me dio ternura este personaje jaja te quedo muy adorable ❤️
😁😁 triste pero tierna jaja 🥹 gracias por el apoyo 🫂
Awww te quedó preciosa😍 esta fue una idea en verdad muy creativa✨ se ve súper tierna💖
Muchas gracias 🫂
Waoo!! Que bonito trabajo con limpiapipas @marile21 me gusto el resultado final. Muy lindo, saludos desde cuba 🇨🇺 y excelente fin de semana !! 😊🙏🏻
¡Felicitaciones!
Estás participando para optar a la mención especial que se efectuará el domingo 19 de enero del 2025 a las 8:00 pm (hora de Venezuela), gracias a la cual el autor del artículo seleccionado recibirá la cantidad de 1 HIVE transferida a su cuenta.
¡También has recibido 1 ENTROKEN! El token del PROYECTO ENTROPÍA impulsado por la plataforma Steem-Engine.
1. Invierte en el PROYECTO ENTROPÍA y recibe ganancias semanalmente. Entra aquí para más información.
2. Contáctanos en Discord: https://discord.gg/hkCjFeb
3. Suscríbete a nuestra COMUNIDADEntra aquí para más información sobre nuestro trail. y apoya al trail de @Entropia y así podrás ganar recompensas de curación de forma automática.
4. Visita nuestro canal de Youtube.
Atentamente
El equipo de curación del PROYECTO ENTROPÍA
Wow que hermoso. Yo sé tejer desde niña ganchillo, mi hija me mostró éste mundo de los amiragumis y es fascinante, ¡pero ésta técnica es completamente fascinante y el resultado es muy diferente! espectacular!