Felíz domingo miembros de la comunidad Hive Diy, espero estén muy bien, yo con algunos problemas de internet hace dos dias me encuentro sin el servicio y espero puedan repararlo pronto por lo que me he retrasado un poco en el blog, más sin embargo mi vecina me ha prestado su conexión hasta que logren arreglar el mío, así que aprovecho la oportunidad para compartirles un nuevo post navideño.
Happy Sunday members of the Hive Diy community, I hope you are well, with some internet problems two days ago I found myself without the service and I hope they can repair it soon so I have been a little late in the blog, however my neighbor He has lent me his connection until they can fix mine, so I take the opportunity to share a new Christmas post with you.
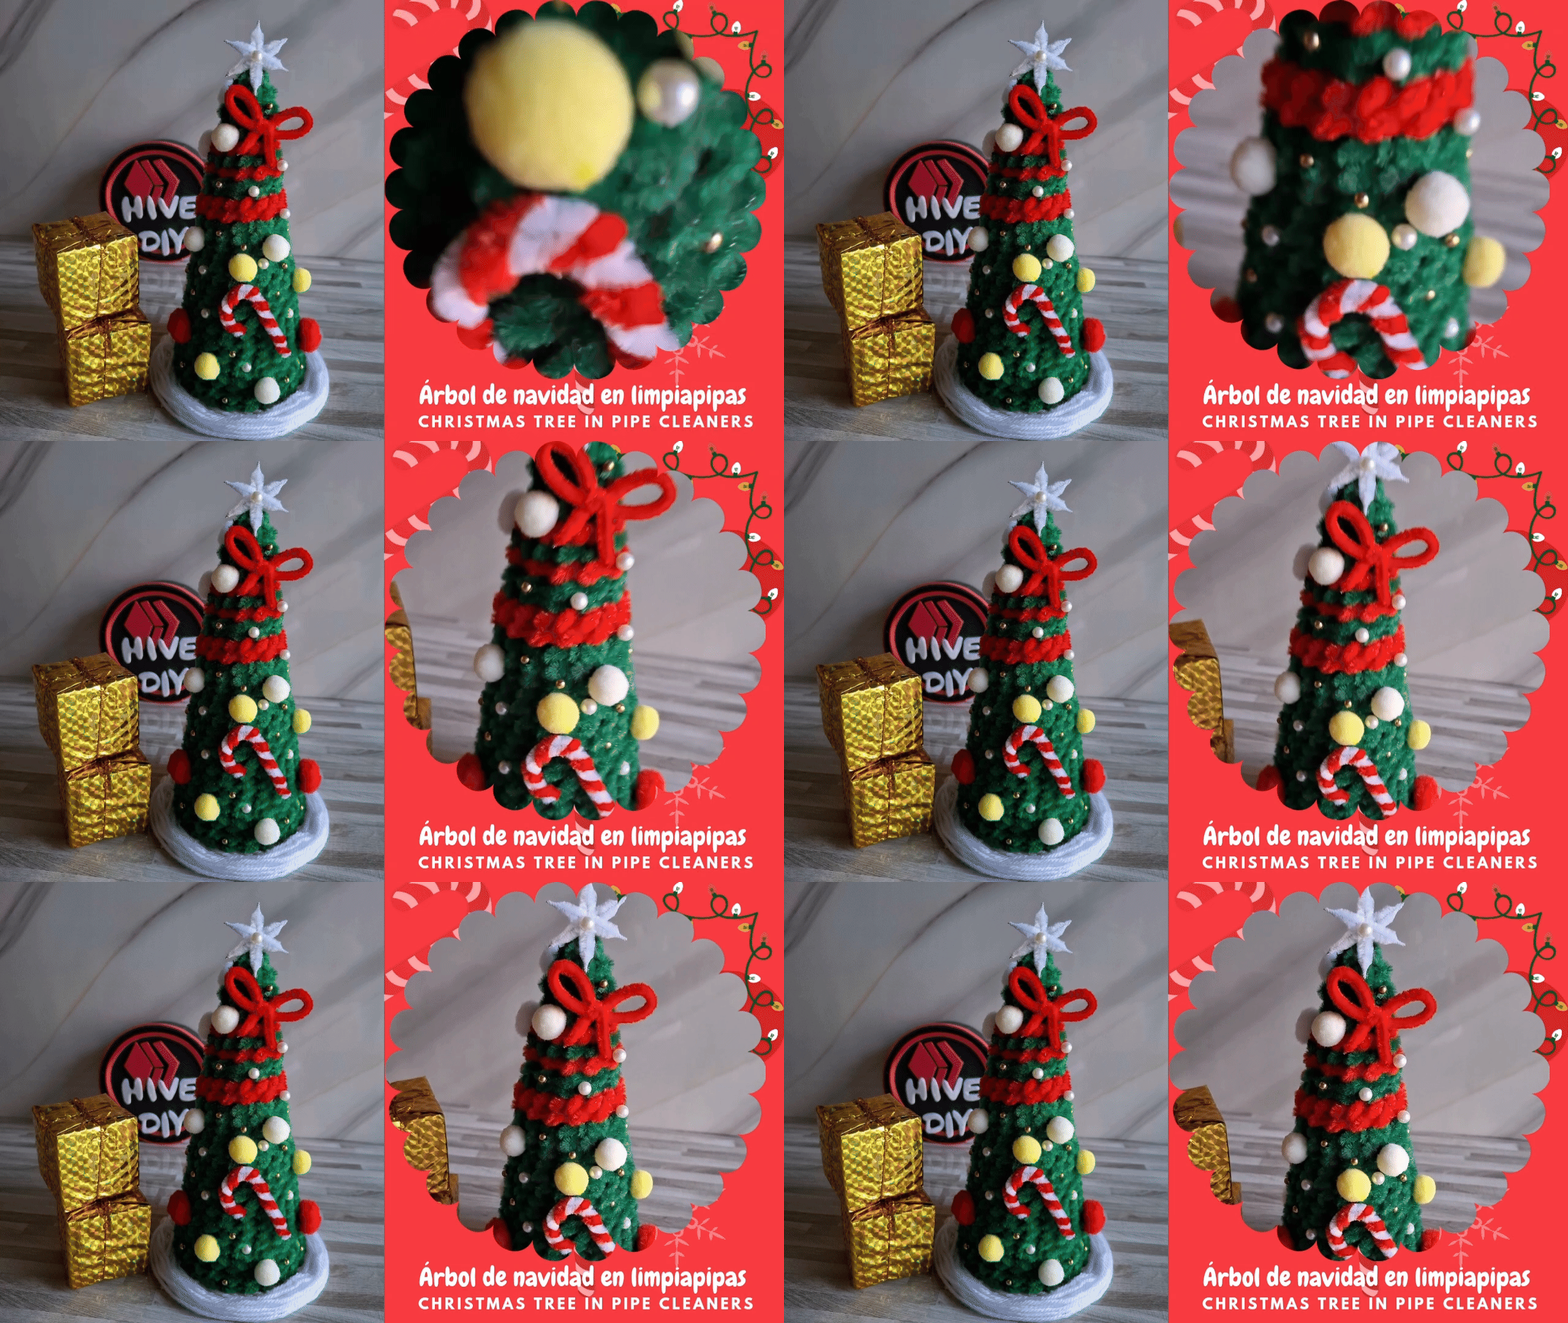
En esta ocasión les comparto un lindo arbolito de navidad hecho con limpiapipas, agregando otros materiales como perlas y balines dorados para decorar, la verdad me pareció muy lindo el resultado y es ideal para decorar algún rincón de la casa o incluso la oficina, el escritorio, en tu negocio, disfruté mucho el proceso mientras pegaba los limpiapipas ya pensaba en dónde colocar los demás adornos, a continuación les muestro los materiales y el paso a paso.
On this occasion I share with you a cute little Christmas tree made with pipe cleaners, adding other materials such as pearls and gold beads to decorate, the truth is that I found the result very cute and it is ideal for decorating any corner of the house or even the office, the desk In your business, I really enjoyed the process. While I was gluing the pipe cleaners, I was already thinking about where to place the other decorations. Below I will show you the materials and the step by step.

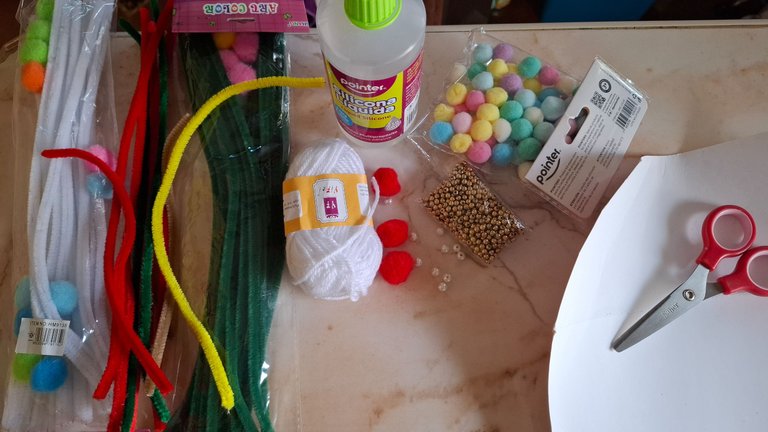
| Materiales | Materials |
|---|---|
| Tijera | Scissors |
| 1 palillo | 1 toothpick |
| Silicón líquido | liquid silicone |
| 20 limpiapipas verdes | 20 green pipe cleaners |
| 6 limpiapipas rojos | 6 red pipe cleaners |
| 1 limpiapipas blanco | 1 white pipe cleaner |
| Perlas color blanco | White pearls |
| Balines color dorado | Gold-colored pellets |
| Pompones de varios colores (blanco, amarillo, rojo) | Pompoms of various colors (white, yellow, red) |
| Cartón de reciclaje | recycling cardboard |
| Estambre color blanco | White stamen |

Paso a paso / Step by step
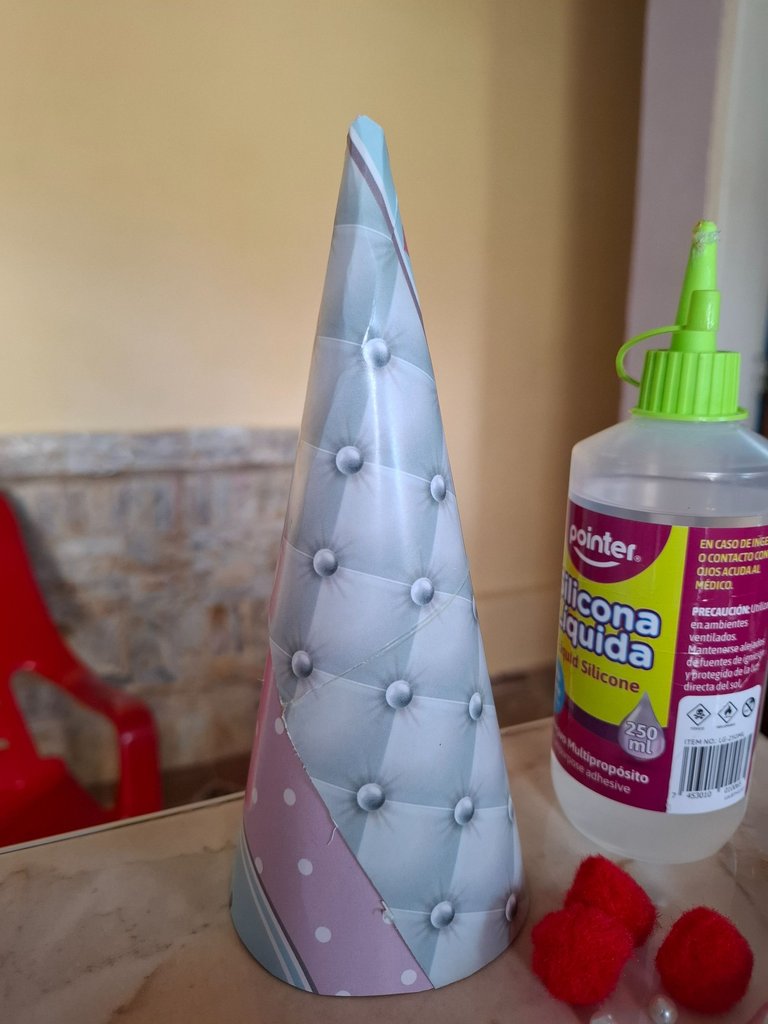
El primer paso se trata de cortar el cartón de reciclaje, realizamos un cono de aproximadamente 20 cm de alto, pegamos con silicón y esperamos que seque.
The first step is to cut the recycling cardboard, we make a cone approximately 20 cm high, glue it with silicone and wait for it to dry.
 |  |  |
|---|

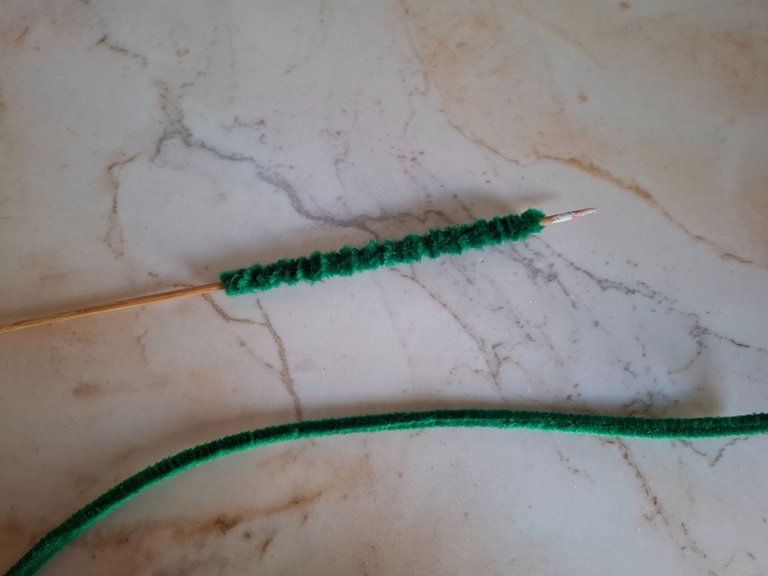
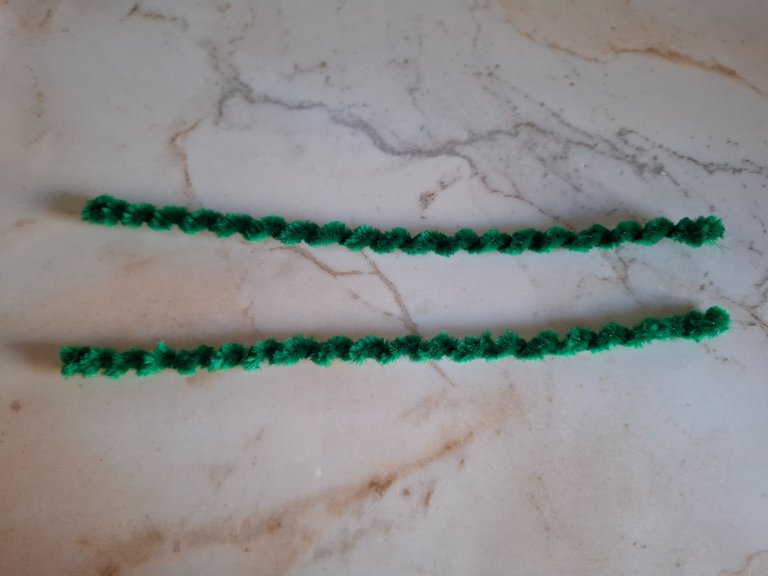
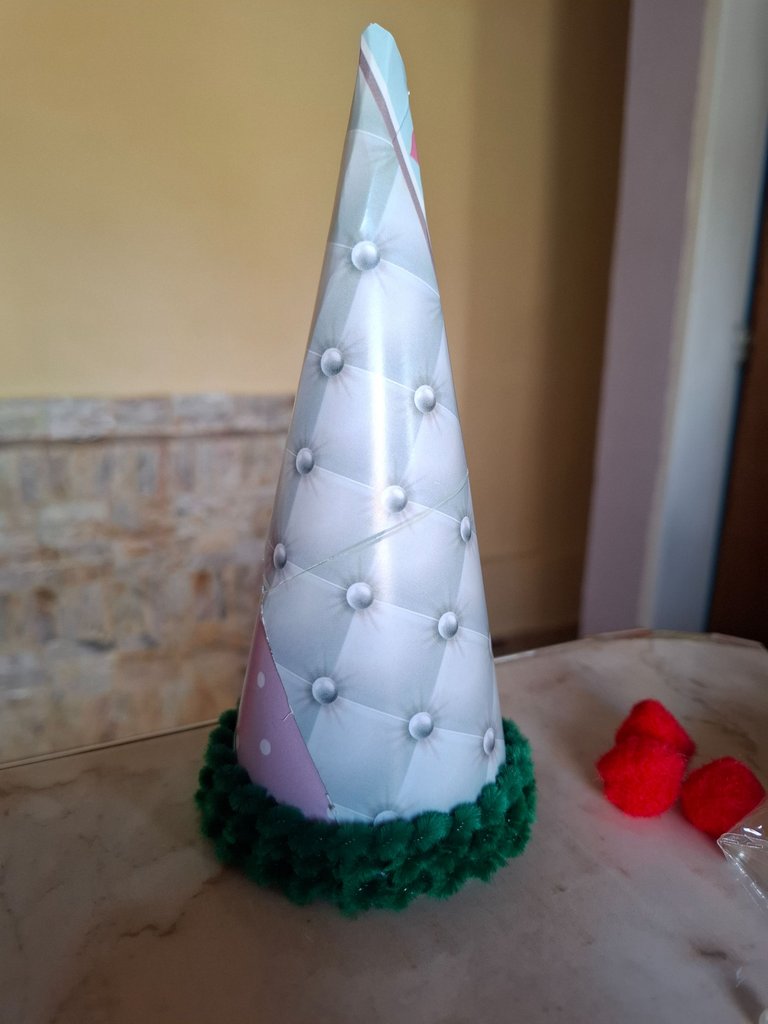
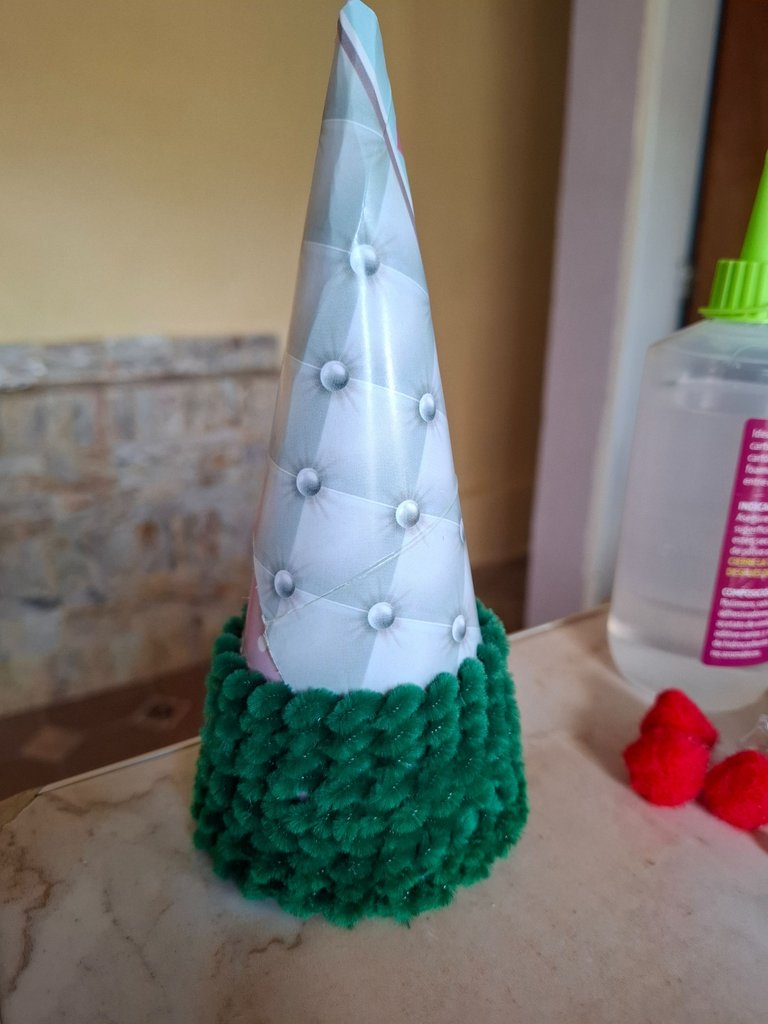
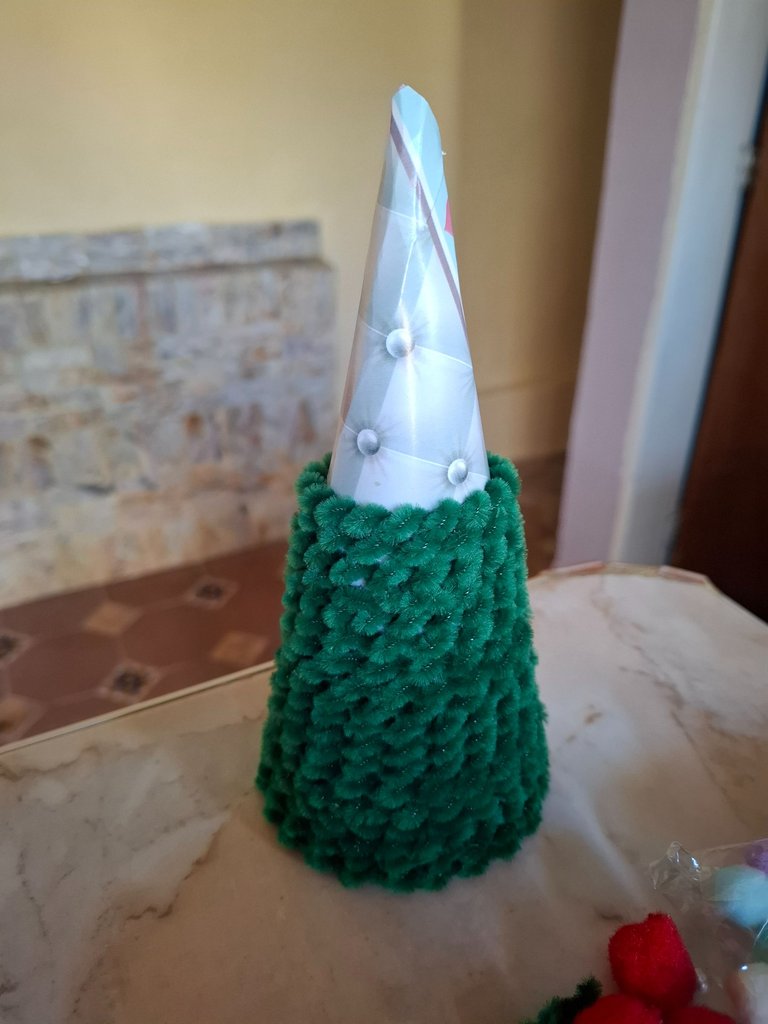
Luego vamos a comenzar a preparar los limpiapipas antes de pegarlos en el cono, para esto voy a utilizar un palillo, voy a enrollar el limpiapipas en el mismo lo retiramos y luego estiramos un poco, ahora voy a comenzar a pegar los limpiapipas comenzando desde la parte inferior.
Then we are going to start preparing the pipe cleaners before gluing them on the cone, for this I am going to use a toothpick, I am going to roll the pipe cleaner in it, remove it and then stretch it a little, now I am going to start gluing the pipe cleaners starting from the bottom.
 |  |
|---|
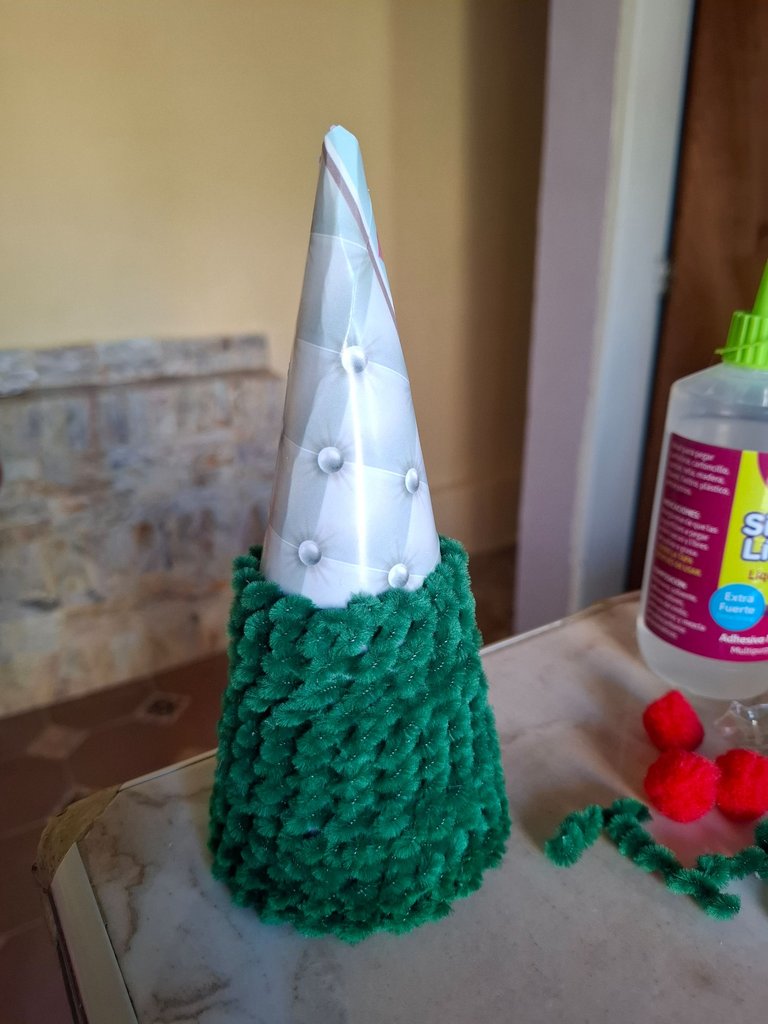
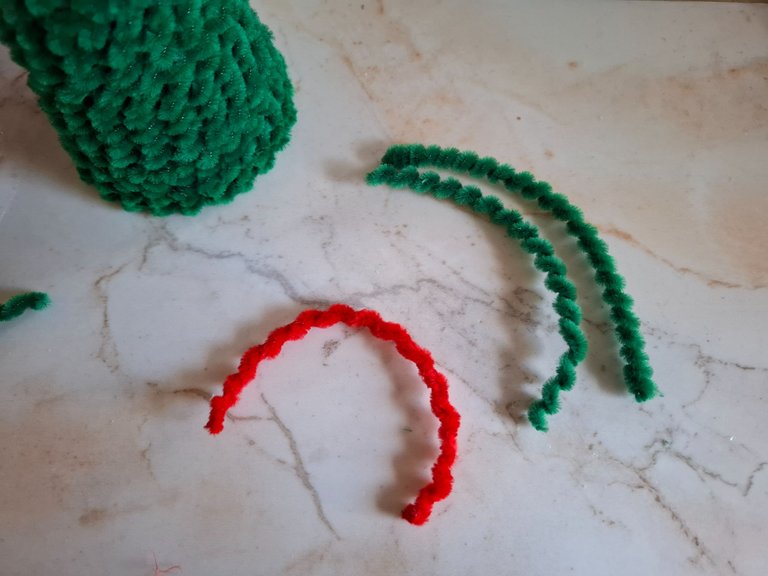
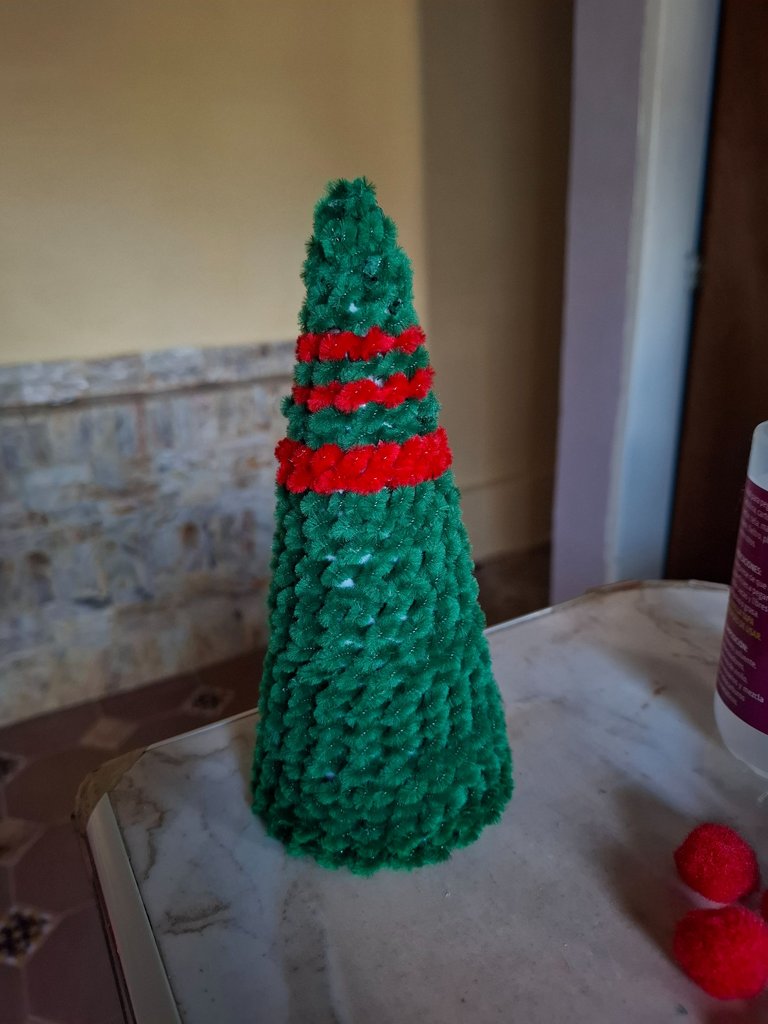
Veremos cómo está técnica puede dar textura al arbolito ya que por lo general el limpiapipas es liso, voy a pegar los que sean necesarios en mi caso fueron aproximadamente 20 verdes, en la parte superior coloqué algunos color rojo, y con los retazos que sobraron rellené algunos espacios vacíos.
We will see how this technique can give texture to the little tree since generally the pipe cleaner is smooth, I am going to glue the ones that are necessary in my case there were approximately 20 green ones, on the top part I placed some red, and with the leftover scraps I filled some empty spaces.
 |  |  |
|---|

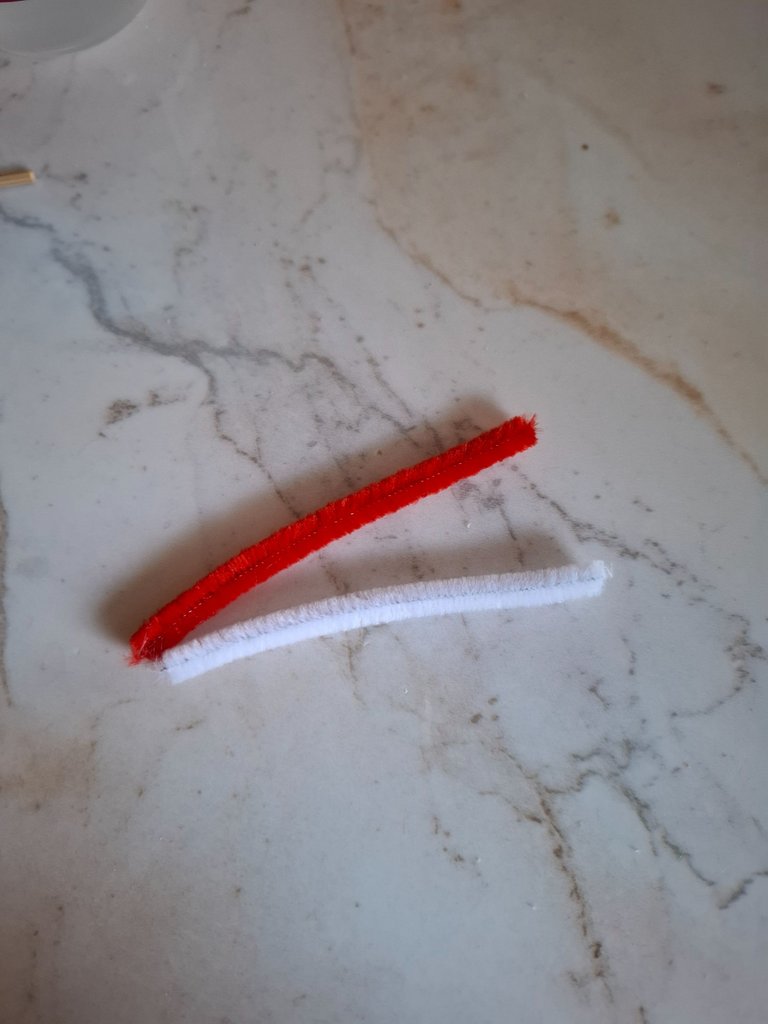
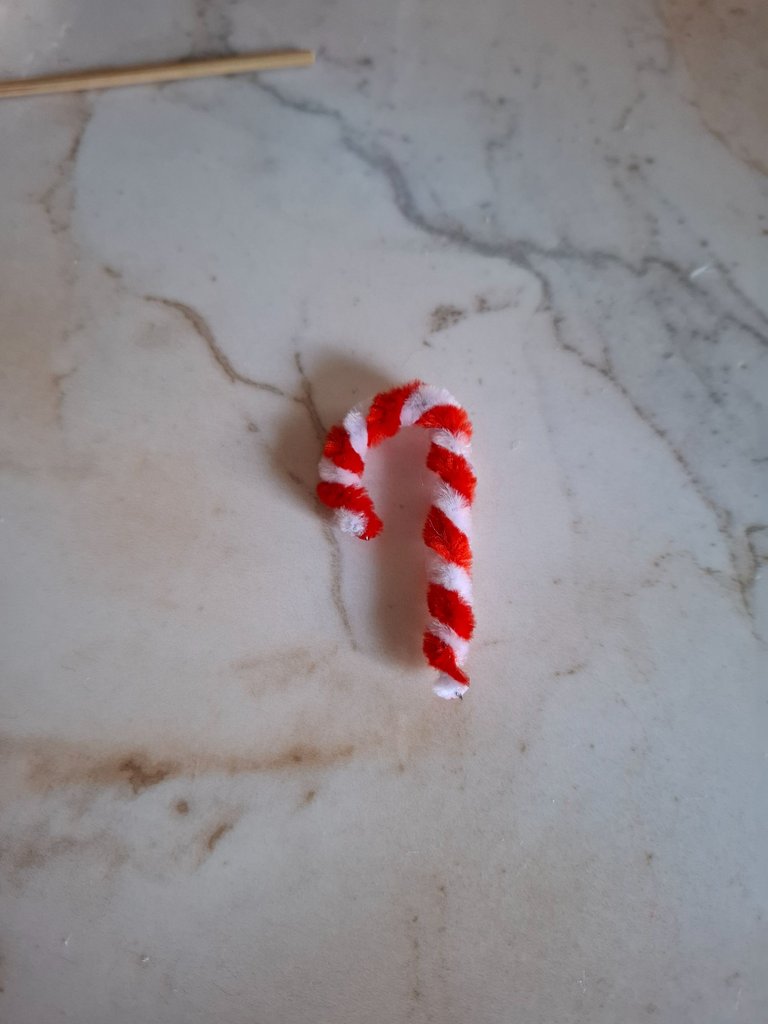
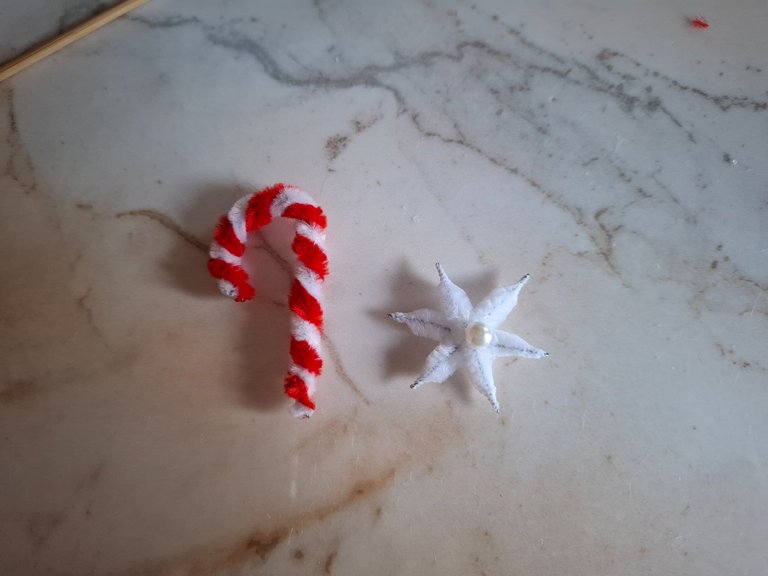
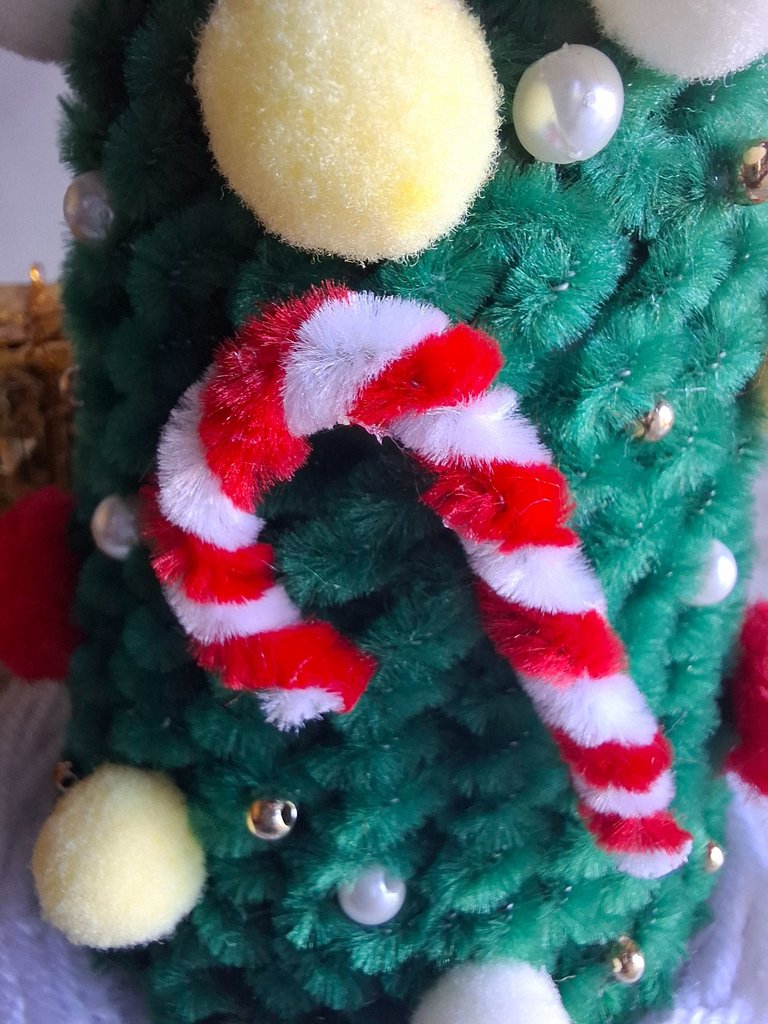
Voy a tomar dos retazos de limpiapipas blanco y rojo los voy a unir y formamos un bastón de navidad, doblamos un poco la punta con ayuda de los dedos, también voy a realizar un pequeño copo de nieve unimos tres partes de limpiapipas blanco con un encendedor rebajamos las puntas para dar una forma puntiaguda, pegamos una oerla blanca en medio.
I am going to take two pieces of white and red pipe cleaners, I am going to join them and form a Christmas cane, we bend the tip a little with the help of our fingers, I am also going to make a small snowflake, we join three parts of white pipe cleaners with a lighter We lower the tips to give a pointed shape, we glue a white earla in the middle.
 |  |  |
|---|
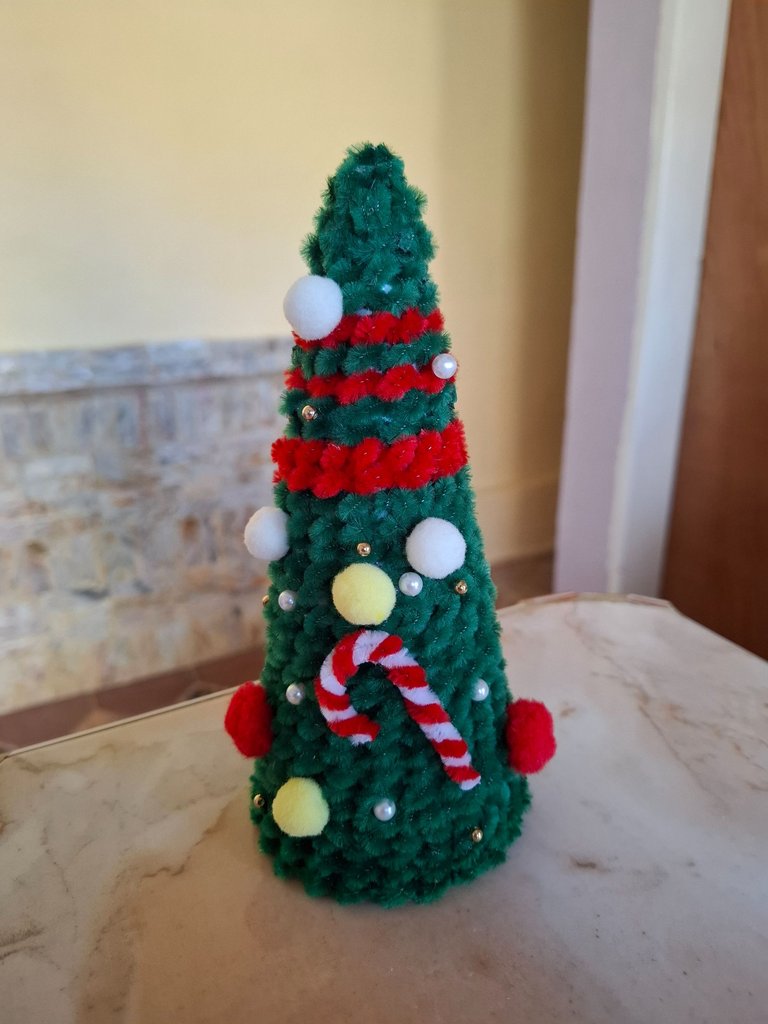
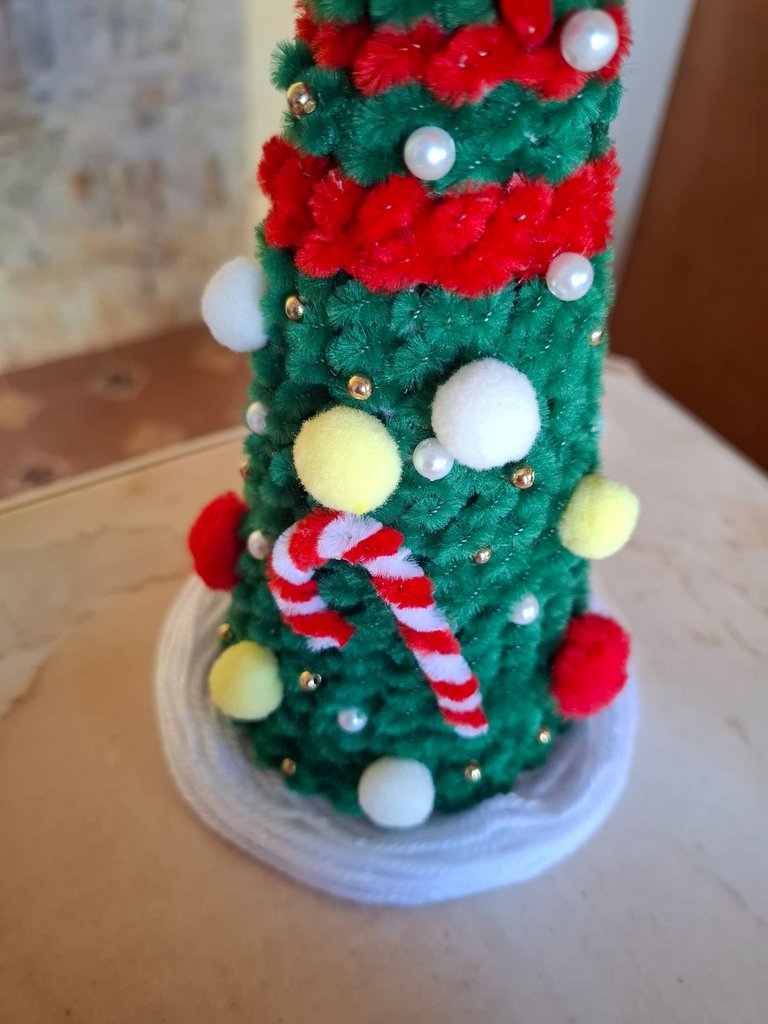
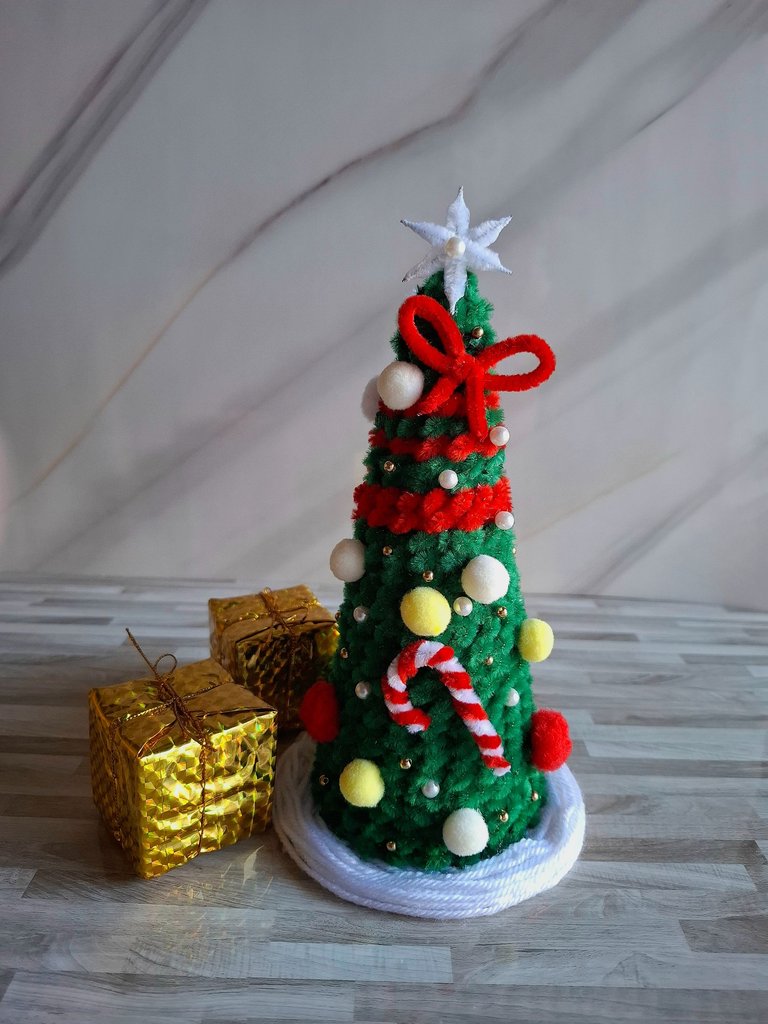
Luego de esto voy a comenzar a pegar con silicón las perlas blancas, los balines dorados puedes colocar la cantidad que desees, también colocamos los pompones rojos, amarillos, blancos, el bastón en el centro, el copo lo ubiqué en la punta del árbol, también realicé un pequeño lazo con limpiapipas rojo.
After this I am going to start gluing the white pearls with silicone, you can place the golden balls as much as you want, we also place the red, yellow, white pompoms, the cane in the center, I placed the snowflake at the tip of the tree, I also made a small bow with red pipe cleaners.
 |  |
|---|
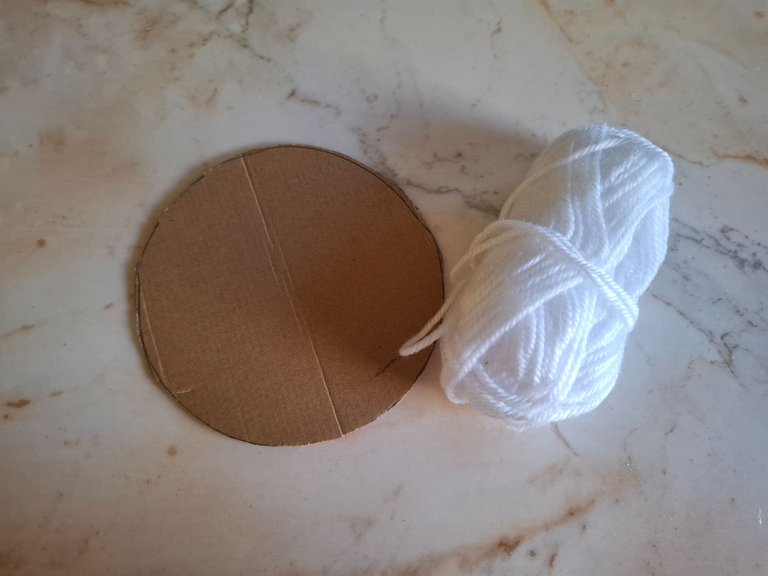
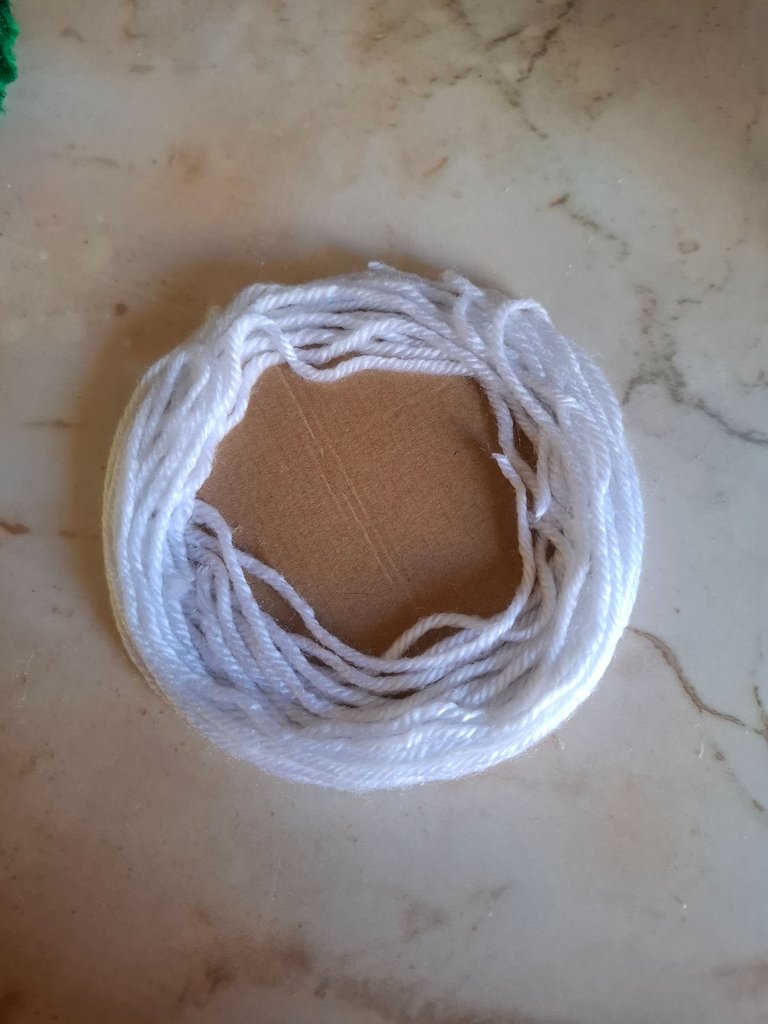
El último paso es realizar una base redonda con cartón de reciclaje, vamos a cortar varias franjas de estambre blanco, y las vamos a pegar al rededor del cartón luego pegamos el árbol en el centro, de ésta forma terminé mi arbolito navideño.
The last step is to make a round base with recycling cardboard, we are going to cut several stripes of white yarn, and we are going to glue them around the cardboard then we glue the tree in the center, this is how I finished my Christmas tree.
 |  |  |
|---|
Por otra parte les comparto algunas ideas de arbolito en Pinterest por si gustan realizar otros arbolitos de limpiapipas recordando que lo que hará la diferencia es el toque creativo que puedas dar combinando materiales y texturas.
On the other hand, I share some tree ideas on Pinterest in case you like to make other pipe cleaner trees remembering that what will make the difference is the creative touch you can give by combining materials and textures.
El resultado final / The final result

Espero les haya gustado, muchas gracias por visitar mi publicación, nos vemos en una próxima oportunidad con más ideas creativas.
I hope you liked it, thank you very much for visiting my publication, see you next time with more creative ideas.



Contenido original. - original content.
Los separadores y banner fueron realizados en Canva. - The dividers and banner were made in Canva.
Fotografías tomadas con mi Samsung A55. - Photographs taken with my Samsung A55.
Traducción de: Google traductor - Translation of: Google translator.
Posted Using InLeo Alpha
Congratulations @marile21! You have completed the following achievement on the Hive blockchain And have been rewarded with New badge(s)
Your next target is to reach 190000 upvotes.
You can view your badges on your board and compare yourself to others in the Ranking
If you no longer want to receive notifications, reply to this comment with the word
STOPCheck out our last posts:
Está demasiado bello! Me encantó. Hoy día se pueden hacer tantas cosas con los limpia pipas que me asombro, en un pasado a nadie se le ocurrian estas maravillas. Me encantaría hacer uno.
Haha si, en la escuela los piden para los niños pero si se hacen muchas manualidades bonitas, sobre todo flores ☺️ mis favoritas 🌼 gracias por el apoyo 🫂
Está bello me gustan todos los adornos que tiene y la parte roja arriba es muy lindo
Muchas gracias bella 🫂
Te quedó hermoso, parece un peluche 🌲💚
Siii queda como peluche con esa técnica 😉 saluditos
The final result is impressive. It looks great. Good to see each step of making this. You did a wonderful job! Thanks!
thank you very much for your support, greetings 🫂
El limpia pipas está revolucionando las manualidades, los trabajos hechos con este material, son impresionantes, tu árbol quedo super lindo.❤️✨🌲
Muchísimas gracias 🎄
Que belleza😍😍, se ve tan hermoso y perfecto
Gracias amiga 🫂
Wow. Un árbol hermoso, quedó excelente, y los materiales que empleaste le dan un toque de primera. Felicitaciones por el buen trabajo amiga. Saludos
Muchas gracias por su apoyo 🤗 feliz día 😉
Te acabo de seguir, ¿podrías seguirme también?
Quedo super, que belleza y muy bien detallado, esta mas bonito que los arbolitos que venden jaja 😍 me encantan los trabajos con limpiapias, se pueden elaborar muchas cositas lindas ❤️
Siii la verdad me encantó 🥹 gracias por el apoyo
Le quedó muy hermoso... Tengo que hacer uno para mi pequeño, pero uno un poco mas grande... ❤ EL que tenia ya estaba bastante viejo, y tuve que desecharlo..
Excelente trabajo linda, Dios te siga bendiciendo!
Sii espero poder ver el que vas a realizar a tu pequeño 🥹 gracias por el apoyo 🎄 saludos y amén 🙏🏽
Qué!! súper fácil para hacer y queda muy lindo, me encantó
Me encanta 😍
Te acabo de seguir, ¿podrías seguirme también?
Super lindo, los limpiapipas son tan hermosos, me encantaría comenzar a trabajar con ellos xq los resultados son espectaculares. Bendiciones 🤗.
Precioso ! Se ve como si fuera de dulce , es un buen efecto con el limpiapipas