Hola amigos de hive DIY, cómo están?? Que gusto visitarles este día, y más satisfacción tengo al compartir con ustedes lo que hago. Están invitados a visitar mi post, y seguirme en un paso a paso, realizando mi trabajo. Hoy aprenderemos a realizar de forma sencilla, un lindo cuadro para decorar las paredes de tu casa, inspirado en unas lindas maripositas. Sígueme!!!
Hello friends of hive DIY, how are you?? What a pleasure to visit you this day, and I have more satisfaction in sharing with you what I do. You are invited to visit my post, and follow me step by step, doing my work. Today we will learn how to make, in a simple way, a beautiful painting to decorate the walls of your house, inspired by some beautiful butterflies. Follow me!!!
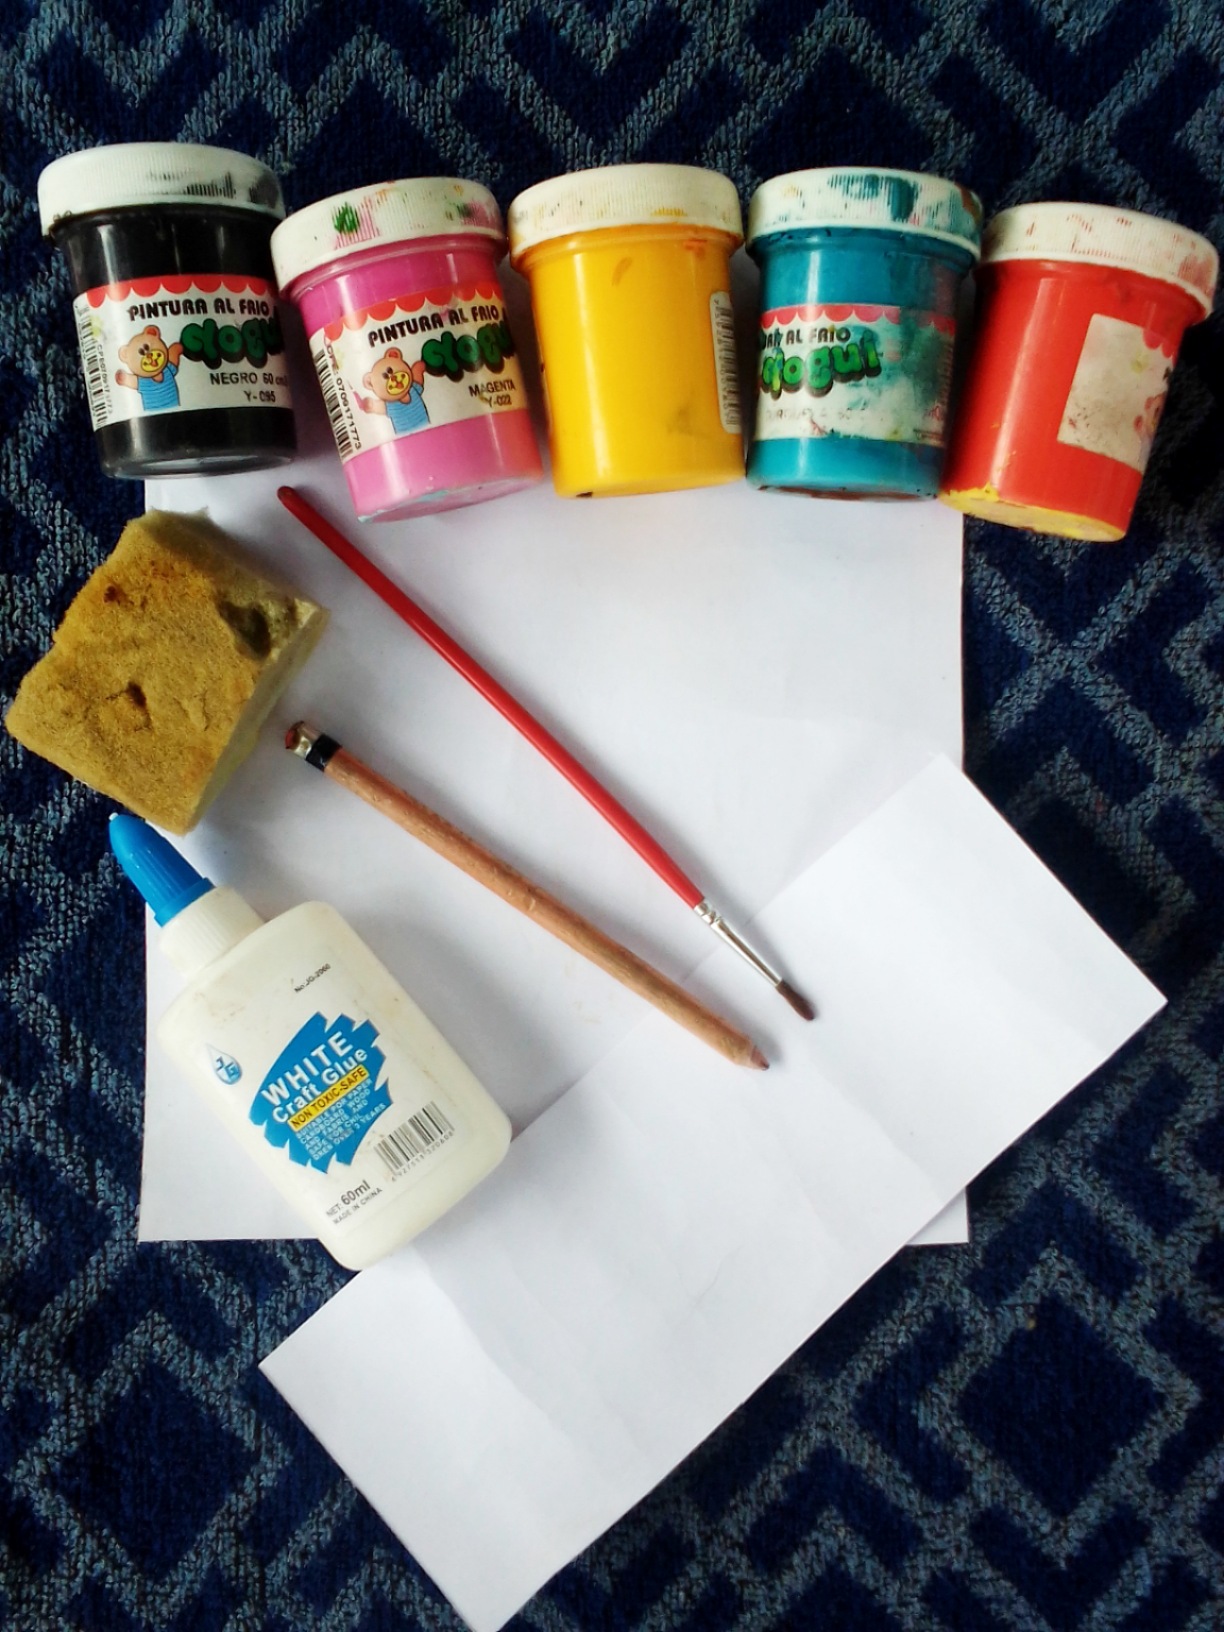
Solo necesitarás!!// You will only need!!
- Cartulina blanca
- Pinturas al frío: negra, amarilla, azul, blanca , rojo, rosada.
- Pincel
- Lápiz creyon
- Esponja
- Pega blanca
- Tijeras
- White cardboard
- Cold paints: black, yellow, blue, white, red, pink.
- Brush
- Crayon pencil
- sponge
- white glue
- Pair of scissors
¡Ok! Manos a la obra.//OKAY! Let's do it.
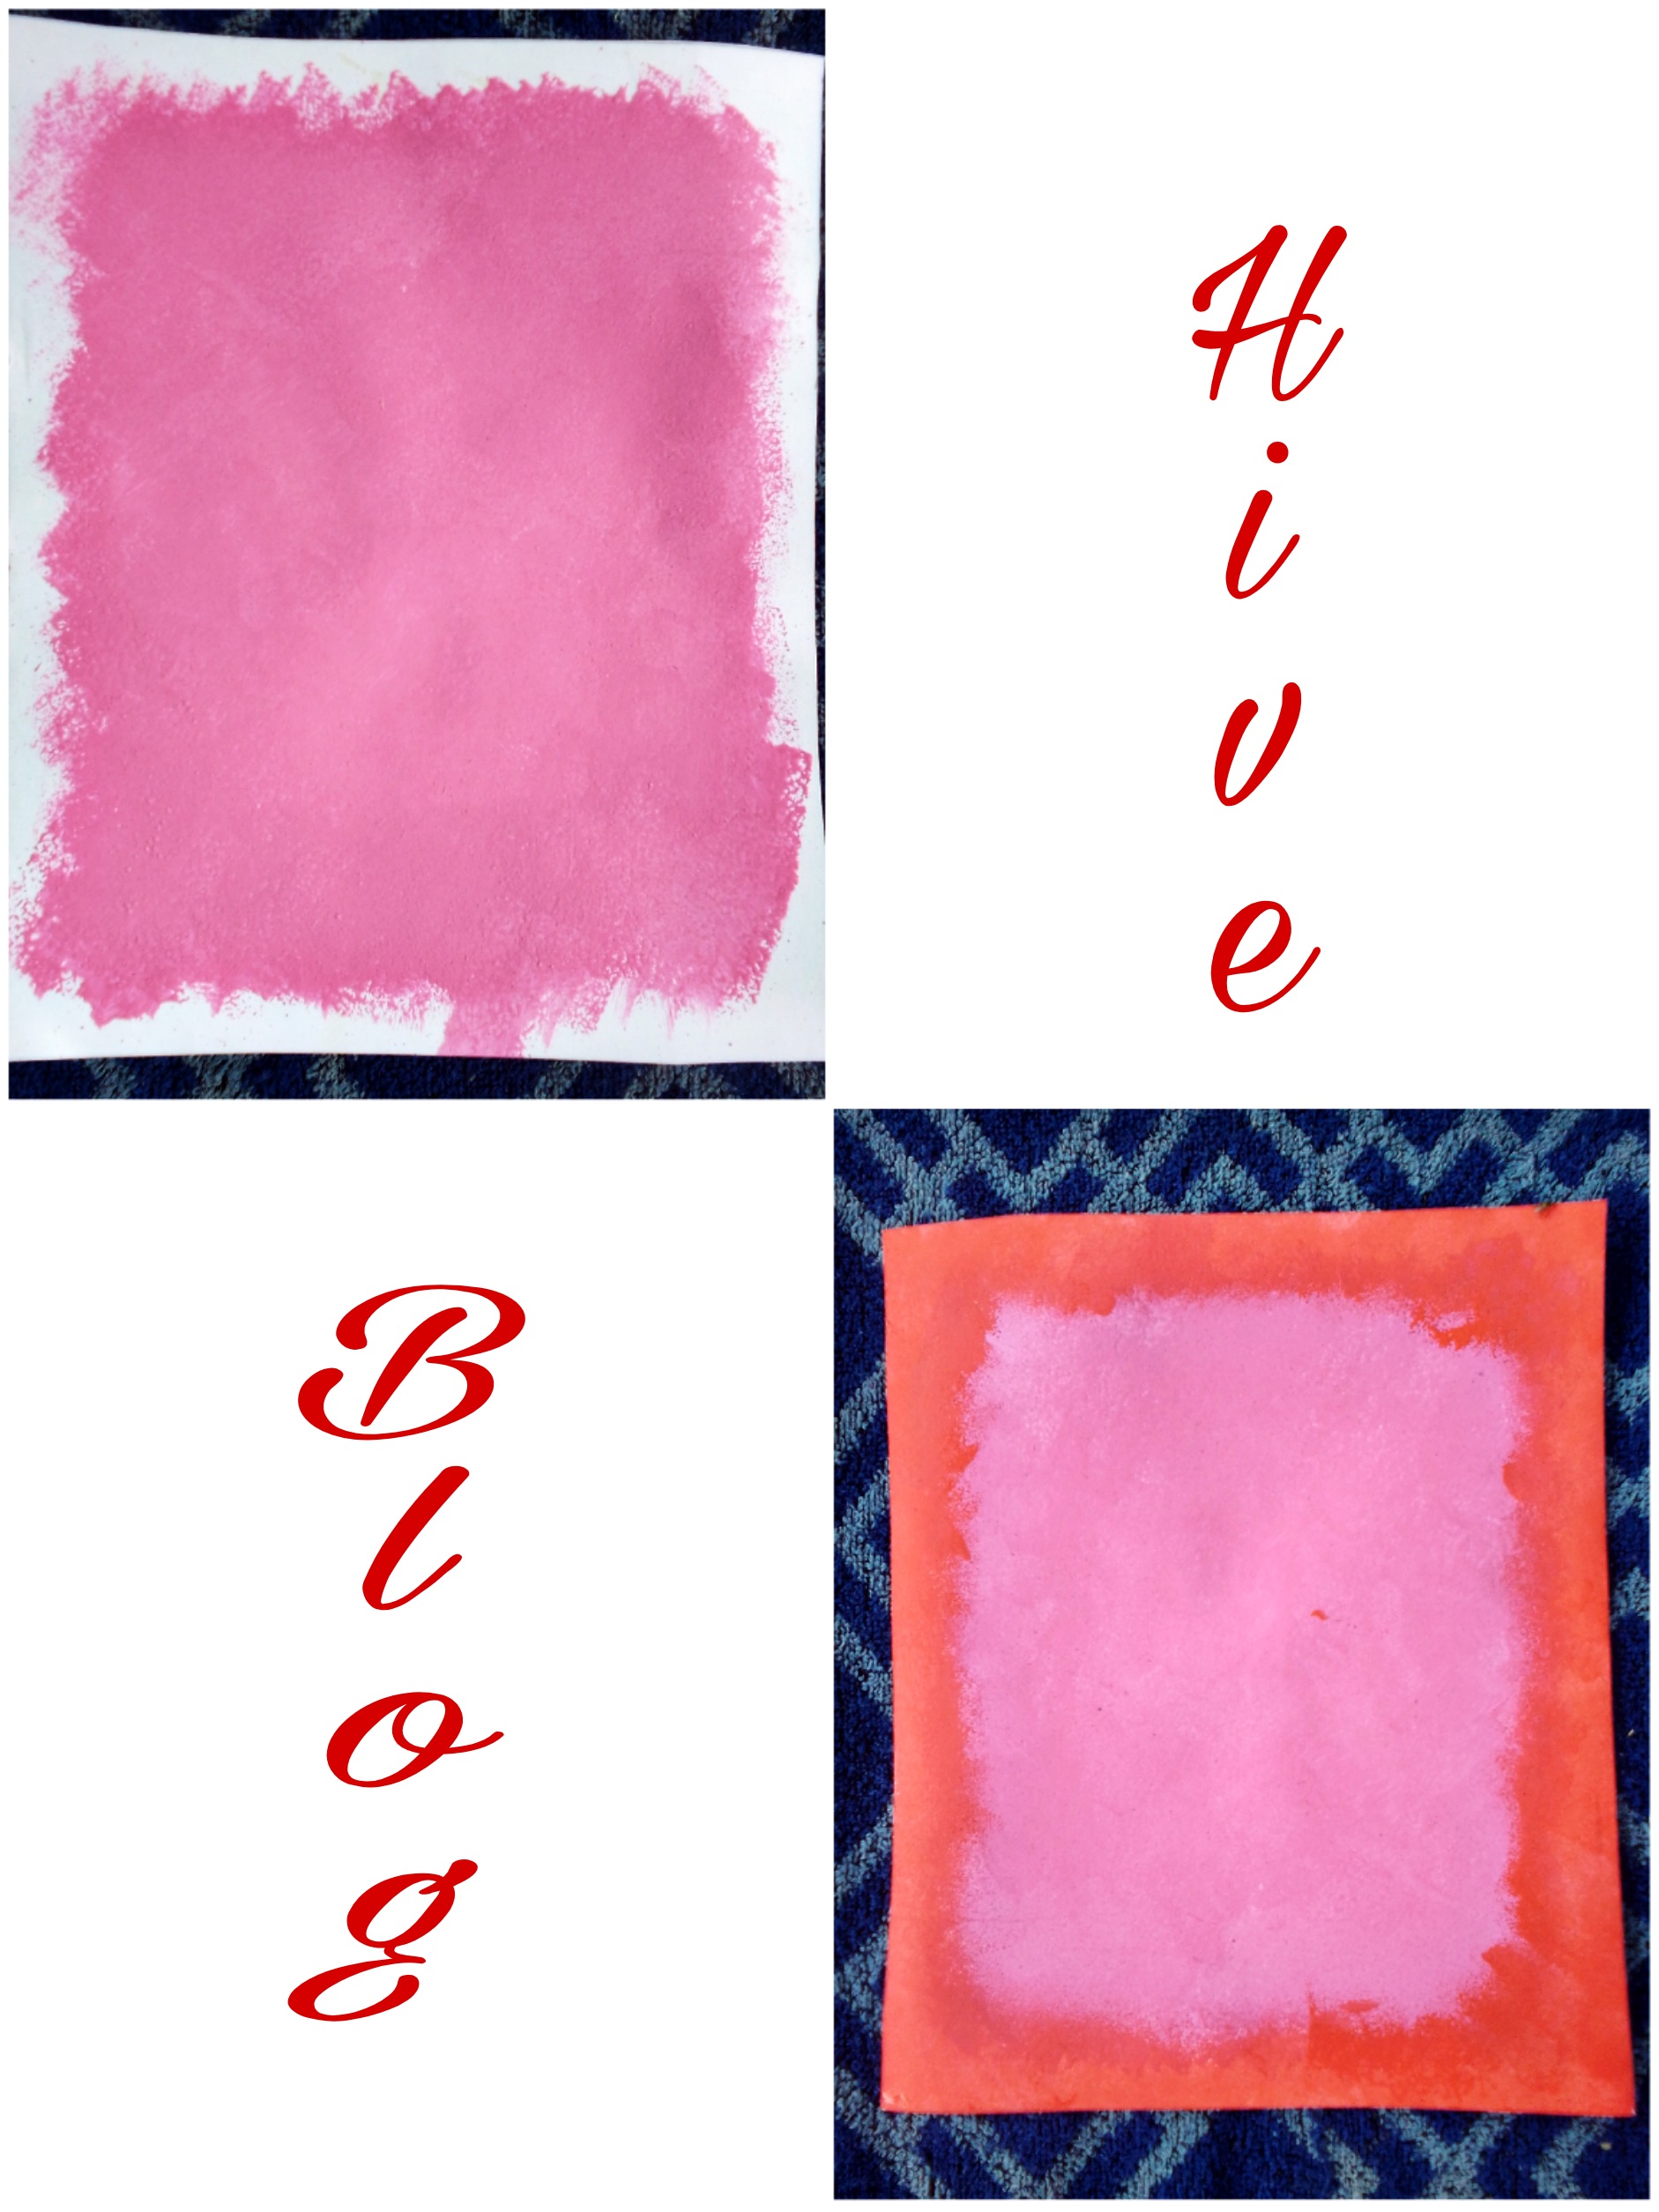
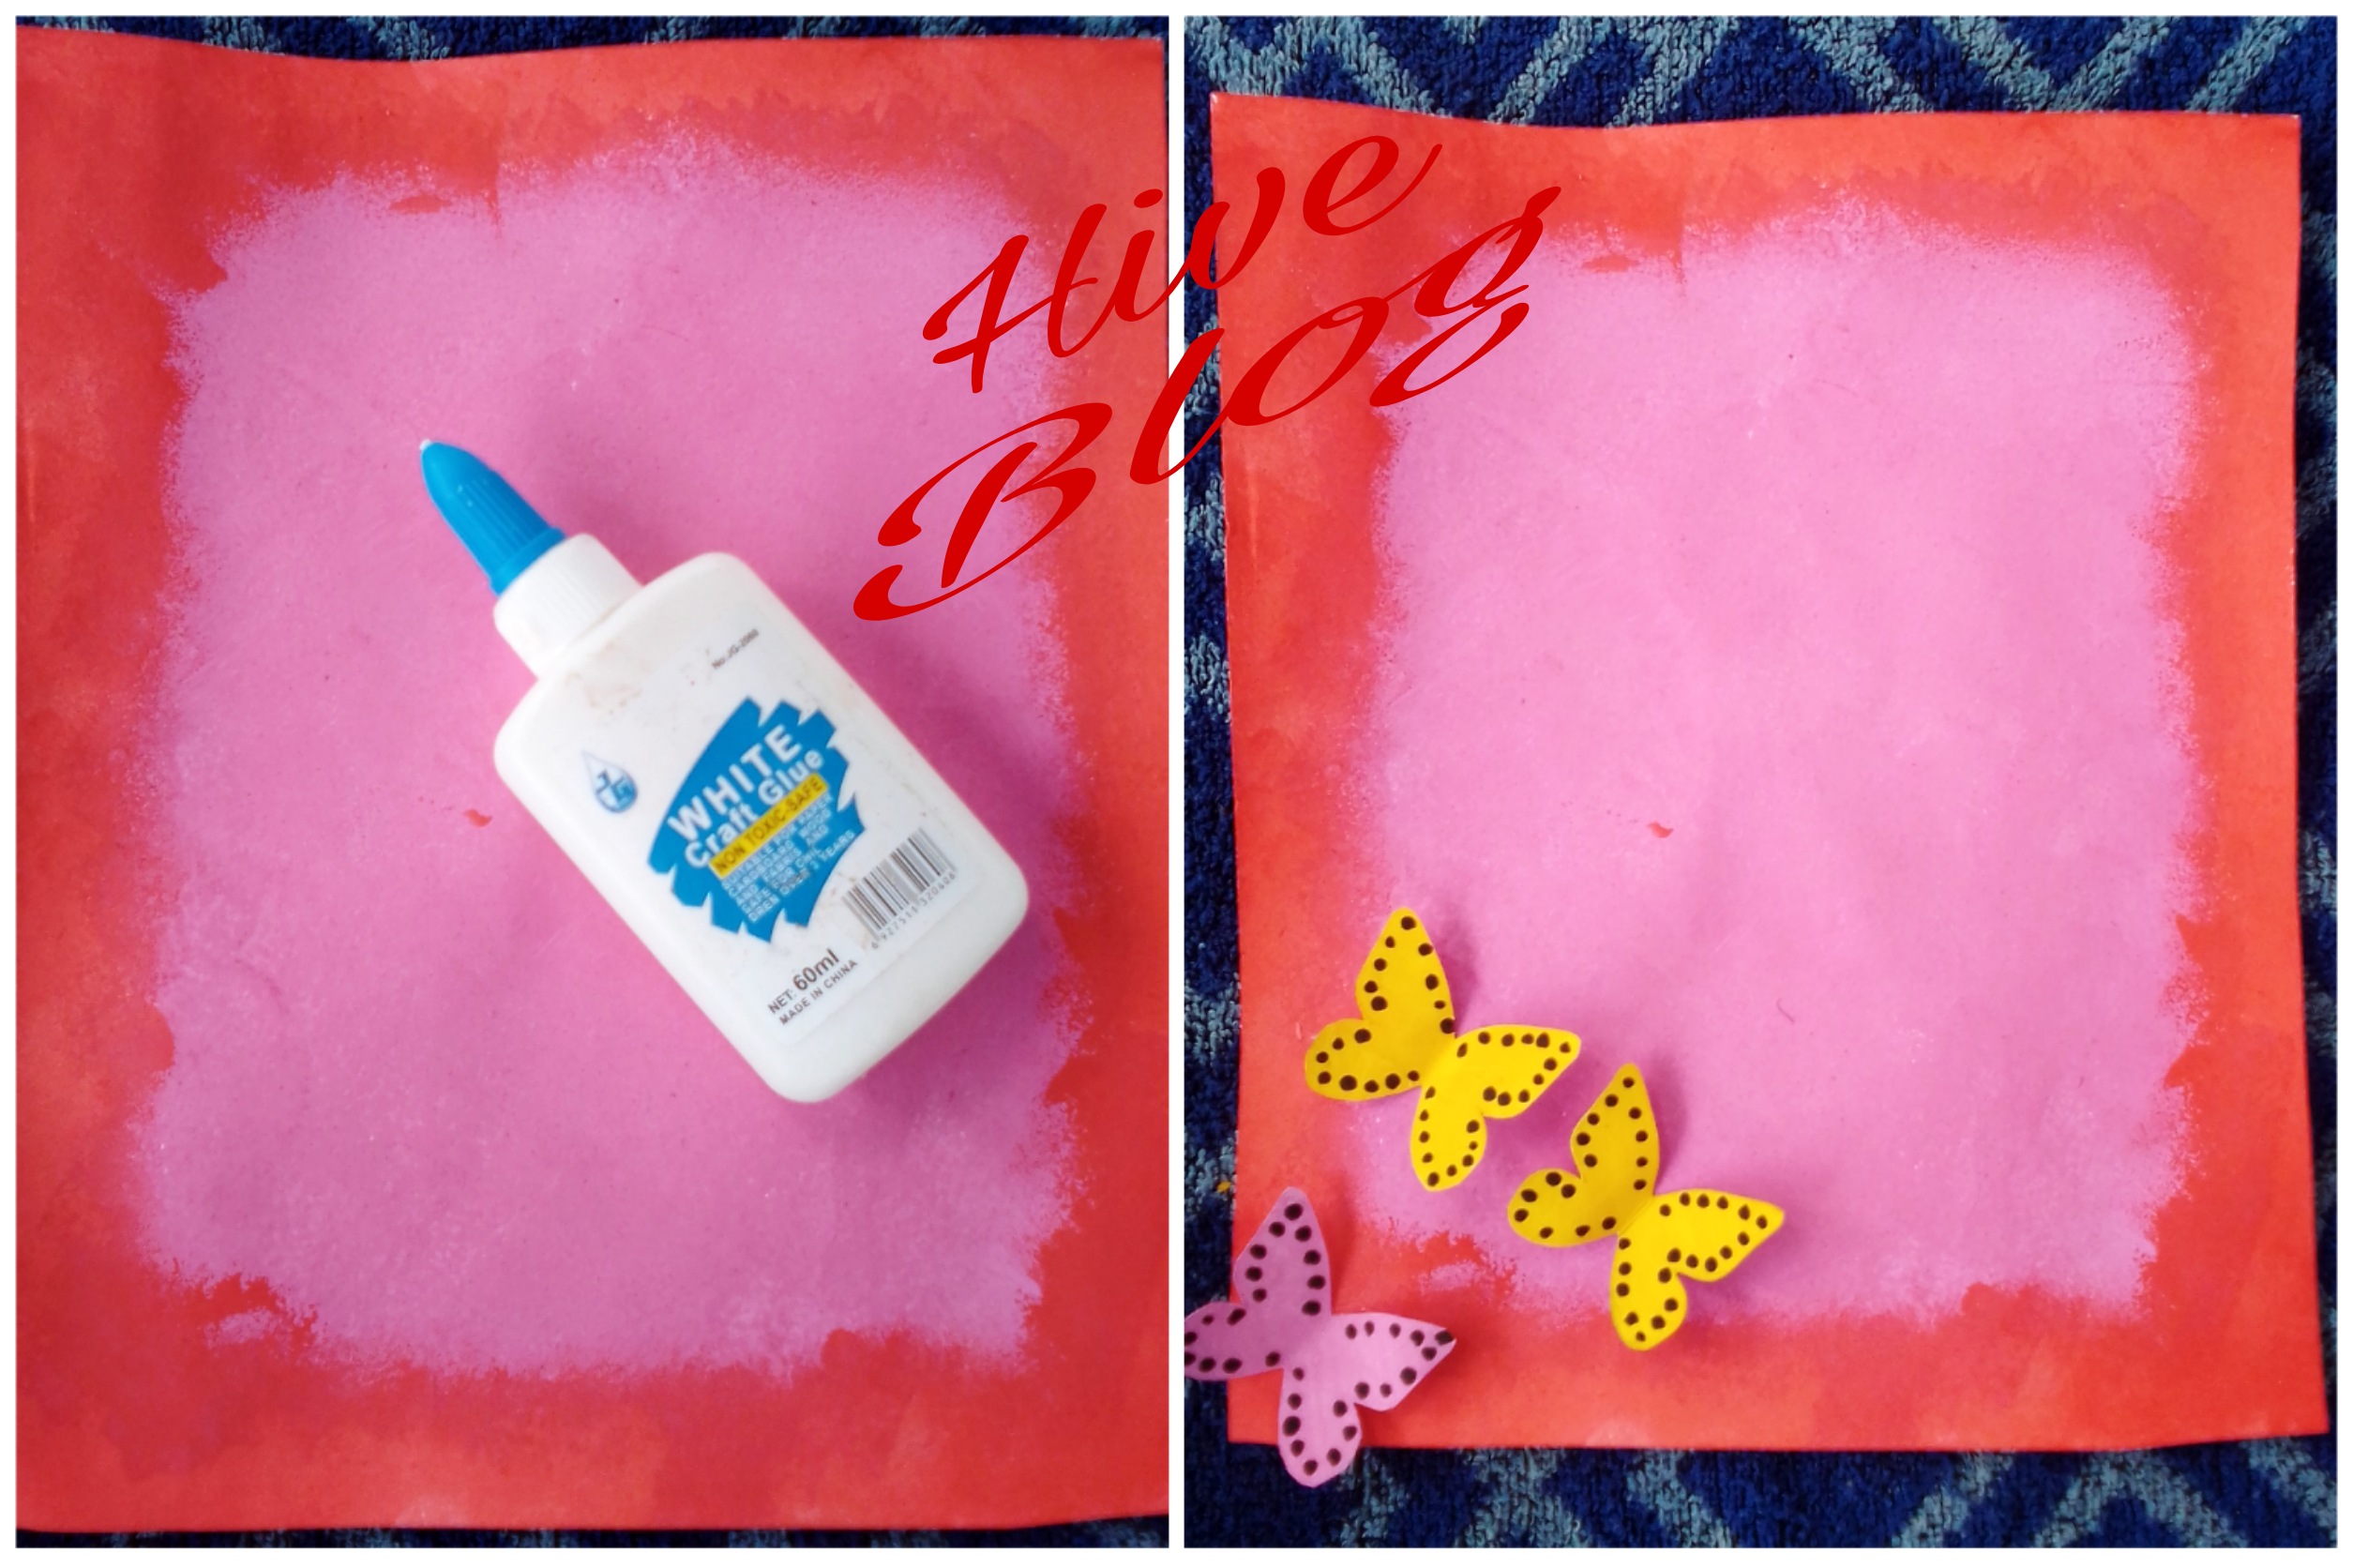
Paso 1: inicia utilizando la esponja humedecida de color rosado y luego de color rojo para crear un diseño un poco especial en la cartulina blanca la cual solicitamos entre los materiales requeridos.
Step 1: start by using the moistened pink sponge and then the red one to create a slightly special design on the white cardboard which we request among the required materials.
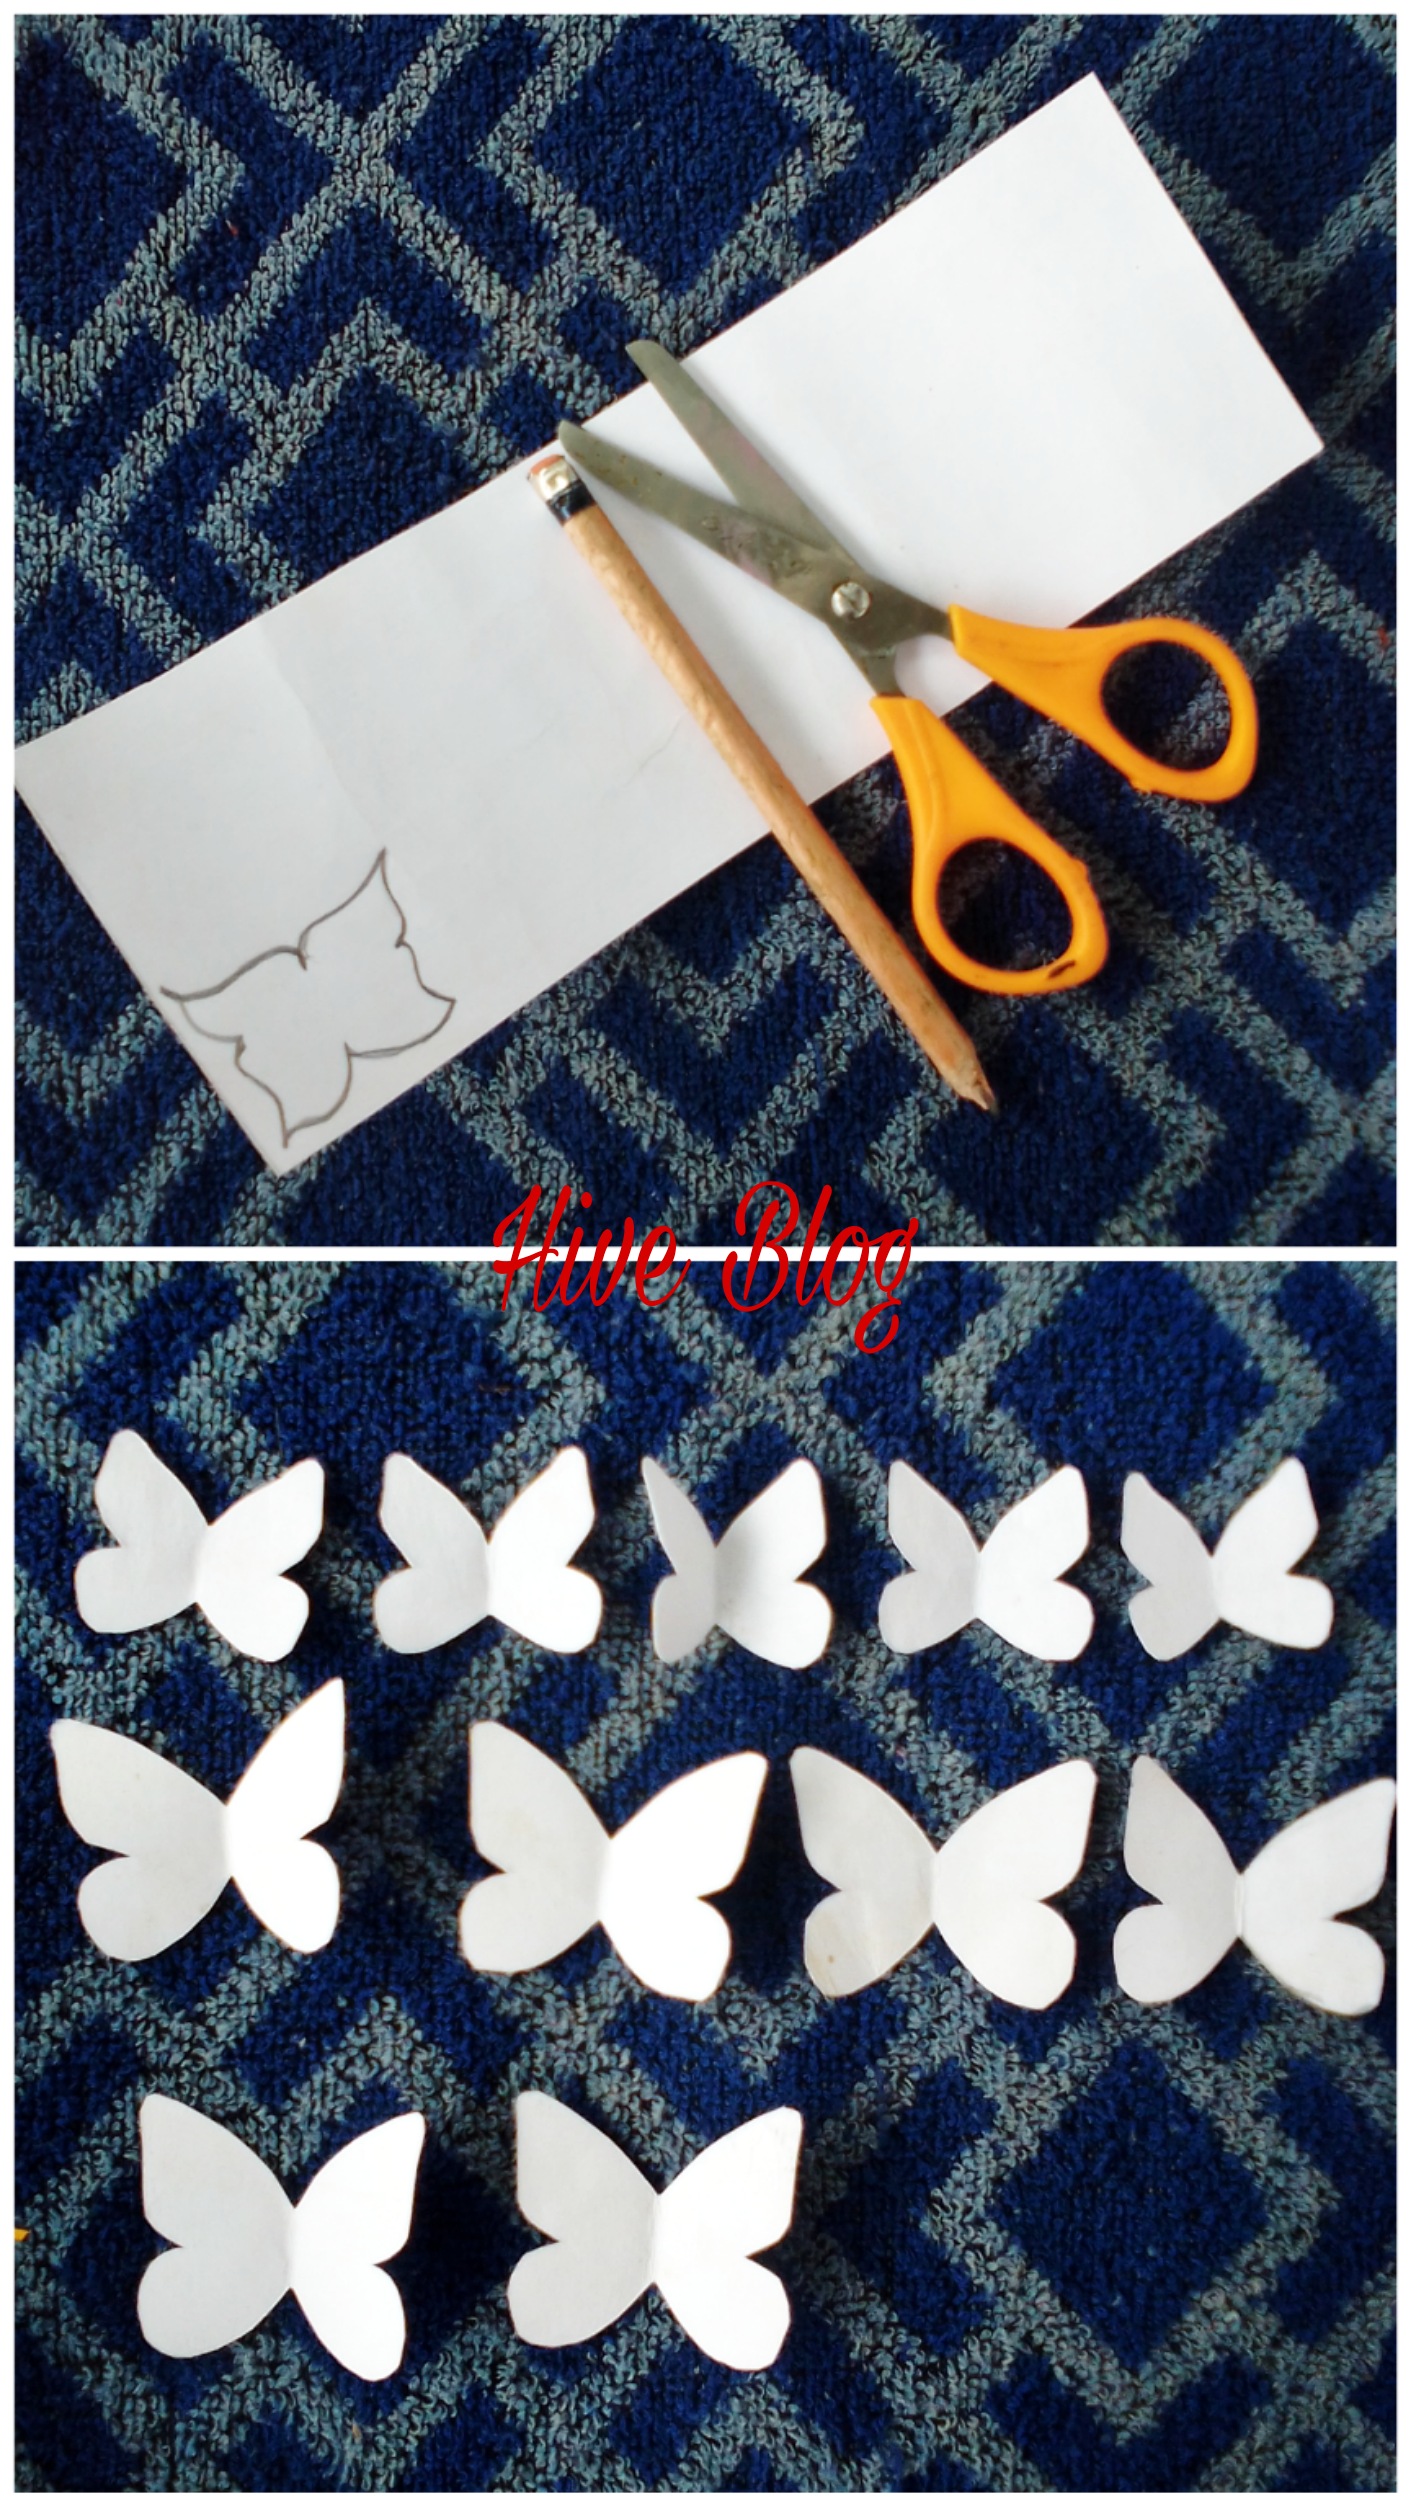
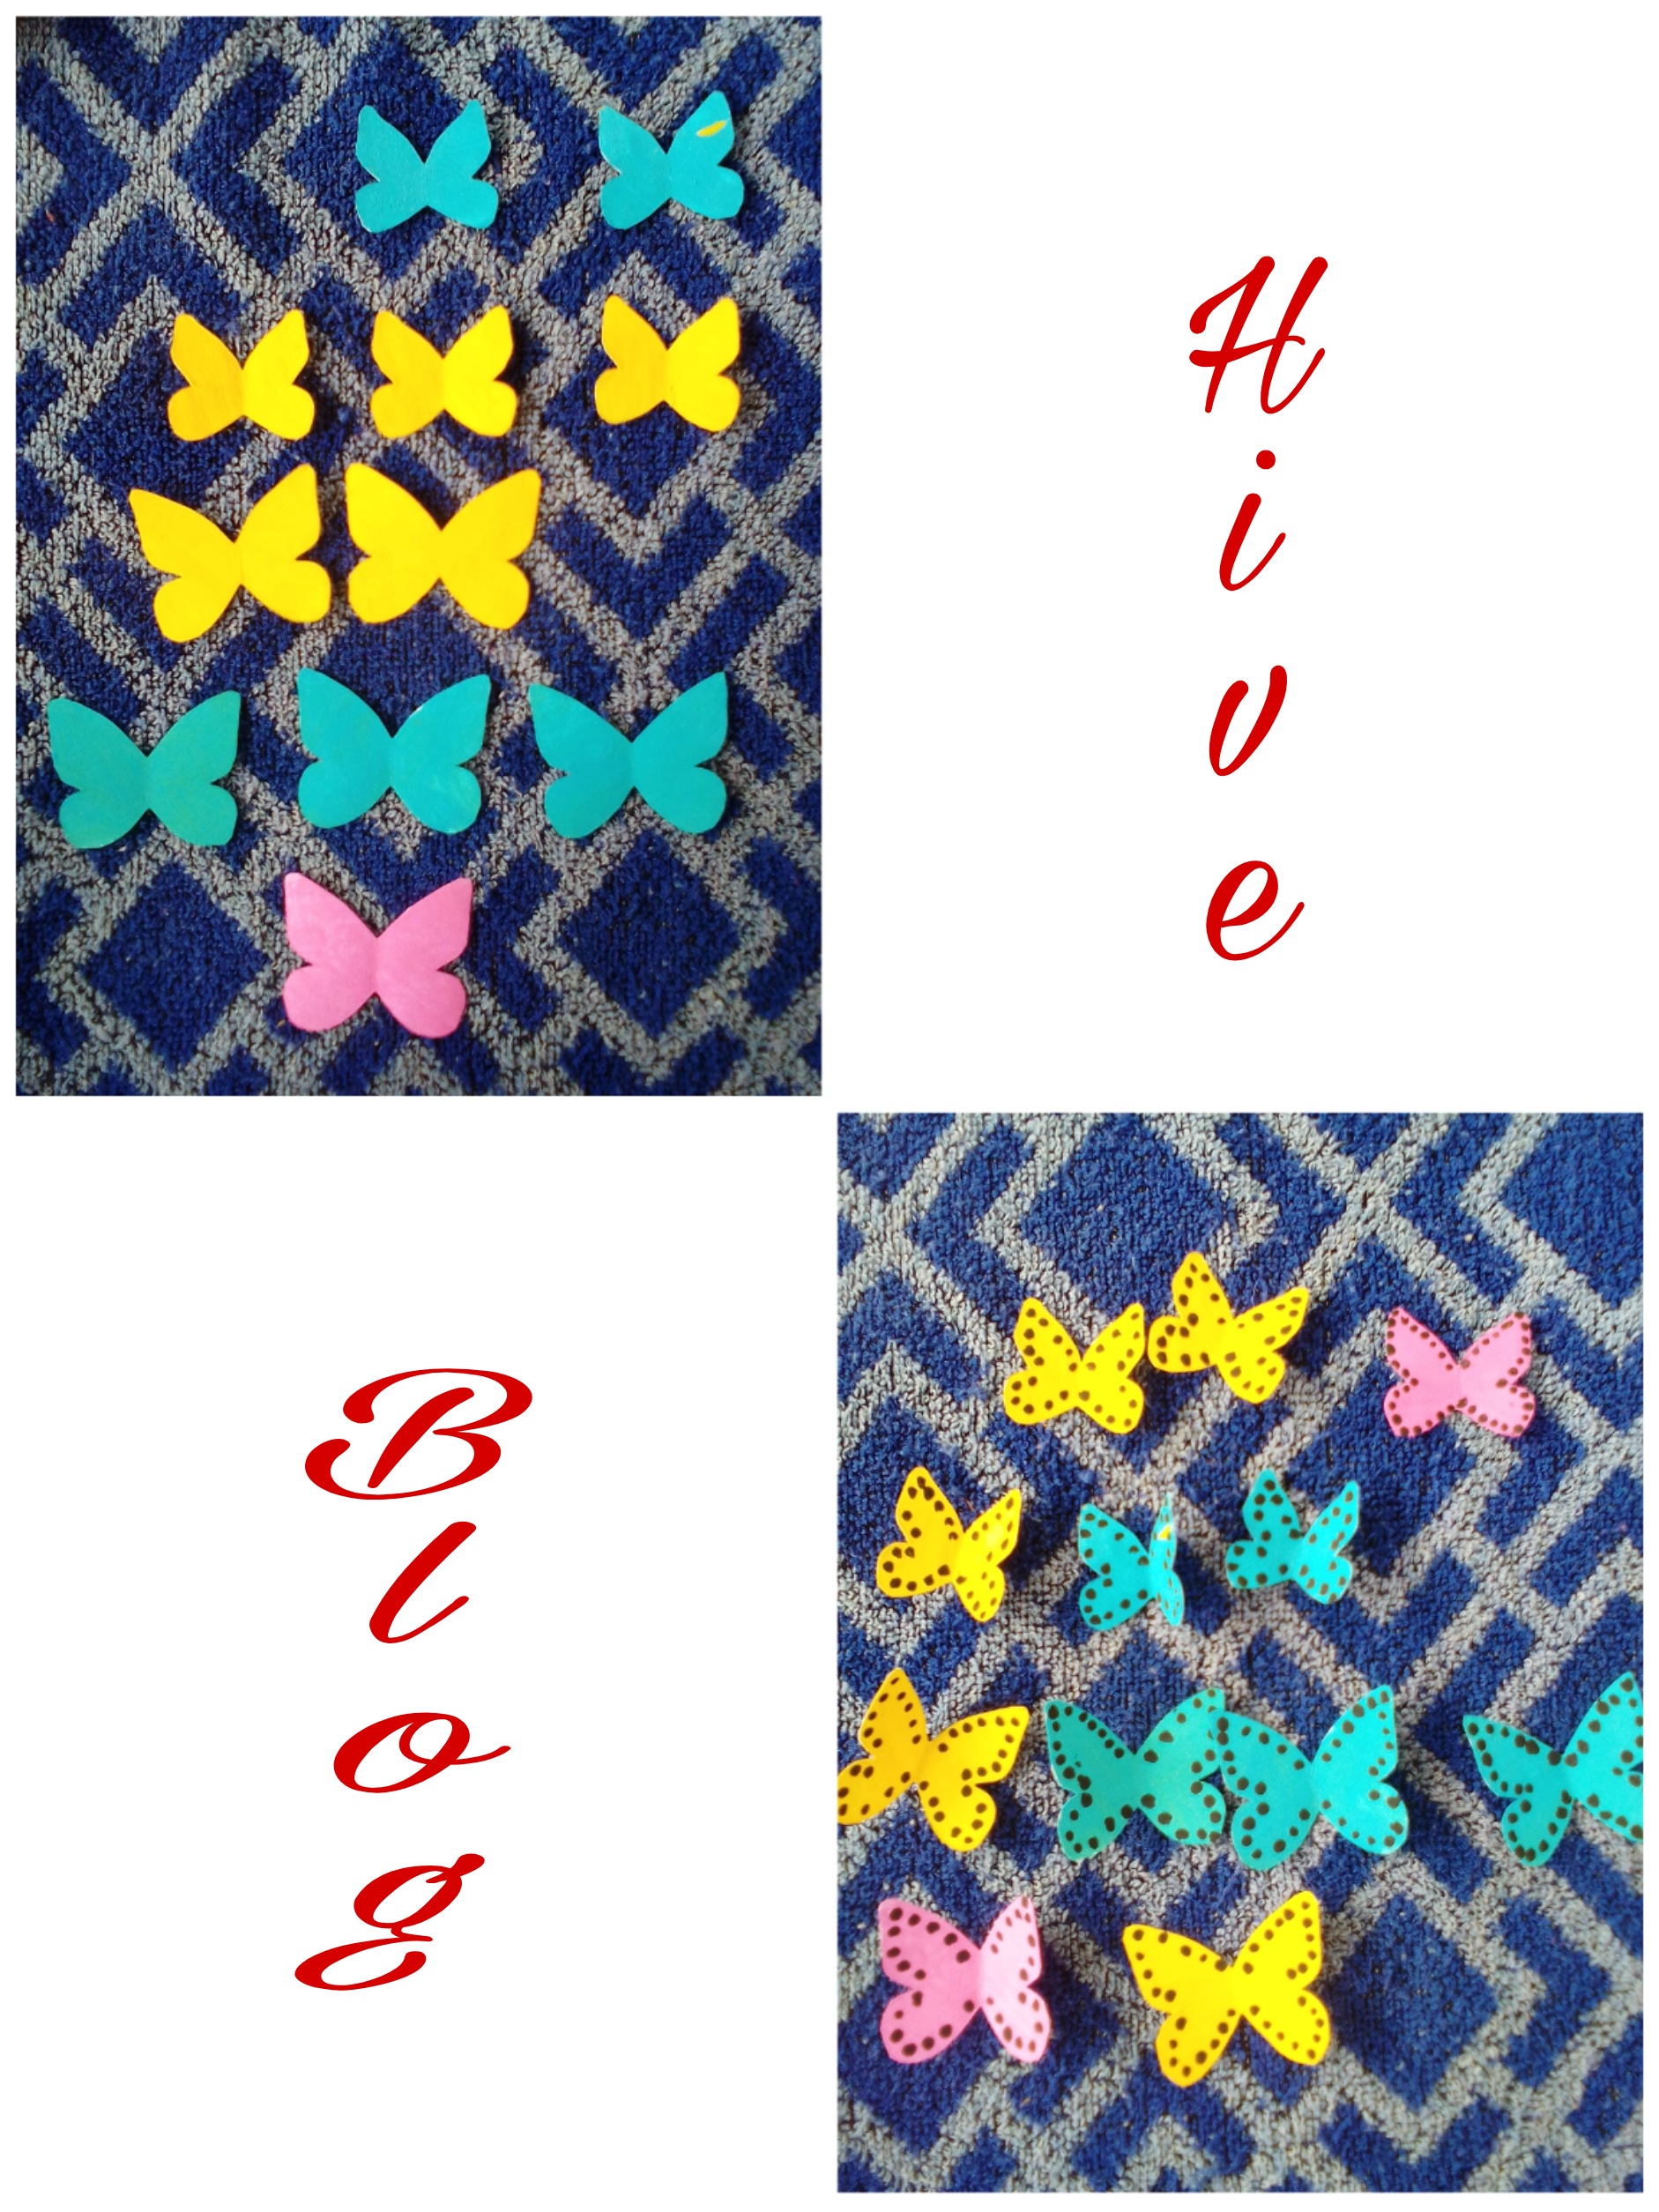
Segundo paso: Ahora vamos a utilizar los trozos de cartulina blanca para trazar en ella, con la ayuda del lápiz creyon, algunas mariposas pequeñas, las cuales cortaremos con tijeras.
Second step: Now we are going to use the pieces of white cardboard to trace on it, with the help of the crayon pencil, some small butterflies, which we will cut with scissors.
Tercer paso: en este paso puedes hacer uso de tu imaginación pintando de diferentes colores las mariposas anteriormente cortadas. Utiliza la parte trasera del pincel para añadir algunos puntitos en las alas de las maripositas😁😁
Third step: in this step you can use your imagination by painting the previously cut butterflies in different colors. Use the back of the brush to add some dots on the wings of the butterflies😁😁
Quinto paso: Aquí harás uso de la pega blanca para fijar las maripositas en el cuadro de cartulina.
Fifth step: Here you will use the white glue to fix the butterflies on the cardboard box.
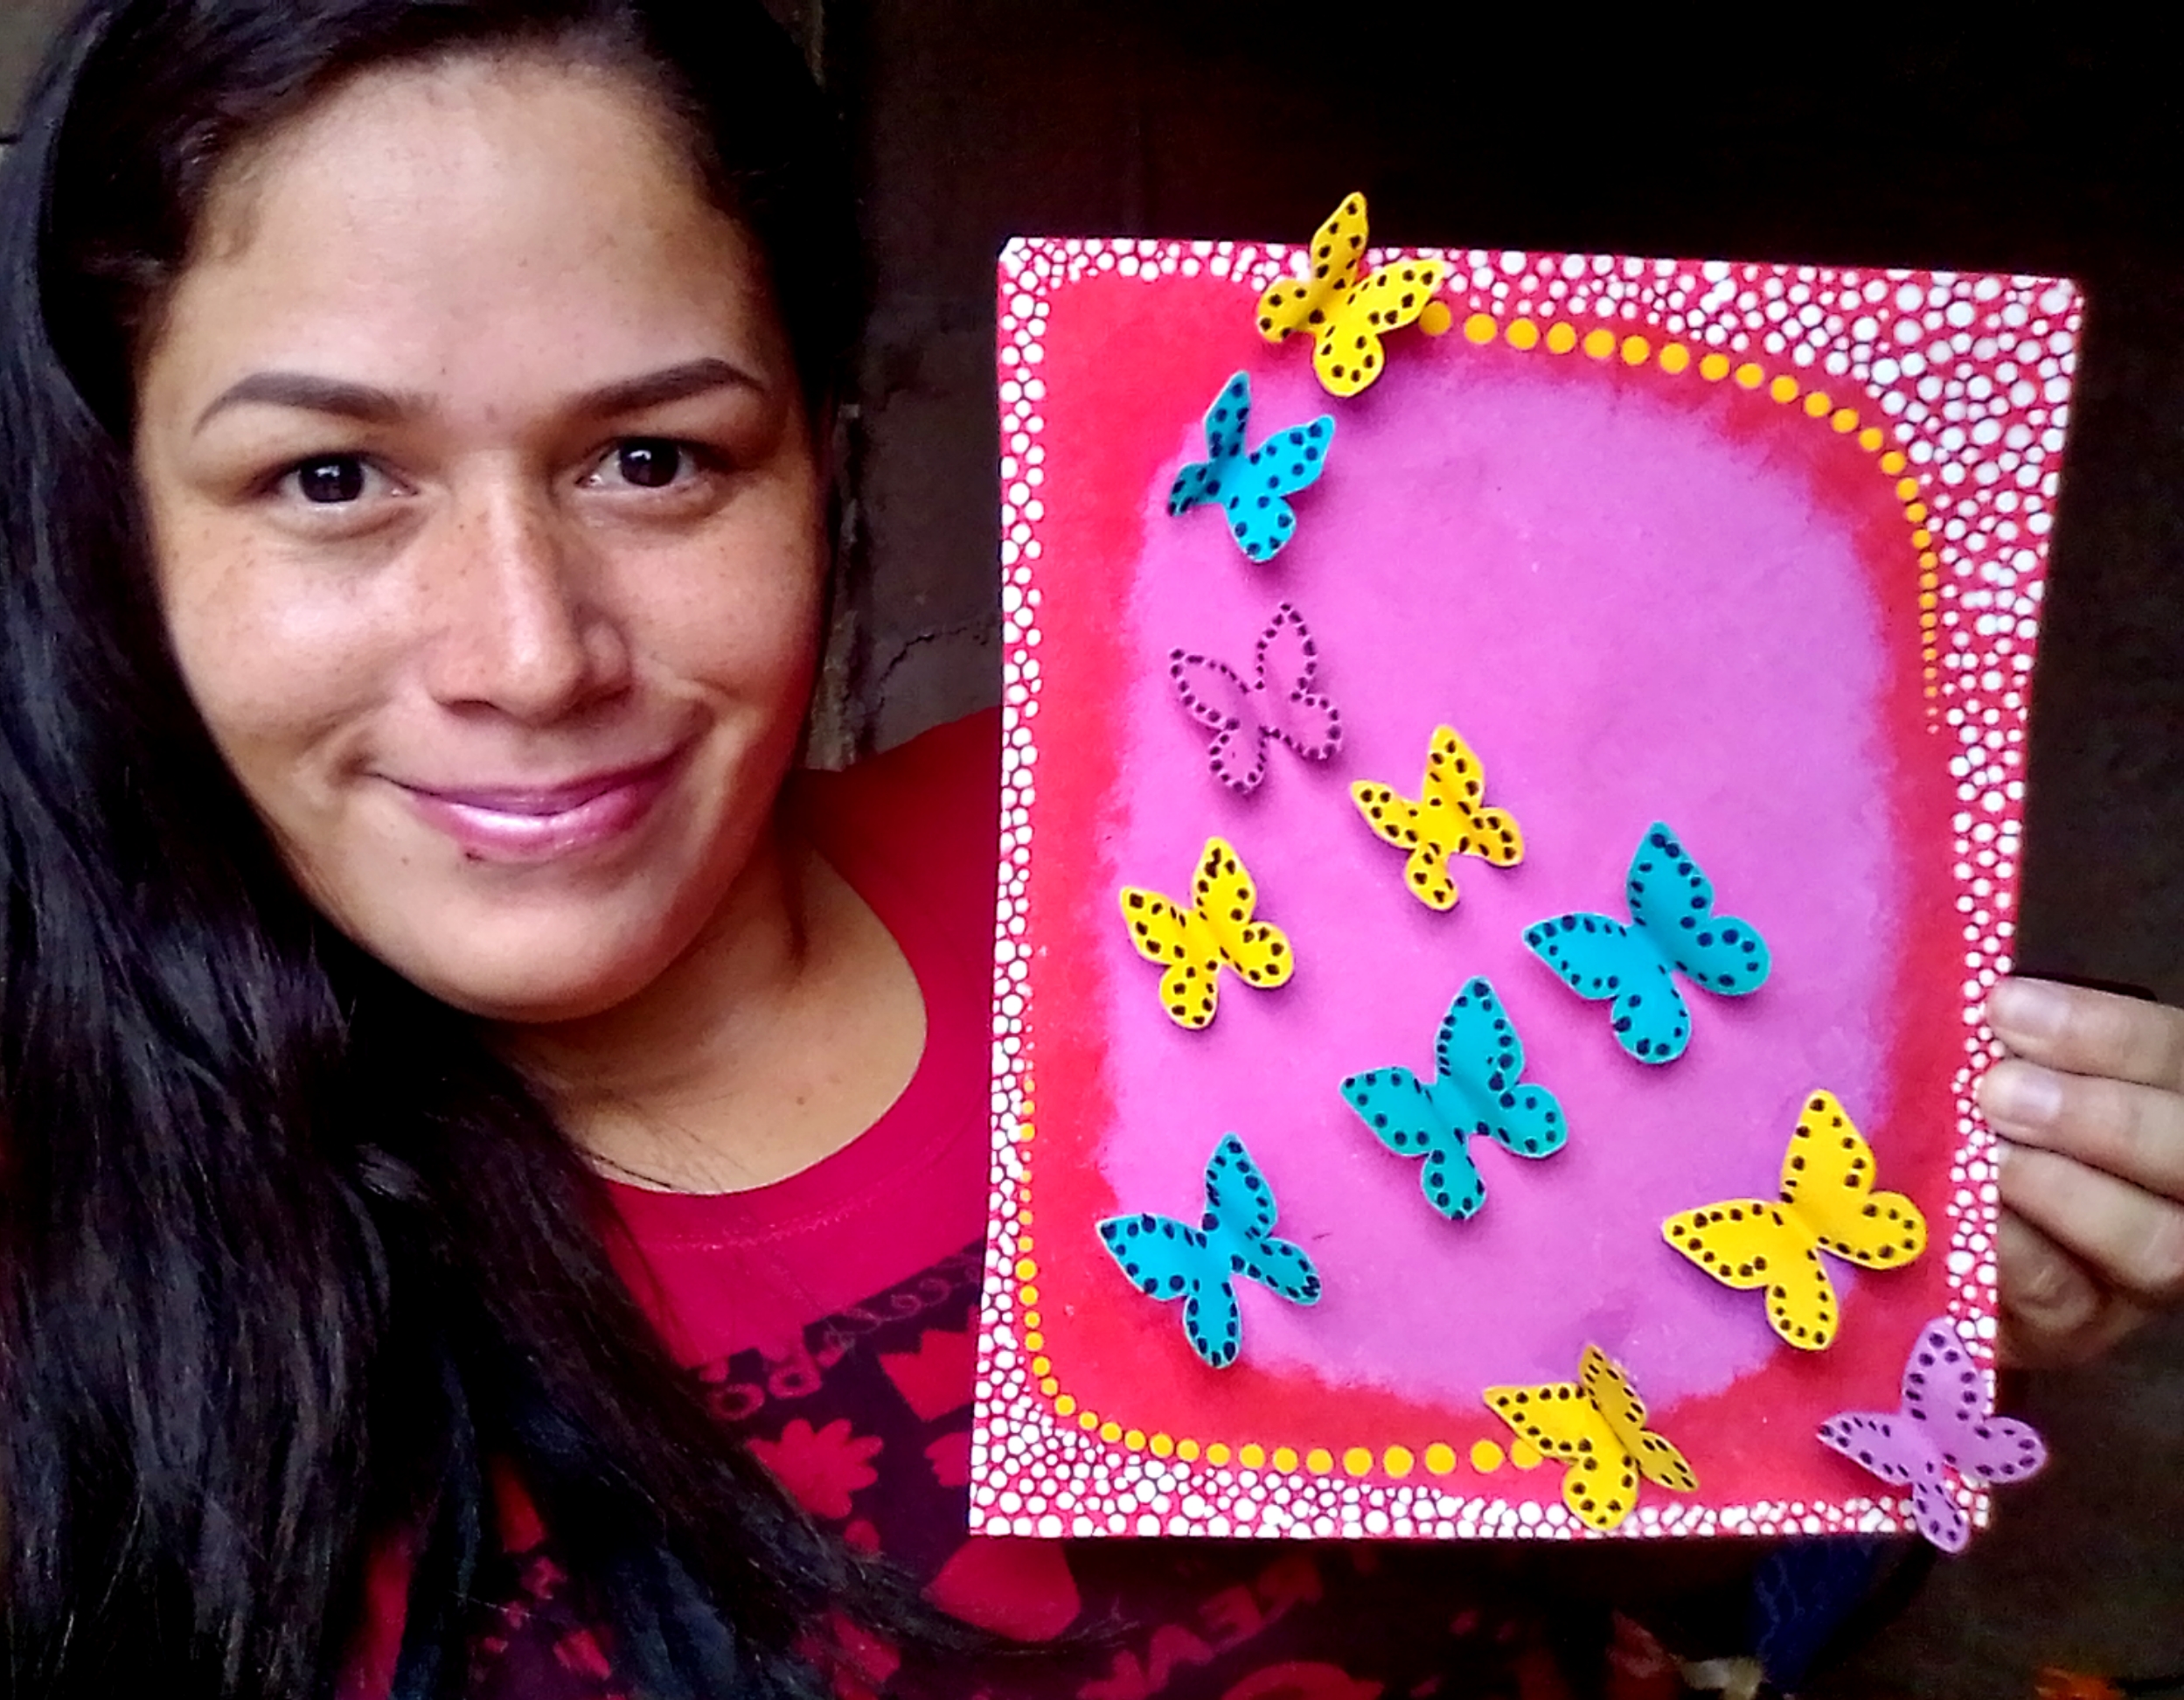
Último paso: Luego de tenerlas todas pegadas en su lugar, finaliza el trabajo, añadiendo algunos puntitos alrededor de todo el trabajó. Este será el resultado final.
Last step: After you have them all glued in place, finish the job, adding a few dots around the entire job. This will be the final result.

¿Te gustó? Espero que sí, que hayas aprendido conmigo. Gracias por visitarme, te espero en una próxima oportunidad. Dios sea contigo.
Did you like it? I hope so, that you have learned with me. Thank you for visiting me, I wait for you in a next opportunity. God be with you.
Todas las fotografías en este post, son de mi autoría, tomadas desde mi dispositivo móvil.
All the Photographs in this post, are of authorship, taken and edited from my mobile device

Thank you for sharing this amazing post on HIVE!
non-profit curation initiative!Your content got selected by our fellow curator @rezoanulvibes & you just received a little thank you via an upvote from our
You will be featured in one of our recurring curation compilations and on our pinterest boards! Both are aiming to offer you a stage to widen your audience within and outside of the DIY scene of hive.
Join the official DIYHub community on HIVE and show us more of your amazing work and feel free to connect with us and other DIYers via our discord server: https://discord.gg/mY5uCfQ !
If you want to support our goal to motivate other DIY/art/music/homesteading/... creators just delegate to us and earn 100% of your curation rewards!
Stay creative & hive on!