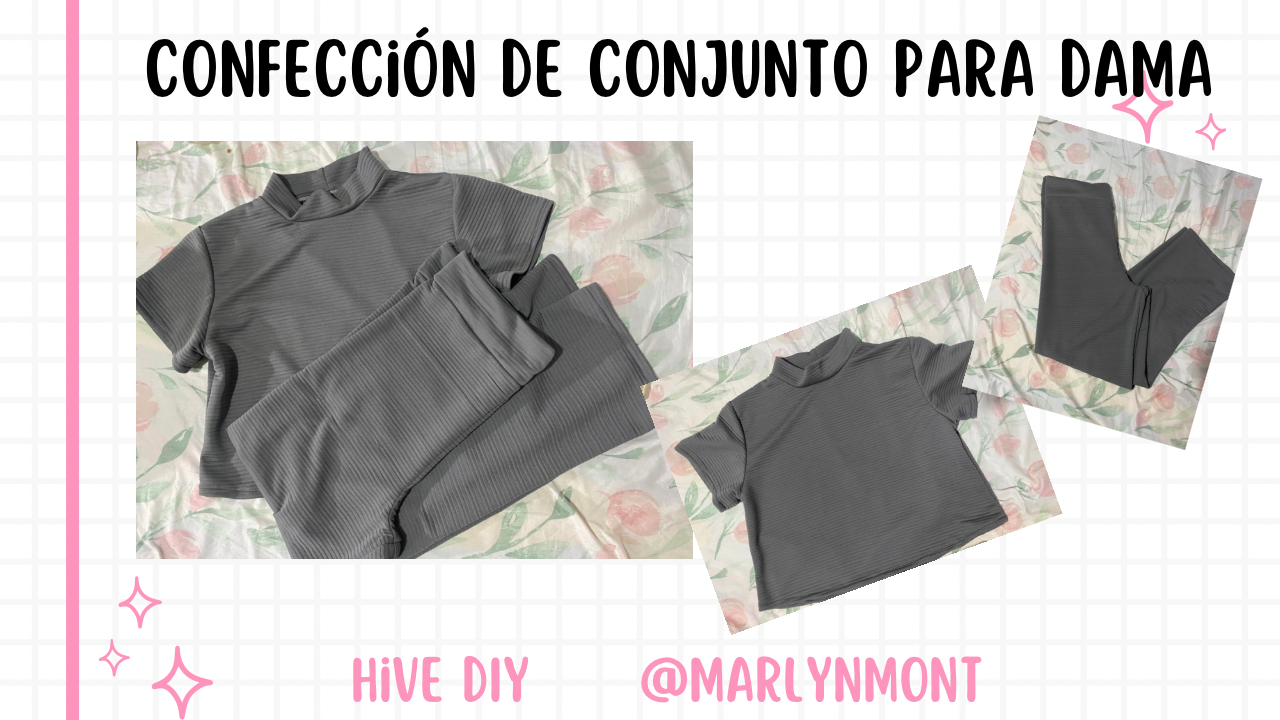
Saludos amigos de Hive Diy 🥰❤️
Es un gusto compartir con ustedes parte de mis trabajos de costura, hoy quiero mostrarles de la confección de un lindo conjunto para dama, tuve algunas complicaciones pero el resultado me encantó, aquí les dejo el paso a paso:
Greetings friends of Hive Diy 🥰❤️
It is a pleasure to share with you some of my sewing work, today I want to show you the making of a nice outfit for a lady, I had some complications but I loved the result, here I leave you the step by step:
MATERIALES
MATERIALS
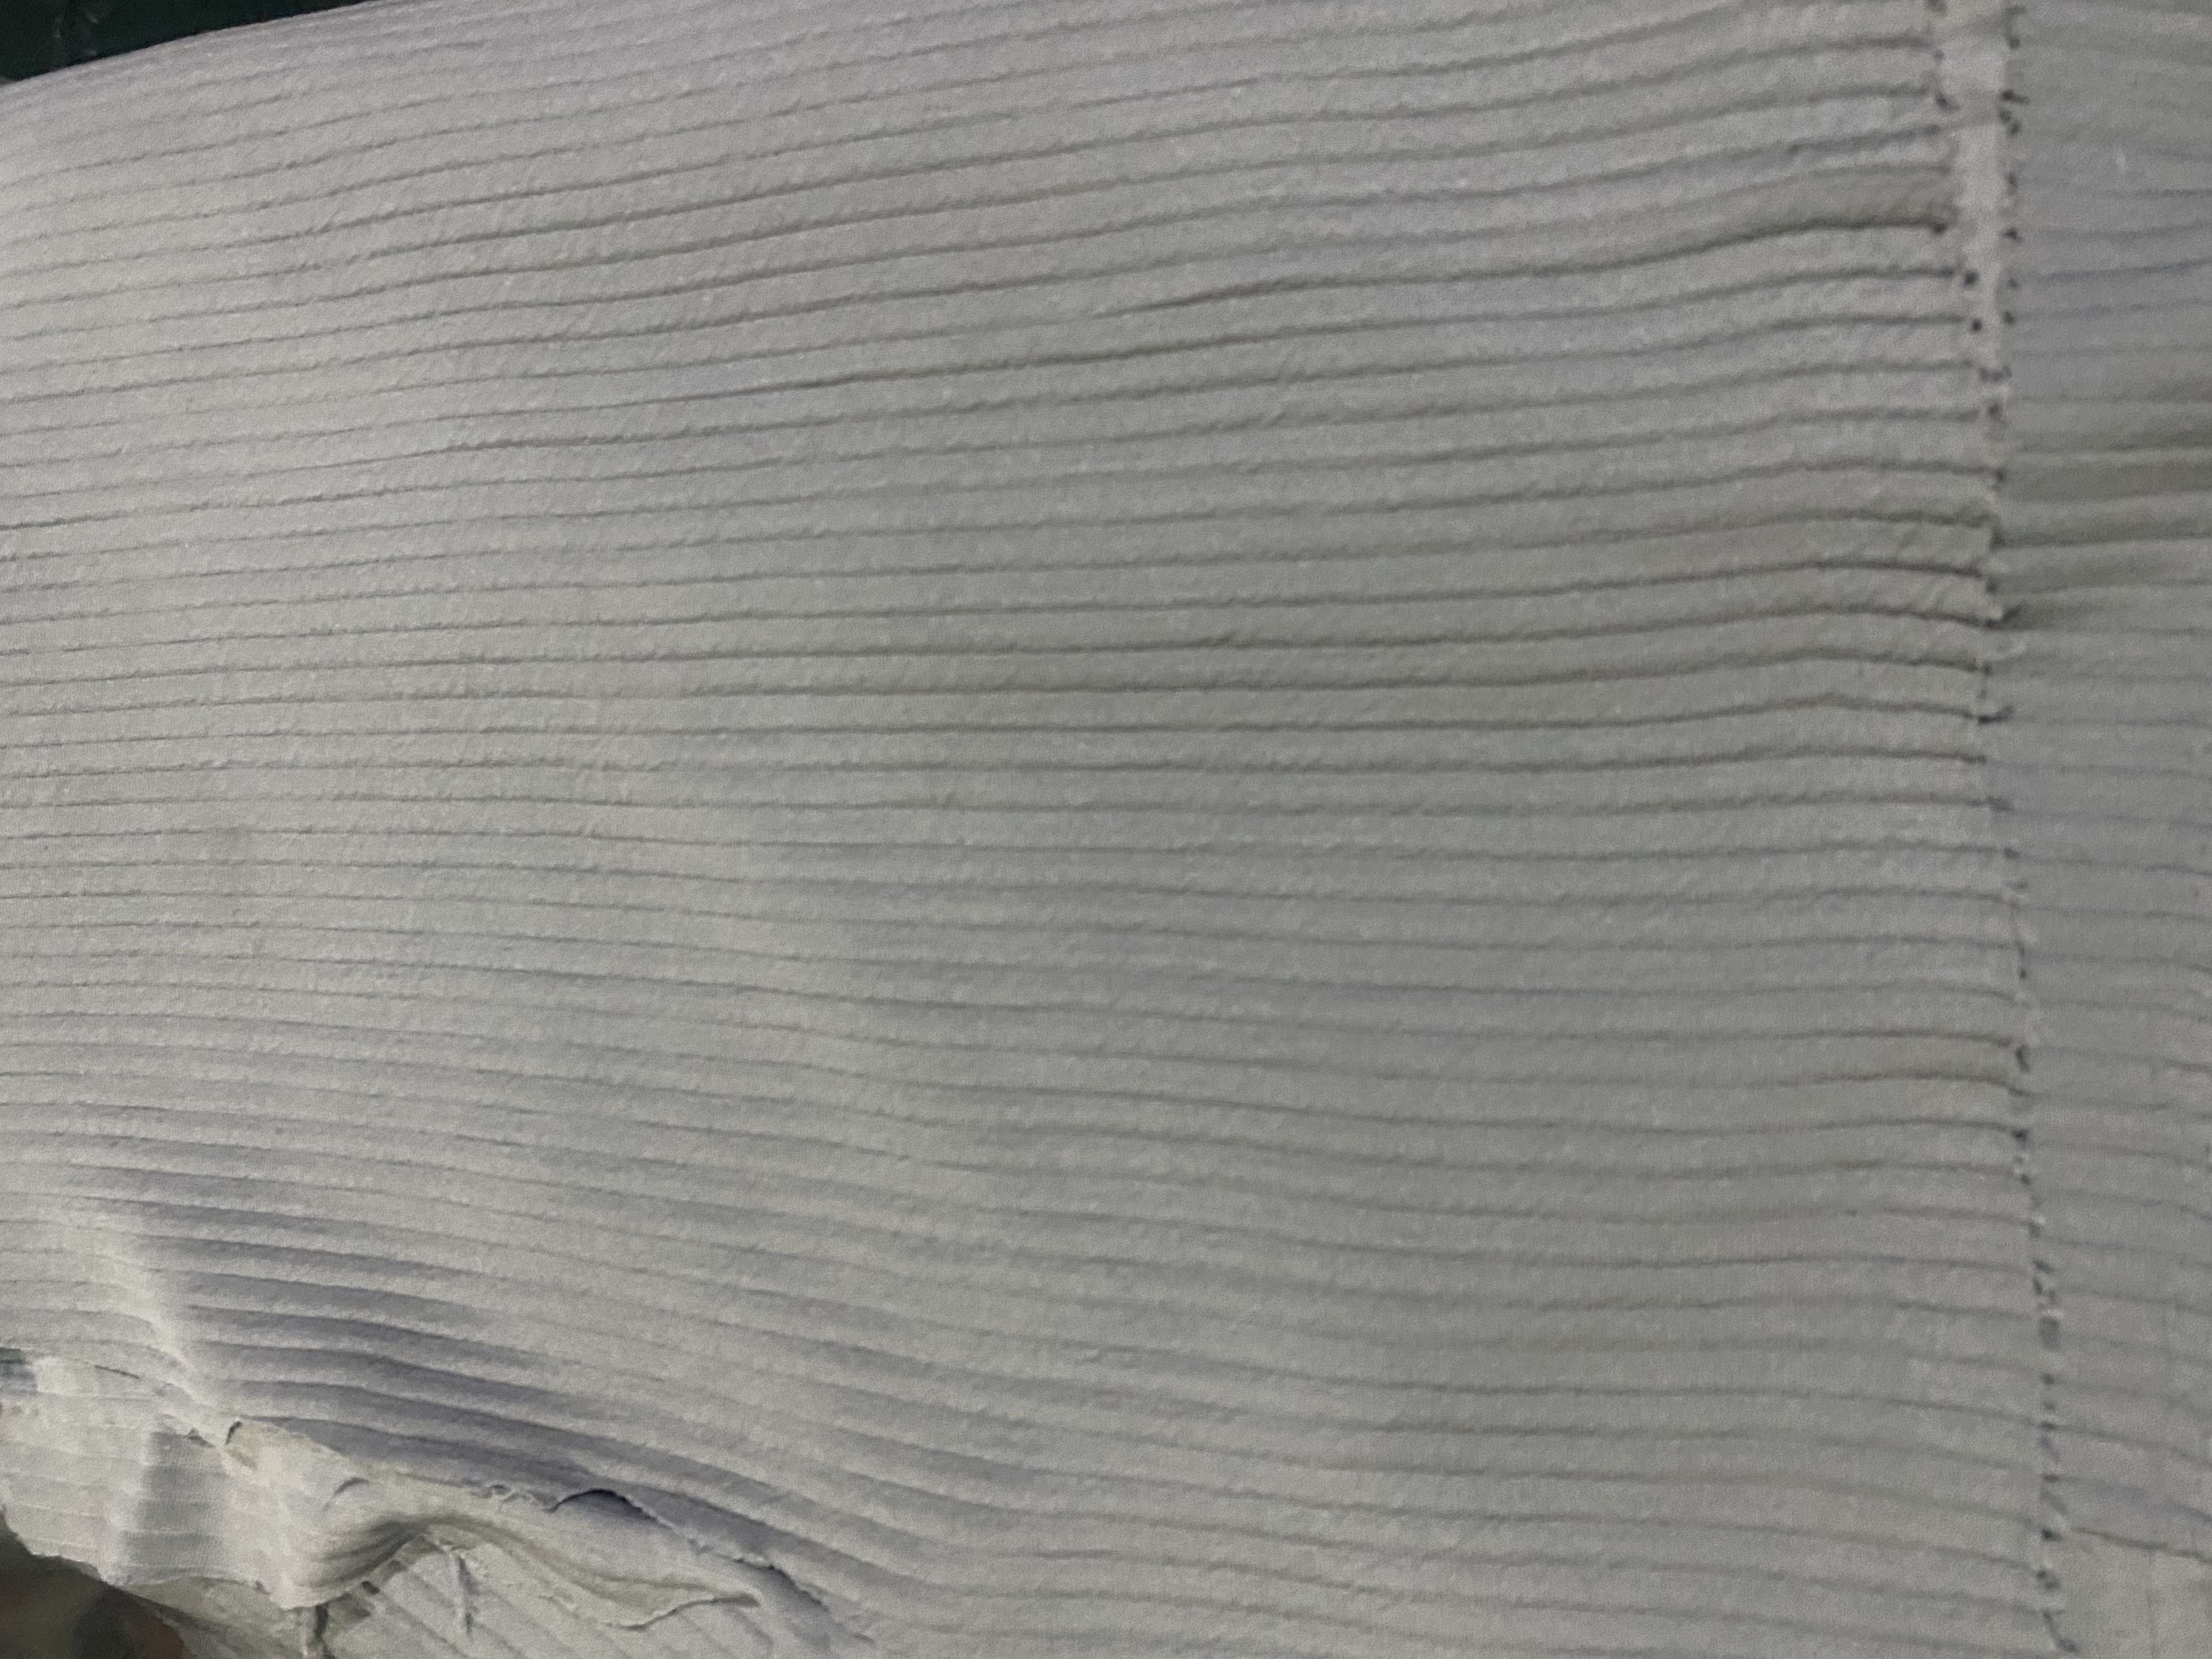
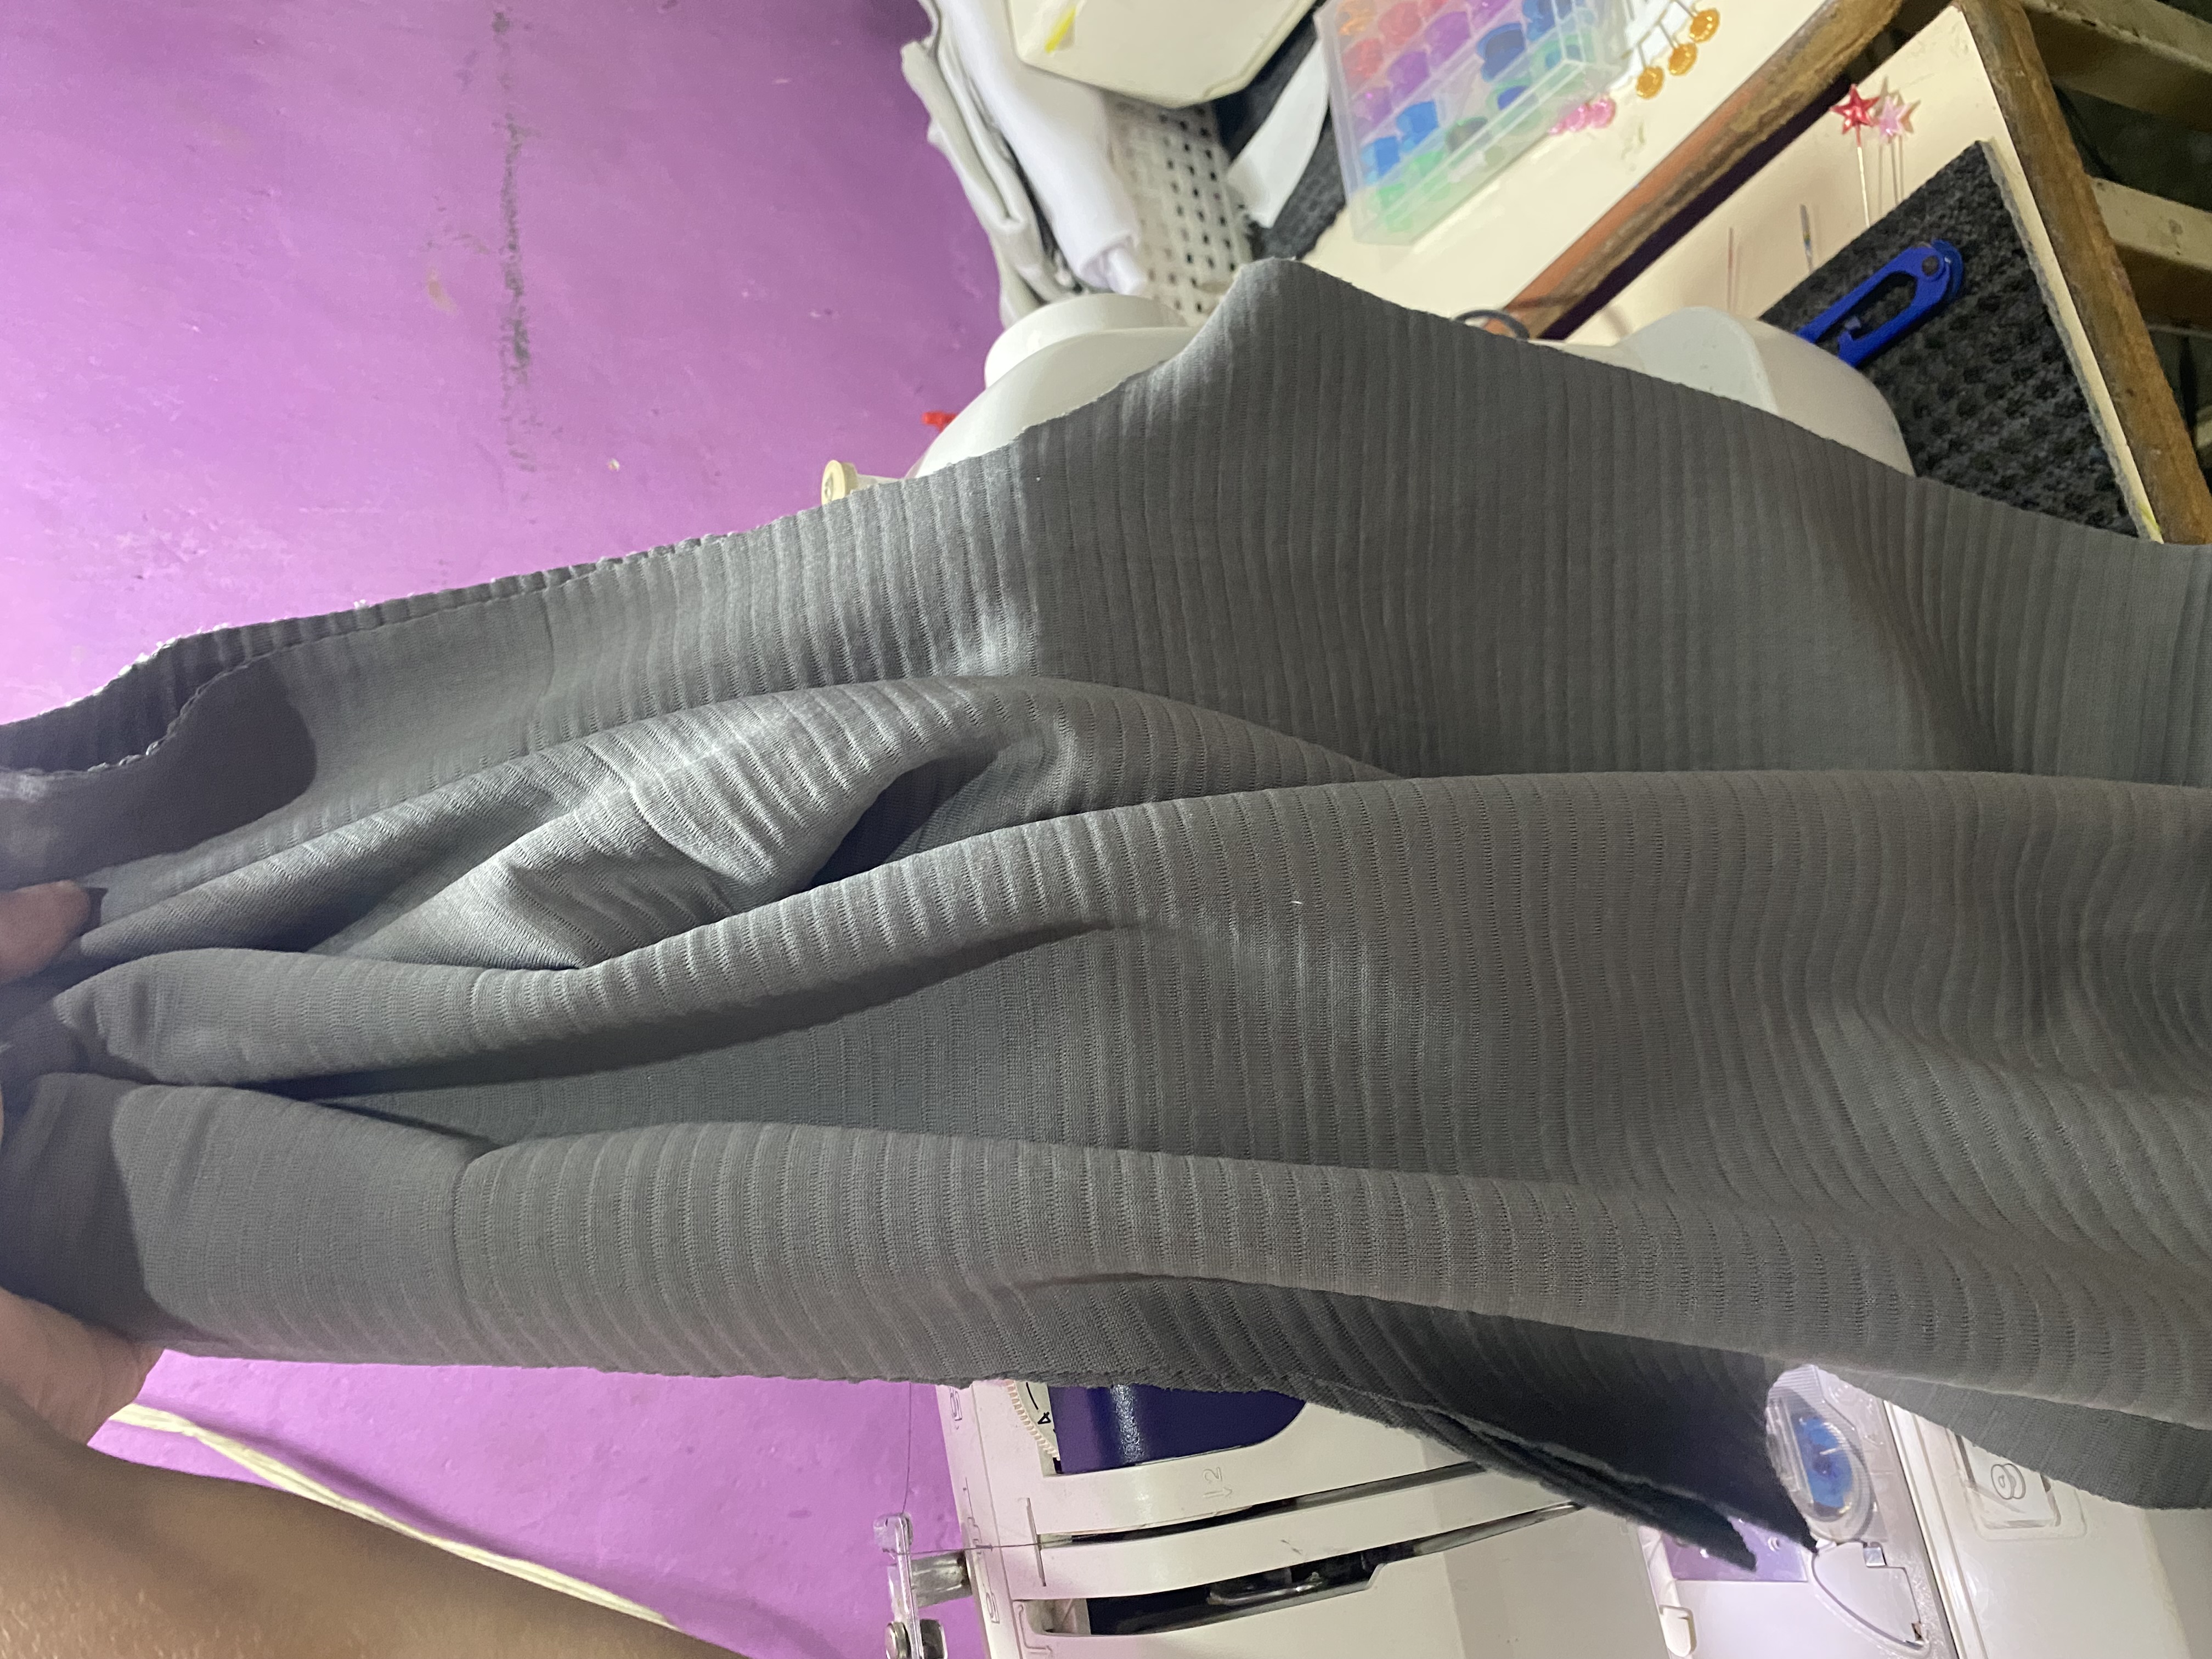
Hace poco mi hija me llegó con una tela que había comprado, al momento de verla me pareció que era Micro Rib, la cual está muy de moda, no le presté mucha atención y la dejé guardada unos días, hasta que por fin me dispuse a hacerle el conjunto que ella tanto quería, al momento de tocar la tela comenzaron mis complicaciones, esta es el tipo de tela gruesa y a la vez delicada que sabes que tal vez te dará guerra con las agujas en la máquina.
Luego cuando voy a buscarle el lado del revés para comenzar a marcar la tela y cortar, me doy cuenta que el lado elástico lo tiene en sentido de las figuras de canales que trae , a diferencia de la tela micro rib que trae el elástico al contrario de los canales y esto hace que los mismos queden en sentido vertical, con esta tela será todo lo contrario, la figura de sus canales quedarán en sentido horizontal.
Mi hija al principio se desanimó y pensó que quedaría mal, así que le di un poco de aliento y le dije que igual le haría su conjunto, le mostré un aproximado de cómo se vería la tela y ella aceptó, así que me dispuse a hacer este conjunto guiándome por algunas prendas de ella y haciendo algunas modificaciones, aquí les dejo la lista de materiales a utilizar :
- 2 metros de tela elástica
- hilo
- cinta métrica
- Máquina de coser
- elástico
Recently my daughter came to me with a fabric that she had bought, when I saw it I thought it was Micro Rib, which is very fashionable, I didn't pay much attention to it and left it stored for a few days, until I finally decided to make her the outfit that she wanted so much, when I touched the fabric my complications began, this is the type of thick and at the same time delicate fabric that you know may give you trouble with the needles in the machine.
Then when I go to look for the wrong side to start marking the fabric and cutting, I realize that the elastic side has it in the direction of the channel figures that it has, unlike the micro rib fabric that has the elastic in the opposite direction of the channels and this makes them remain vertical, with this fabric it will be the opposite, the shape of its channels will remain horizontal.
My daughter was initially discouraged and thought it would look bad, so I encouraged her a little and told her that I would make her outfit anyway. I showed her an approximation of what the fabric would look like and she agreed, so I set out to make this outfit following some of her clothes and making some modifications. Here is the list of materials to use:
- 2 meters of elastic fabric
- thread
- measuring tape
- sewing machine
- elastic
PASO A PASO
STEP BY STEP
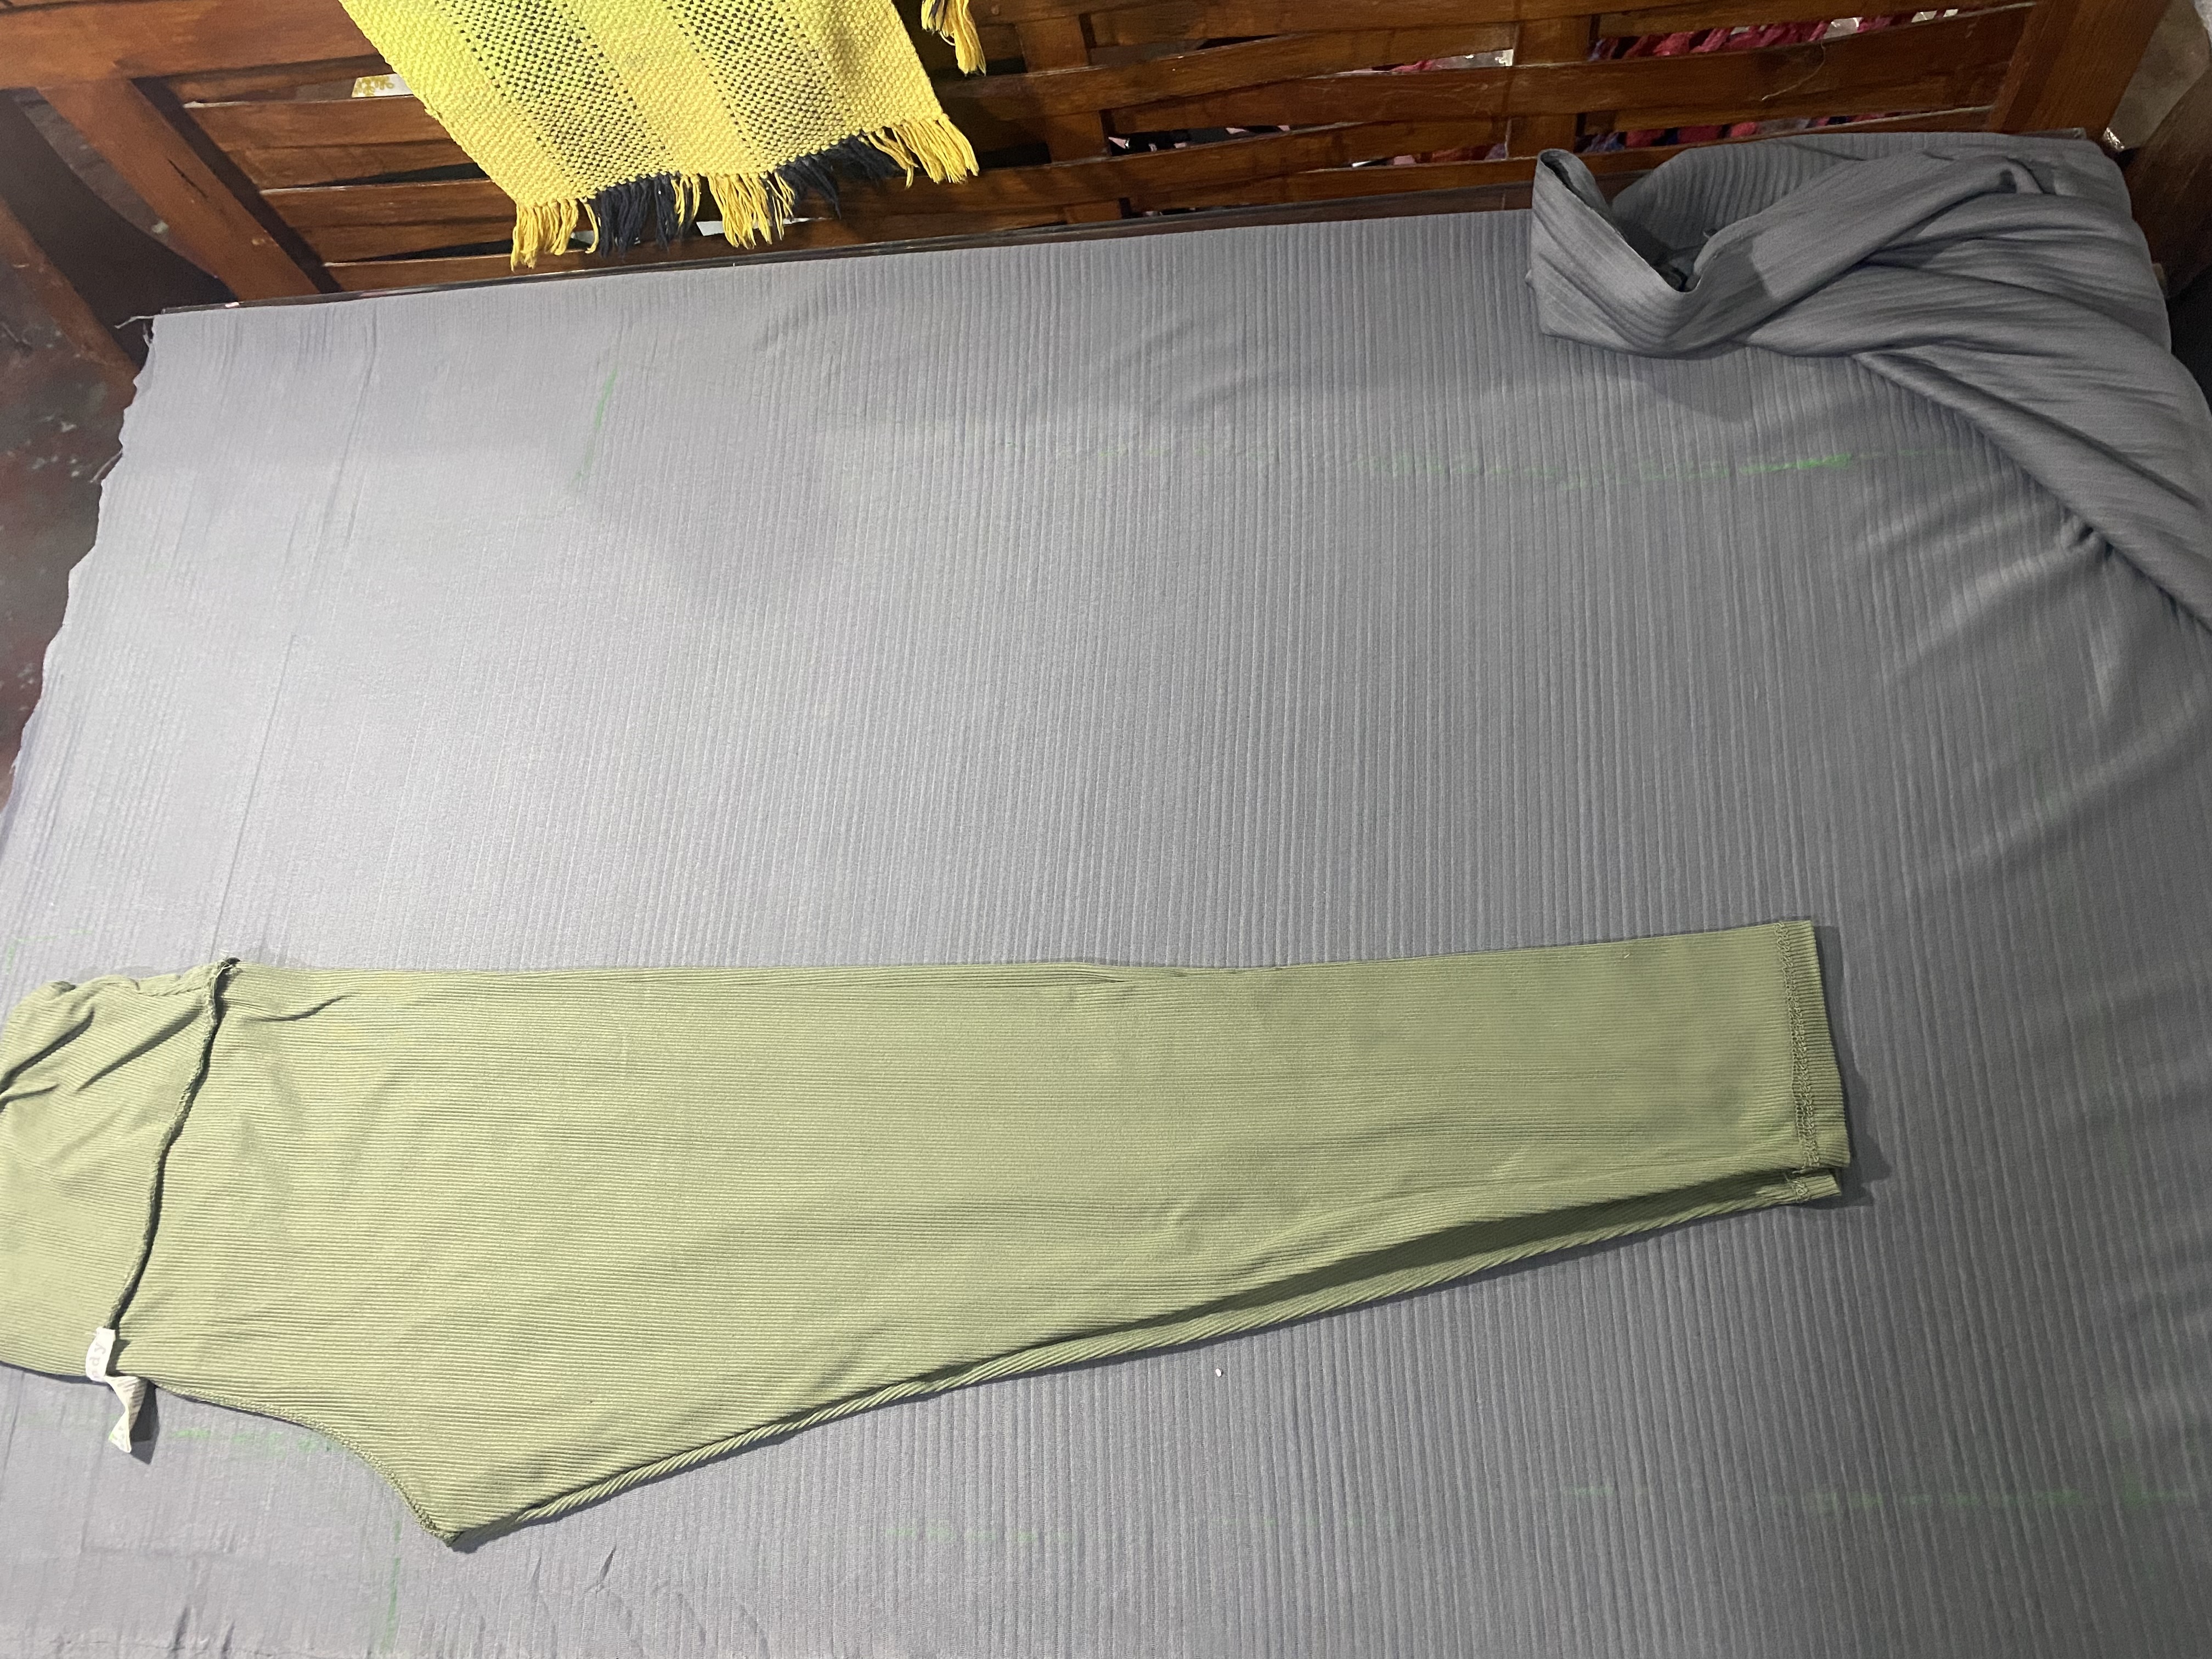
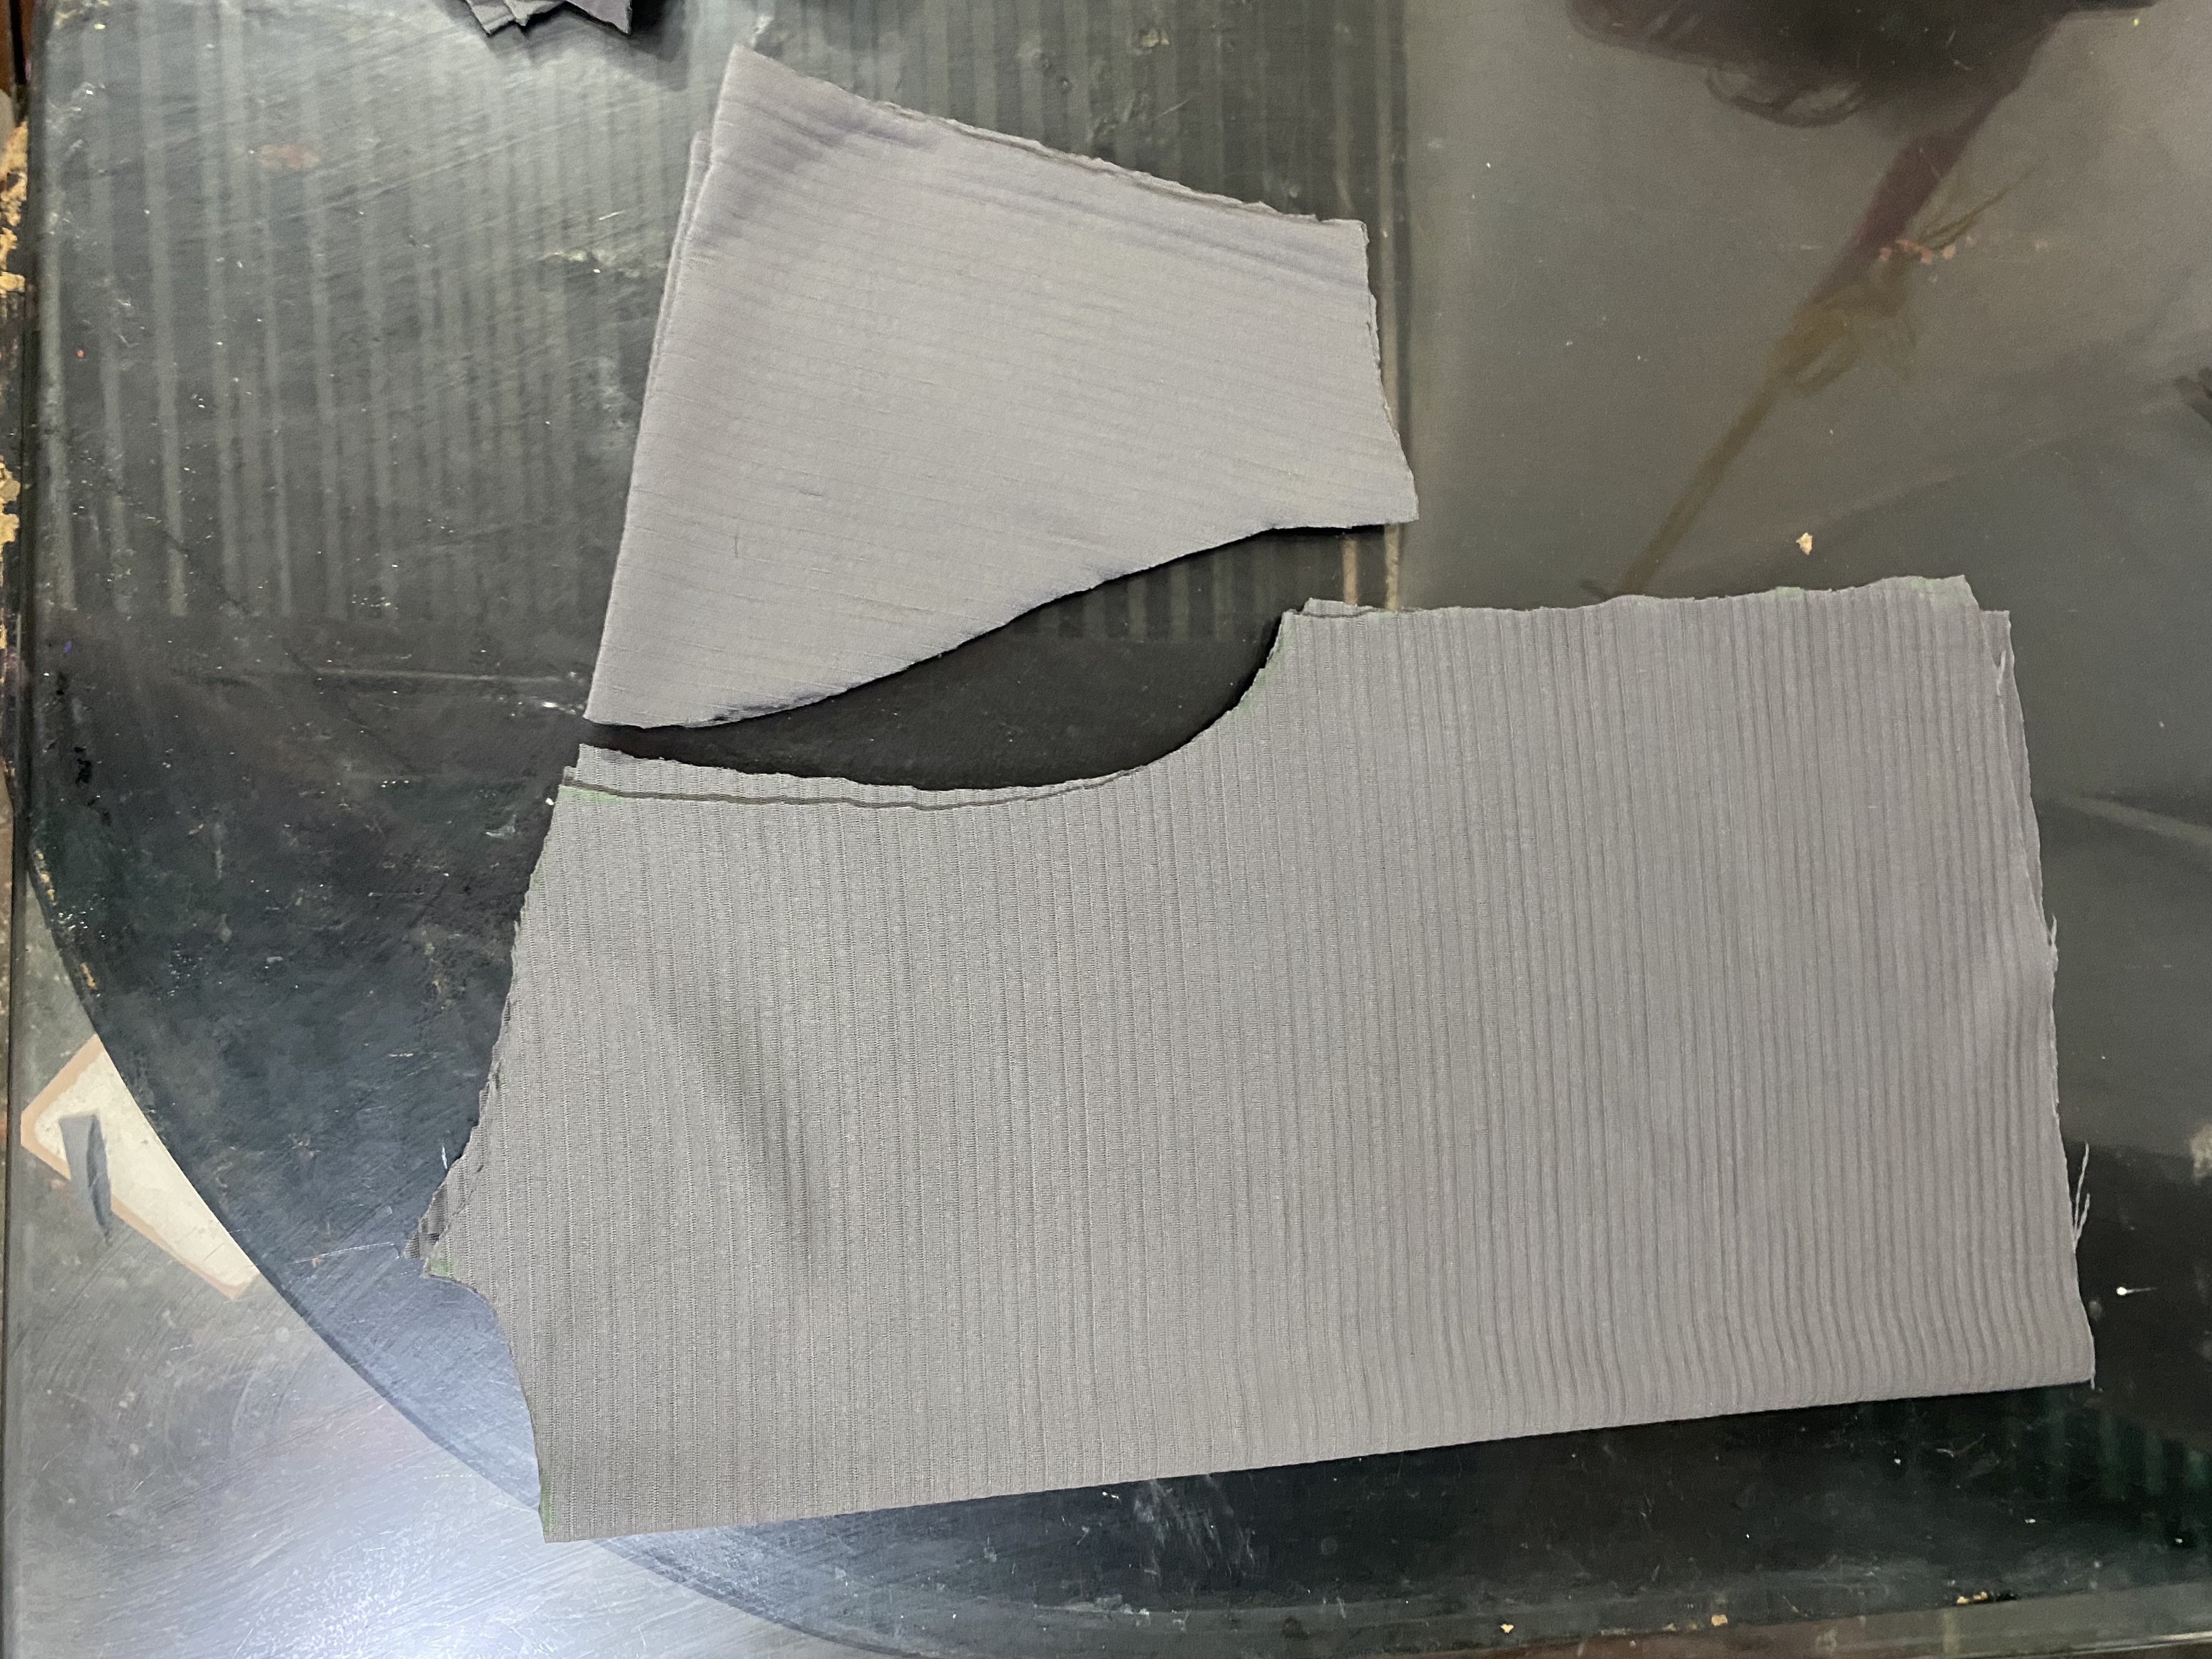
Vamos a comenzar con la confección del mono, luego de hallarle el lado elástico a la tela, doble a la mitad y coloqué sobre mi mesa, comenzando por las orillas de la tela coloco el mono que voy a utilizar de guía, éste lo copiaré casi igual en la parte de arriba y le haré modificaciones en las piernas, estás no serán Angostas sino completamente rectas, a la hora de marcar el tiro le damos una pequeña curvatura y luego lo hacemos completamente recto hasta abajo , esto lo vamos a hacer tanto por delante como por detrás, este será un solo corte sin costura a los laterales, esto ayuda a que quede más recto ya que este mono es tipo palazo.
Para la cintura vamos a cortar un retazo de tela de aproximadamente 20 cm de ancha y el largo lo definiremos al unir el mono allí tomamos la medida y cortamos igual.
Let's start with the making of the jumpsuit, after finding the elastic side of the fabric, fold it in half and place it on my table, starting with the edges of the fabric I place the jumpsuit that I am going to use as a guide, I will copy this almost the same on the top and I will make modifications to the legs, these will not be narrow but completely straight, when marking the rise we give it a slight curvature and then we make it completely straight to the bottom, we are going to do this both in the front and in the back, this will be a single cut without seams on the sides, this helps it to be straighter since this jumpsuit is a palazzo type.
For the waist we are going to cut a piece of fabric approximately 20 cm wide and we will define the length by joining the jumpsuit there we take the measurement and cut it the same way.
 |  |
|---|
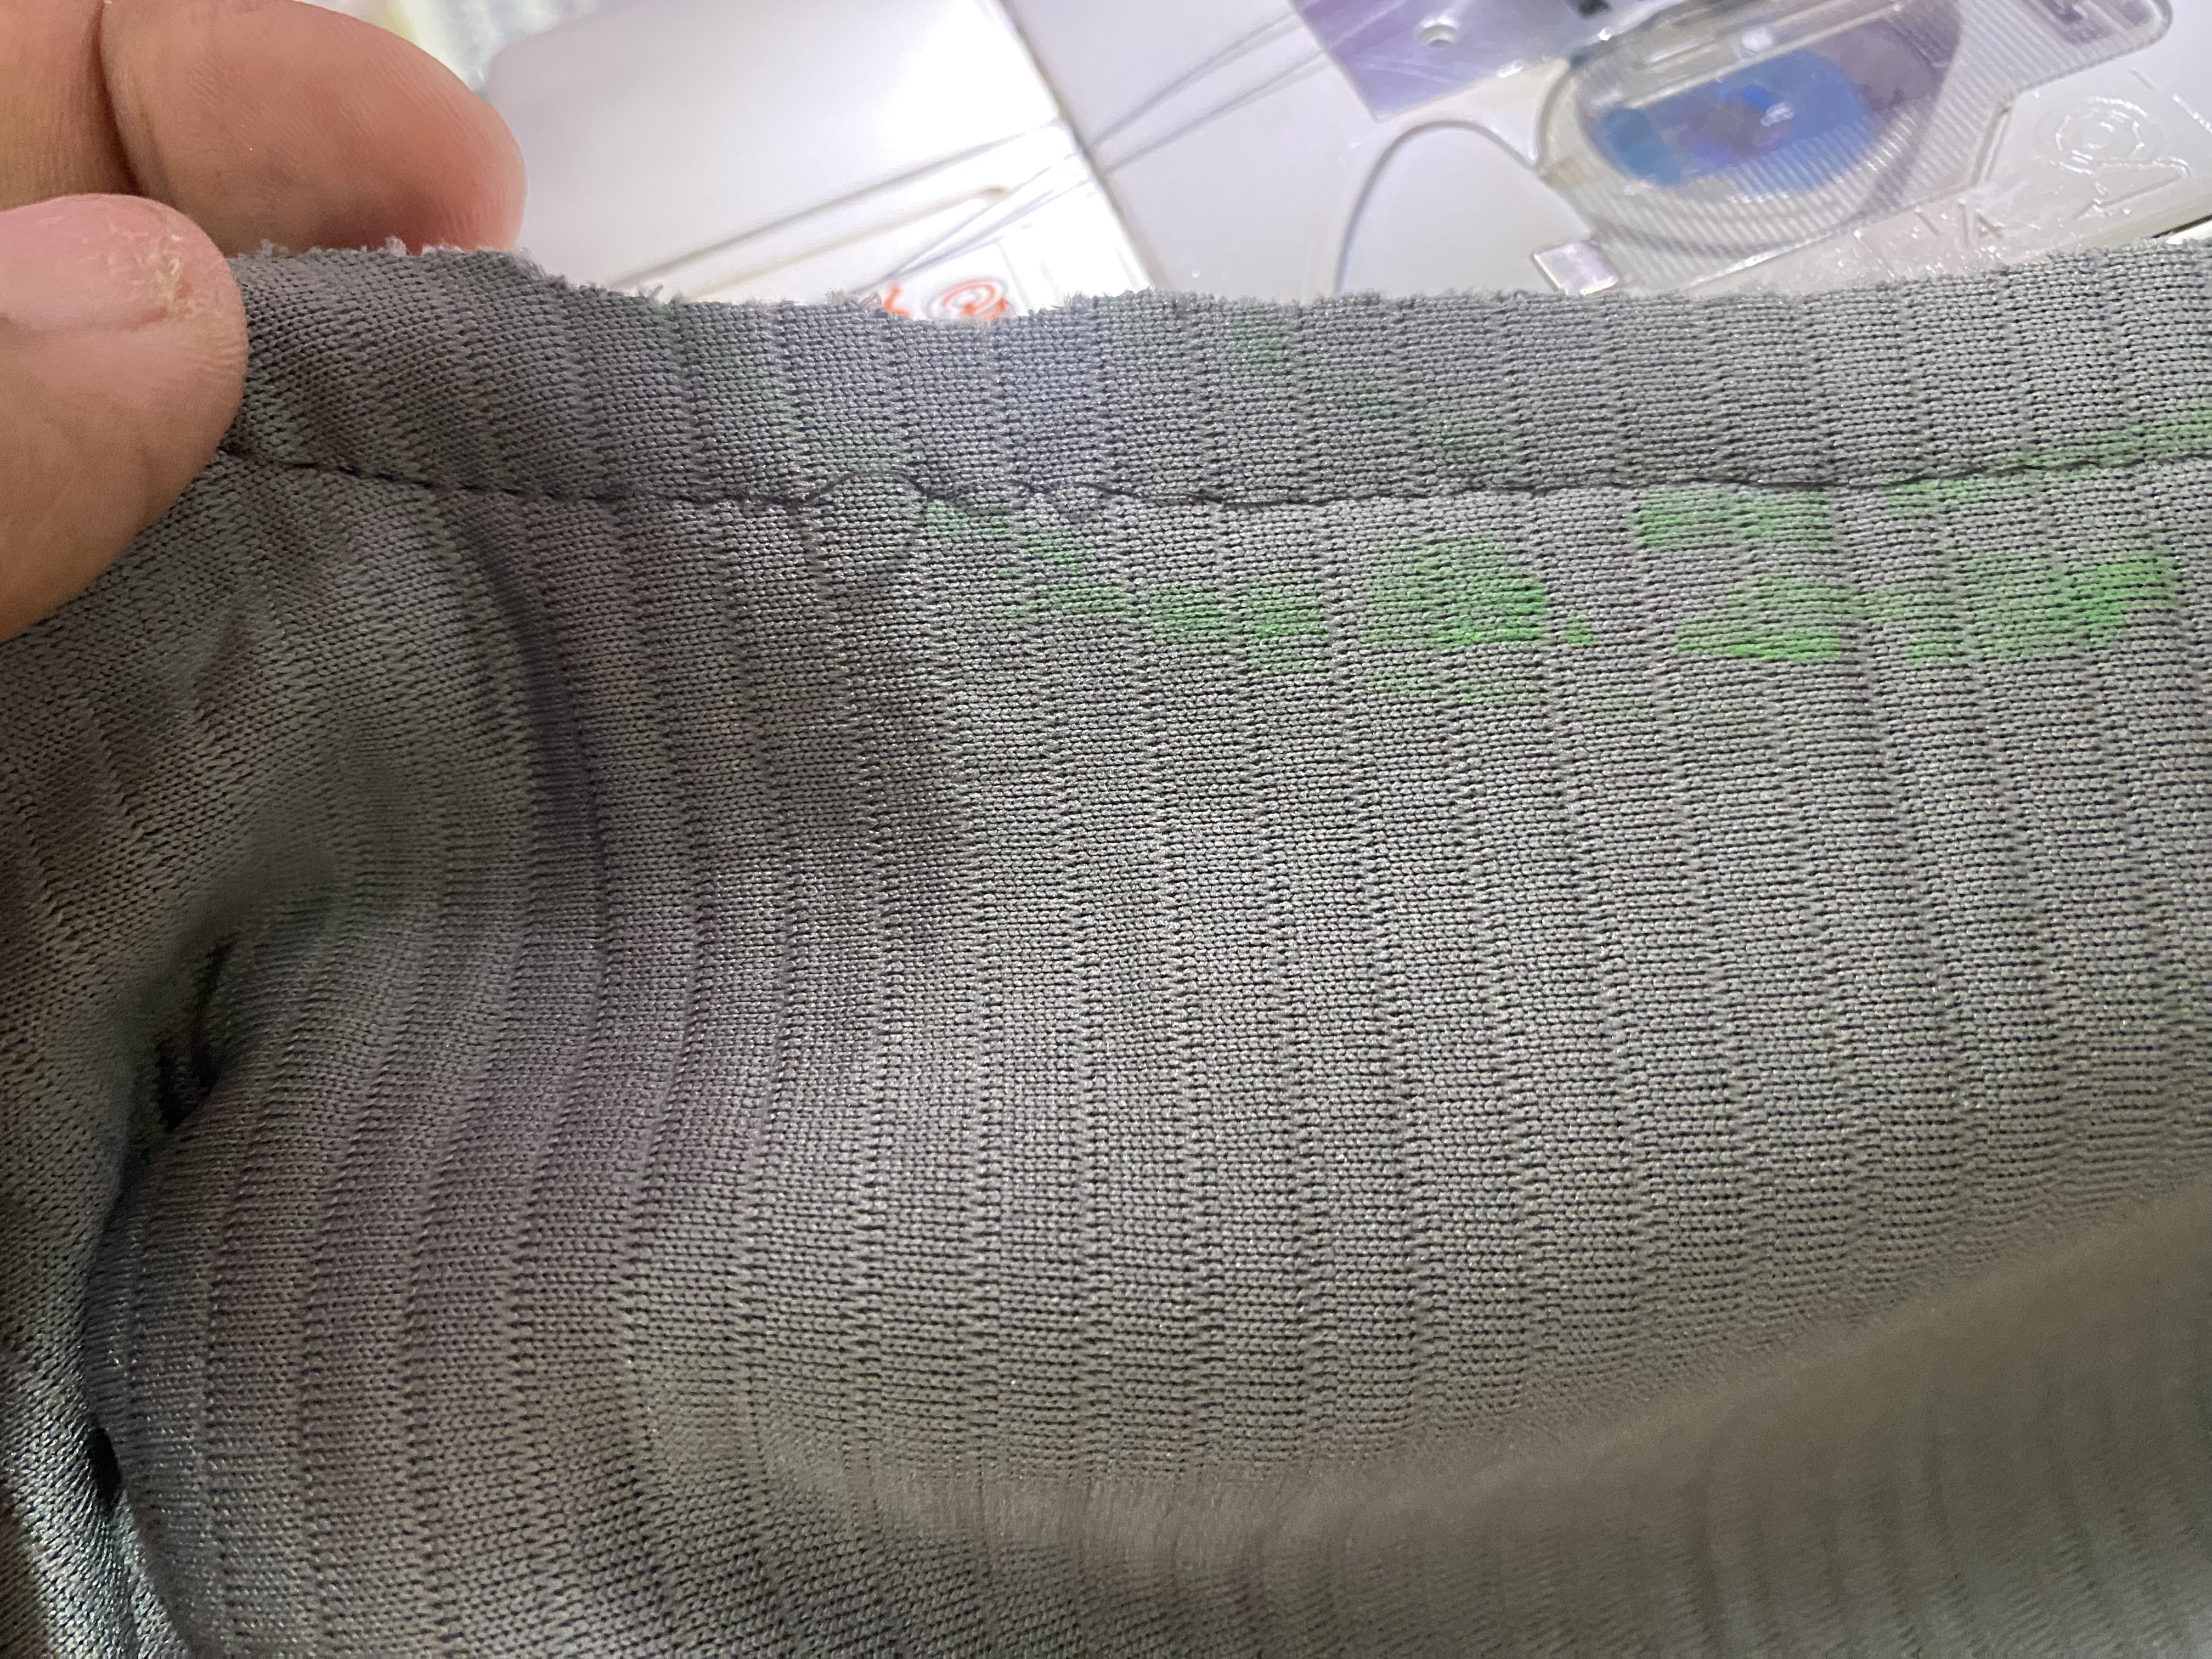
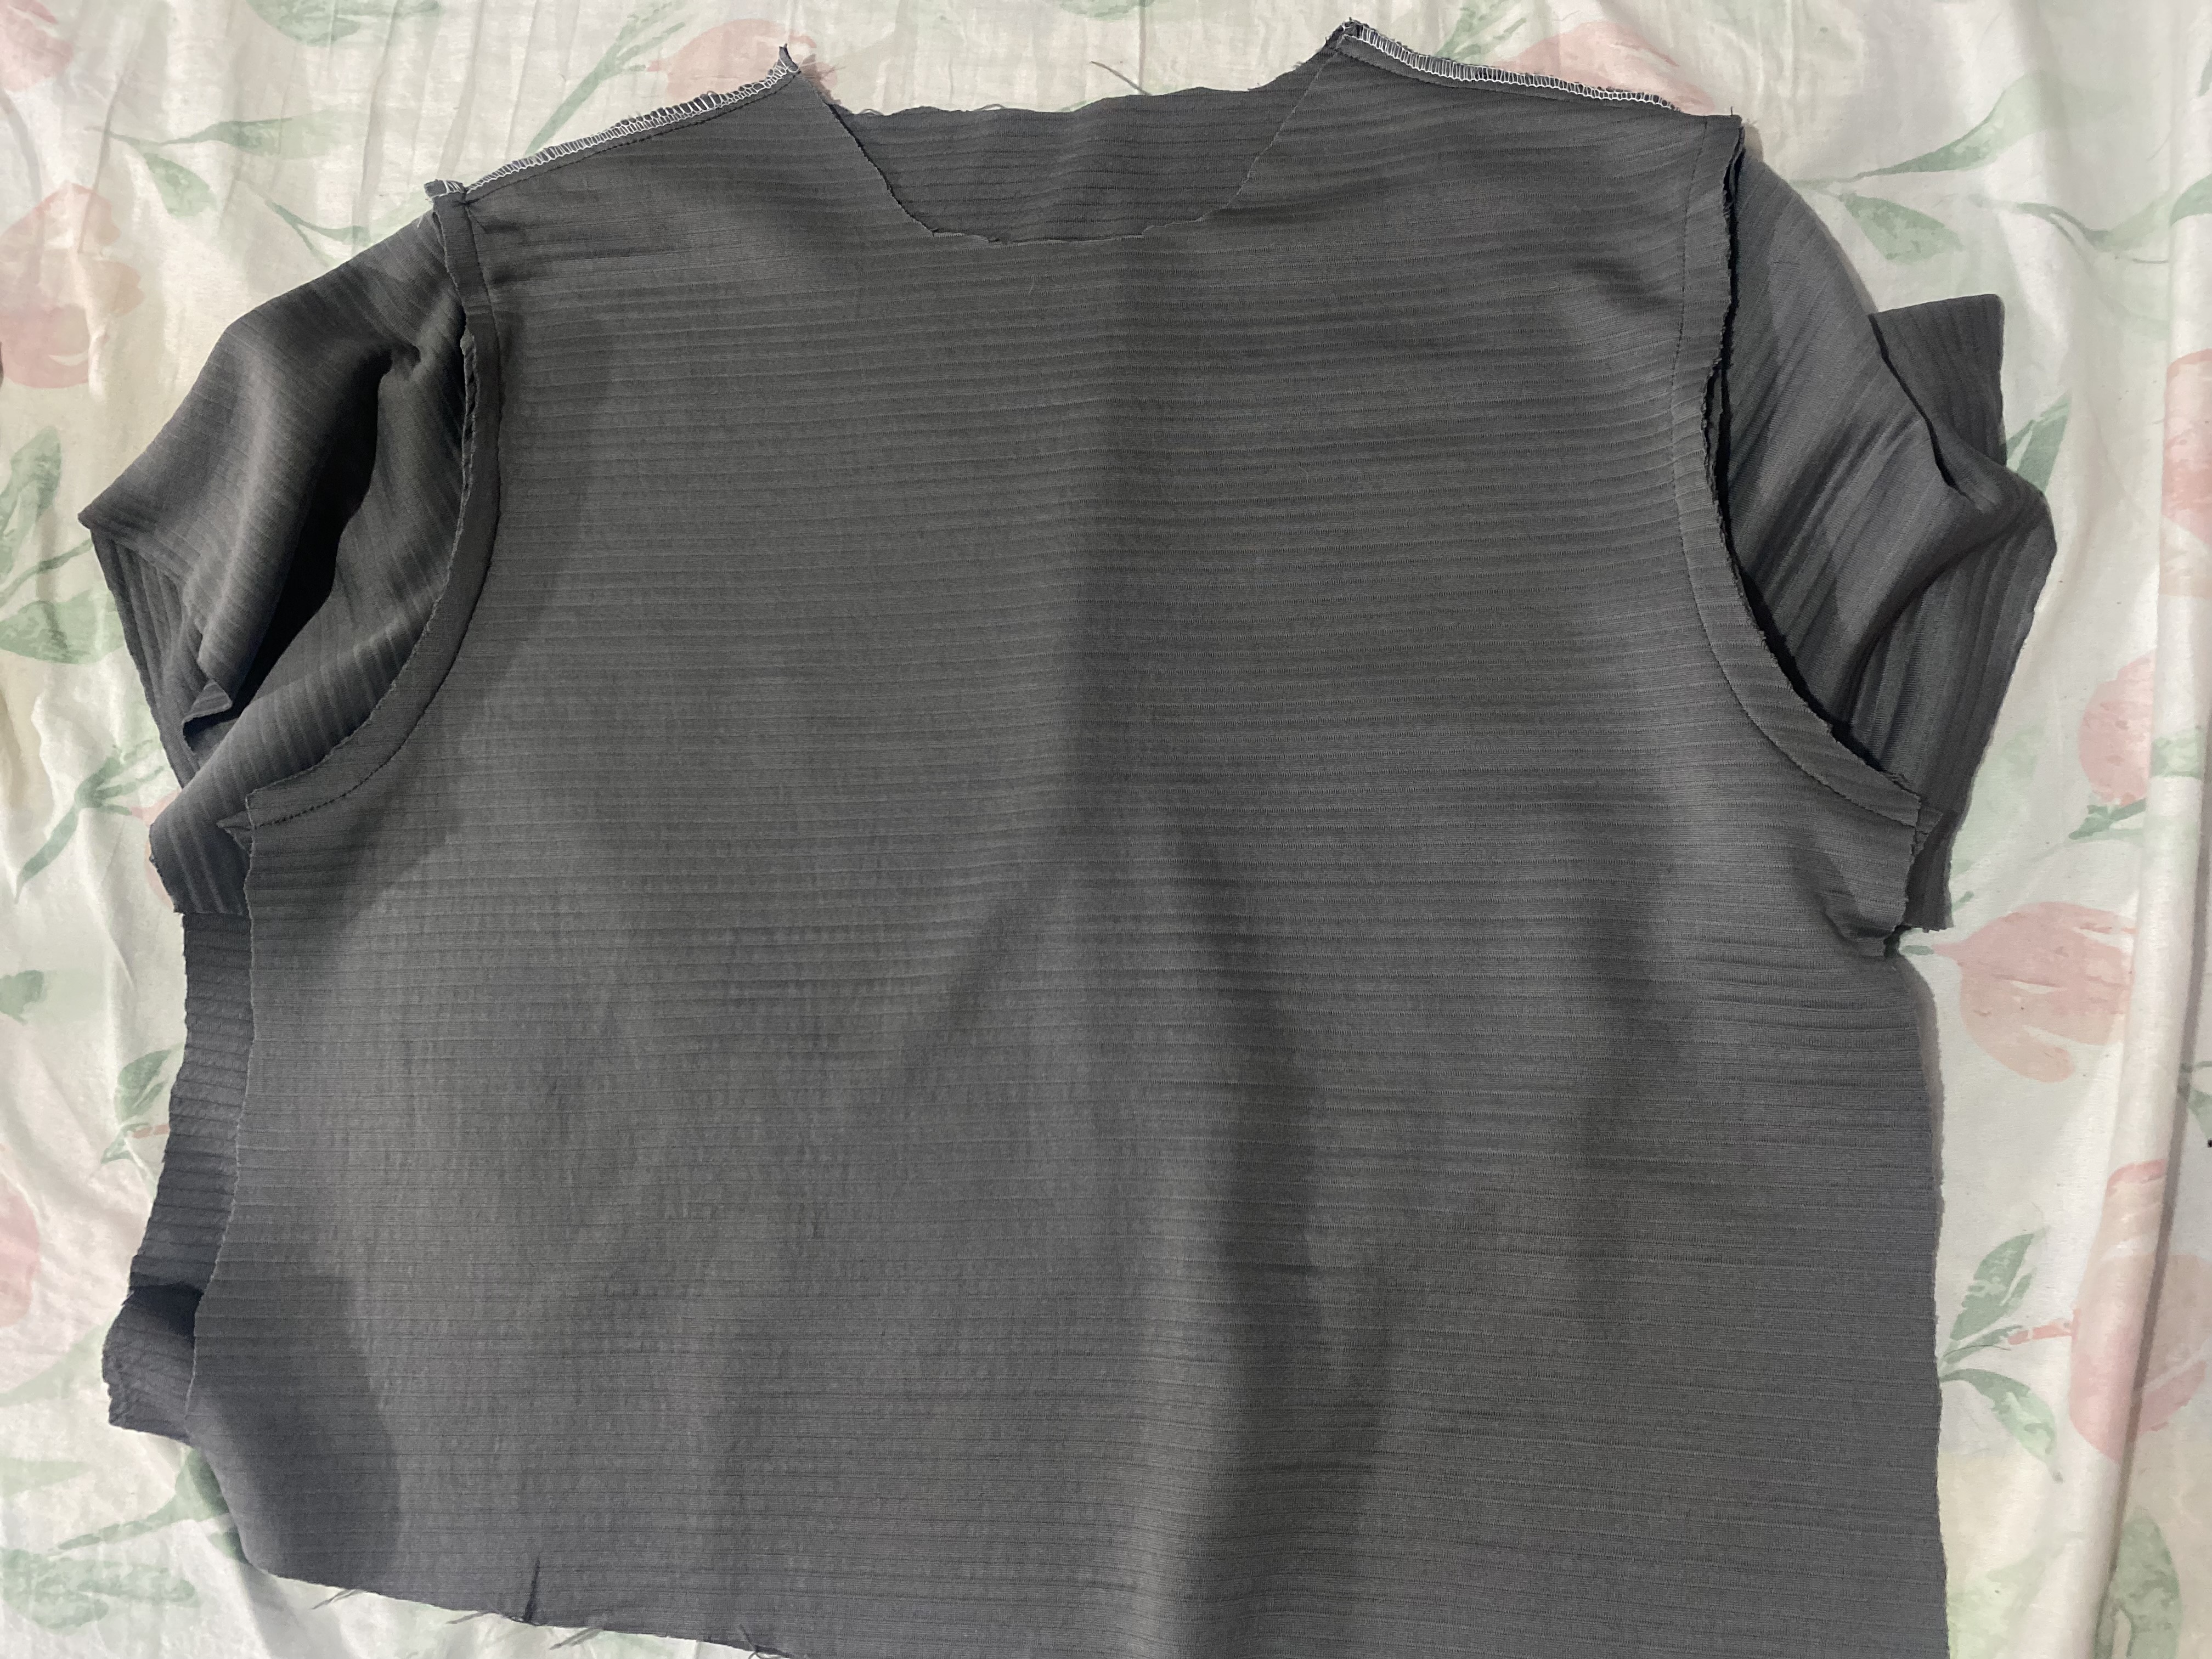
Ahora continuaremos con las costuras, vamos a unir por el tiro delantero, luego el tiro de atrás y luego unimos por el fundillo, al principio me dio guerra con la máquina ya que me hacía las costuras muy mal, probé varios tipos de aguja hasta que di con la indicada, Luego de controlar las costuras pude hacerlo con normalidad, corrí con suerte, hay telas que debes colocarle si es posible papel para que las costuras te puedan quedar bien, en esta ocasión no hubo necesidad.
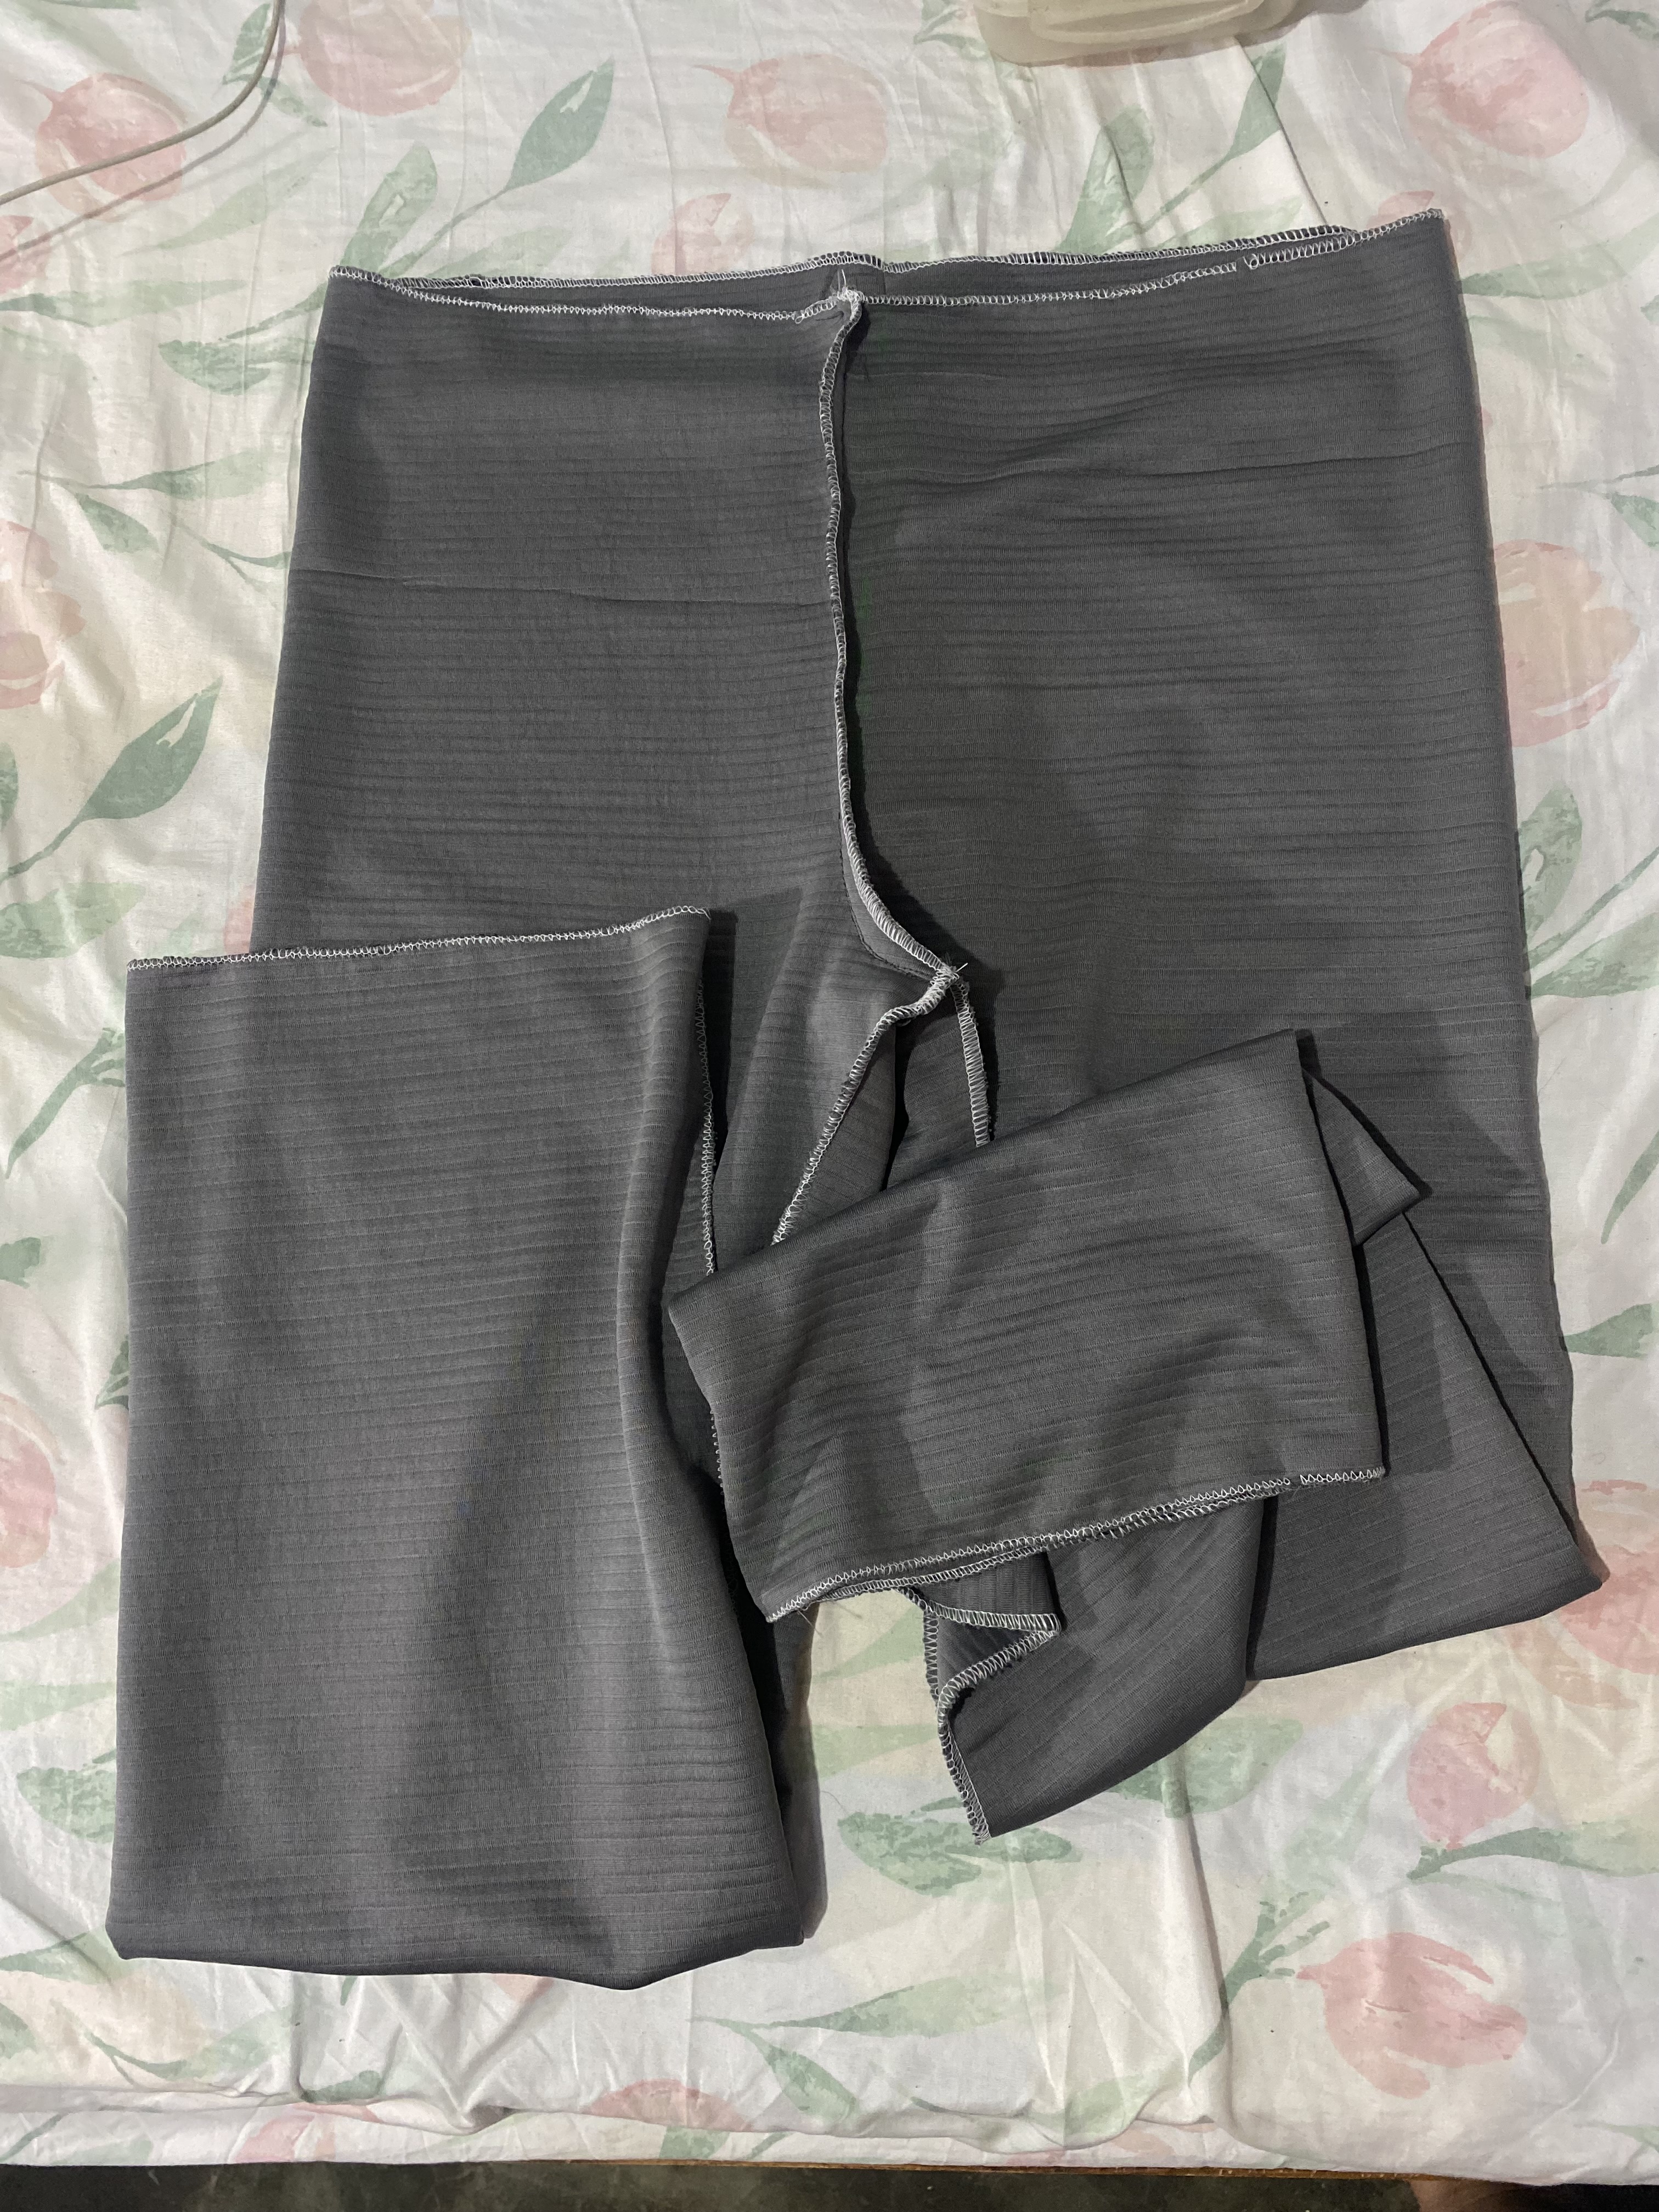
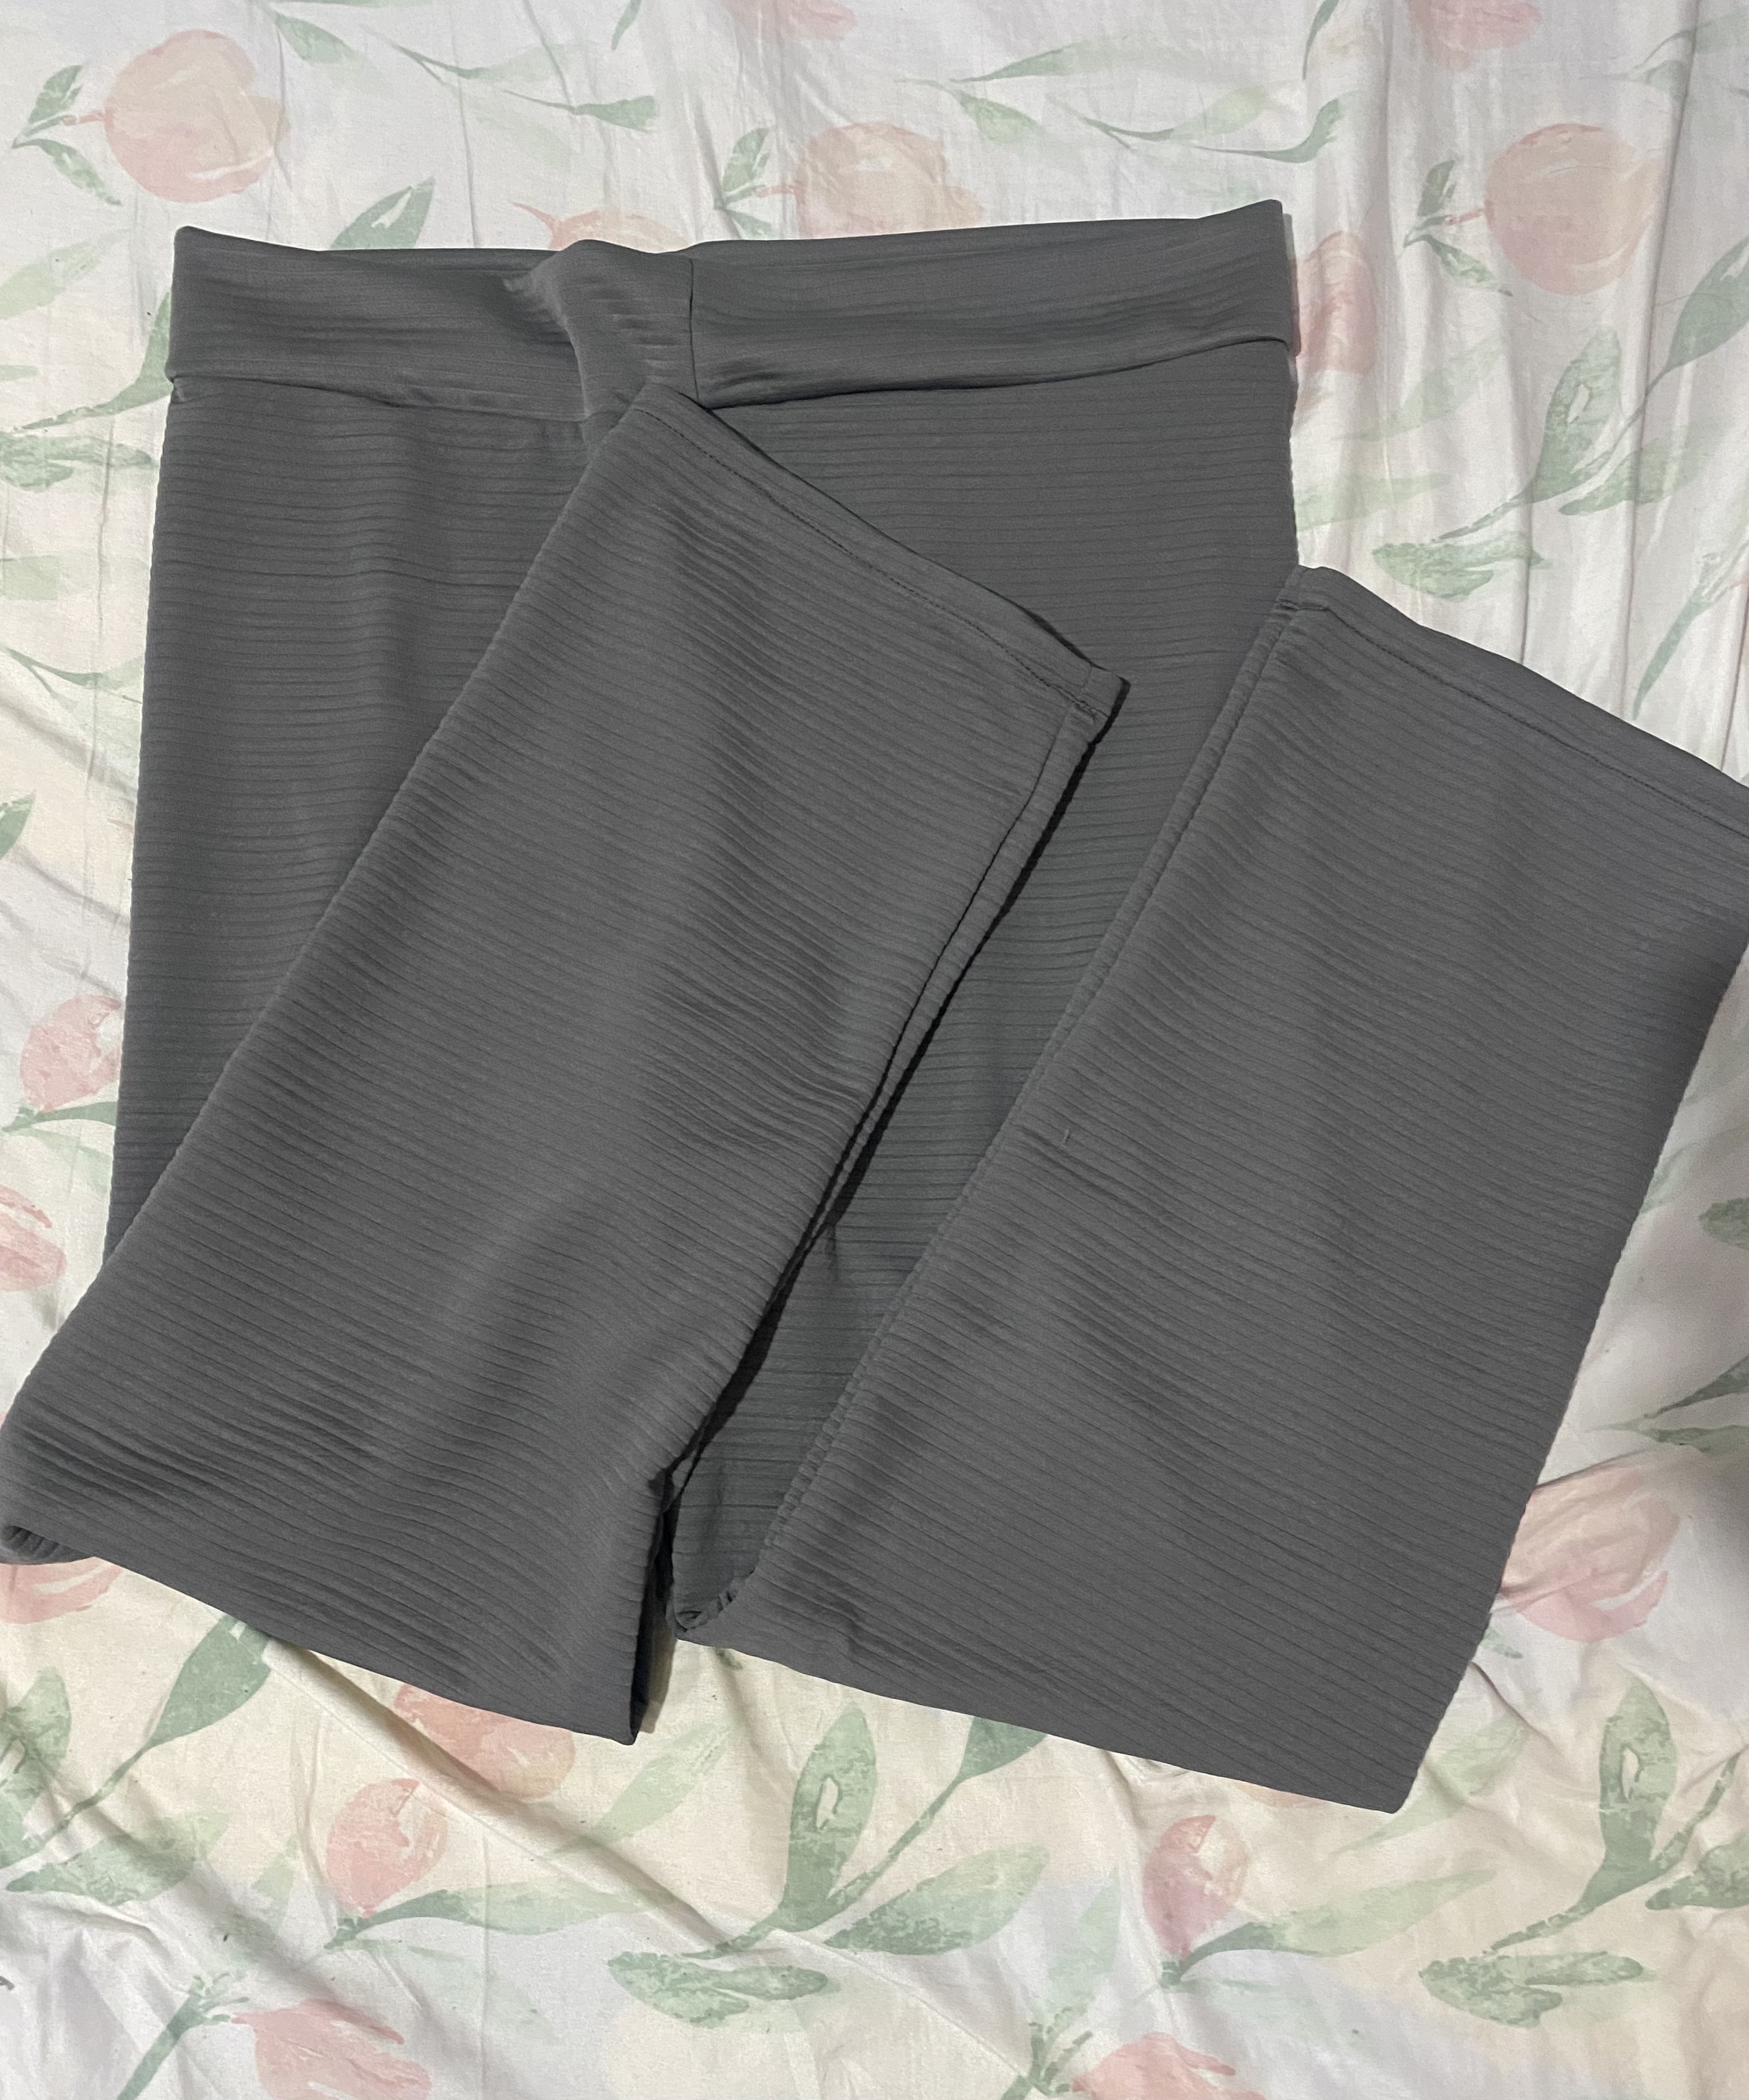
Luego continué pasándole costura de Overlook, tanto en las orillas del ruedo, como en las orillas de la cintura, esto para evitar que la tela se deshilache, para la cintura o pretina de este mono vamos a doblar la tela a la mitad y vamos uniendo por todo el contorno de cintura, en la parte delantera voy a pasar costura y voy a dejar un pequeño orificio ya que aún no estoy segura si colocarle elástico o alguna trenza, esto lo decidirá mi hija al momento de usarlo, para finalizar le pasé costura en el ruedo y así ya está listo este lindo mono.
Now we will continue with the seams, we will join the front hem, then the back hem and then join the gusset. At first I had trouble with the machine because it made the seams very badly. I tried several types of needle until I found the right one. After checking the seams I was able to do it normally. I was lucky. There are fabrics that you should put paper on if possible so that the seams can turn out well. This time there was no need.
Then I continued with Overlook stitching, both on the edges of the hem and on the edges of the waist, this to prevent the fabric from fraying. For the waist or waistband of this jumpsuit we will fold the fabric in half and join all around the waist. On the front I will sew and leave a small hole because I am not sure whether to put elastic or some braid, my daughter will decide this when she uses it. To finish I sewed the hem and this cute jumpsuit is ready.
 |  |
|---|---|
 |  |
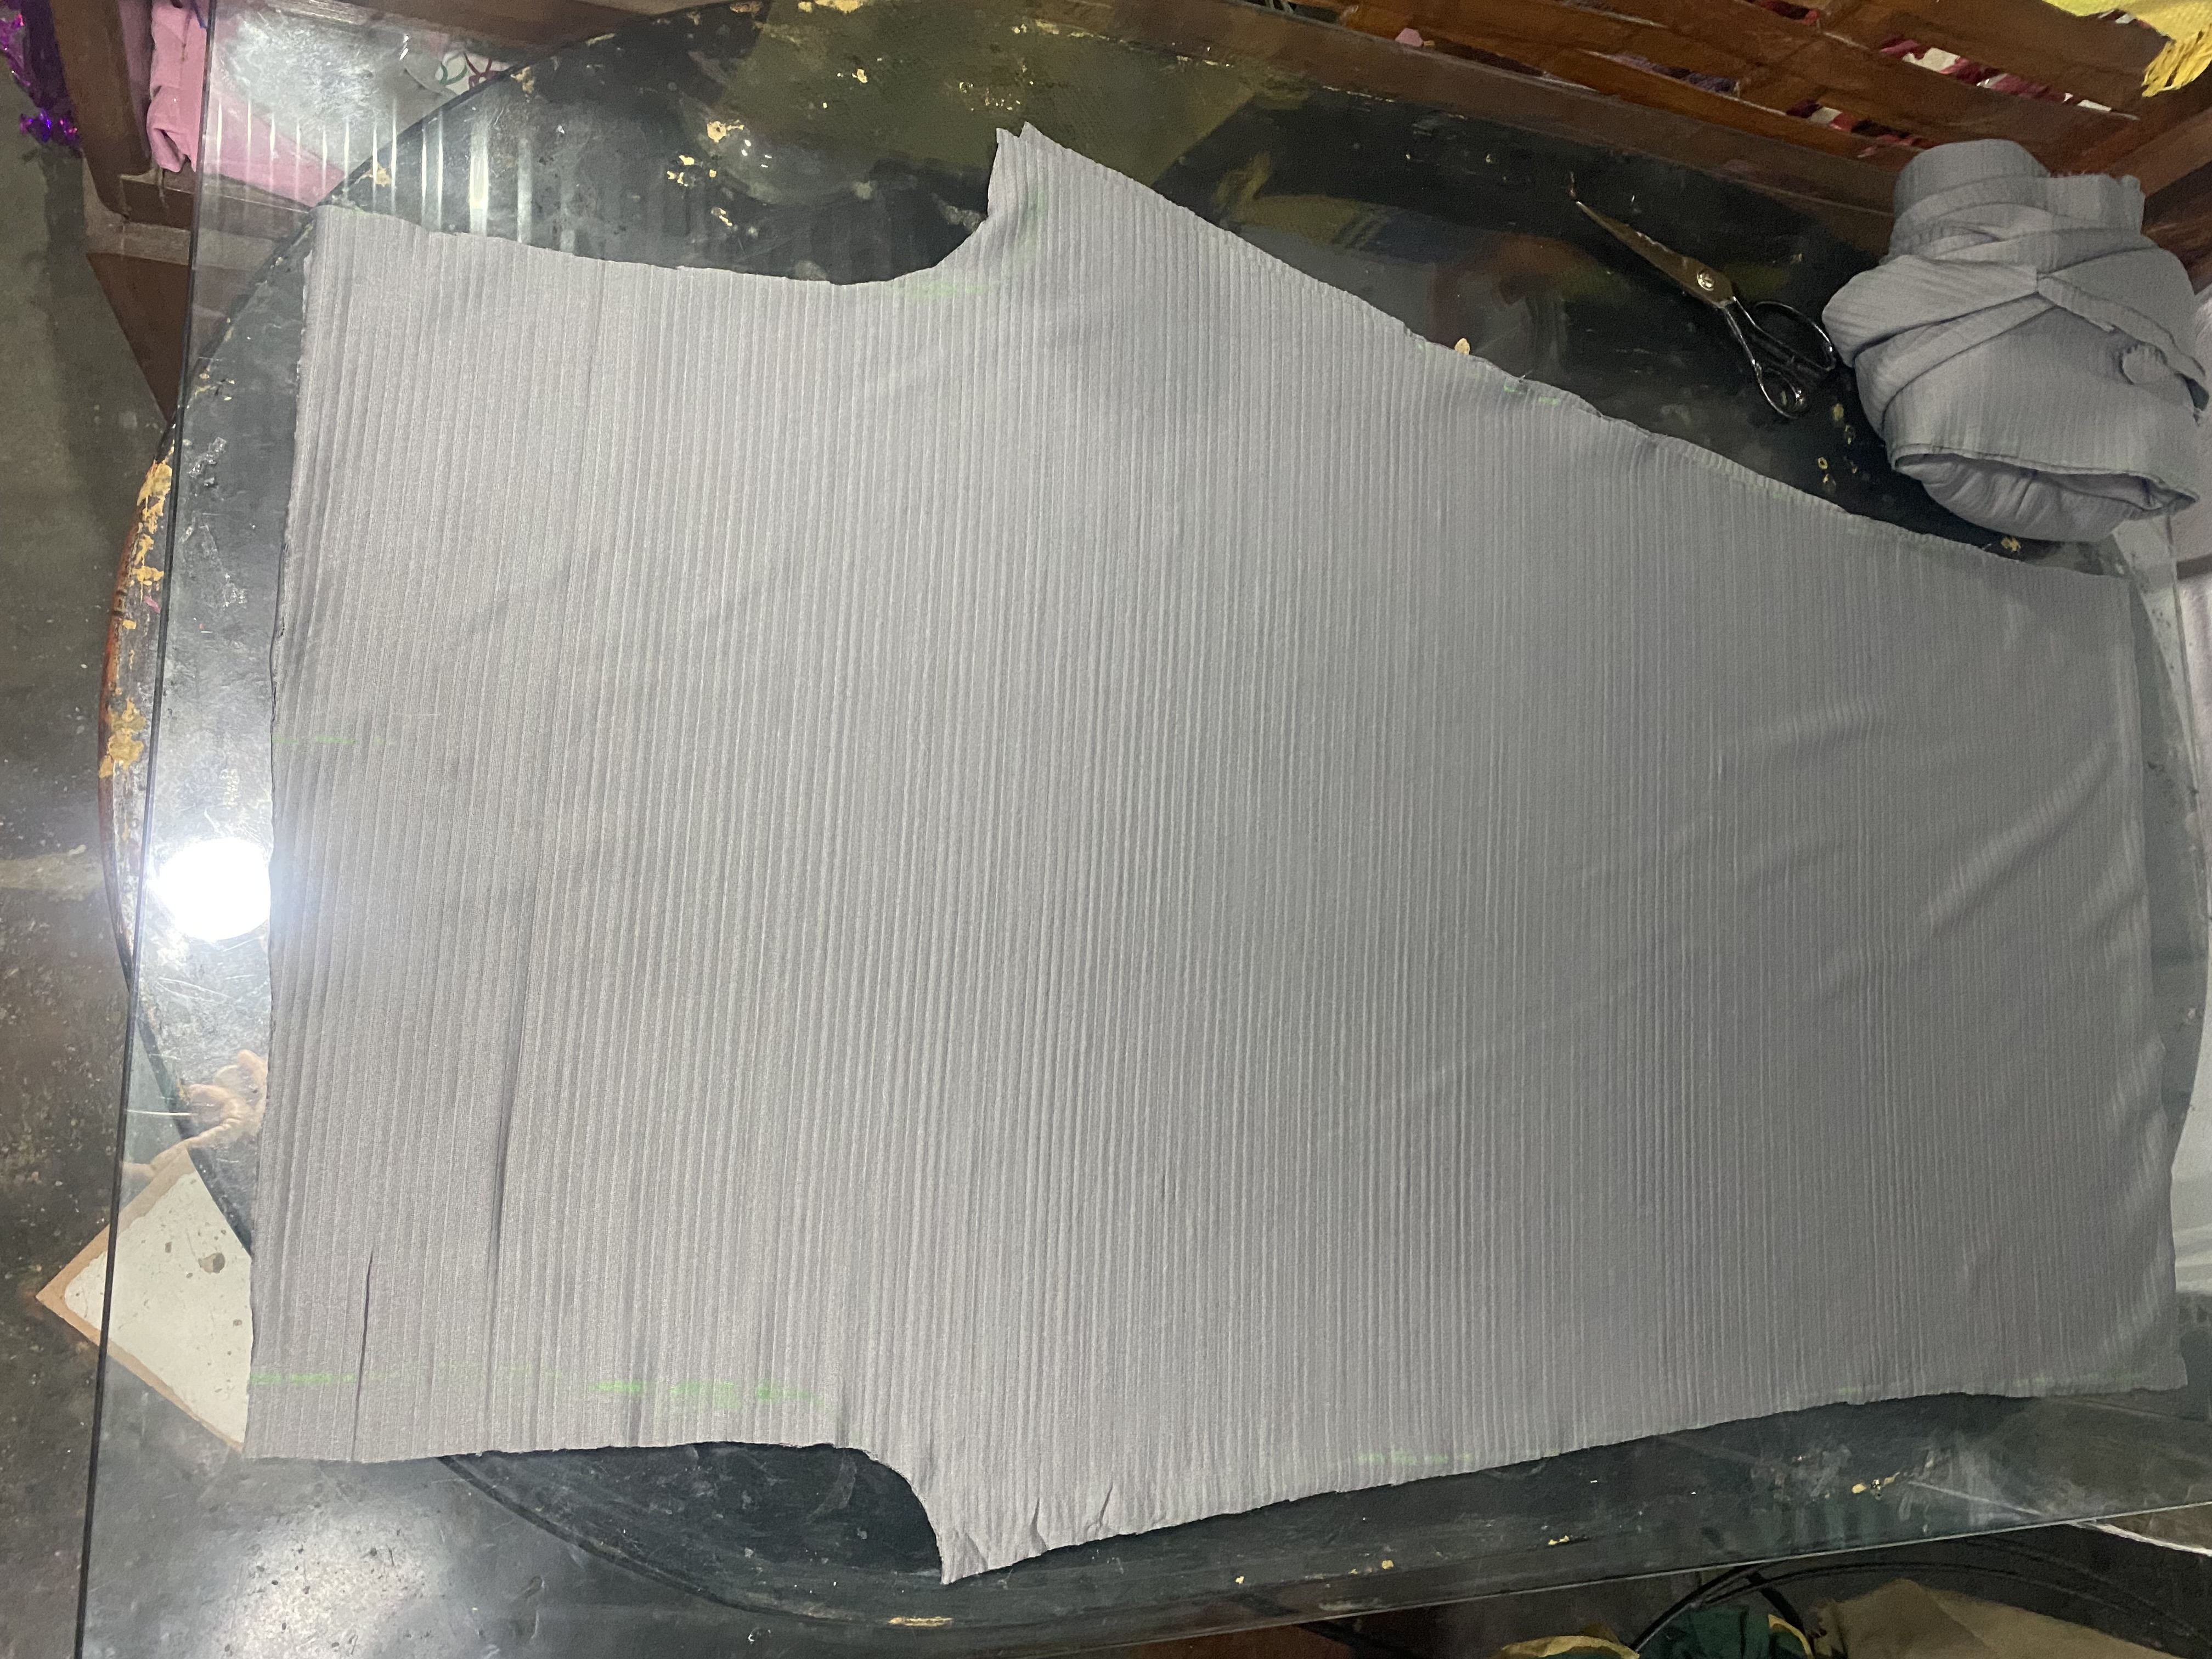
Ahora vamos con la confección de la blusa, para esta utilizaré una blusa de mi hija y la voy a copiar casi igual, doblo la blusa a la mitad al igual que la tela y colocó sobre la misma, dibujo el contorno dejando un excedente para el ruedo, luego dibujo las mangas y corto.
Now we move on to making the blouse. For this one I will use one of my daughter's blouses and I will copy it almost exactly. I fold the blouse in half as well as the fabric and place it on top. I draw the outline leaving a surplus for the hem, then I draw the sleeves and cut them out.
 |  |
|---|---|
 |
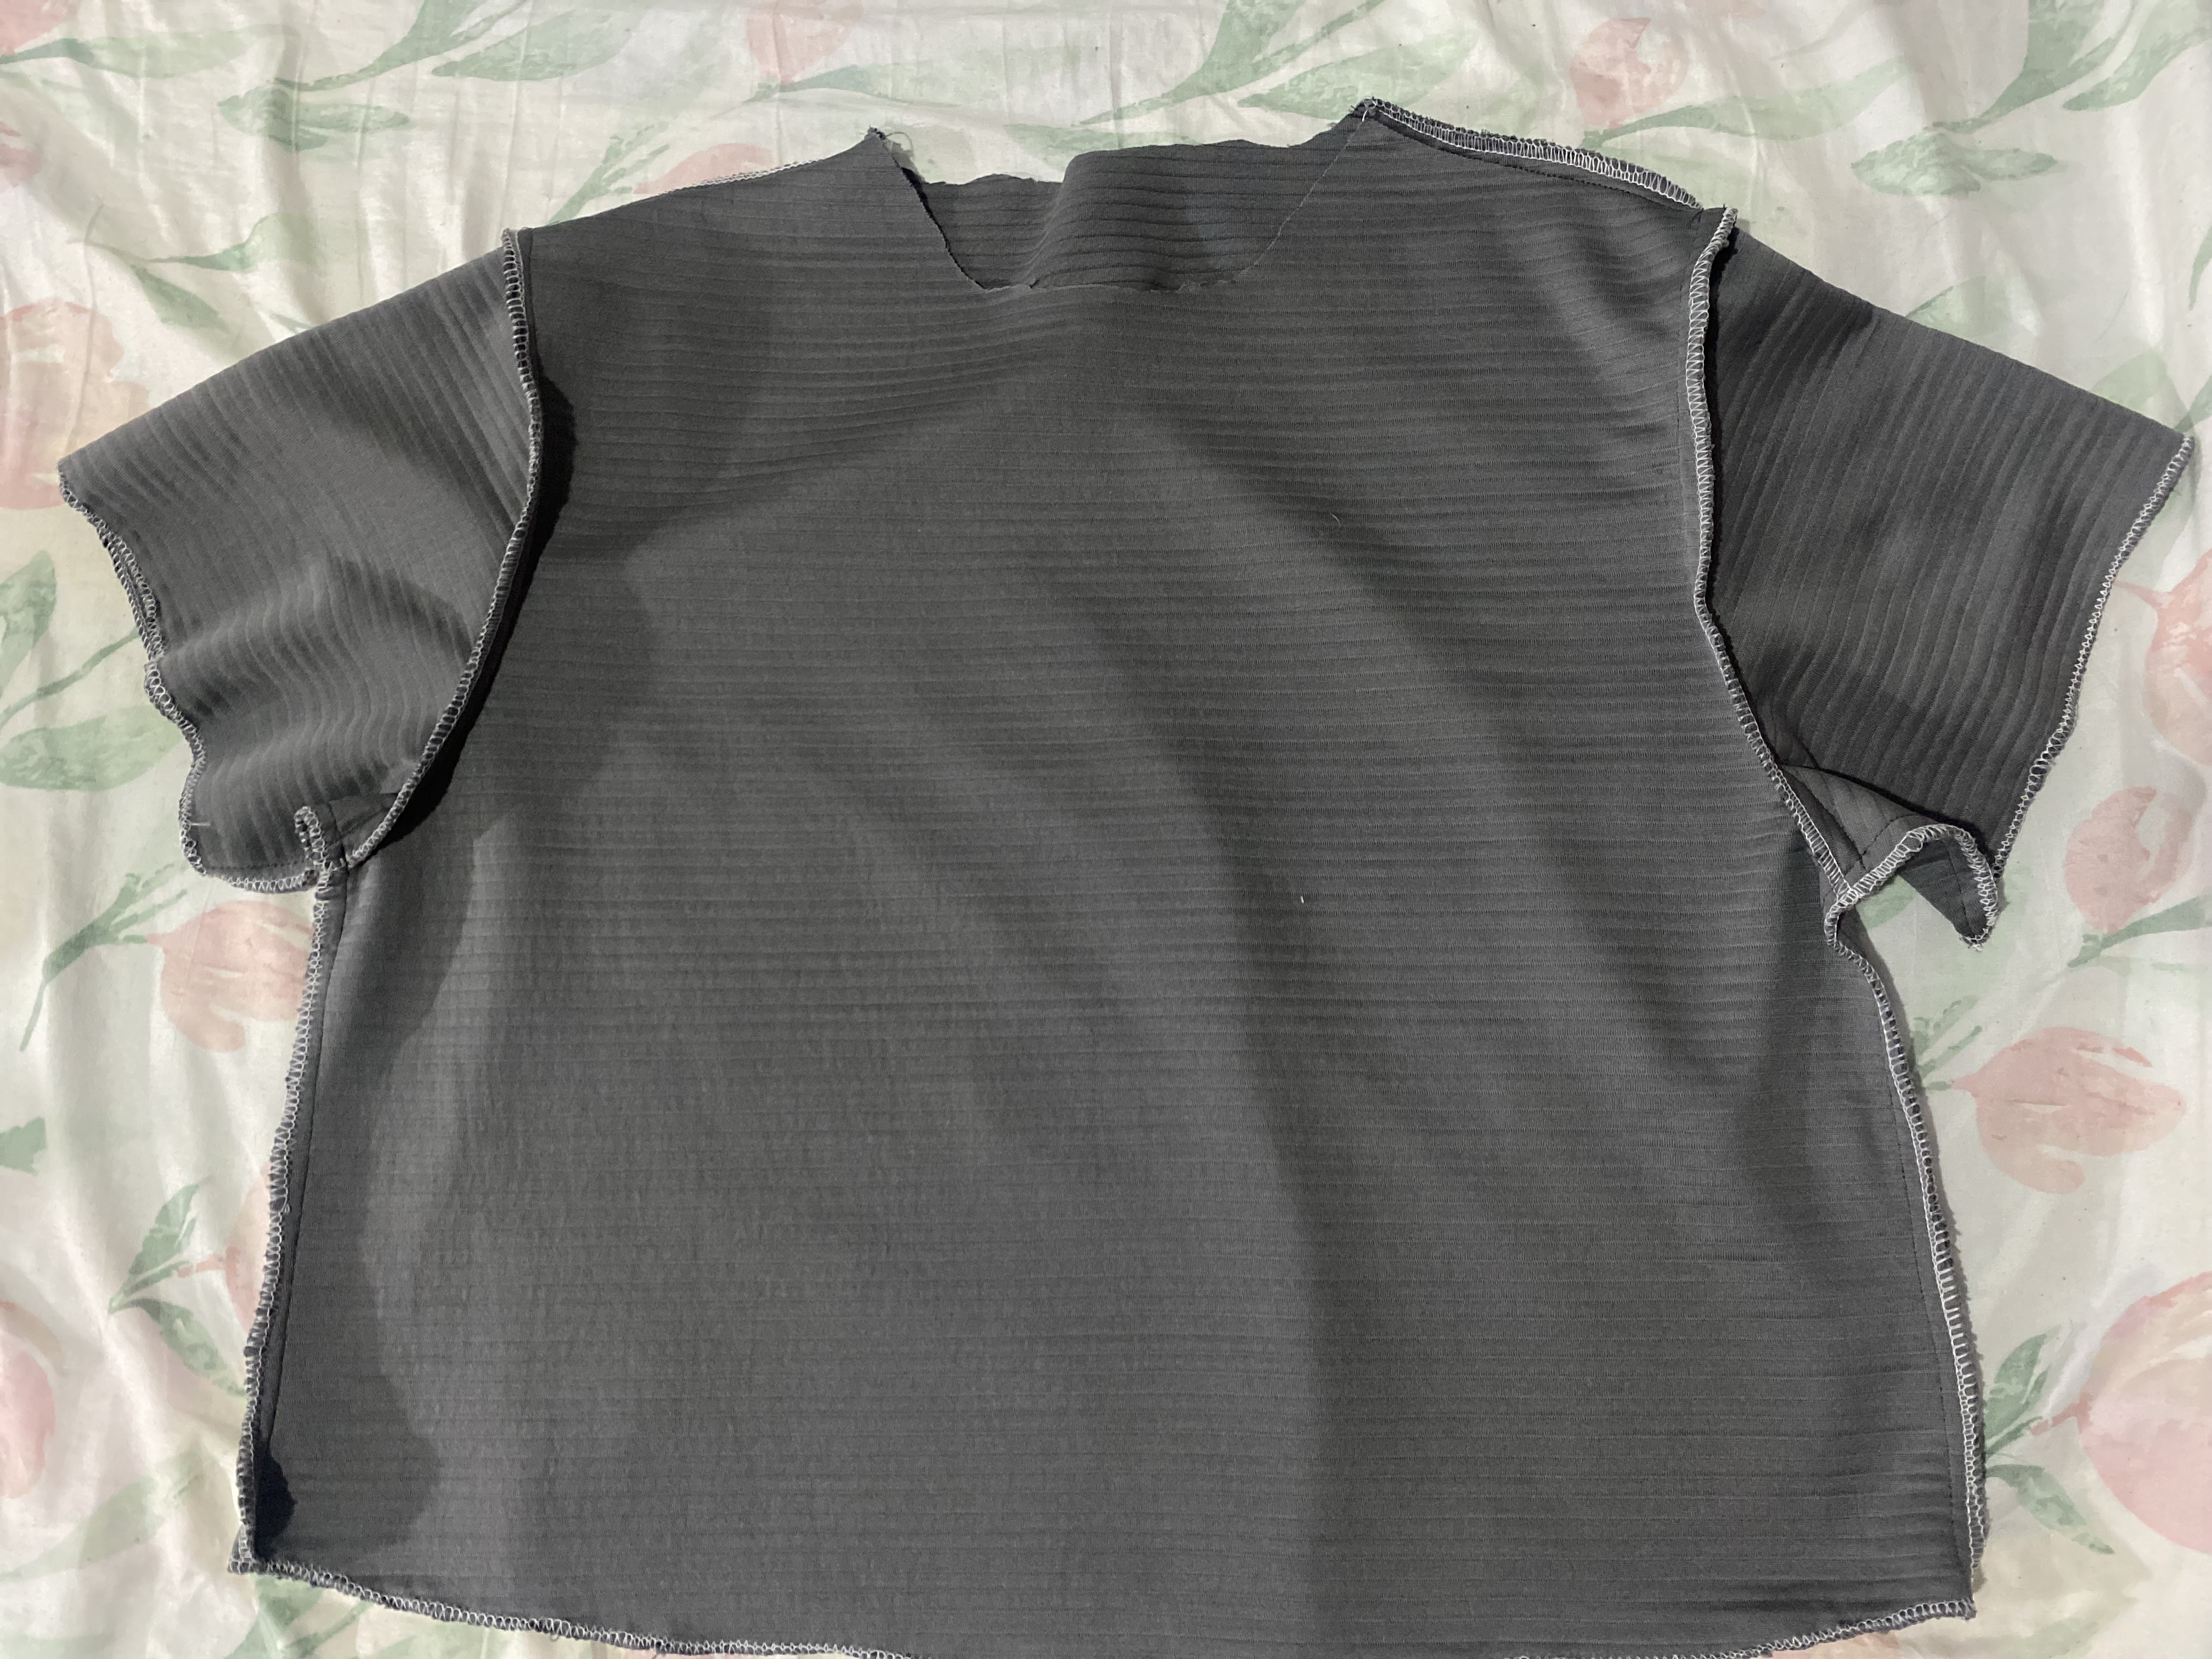
Para este siguiente paso vamos a a hacer las costuras para nuestra blusa, comenzaremos uniendo en la parte de los hombros, luego le unimos las mangas, y seguimos uniendo por los laterales, esta tela tiende a hilacharse así que le pase Overlook por toda la orilla de las mangas y del ruedo, luego le hice un pequeño ruedo con costura recta.
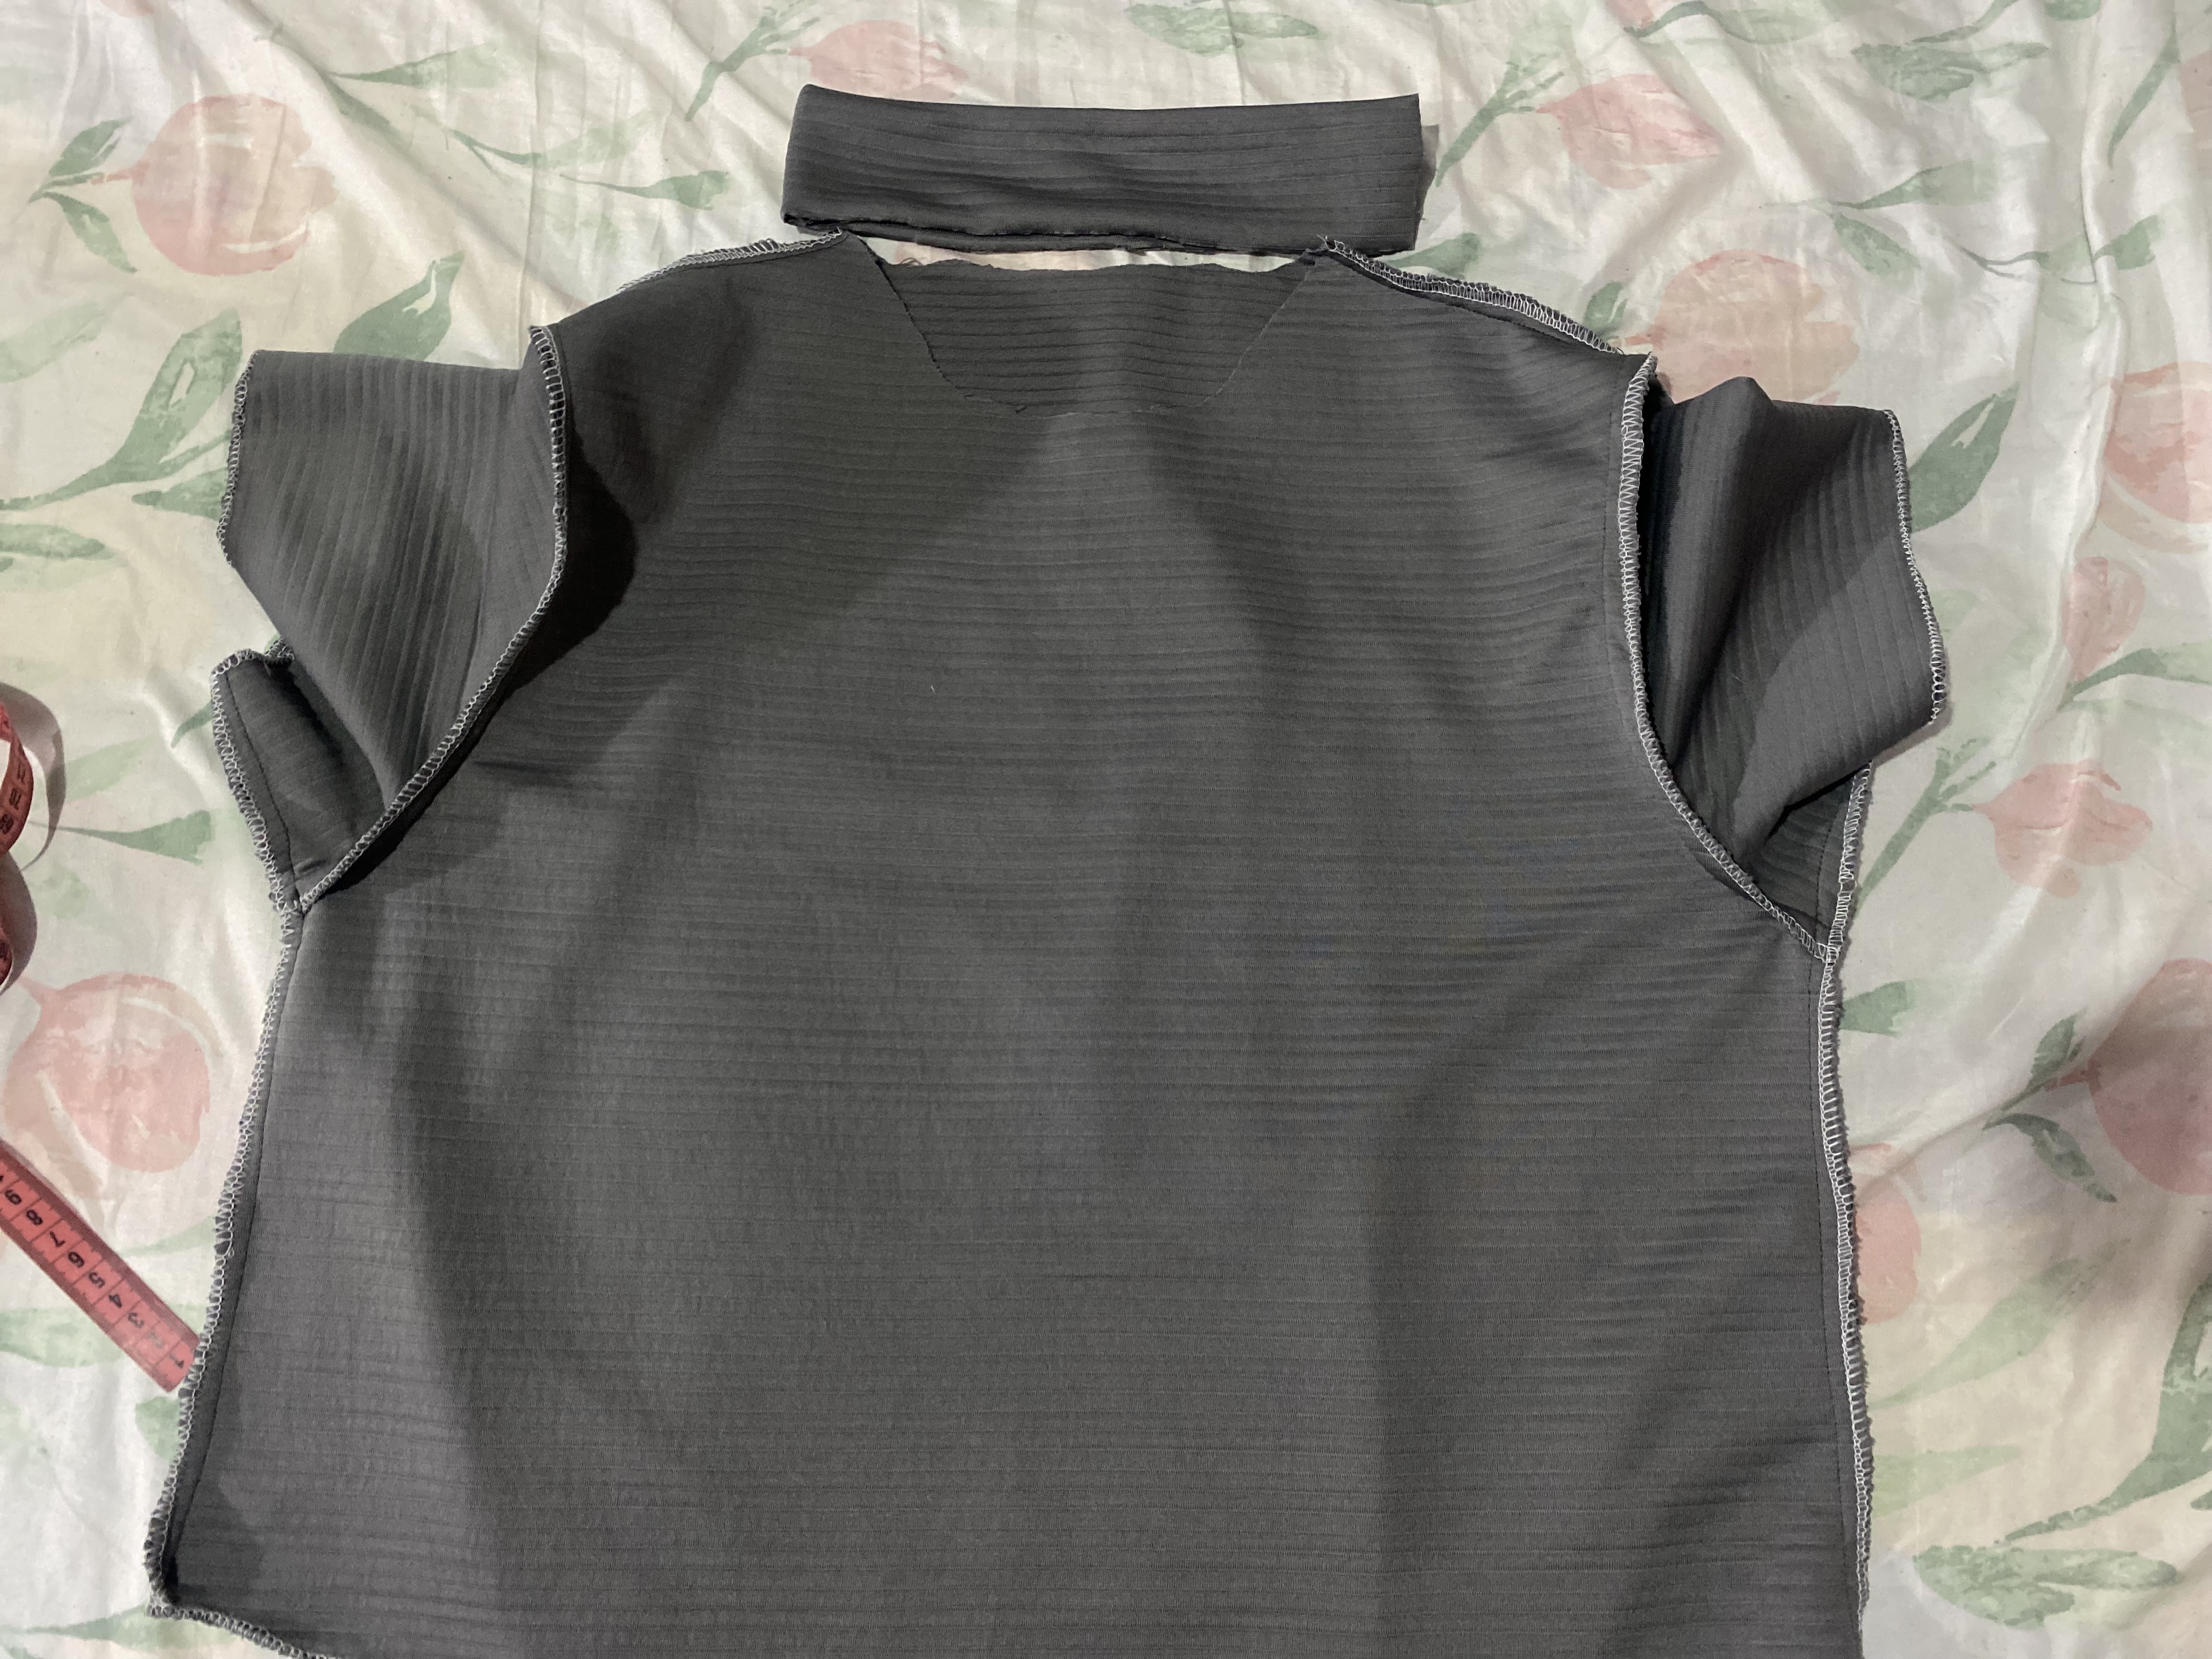
Al tenerla armada vamos a doblar a la mitad y le vamos a medir al contorno del cuello para cortar la tela que falta, aquí le daremos el grosor deseado, en este caso la voy a hacer un poco gruesa, así que la cortaré de 10 cm de ancha, el contorno del cuello mide 56 cm así que cortaré la tela de aproximadamente 53 cm se le reducen algunos centímetros para poder darle un poco de estiramiento al cuello, no es mucho lo que se le da.
For this next step we are going to sew the seams for our blouse, we will start by joining the shoulders, then we will join the sleeves, and we continue joining along the sides, this fabric tends to fray so I passed Overlook along the entire edge of the sleeves and the hem, then I made a small hem with a straight seam.
Once we have it assembled we are going to fold it in half and we are going to measure the neckline to cut the missing fabric, here we will give it the desired thickness, in this case I am going to make it a little thick, so I will cut it 10 cm wide, the neckline measures 56 cm so I will cut the fabric approximately 53 cm, I will reduce a few centimeters to be able to give the neck a little stretch, it is not much what is given.
 |  |
|---|---|
 |  |
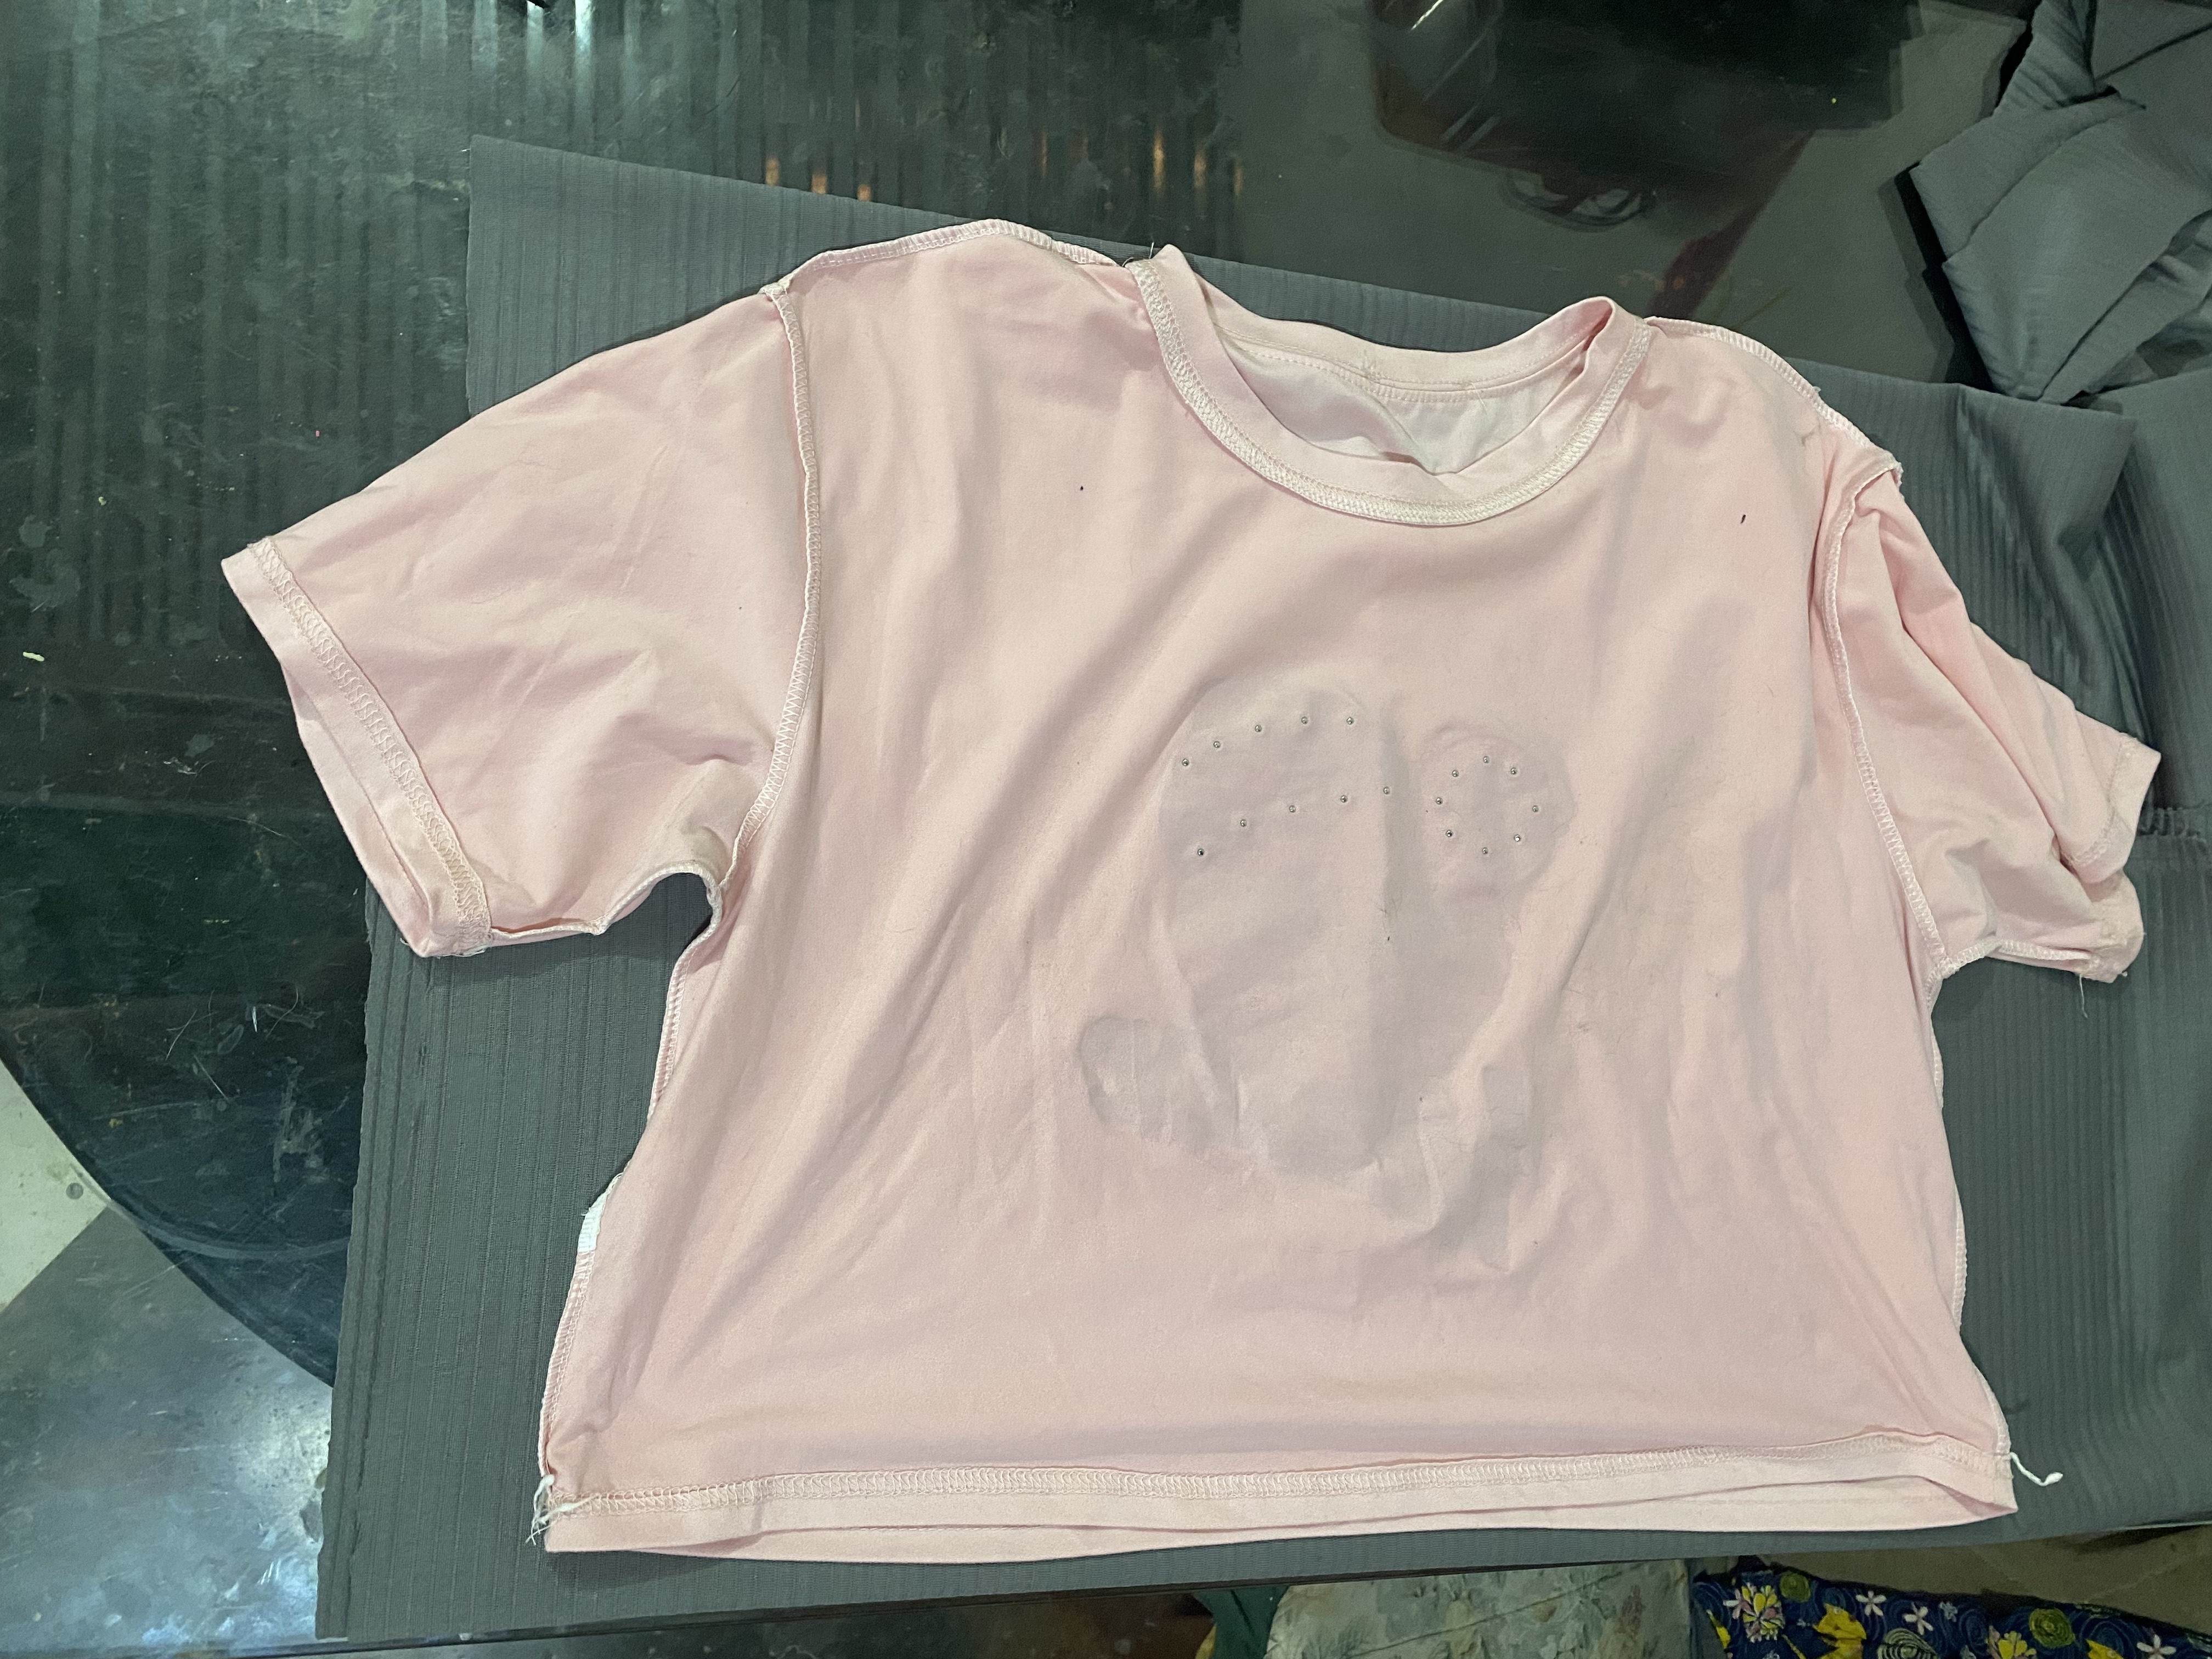
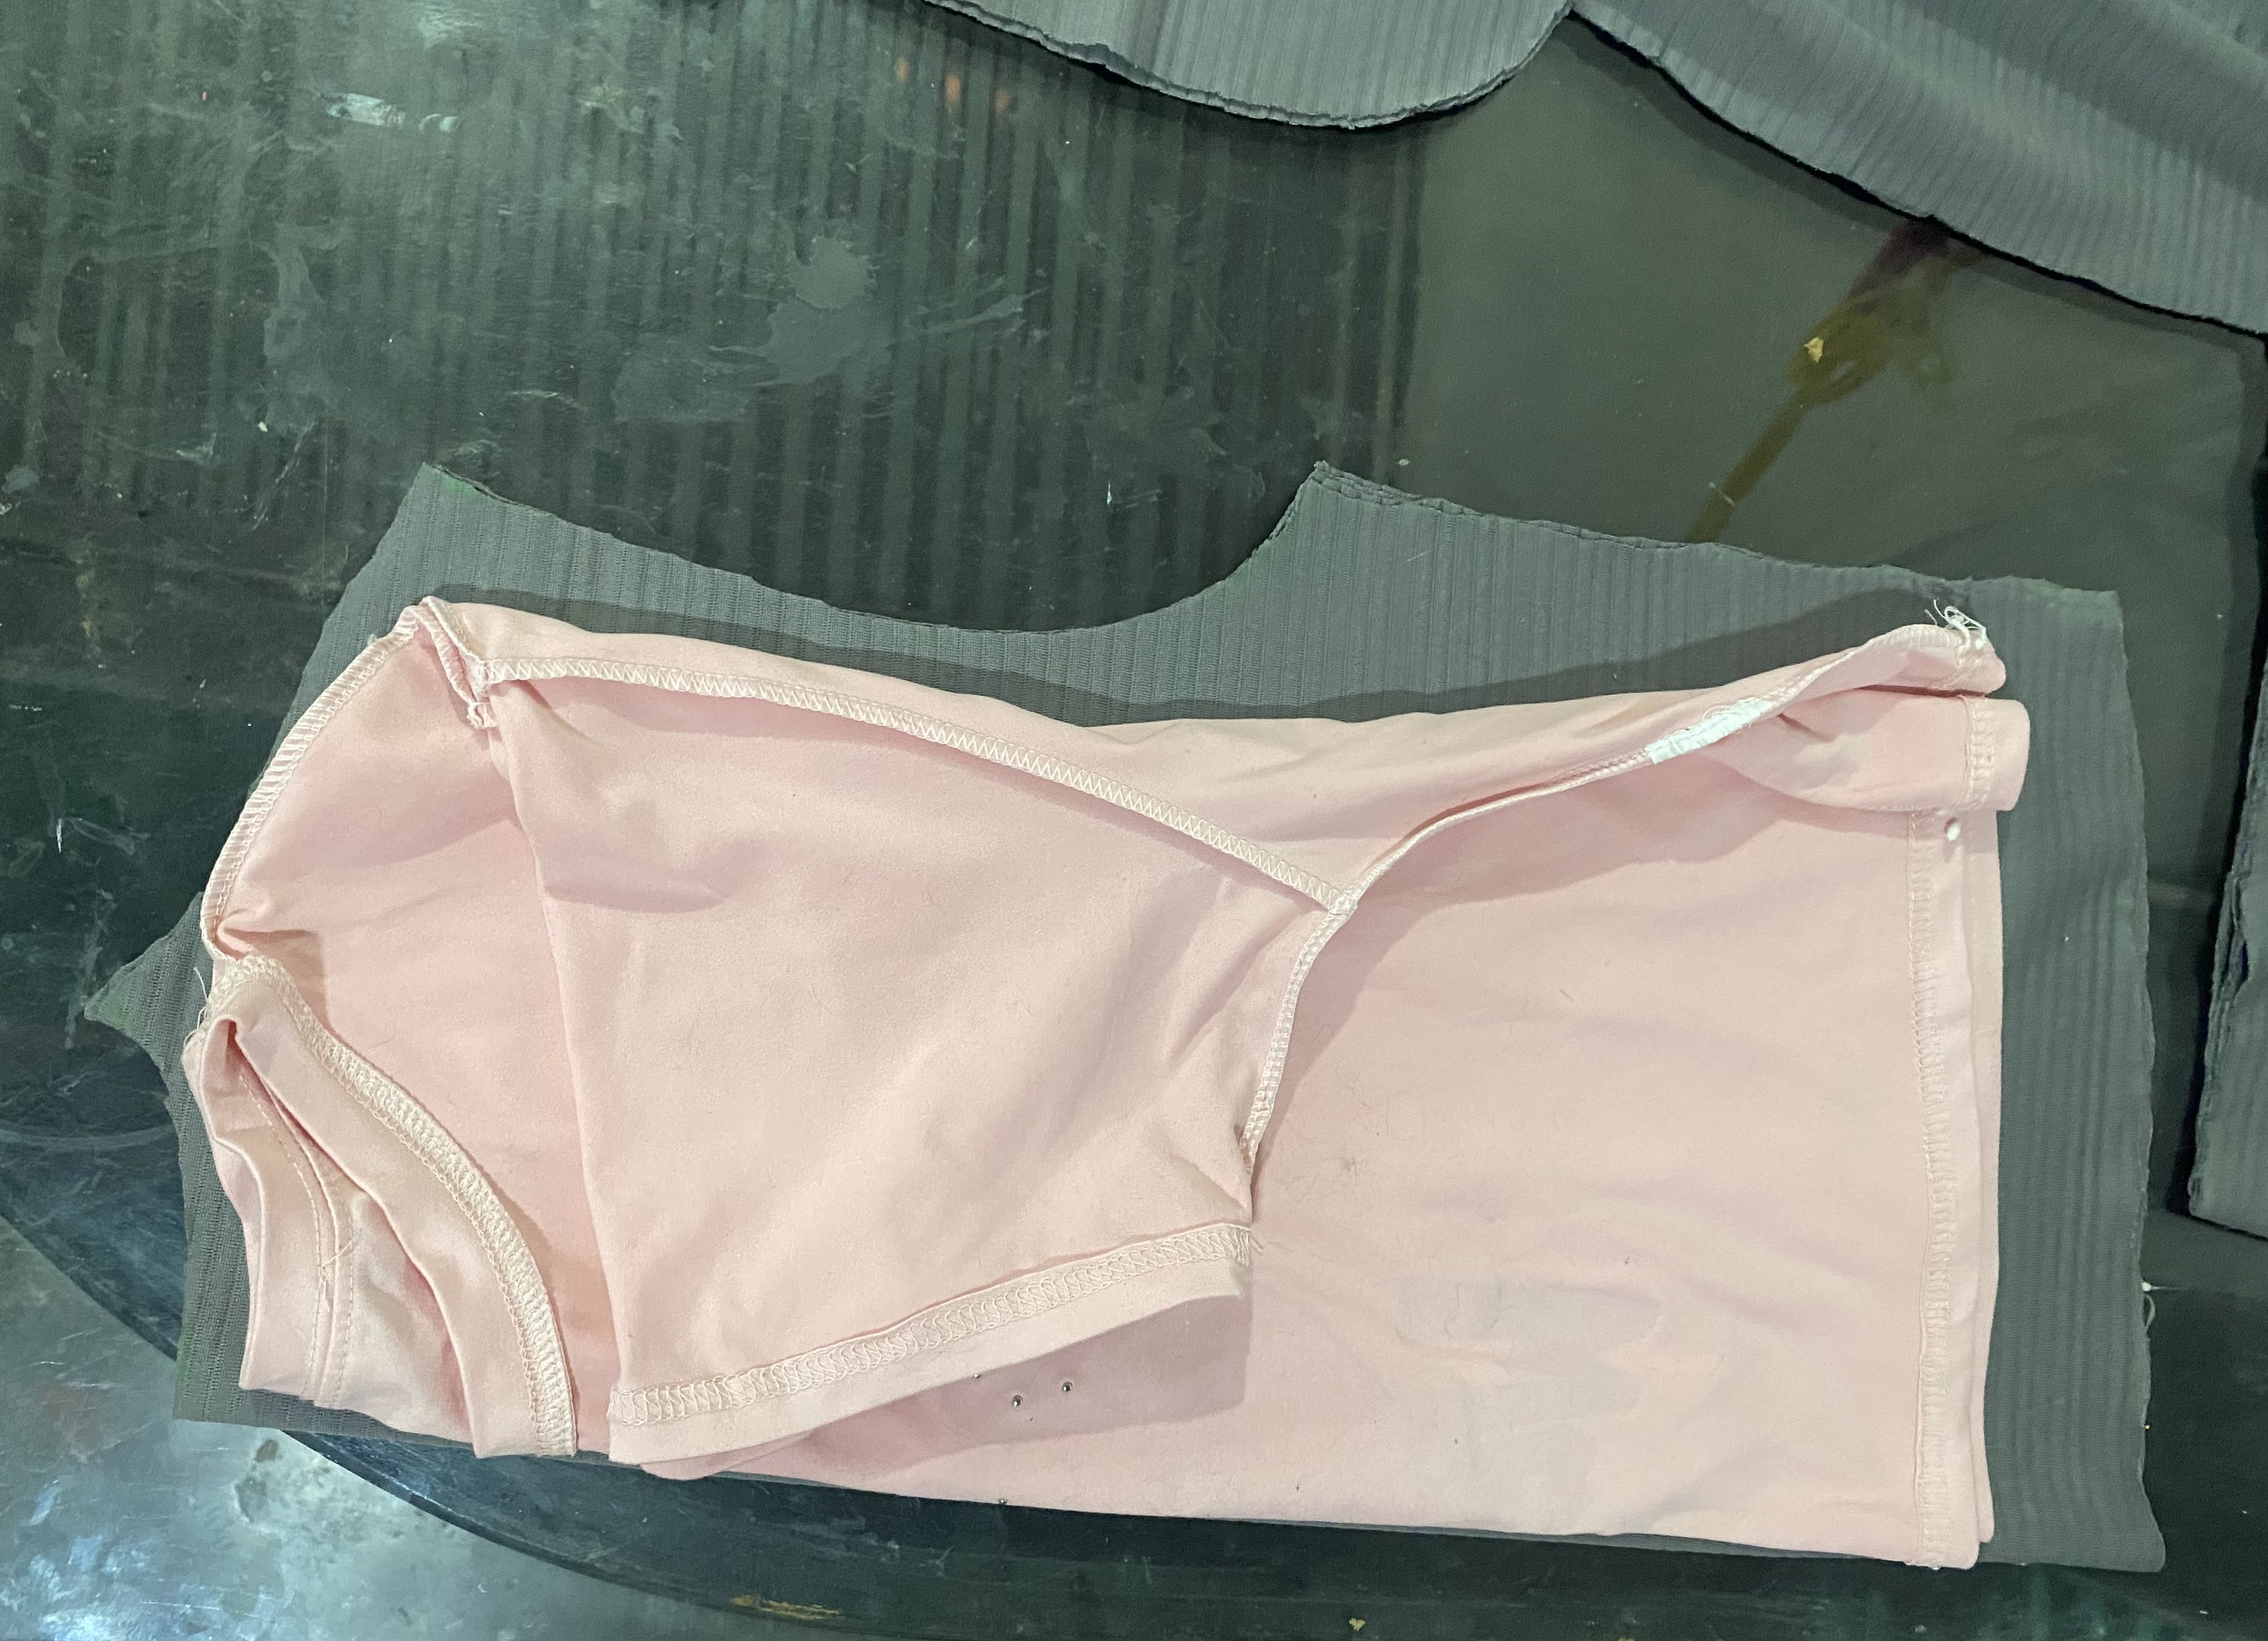
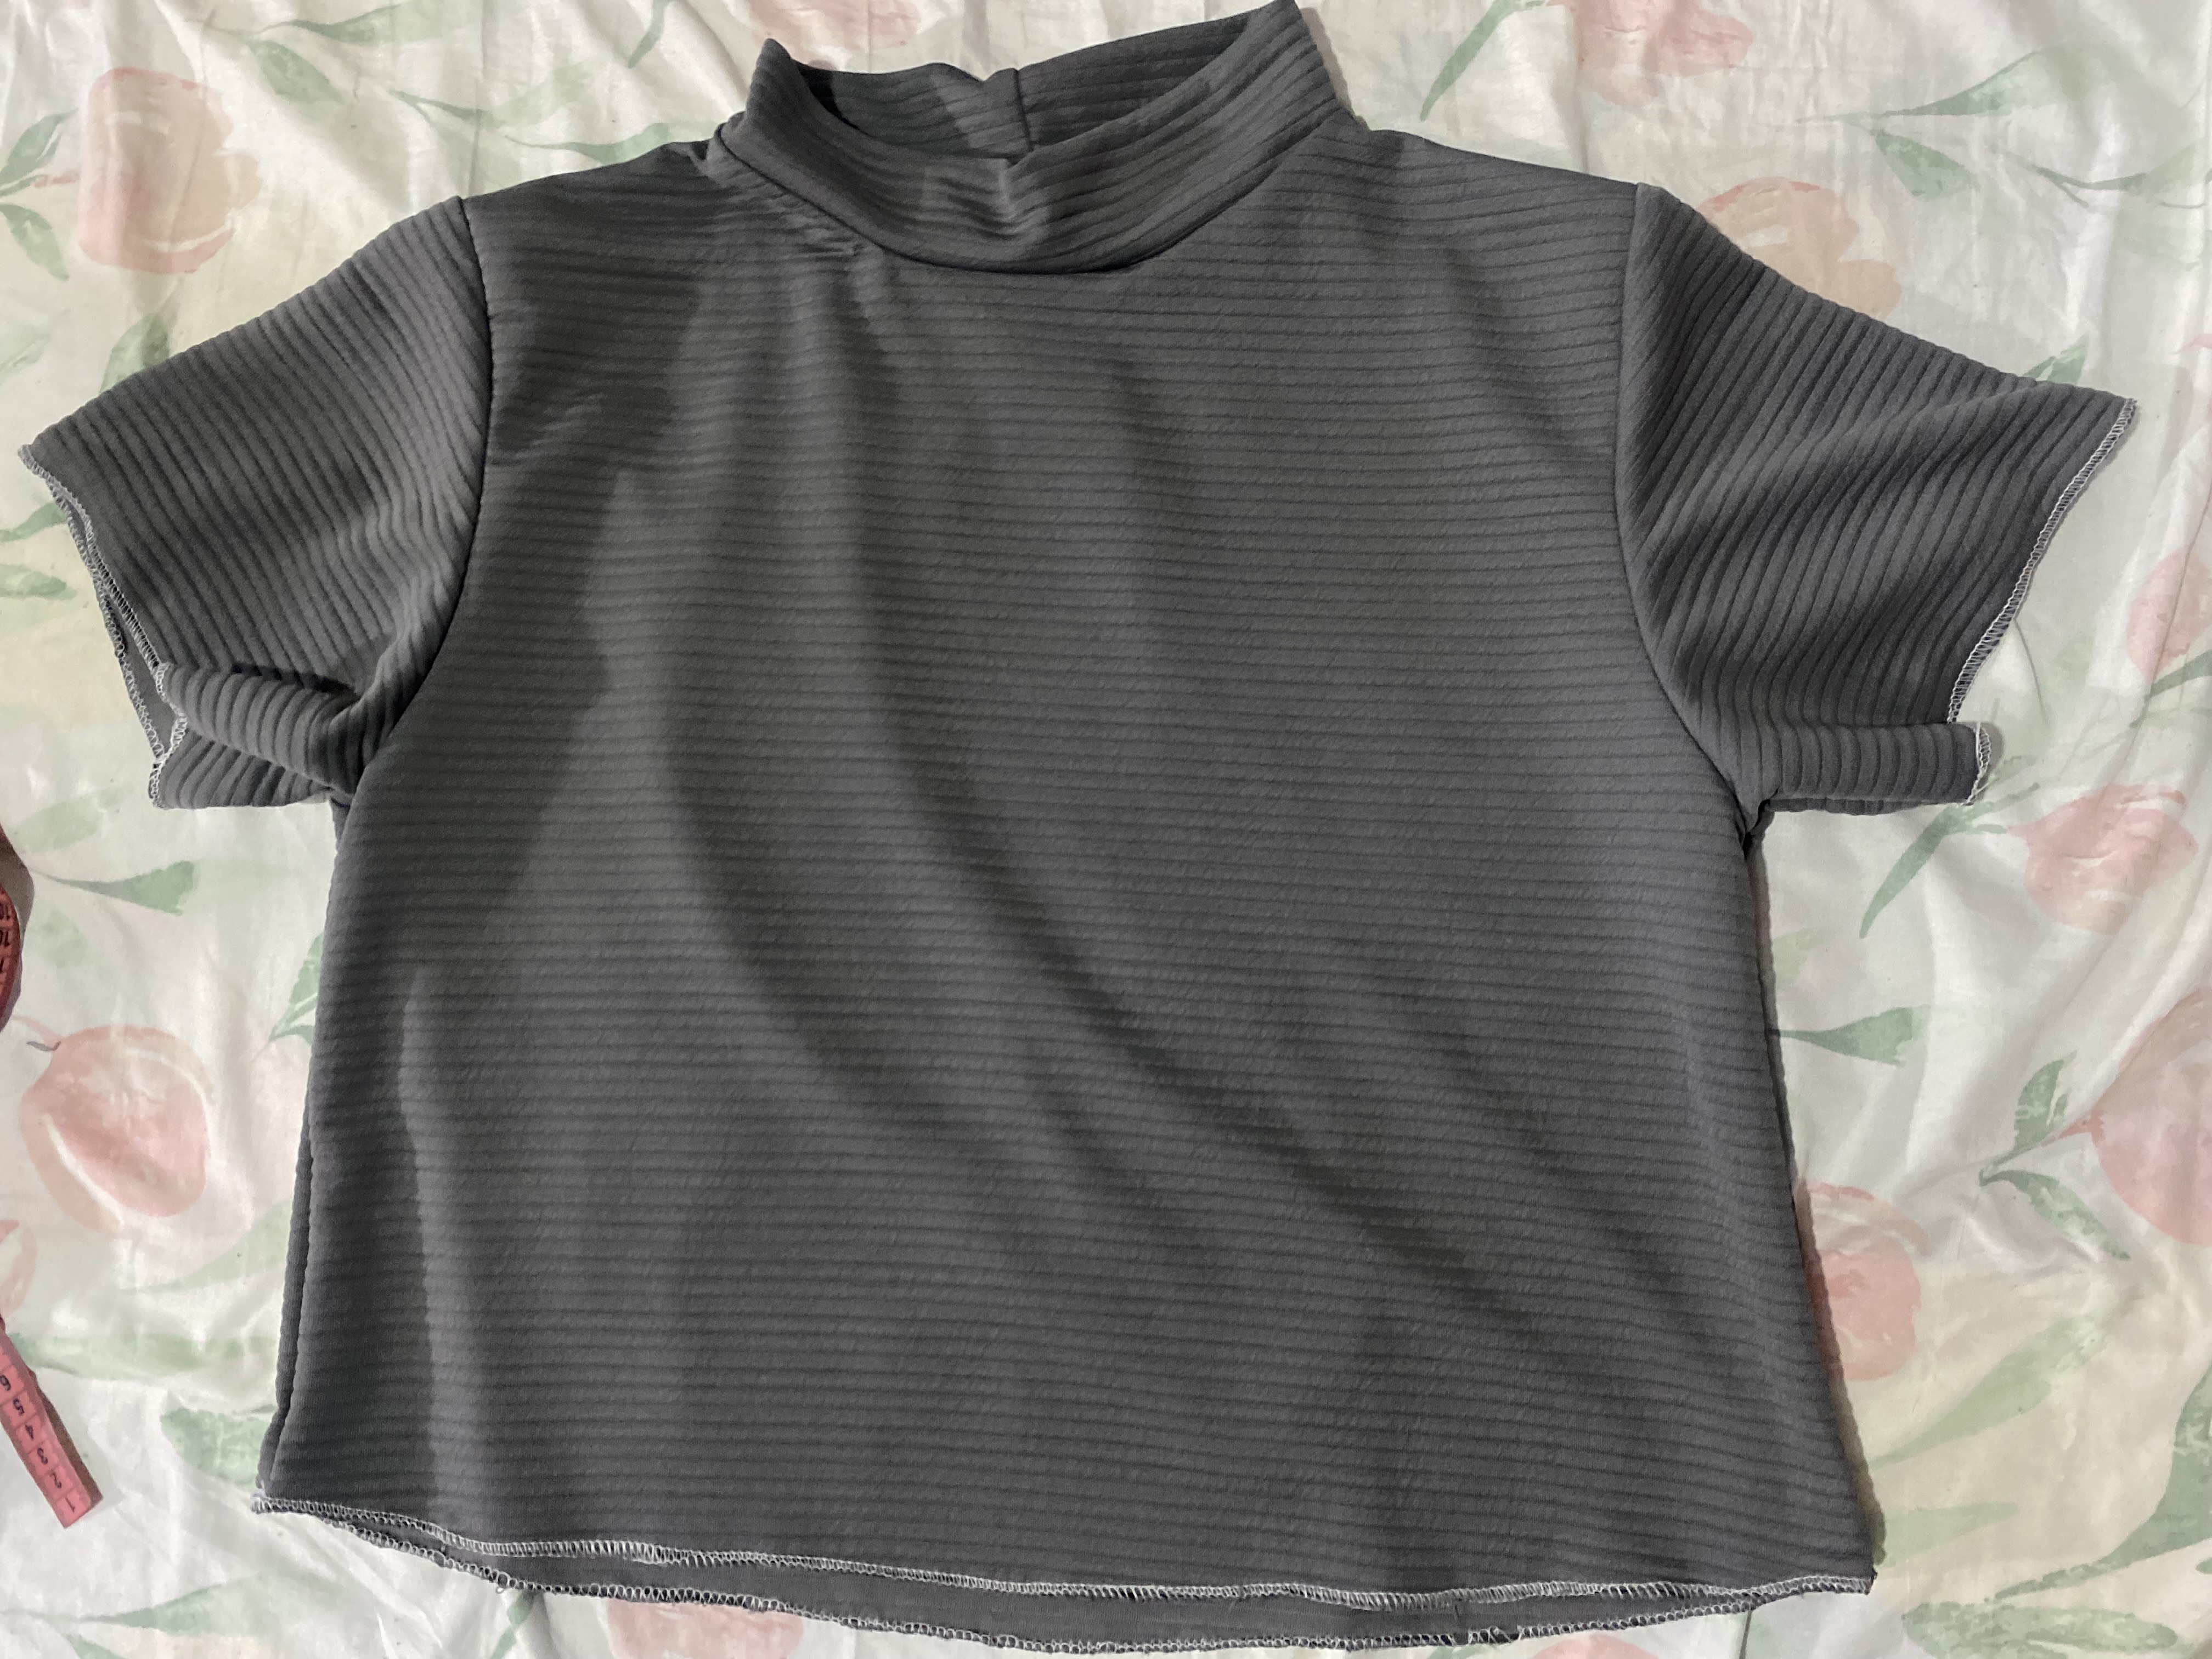
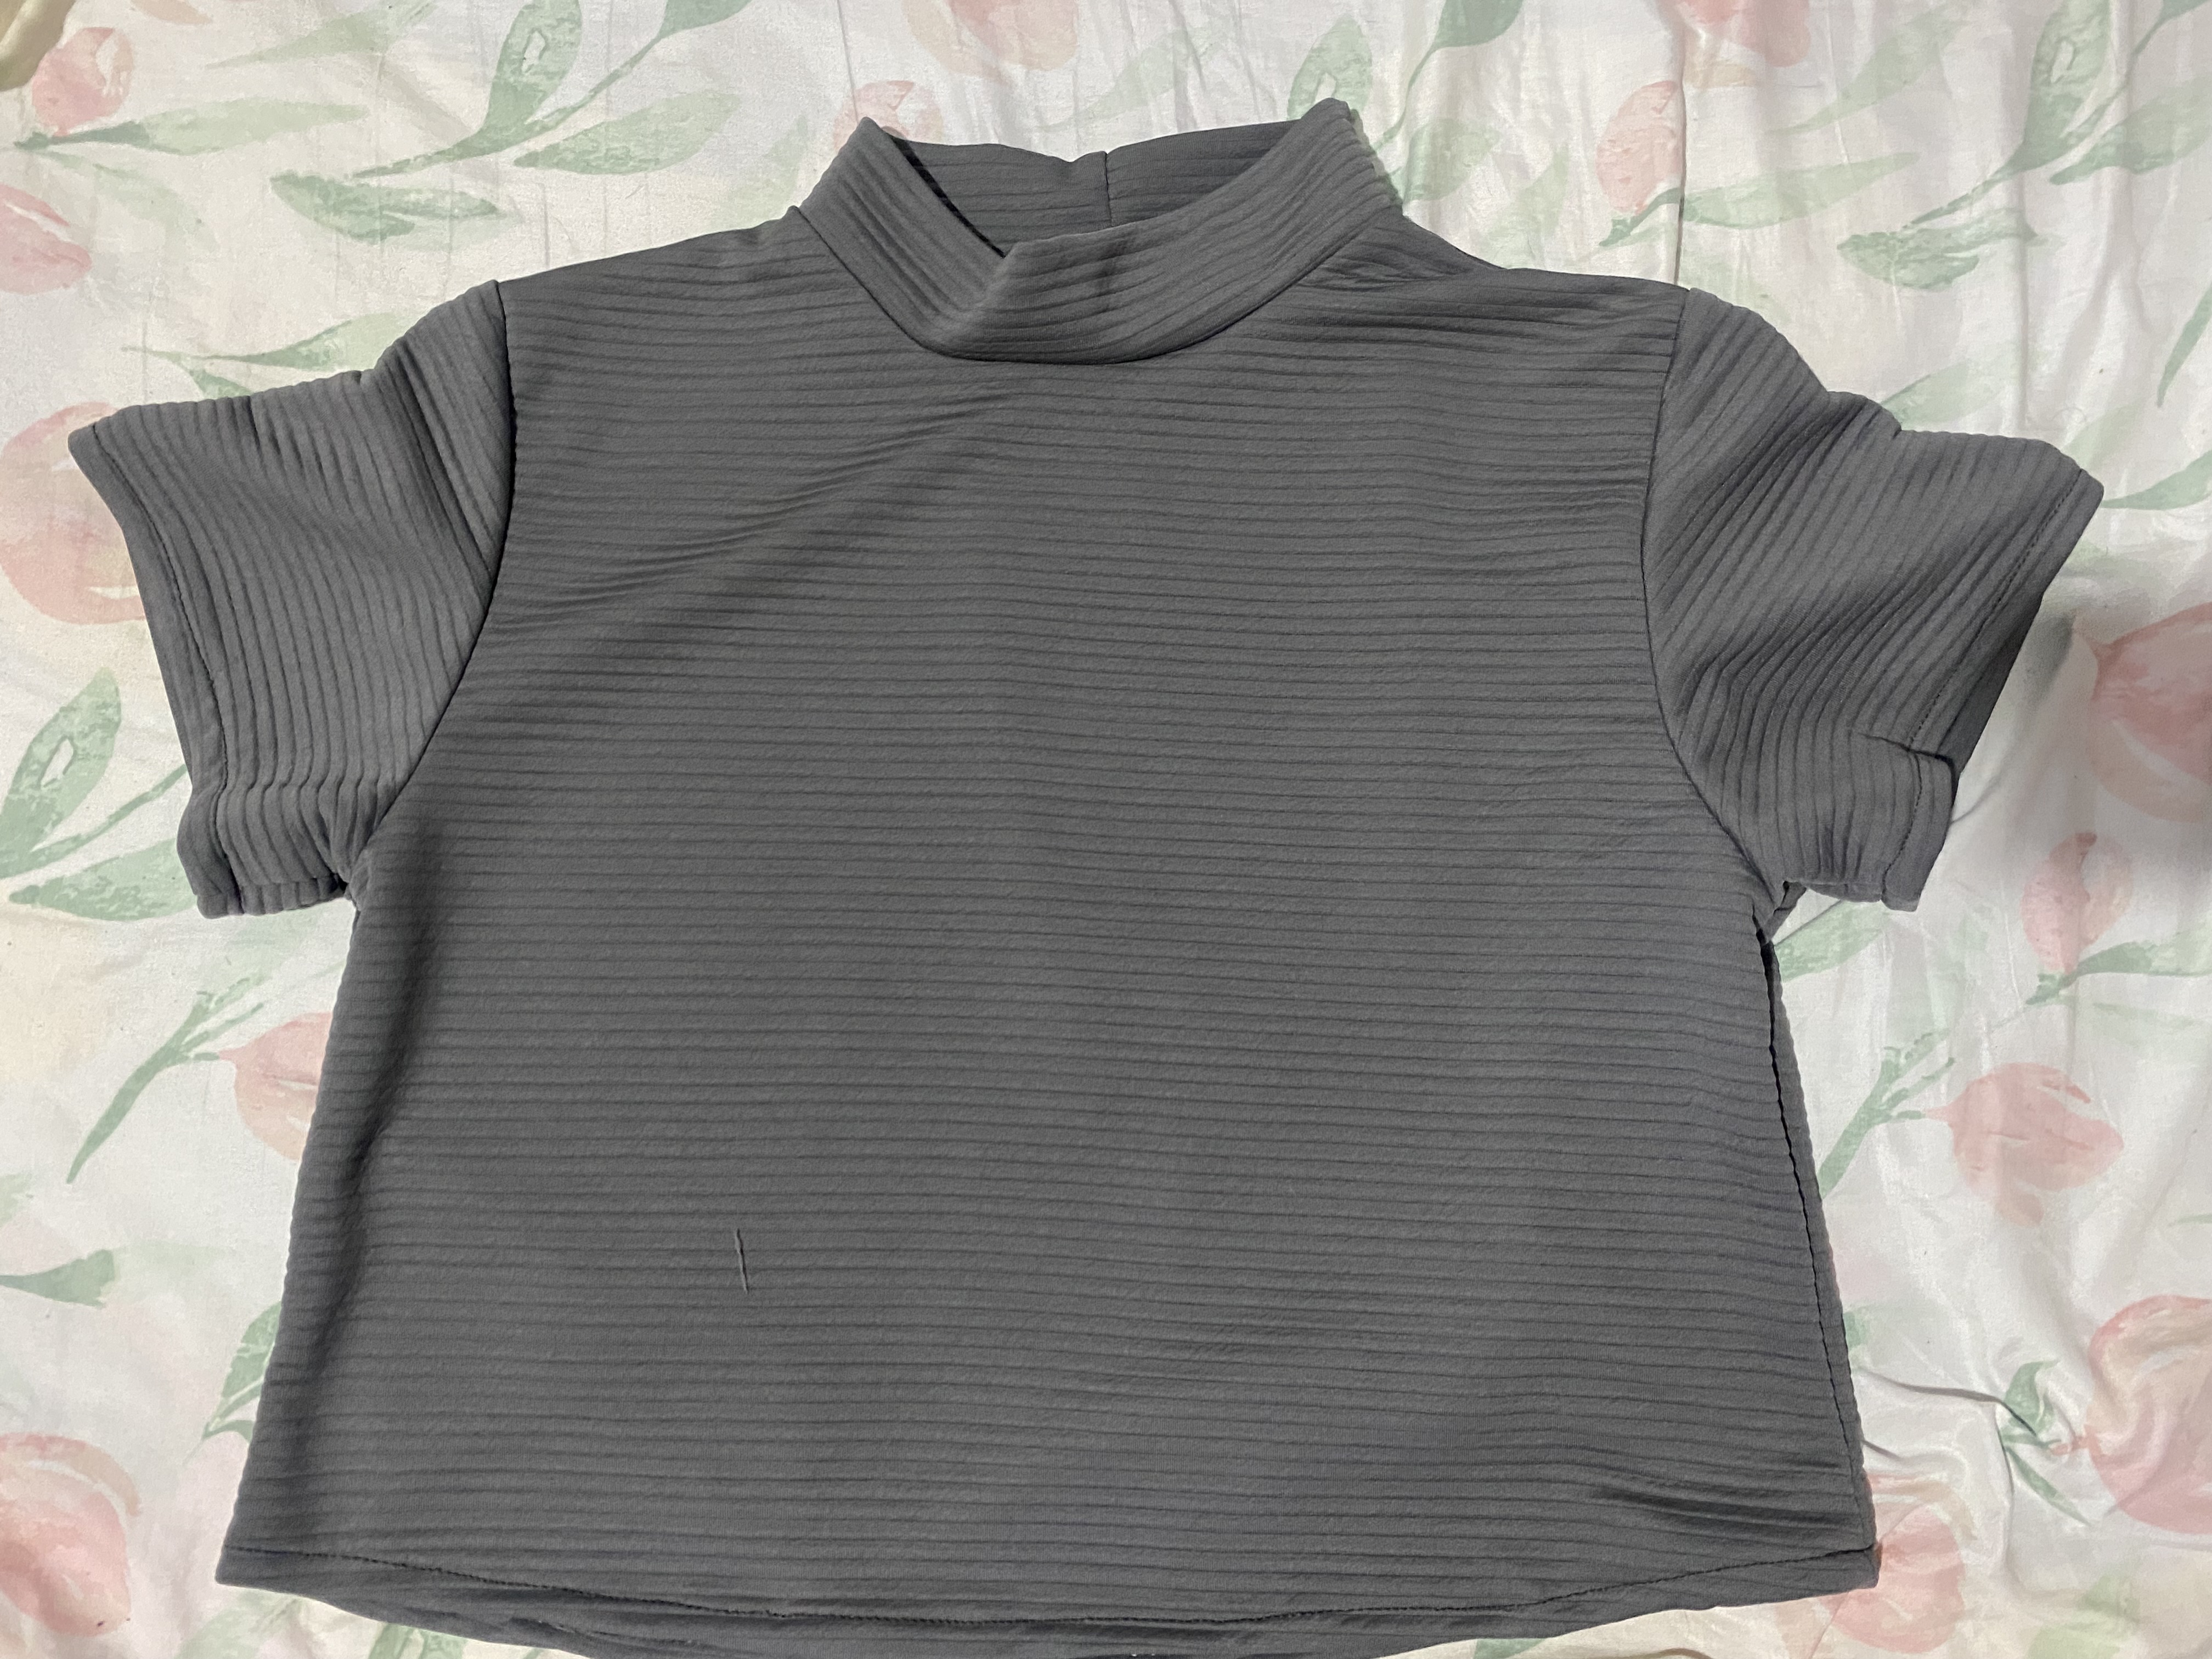
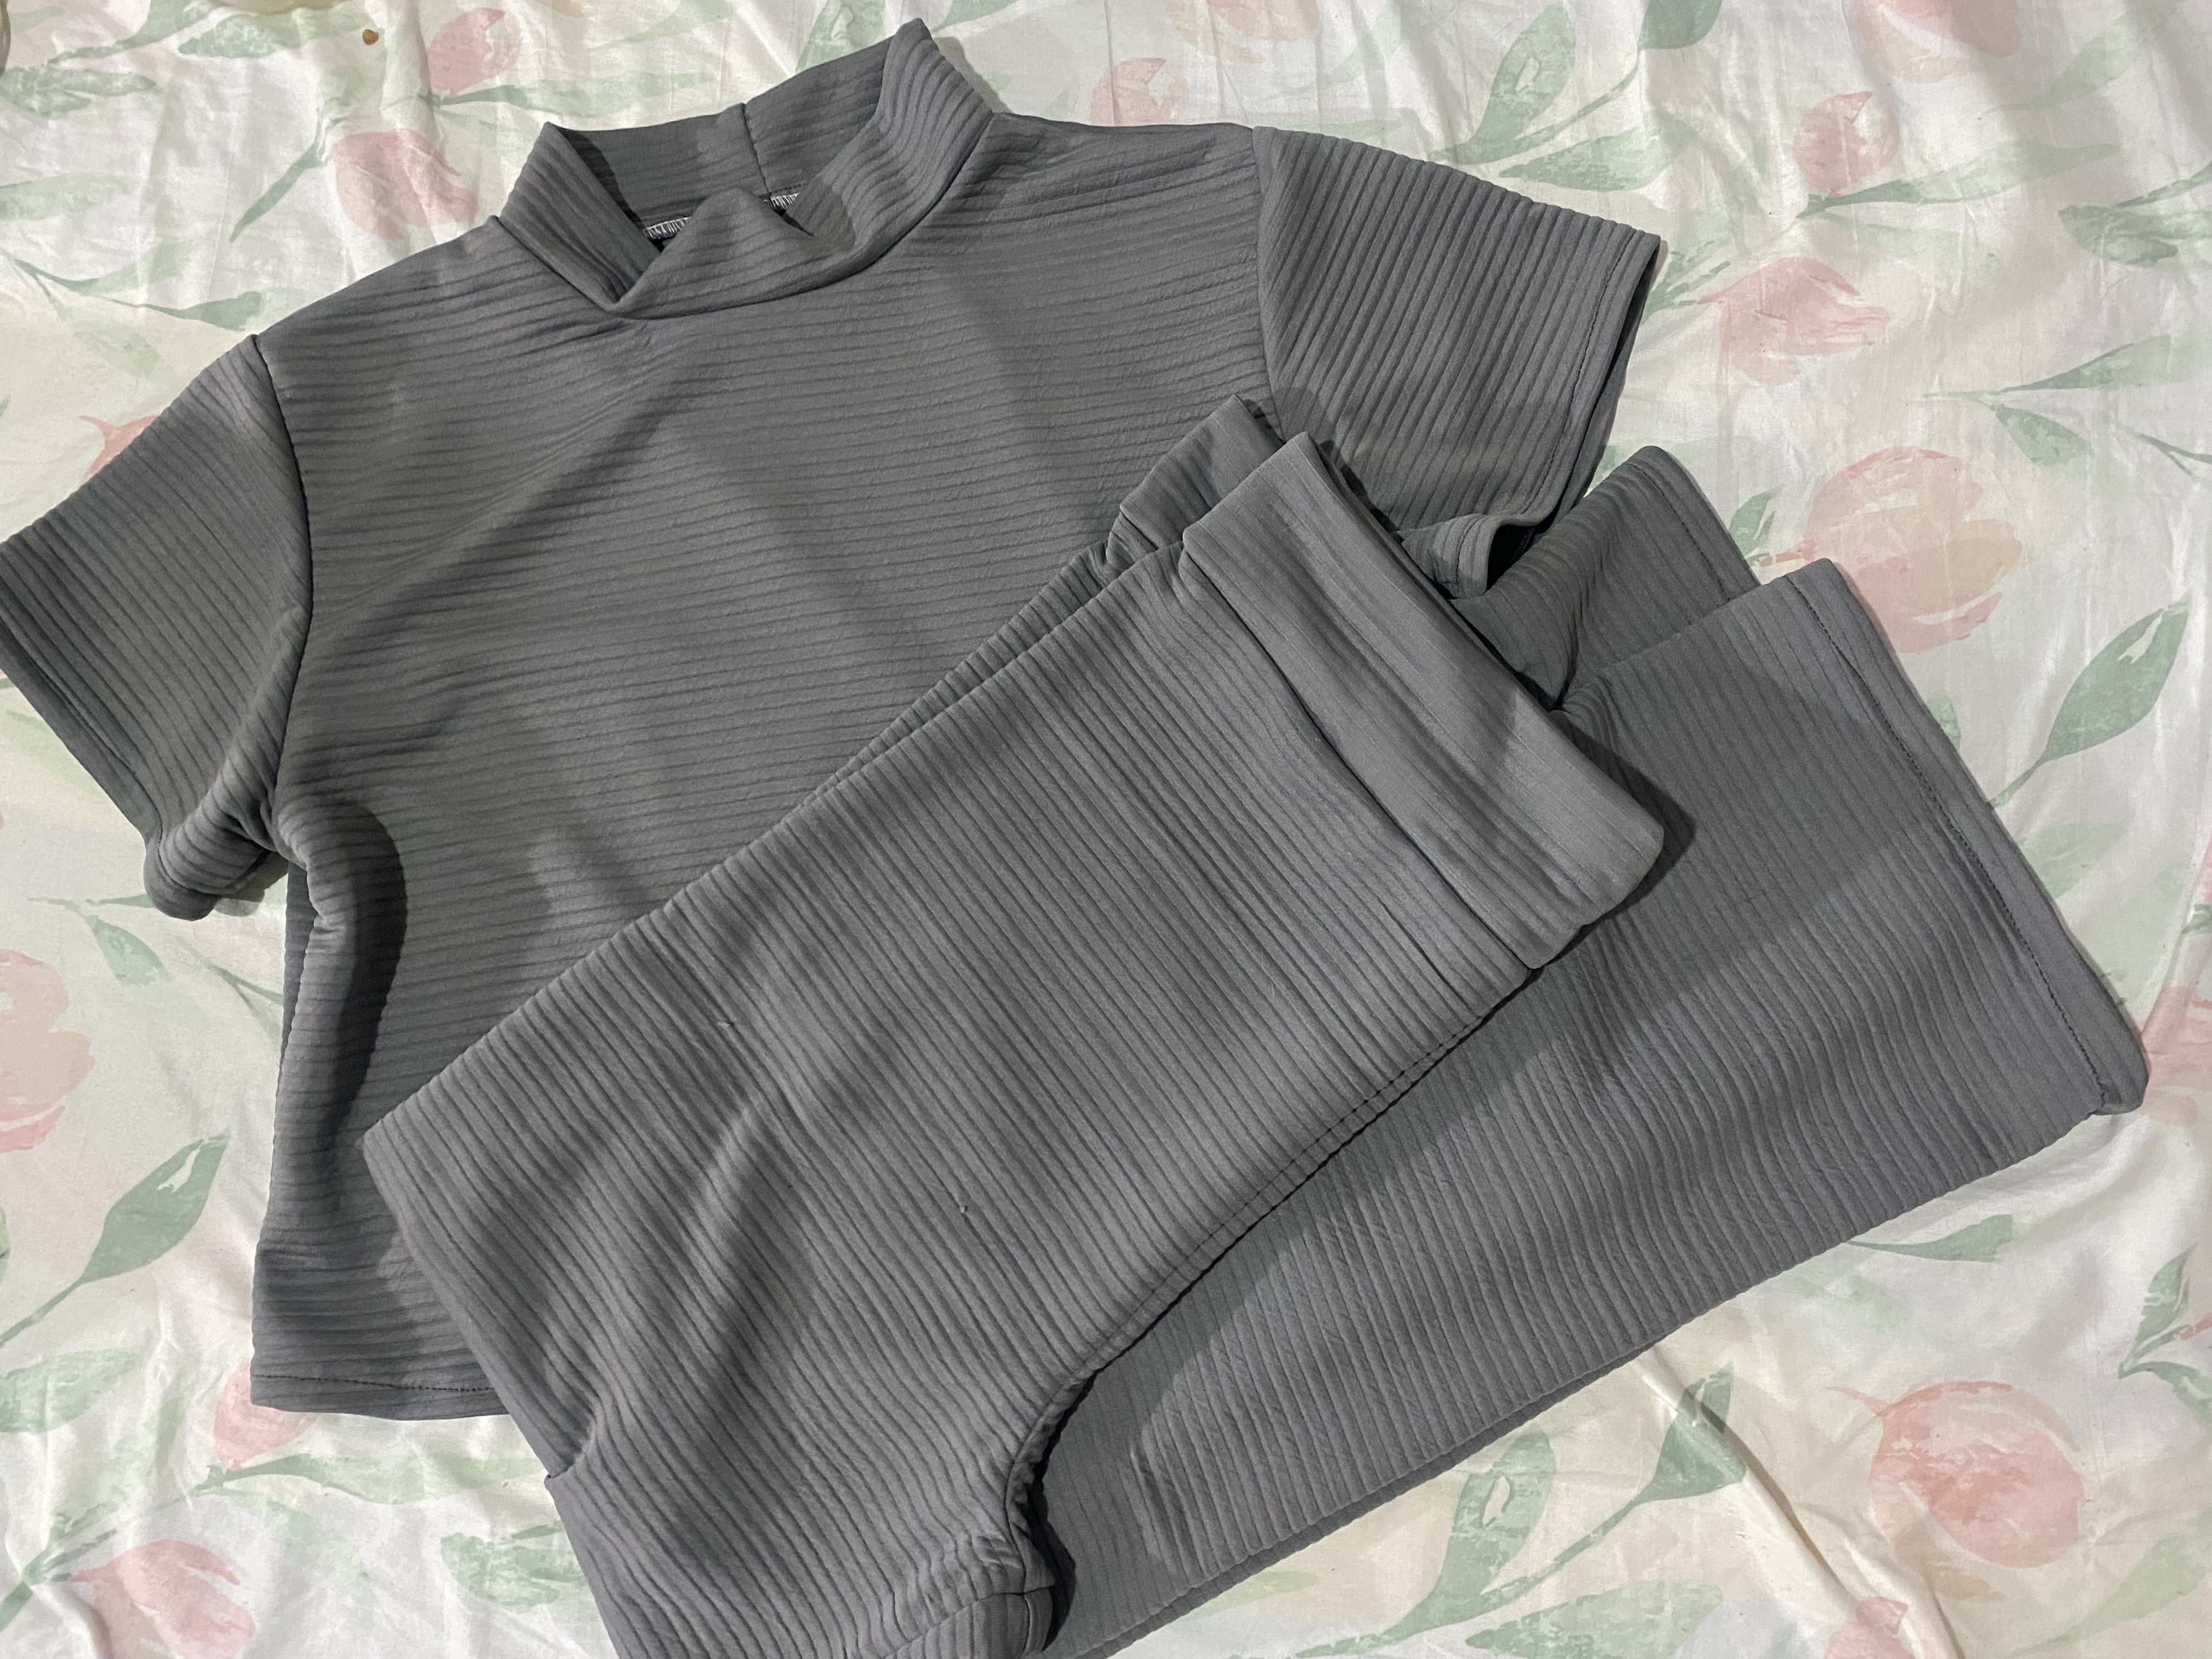
Luego de Cortar la tela del cuello la uní con costura a la blusa, le pasé ruedo y ya con esto finalicé el conjunto, aquí les muestro el resultado, espero les guste, el resultado en lo personal me encantó la forma de los canales quedó al contrario pero se ve muy bien, esta era la gran duda que teníamos, por eso es mejor intentarlo y no quedarnos en el pensamiento de si saldrá o no bien.
After cutting the fabric for the collar, I sewed it to the blouse, hemmed it and finished the outfit. Here I show you the result. I hope you like it. Personally, I loved the result; the shape of the channels was the opposite, but it looks really good. This was the big doubt we had, so it's best to try it and not get stuck thinking about whether it will turn out well or not.
 |  |
|---|
A medida que practicamos la costura se nos van presentando diferentes desafíos y es importante no dejarnos dominar por el miedo y hacer el esfuerzo e intento en lograrlo, por supuesto que siento miedo pero como dice mi mamá, “echando a perder se aprende”, ja ja, si llegaste hasta aquí estoy muy agradecida de qué hayas visitado en mi Publicación, hasta otra oportunidad
As we practice sewing, we are presented with different challenges and it is important not to let ourselves be dominated by fear and to make the effort and try to achieve it, of course I feel afraid but as my mother says, "you learn by messing things up", ha ha, if you got this far I am very grateful that you have visited my Post, until another opportunity
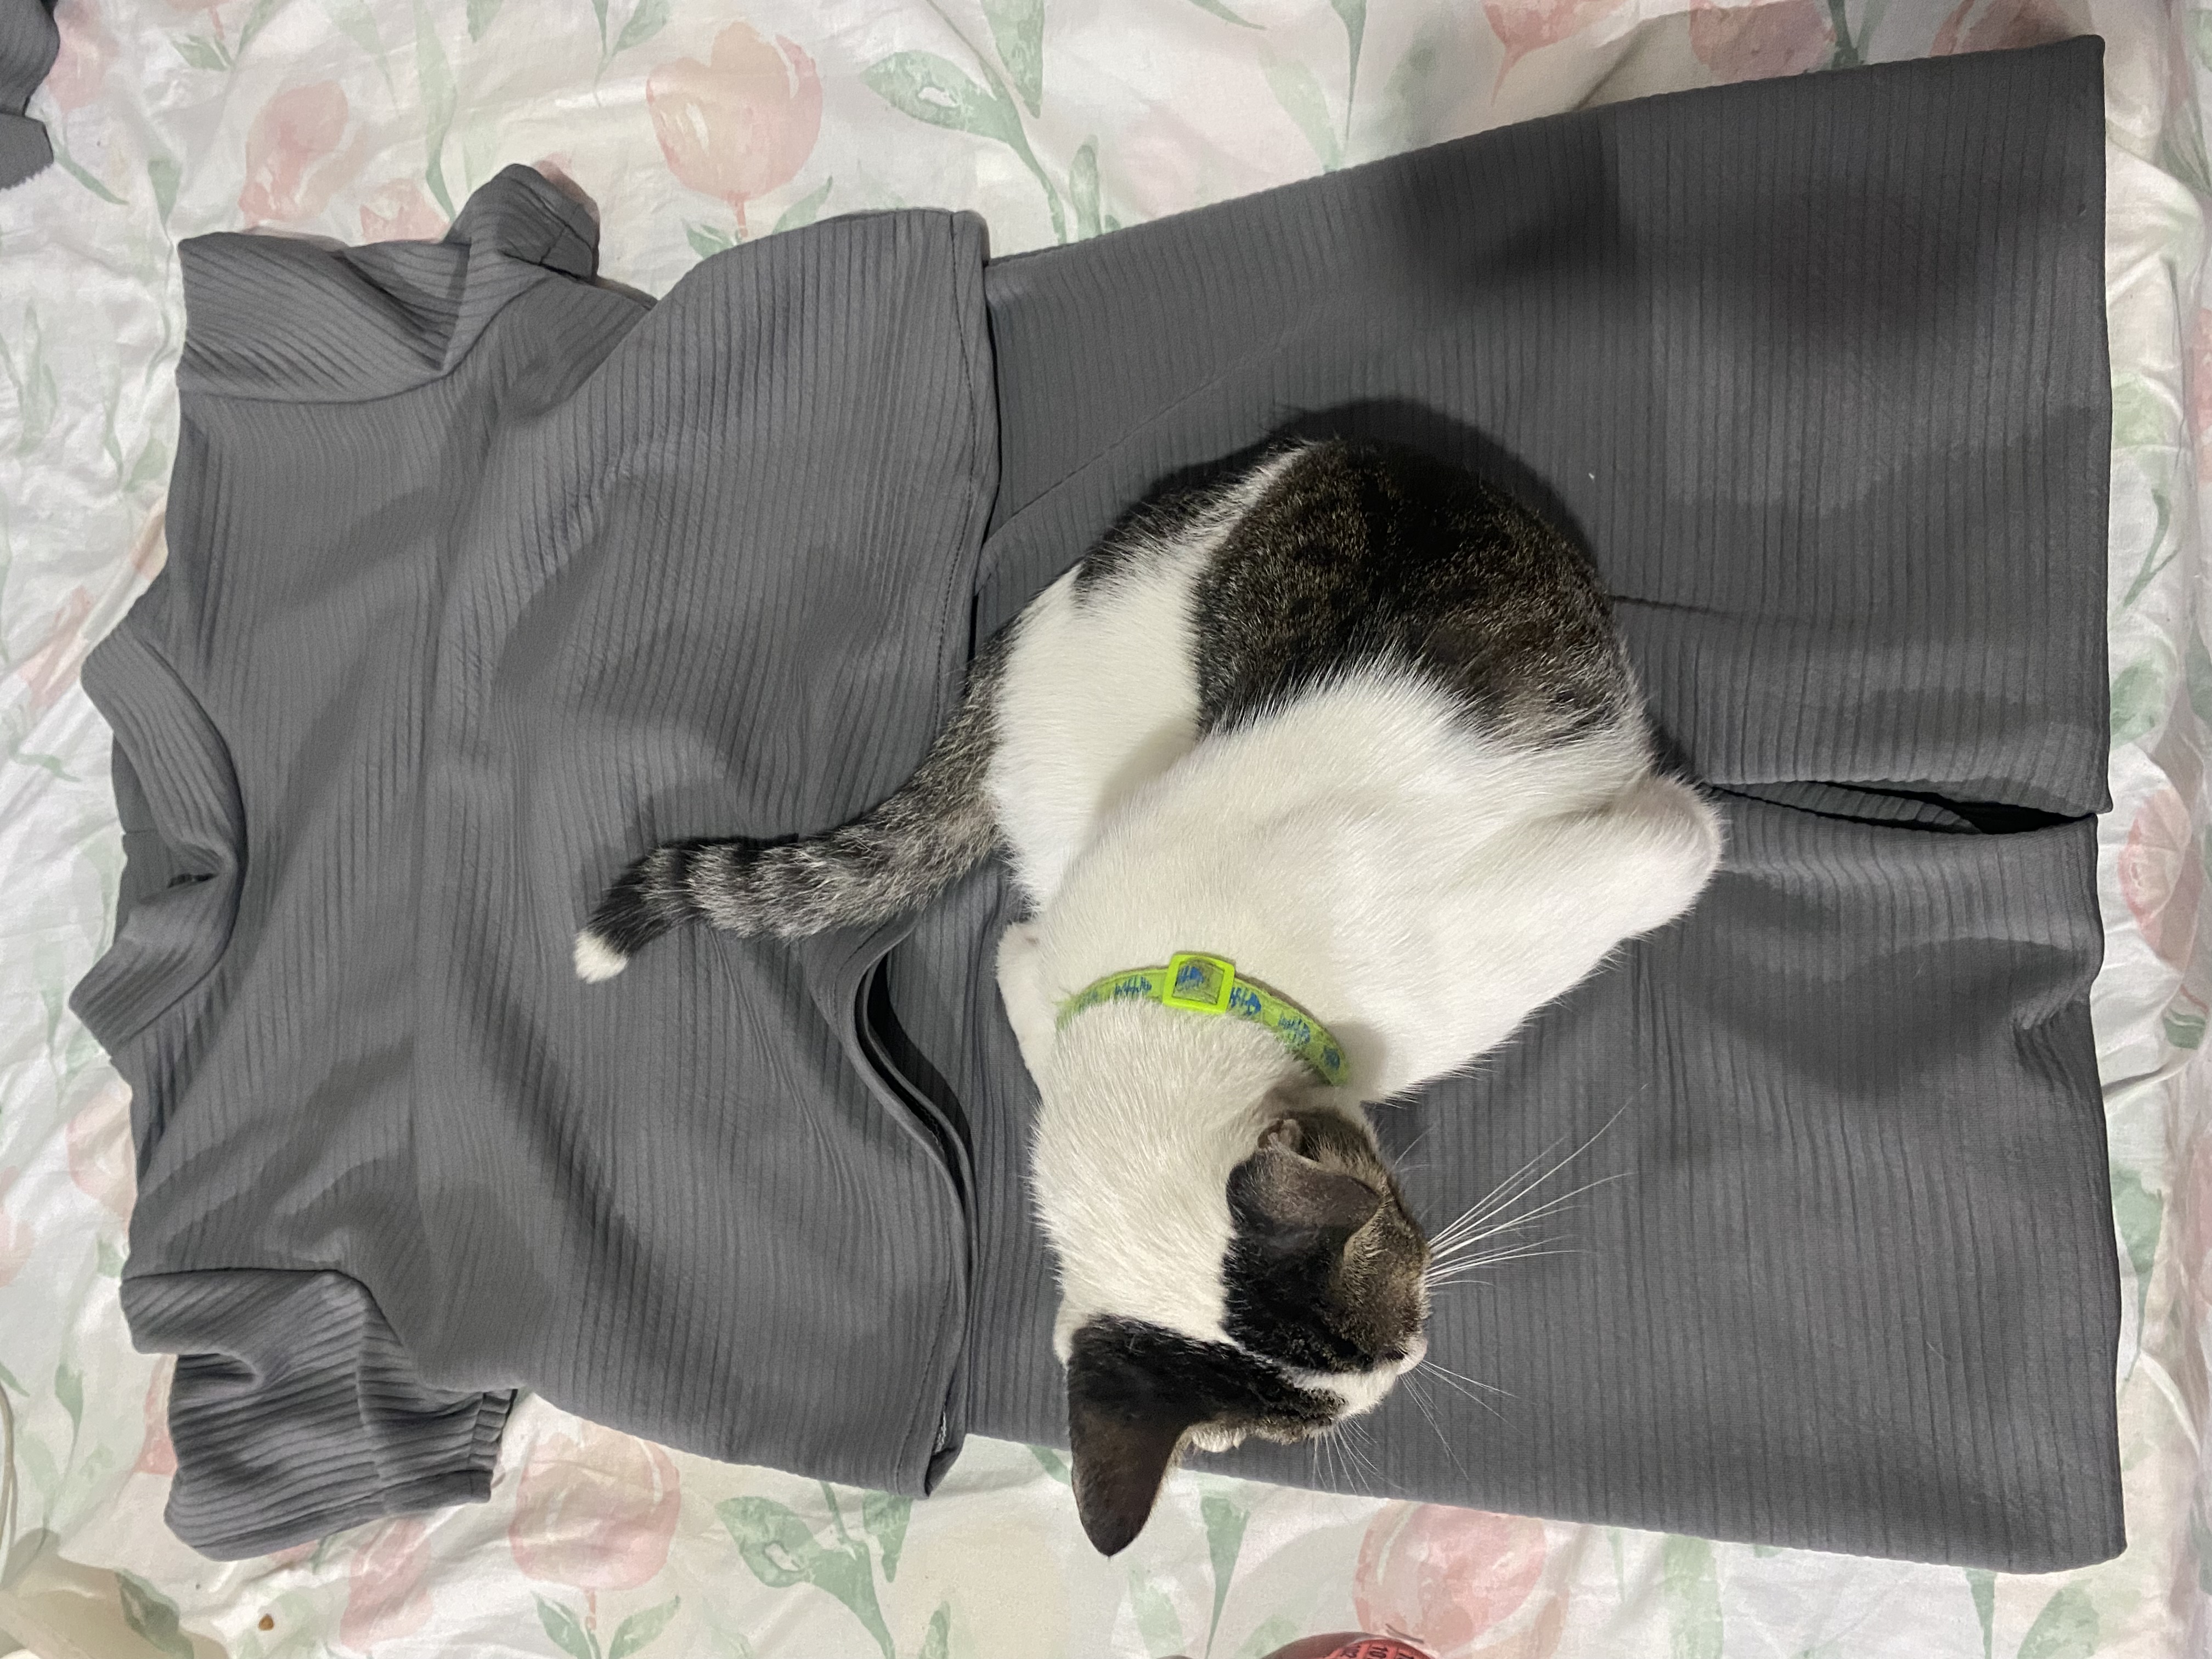 este gatito se adueñó de mi conjunto y no me dejaba tomar las fotografías 🤭😂 / This kitten took over my outfit and wouldn't let me take pictures 🤭😂

las fotos aquí compartidas son de mi propiedad tomadas con mi teléfono iPhone 11, la edición fue en Canva, para la traducción del inglés utilice el traductor de Google
Sending Love and Ecency Curation Vote!
 Please Vote for our New Proposal! 🙏
Sending Love and Ecency Curation Vote!
 Please Vote for our New Proposal! 🙏
¿ᴺᵉᶜᵉˢᶦᵗᵃˢ ᴴᴮᴰ? ᵀᵉ ˡᵒ ᵖʳᵉˢᵗᵃᵐᵒˢ ᶜᵒⁿ
This outfit looks so elegant. It really stands out
Thank you 😊
Quedó lindo amiga, y el gatito aprovechó a robarse la cámara 🥹 jaja saludos
Mi gato cree que lo que hago es para el 😂, gracias por comentar 🥰