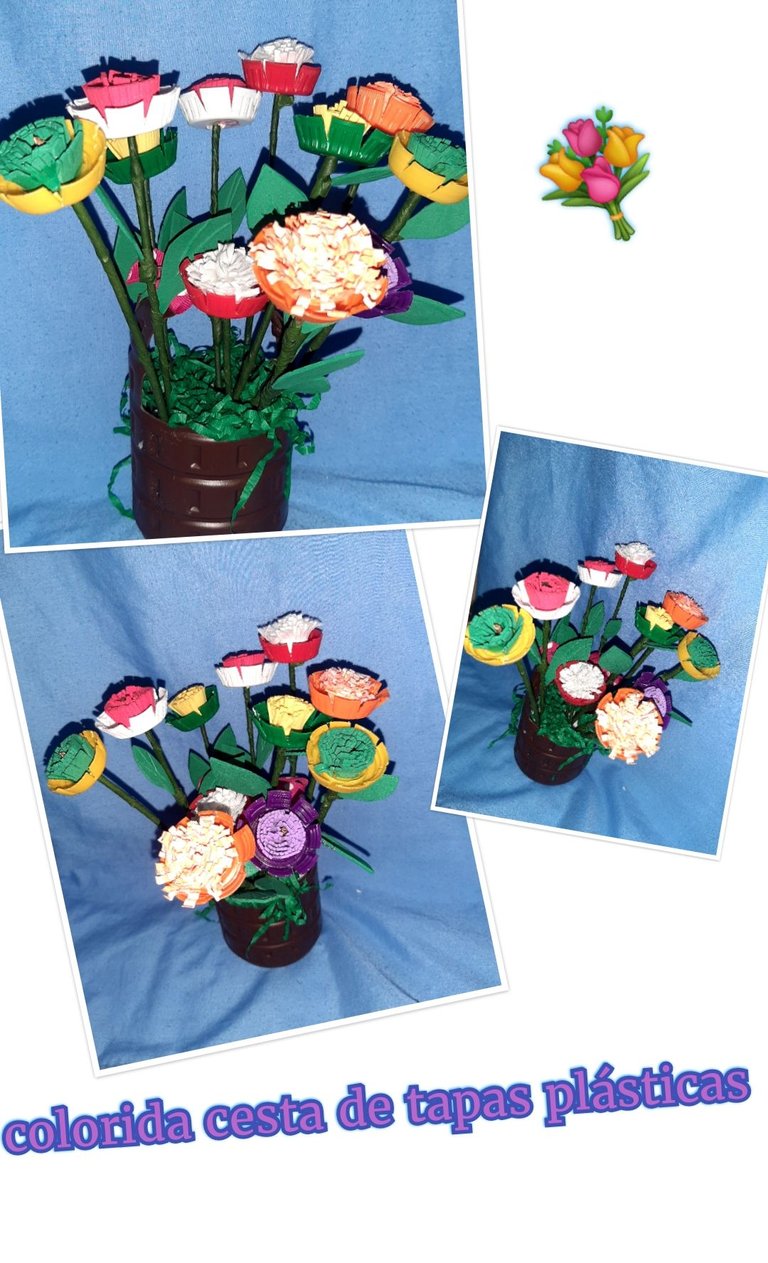
Good evening my dear friends of this beautiful hive today I am going to show you how to make a colorful basket of flowers
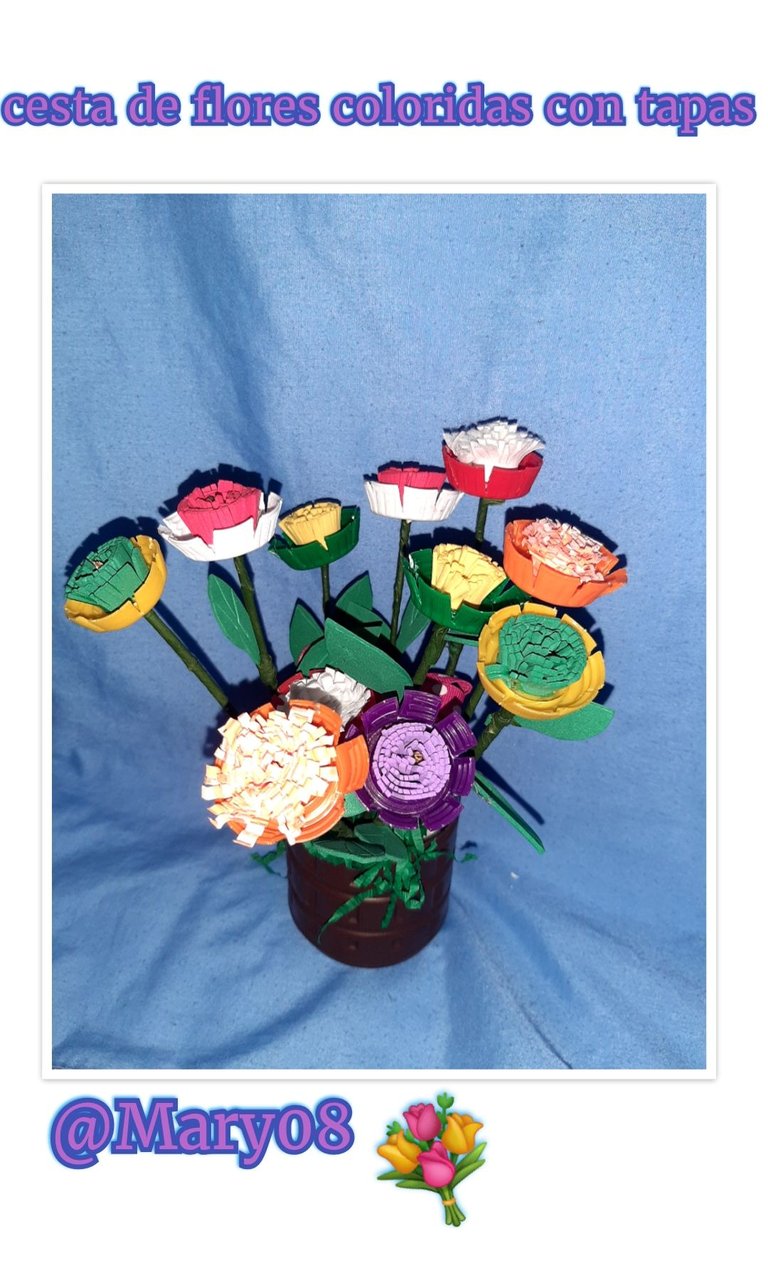
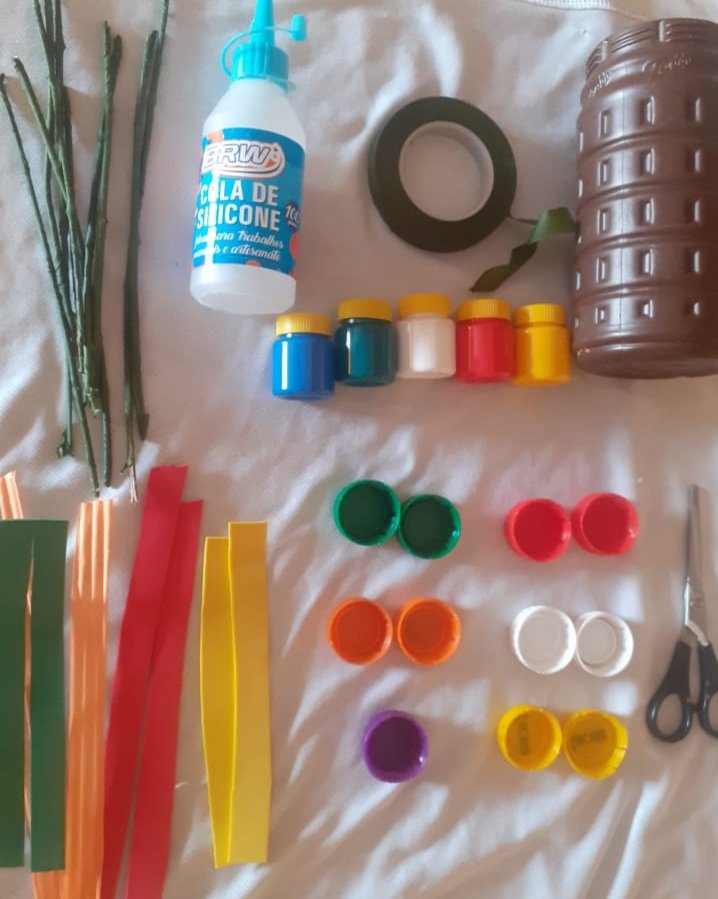
Materiales usados:
tapas de diferente colores
un envece redondo
silicon
tiras de foami de varios colores
tigera
pinturas
cinta encerado
palitos de altura
Materials used:
lids of different colors
a round container
silicon
foami strips of various colors
light weight
paints
waxed tape
height sticks
Primer paso
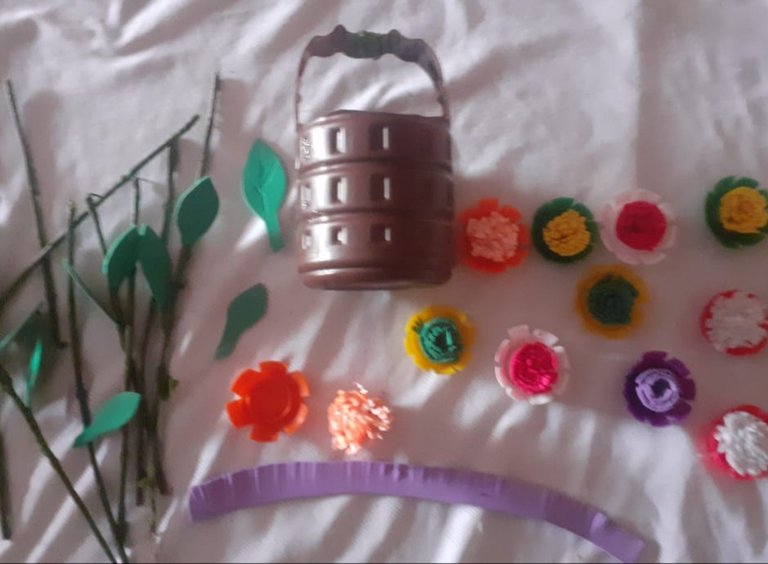
Lavamos y secamos las tapas luego colocándolas con el fondo hacia abajo hacemos corte dejando un un centímetro de distancia entre cada uno quedándonos así de 6-8 cortes según la tapa que utilicemos doblamos hacia abajo haciendo bastante fuerza y estos sería nuestros pétalos seguidamente cortamos tira de foami de diferentes colores de 2 cm por 25 hacemos corte muy pegaditos pero sin llegar a la orilla de modo que esté quede Unido como se ve en la foto. Damos vuelta haciendo rollito bien apretadito y así tenemos nuestro grupo de pistilos los cuales pegaremos en el centro de las tapas combinando colores según sea nuestra preferencia.
Seguidamente marcamos y cortamos hojas de foami de distintos tamaños la unimos a los palitos de altura intercalándolas y forrando las con papel encerado verde también podemos usar papel crepé
We wash and dry the lids then placing them with the bottom down we make a cut leaving a centimeter distance between each one leaving us 6-8 cuts depending on the lid we use, we fold down making enough force and these would be our petals then we cut a strip of foami of different colors of 2 cm by 25 cm we make a very tight cut but without reaching the edge so that it is united as seen in the photo. We turn around making a tight roll and thus we have our group of pistils which we will glue in the center of the lids combining colors according to our preference.
Then we mark and cut sheets of foami of different sizes and attach them to the sticks, intercalating them and lining them with green waxed paper, we can also use crepe paper.
Segundo paso
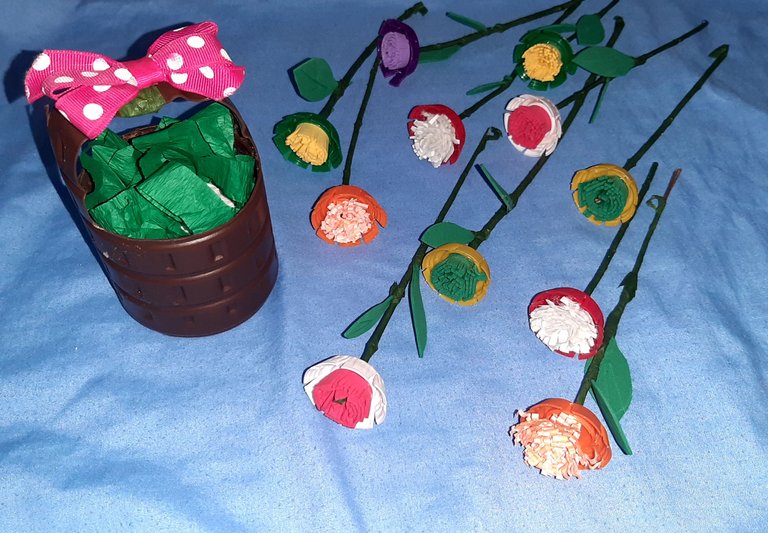
Continuamos haciendo una perforación con un alambre caliente en el fondo de nuestras ya formadas flores introducimos los palitos de altura y Ya están listas nuestras flores
Second step
We continue making a perforation with a hot wire at the bottom of our already formed flowers, we introduce the height sticks and our flowers are ready.
Tercer paso
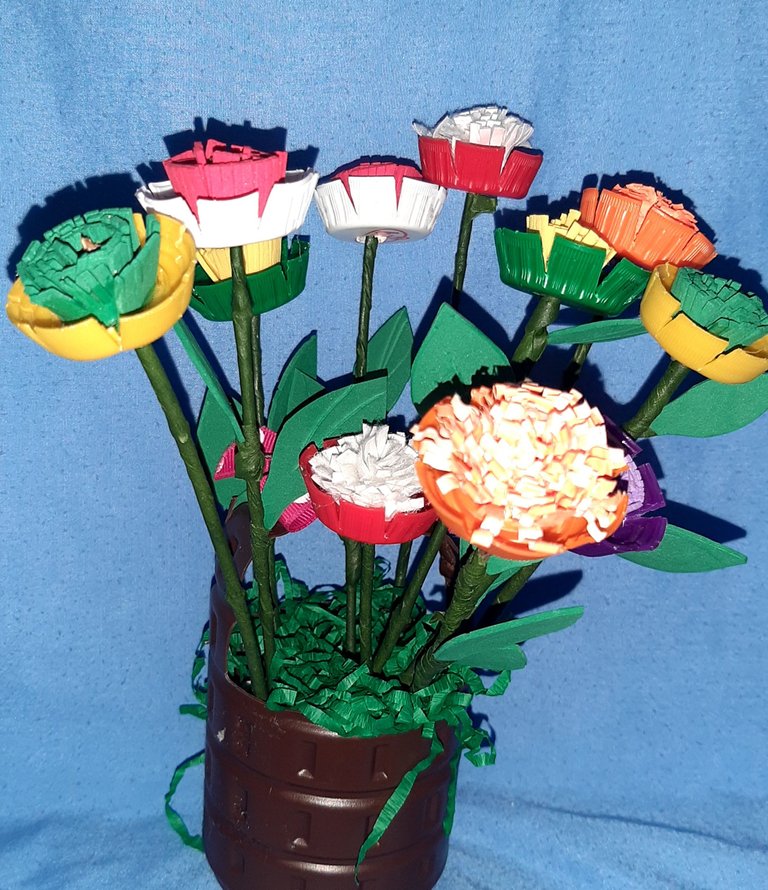
Tomamos un envase desechable redondo en este caso uno de chocolate de color marrón hacemos 2 corte en un extremo llevamos hacia la mitad luego hacemos el mismo procedimiento al otro extremo cortamos hacia los lado y sacamos los cuadros que quedan entre ambos Cortés quedando así dos tiras unidas al envase pegamos con silicón las dos puntas de manera que haga la función del Asa de nuestra cestita en la unión de las dos puntas colocamos un lindo lazo introducimos un pedazo de anime en el fondo de nuestra cesta y colocamos nuestras flores a diferentes alturas. Colocamos un poco de follaje y ya tenemos lista nuestra linda cestitas de flores coloridas
Third step
We take a round disposable container, in this case a brown chocolate one, we make two cuts at one end, we cut it in half and then we do the same procedure at the other end, we cut to the side and remove the squares that are between the two cuts, leaving two strips attached to the container, we glue the two ends with silicone so that it will act as the handle of our basket, at the junction of the two ends we place a nice bow, we insert a piece of anime at the bottom of our basket and we place our flowers at different heights. We place some foliage and we have our beautiful basket of colorful flowers ready.
Queridos amigos Este es mi tutorial de hoy Espero les guste pónganlo en práctica qué es muy fácil y les aseguro le va a gustar nos vemos hasta una próxima oportunidad
Dear friends This is my tutorial for today I hope you like it I hope you like it put it into practice it is very easy and I assure you you will like it I will see you until next time.
