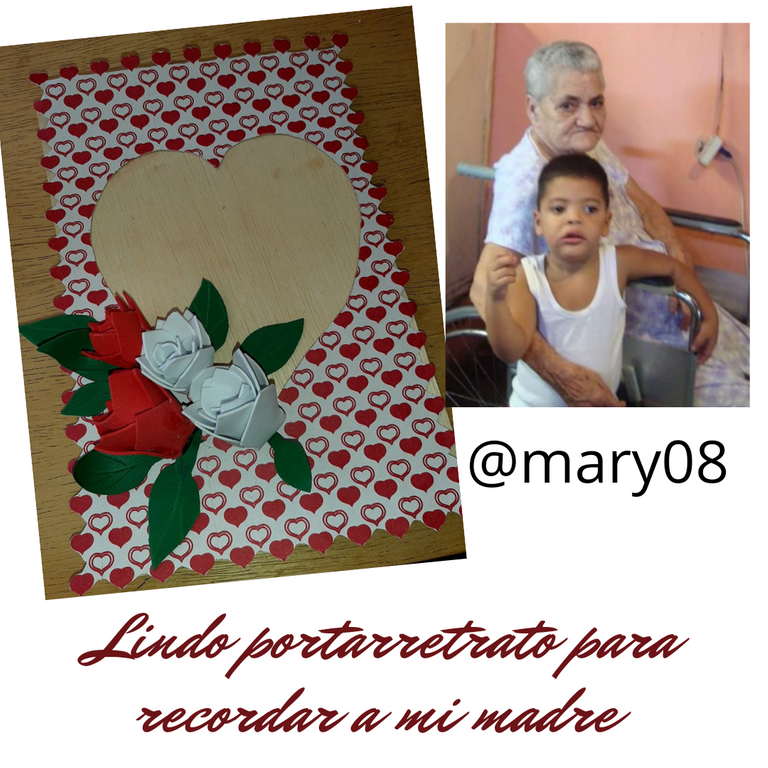
Good morning friends of our dear Hive in today's tutorial I'm going to explain how to make a nice picture frame.
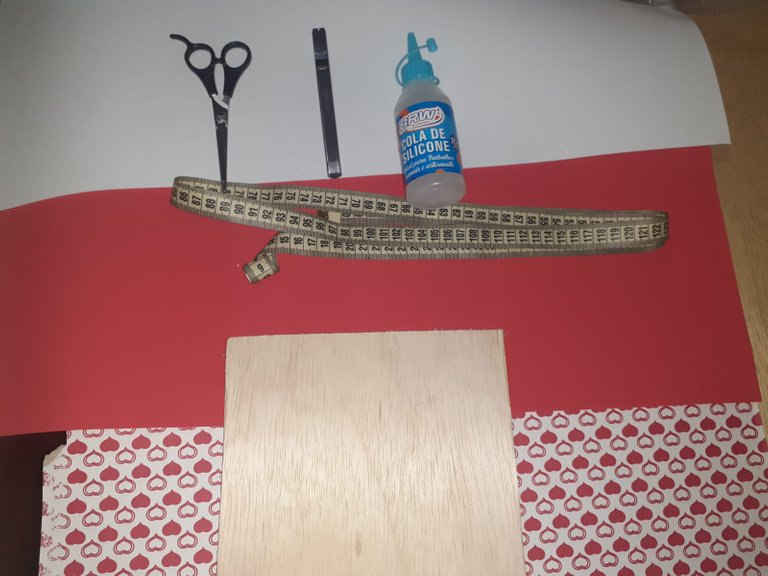
Materiales:
✓ Un rectángulo de madera 10 mm de 20 cm por 30.
✓ Cartulina Lisa estampada.
✓ Foami blanco rojo y verde..
✓ Lámina de acetato
✓ Una cinta métrica.
✓ Tijera.
✓ Lija número 180.
✓ Lápiz.
Materials:
✓ A 10 mm wooden rectangle measuring 20 cm by 30.
✓ Smooth stamped cardboard.
✓ Red and green white foami....
✓ Acetate sheet.
✓ A tape measure.
✓ Scissors.
✓ Number 180 sandpaper.
✓ Pencil.
Primer paso
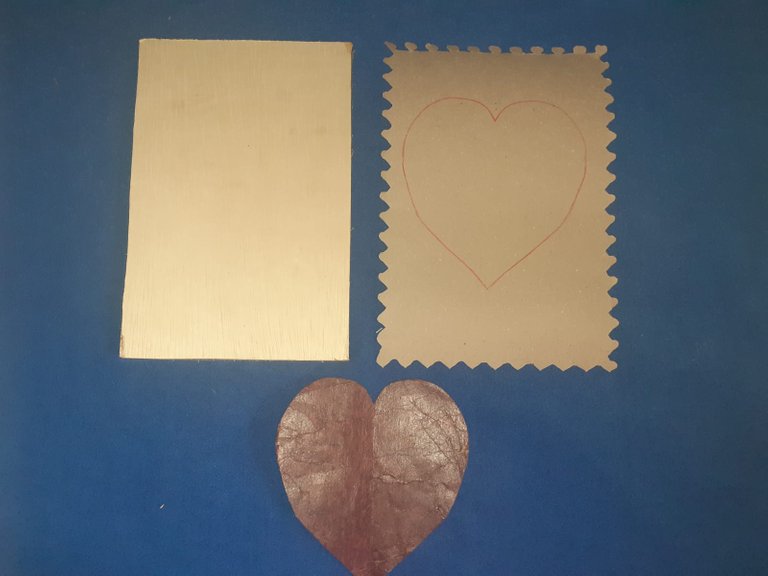
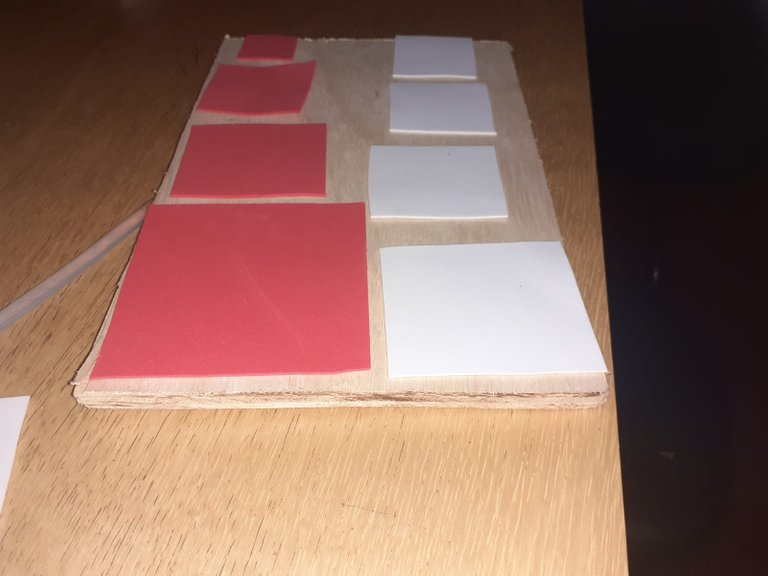
Tomamos un rectángulo de madera en este caso con un grosor de 10 mm y un tamaño de 20 cm x 30, con un pedazo de lija número 180 lijamos todos sus bordes, luego tomamos una cartulina estampada y la cortamos de manera que sea un centímetro más grande por todos los lados de la madera por la parte de atrás y en el centro con un patrón marcamos y recortamos un corazón seguidamente cortamos cuatro cuadrados por flor del foami blanco y rojo los cuales deben tener un centímetro y medio de diferencia entre cada uno, tomando en cuenta el tamaño de la flor que deseamos según el tamaño de nuestro portarretrato.
First step.
We take a rectangle of wood in this case with a thickness of 10 mm and a size of 20 cm x 30, with a piece of sandpaper number 180 we sand all its edges, Then we take a stamped cardboard and cut it so that it is one centimeter larger on all sides of the wood on the back and in the center with a pattern mark and cut out a heart then cut four squares per flower of white and red foami which should have a centimeter and a half difference between each, taking into account the size of the flower we want according to the size of our picture frame.
Segundo paso
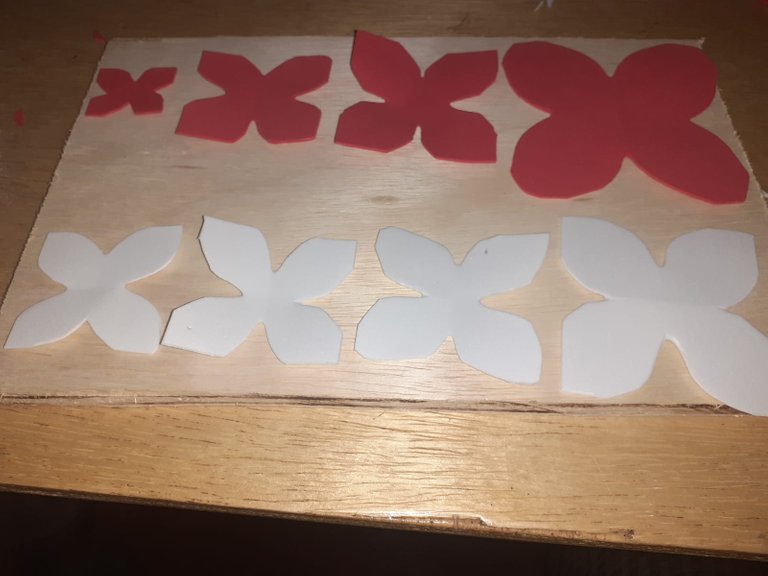
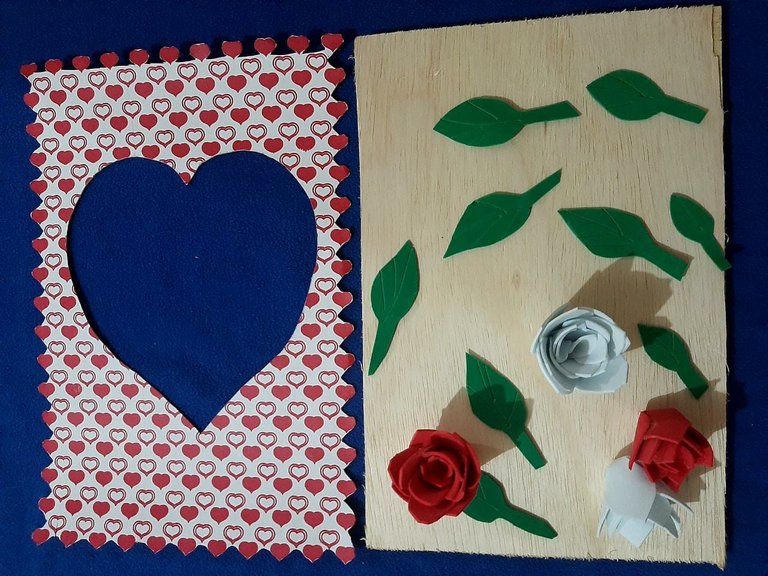
Doblamos en cuatro y cortamos dos esquinas de nuestros cuadrado de foami dejándolos Unidos por el centro de manera que nos queden cuatro cuadrados pequeños Unido al cuadrado mayor cortamos los bordes de modo que nos quede nuestro cuatro pétalos hacemos este procedimiento con todos los cuadros hacemos el proceso de termoformado y comenzamos a pegar nuestros pétalos uno por encima del otro comenzando con Los pequeños y dejando más abierto los demás de modo que uno se pueda introducir dentro del otro formando así nuestra flor, marcamos y sacamos nuestras hojas de diferentes tamaños.
Second step.
We fold in four and cut two corners of our foami squares leaving them together in the center so that we have four small squares United to the larger square we cut the edges so that we have our four petals we do this procedure with all the squares we do the thermoforming process and begin to paste our petals one above the other starting with the small ones and leaving more open the others so that one can be inserted inside the other thus forming our flower, we mark and take out our leaves of different sizes.
Tercer paso
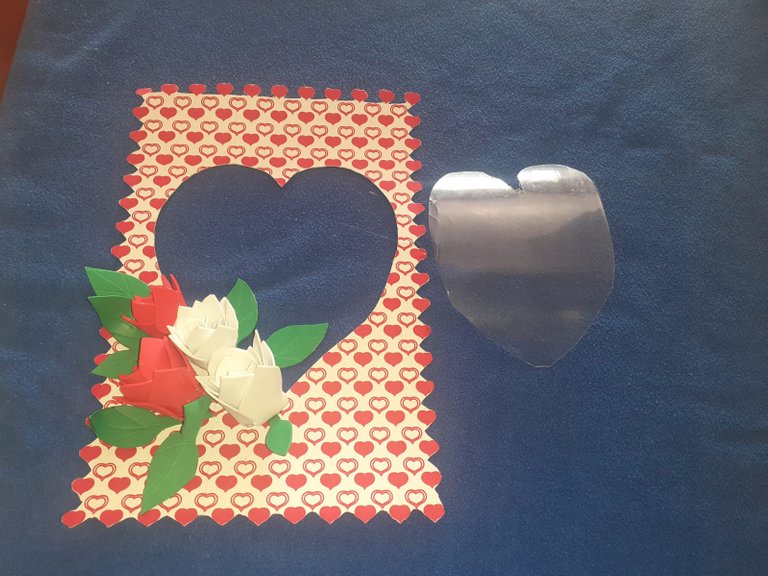
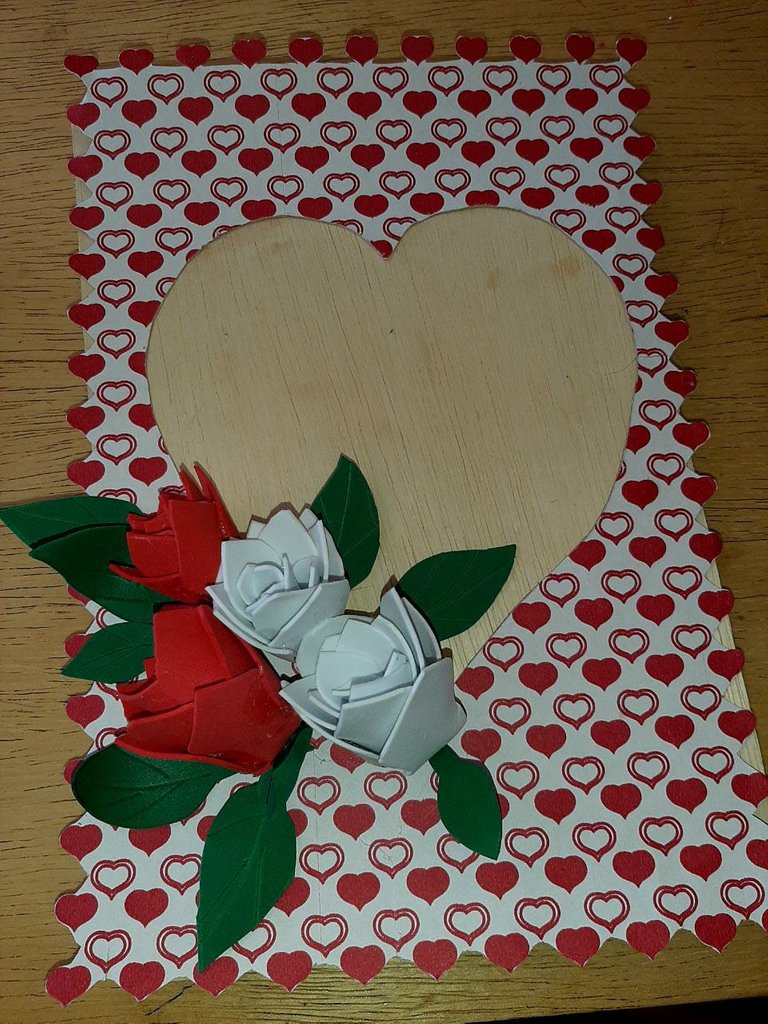
Pegamos nuestra flores y hojas en la cartulina a un lado del corazón de modo que las hojas queden un poco por encima del mismo luego por la parte de atrás pegamos un corazón de acetato ver cuál era la función de vidrio que proteger a nuestra pegamos nuestro arreglo a la madera dejando un lado despegado para cambiar nuestra foto en el momento que queramos con cuidado ponemos un tornillo por la parte superior de atrás colocamos un alambre doblado a la mitad para colgas nuestro portarretratos.
Third step.
We glue our flowers and leaves on the cardboard on one side of the heart so that the leaves are a little above the same then on the back we glue an acetate heart see what was the function of glass to protect our we glue our arrangement to the wood leaving one side detached to change our photo at the time we want to carefully put a screw in the top of the back we put a wire bent in half to hang our picture frame.
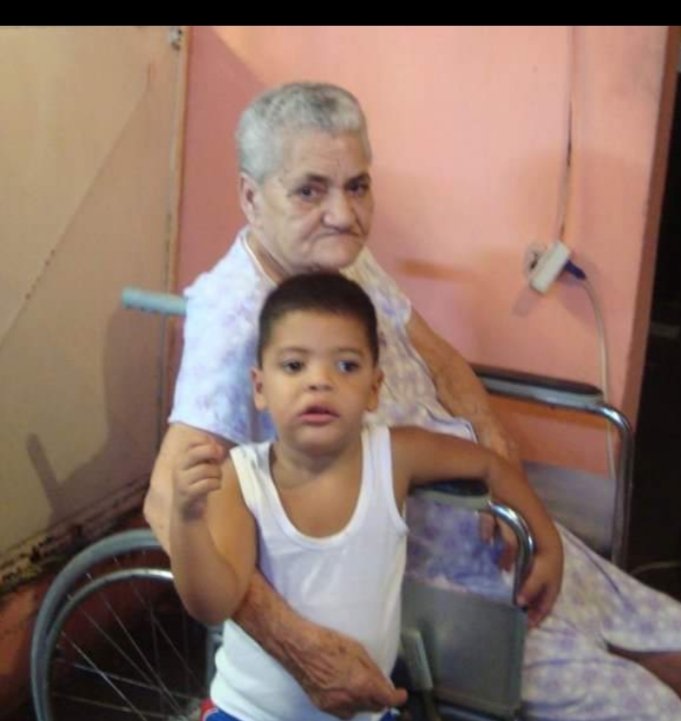
Buenos dias queridos amigos Espero le haya gustado es muy práctico en mi caso puse la foto de una persona que ya no está conmigo y que quiero que mi hijo por su corta edad no olvide tan fácilmente Gracias y hasta el próximo tutorial.
Good morning dear friends I hope you liked it is very practical in my case I put the photo of a person who is no longer with me and I want my son for his young age do not forget so easily Thank you and until the next tutorial.
Congratulations @mary08! You have completed the following achievement on the Hive blockchain and have been rewarded with new badge(s) :
Your next target is to reach 30 posts.
You can view your badges on your board and compare yourself to others in the Ranking
If you no longer want to receive notifications, reply to this comment with the word
STOPTo support your work, I also upvoted your post!
Check out the last post from @hivebuzz: