Un saludo a todos. Hoy está de cumpleaños una amiga de mi mami, así que hice unos lindos zarcillos de rosas en masa flexible (también conocida como masa flexible) para ella. He creado este diseño porque es femenino y elegante, el rosa como color predominante porque a ella le va muy bien y el motivo de rosas, porque todas nos vemos hermosas con ellas (risas). Así que sin más, te cuento cómo los hice.
English Version
Greetings to all. Today is my mommy's friend's birthday, so I made some cute rose tendrils in flexible dough (also known as flexible dough) for her. I created this design because it is feminine and elegant, pink as the predominant color because it suits her so well and the rose motif, because we all look beautiful with them (laughs). So without further ado, I'll tell you how I made them.
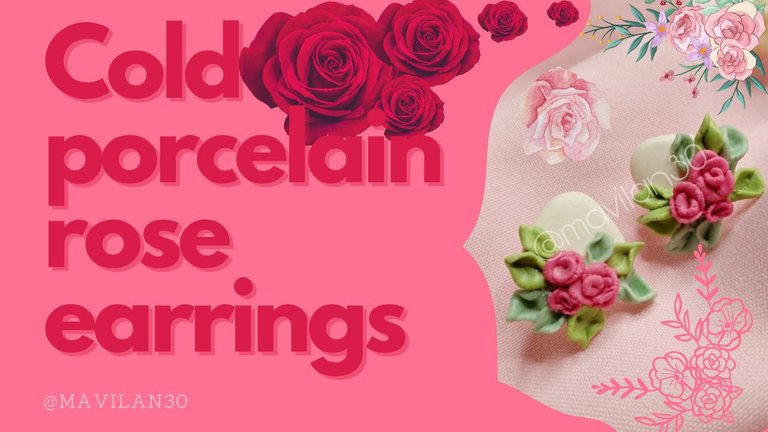
Imagen creada por mí en Canva / Image created by me in Canva
Materiales:
- Masa flexible
- Pegamento blanco
- Regla u otro elemento para aplanar
- Cúter
- Palillo
- Pincel
Procedimiento:
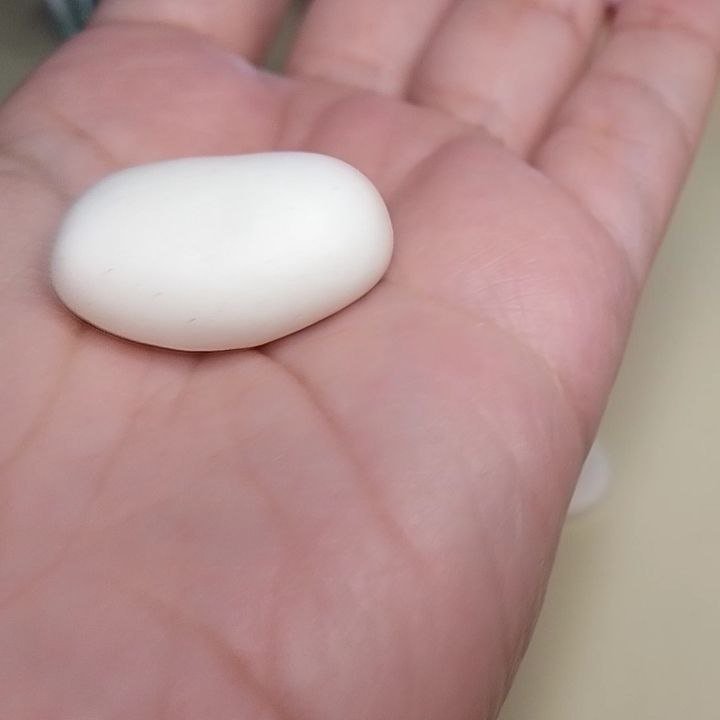
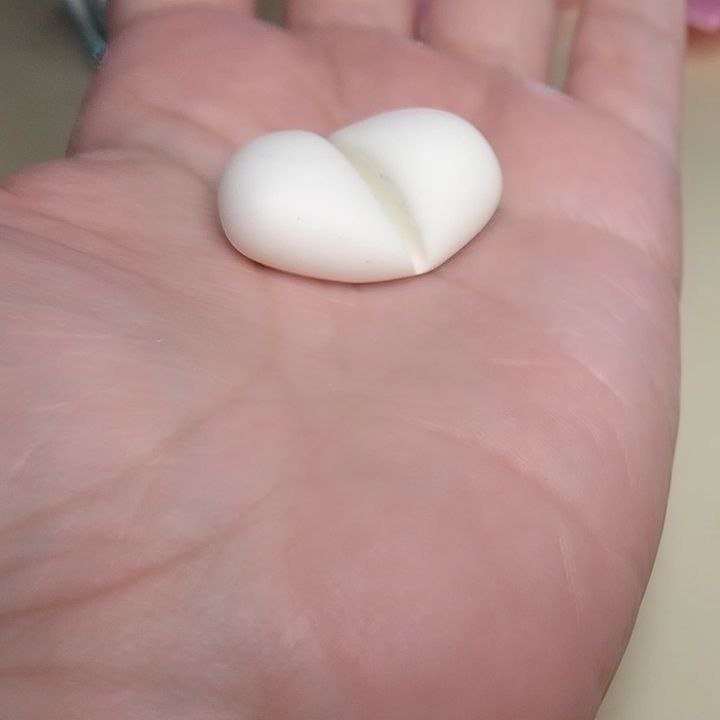
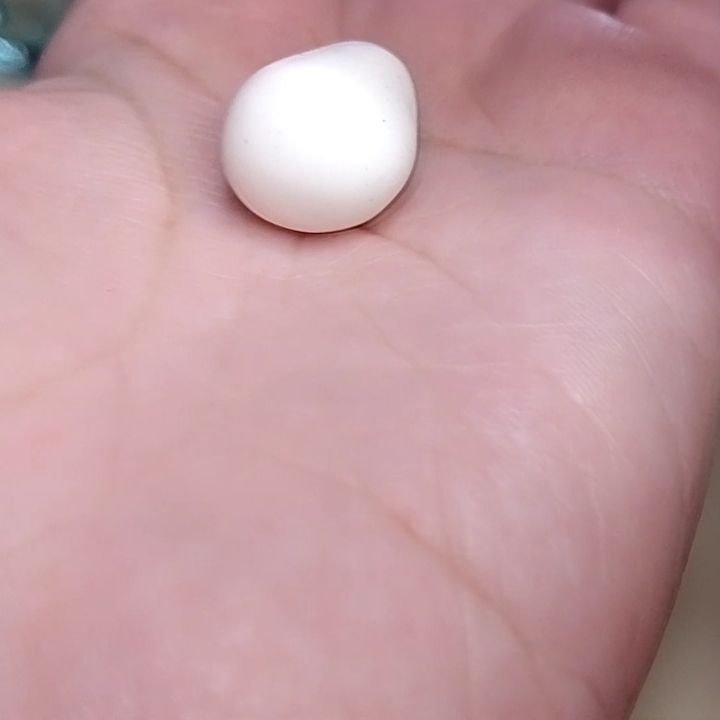
Tomamos una porción de masa blanca y formamos una especie de óvalo, éste, lo dividimos justo a la mitad con ayuda del cúter. Posteriormente, formaremos una especie de gota.
English Version
Materials:
- Flexible dough
- White glue
- Ruler or other flattening element
- Cutter
- Toothpick
- Brush
Procedure:
We take a portion of white dough and form a kind of oval, this, we divide it right in half with the help of the cutter. Afterwards, we will form a kind of drop.
 |  |  |
|---|
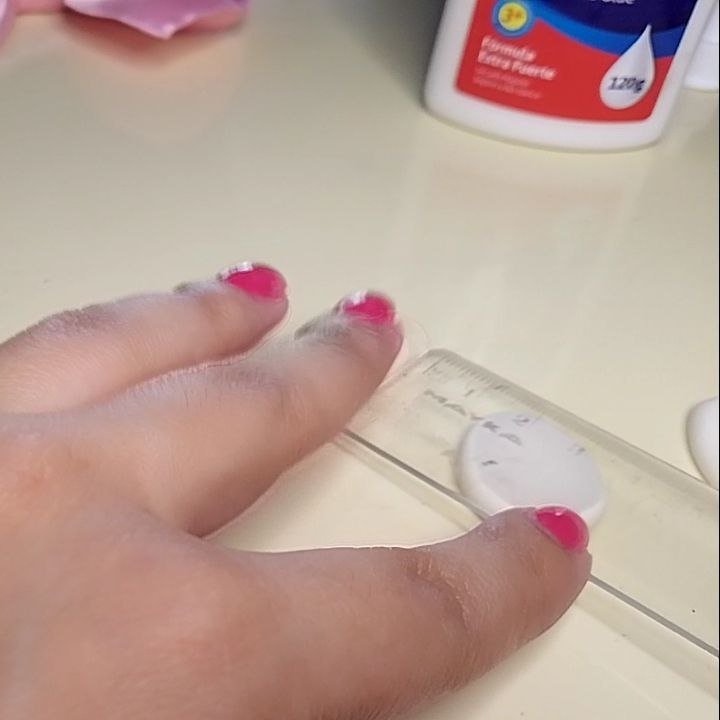
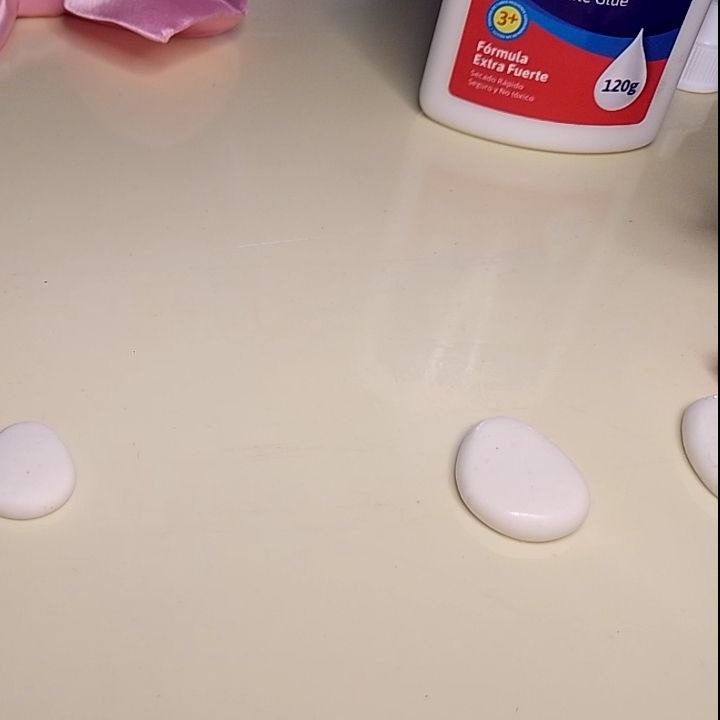
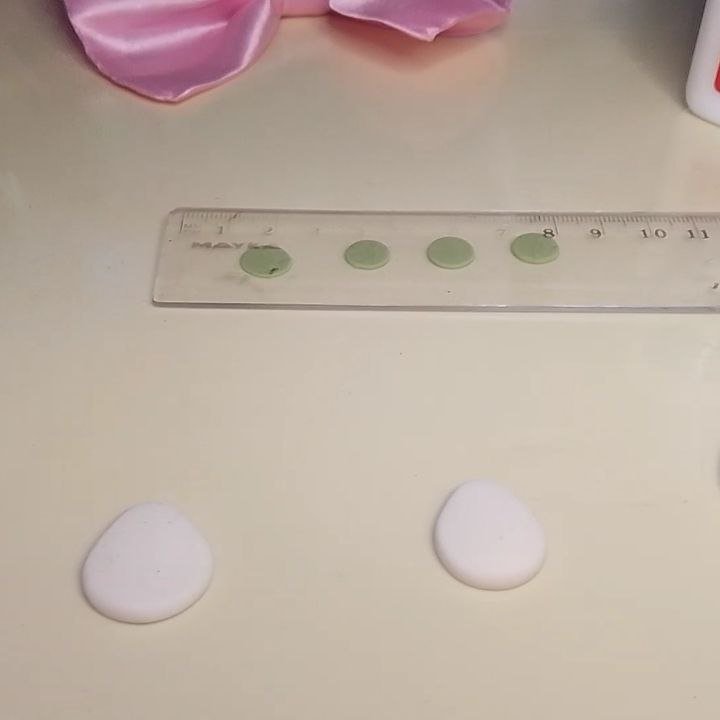
La gota la colocaremos sobre una superficie plana, como una mesa, por ejemplo y con la regla la aplanaremos, de modo que mantenga su tendencia de forma de gota pero delgada. Haremos esto para las dos porciones de masa blanca.
English Version
We will place the drop on a flat surface, such as a table, for example, and with the ruler we will flatten it, so that it maintains its tendency to be drop-shaped but thin. We will do this for the two portions of white dough.
 |  |
|---|
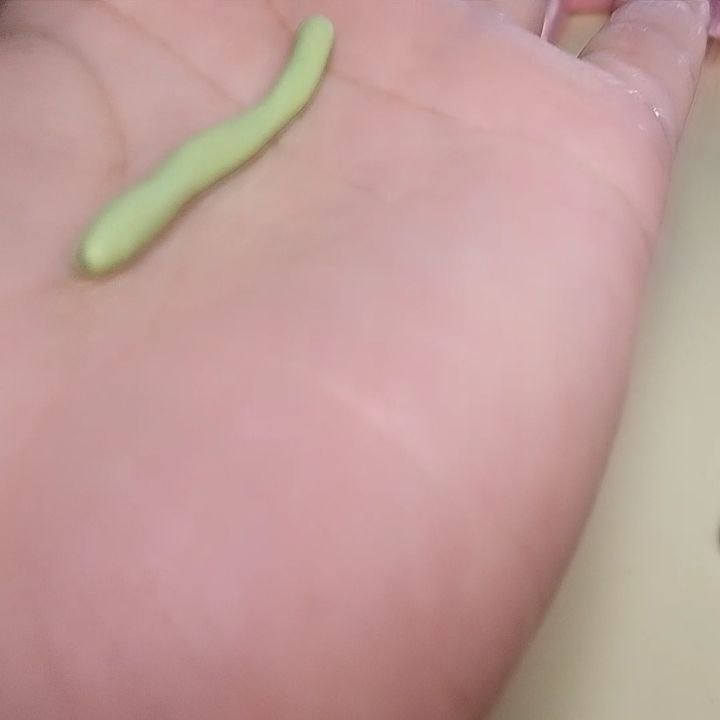
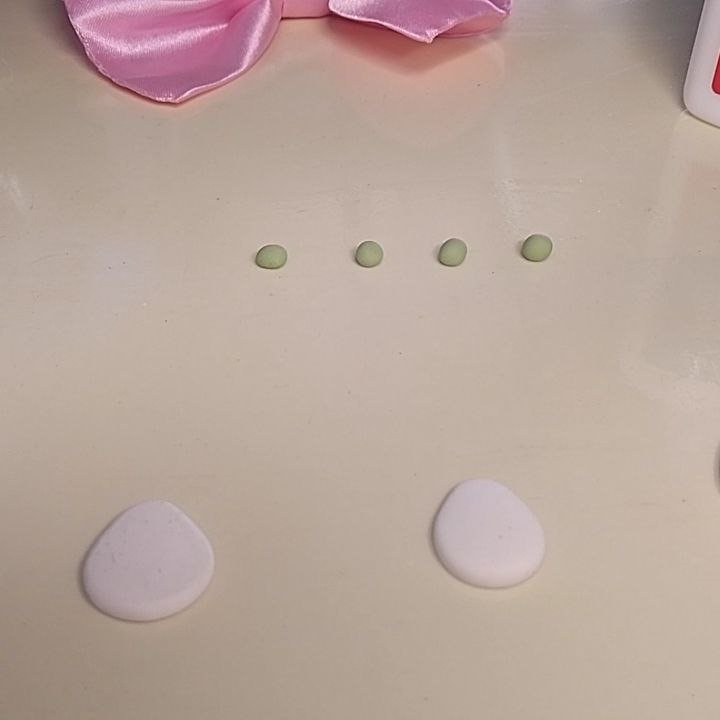
Ahora tomaremos un poco de masa color verde y formaremos una tira fina, la misma debemos dividirla en pequeñas porciones y hacer esferas y de nuevo, aplanarlas con la regla, sin embargo, éstas sí deben quedar lo más delgadas posible.
English Version
Now we will take some green dough and form a thin strip, divide it into small portions and make spheres and flatten them again with the ruler, however, these should be as thin as possible.
 |  |  |
|---|
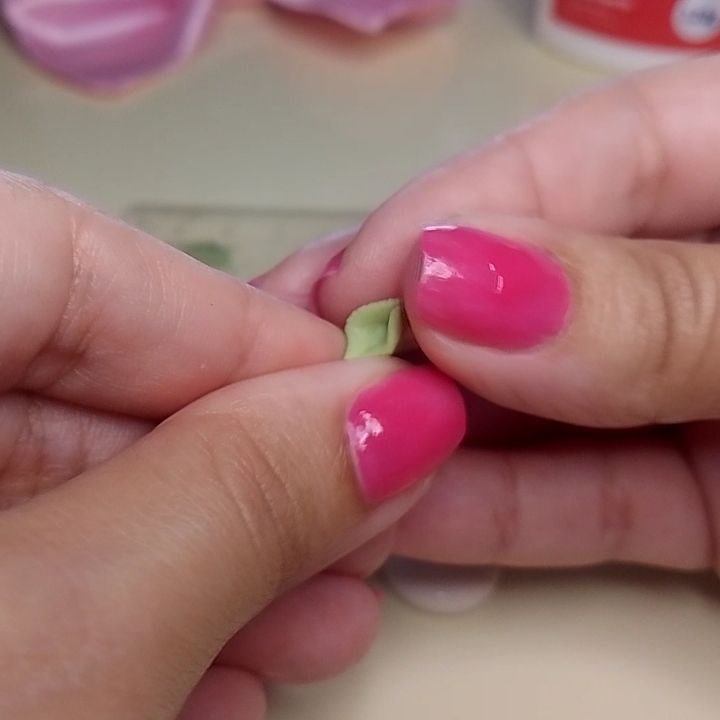
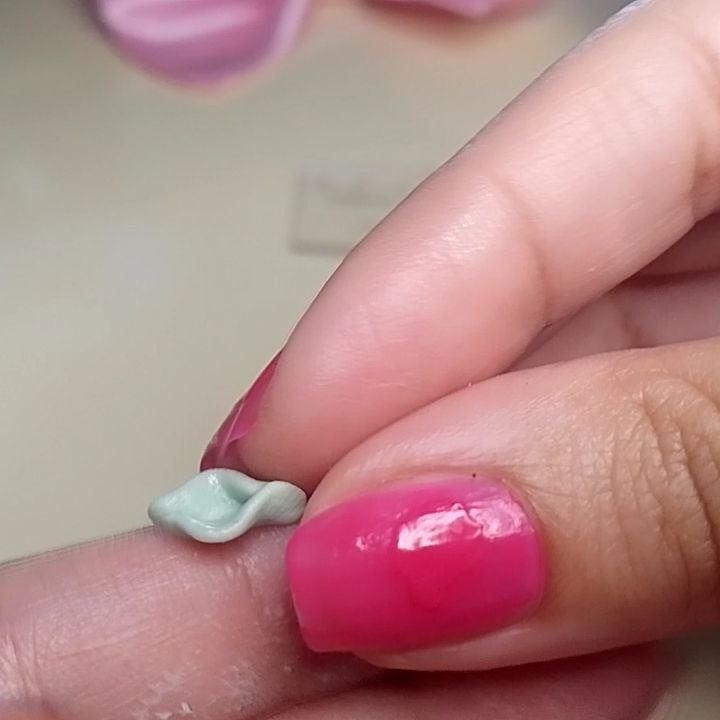
Tomamos uno de los círculos y con nuestros dedos unimos un extremo y luego el opuesto a éste, tal como se ve en la imagen.
English Version
We take one of the circles and with our fingers we join one end and then the opposite end to it, as shown in the image.
Moldeando / Molding
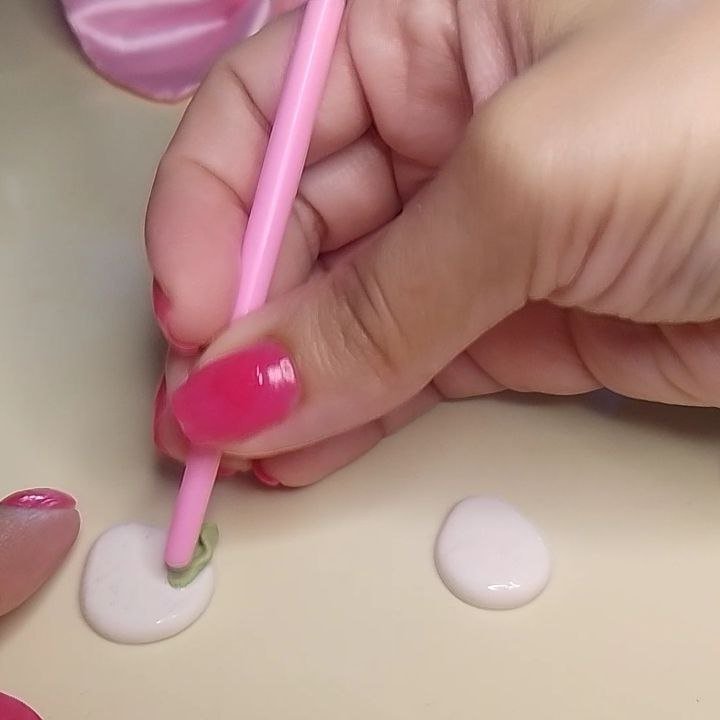
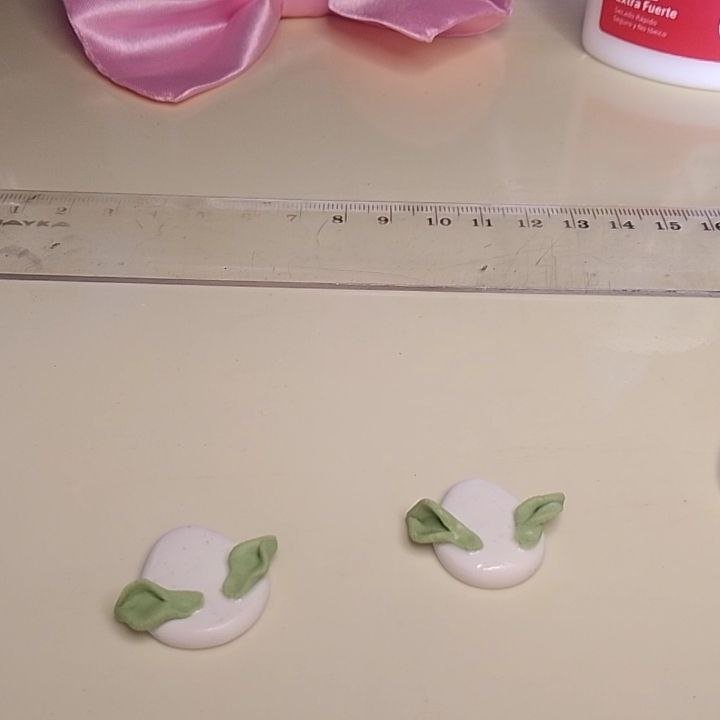
Añadiendo algo de pegamento, adherimos la pieza que recién hicimos con ayuda de la punta redonda de un pincel. Repetimos este proceso tres veces más. Cada una de las piezas recientes representa una hoja.
English Version
Adding some glue, we adhere the piece we just made with the help of the round tip of a paintbrush. We repeat this process three more times. Each of the recent pieces represents a leaf.
 |  |
|---|
Ahora, daremos forma a una rosa. Para ello, al igual que con la masa verde, pero esta vez con masa de color rosado, haremos la tira fina, dividiremos en partes y formaremos esferas que aplanaremos con la regla. Tomaremos uno de los círculos rosados y con nuestros dedos, lo enrollaremos sobre sí mismo, esto corresponde al centro de la rosa.
English Version
Now, we will shape a rose. To do this, as with the green dough, but this time with pink dough, we will make the thin strip, divide it into parts and form spheres that we will flatten with the ruler. We will take one of the pink circles and with our fingers, we will roll it on itself, this corresponds to the center of the rose.
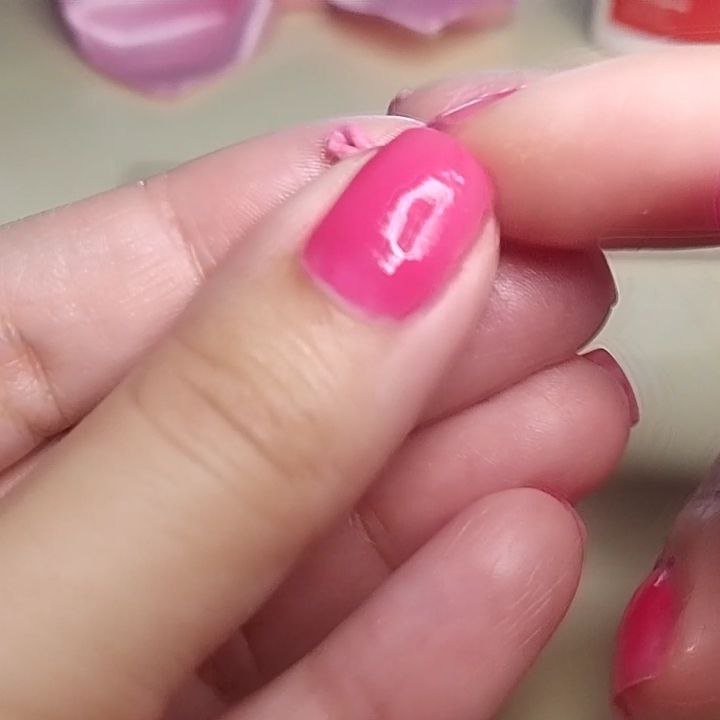
Centro de la rosa / Rose center
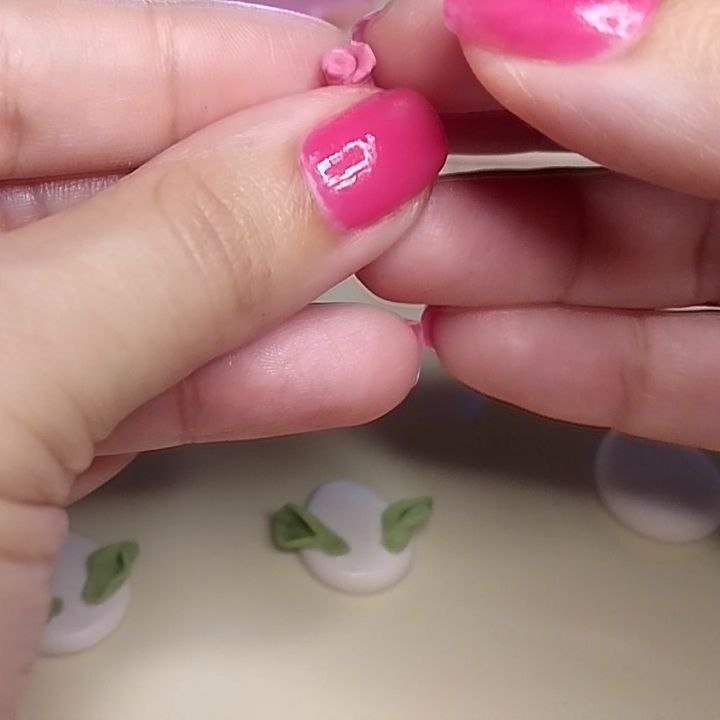
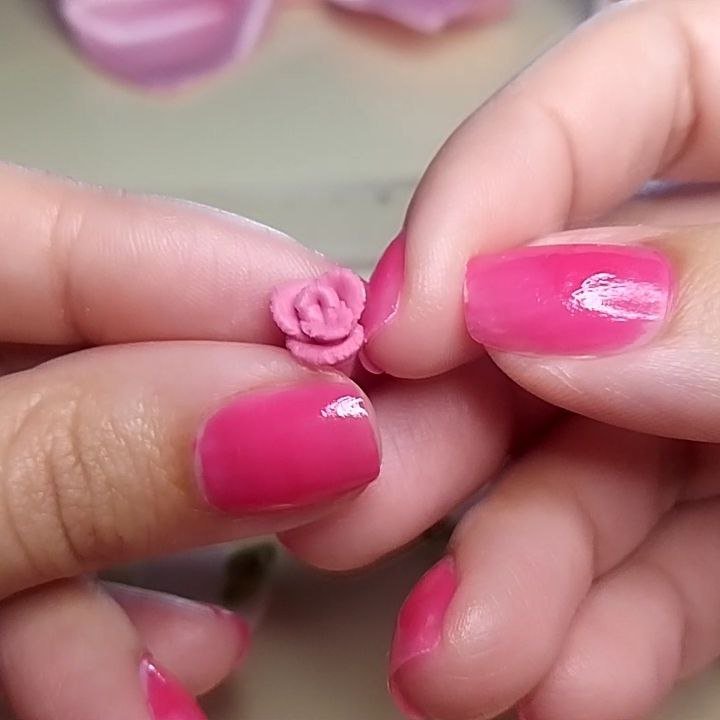
Es momento de tomar un círculo más y con éste iremos envolviendo el centro que formamos en el paso anterior y esto lo haremos sucesivamente hasta que la rosa alcance el tamaño deseado.
English Version
It is time to take one more circle and with it we will wrap it around the center we formed in the previous step and we will do this successively until the rose reaches the desired size.
 |  |
|---|
Ahora debemos cortar el excedente de la parte de abajo con el cúter, de modo que la rosa tenga la altura que más nos convenga.
English Version
Now we must cut the excess of the bottom part with the cutter, so that the rose has the height that suits us best.
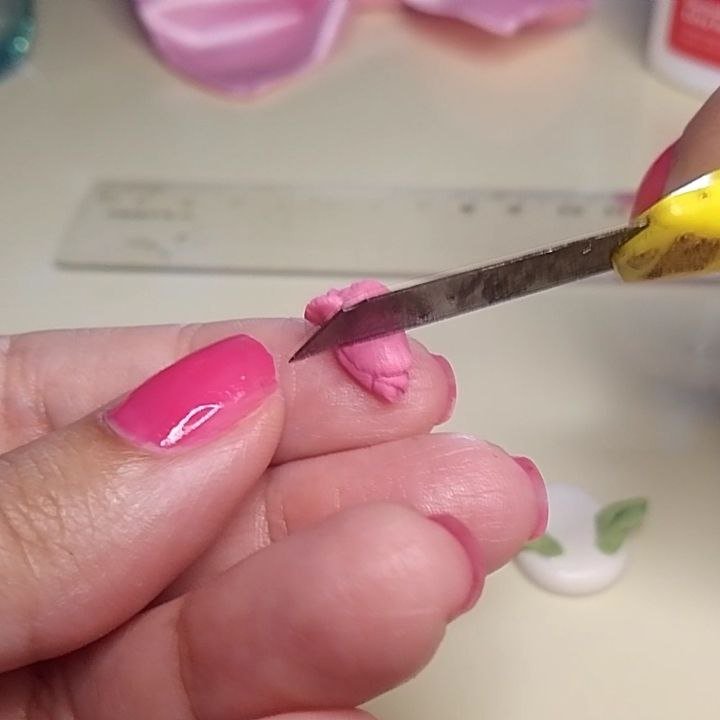
Cortando el excedente / Cutting the surplus
Y con algo de pegamento, la posicionamos en el lugar de nuestra preferencia.
English Version
And with some glue, we position it in the place of our preference.
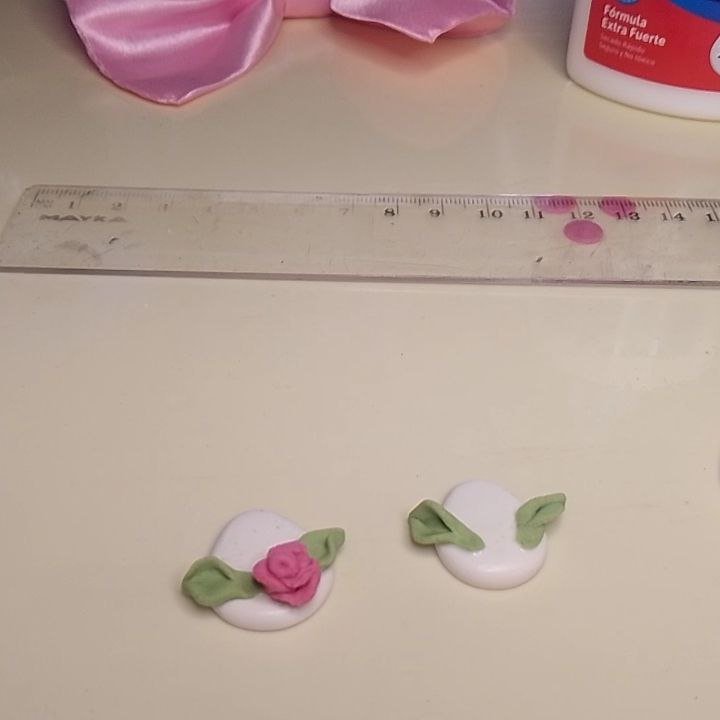
Posicionando la rosa / Positioning the rose
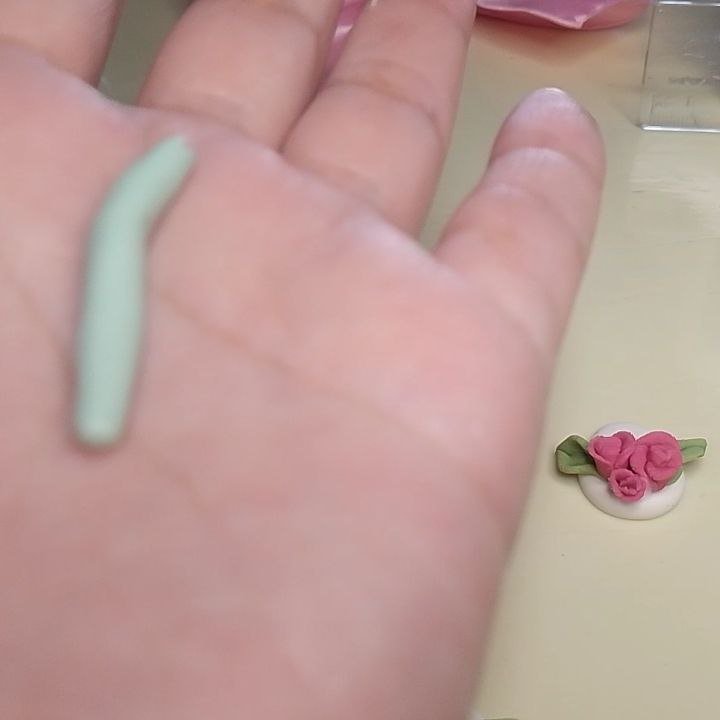
Acá aprovecho para comentarles que como en este tipo de diseño se está requiriendo muy seguido agregar pegamento y es cansado estar tomando el envase del pegamento a cada instante, suelo añadir una gota del mismo en el dorso de mi mano y voy tomando de a poquitos con un palillo cada vez que necesito.
English Version
Here I take this opportunity to tell you that as in this type of design it is very often required to add glue and it is tiring to be taking the glue bottle at every moment, I usually add a drop of glue on the back of my hand and I take a little at a time with a toothpick every time I need.
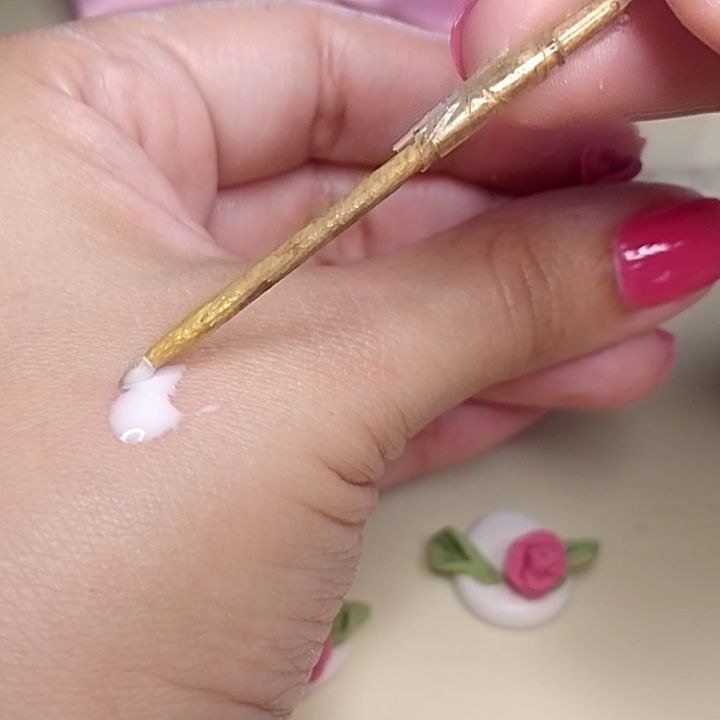
Pegamento en la mano / Glue in hand
Otro dato de mi proceso sería que, para colocar las rositas que son muy pequeñas, muchas veces es más fácil con una aguja, así que tengo una clavada a un corcho para manejarla mejor.
English Version
Another fact about my process would be that, to place the roses that are very small, it is often easier with a needle, so I have one nailed to a cork to handle it better.
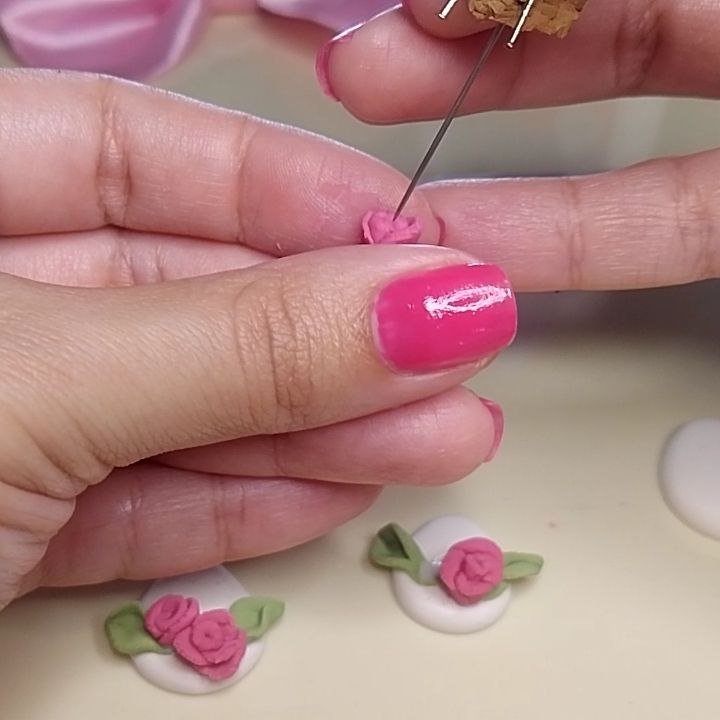
Aguja en corcho / Cork needle
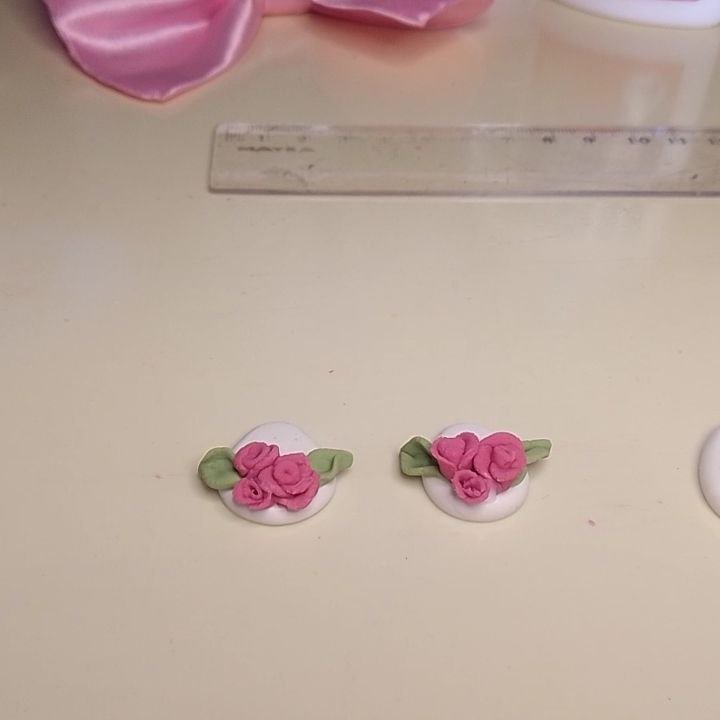
Repitiendo el proceso de la rosa, he añadido un pequeño ramillete de tres rosas a cada pieza, las mismas, tienen tamaños variables que van desde una más grande, luego una mediana y por último una pequeñita.
English Version
Repeating the process of the rose, I have added a small bouquet of three roses to each piece, the roses have variable sizes ranging from a larger one, then a medium one and finally a tiny one.
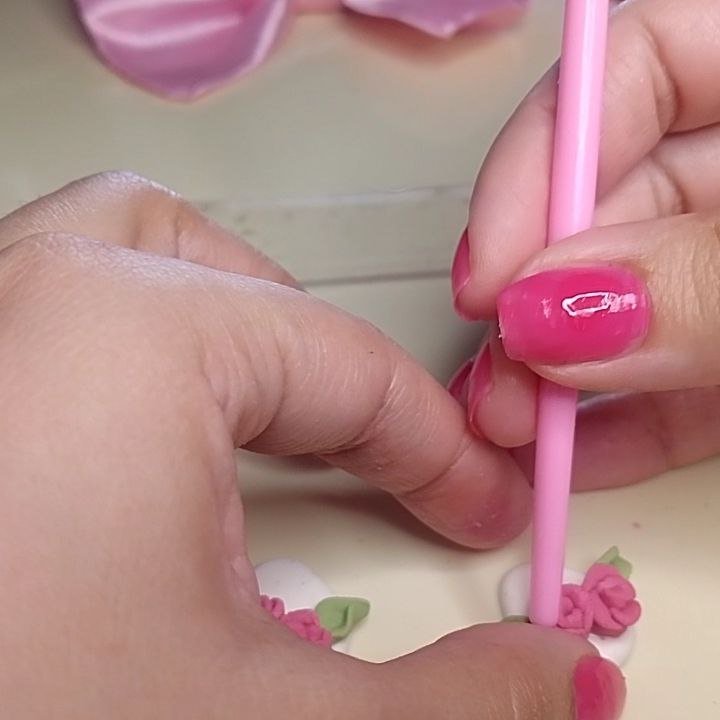 |  |
|---|
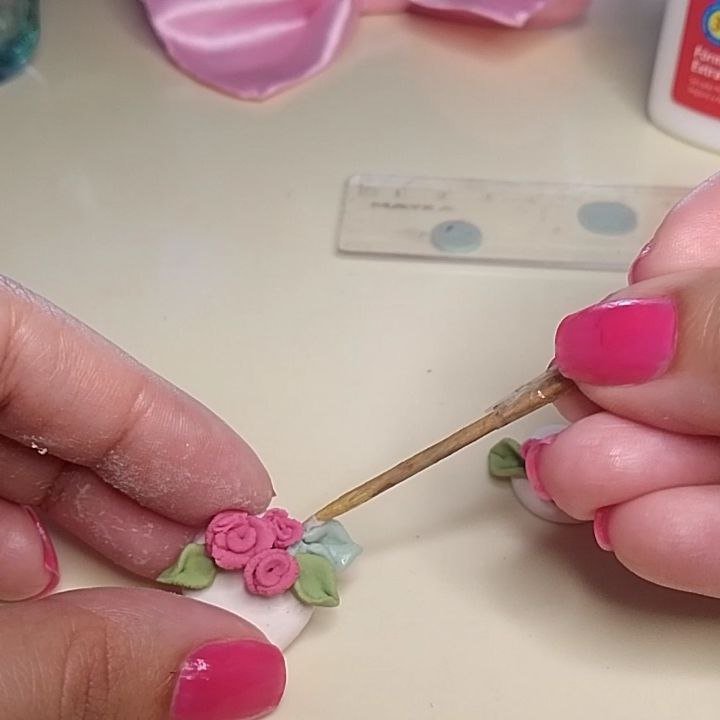
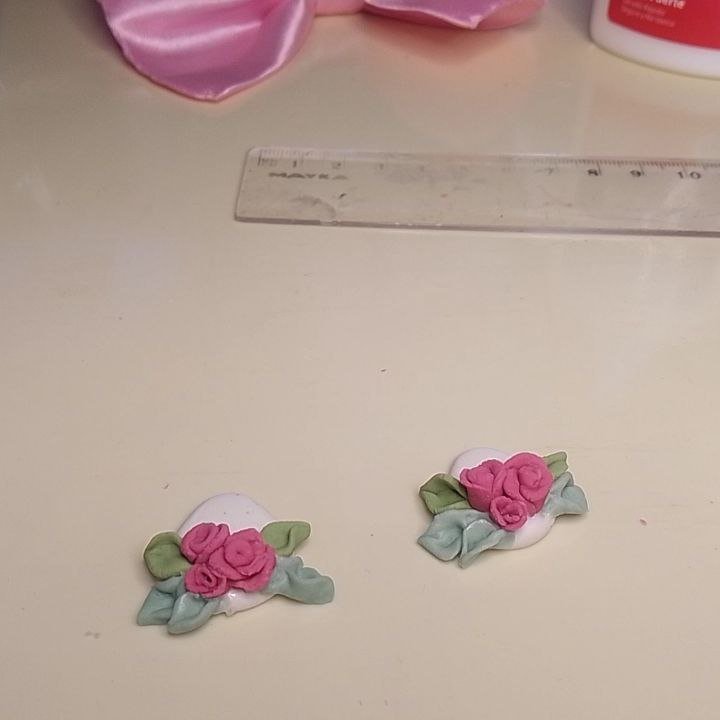
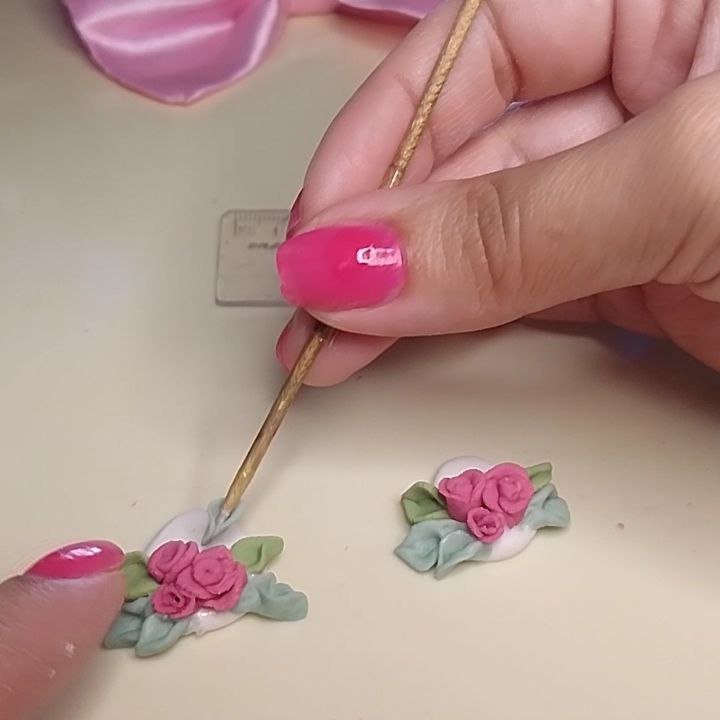
Con otro tono de verde que es un poco más azulado, añadí nuevas hojitas alrededor.
English Version
With another shade of green that is a little more bluish, I added new leaves all around.
 |  |  |  |  |
|---|
También añadí unas cuantas hojitas más del primer verde.
English Version
I also added a few more leaves of the first green.
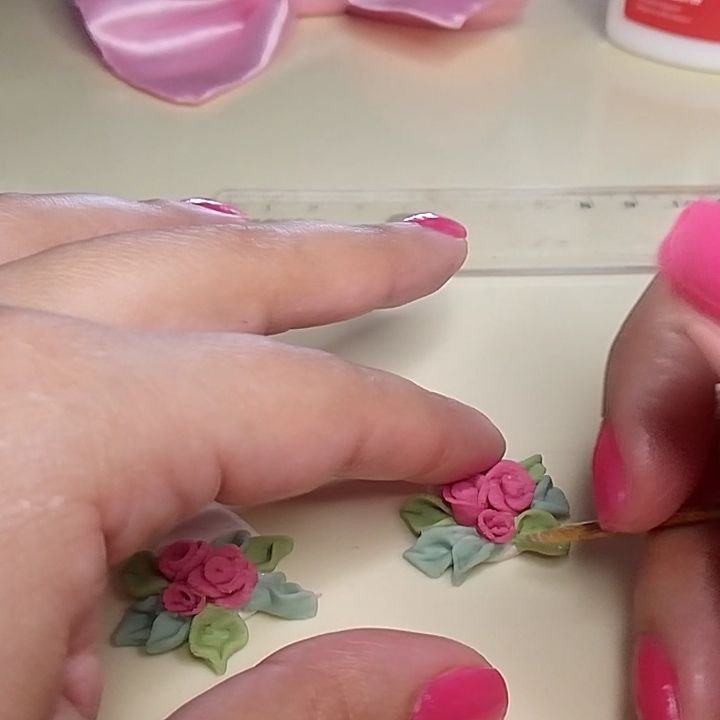
Más hojas verdes / More green leaves
Y este sería el resultado final:
English Version
And this would be the final result:
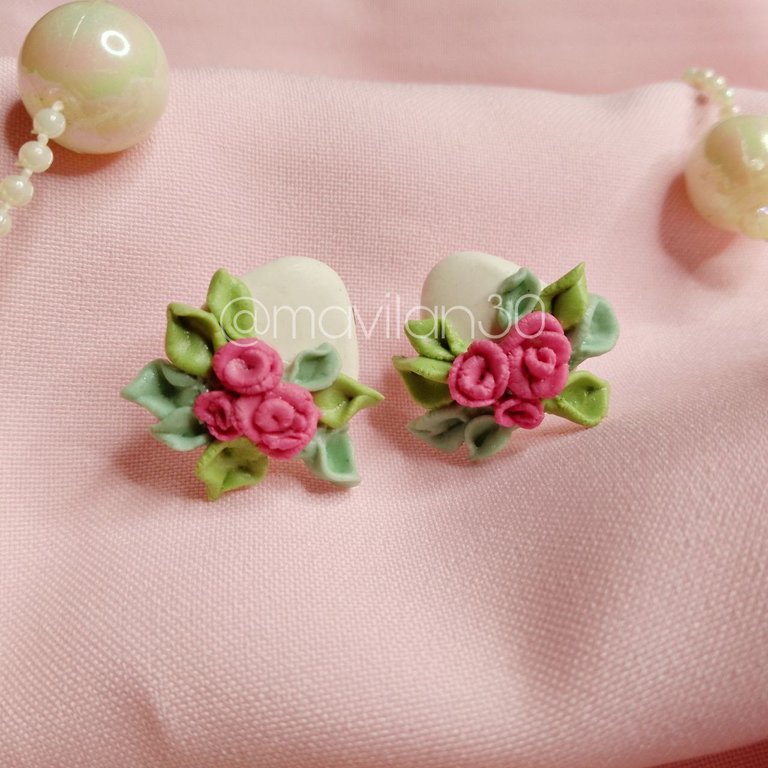
Resultado final / Final result
Comentarios finales:
La masa para este diseño la he coloreado previamente con pinturas al frío según cada color que deseaba. Solo se necesitan algunas gotitas y amasar un poco y ya queda listo para usar.
Recuerda siempre, siempre, siempre, que debes agregar algo de aceite (comestible o cosmético) a la superficie de trabajo y a la regla o el elemento que utilices para aplanar, antes de aplanar las piezas, esto para que puedan despegar las mismas.
English Version
Final comments:
The dough for this design I have previously colored it with cold paints according to each color I wanted. It only takes a few drops and a little kneading and it is ready to use.
Always, always, always, always remember to add some oil (edible or cosmetic) to the work surface and to the ruler or whatever you use to flatten, before flattening the pieces, so that the pieces can come off.
¡Muchas gracias por leerme!
Thank you so much for reading me!
Fotografías propias, tomadas con mi Tecno Spark 10C.
Traducido al inglés con DeepL.
English Version
Own photographs, taken with my Tecno Spark 10C.
Translated to English with DeepL.

Banner creado por mí en Canva / Banner made by me in Canva
This earings are really beautiful. The top design is something to marvel. Nice work
Thank you very much for your support🤗✨
Congratulations @mavilan30! You have completed the following achievement on the Hive blockchain And have been rewarded with New badge(s)
Your next payout target is 500 HP.
The unit is Hive Power equivalent because post and comment rewards can be split into HP and HBD
You can view your badges on your board and compare yourself to others in the Ranking
If you no longer want to receive notifications, reply to this comment with the word
STOPCheck out our last posts:
Hola.
Se ven preciosas las florecitas amiga. Hermoso y delicado trabajo. Abrazos.
Muchas gracias amiga✨ que bueno que te gustó☺️
Ay que preciosos te quedaron ✨ Admiro tu pulso para hacer esos detalles tan chiquitos 🤭💖
Muchas gracias bella💖 es todo un esfuerzo pero al final es muy satisfactorio el resultado✨
Te quedaron hechos con cariño amiga, se nota el aprecio que le tienes a la amiga de tu mami, será una gran sorpresa para ella, estoy segura, será uno de los regalos más apreciados que va a recibir.
Muchas gracias amiga💖 de verdad que hago estos diseños con mucho amor🥰 ya mi mami le entregó los zarcillos y le gustaron mucho! Se los puso de una vez☺️✨
❣️🤗
Están hermosos y se ven tan delicados, que detalle tan lindo...
!discovery 40
Muchísimas gracias por tu apoyo dayadam💖 me alegra que te gustaran ☺️
This post was shared and voted inside the discord by the curators team of discovery-it
Join our Community and follow our Curation Trail
Discovery-it is also a Witness, vote for us here
Delegate to us for passive income. Check our 80% fee-back Program
Que lindos , 😍 me encanta que así con las rositas da un toque vintage! 💙
Gracias Mily✨ tienes razón, los colores dan ese estilo vintage muy lindo☺️
Hola, ante todo felicidades para mi las personas que trabajan con masa flexible son artistas y mas cuando miniaturas, pero siempre eh tenido una duda, de verdad esa masa pega con, pega blanca escolar? o es un mito.
Hola! Muchas gracias por tus palabras 💖
Lo de la pega escolar es totalmente cierto, de hecho, la pega blanca es parte de la preparación de la mezcla para la masa (tengo un post en mi perfil con la receta por cierto😉) por lo que al agregar pegamento del mismo tipo la adherencia entre las piezas se da fácilmente.
Saludos☺️