¡Un saludo a todos! Si algo en verdad me gusta muchísimo, son las tarjetas pop-up, es por ello que hoy quiero compartirles esta nueva tarjeta llena de corazones que forman un hermoso arco lleno de amor para sorprender a quien lo reciba. Que tus regalos siempre sean especiales dependerá de cuidar cada detalle y qué mejor forma de hacerlo que con una original y creativa tarjeta pop-up, así que no te pierdas ninguno de los pasos y crea tus propios diseños, no solo con corazones, sino también con estrellas, mariposas, flores y más.
Greetings to everyone! If there's something I really love, it's pop-up cards, that's why today I want to share with you this new card full of hearts that form a beautiful arch full of love to surprise whoever receives it. That your gifts are always special will depend on taking care of every detail and what better way to do it than with an original and creative pop-up card, so do not miss any of the steps and create your own designs, not only with hearts, but also with stars, butterflies, flowers and more.
Imagen creada por mí en Canva / Image created by me in Canva
Materiales:
- Cartulina
- Pegamento blanco
- Papel de color
- Tijeras
- Lápiz
- Regla
- Pinturas al frío
- Pincel
- Compás o algo circular
- Rapidógrafo
Procedimiento:
Iniciamos recortando un rectángulo y doblándolo a la mitad, las medidas serán a tu gusto según el tamaño en que desees tu tarjeta, pero la mía al doblarse es de 8 cm de alto por 10 cm de ancho.
Materials:
- Cardboard
- White glue
- Colored paper
- Scissors
- Pencil
- Ruler
- Cold paints
- Paintbrush
- Compass or something circular
- Rapidograph
Procedure:
We start by cutting out a rectangle and folding it in half, the measures will be to your liking according to the size you want your card, but mine when folded is 8 cm high by 10 cm wide.
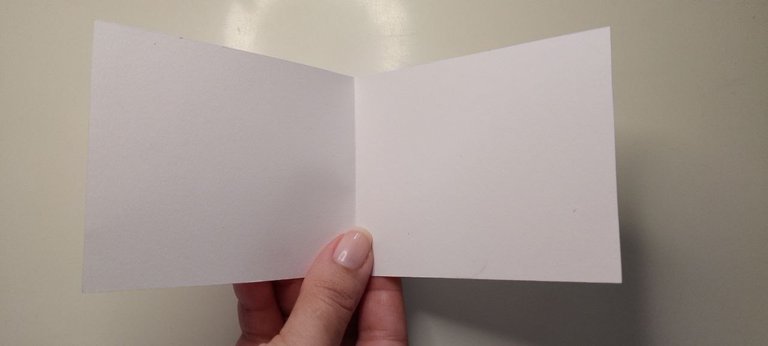
Base de la tarjeta / Card base
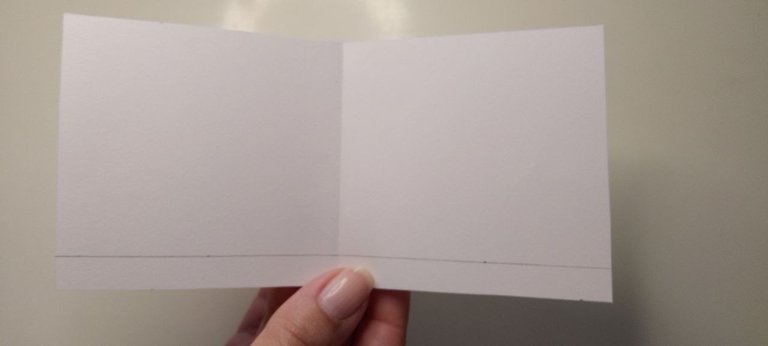
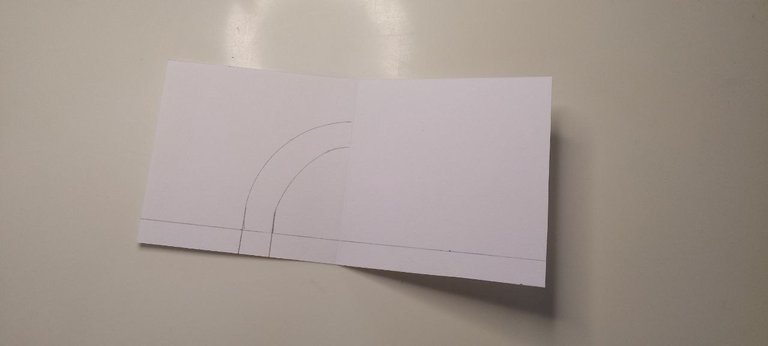
Así mismo, tomaremos un segundo rectángulo, del mismo alto que el anterior pero de una longitud más corta y trazaremos una línea en la parte inferior y paralela a ese lado, dejando una distancia prudente para formar una pestaña, yo usé 1 cm de separación.
Likewise, we will take a second rectangle, of the same height as the previous one but of a shorter length and we will draw a line at the bottom and parallel to that side, leaving a prudent distance to form a flange, I used 1 cm of separation.
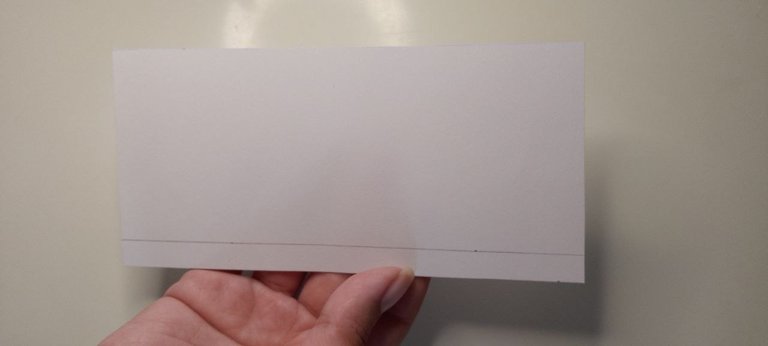
Base del arco / Base of the arch
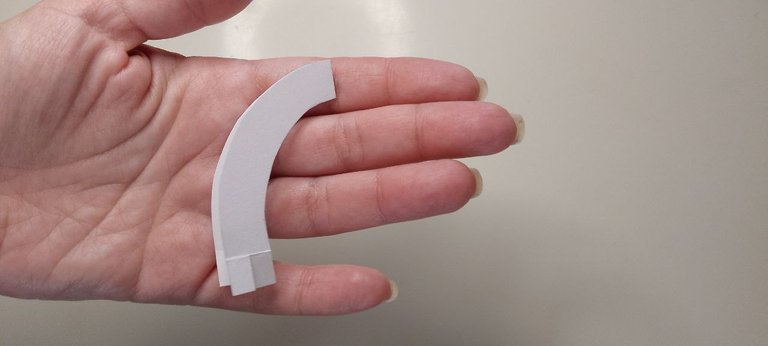
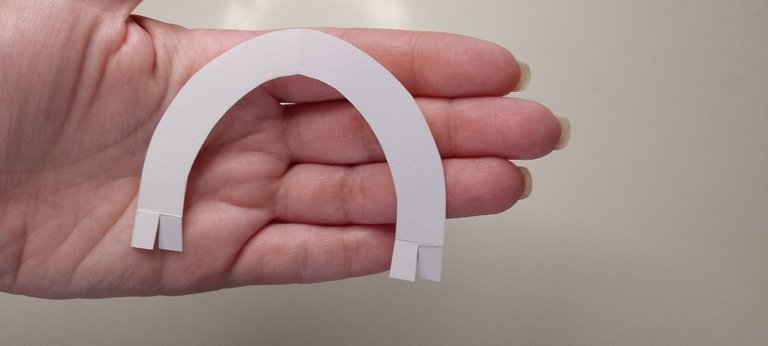
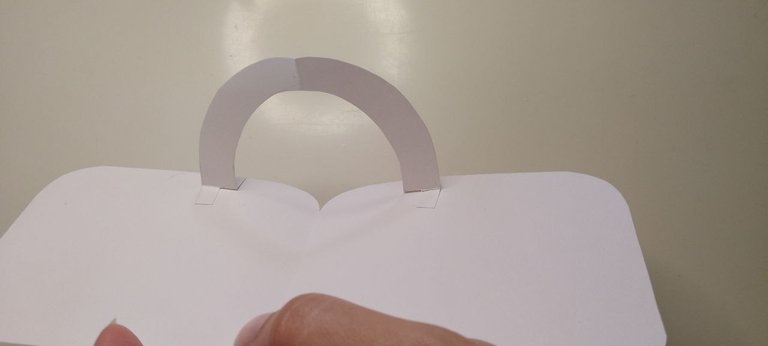
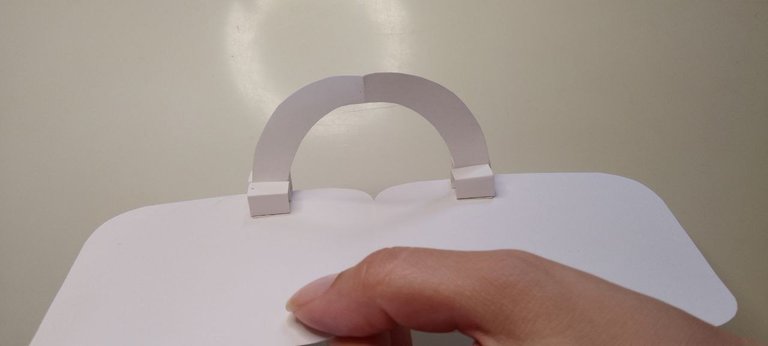
Este rectángulo también lo doblaremos a la mitad para poder tener una referencia. Con ayuda de un compás o algo circular (yo lo hice con una taza), haremos un cuarto de círculo que hacia la base de la figura, terminará con líneas rectas, doblaremos el rectángulo a la mitad como habíamos marcado antes y recortaremos con la tijera siguiendo las líneas que hemos marcado, así todo estará totalmente simétrico. También haremos un pequeño corte en la parte de las pestañas dividiendo a la misma en dos y doblaremos las pestañas una hacia adelante y su compañera hacia atrás. Es importante tener en cuenta que, el arco debe ser menos alto que la tarjeta en sí.
This rectangle we will also fold it in half in order to have a reference. With the help of a compass or something circular (I did it with a cup), we will make a quarter circle that towards the base of the figure, it will end with straight lines, we will fold the rectangle in half as we had marked before and we will cut with the scissors following the lines that we have marked, so everything will be totally symmetrical. We will also make a small cut in the part of the eyelashes dividing it in two and we will fold the eyelashes one forward and its partner backward. It is important to keep in mind that the arch should be less high than the card itself.
 |  |
|---|
 |  |
|---|
Arco / Arch
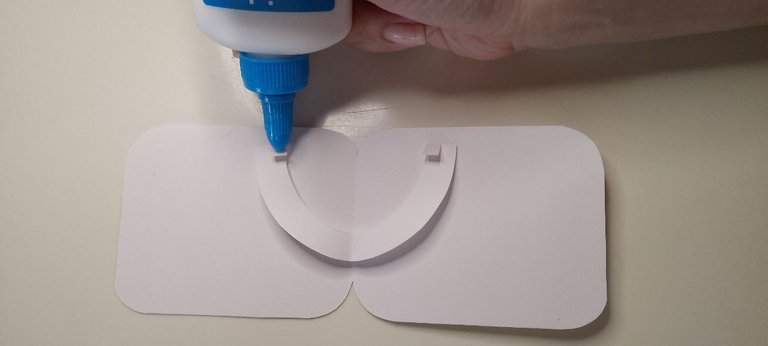
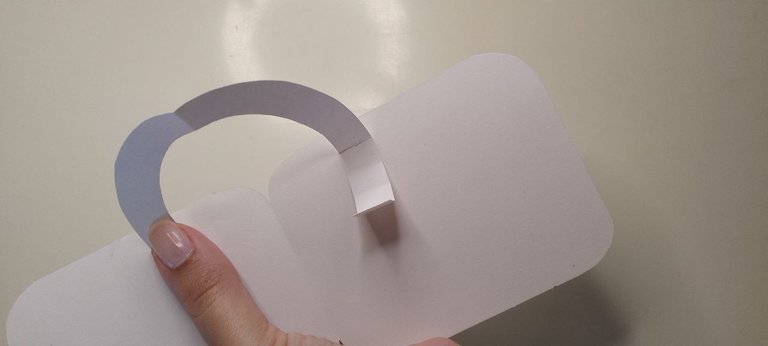
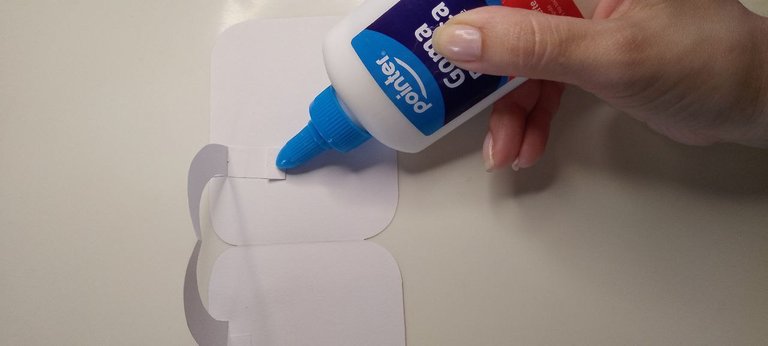
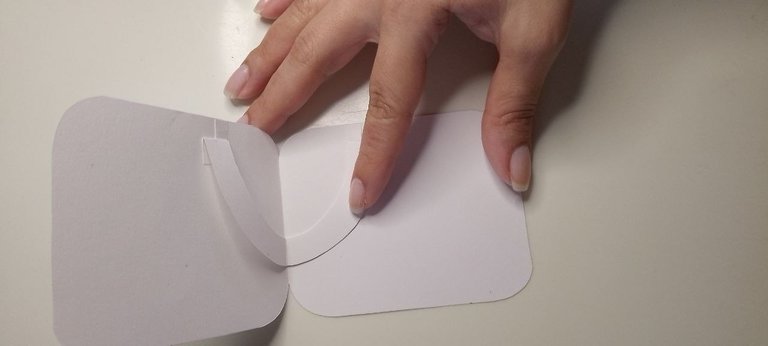
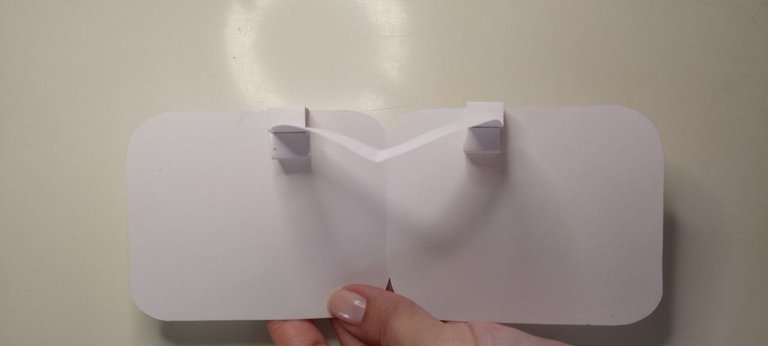
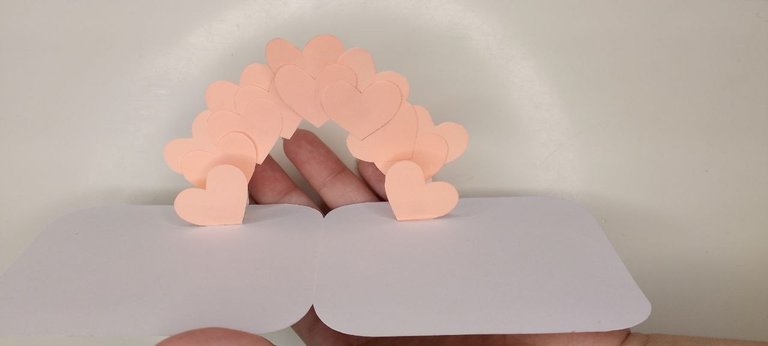
Ahora, añadiendo un poco de pegamento en cada una de las pestañas, posicionaremos nuestro arco hacia el extremo superior de la tarjeta tal como se ve en la figura, haciendo coincidir el centro del arco con el de la tarjeta.
Now, adding a little glue to each of the tabs, we will position our bow towards the top of the card as shown in the figure, matching the center of the bow with the center of the card.
 |  |
|---|
Posicionando el arco / Positioning the arc
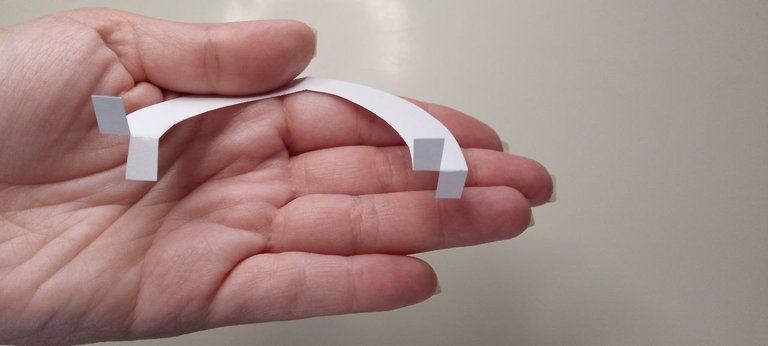
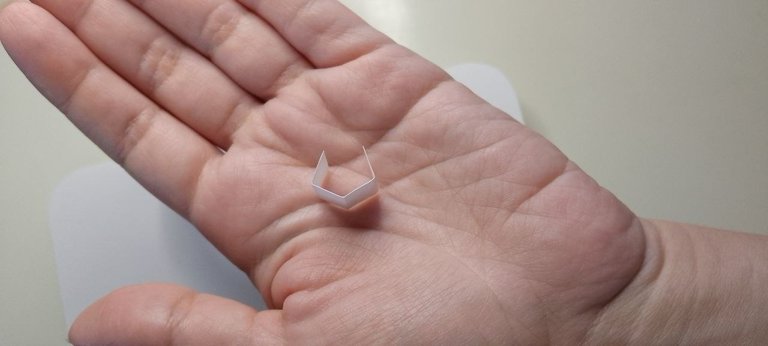
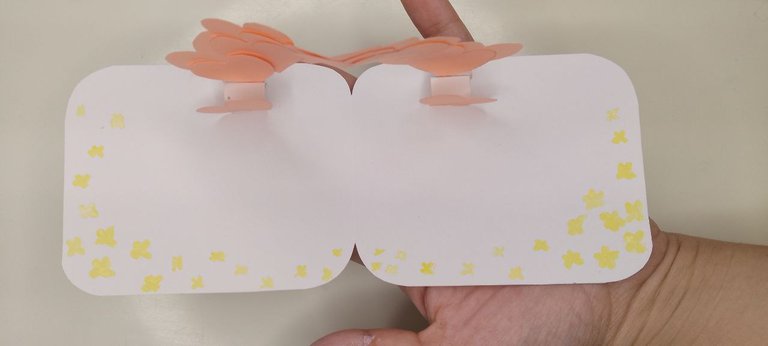
Es momento de tomar pequeños rectángulos de cartulina, no lo hice con una medida exacta pero al doblarlos cada lado quedó de 1 cm aproximadamente, así que los rectángulos inicialmente medirían 4 cm. Haremos los dobleces correspondientes y pegaremos un extremo justo al frente del arco en una de sus bases y seguidamente, colocaremos un poco de pegamento en el otro extremo y este lo adheriremos al arco, formando una especie de cubito. Esta acción la repetiremos en la parte de atrás de esta base del arco y en la parte frontal y posterior de la otra base también, para un total de 4 cubitos.
It is time to take small rectangles of cardboard, I did not do it with an exact measurement but when folded each side was about 1 cm, so the rectangles would initially measure 4 cm. We will make the corresponding folds and we will glue one end just in front of the arch in one of its bases and then, we will put some glue on the other end and we will stick it to the arch, forming a kind of cube. We will repeat this action on the back of this base of the bow and on the front and back of the other base as well, for a total of 4 cubes.
 |  |
|---|
 |  |
|---|
 |  |
|---|
Cubitos / Cubes
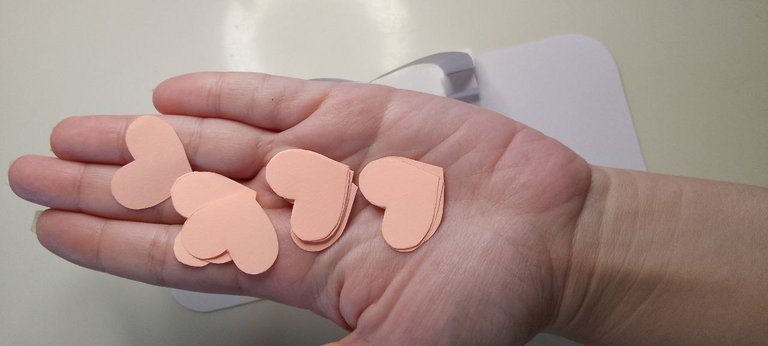
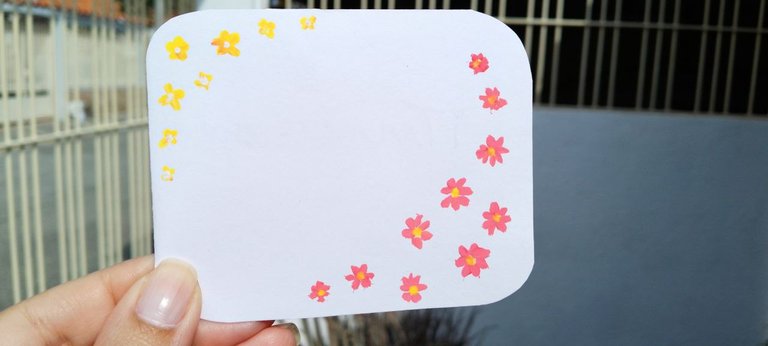
Por fin llegó la hora de decorar, así que elige tus figuras favoritas. Yo he recortado un montón de corazones en papel de color coral y los vamos posicionando en el arco como más nos guste, puedes colocar solo en la parte de adelante o también que sobresalgan desde atrás. También he decorado los espacios en blanco de la tarjeta con florecitas pintadas con pintura al frío, tanto adentro como afuera de ella. Además he agregado un bonito mensaje dentro de ella, que primero hice con pintura al frío y al secarse, repasé con mi rapidógrafo negro. También decidí dejar un pequeño espacio para añadir un mensaje más personal, mi firma y fecha.
Finally it's time to decorate, so choose your favorite figures. I have cut out a bunch of hearts in coral colored paper and we are positioning them in the arch as we like, you can place them only in the front or also protrude from the back. I have also decorated the blank spaces of the card with little flowers painted with cold paint, both inside and outside the card. I also added a nice message inside it, which I first did with cold paint and when it dried, I went over it with my black rapidograph. I also decided to leave a small space to add a more personal message, my signature and date.
 |  |
|---|
Decoración / Decoration
Y este es el resultado final, a mí me ha encantado y si a ti también me gustaría que me lo dijeras en los comentarios ¿se te ocurren otras decoraciones para este bonito arco?
And this is the final result, I loved it and if you do too I would love to hear from you in the comments, can you think of other decorations for this beautiful arch?
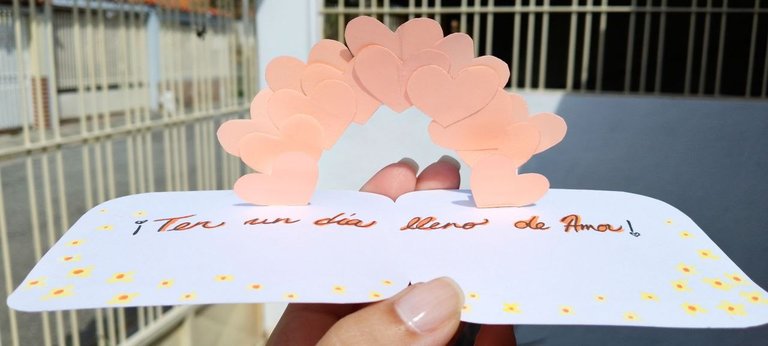
Resultado final / Final result
¡Muchas gracias por leerme!
Thank you so much for reading me!
Fotografías propias, tomadas con mi Tecno Spark 10C.
Traducido al inglés con DeepL.
Own photographs, taken with my Tecno Spark 10C.
Translated to English with DeepL.

Posted Using INLEO
Un buen proyecto, me encanta!!! Gracias por compartir, saludos..
Muchas gracias☺️ que bueno que te haya gustado💖
Congratulations @mavilan30! You have completed the following achievement on the Hive blockchain And have been rewarded with New badge(s)
Your next target is to reach 70 posts.
You can view your badges on your board and compare yourself to others in the Ranking
If you no longer want to receive notifications, reply to this comment with the word
STOPCheck out our last posts:
Muchas gracias amiga✨ me alegra que te gustara☺️
This is beautiful ❤️
Thank you so much 💖
Welcome 🤗
Lo amé
Gracias💖 Me contenta mucho🤗
A ti. Un abrazo de luz
This kind of cards are great, my grandmother used to get a card like this for every birthday to write me a few words. I got some nice surprises so reading your post brought back some nice memories. Excellent result, extremely neat and very professional.
Thank you so much for sharing your nice memory with me ✨ I'm so glad you liked my work ☺️
Congratulations @mavilan30! You received a personal badge!
You can view your badges on your board and compare yourself to others in the Ranking
Check out our last posts:
Awww how exciting to celebrate my first birthday in Hive😍🎉 Thank you💖✨