Hola a todos // Hello everyone
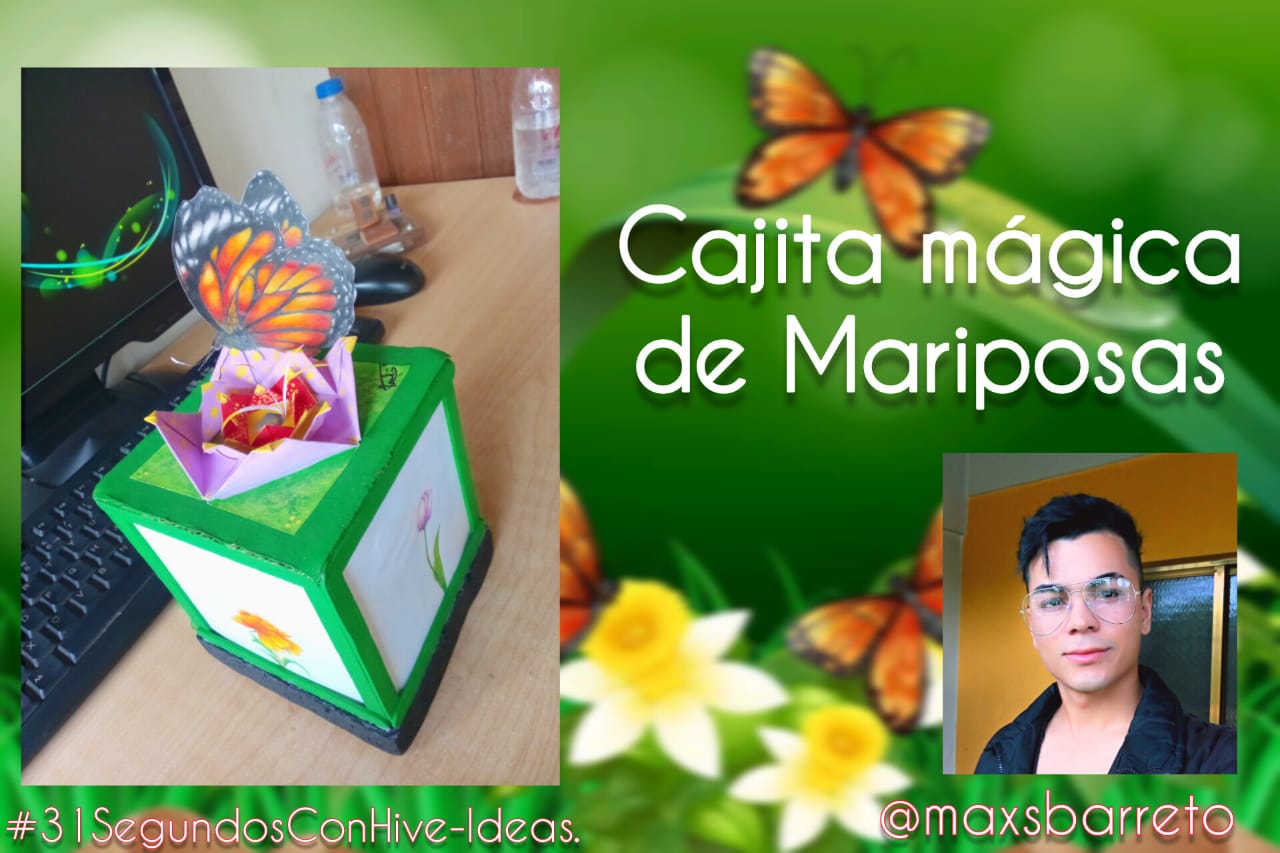
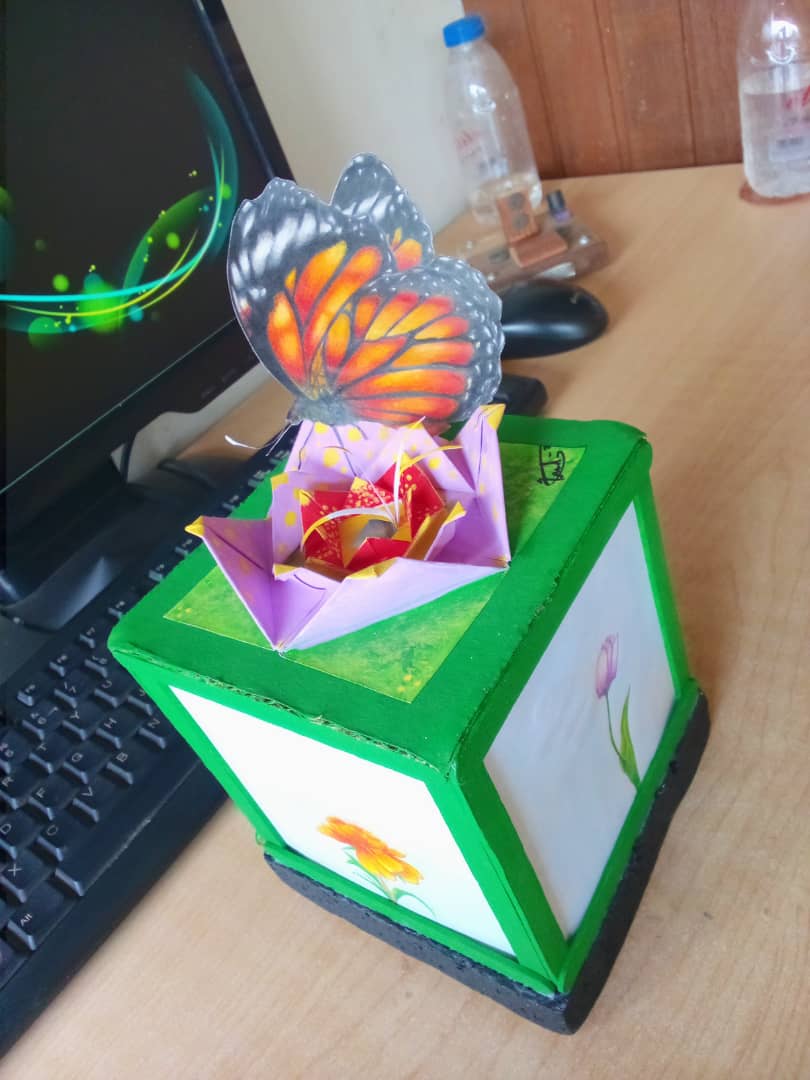
Hoy les presento: Caja Mágica (Mariposas)
Today I present to you: Magic Box (Butterflies)
Un día, una pequeña niña me pidió que le dibujara una mariposa , me comentó que le encantaban verlas y dibujarlas y me dijo que algún día quería tener unas y poder guardar en una cajita para siempre verlas antes de dormir.
One day, a little girl asked me to draw her a butterfly, she told me that she loved to see and draw them and she told me that someday she wanted to have some and to keep them in a little box so she could always see them before going to sleep.
Hoy recordé esa niña preciosa y su idea muy bonita me puse a pensar a como realizar un pequeño proyecto para hacer que tuviera su cajita con mariposas, de allí me dije desde mi mente voy hacer una cajita mágica con mariposas adentro.
Today I remembered that precious little girl and her beautiful idea and I started to think about how to make a small project to make her have her little box with butterflies, from there I said to myself from my mind I will make a magic box with butterflies inside.
impresionante la idea de esa niña , con mucho color imaginación y ingenio puede realizar este proyecto.
The idea of this little girl is impressive, with a lot of color, imagination and ingenuity she can make this project.
Les voy a enseñar para que tú también puedes realizar está cajita mágica.
I am going to show you how you too can make this magic box.
Materiales // Materials:
- Paletas de Helados.
- Silicón Al Frío
- pinturas temperas a tu gusto
- hojas de papel blancas
- colores
- marcadores
- tijera
- una pequeña lámina de anime
- pequeño circuito de luz de 12 voltios
- cable de enchufe 2 puntas.
- Ice Cream Popsicles.
- Cold Silicone
- tempera paints of your choice
- white sheets of paper
- colored paper
- markers
- scissors
- a small anime sheet
- small 12 volt light circuit
- 2 prongs plug wire.
Pasos//Steps:
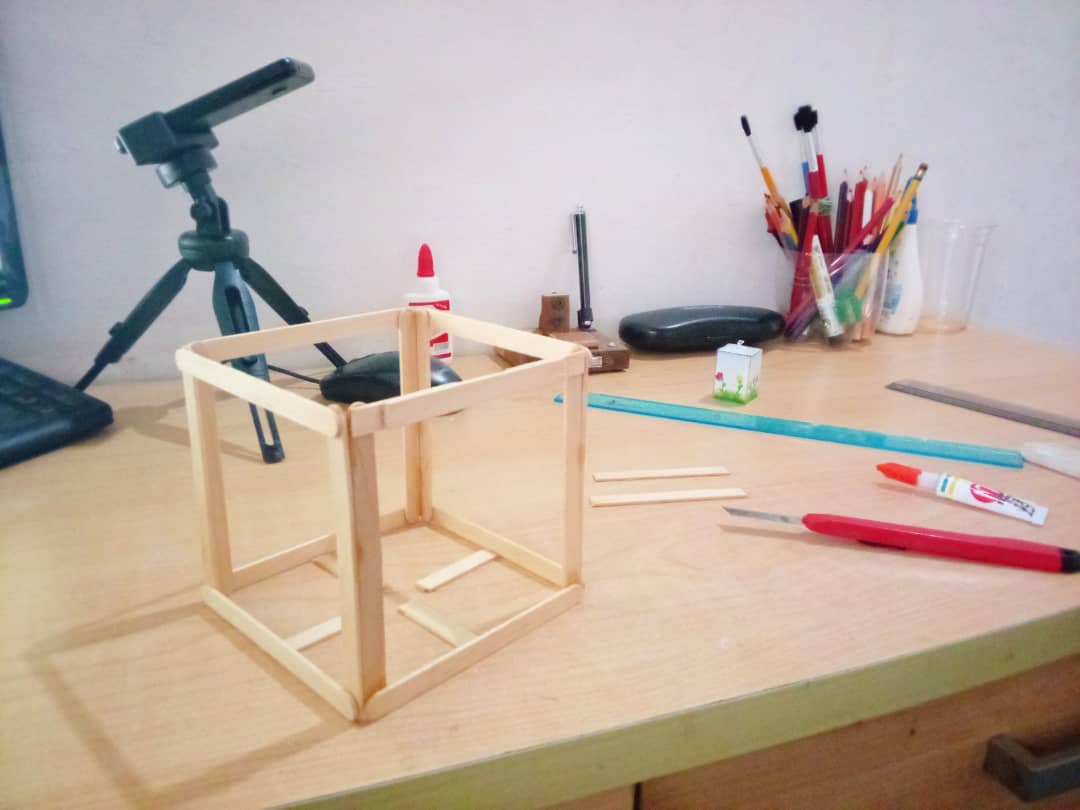
1- con las paletas de Helados realiza la estructura de una caja de cuatro caras como en la fotografía.
1- With the popsicle sticks, make the structure of a four-sided box as shown in the picture.
2- en las hojas blancas recorta cuadros del tamaño respectivo a el tamaño de las caras de la caja de paletas.
2- on the white sheets cut out squares of the respective size of the size of the faces of the pallet box.
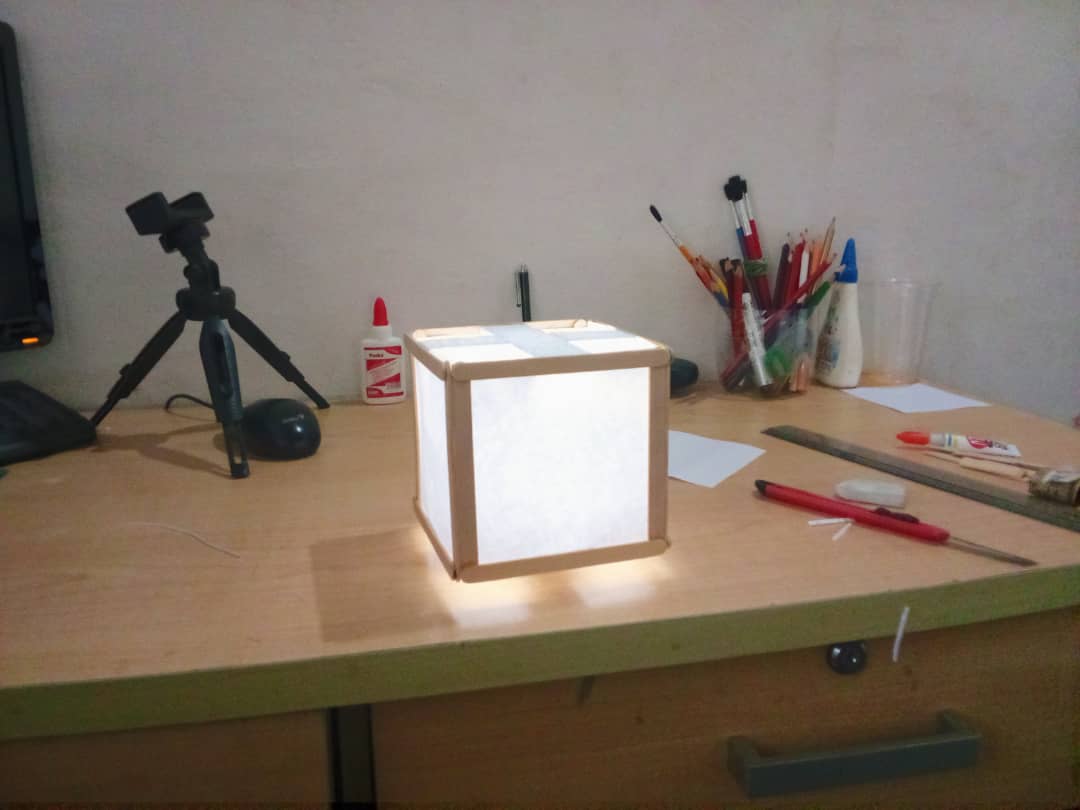
3- En las 4 caras de hojas blancas ya recortadas realiza los dibujos a tu preferencia cumpliendo con la técnica de reflexión, esta técnica consiste en donde en una cara de la hoja dibujas una figura dejando espacio para reflejar el otro dibujo en el reverso de la hoja.
3- On the 4 sides of the white sheets already cut out, make the drawings according to your preference using the reflection technique, this technique consists of drawing a figure on one side of the sheet leaving space to reflect the other drawing on the back of the sheet.
4- Luego comprendido está técnica y hacerla a tu imaginación pinta la cajita del color de tu elección cubriendo la madera.
4- After understanding this technique and making it to your imagination, paint the box in the color of your choice covering the wood.
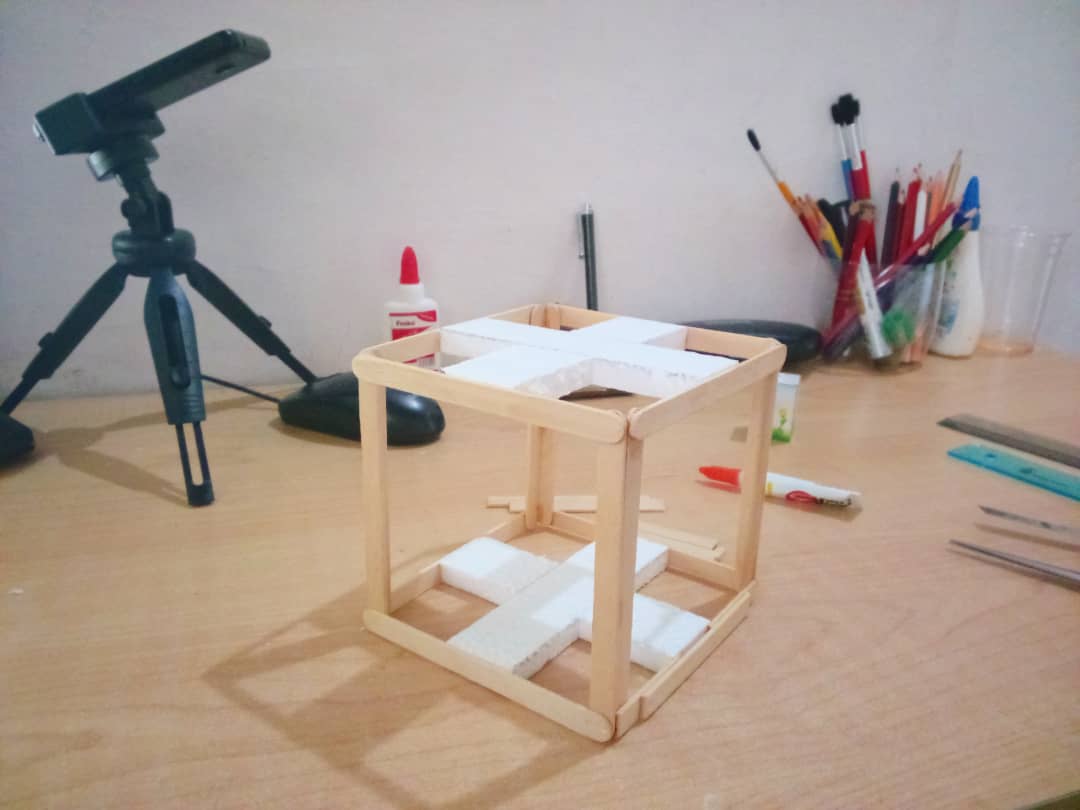
5- Pega la cajita de paletas a una superficie plana puede ser un cuadrado de plancha de anime o cartón.
5- Glue the popsicle stick box to a flat surface, such as a square of anime board or cardboard.
6- instala el circuito de luz en el centro de las 4 caras de los dibujos.
6- install the light circuit in the center of the 4 sides of the drawings.
7- Pega las 4 caras con sus dibujos terminados.
7- Glue the 4 sides with their finished drawings.
8- Haz una tapa de cartón para terminar de cubrir la caja ubicada en la tapa superior.
8- Make a cardboard lid to finish covering the box located on the top lid.
9- Conecta el circuito por fuera de la caja dejando un pequeño orificio por dónde pase el cable del enchufe que vas a conectar para que encienda.
9- Connect the circuit on the outside of the box leaving a small hole where the cable of the plug you are going to connect to turn it on.
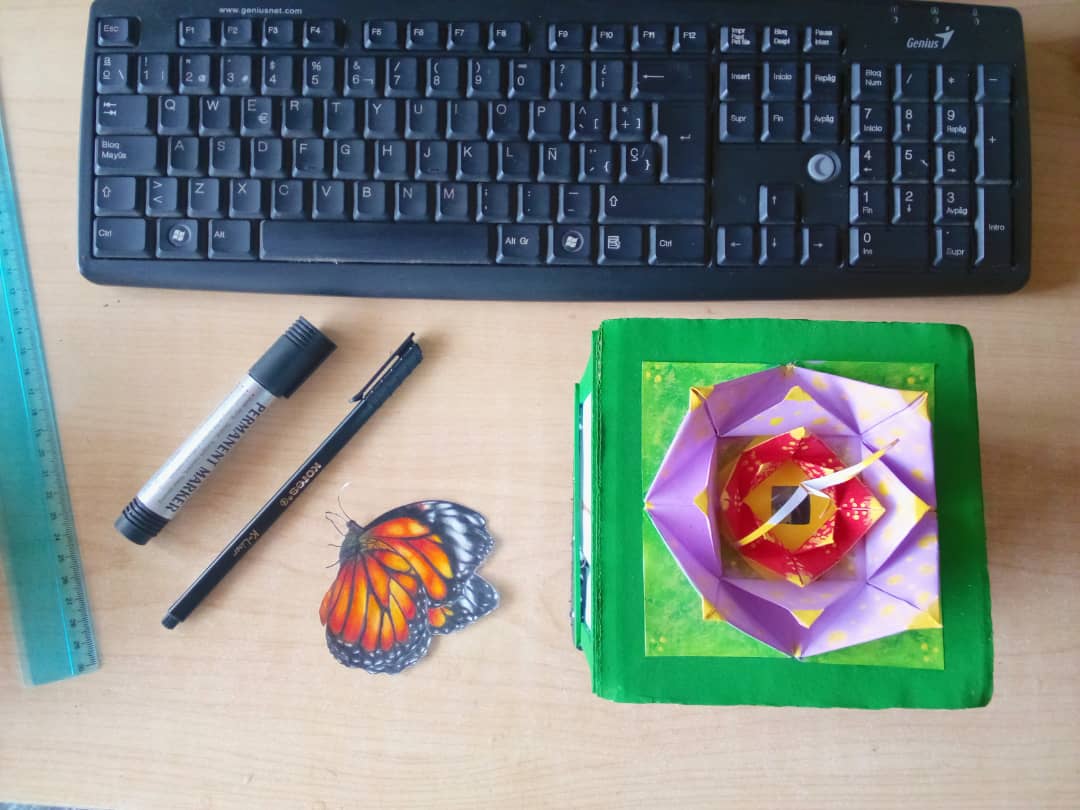
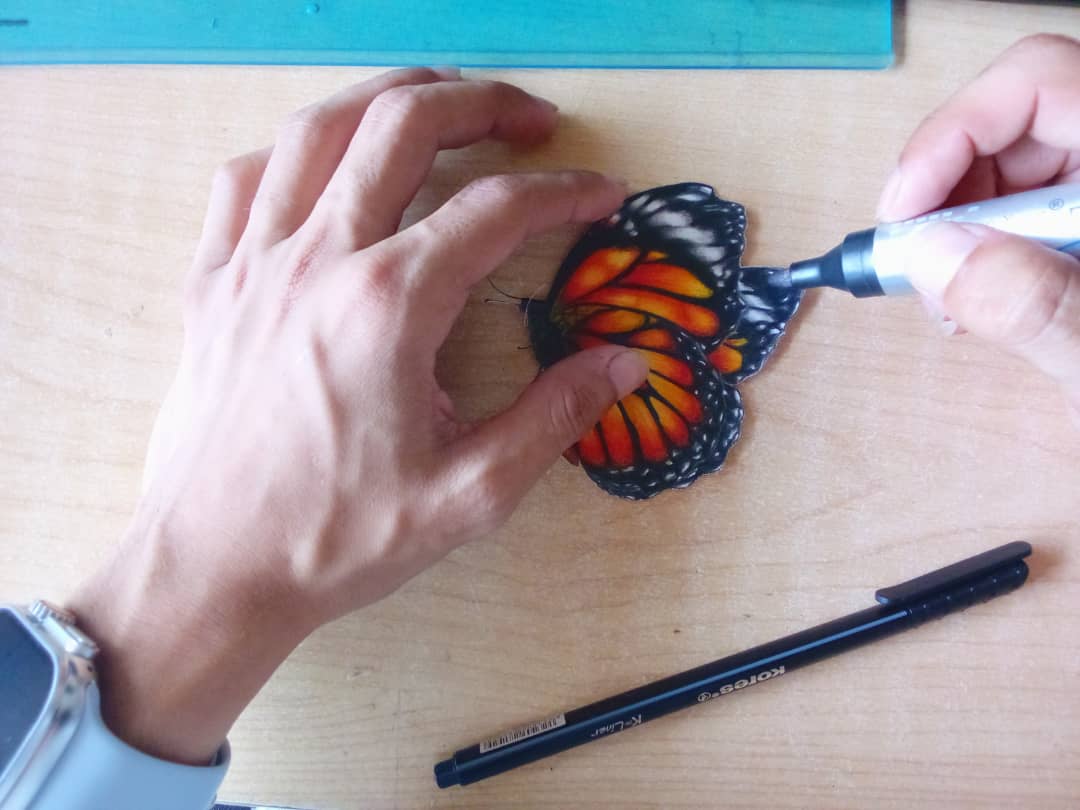
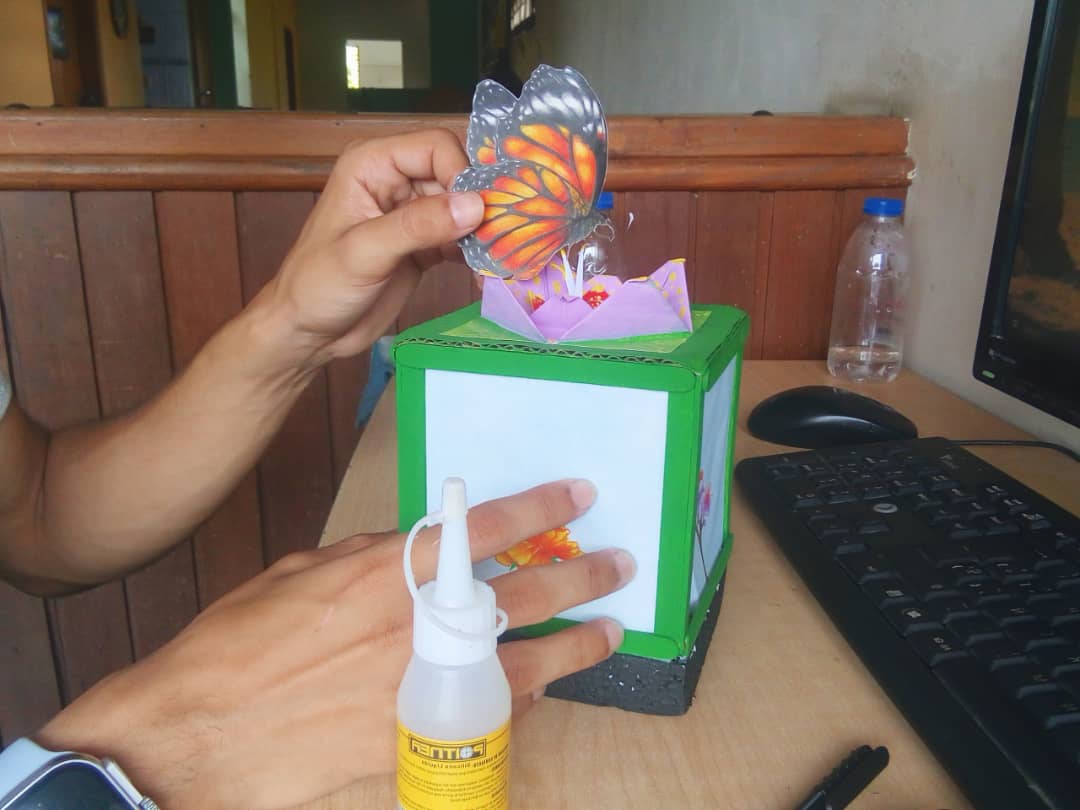
10- Vuélvete creativo y empieza a decorar la cajita por sus alrededores y por arriba , intenta hacer flores de papel o recortar pequeñas mariposas de cartulina y a colocarlas.
10- Get creative and start decorating the box around and on top, try making paper flowers or cutting small butterflies out of cardboard and placing them.
Una gran idea para hacerle un regalo a tus hijos o familiares más pequeños y ver la felicidad en sus ojitos.
Voy a desarrollar otros modelos para futuros videos , me encantaría que me dieras tu opinión si quisieras que le agregara algo.
A great idea to give a gift to your children or younger family members and see the happiness in their eyes.
I will develop other models for future videos, I would love to get your opinion if you would like me to add something.
Muchas gracias por esta gran comunidad de HIVE DIY espero seguir contando con su apoyo.
Thank you very much for this great community of HIVE DIY I hope to continue counting on your support.
Imágenes del proceso // Images of the process
Gracias por visitarme, nos vemos en los próximos videos.
Thanks for visiting me, see you in the next videos.
▶️ 3Speak
Linda cajita me encanta la combinación de colores.