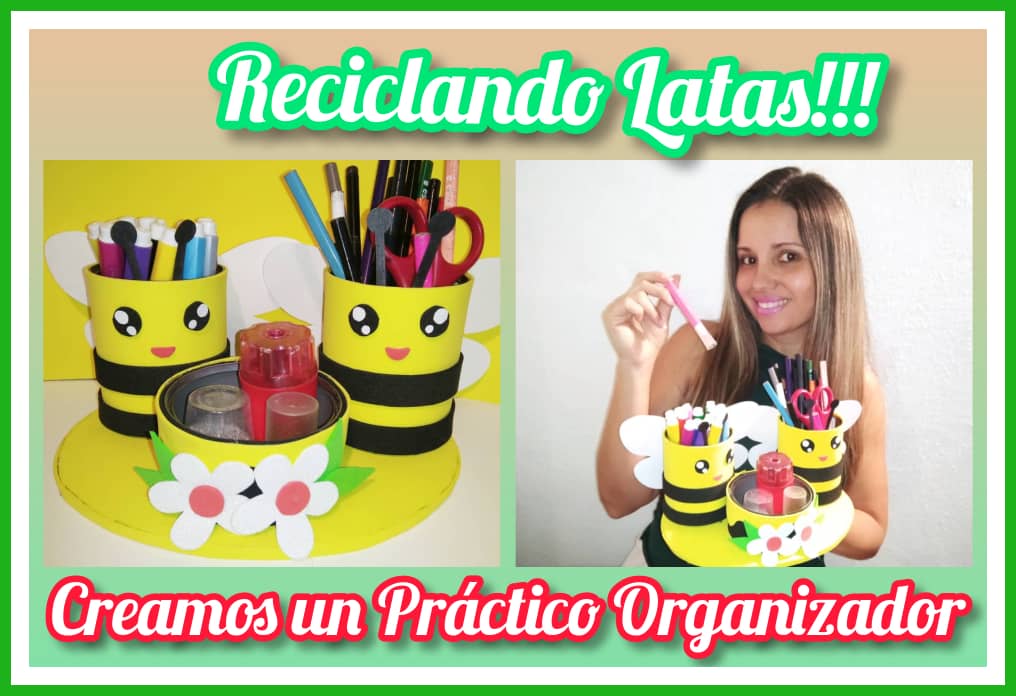
Hola, hola mis queridos amigos innovadores y creativos. 🤗☺️🥰
Hello, hello my dear innovative and creative friends. 🤗☺️

I hope you are very, very well, with this good vibe that you feel in this excellent community of @hivediy. Today I want to share with you a beautiful work that I made especially for myself, it is an "Organizer with cans" that I have recycled, as I have told you in other publications, I feel love for recycling and the way we can obtain useful objects through of it.
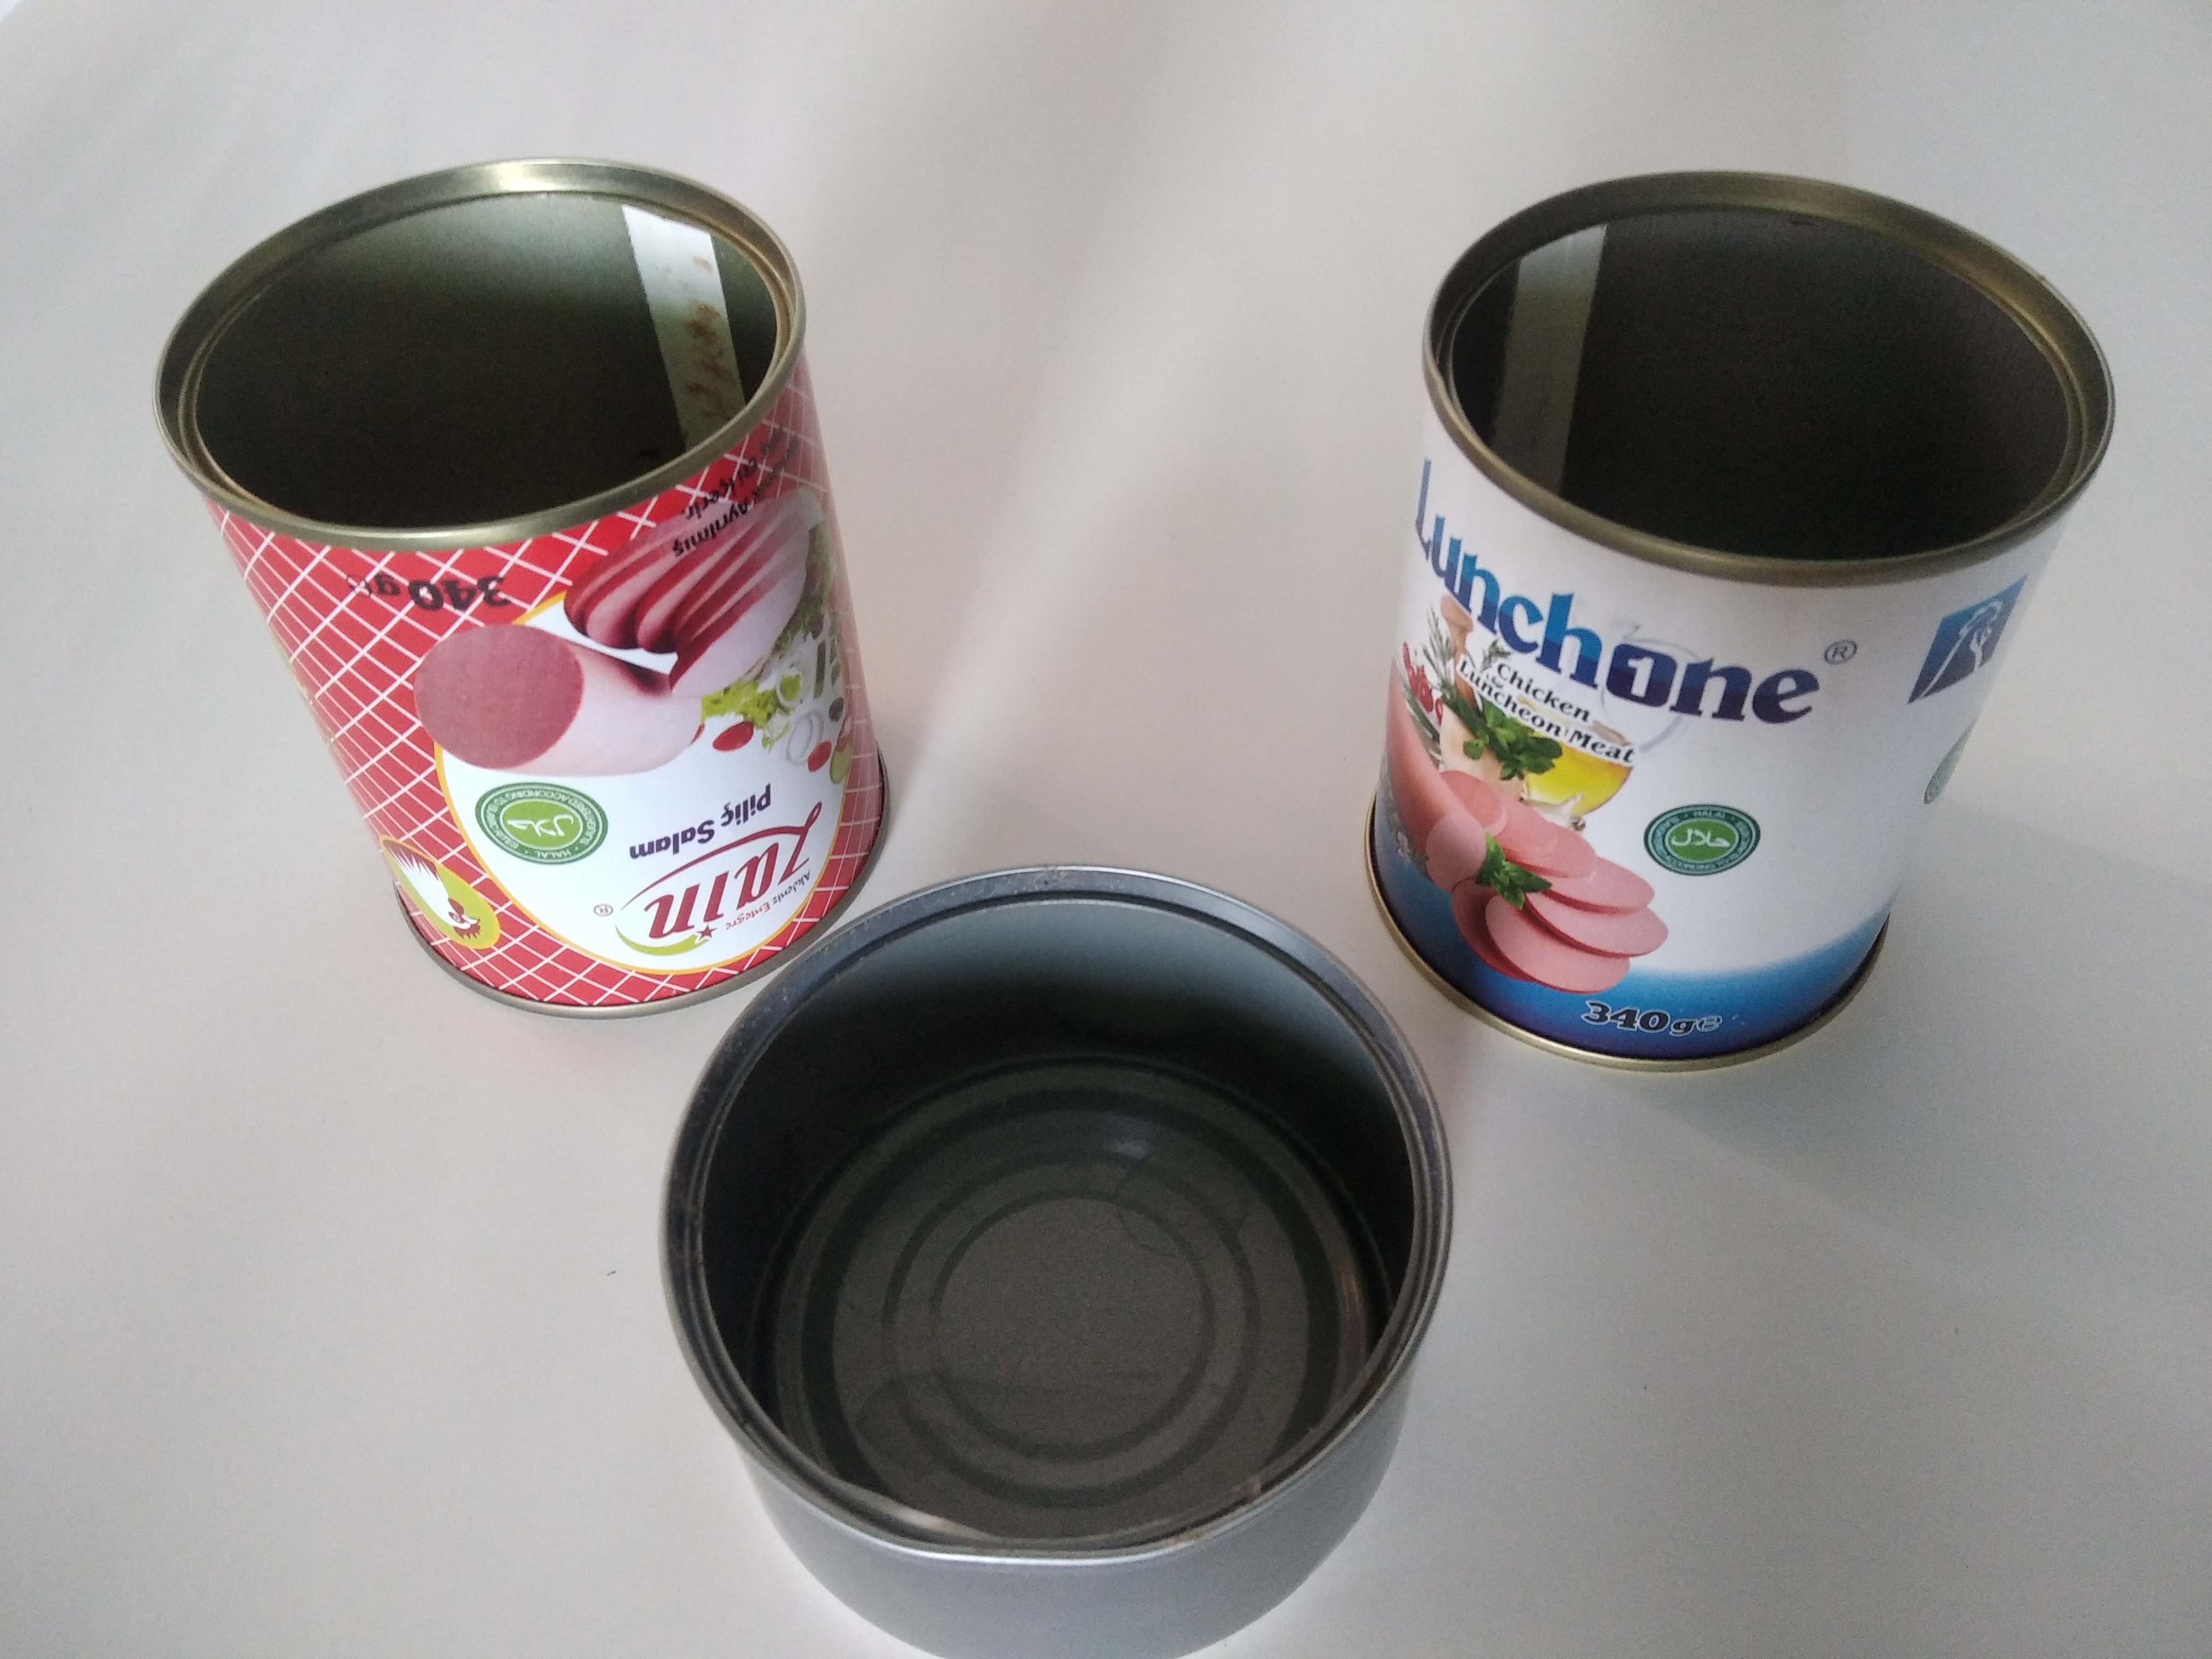
I will use this organizer to keep my markers, colors, ruler, scissors, glue and other school supplies in order. It is always important to maintain order in our workplaces and in our homes, that is why we will make this super organizer that will allow us to easily find any school object that we need. The main material that I will use in this cute and creative craft are sausage cans, I like to keep these cans because I know that later I will put them to good use and that time has come to create, let's see the materials that we are going to use in this practical and easy to elaborate school supplies organizer.
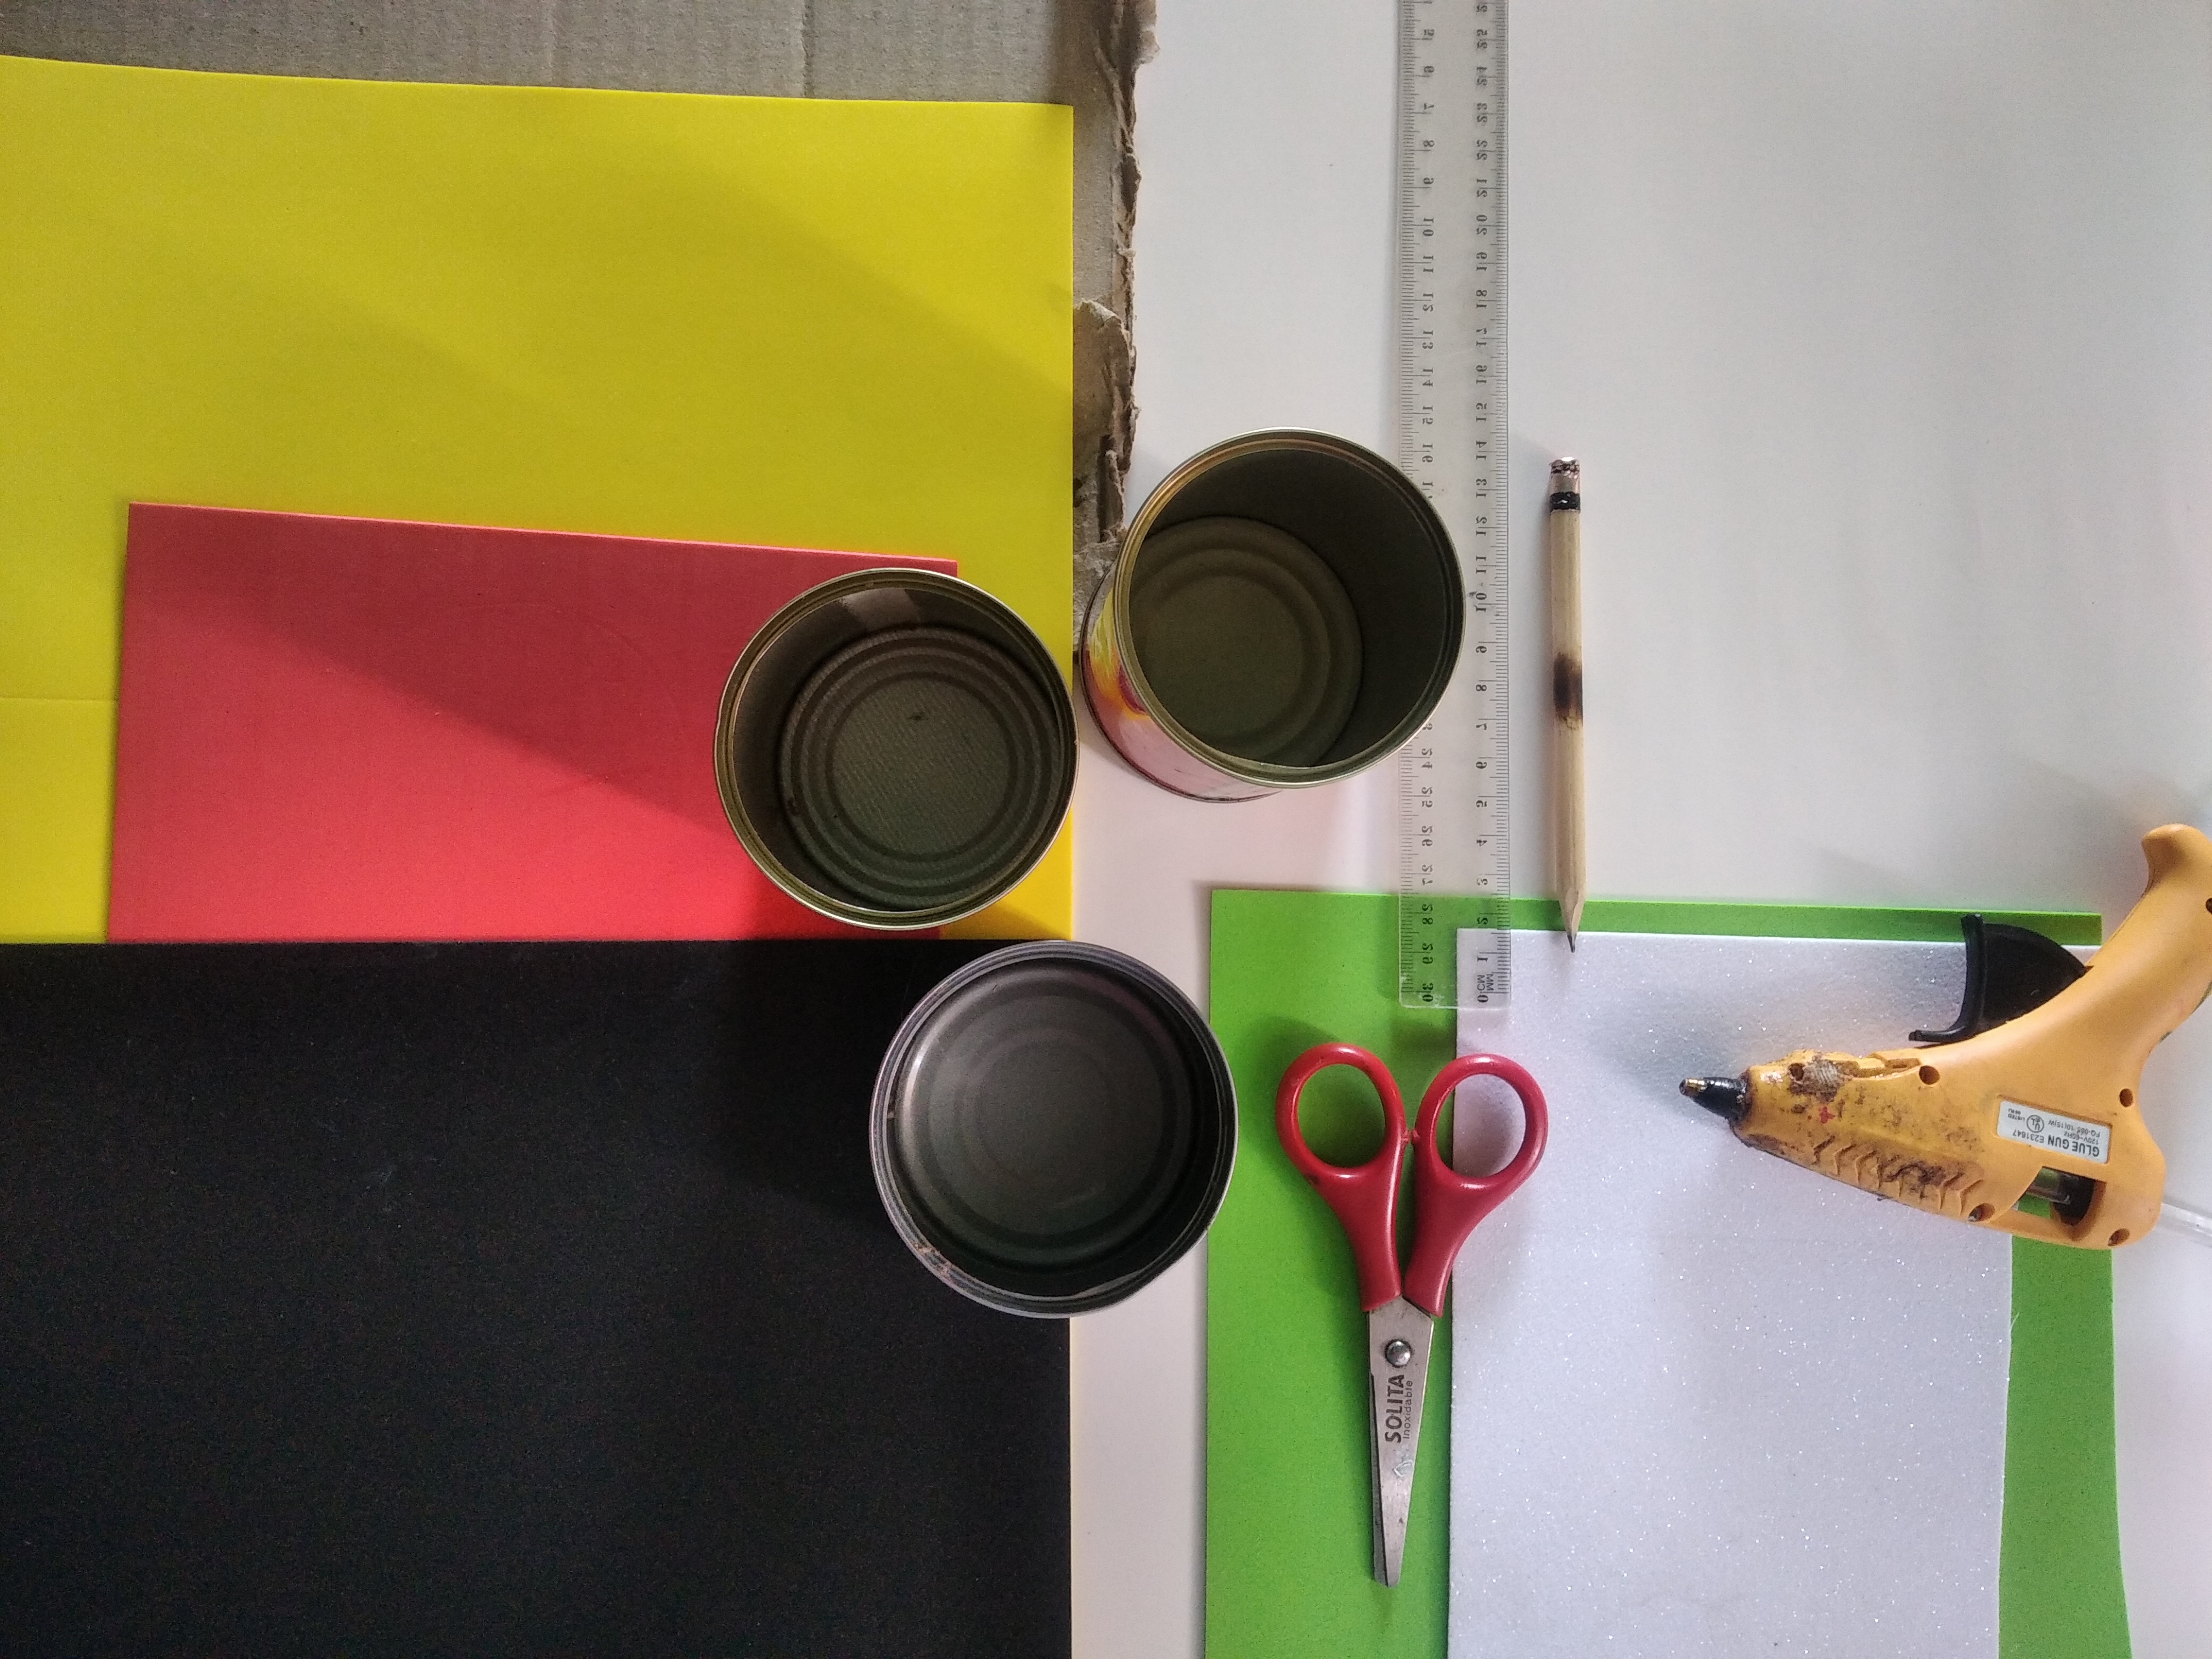

Materiales y herramientas.
Materials and tools.
🐝 Latas de embutidos.
🐝 Foami, amarillo, negro, verde, blanco escarchado.
🐝 Hojas blancas.
🐝 Cartulina negra.
🐝 Cartón.
🐝 Lápiz de grafito.
🐝 Silicón en barra.
🐝 Pistola de silicón.
🐝 Regla.
🐝 Tijera.
🐝 Inyectadora.
🐝 Marcador grueso.
🐝 Color.
🐝 Sausage cans.
🐝 Foami, yellow, black, green, frosty white.
🐝 White sheets.
🐝 Black cardboard.
🐝 Cardboard.
🐝 Graphite pencil.
🐝 Silicone in bar.
🐝 Silicone gun.
🐝 Rule.
🐝 Scissor.
🐝 Injector.
🐝 Thick marker.
🐝 Colour.
Now we go to the elaboration, in detail we will see how this organizer was made.

Elaboración.
Crafting.
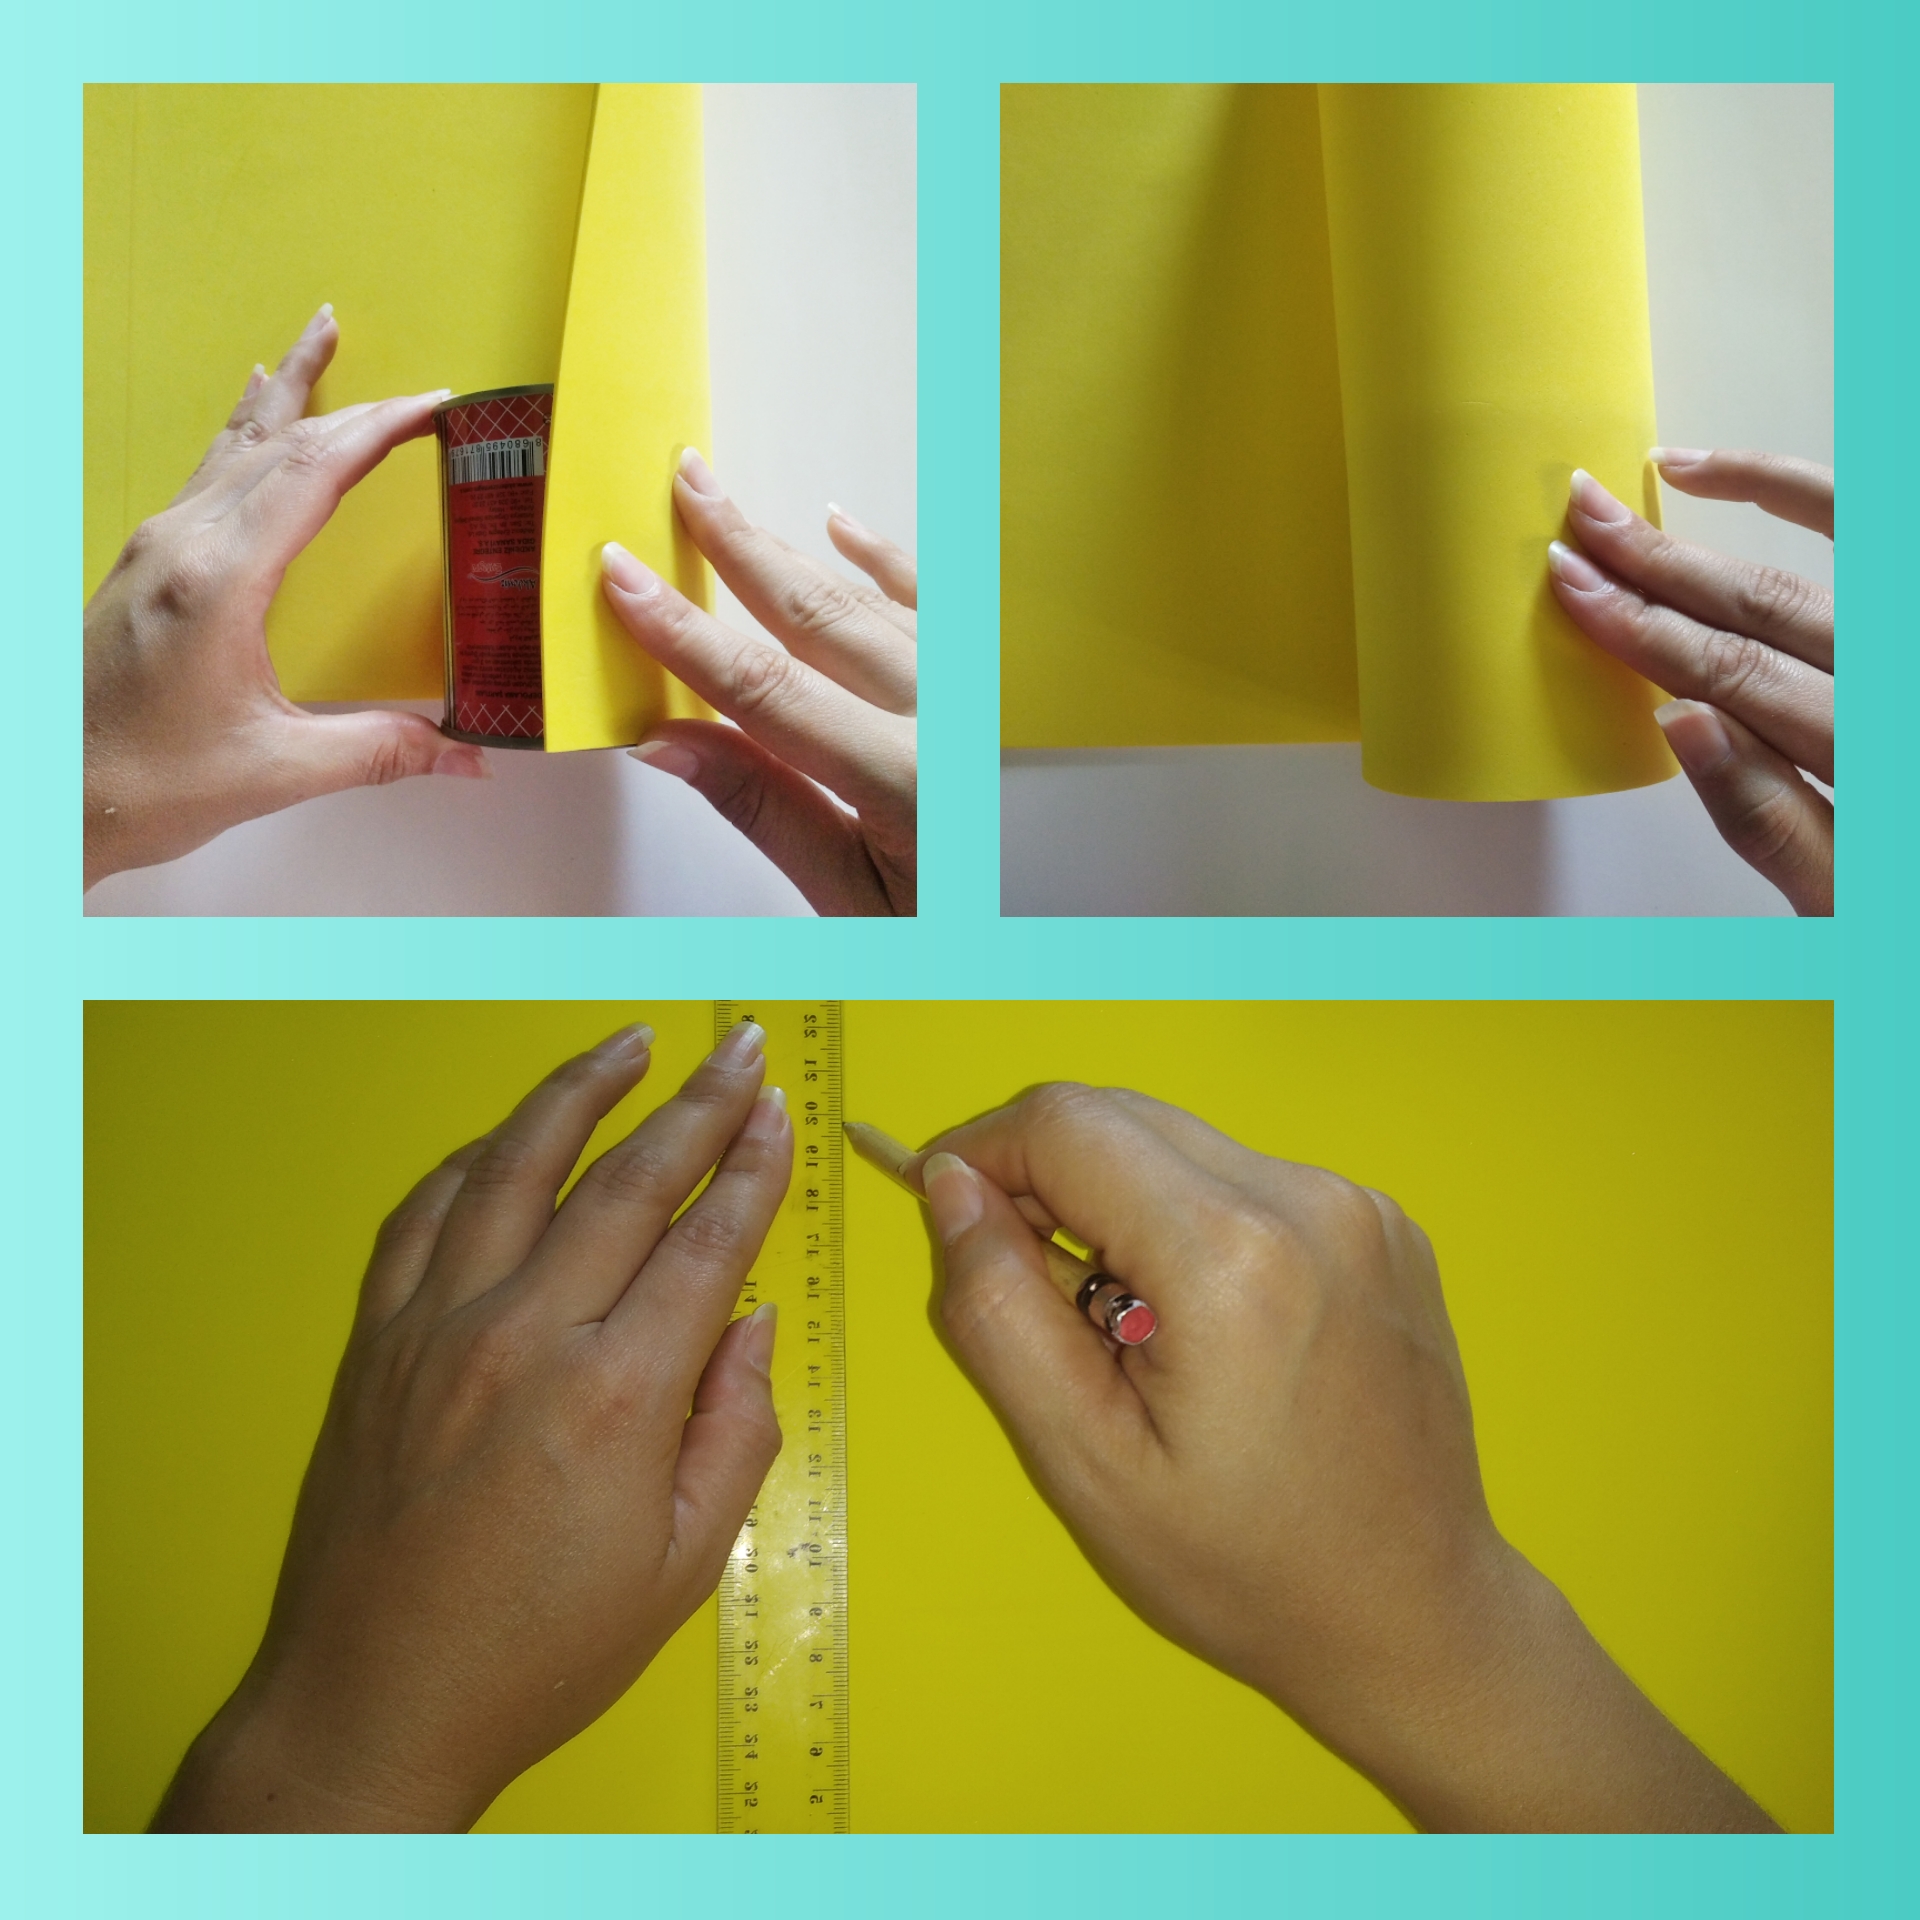
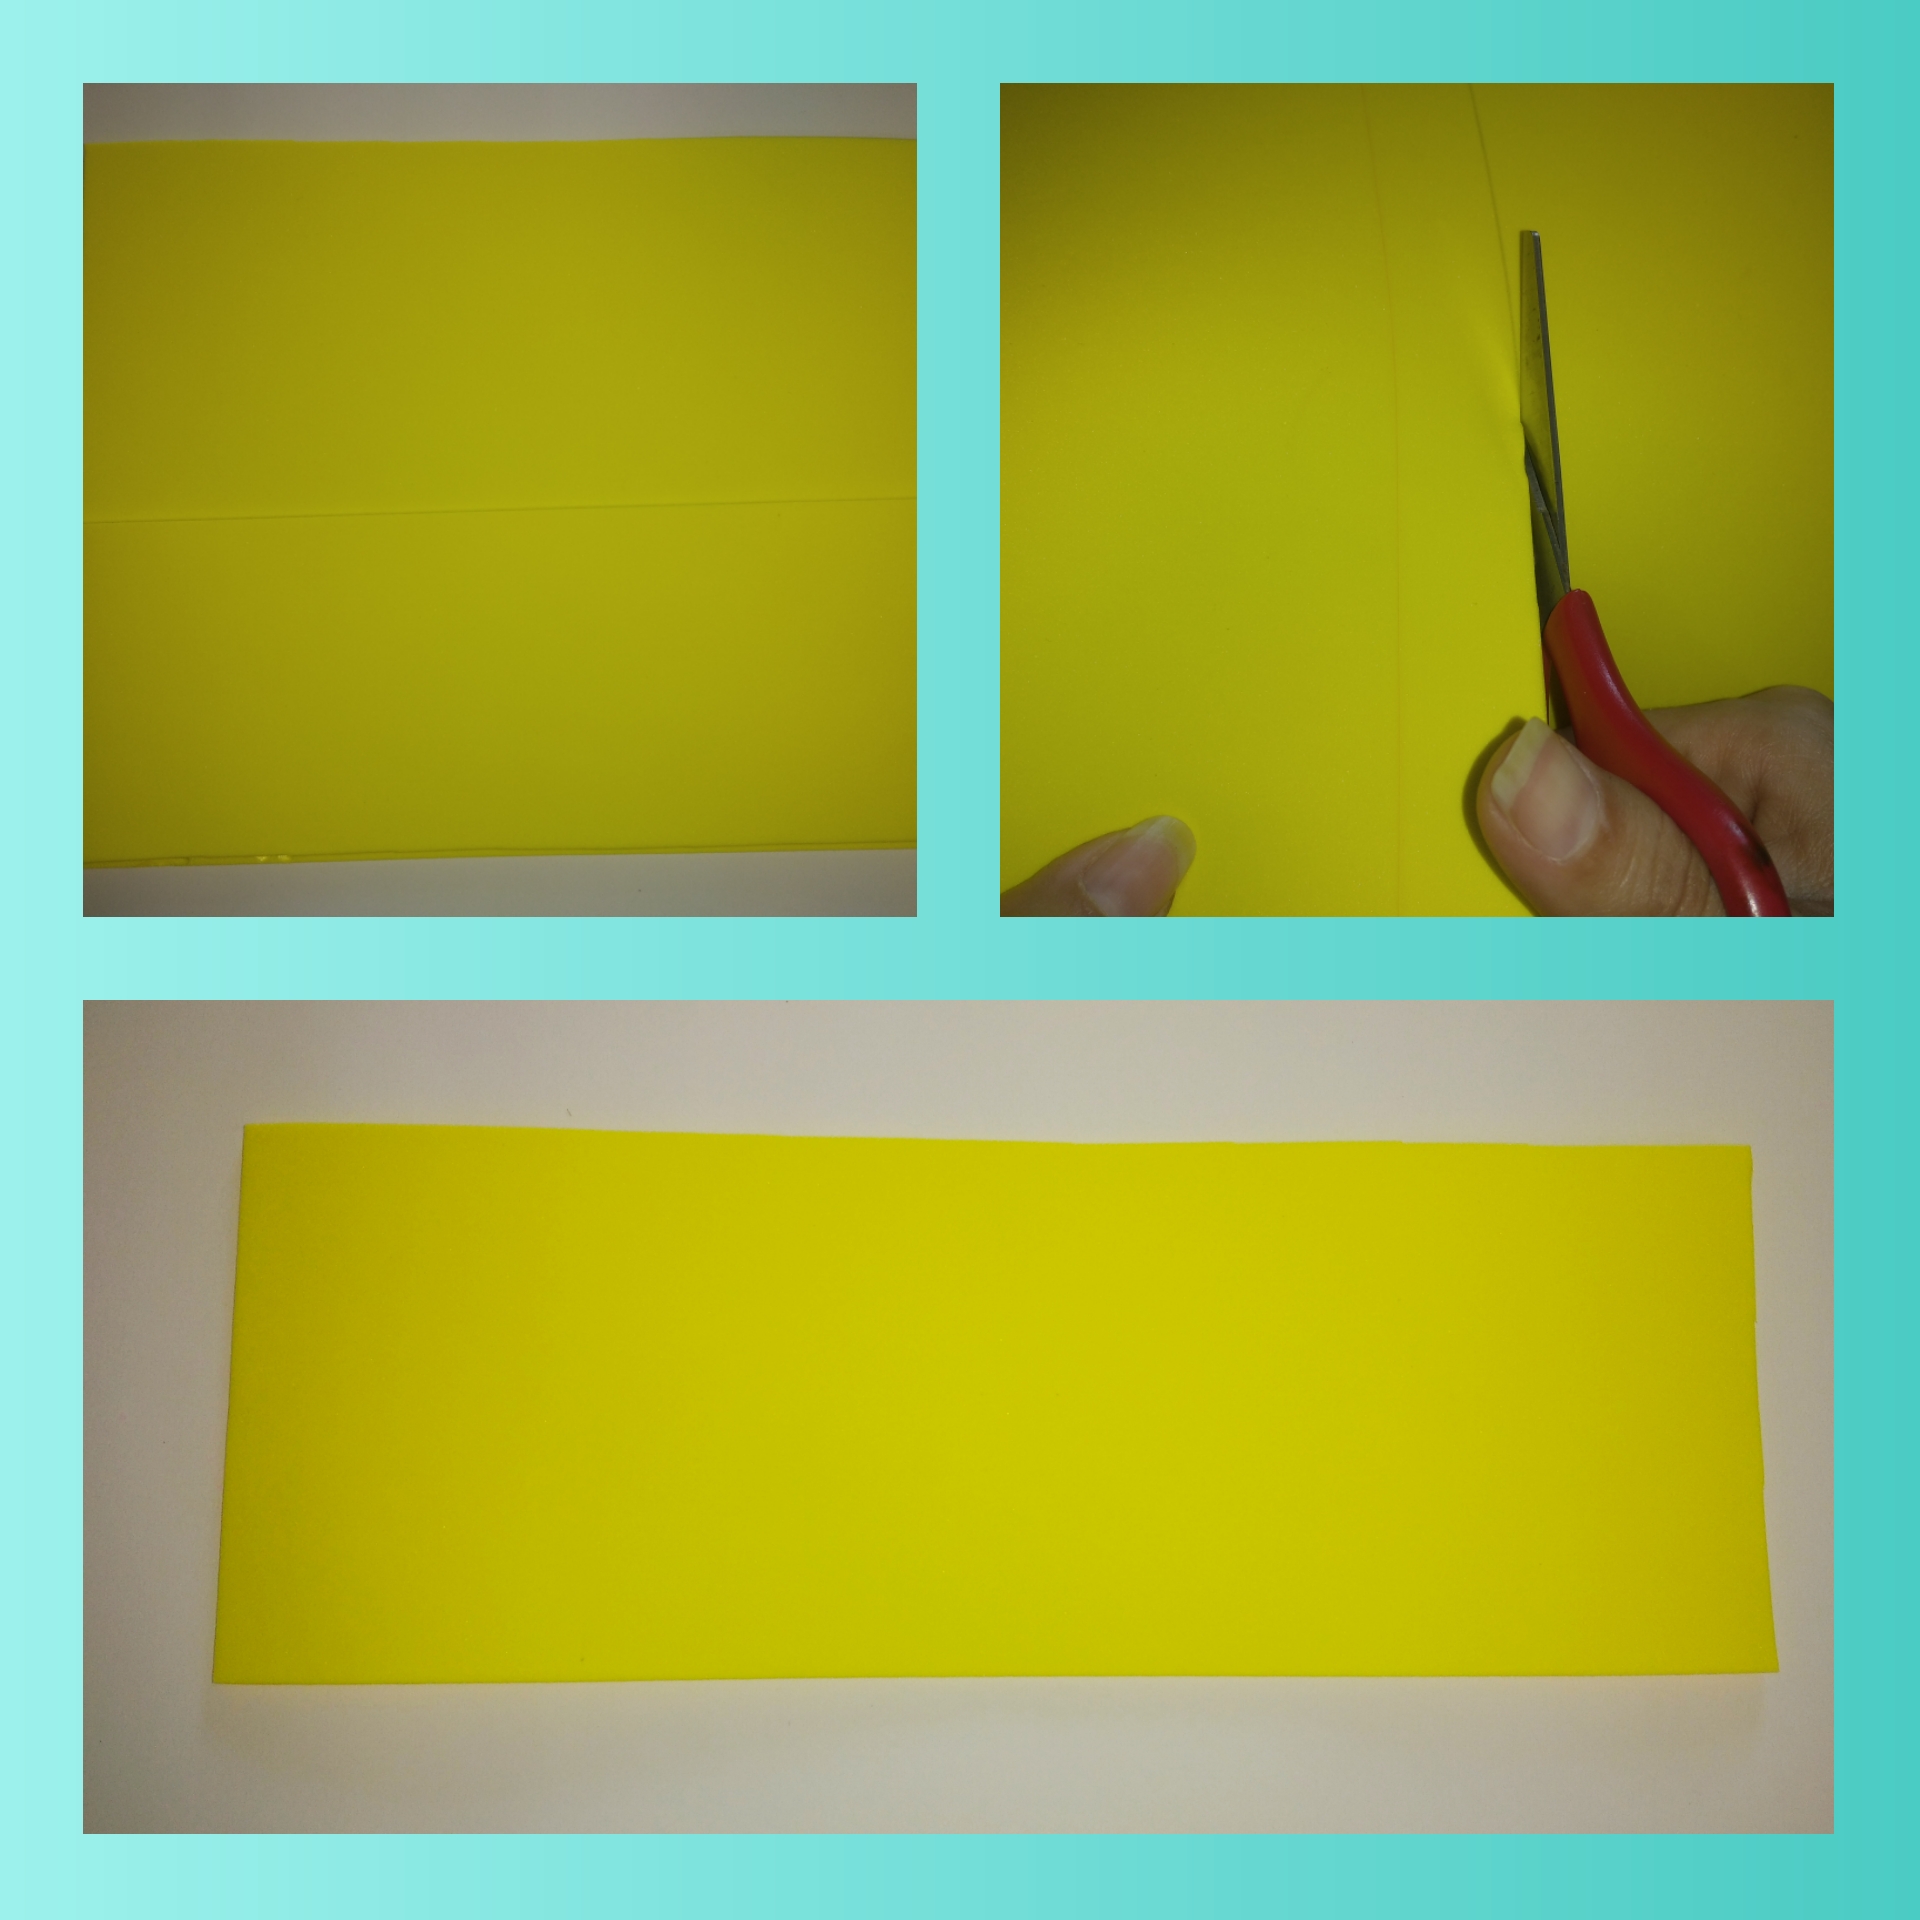
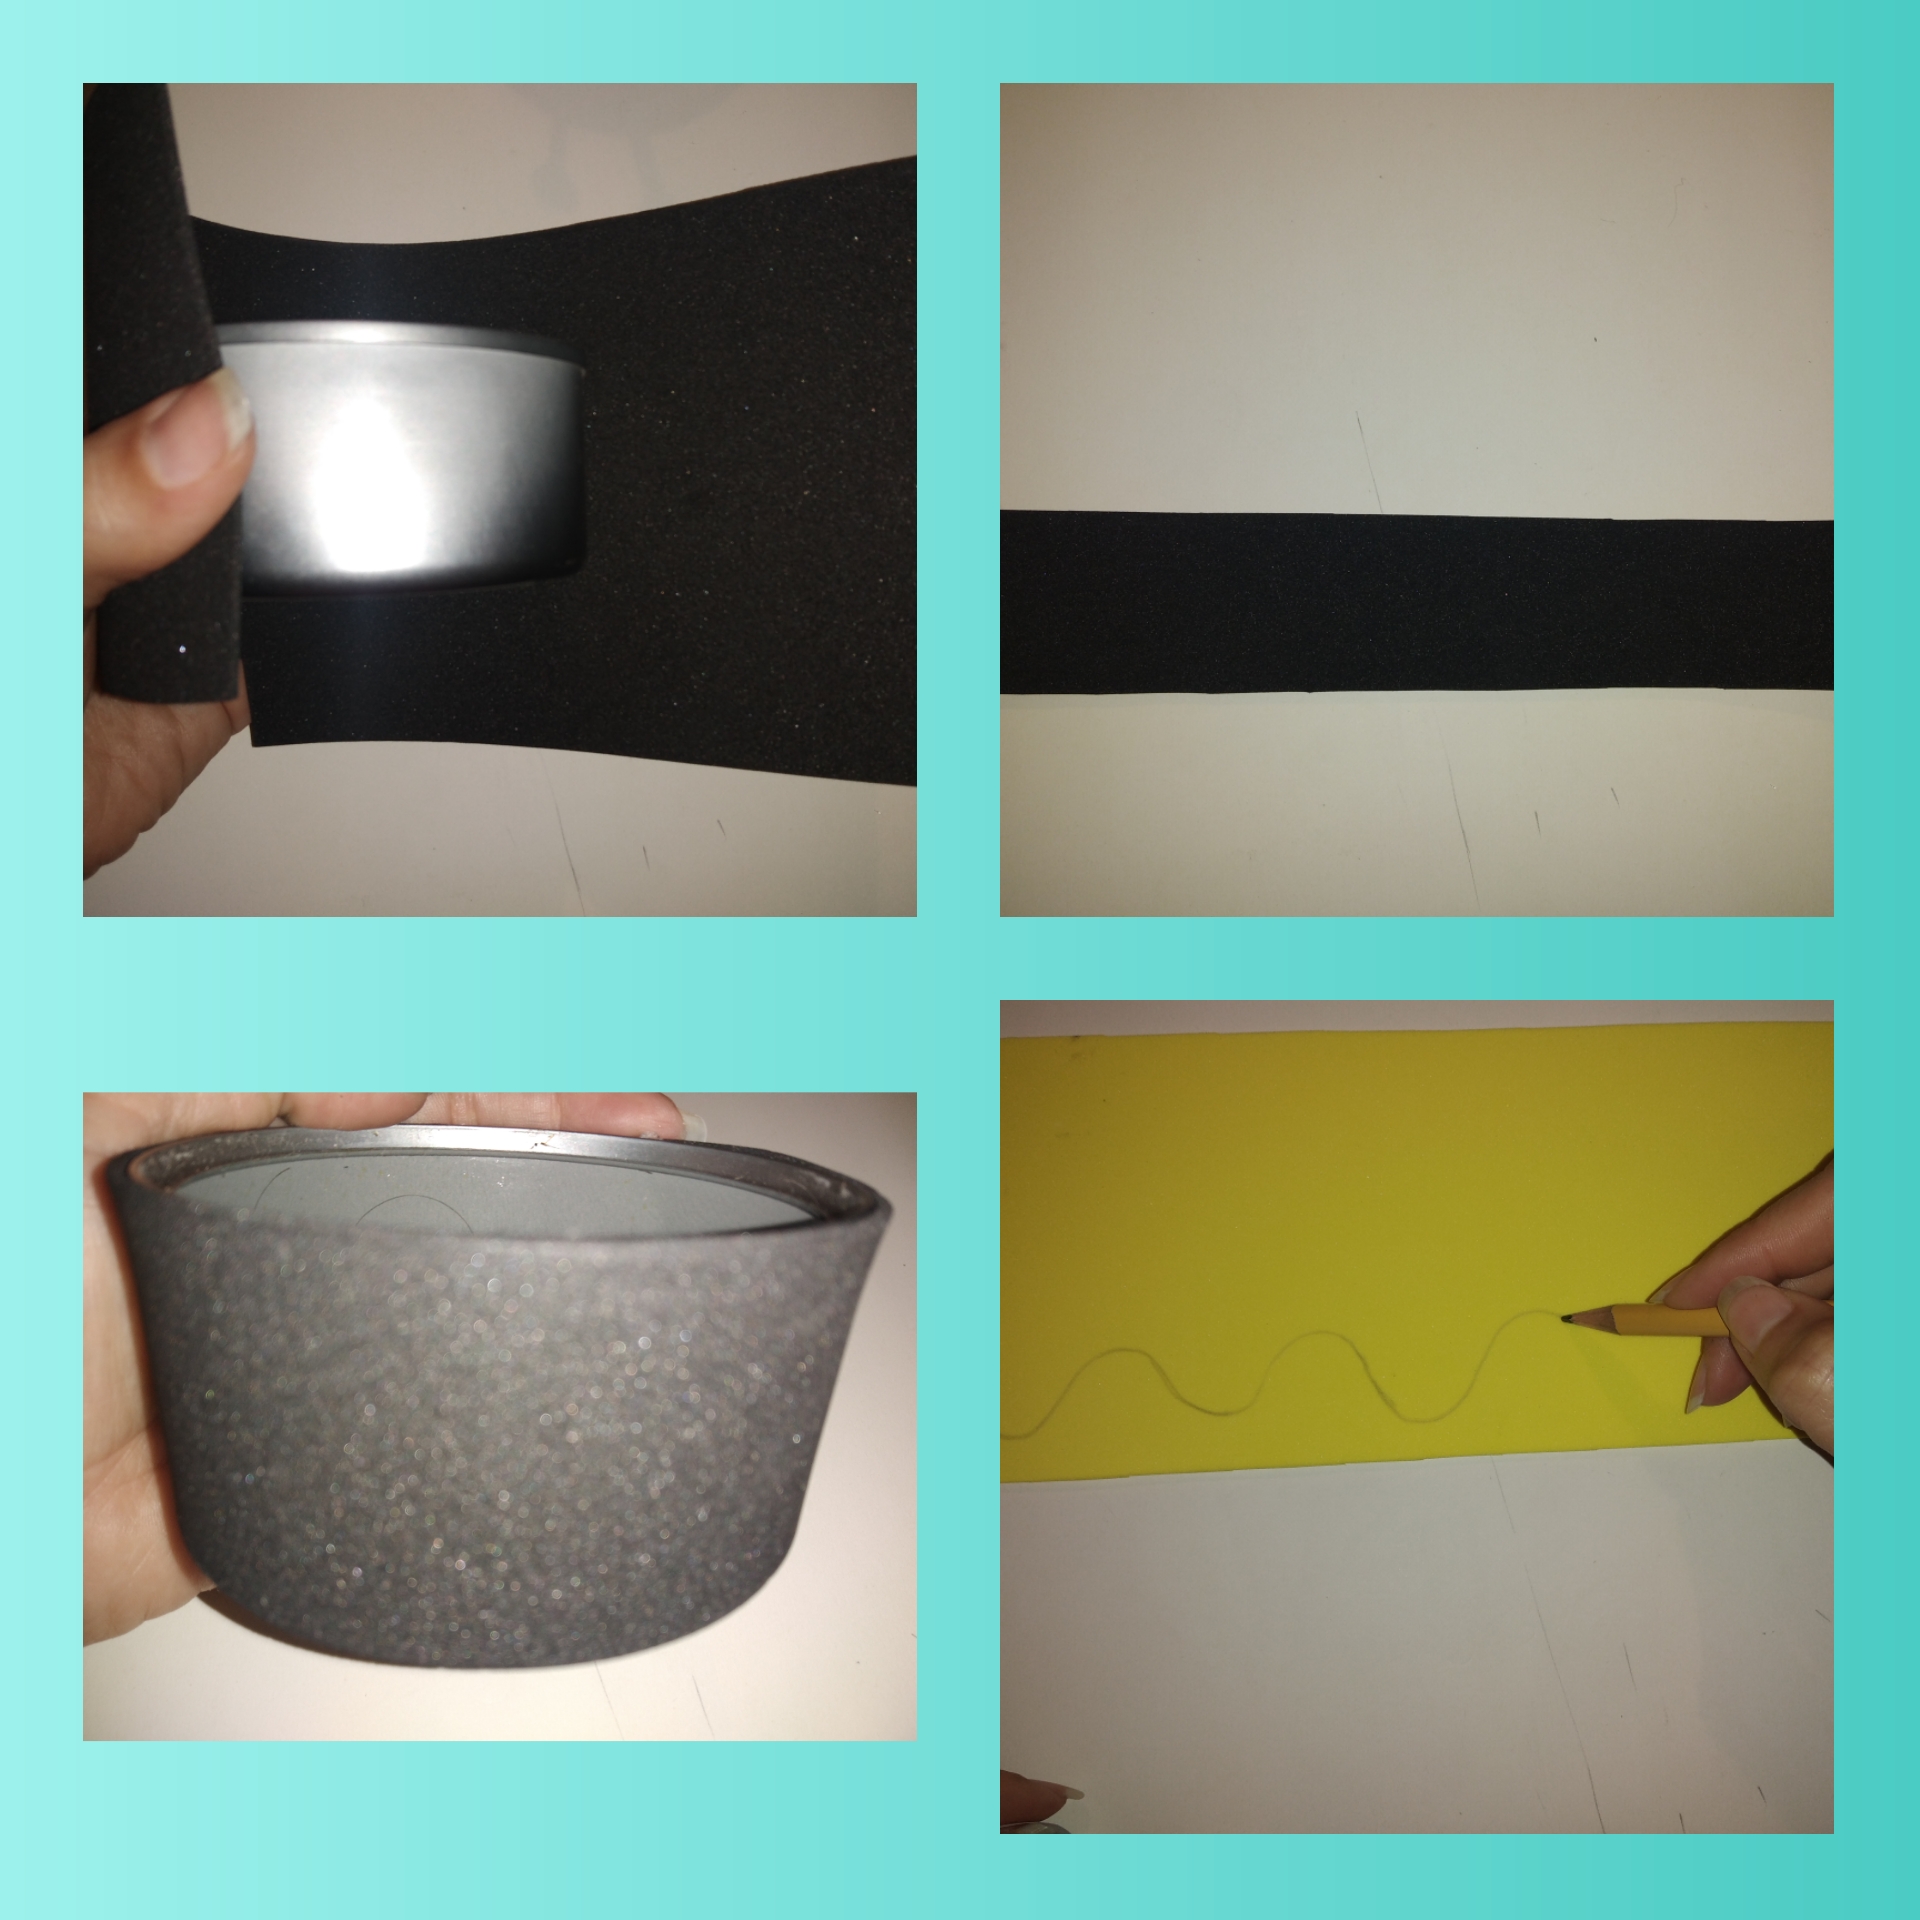
Step 1.I took one of the two tall cans and placed it around the yellow foami to measure, then with the ruler and pencil I made a line, it would serve me to remove the foami just as it meets the shape of the can, I cut it with scissors and we already have our first step, which is to obtain the foami that will cover the entire can.
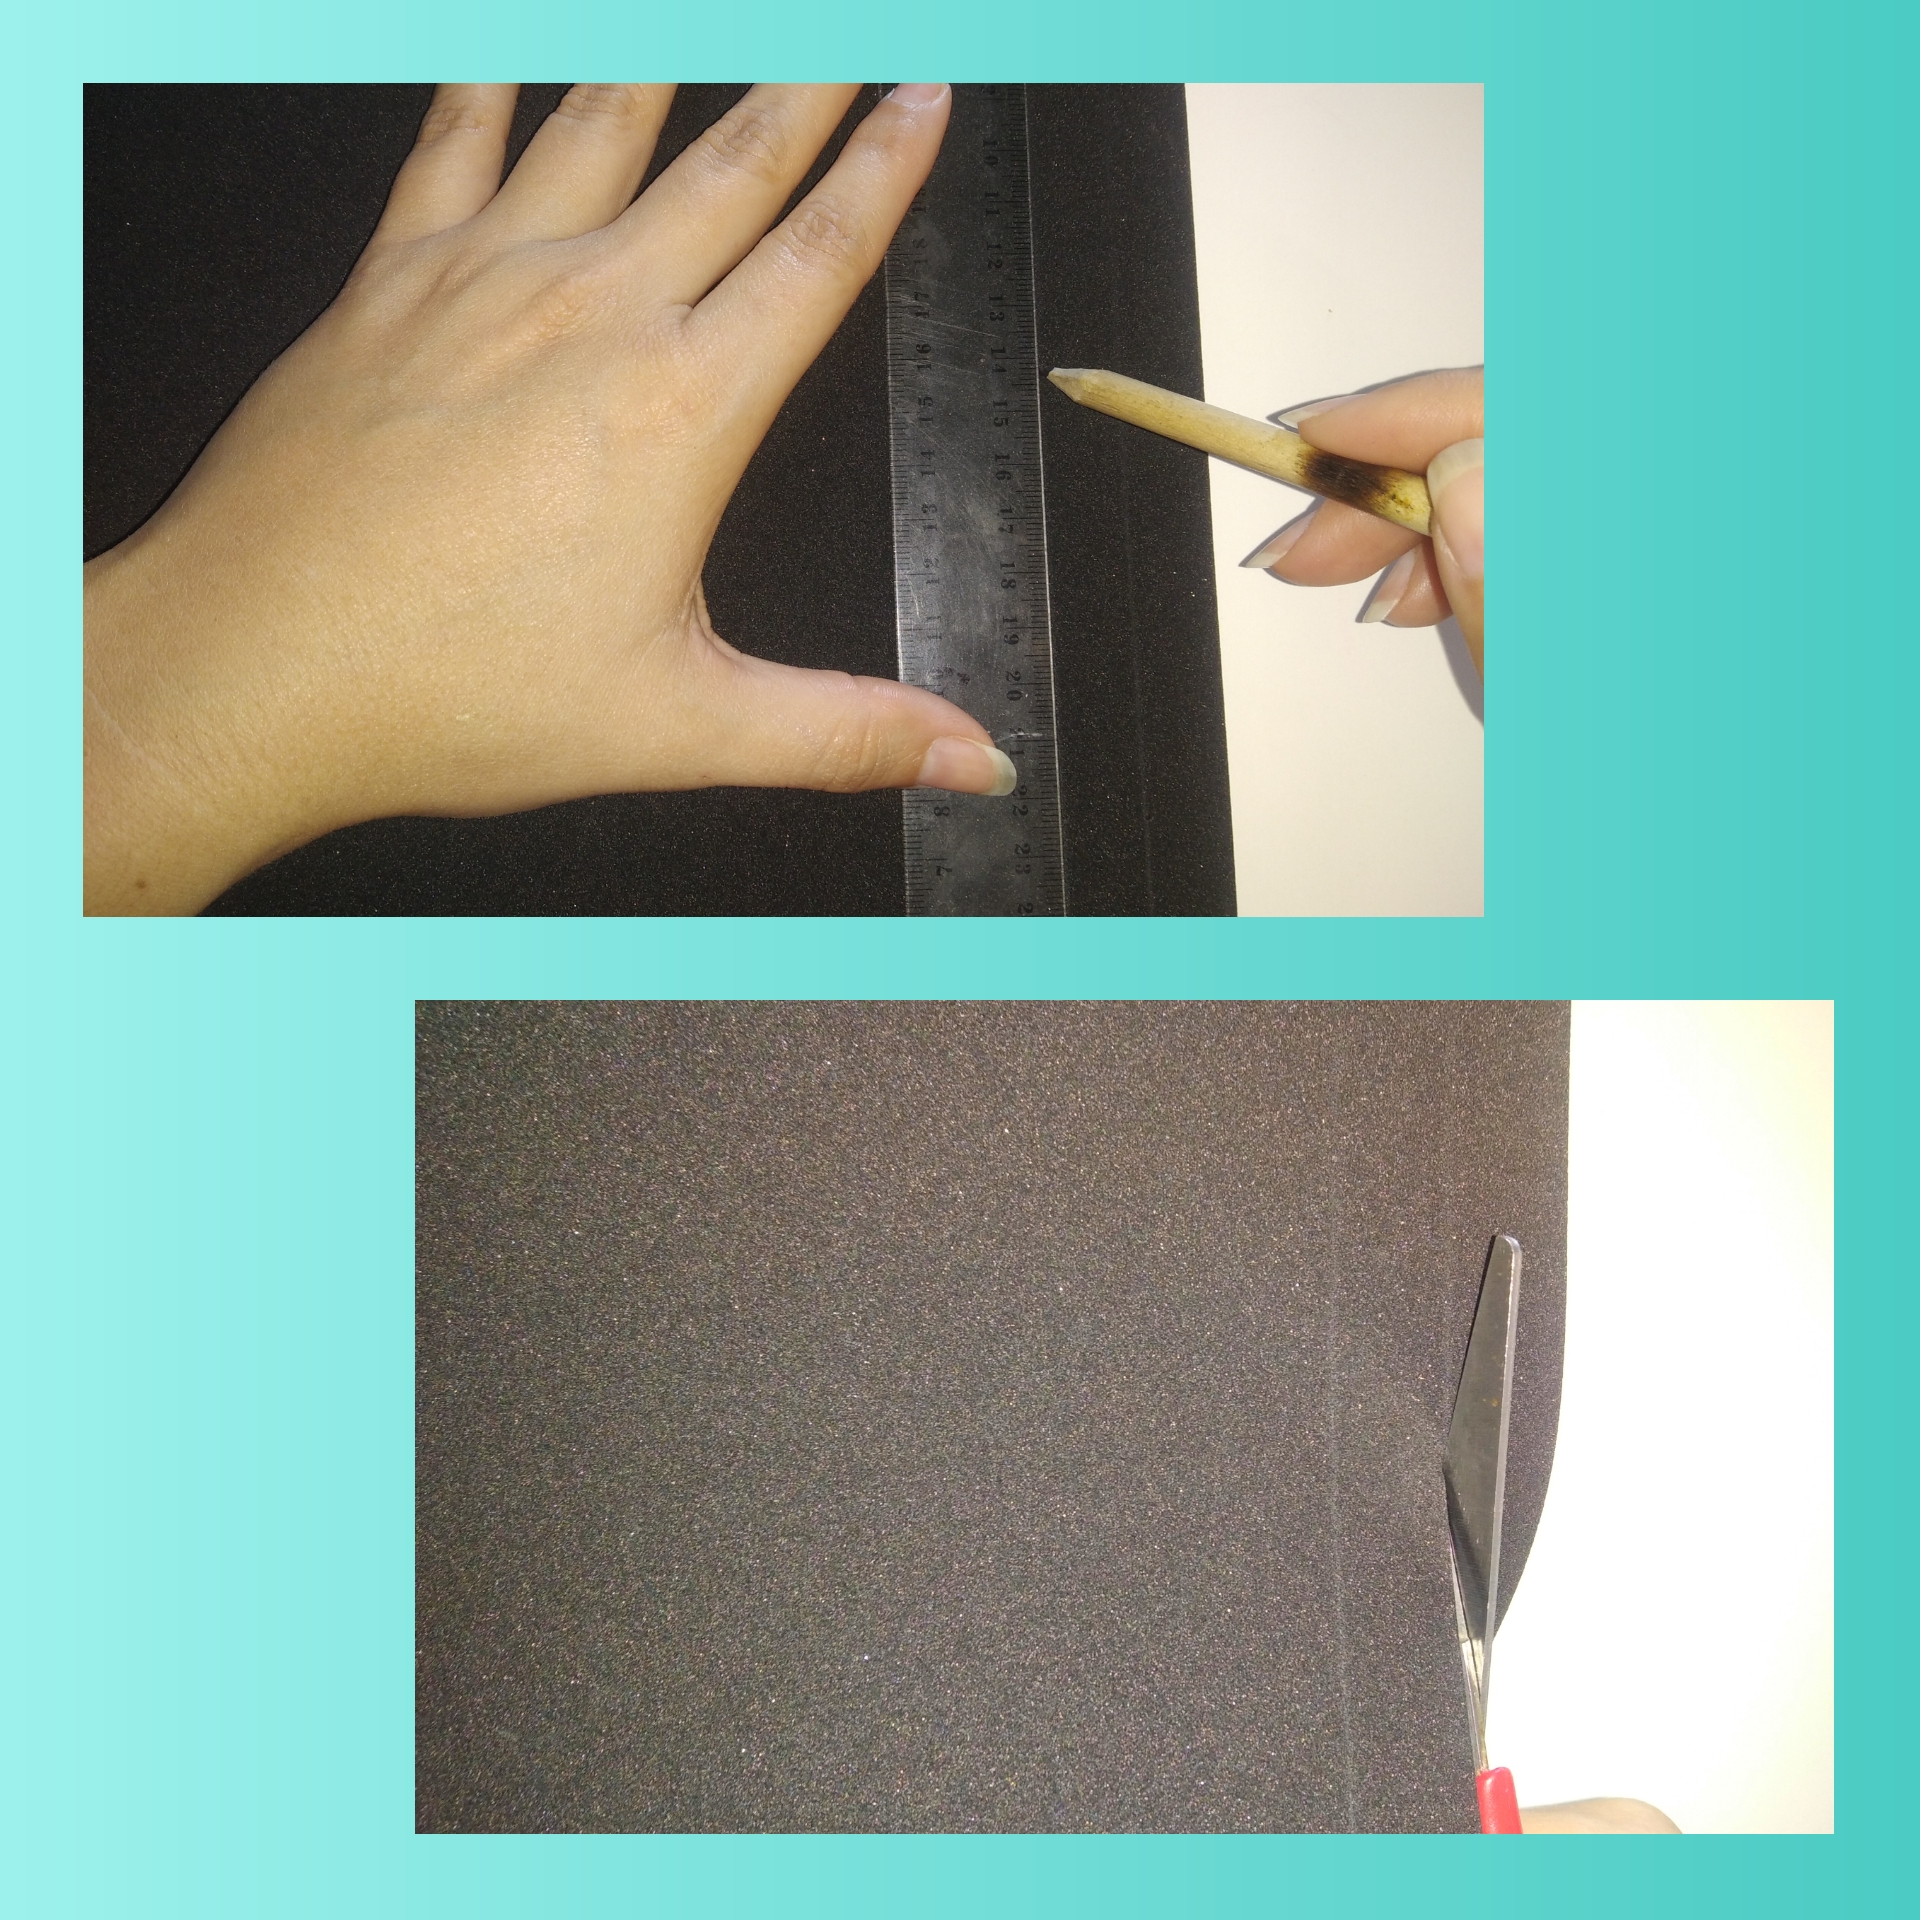
Step 2.On the black foami I drew two lines of 1.5 cm which are the ones that cover the bees.
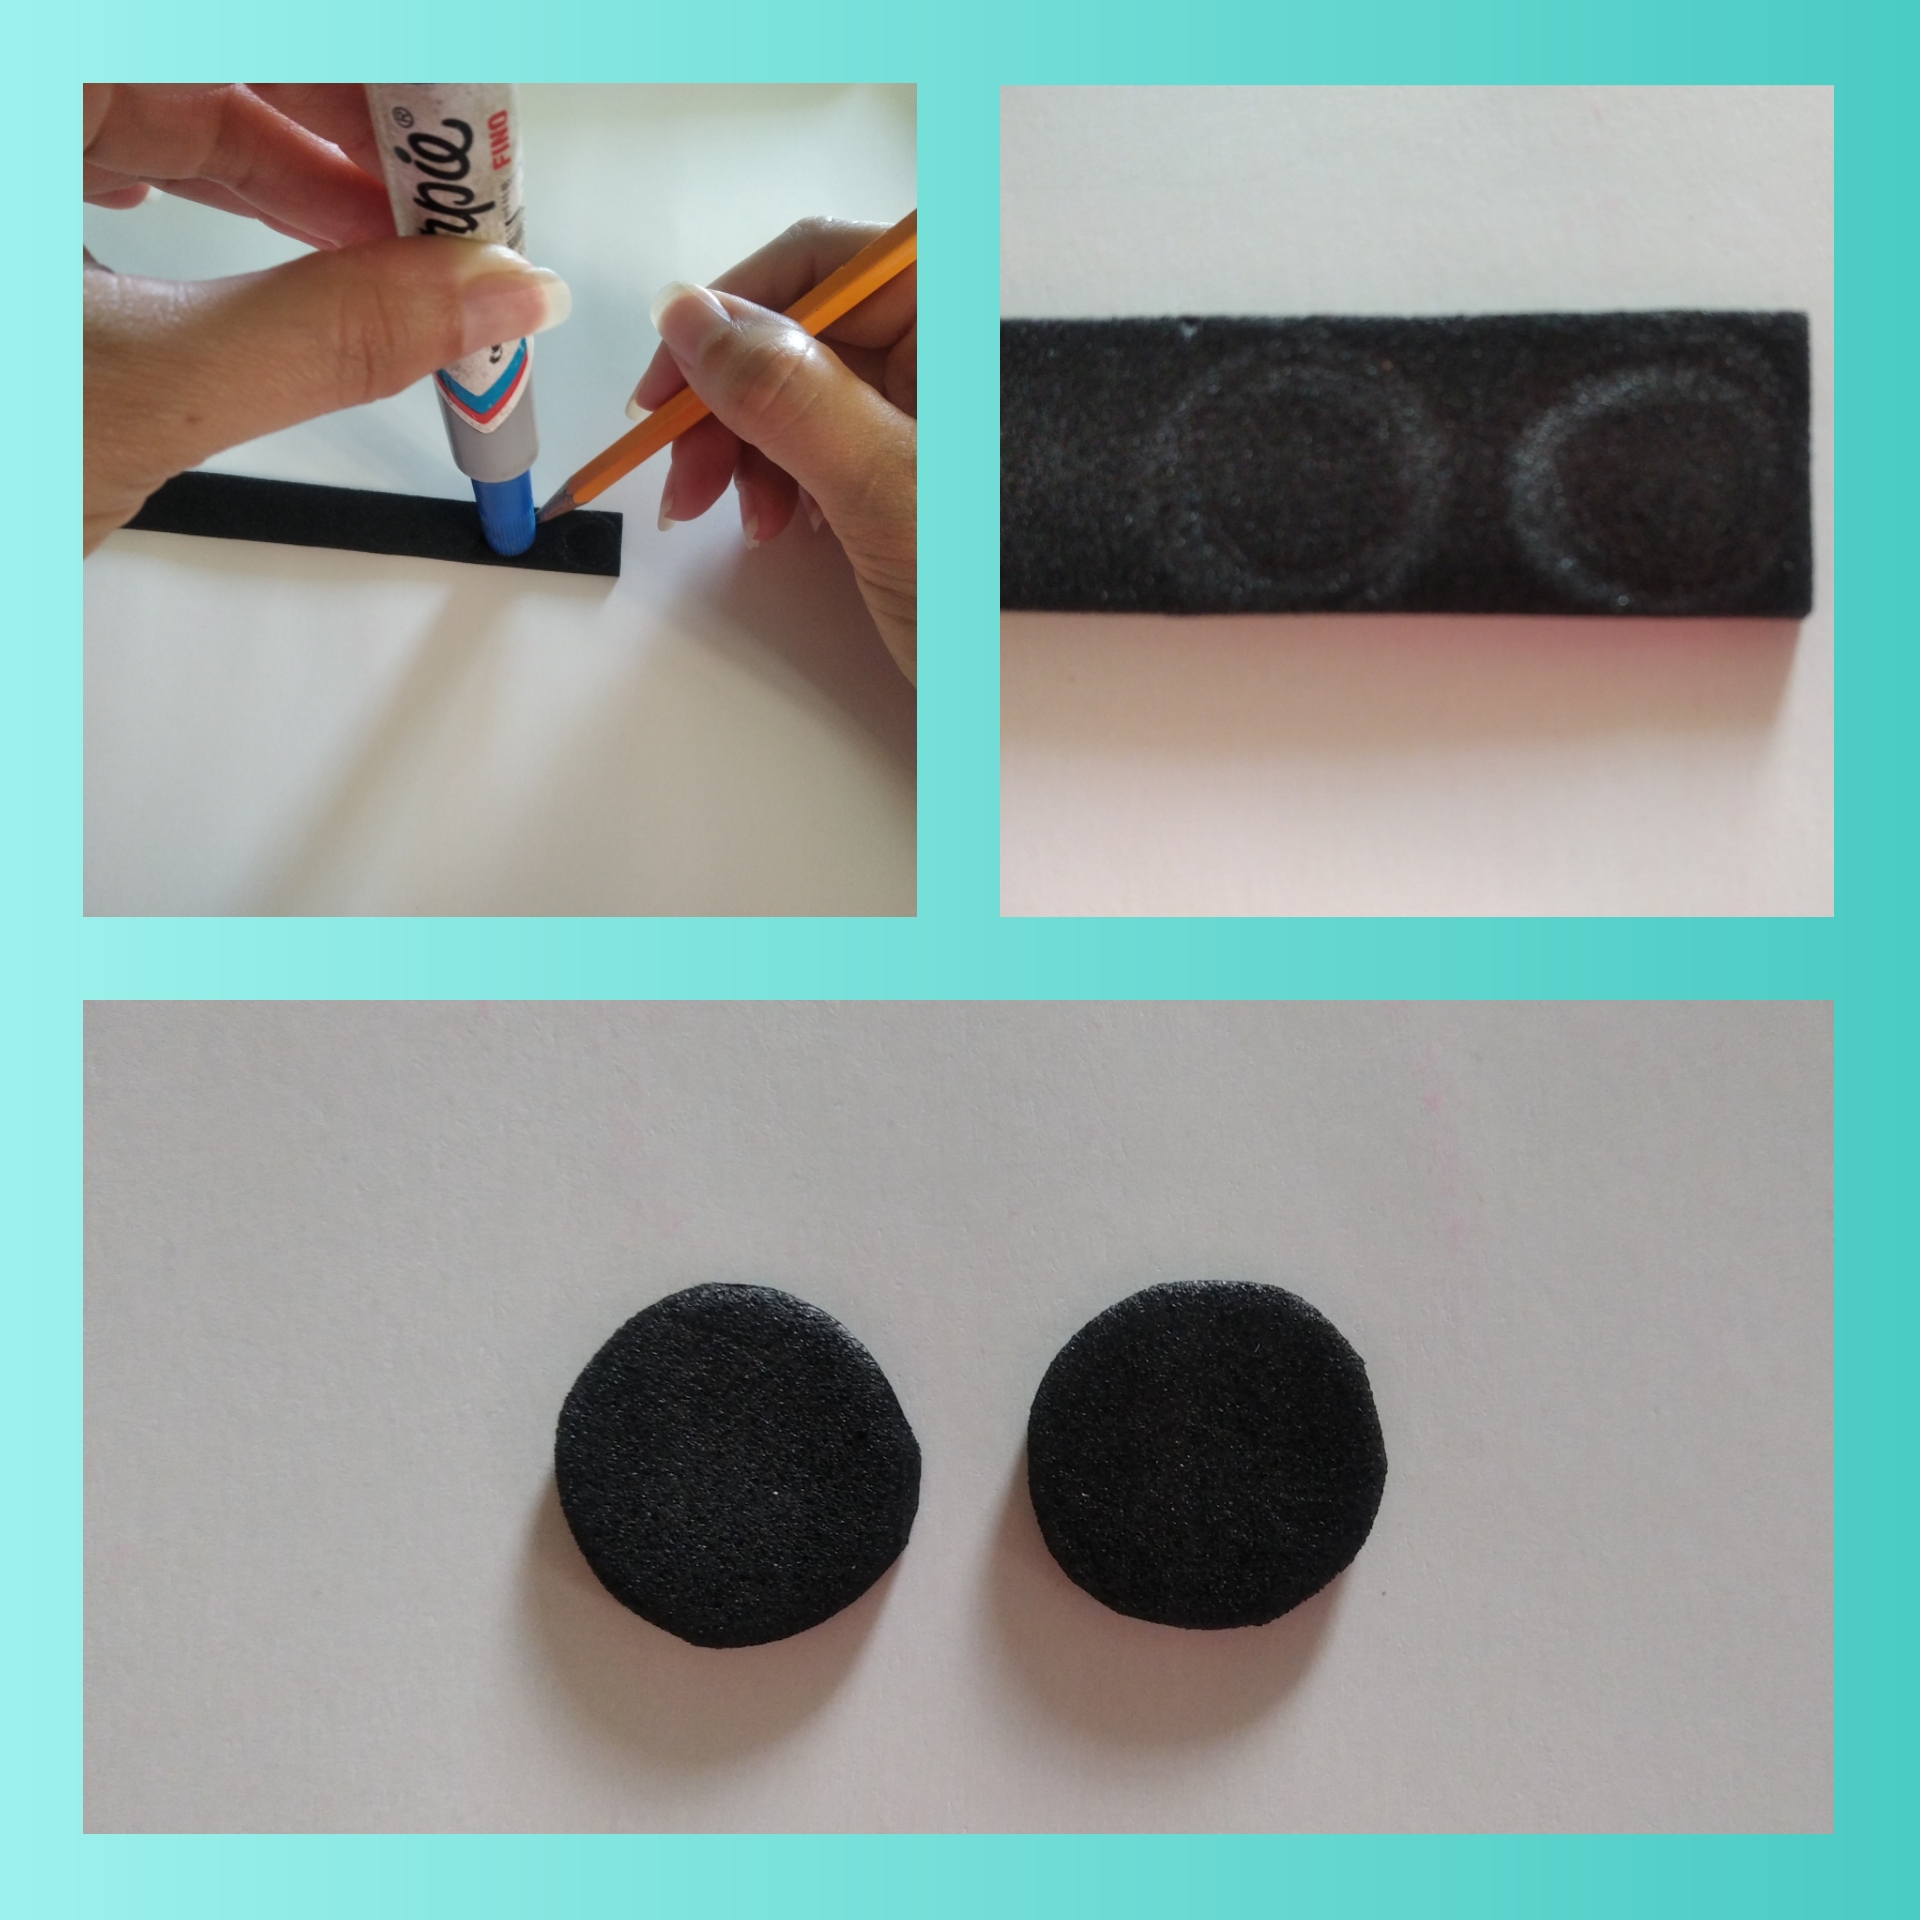
Step 3.In this step we will make the eyes of the little bee, With the help of a thick marker we are going to draw two circles, now on a white sheet with the back of a color I drew two circles and with the tip of an injector I drew two smaller circles that will be the eyes of this cute little bee. In total there are 6 pieces, 3 for one eye and 3 for the other eye.

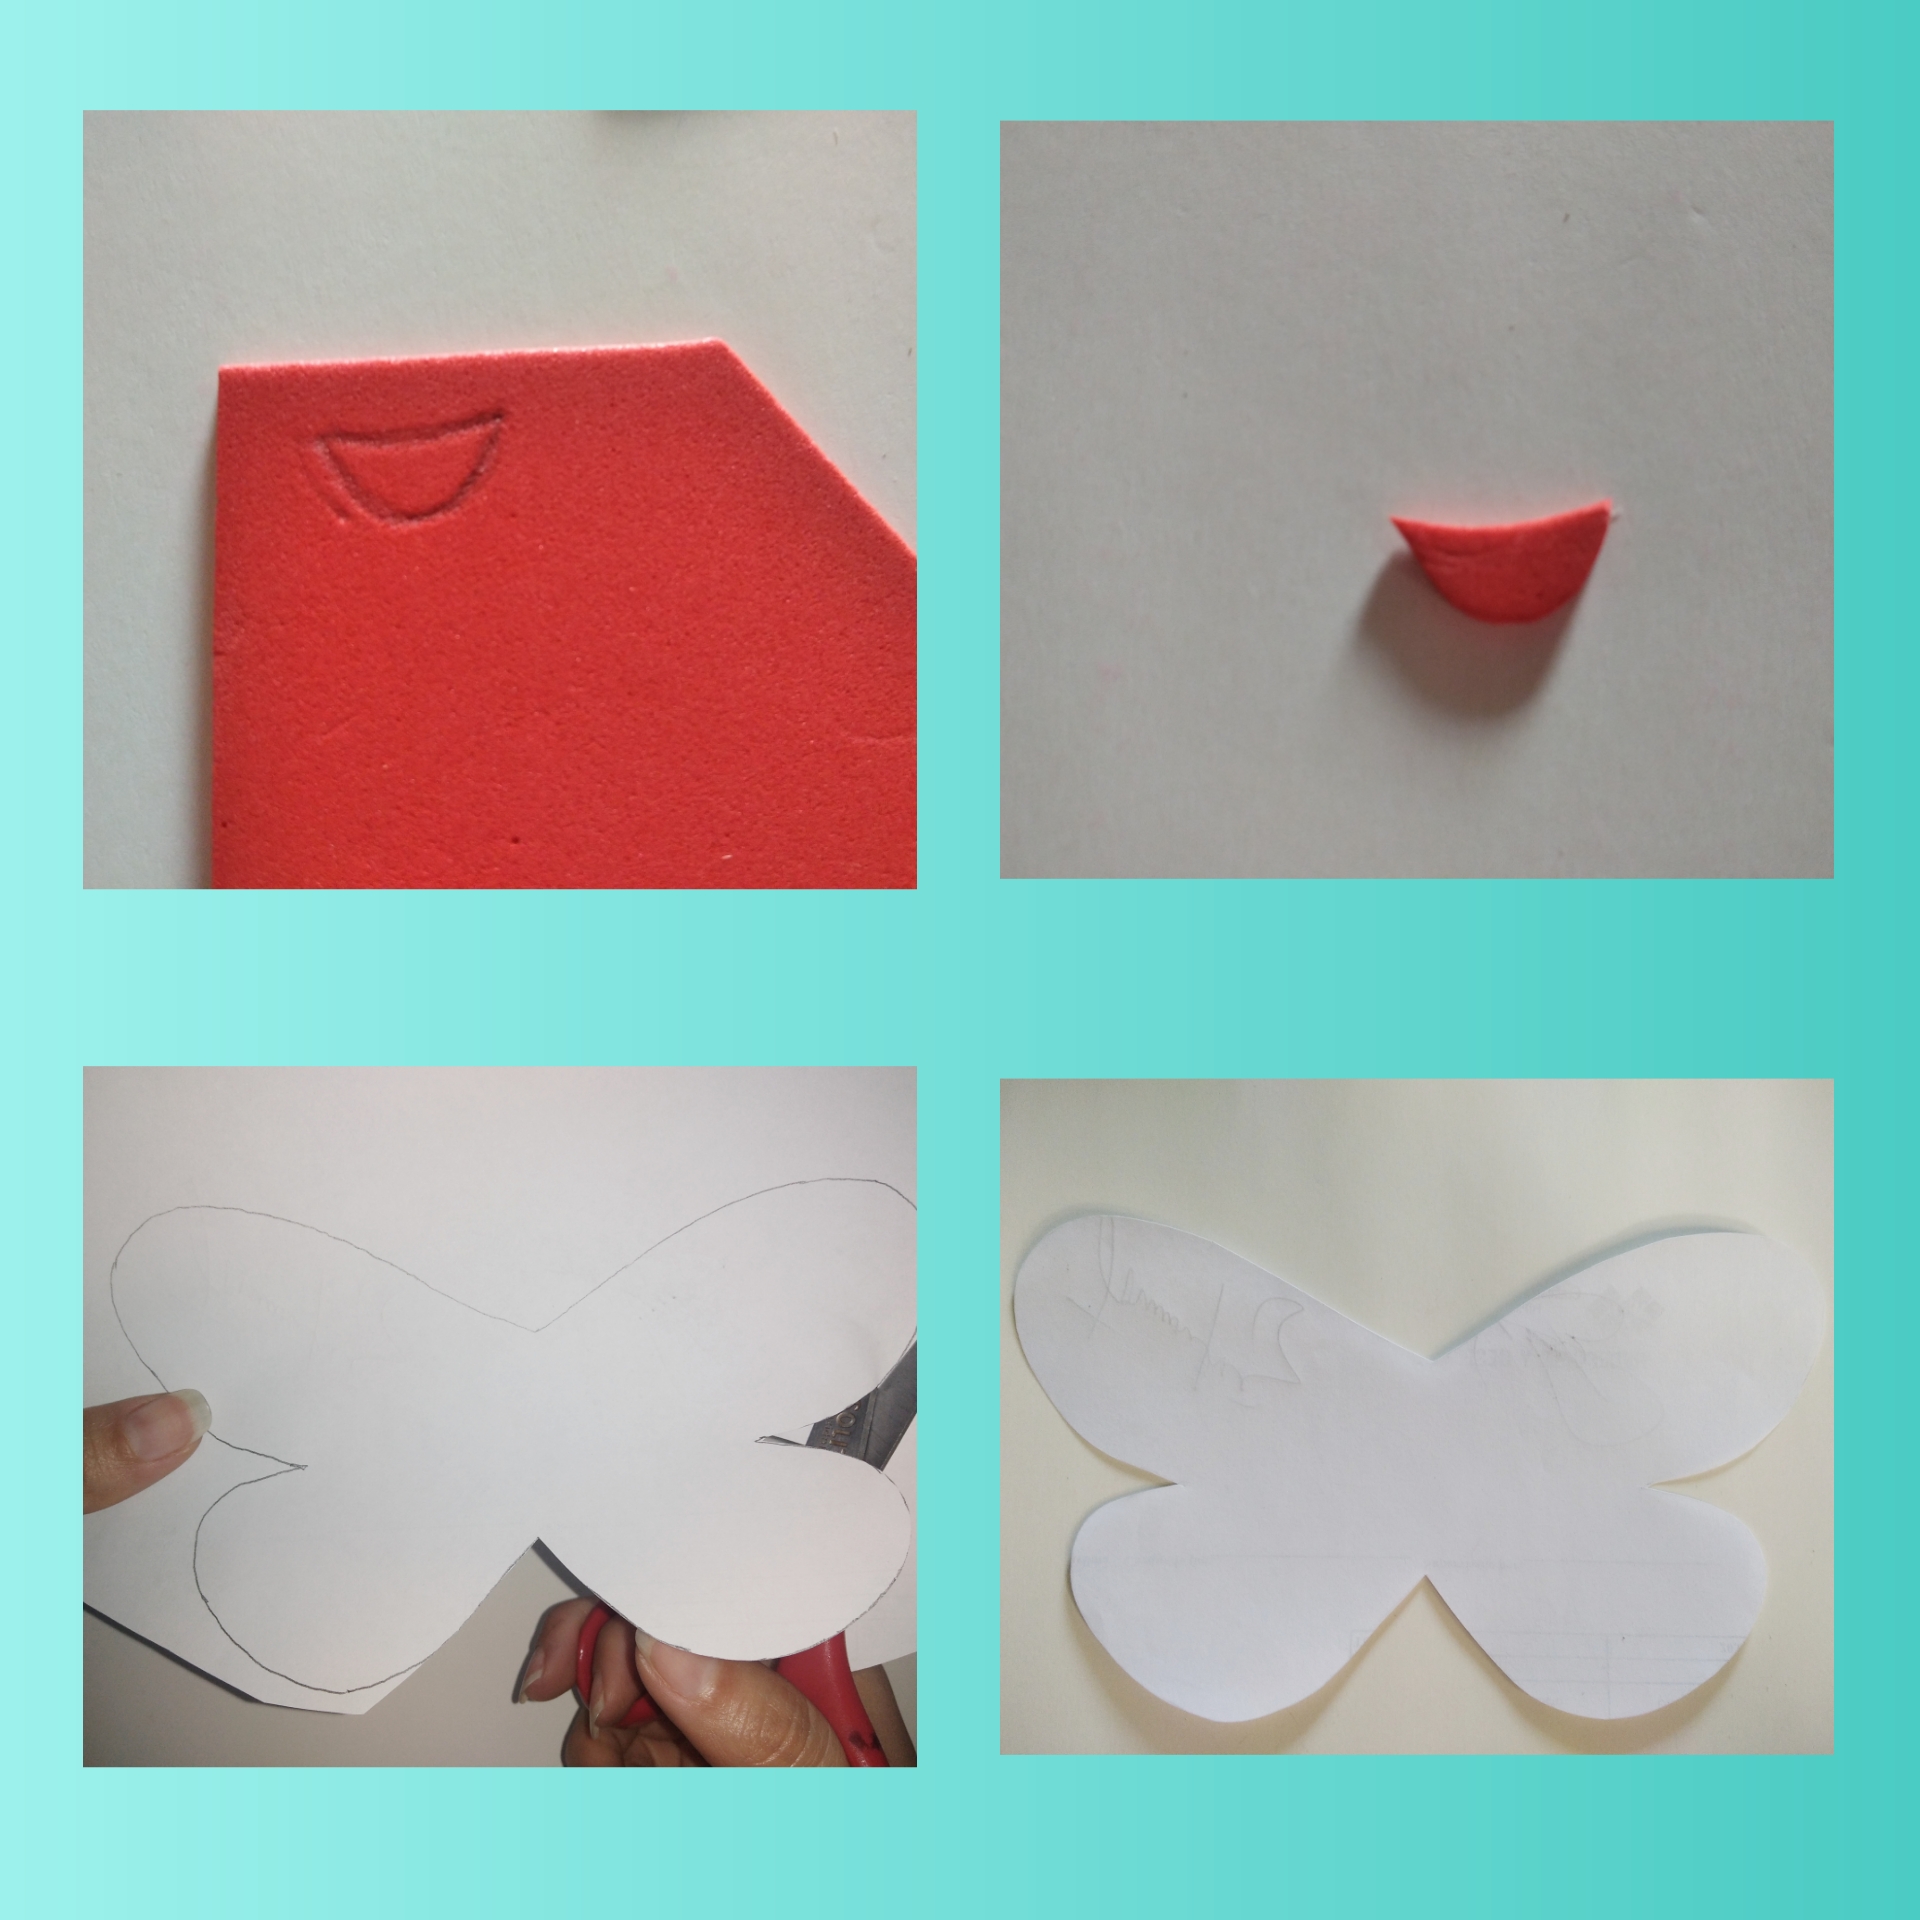
Step 4.Now we are going to take the red foami and we are going to draw a small smiling mouth, with the scissors we cut it out and on the white sheet we are going to draw some wings that come out a little from our can, then the we trim.
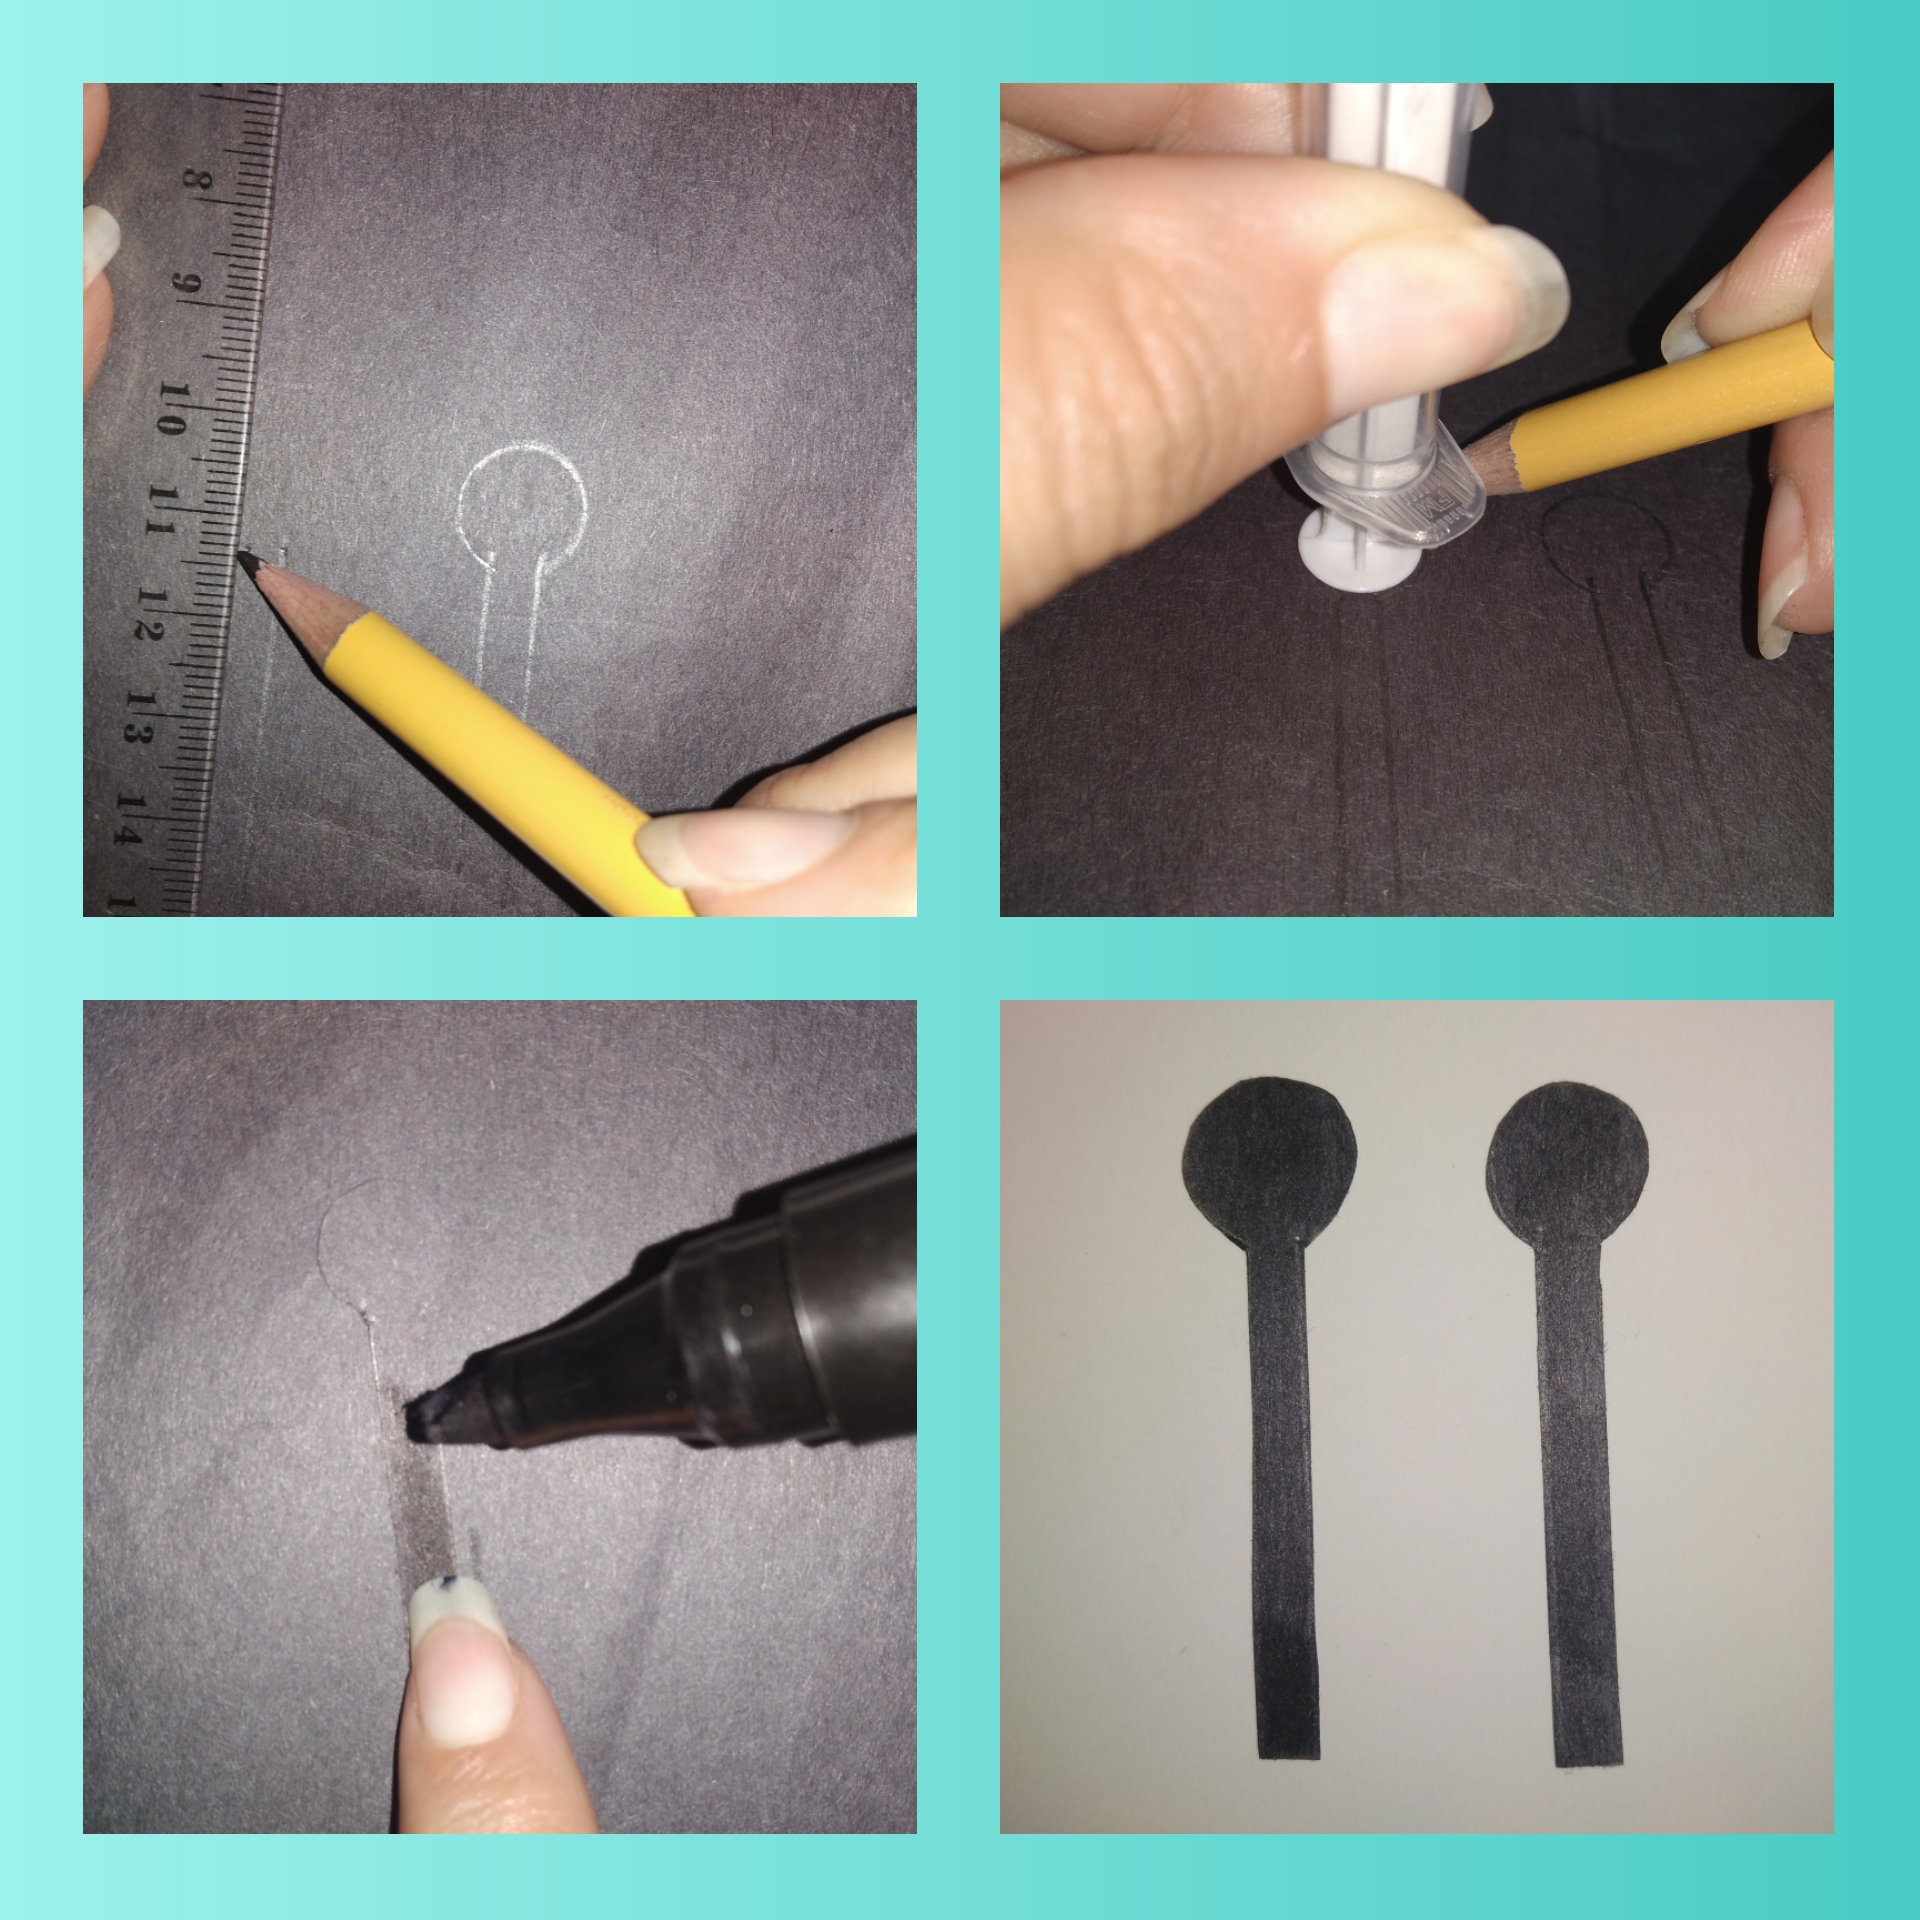
Step 5.On the black cardboard I drew two antennas, with the ruler I made the 4 cm lines and with the back of the injector I made the circle, we cut with the scissors, then with a black marker I painted the card stock since it was opaque and I wanted it to look great.
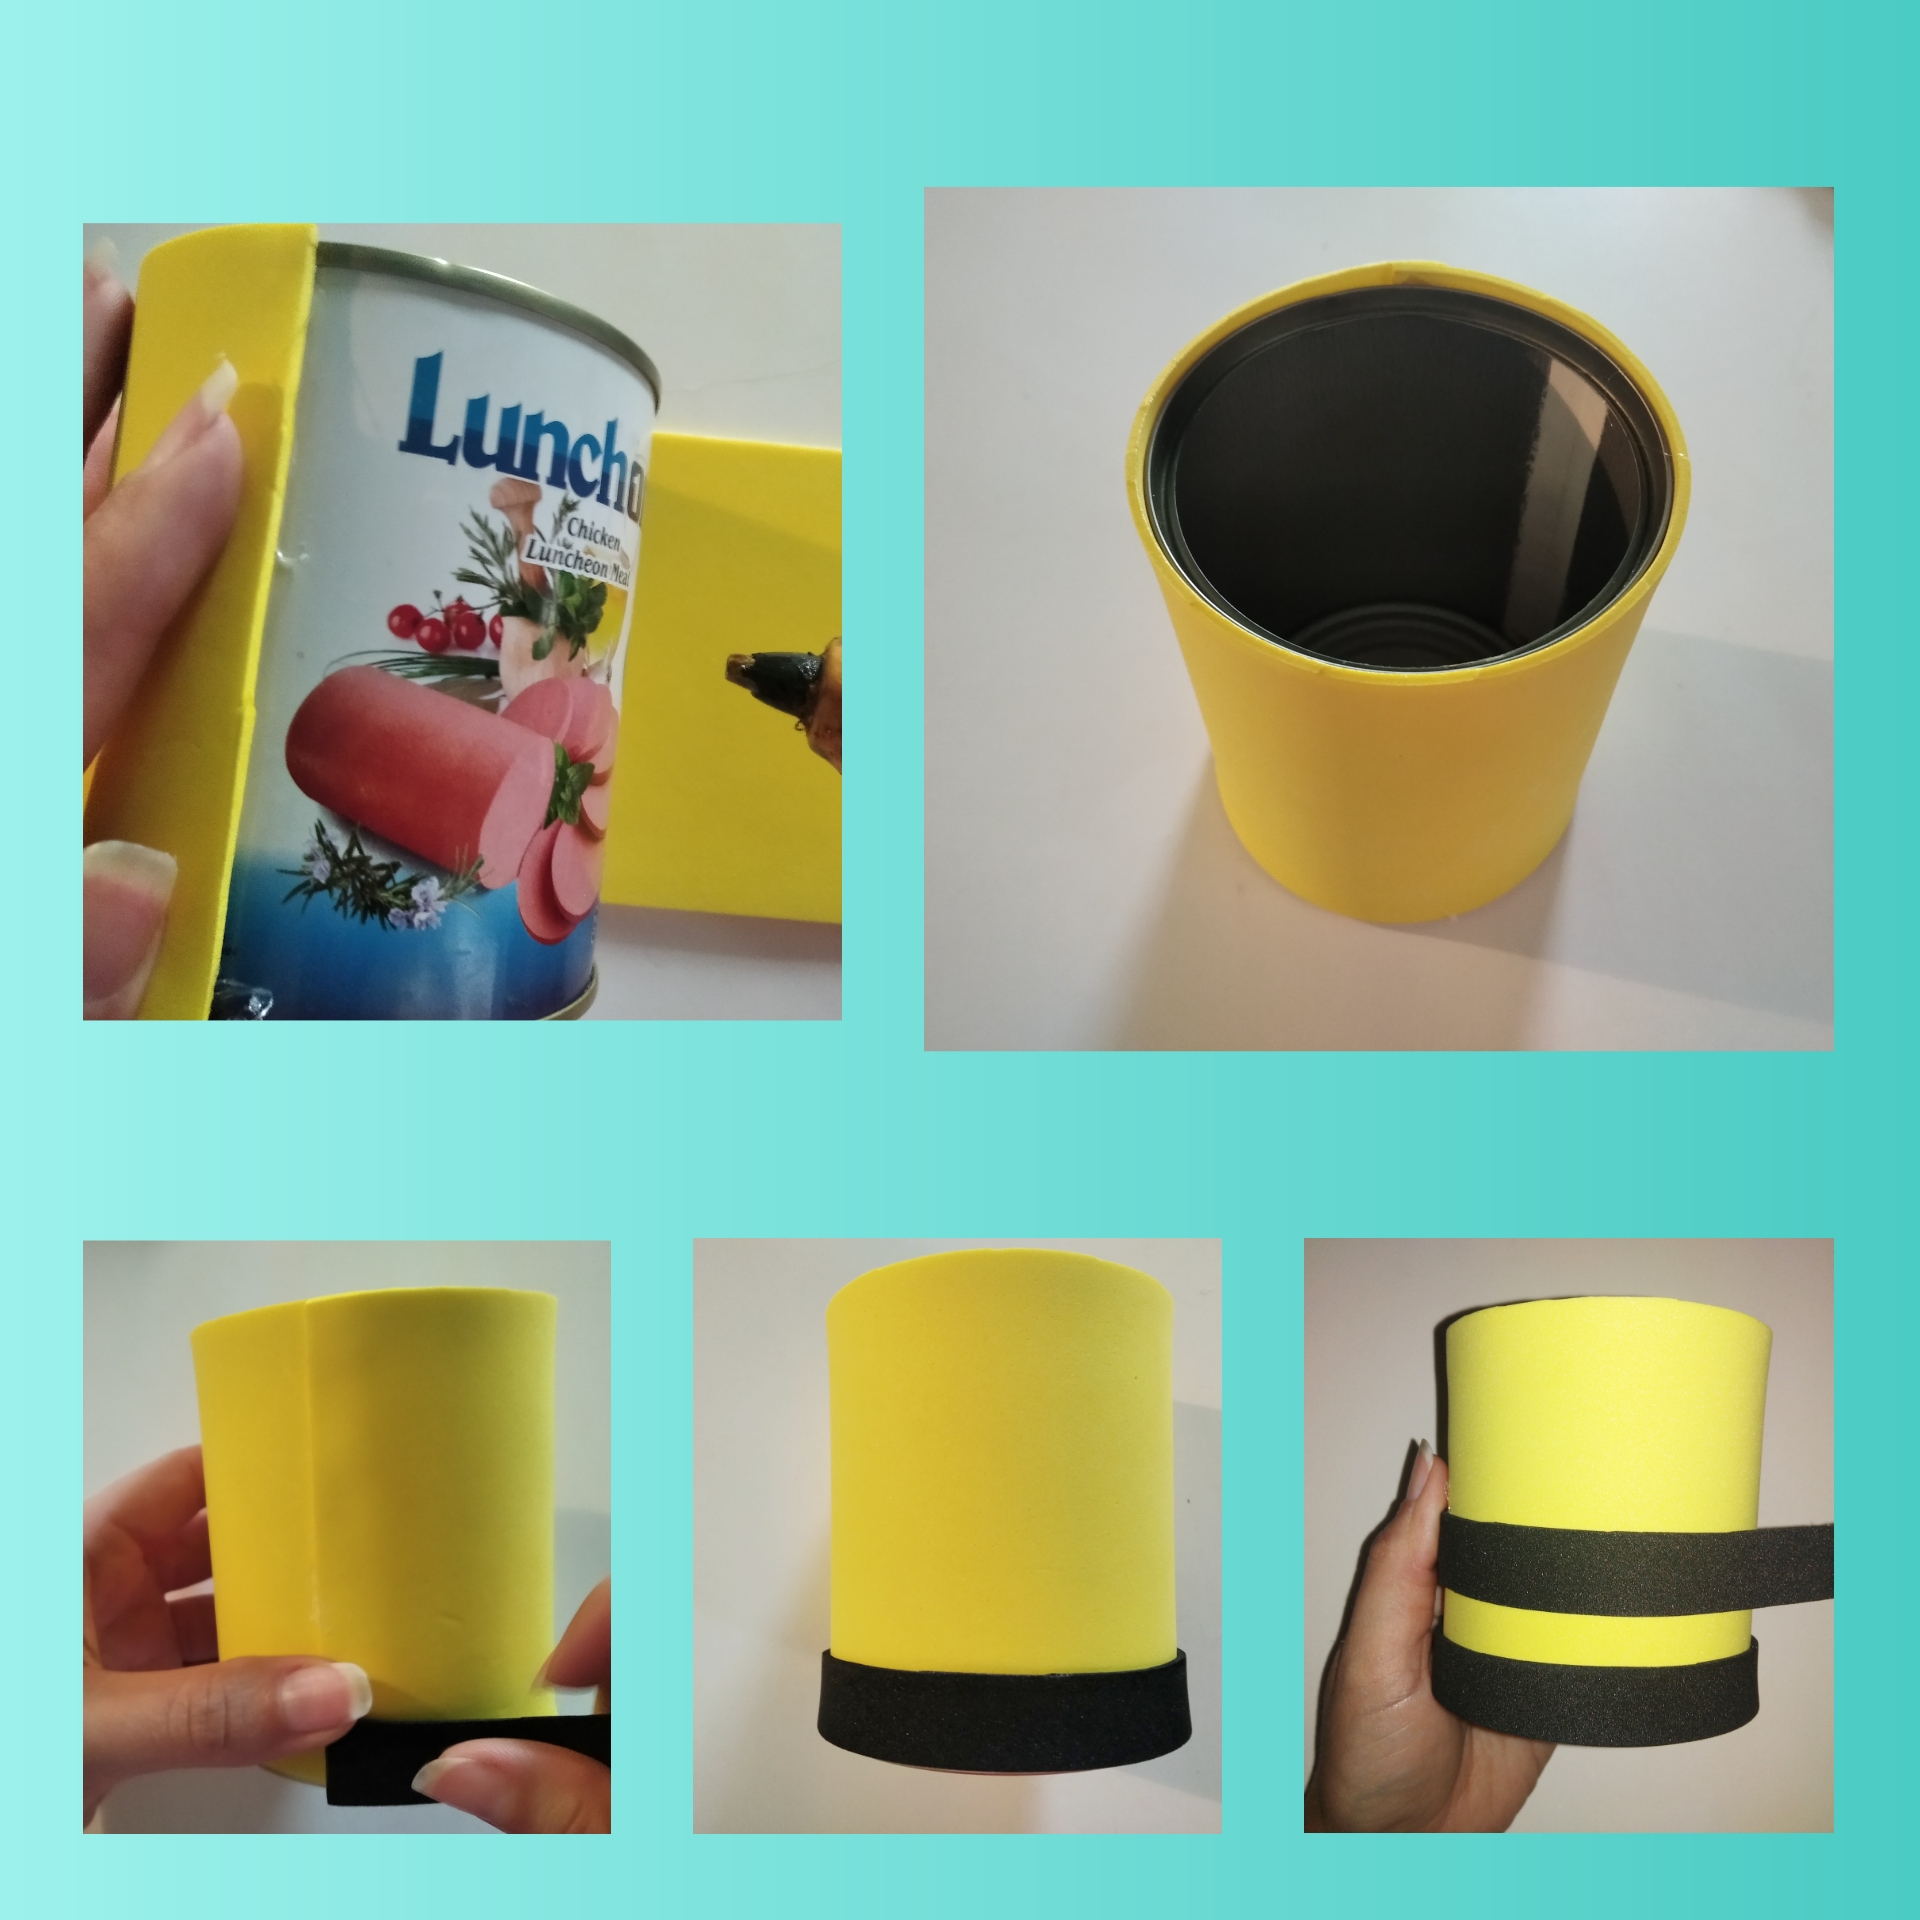
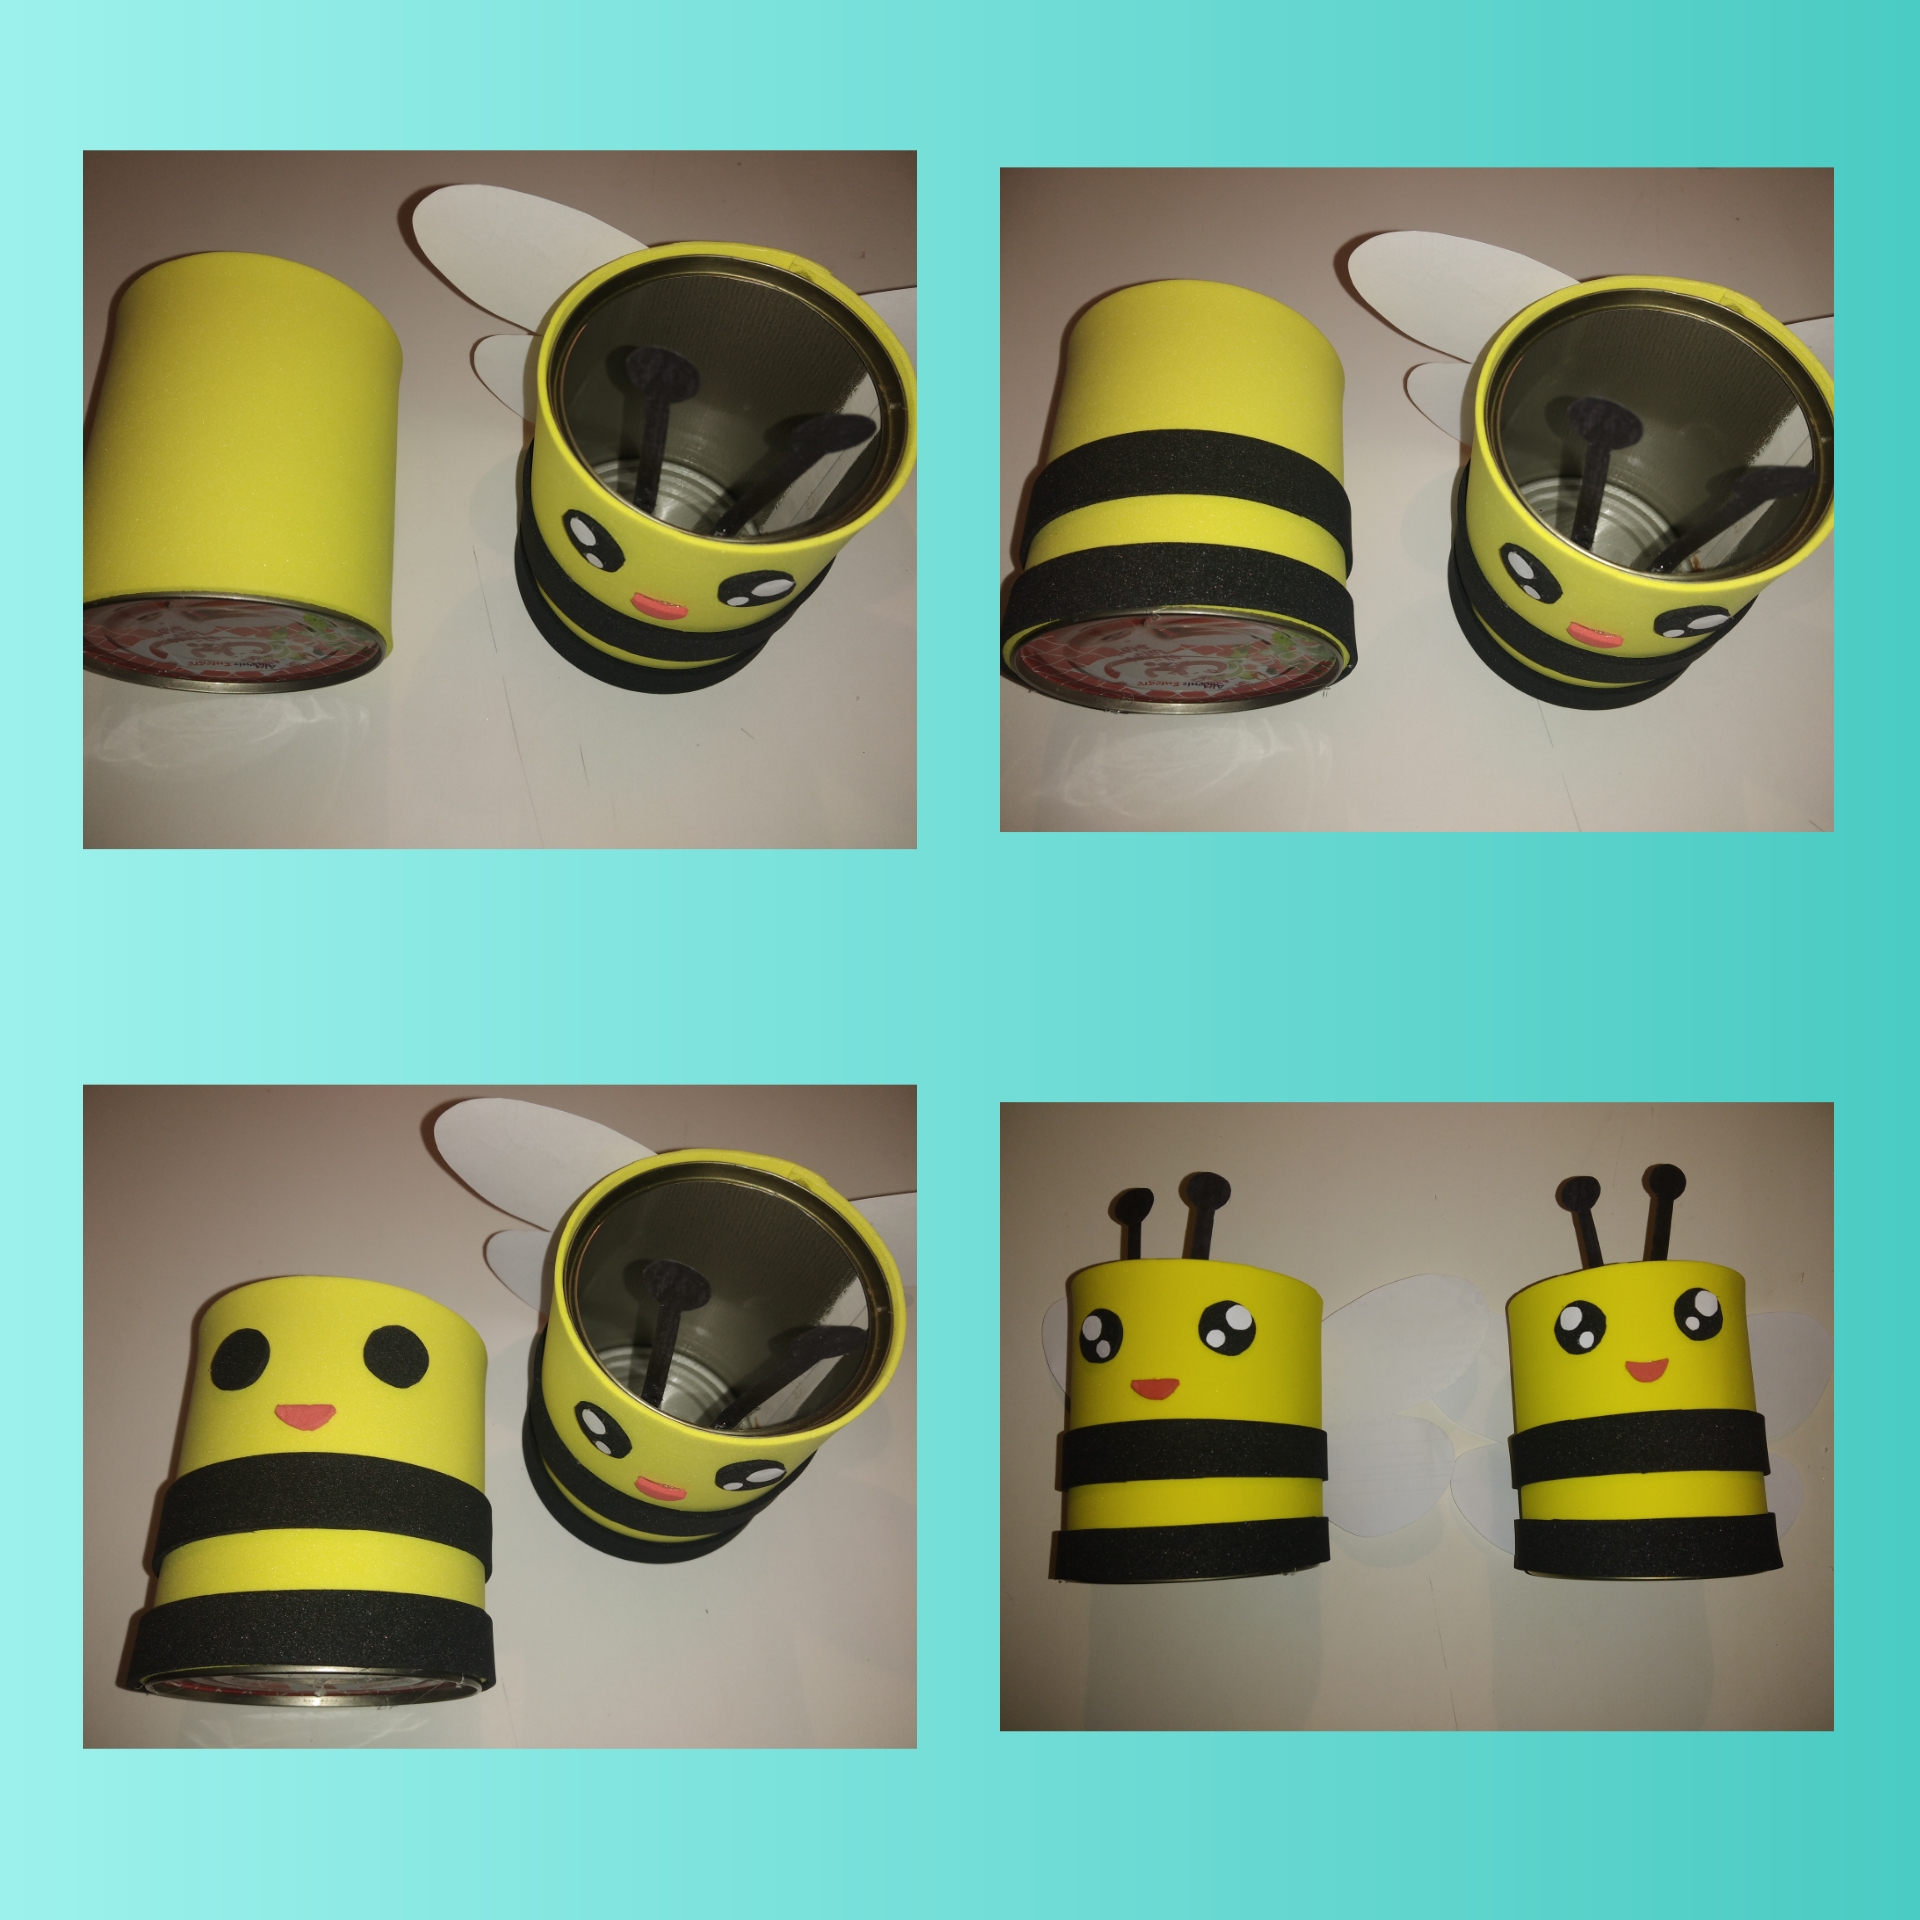
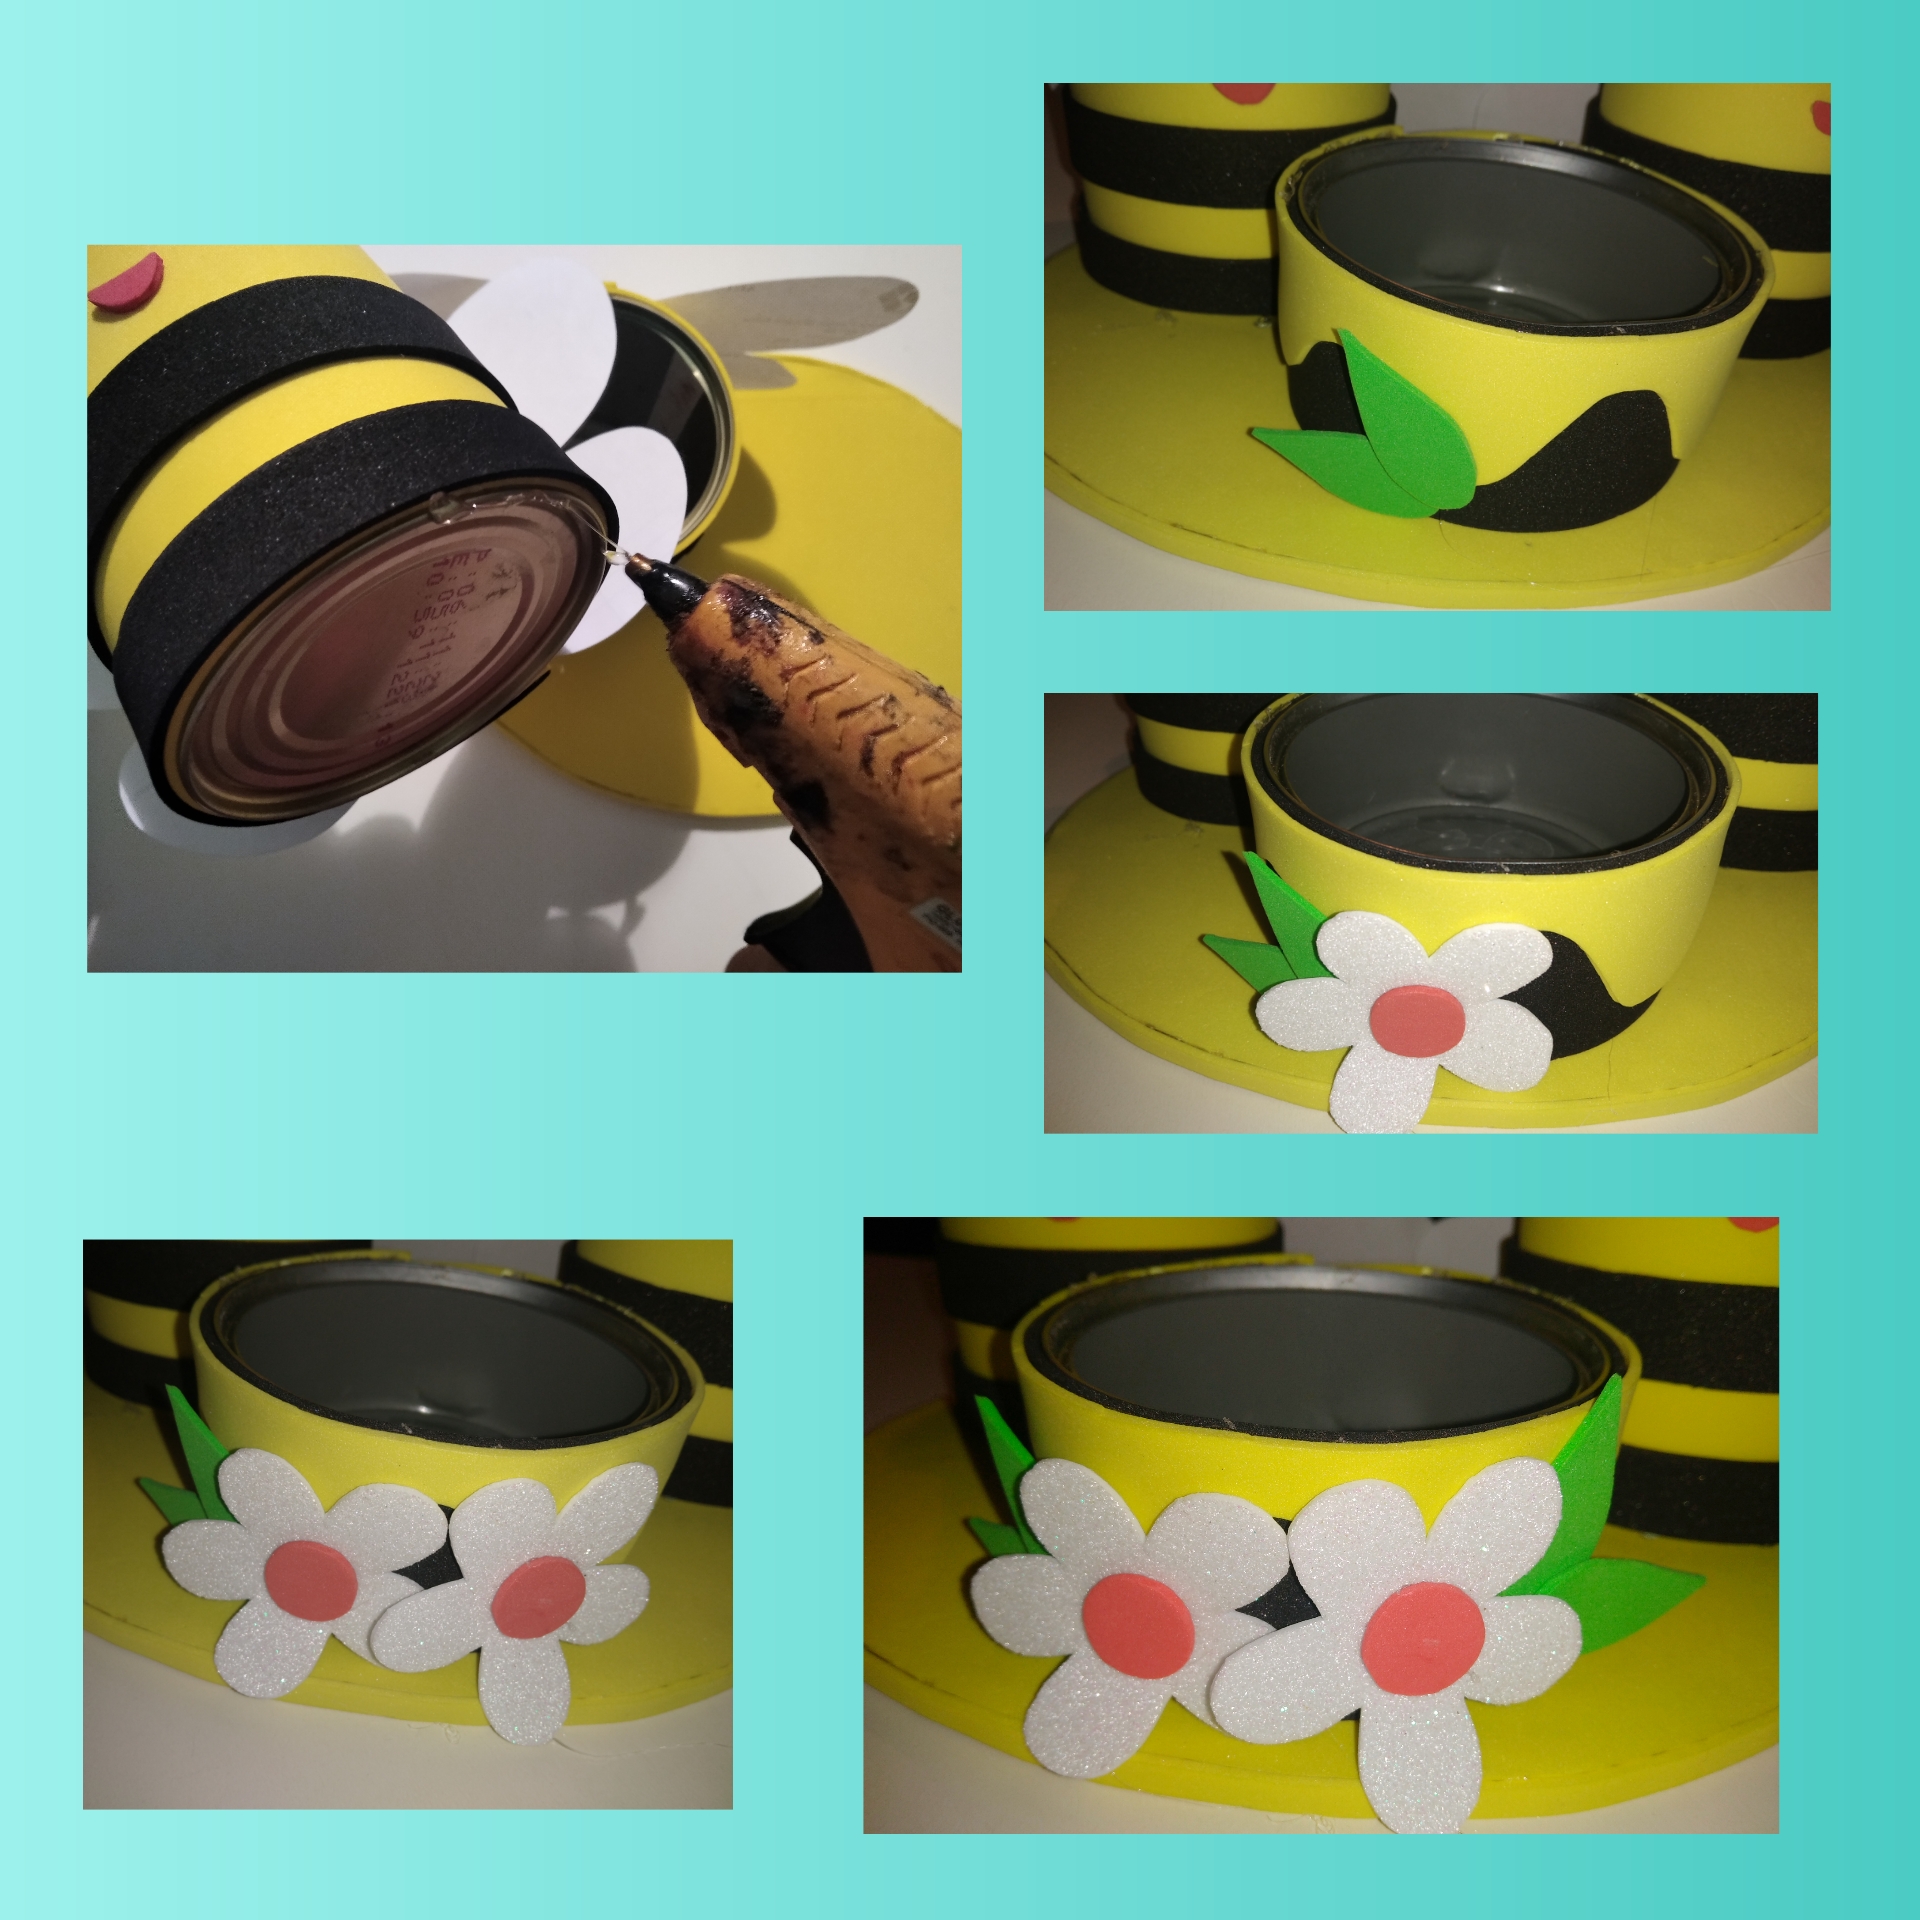
Step 6.We already have all the pieces cut out and ready to assemble this cute little bee. In this step we are going to place the foami around the can we are going to join it with silicone (it is important that the foami strip is a little larger than the thickness of the can and when passing it around it can be joined, because the silicone does not join the foami to the can). Then we take one of the 2 strips of black foami and we are going to stick it around the can, in the final part, we leave approximately 1 of space and then we place the other black tape
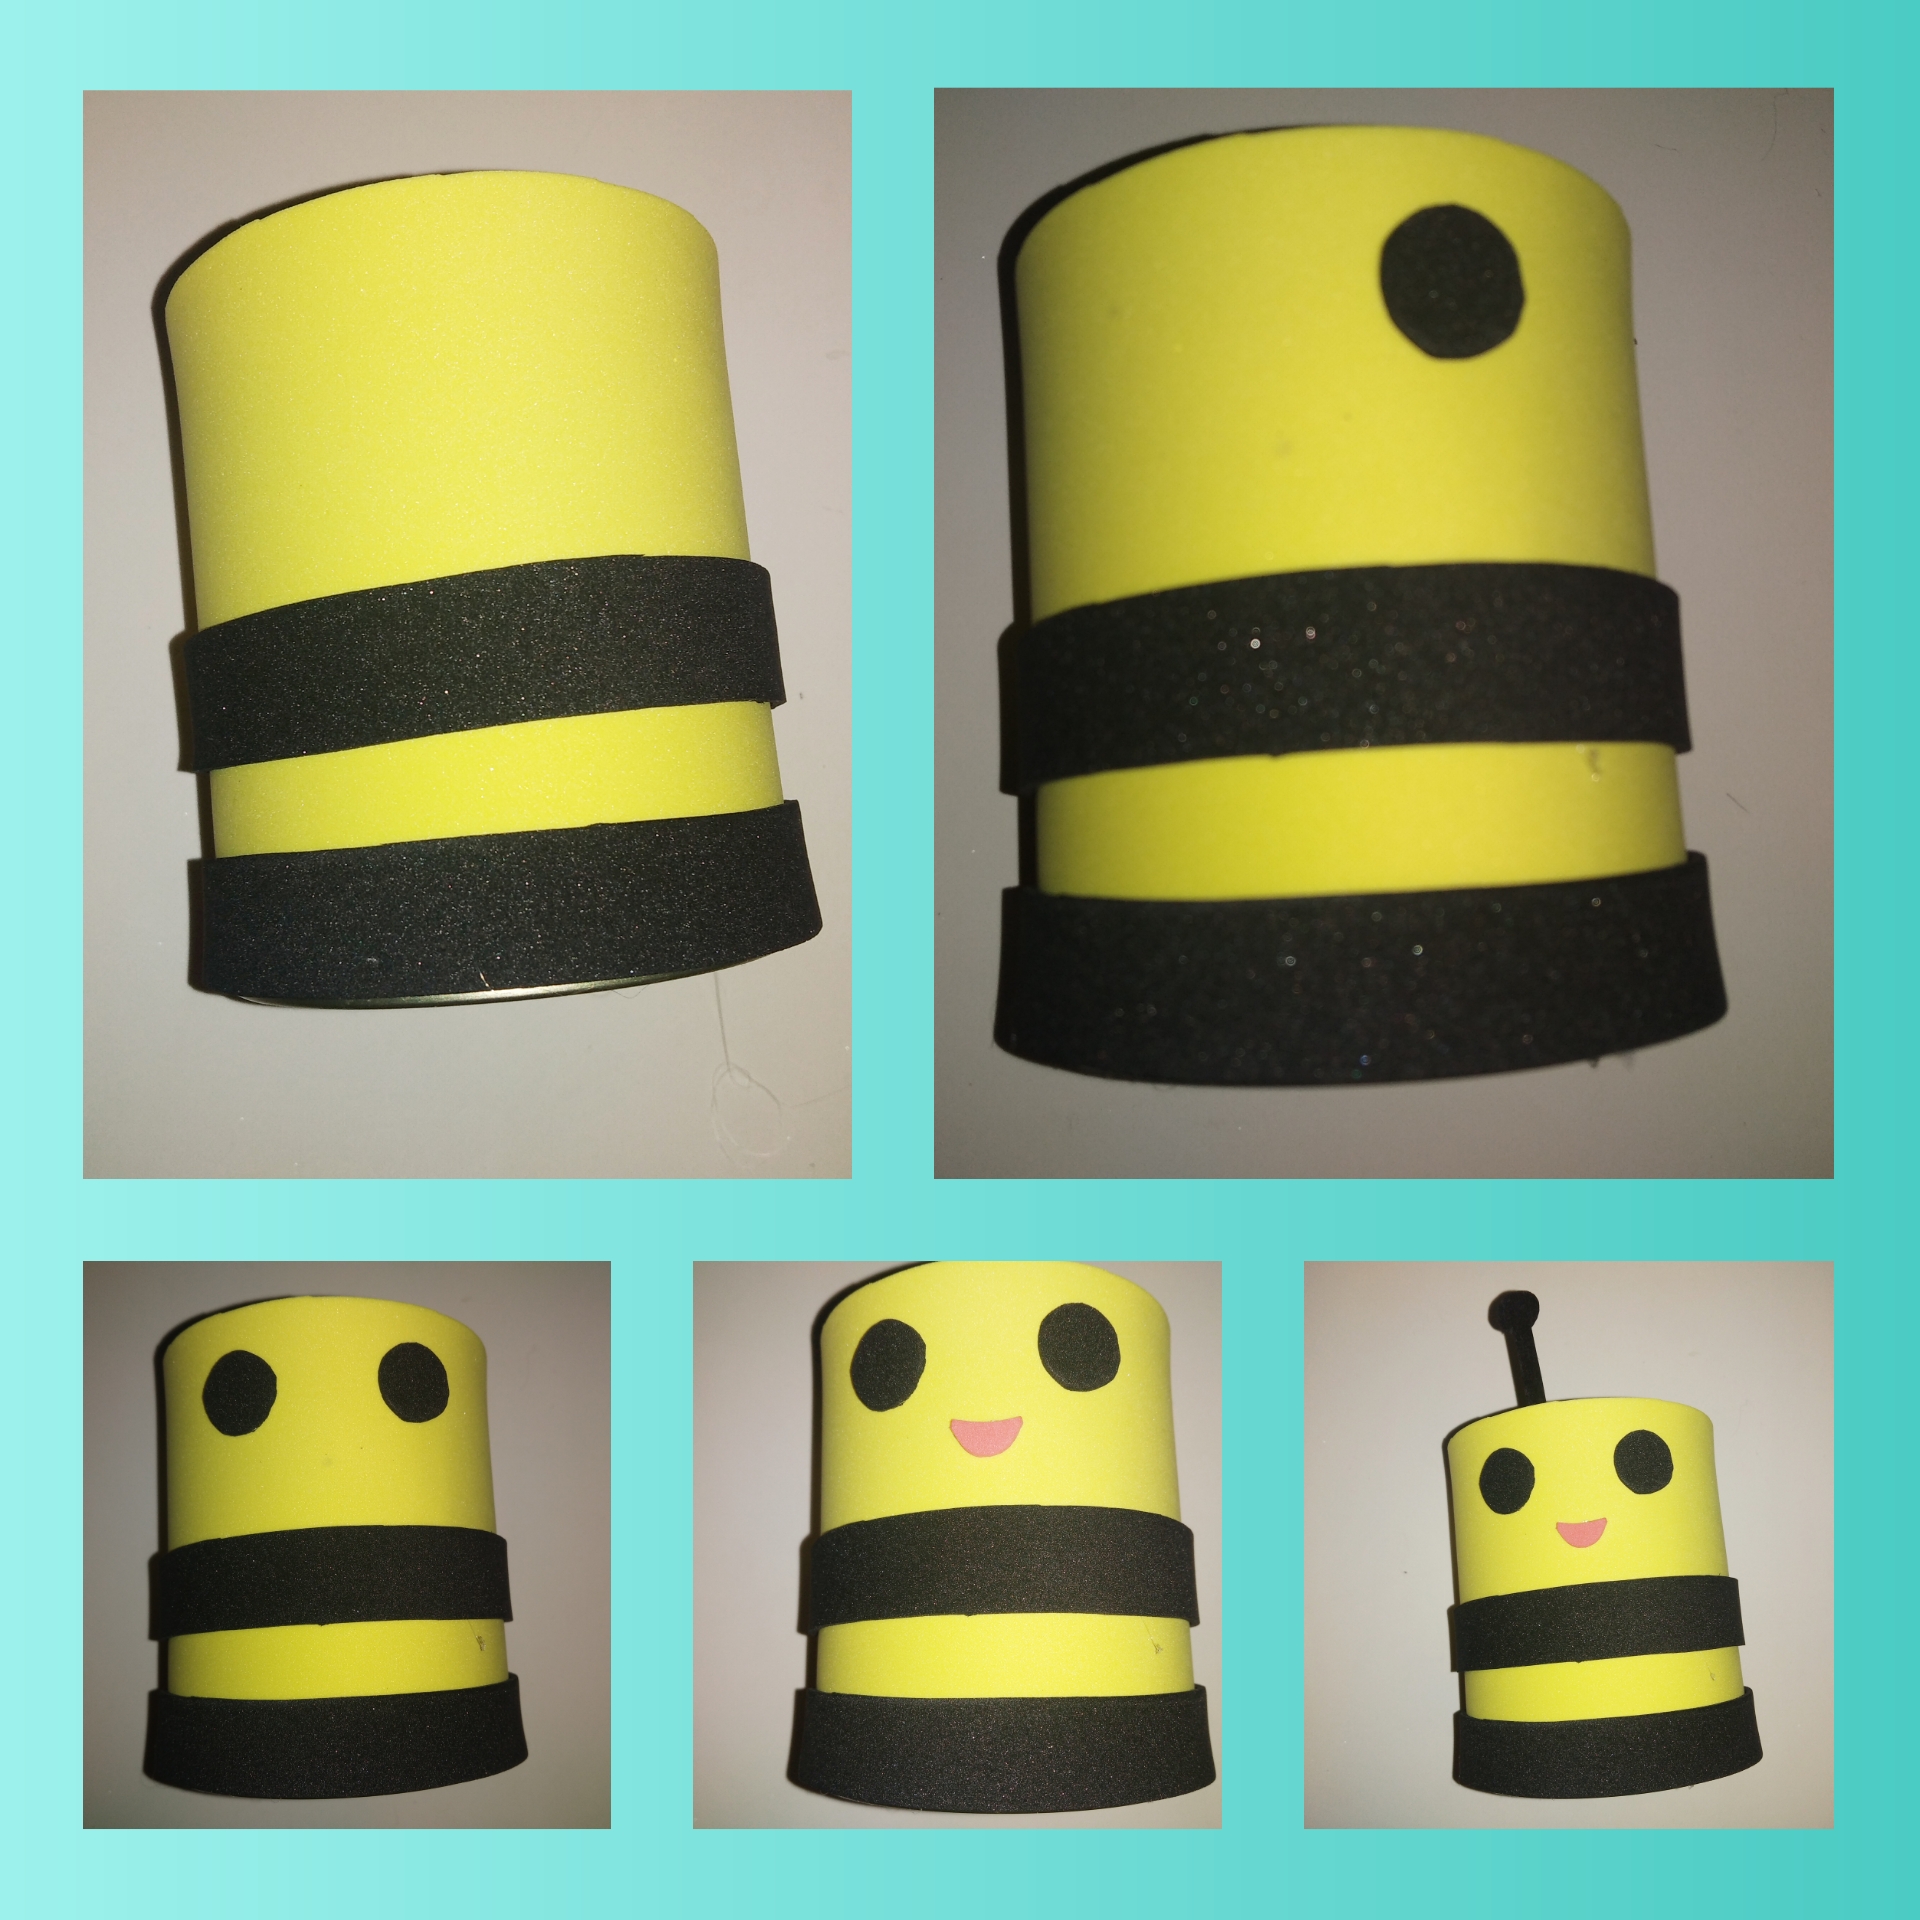
Step 7.In the upper part we place one eye, then the other, in the center the smiling mouth and already our little bee begins to see cute and coquettish. Inside the can with plastic tape we place one antenna and then the other. On the black foami we paste the largest white circle above and outside, then below and inside we paste the smallest white circle, it will be this way.
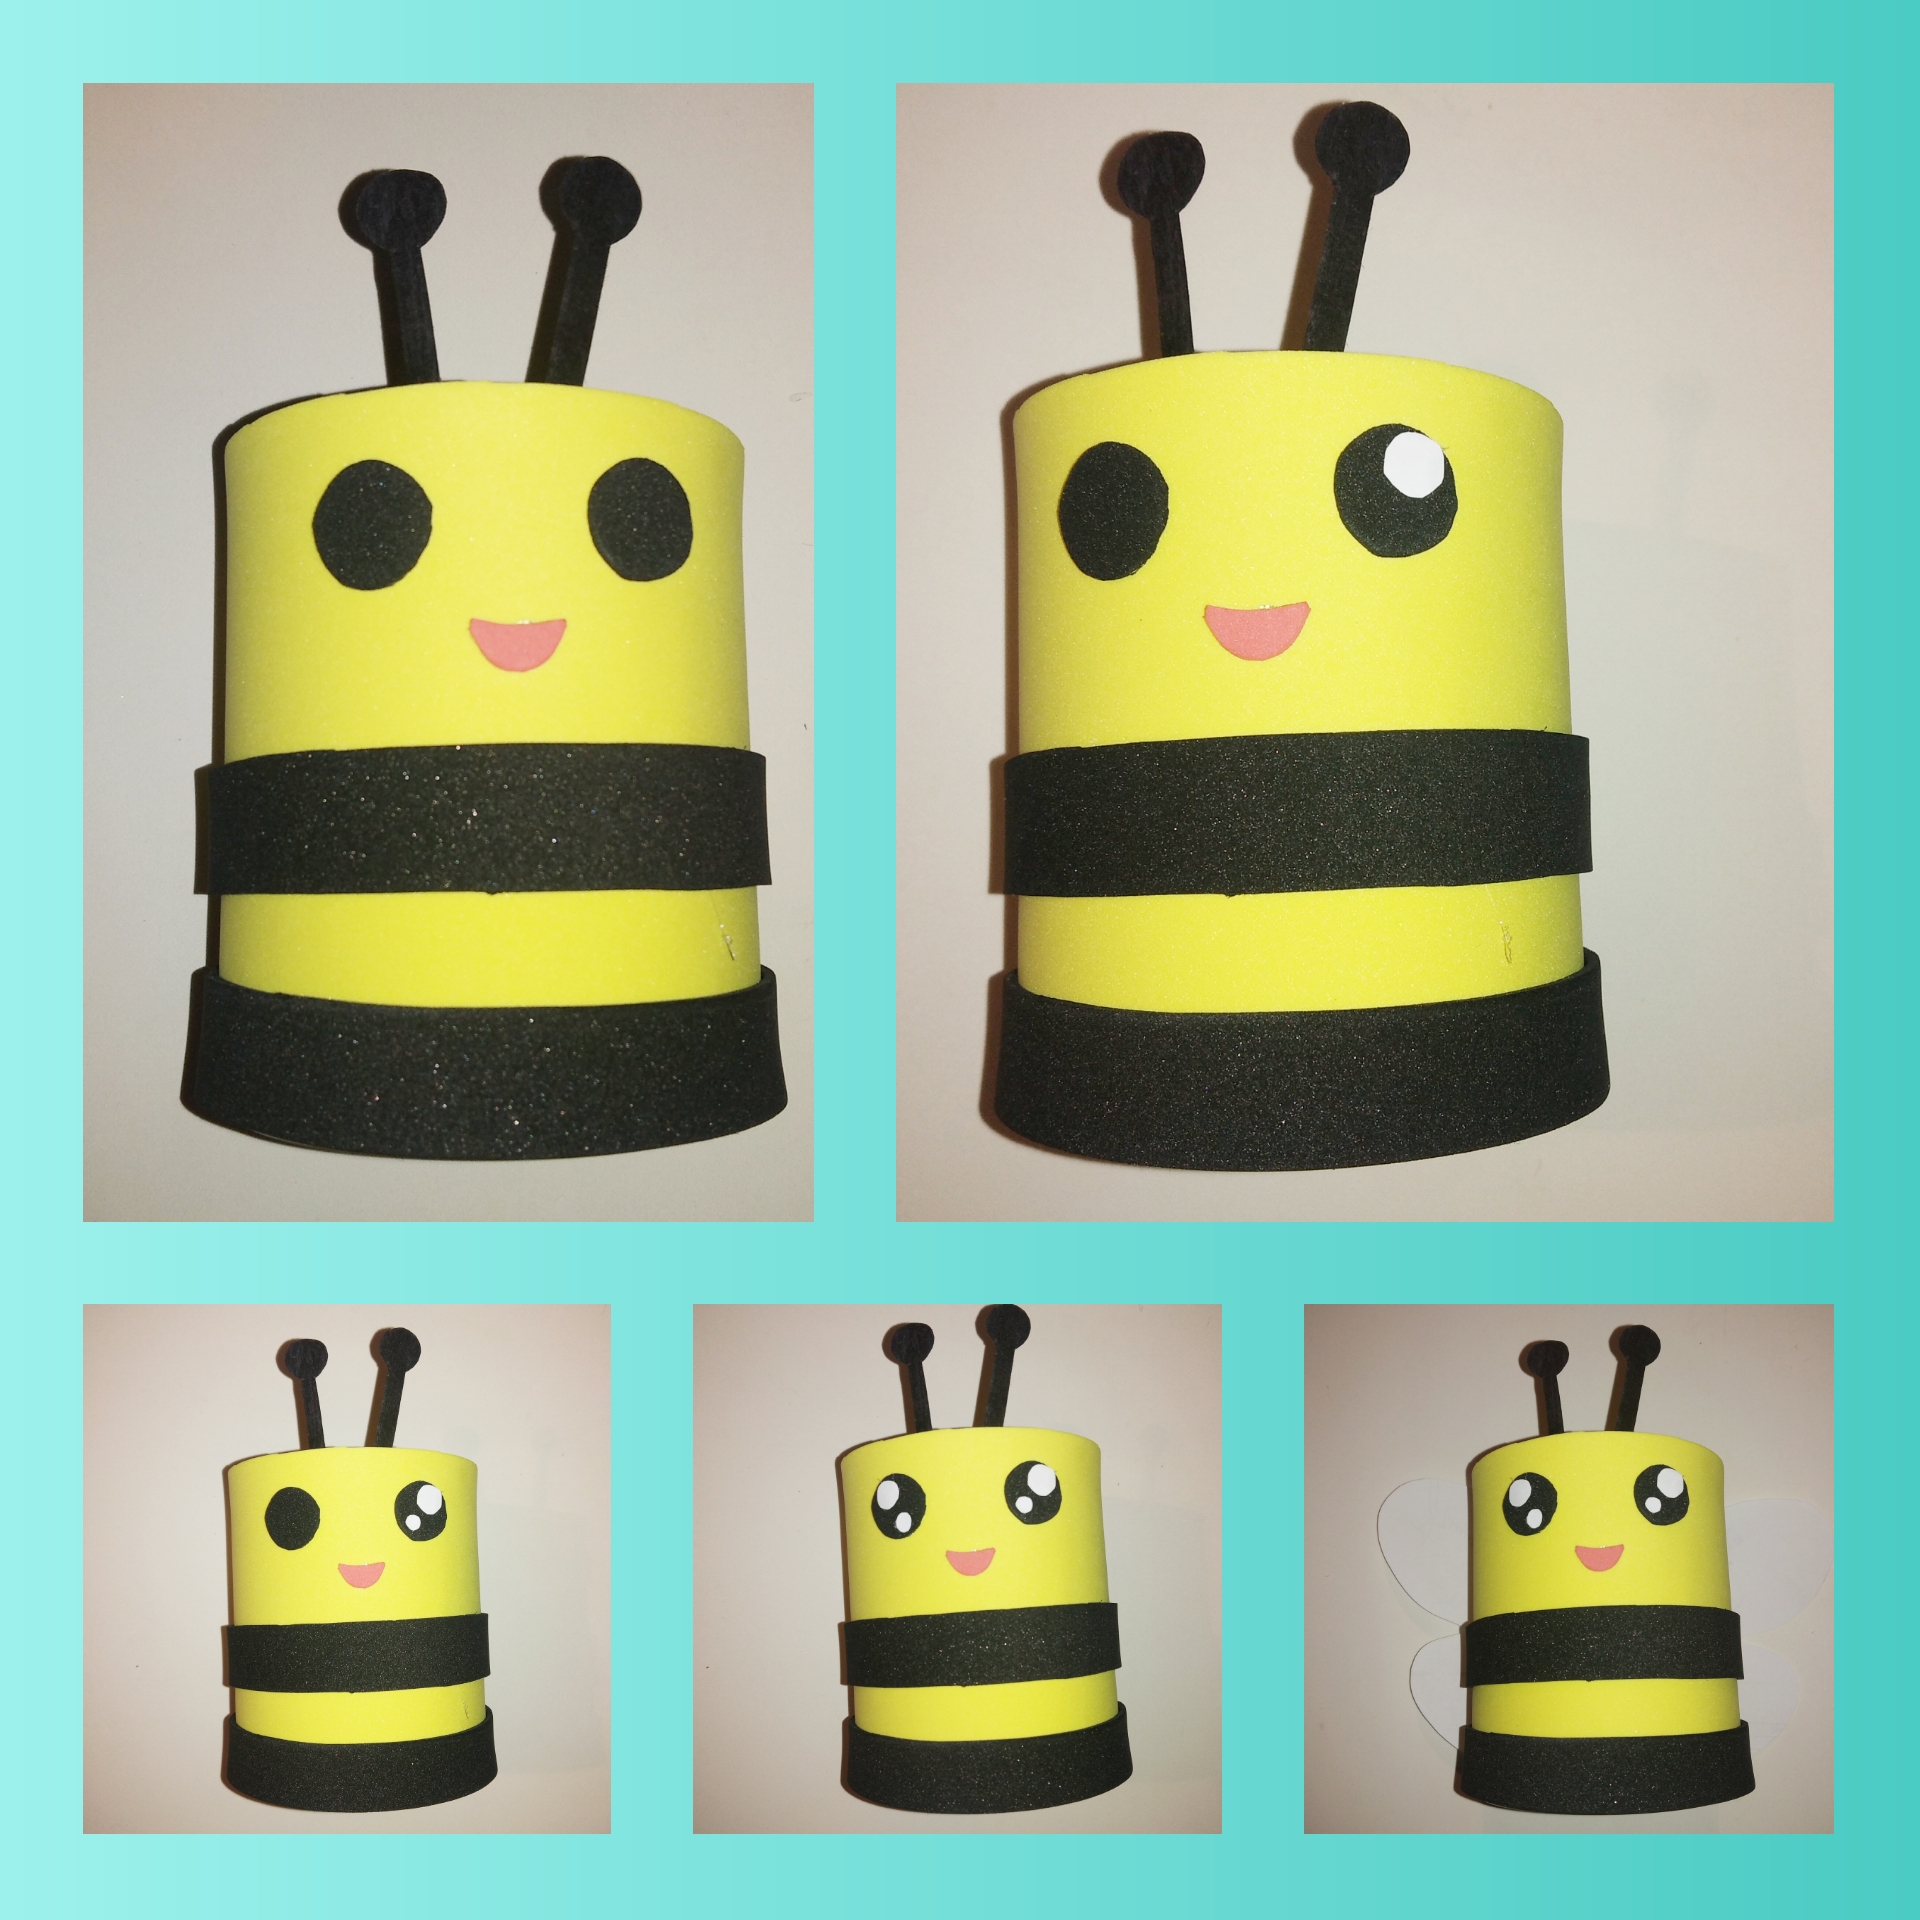
Step 8.This is the last step to finish the first bee. We take the wings and with silicone we join them behind the can. We would stay this way, beautiful, don't you think?
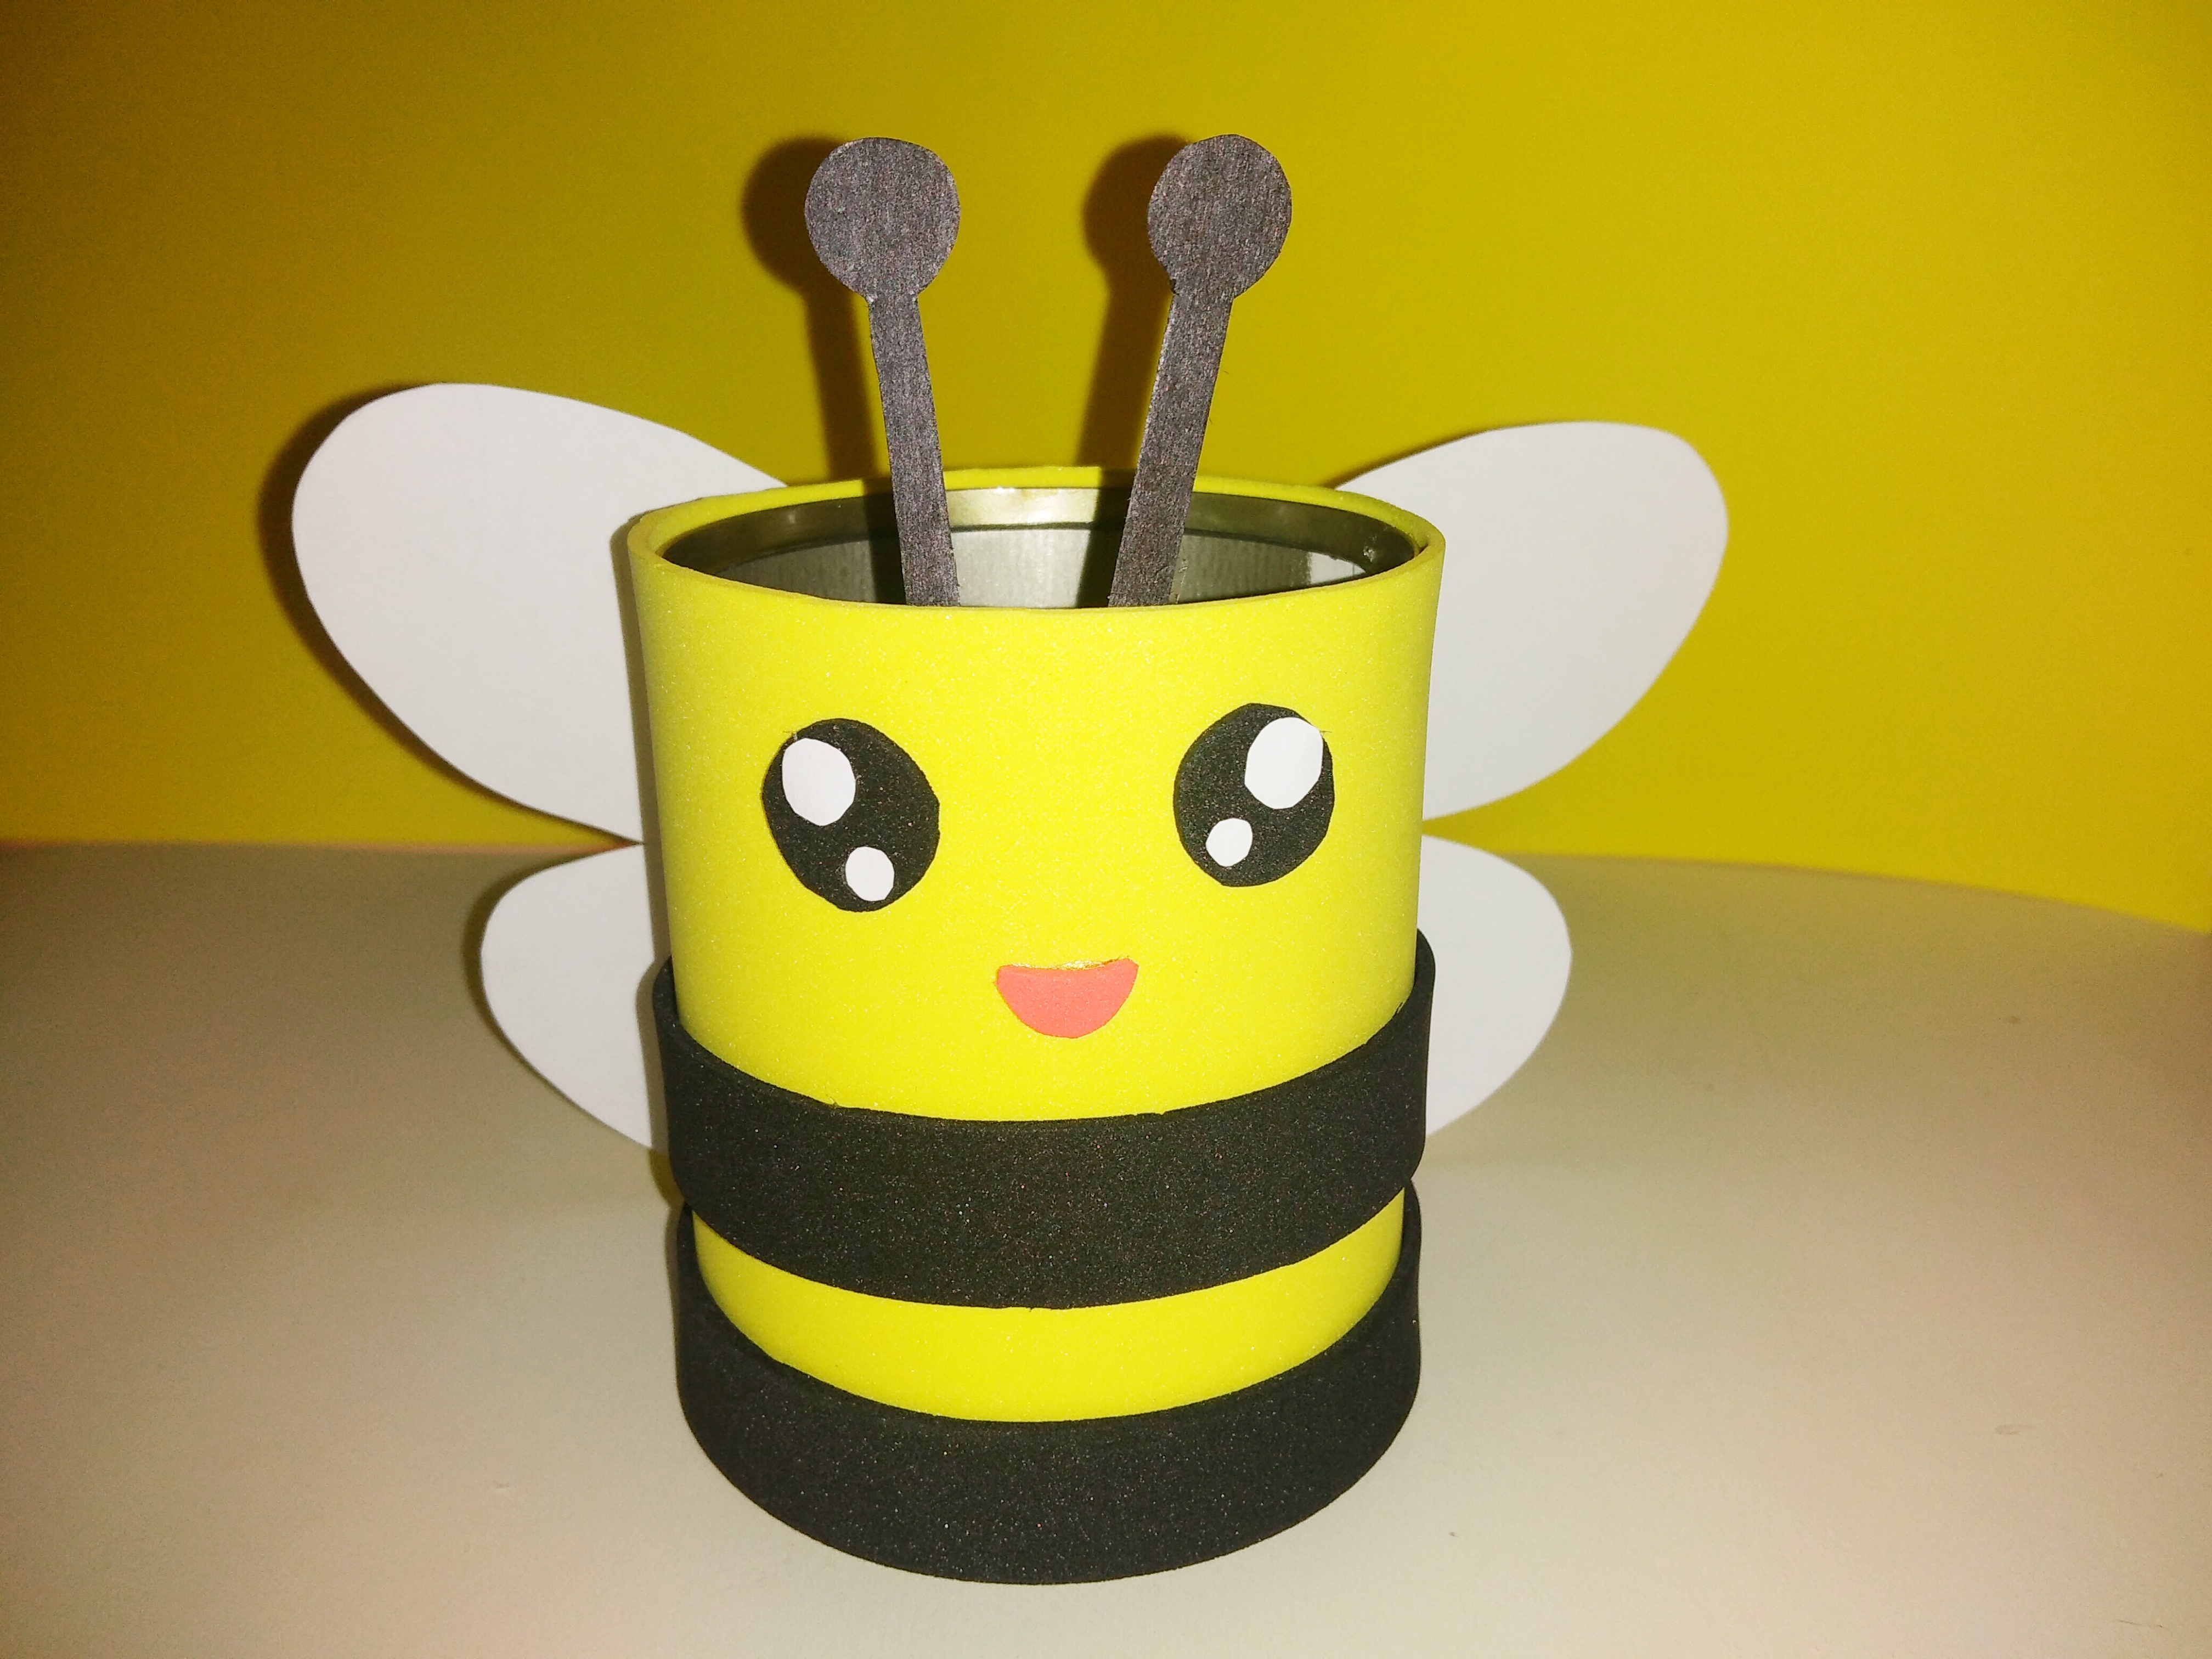
Now we are going to build the second little bee, which will keep the first one we have company, in the same way as the previous one we follow the same steps so that the little bee looks just as cute.
Step 9.
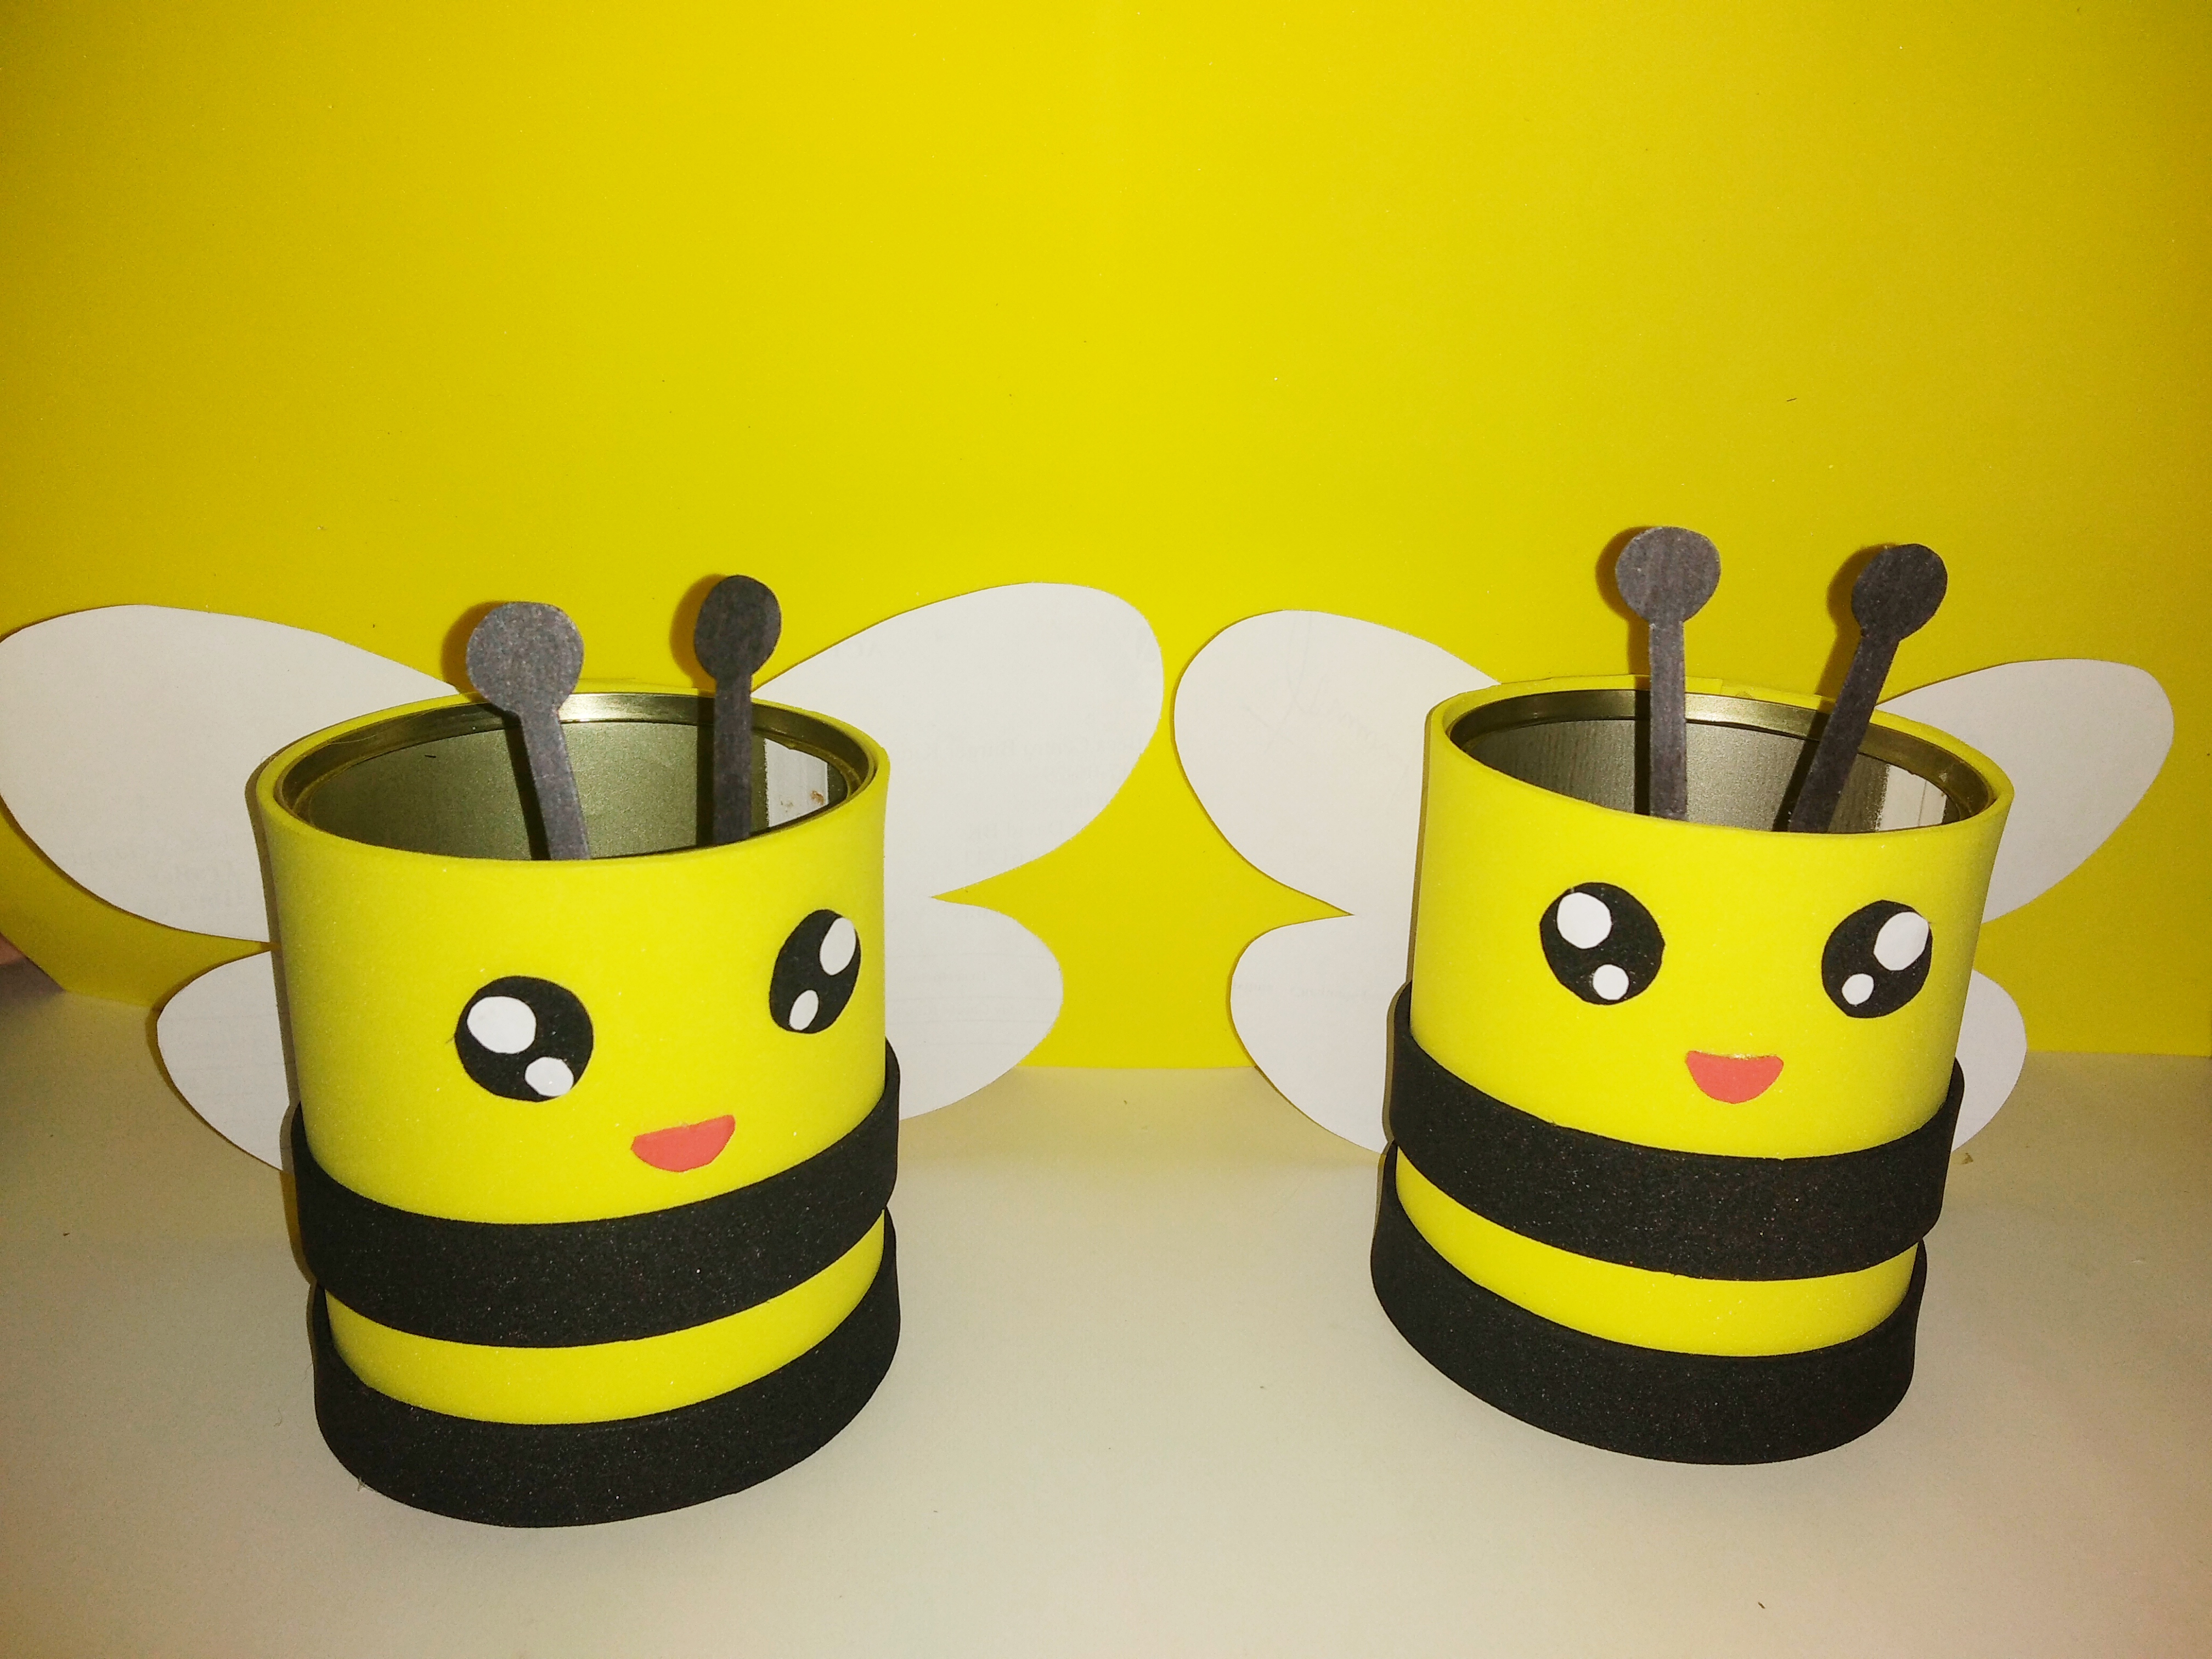
We already have the first two pieces of this cute organizing beehive ready.
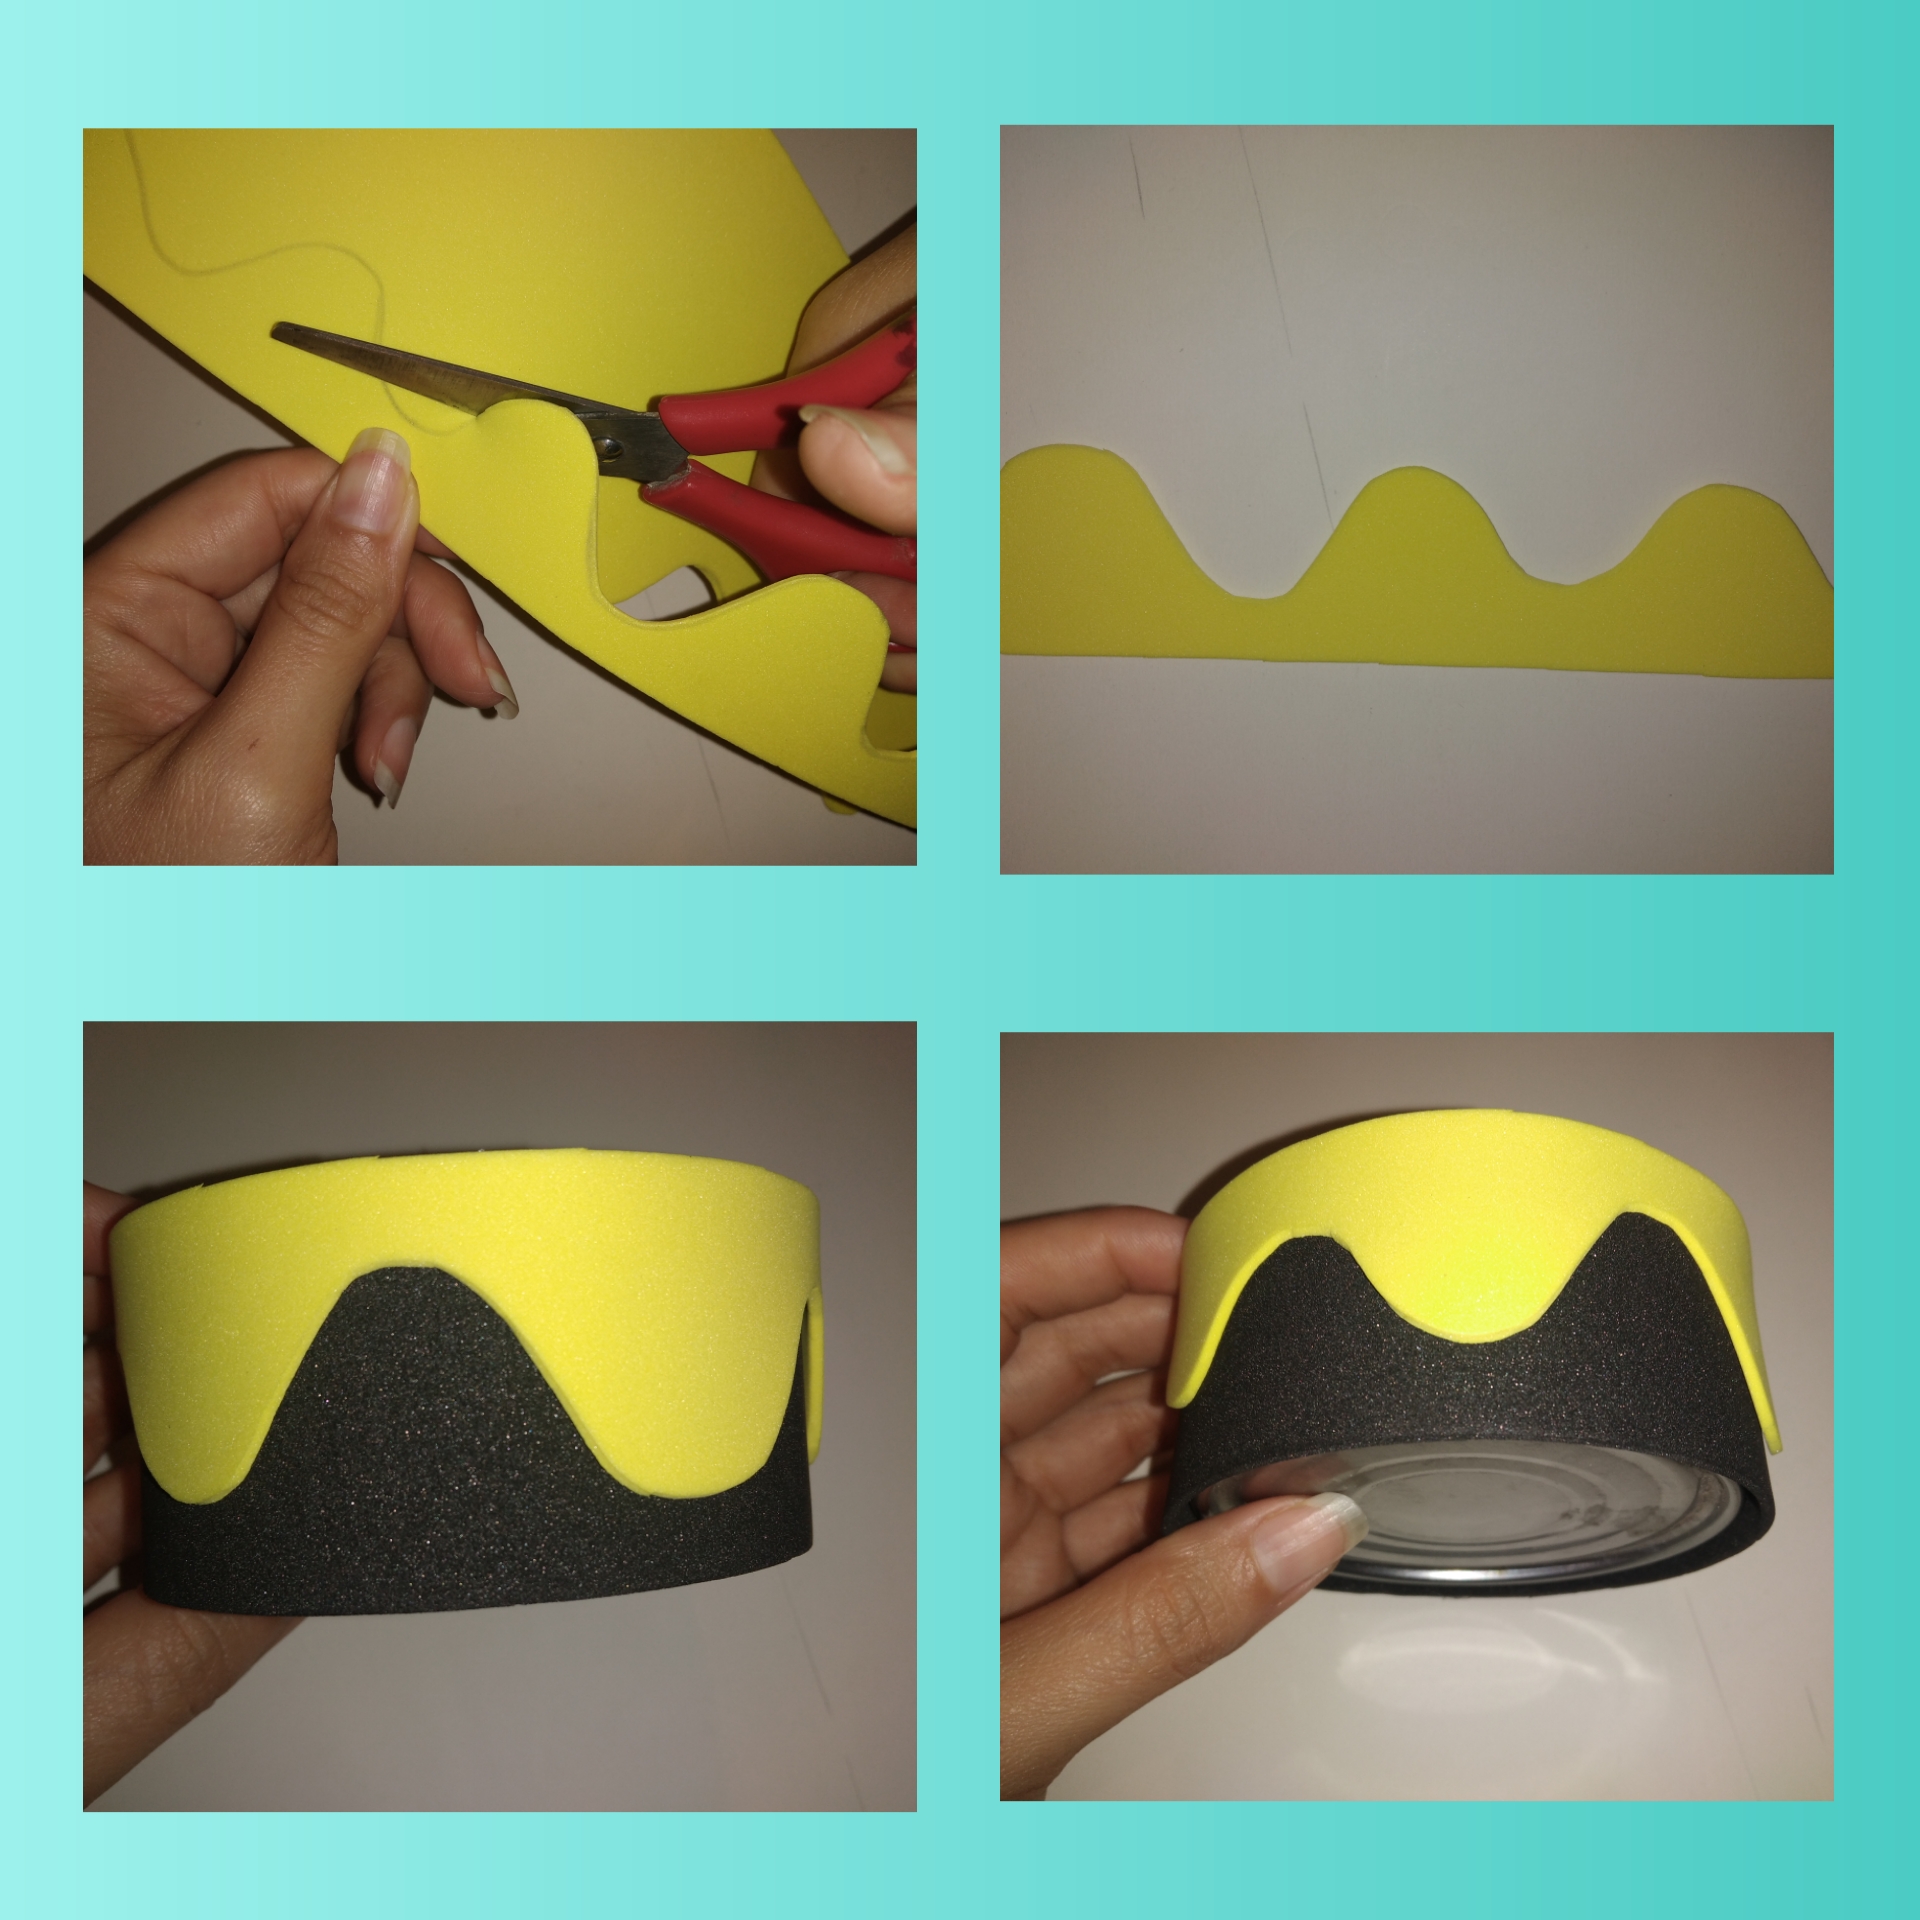
Step 10.Now on to the third and final piece. We take the black foami we measure it and we cover the can, in the yellow foami we are going to draw a sea wave, we cut it and join the upper part of the can with the waves downwards and our third piece is ready.
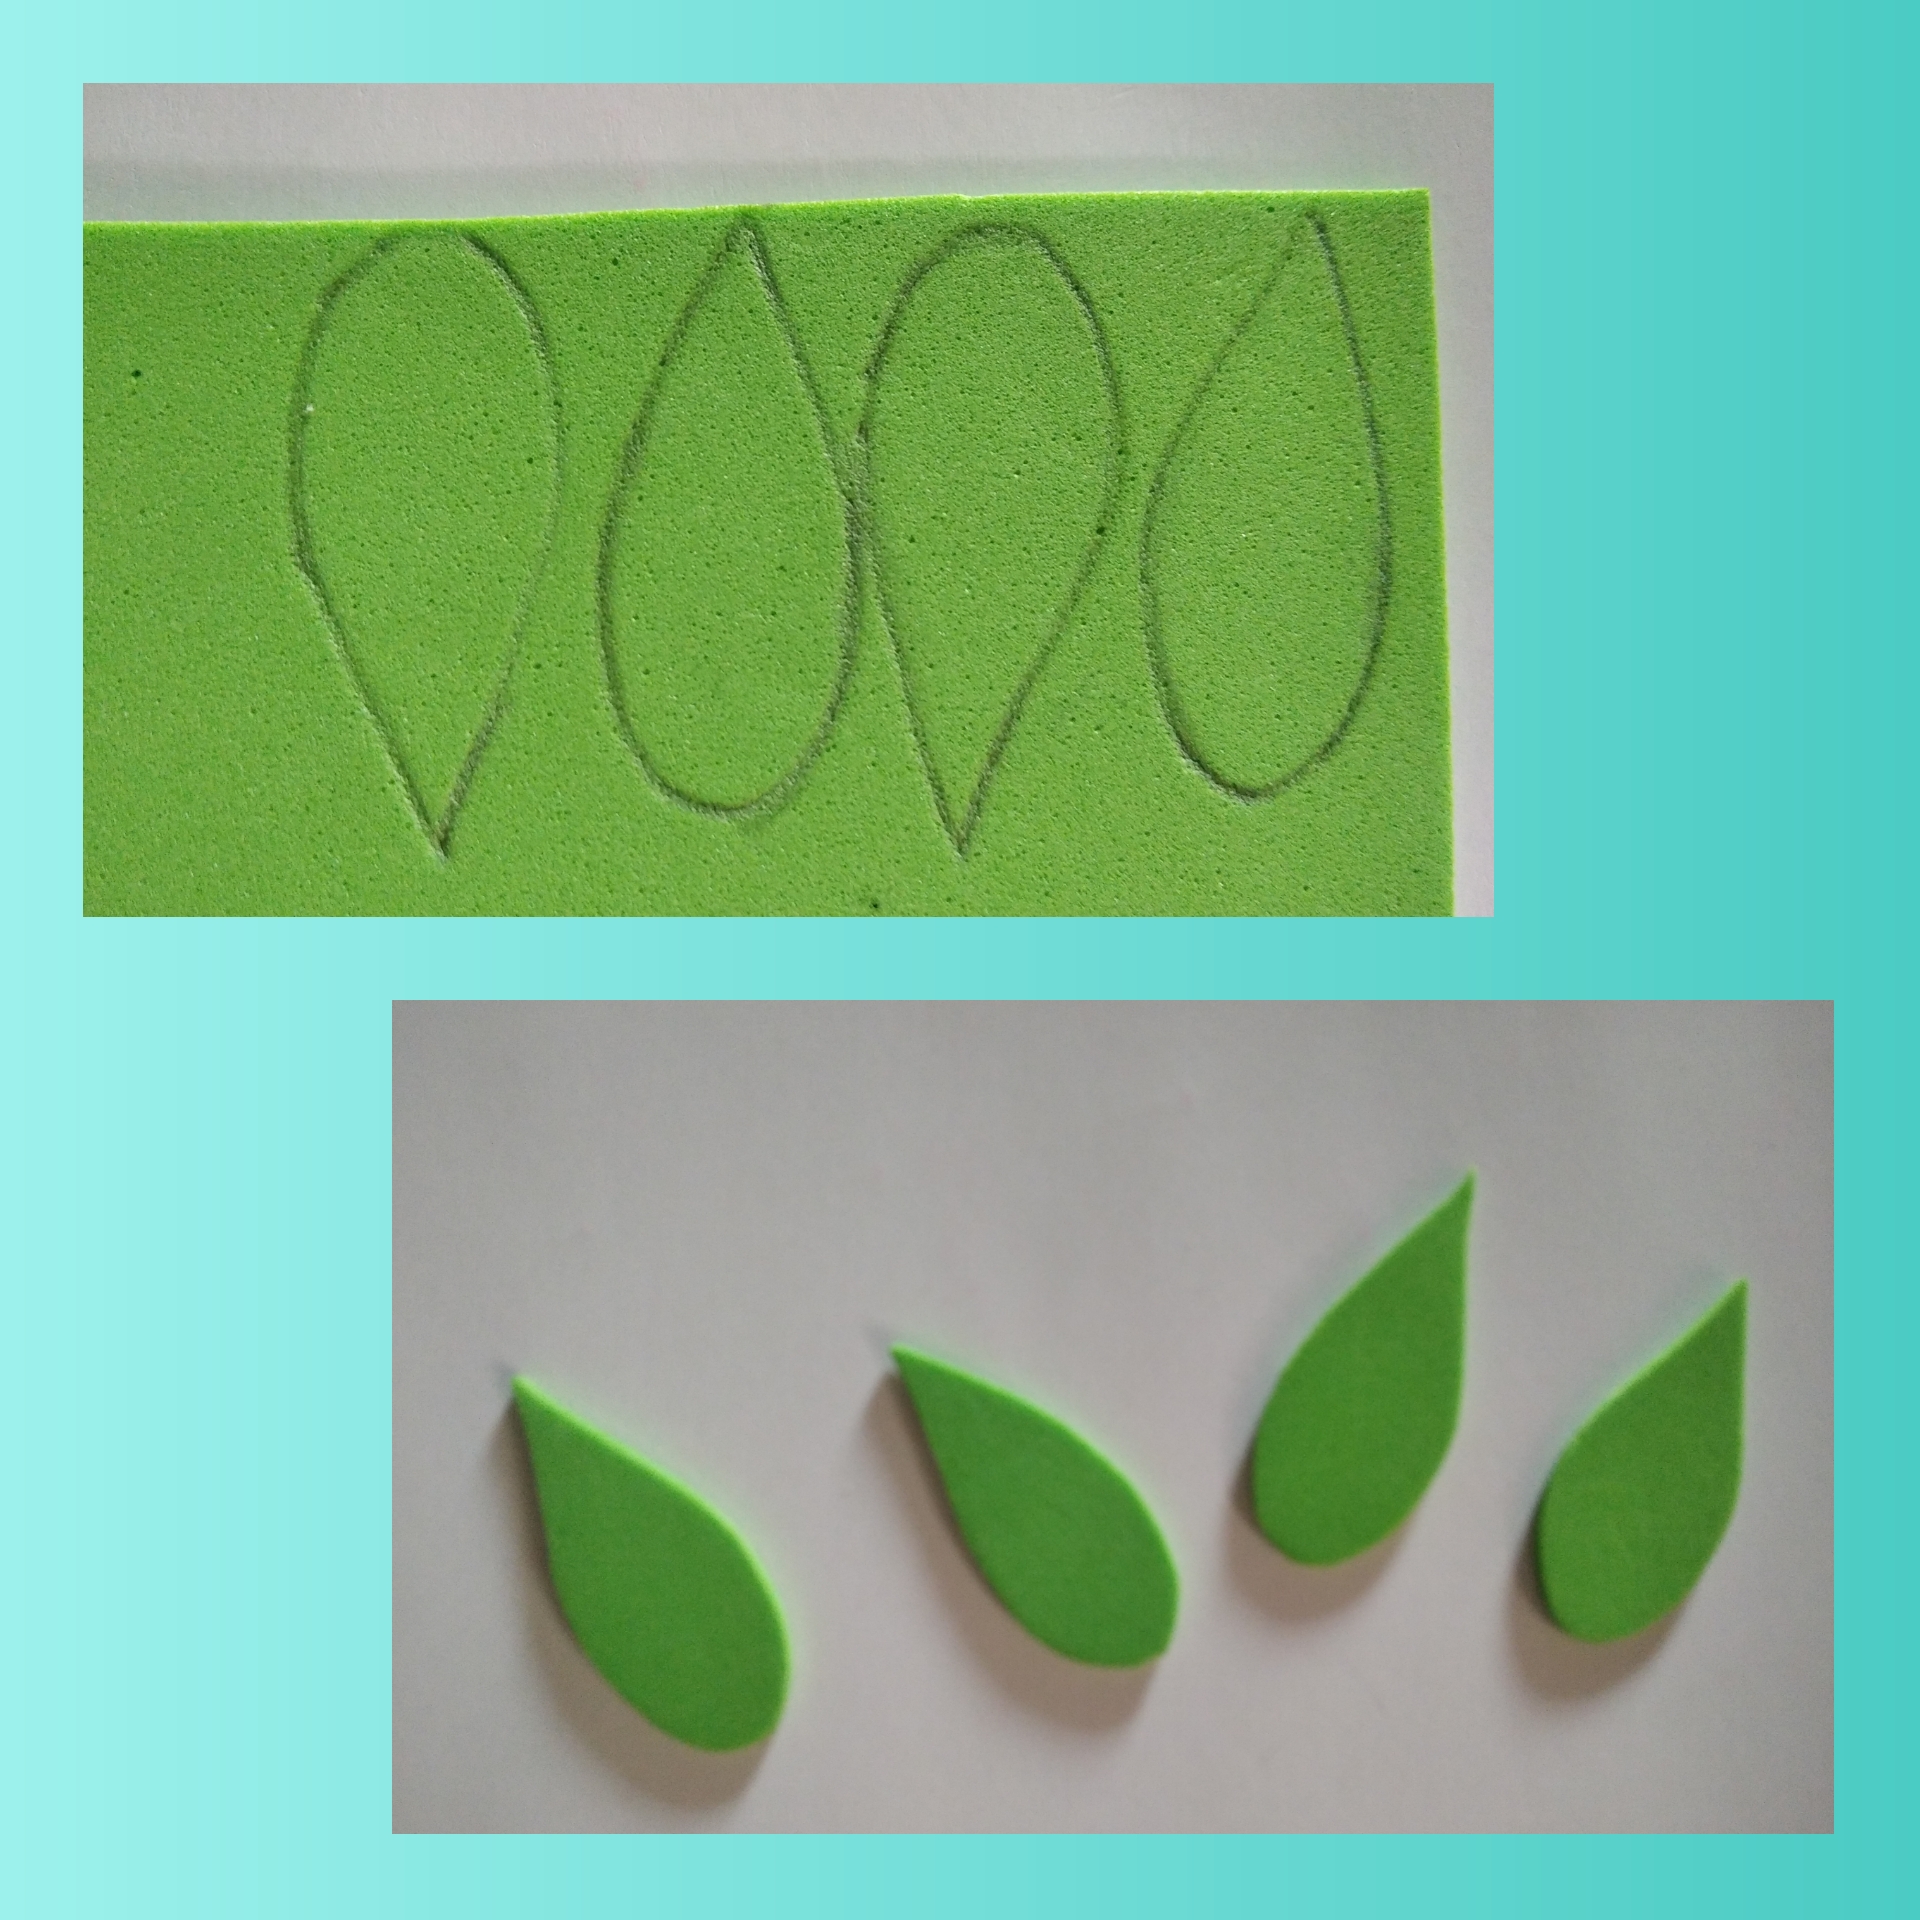
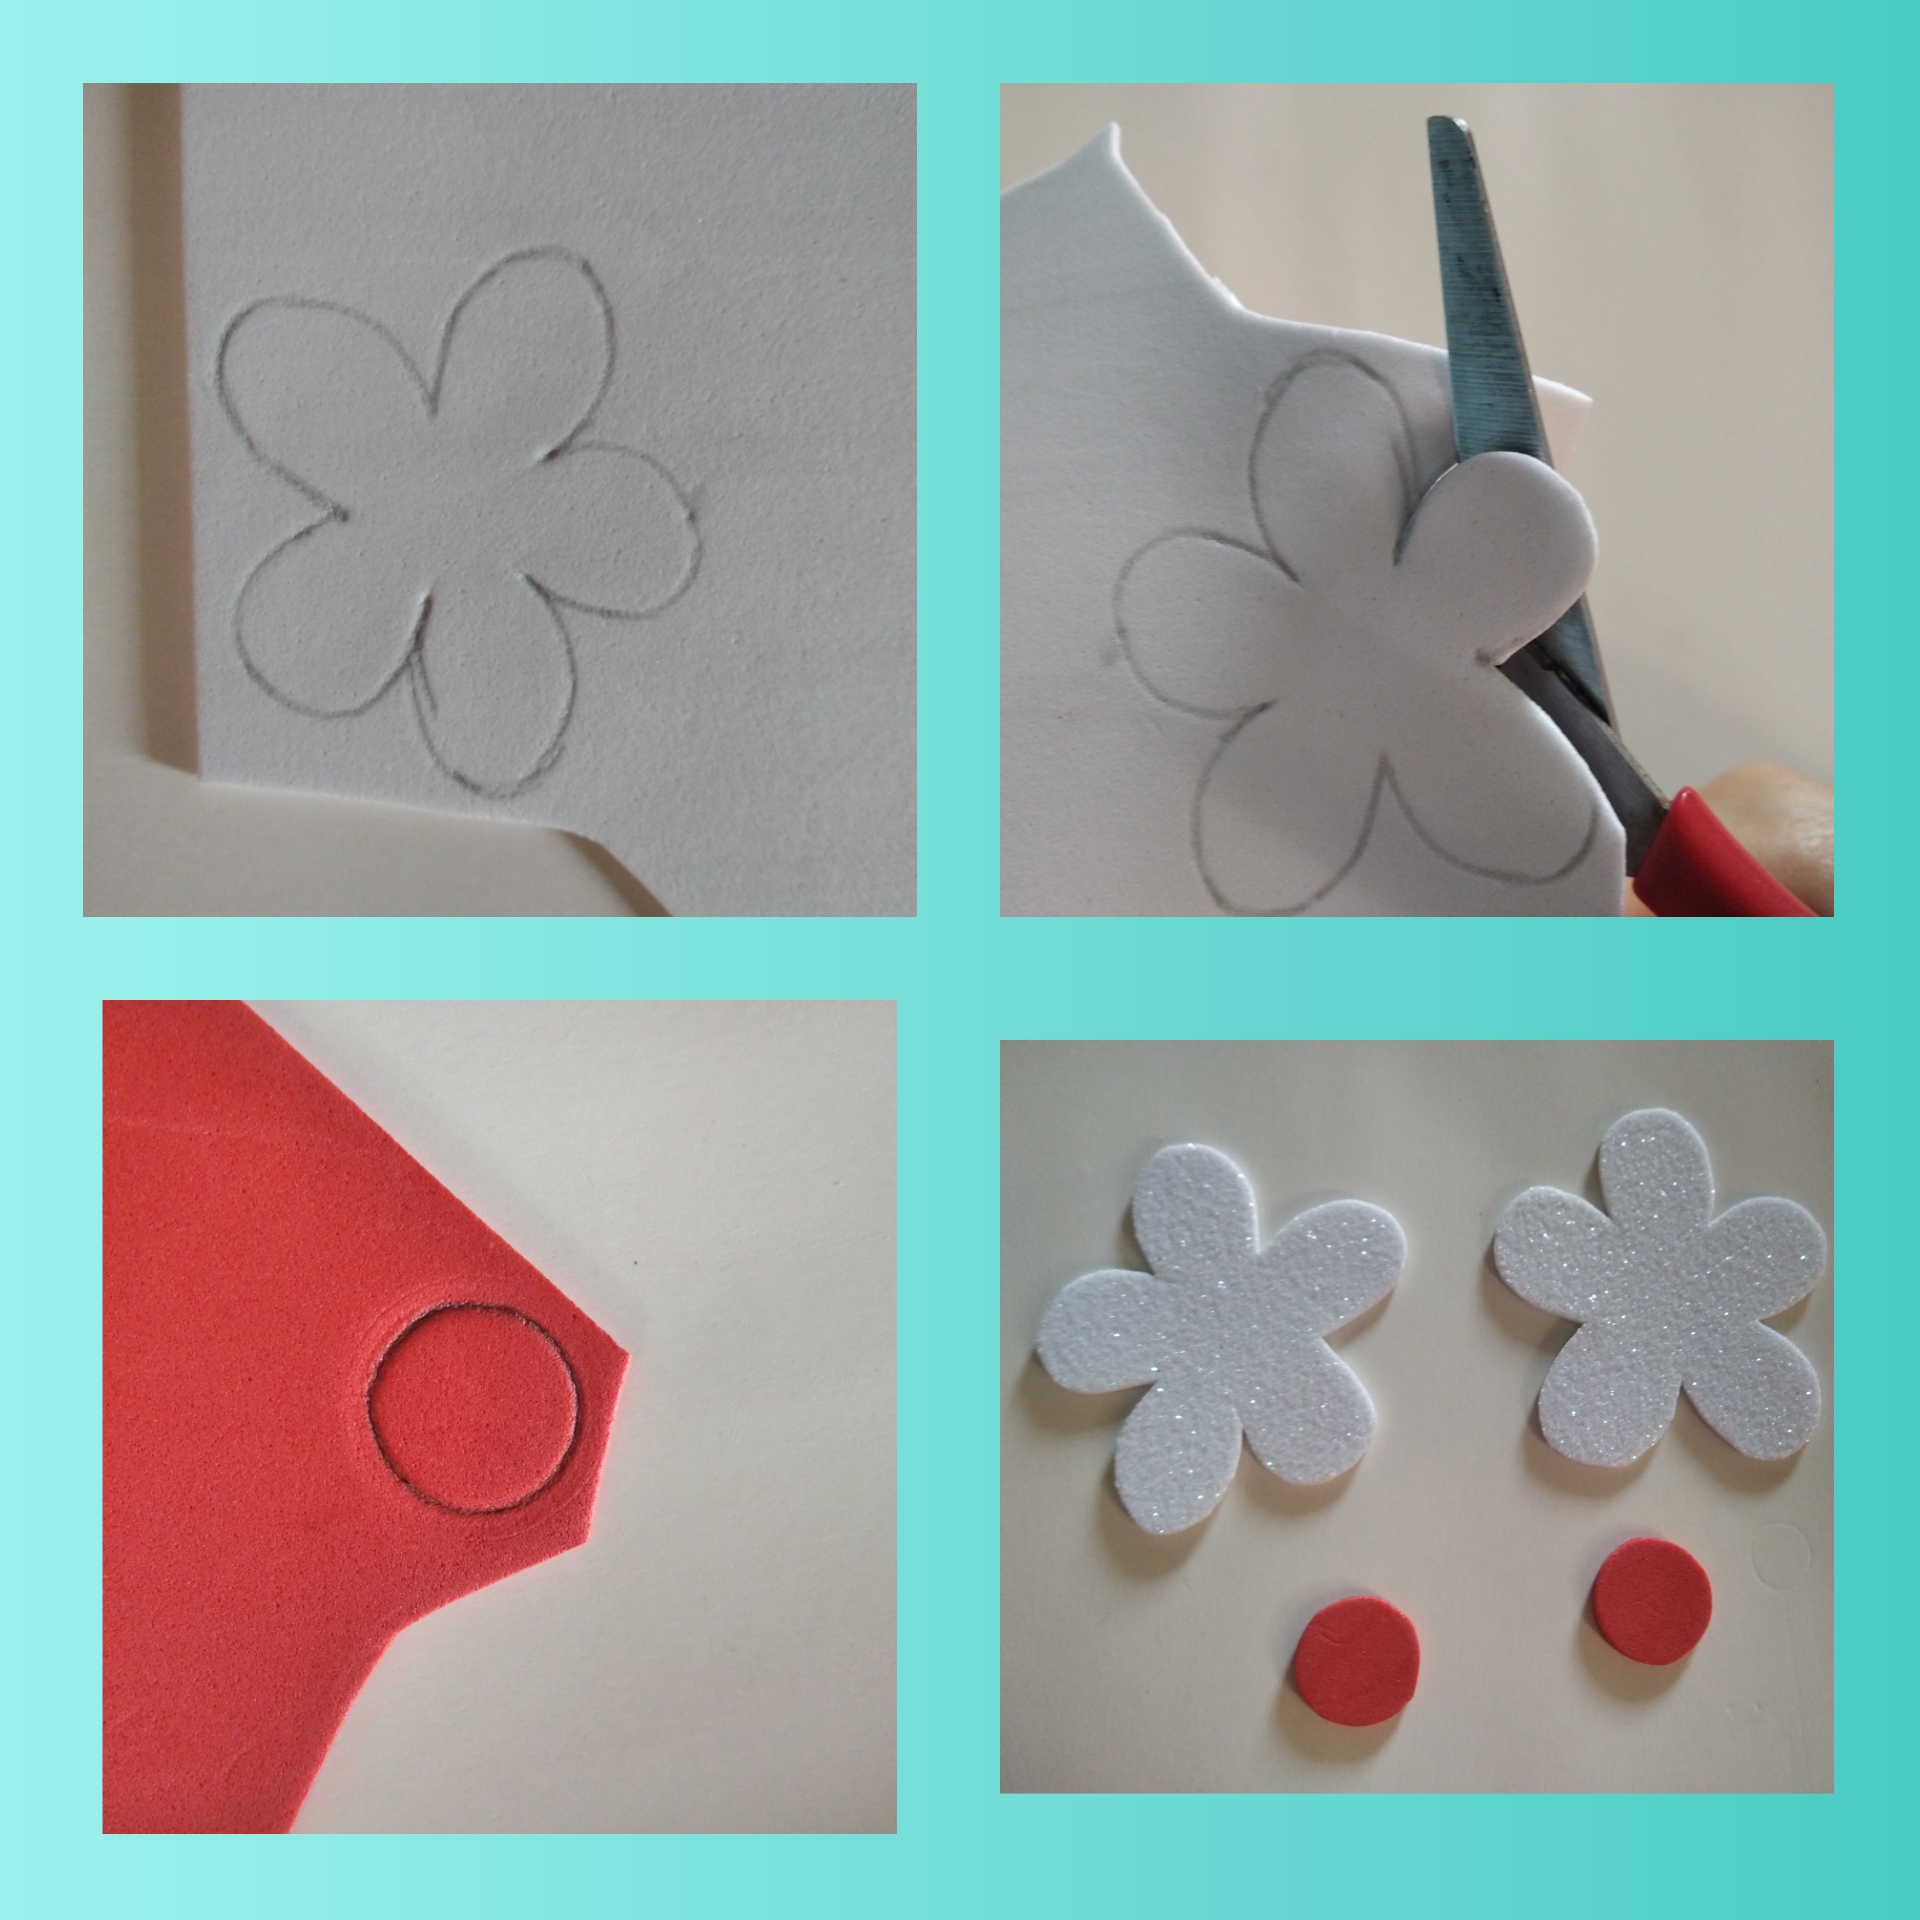
Step 11.To decorate this organizer beehive we will make two flowers. On the green foami we are going to draw 4 petals, on the white foami we draw two flowers and on the red foami two circles.
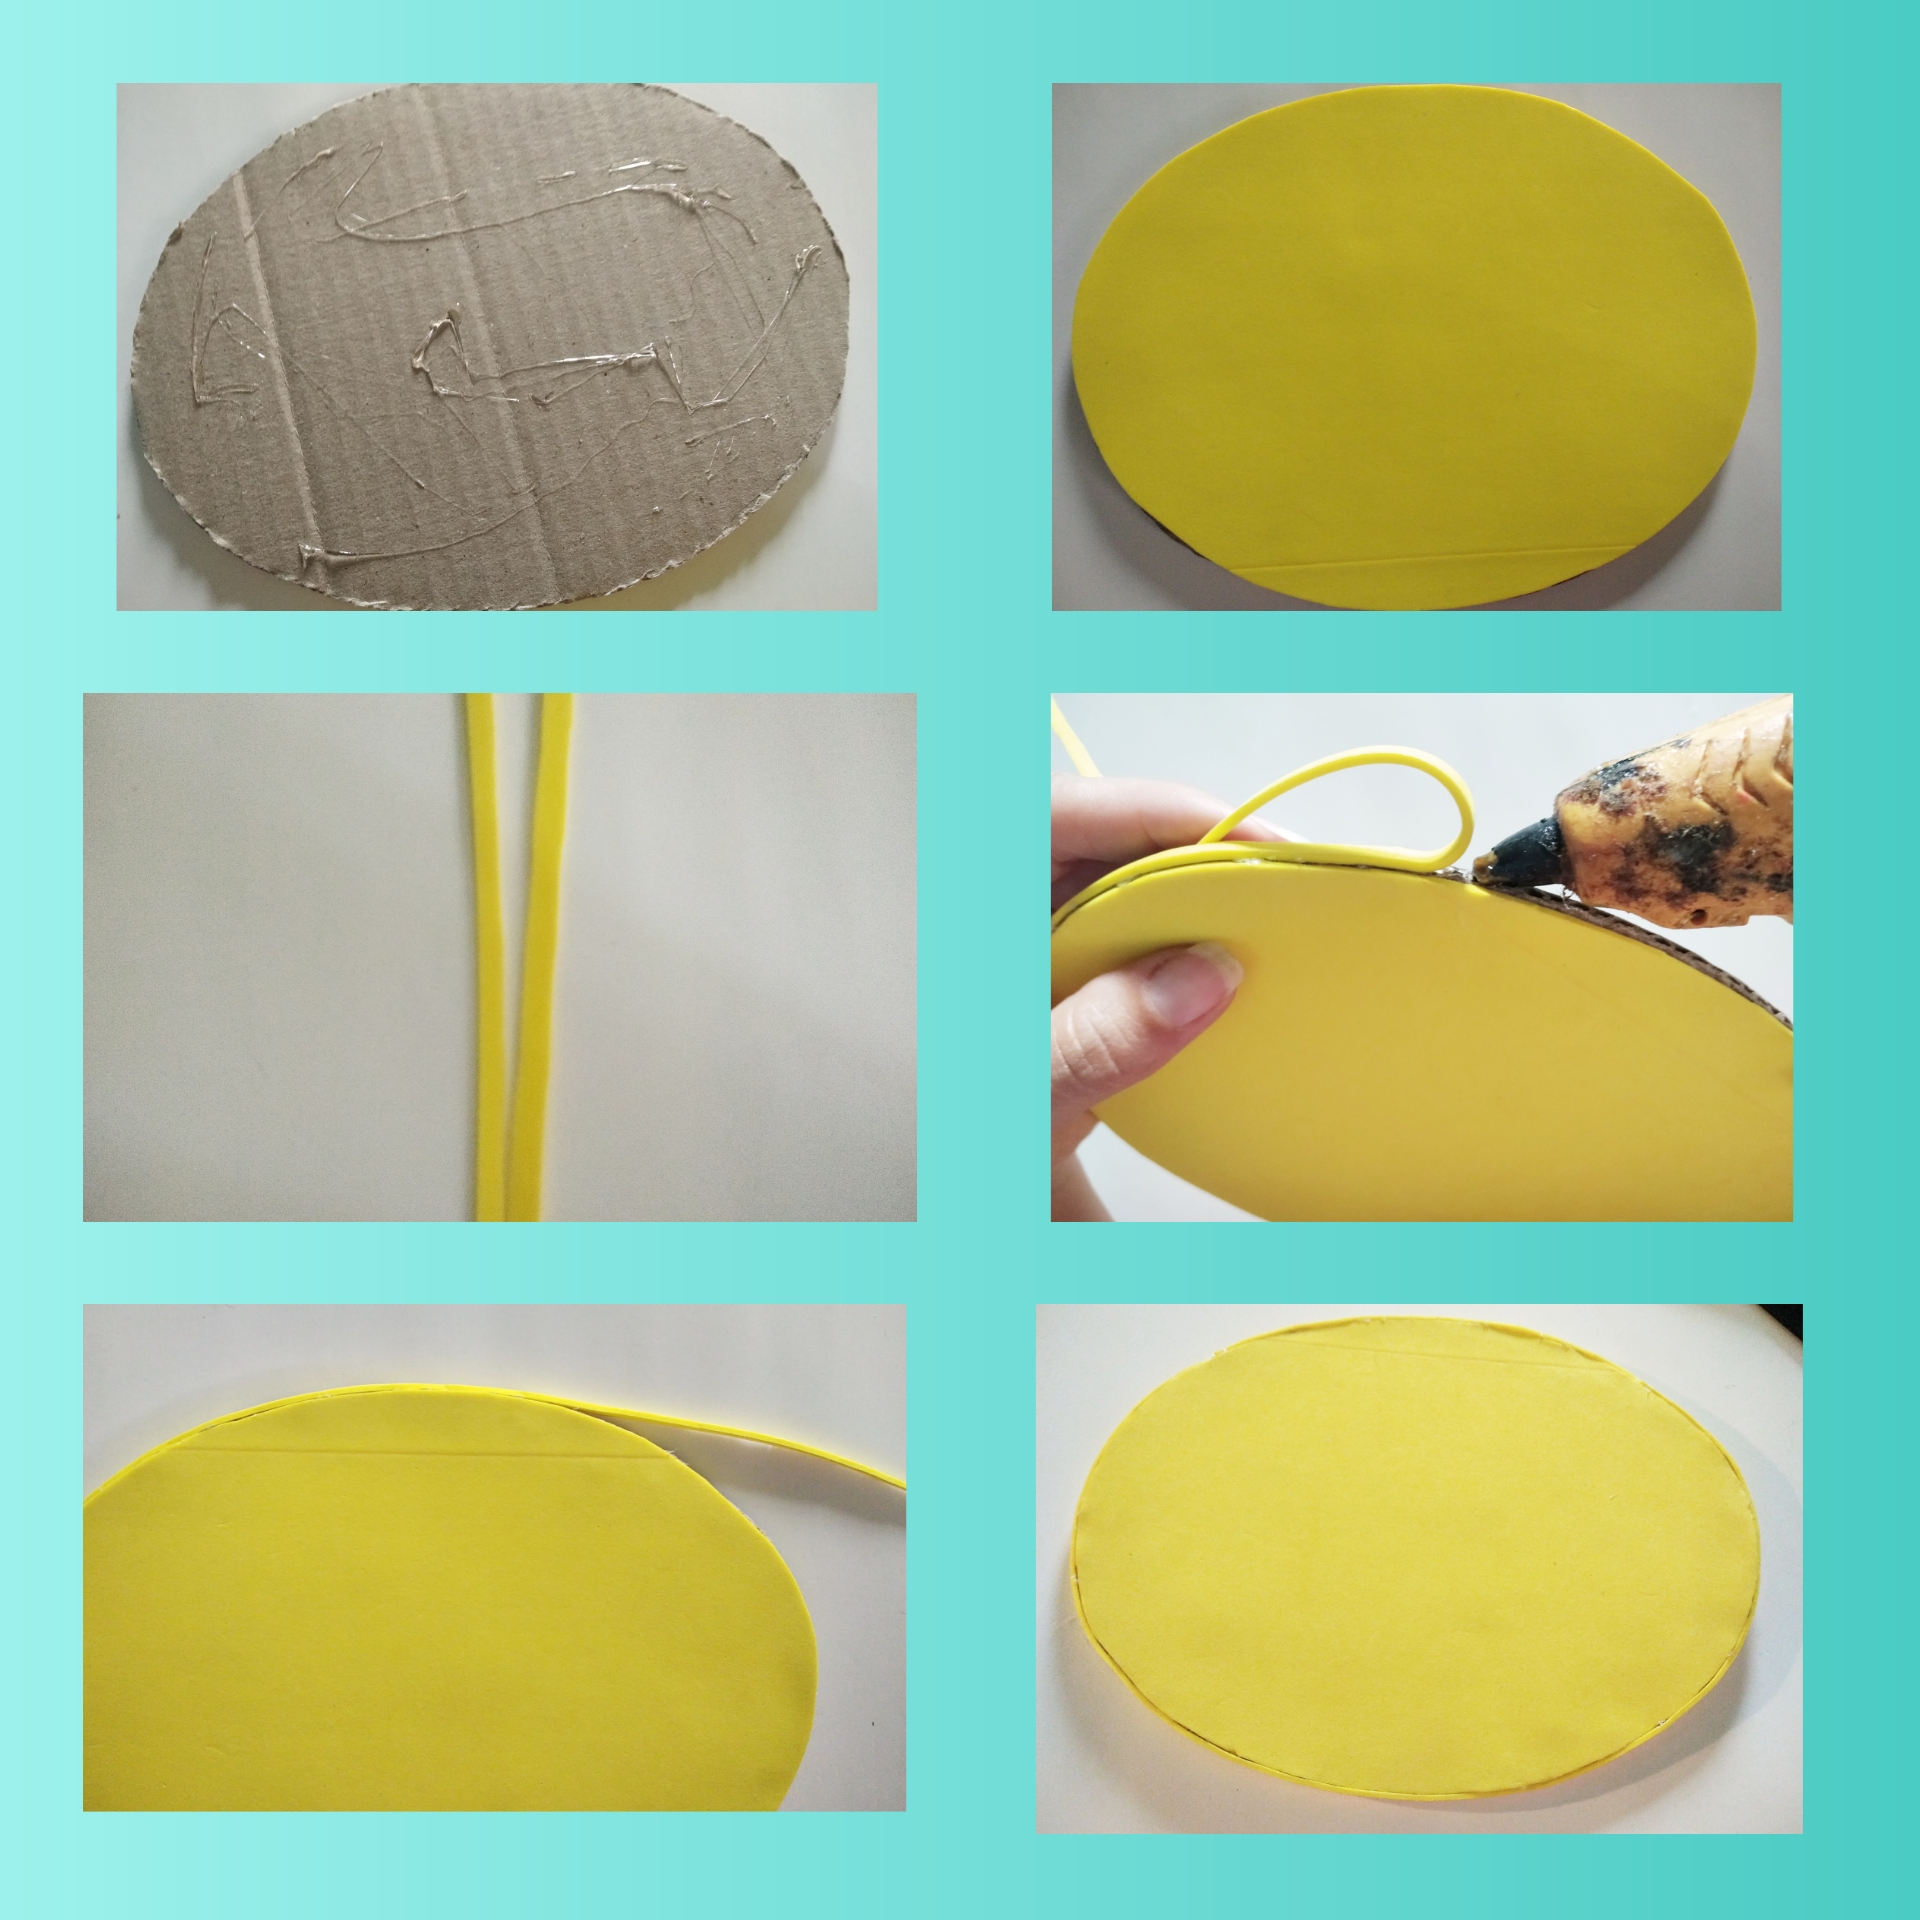
Step 12.Now we are going to take the cardboard and we are going to draw an oval circle on it, we cut it out, with the yellow foami we make a circle of the same size, then we join it to the cardboard, we make a strip of 0.5 cm and we place it by the edge of the cardboard to cover it.
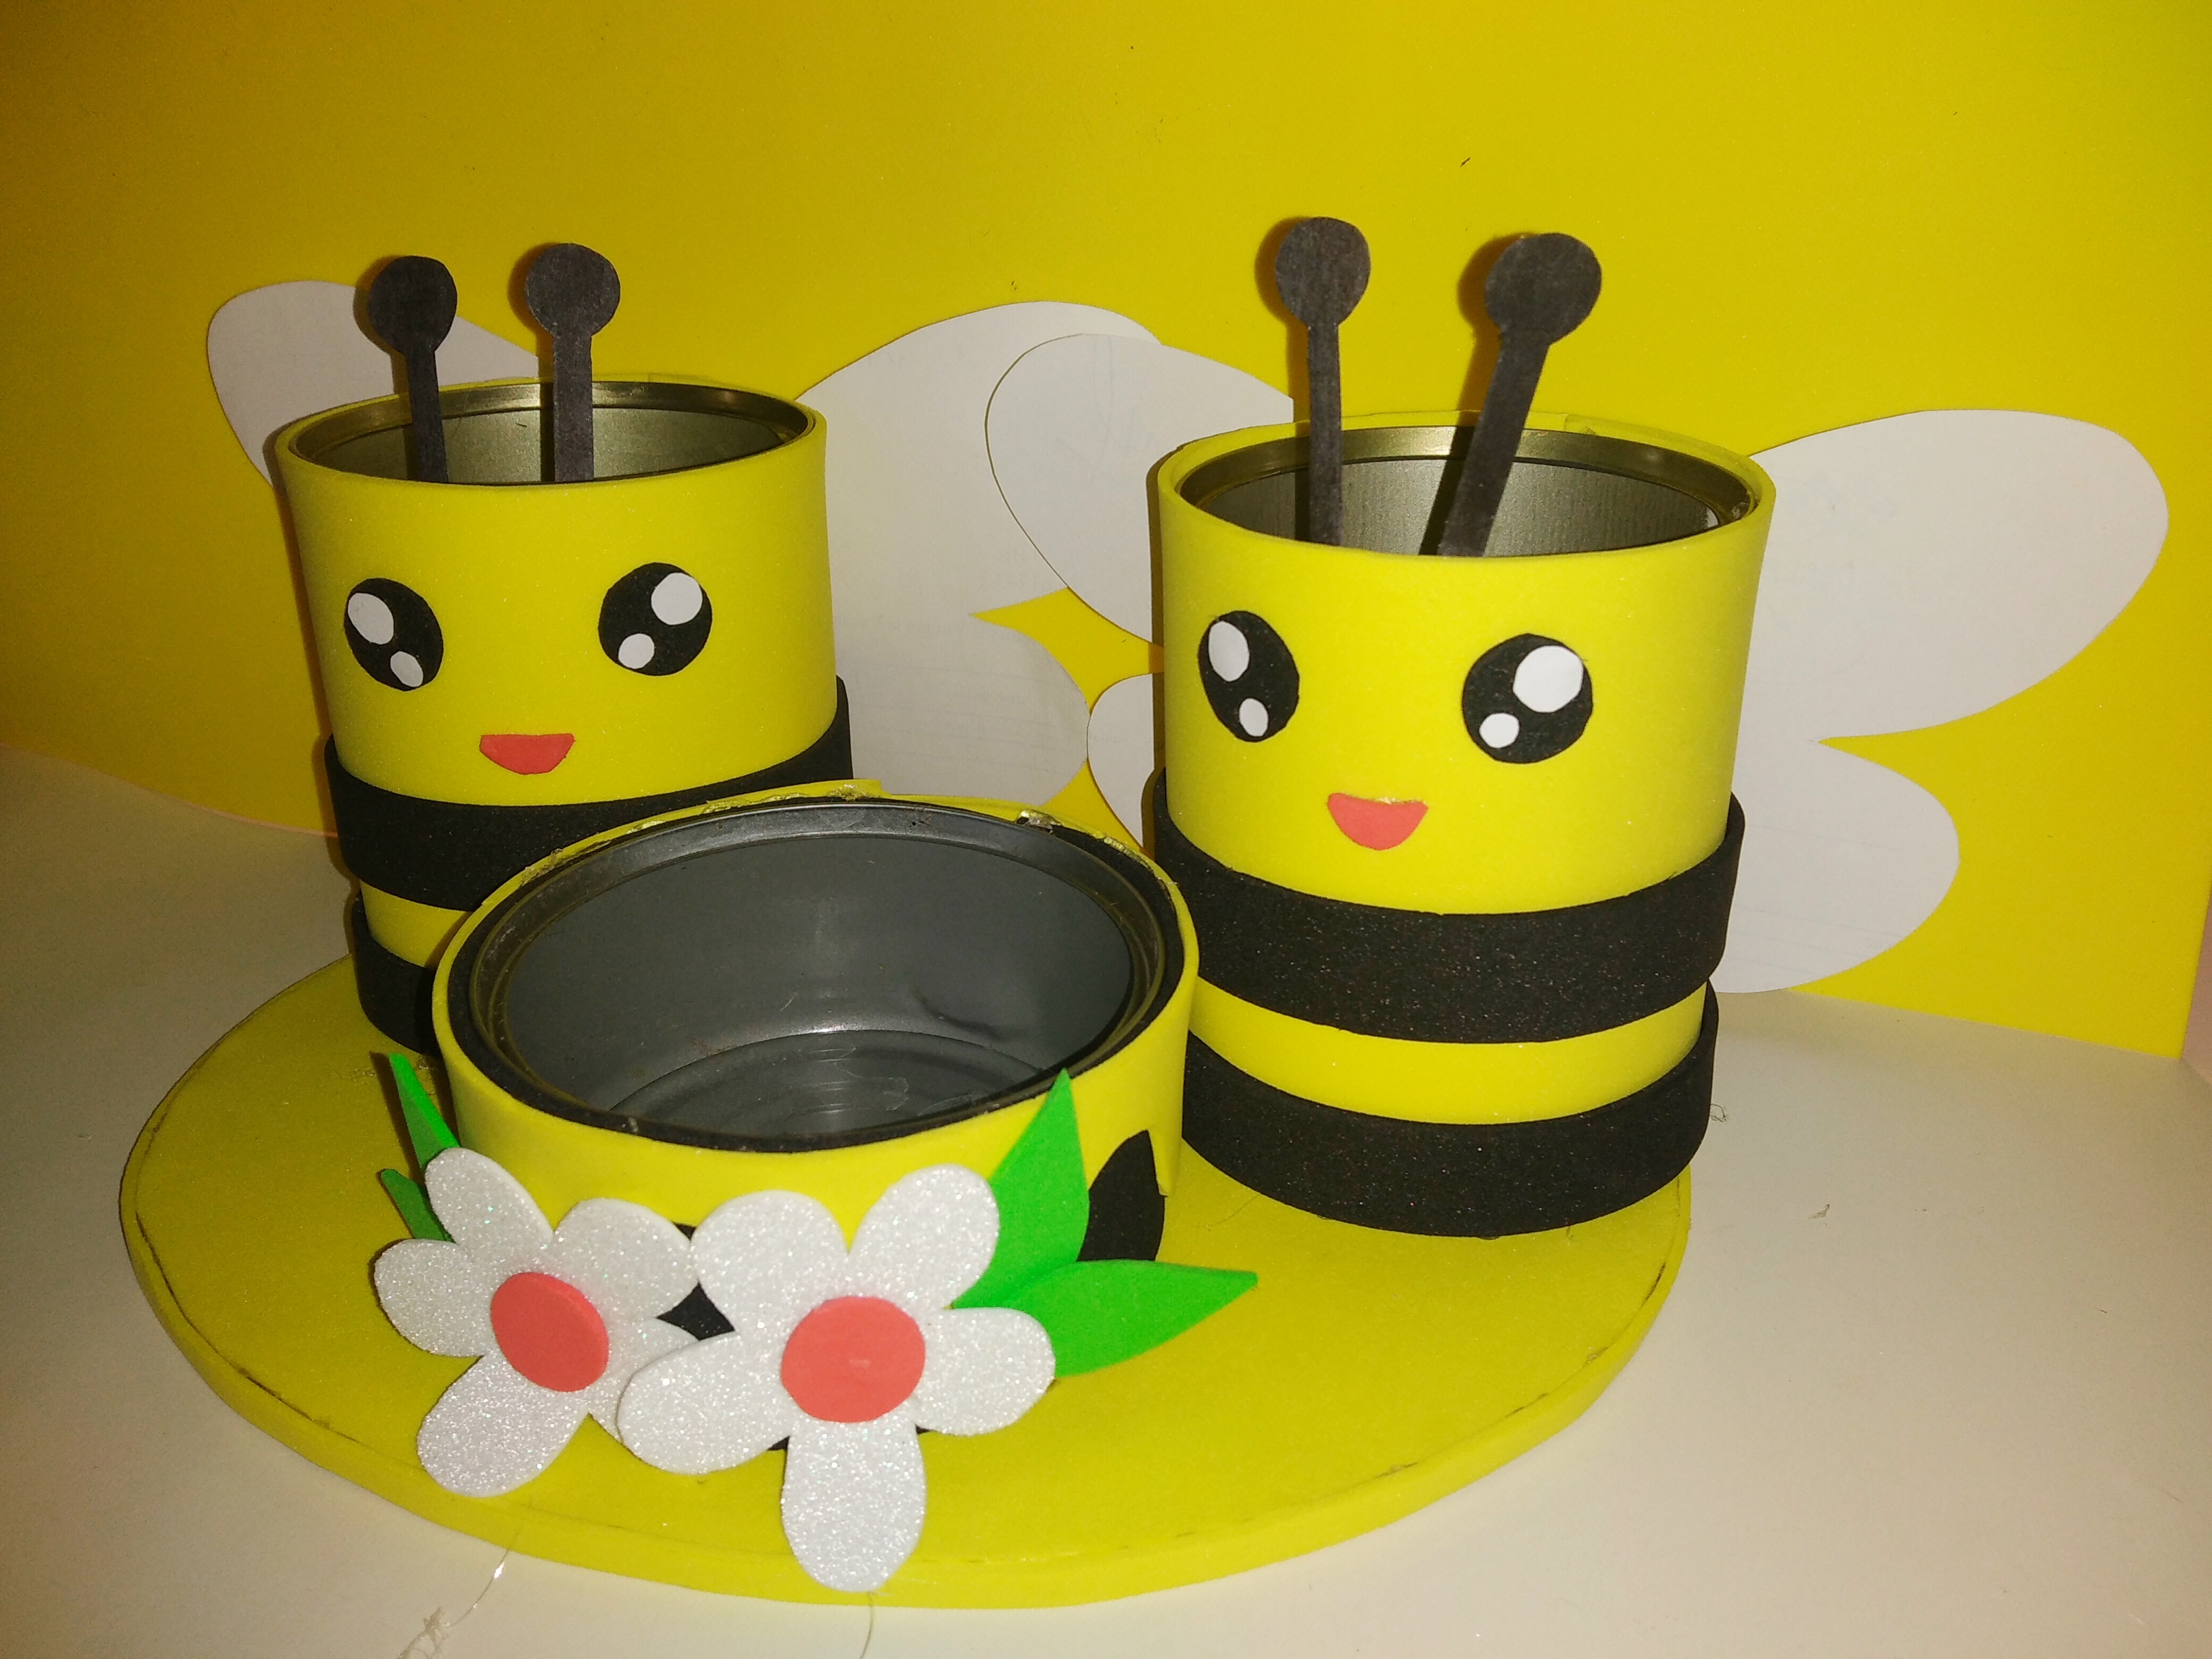
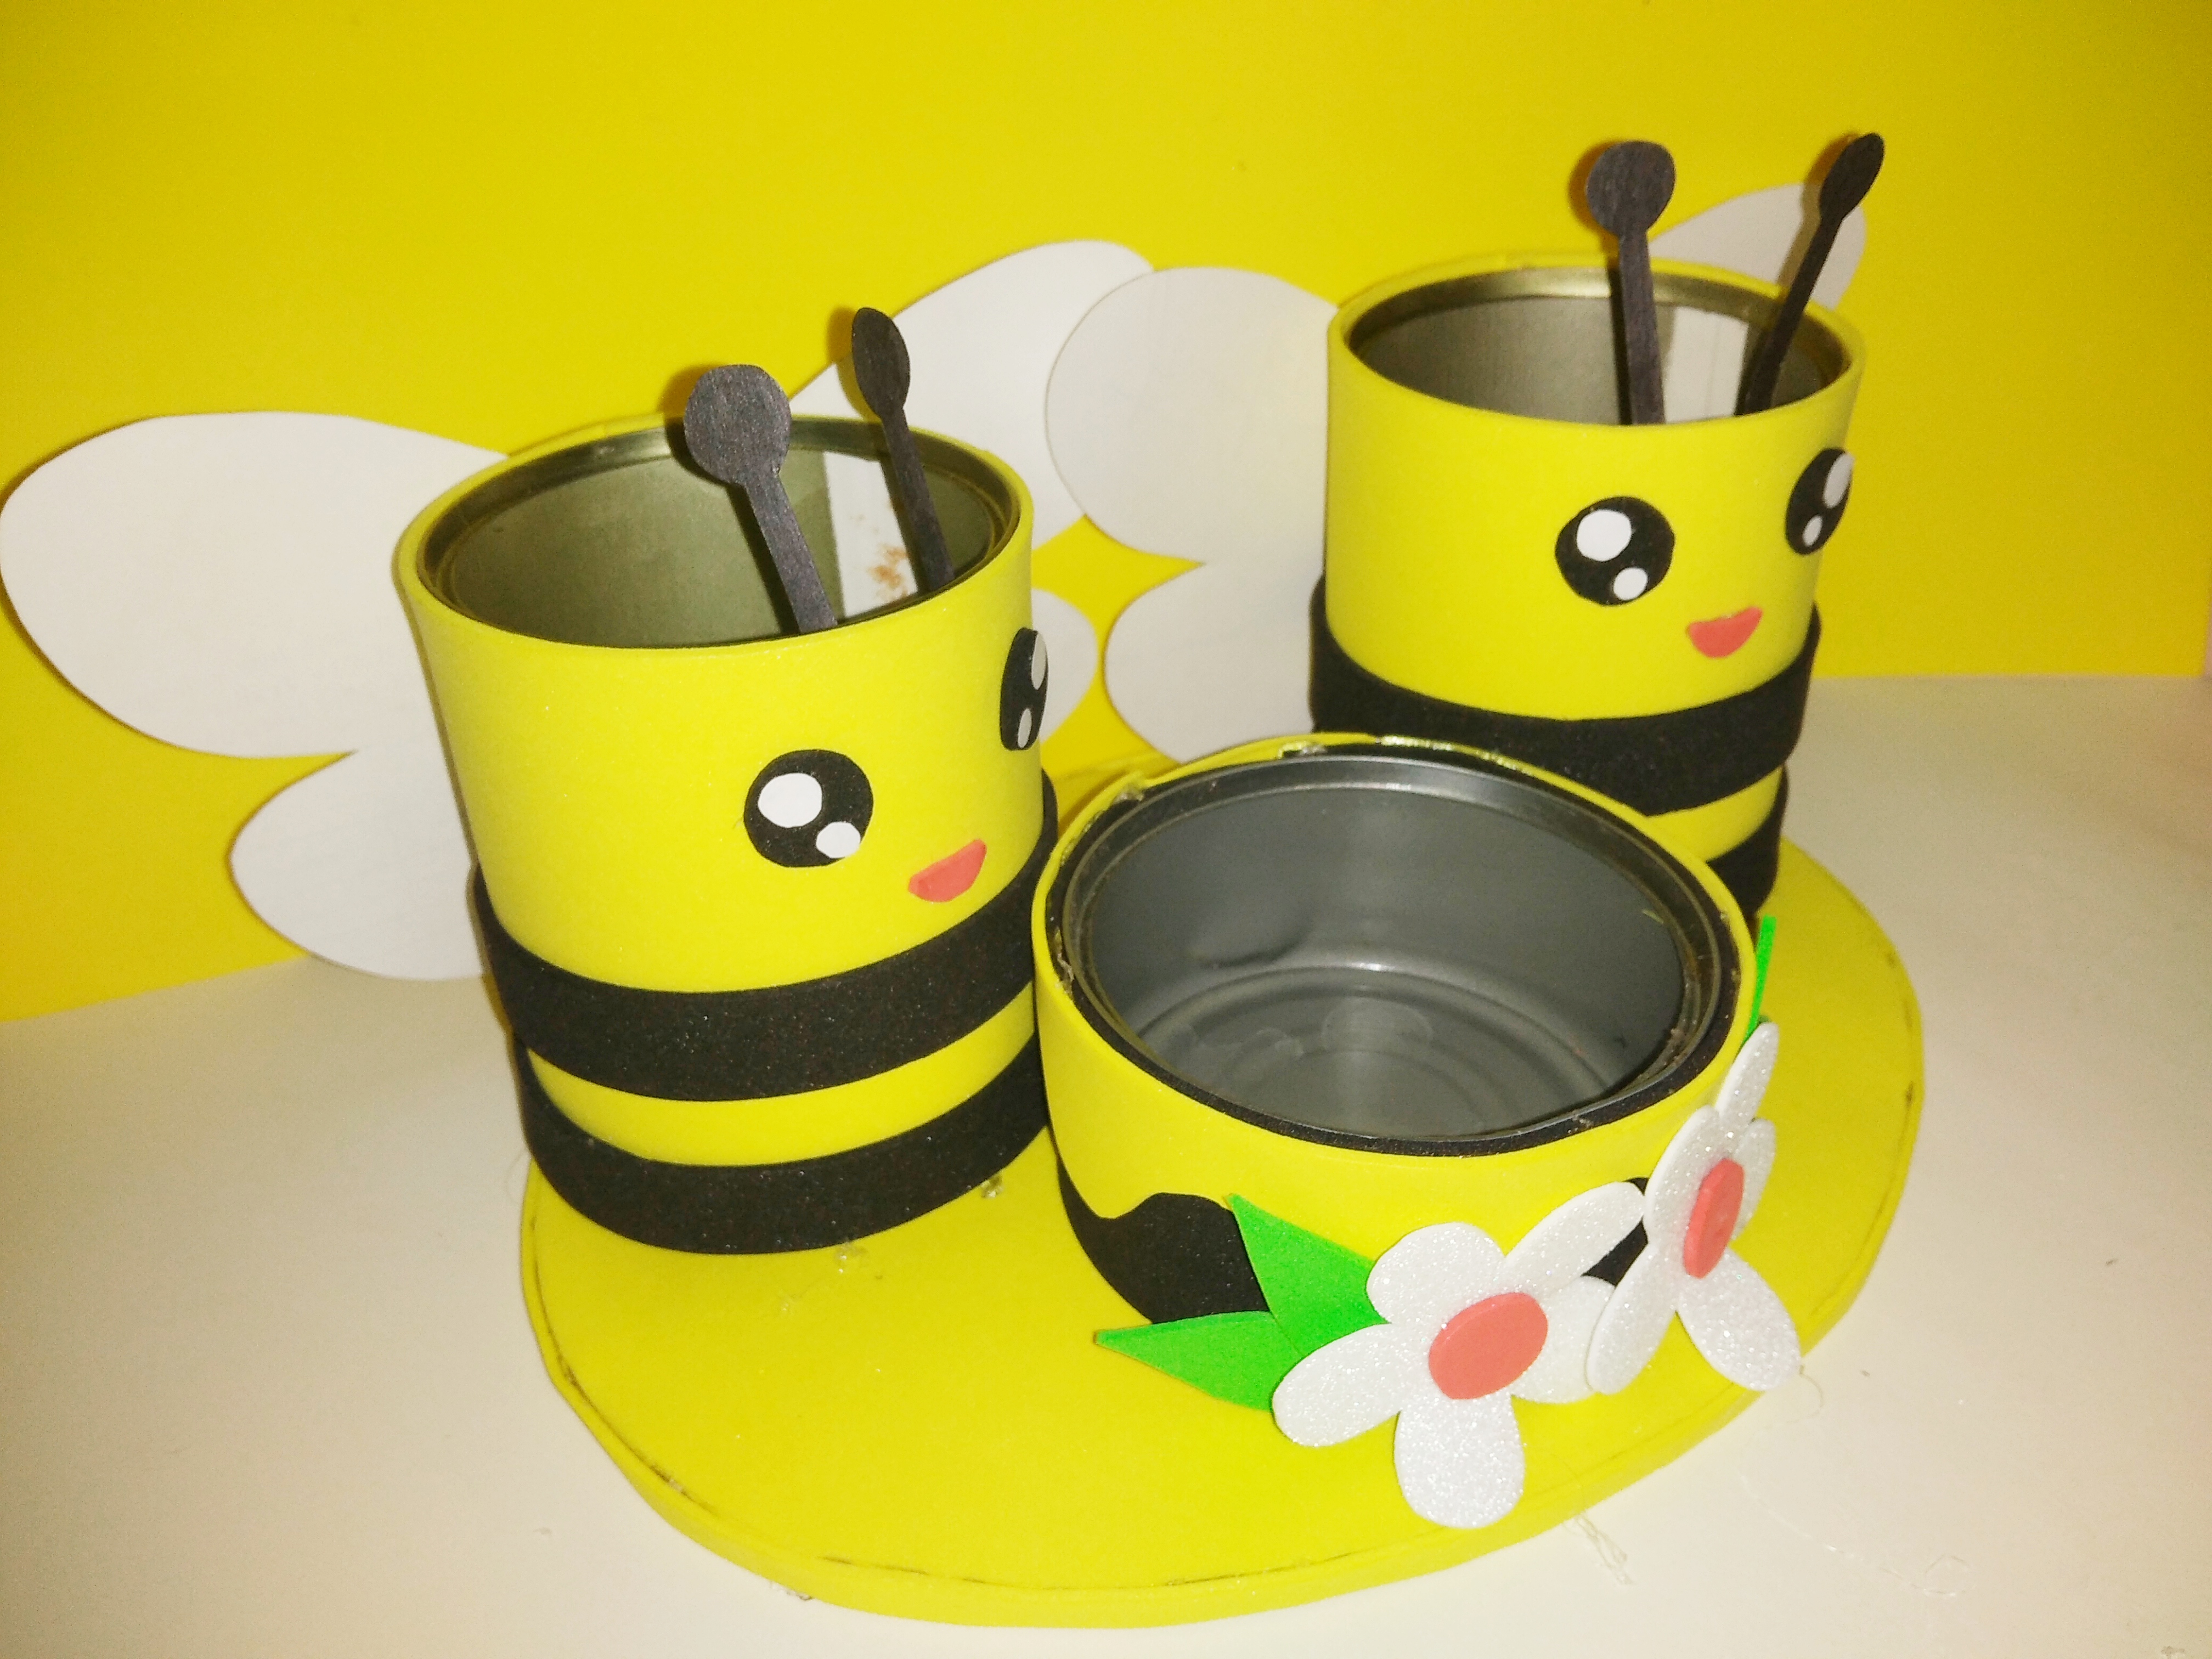
Step 13.Ready the base of the organizer, with silicone we glue the two large cans on the sides and the small one in the middle, on the middle can we are going to place the flowers, we attach two petals to the can , one flower and next to it the other and finally the two petals. In this way we have concluded this useful organizer, friends, now let's see how it turned out.

Resultado final.
End result.

Seeing this fantastic result I immediately reached for my markers and colors and now it looks super cool.
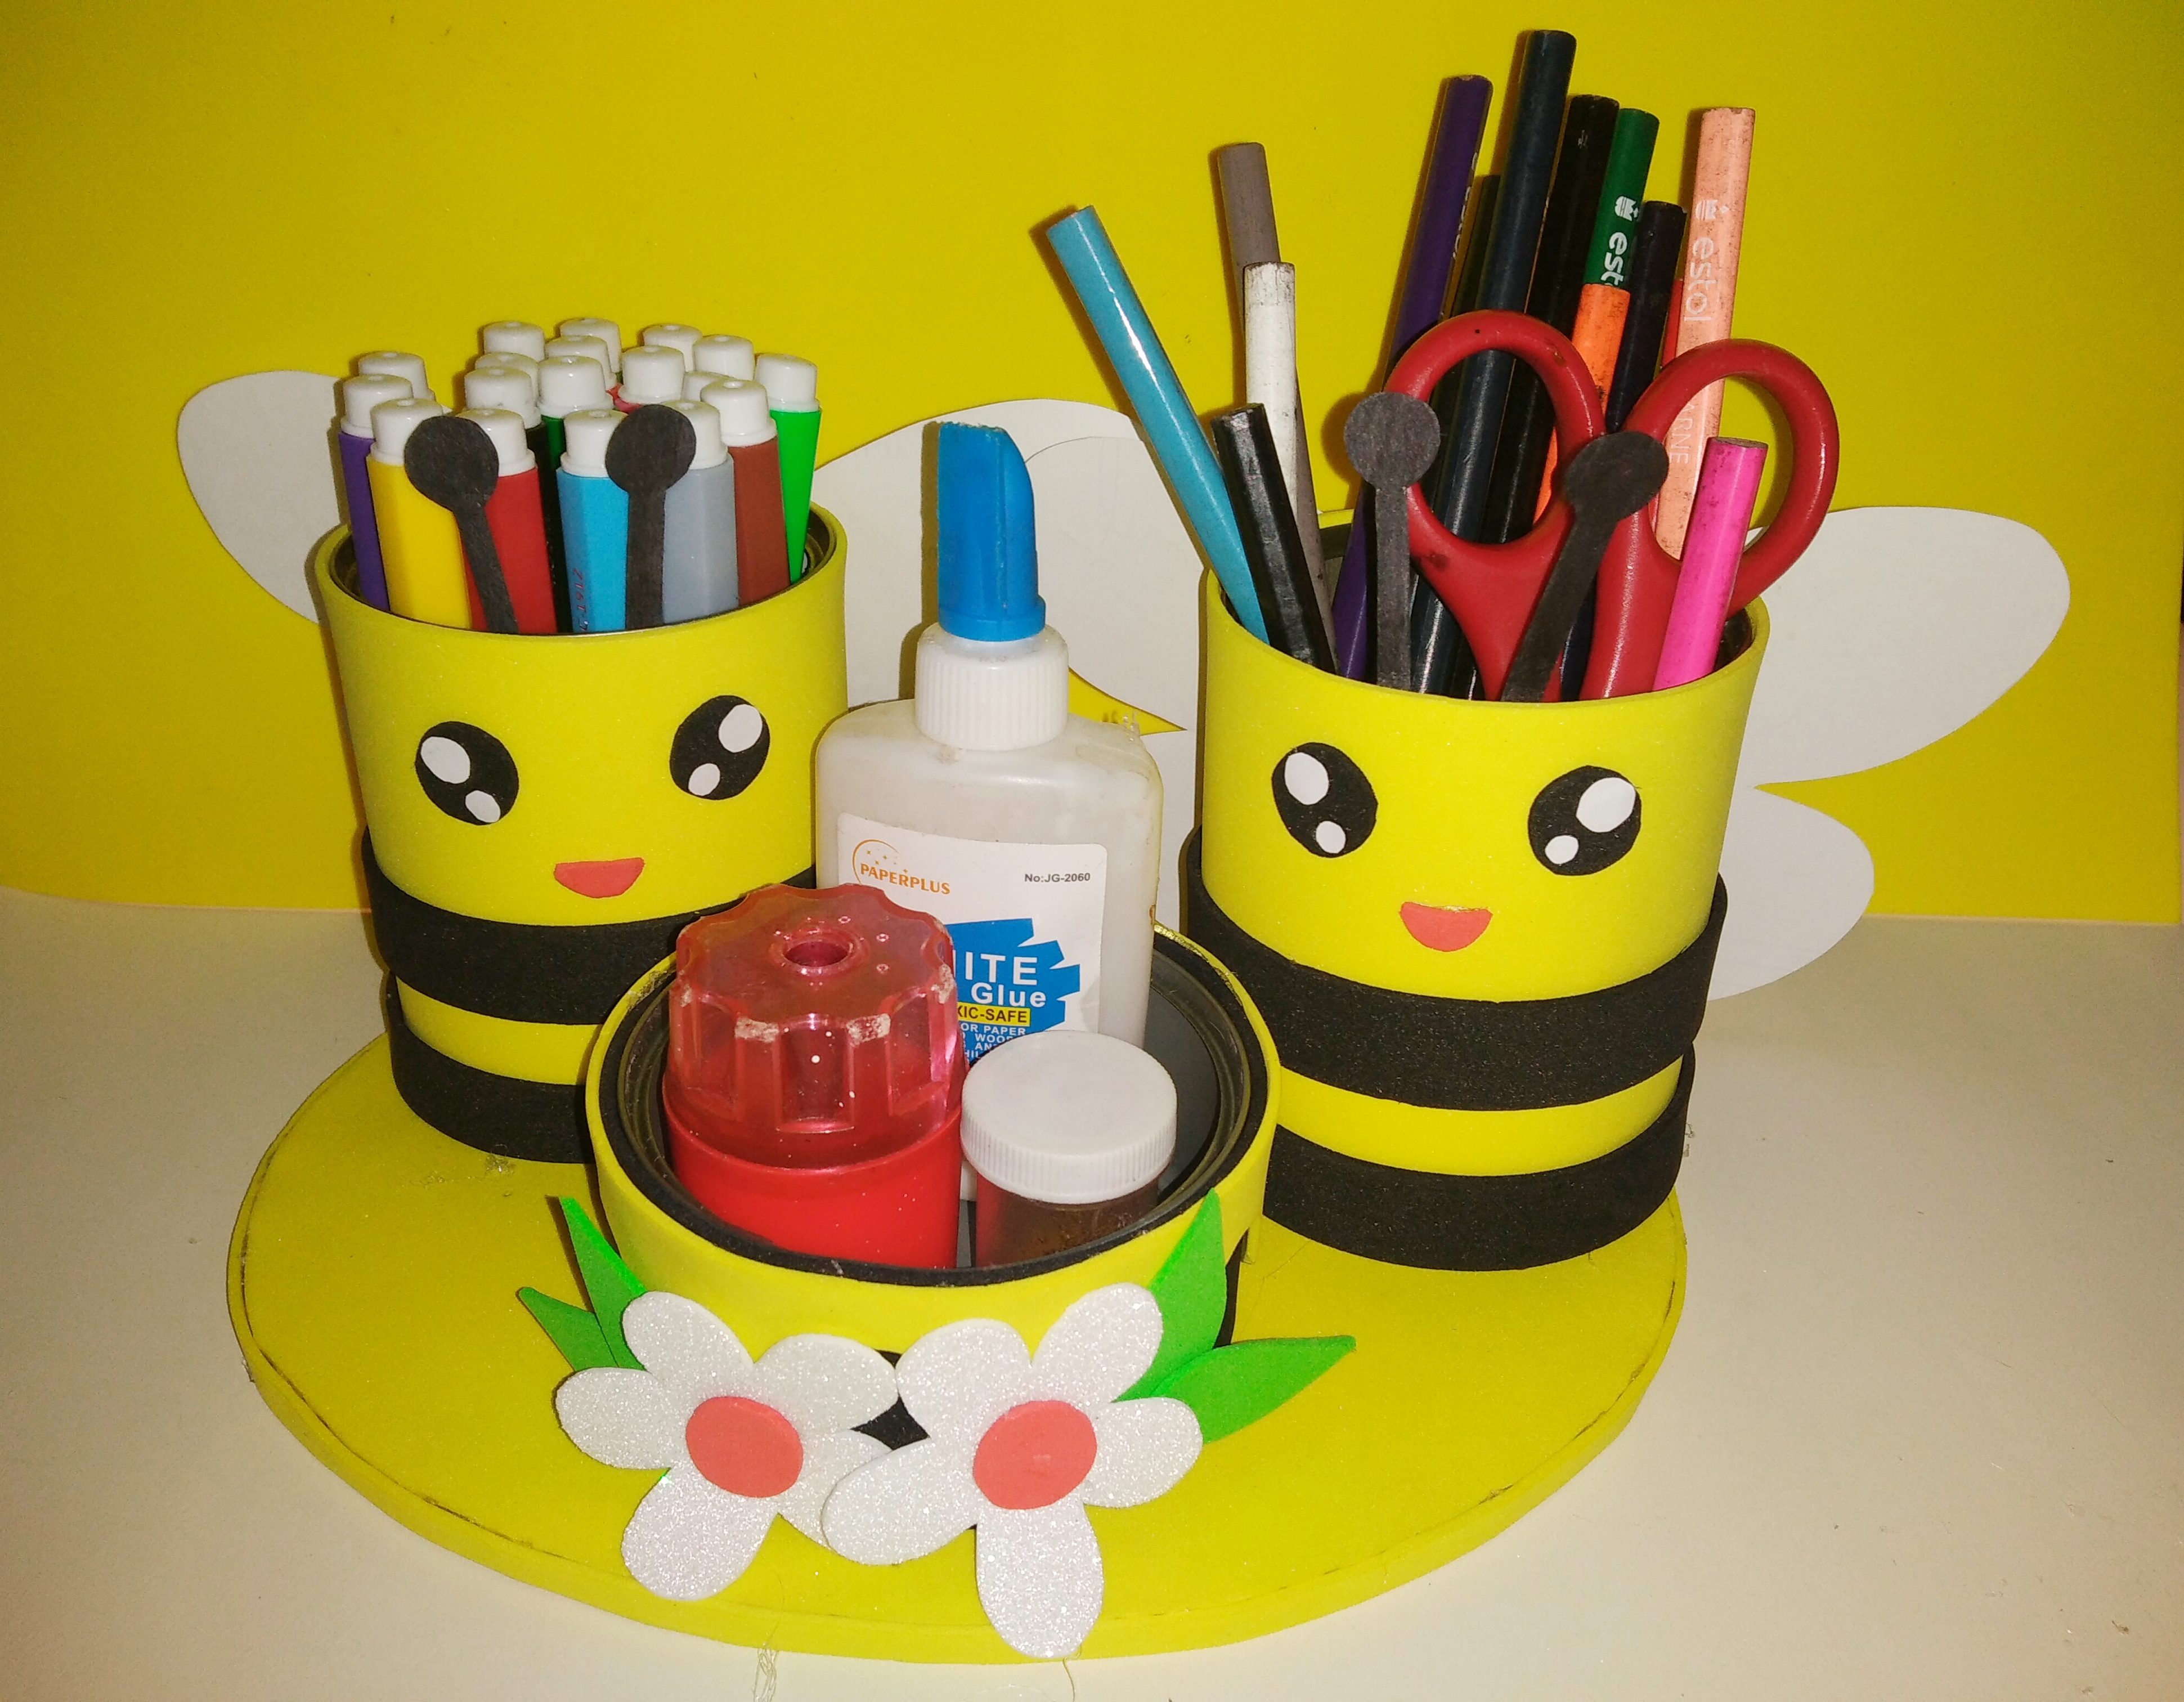
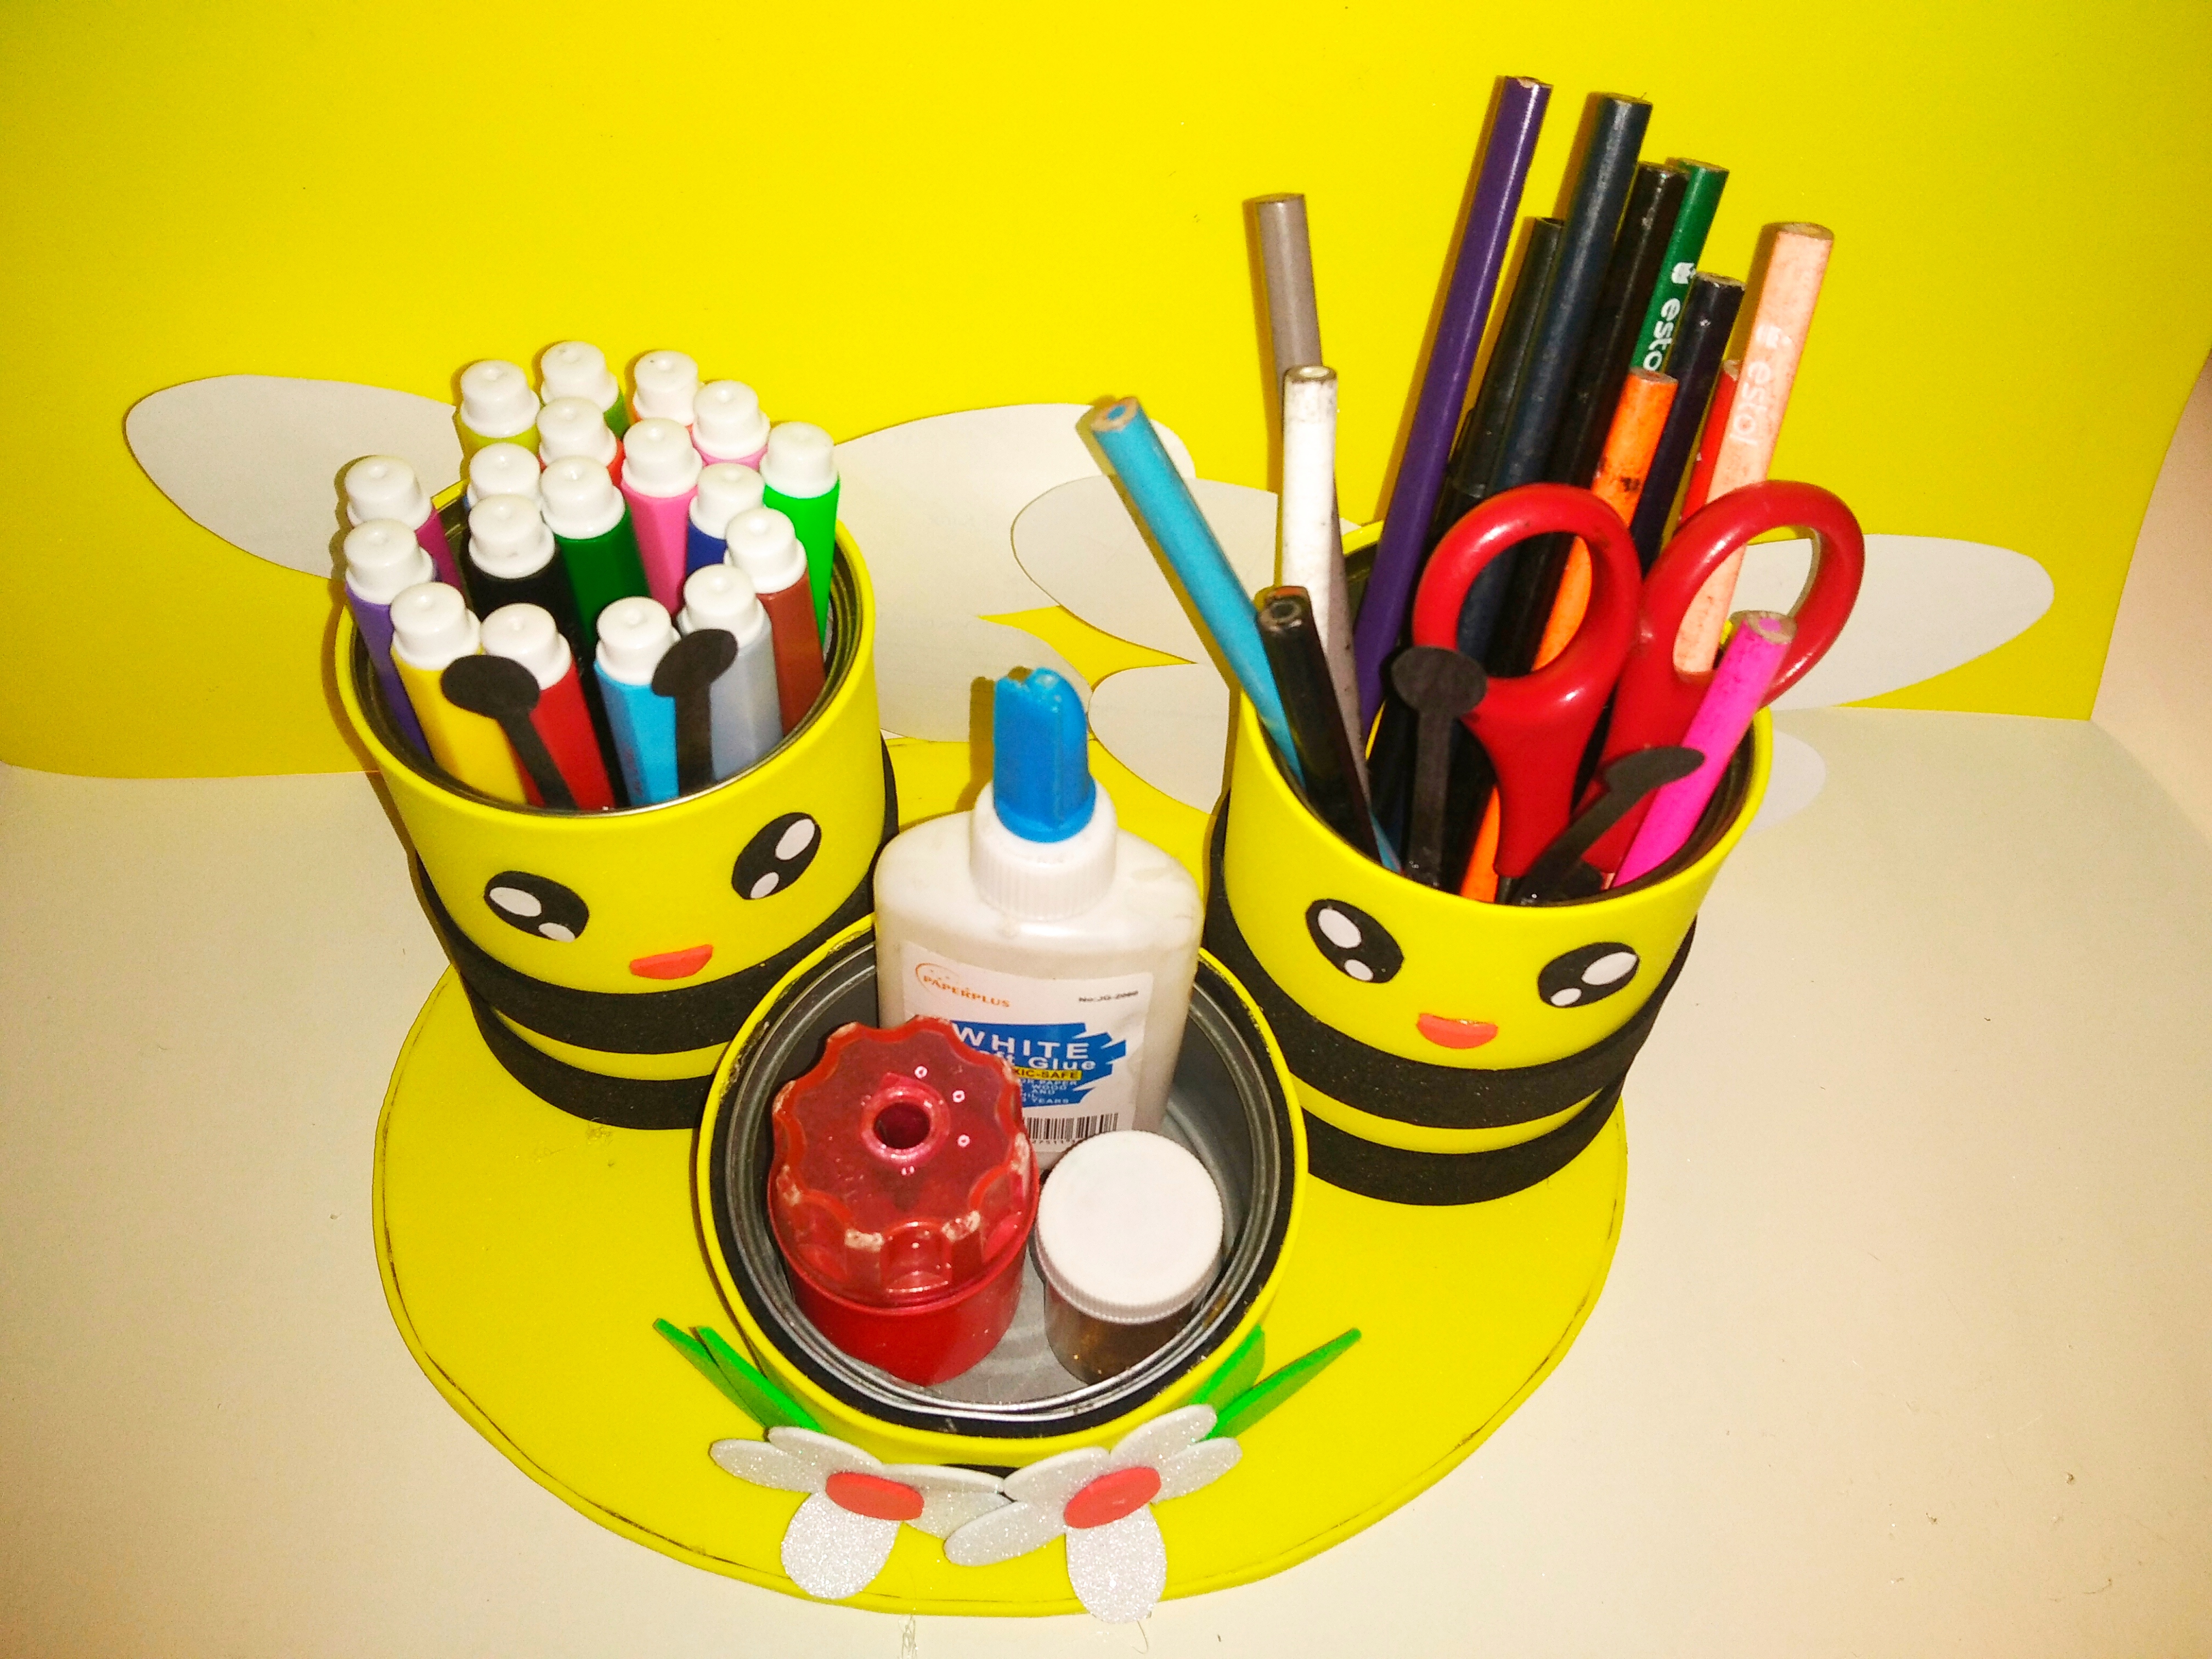
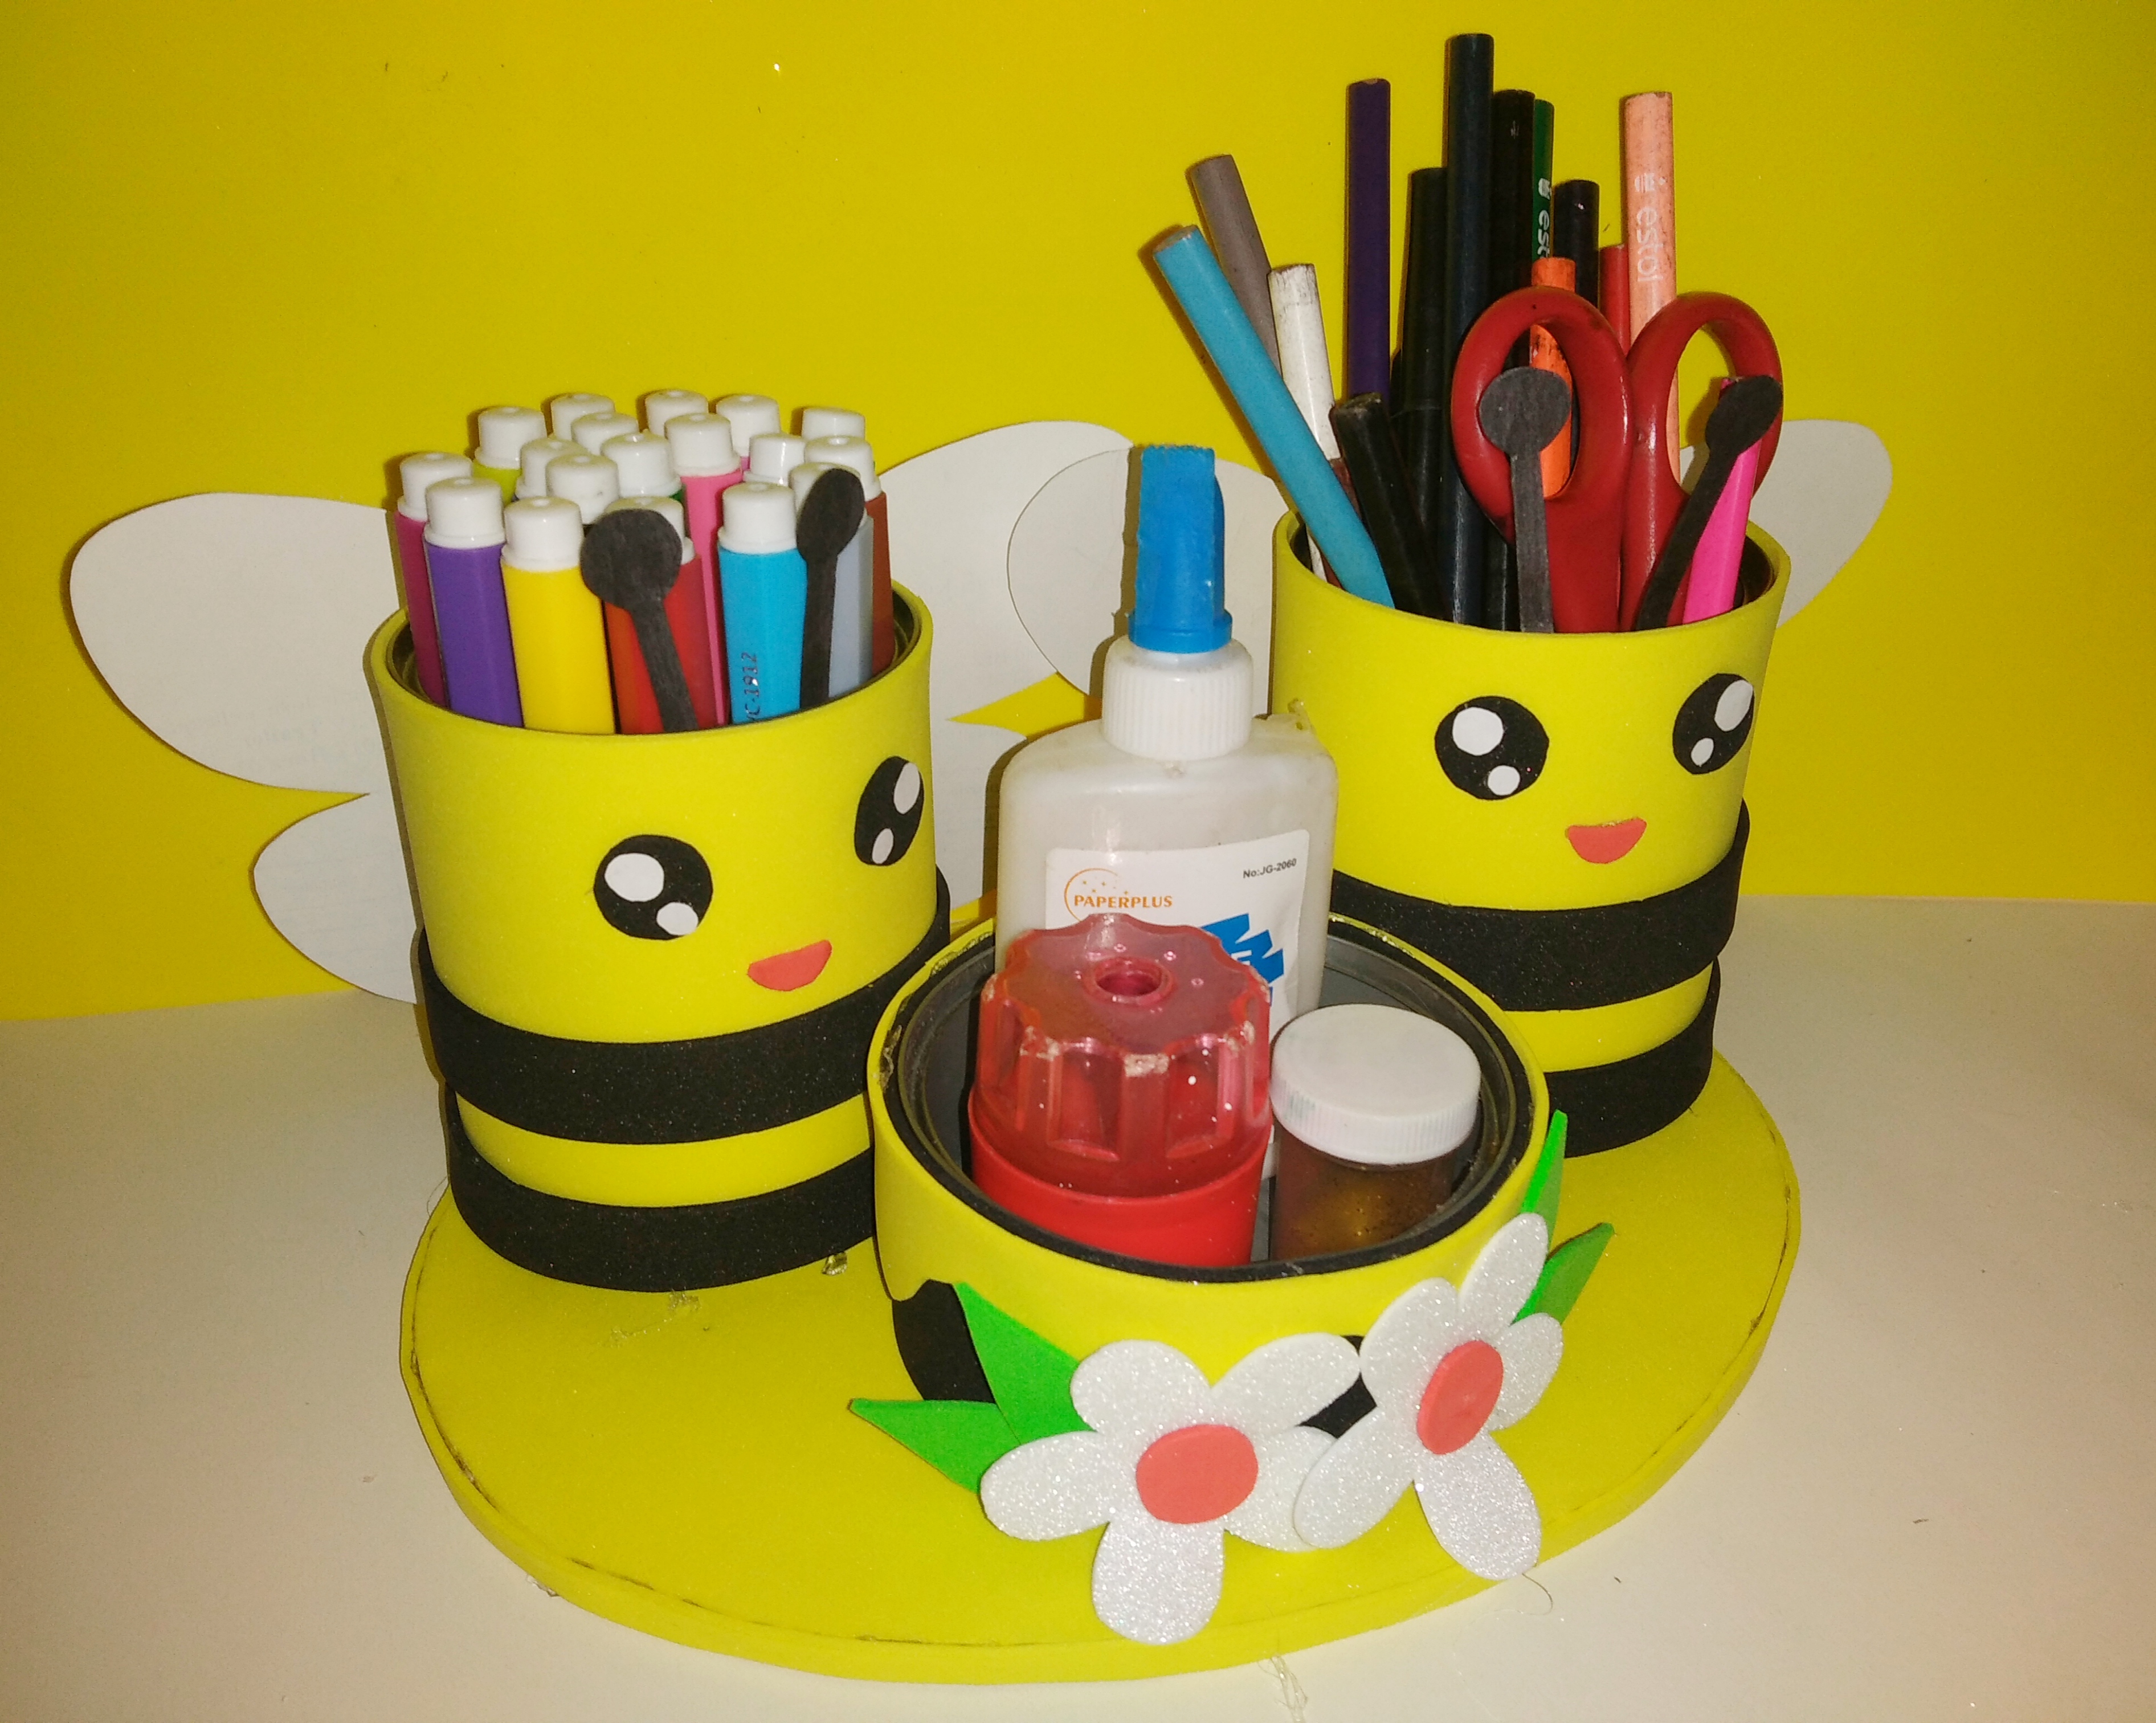
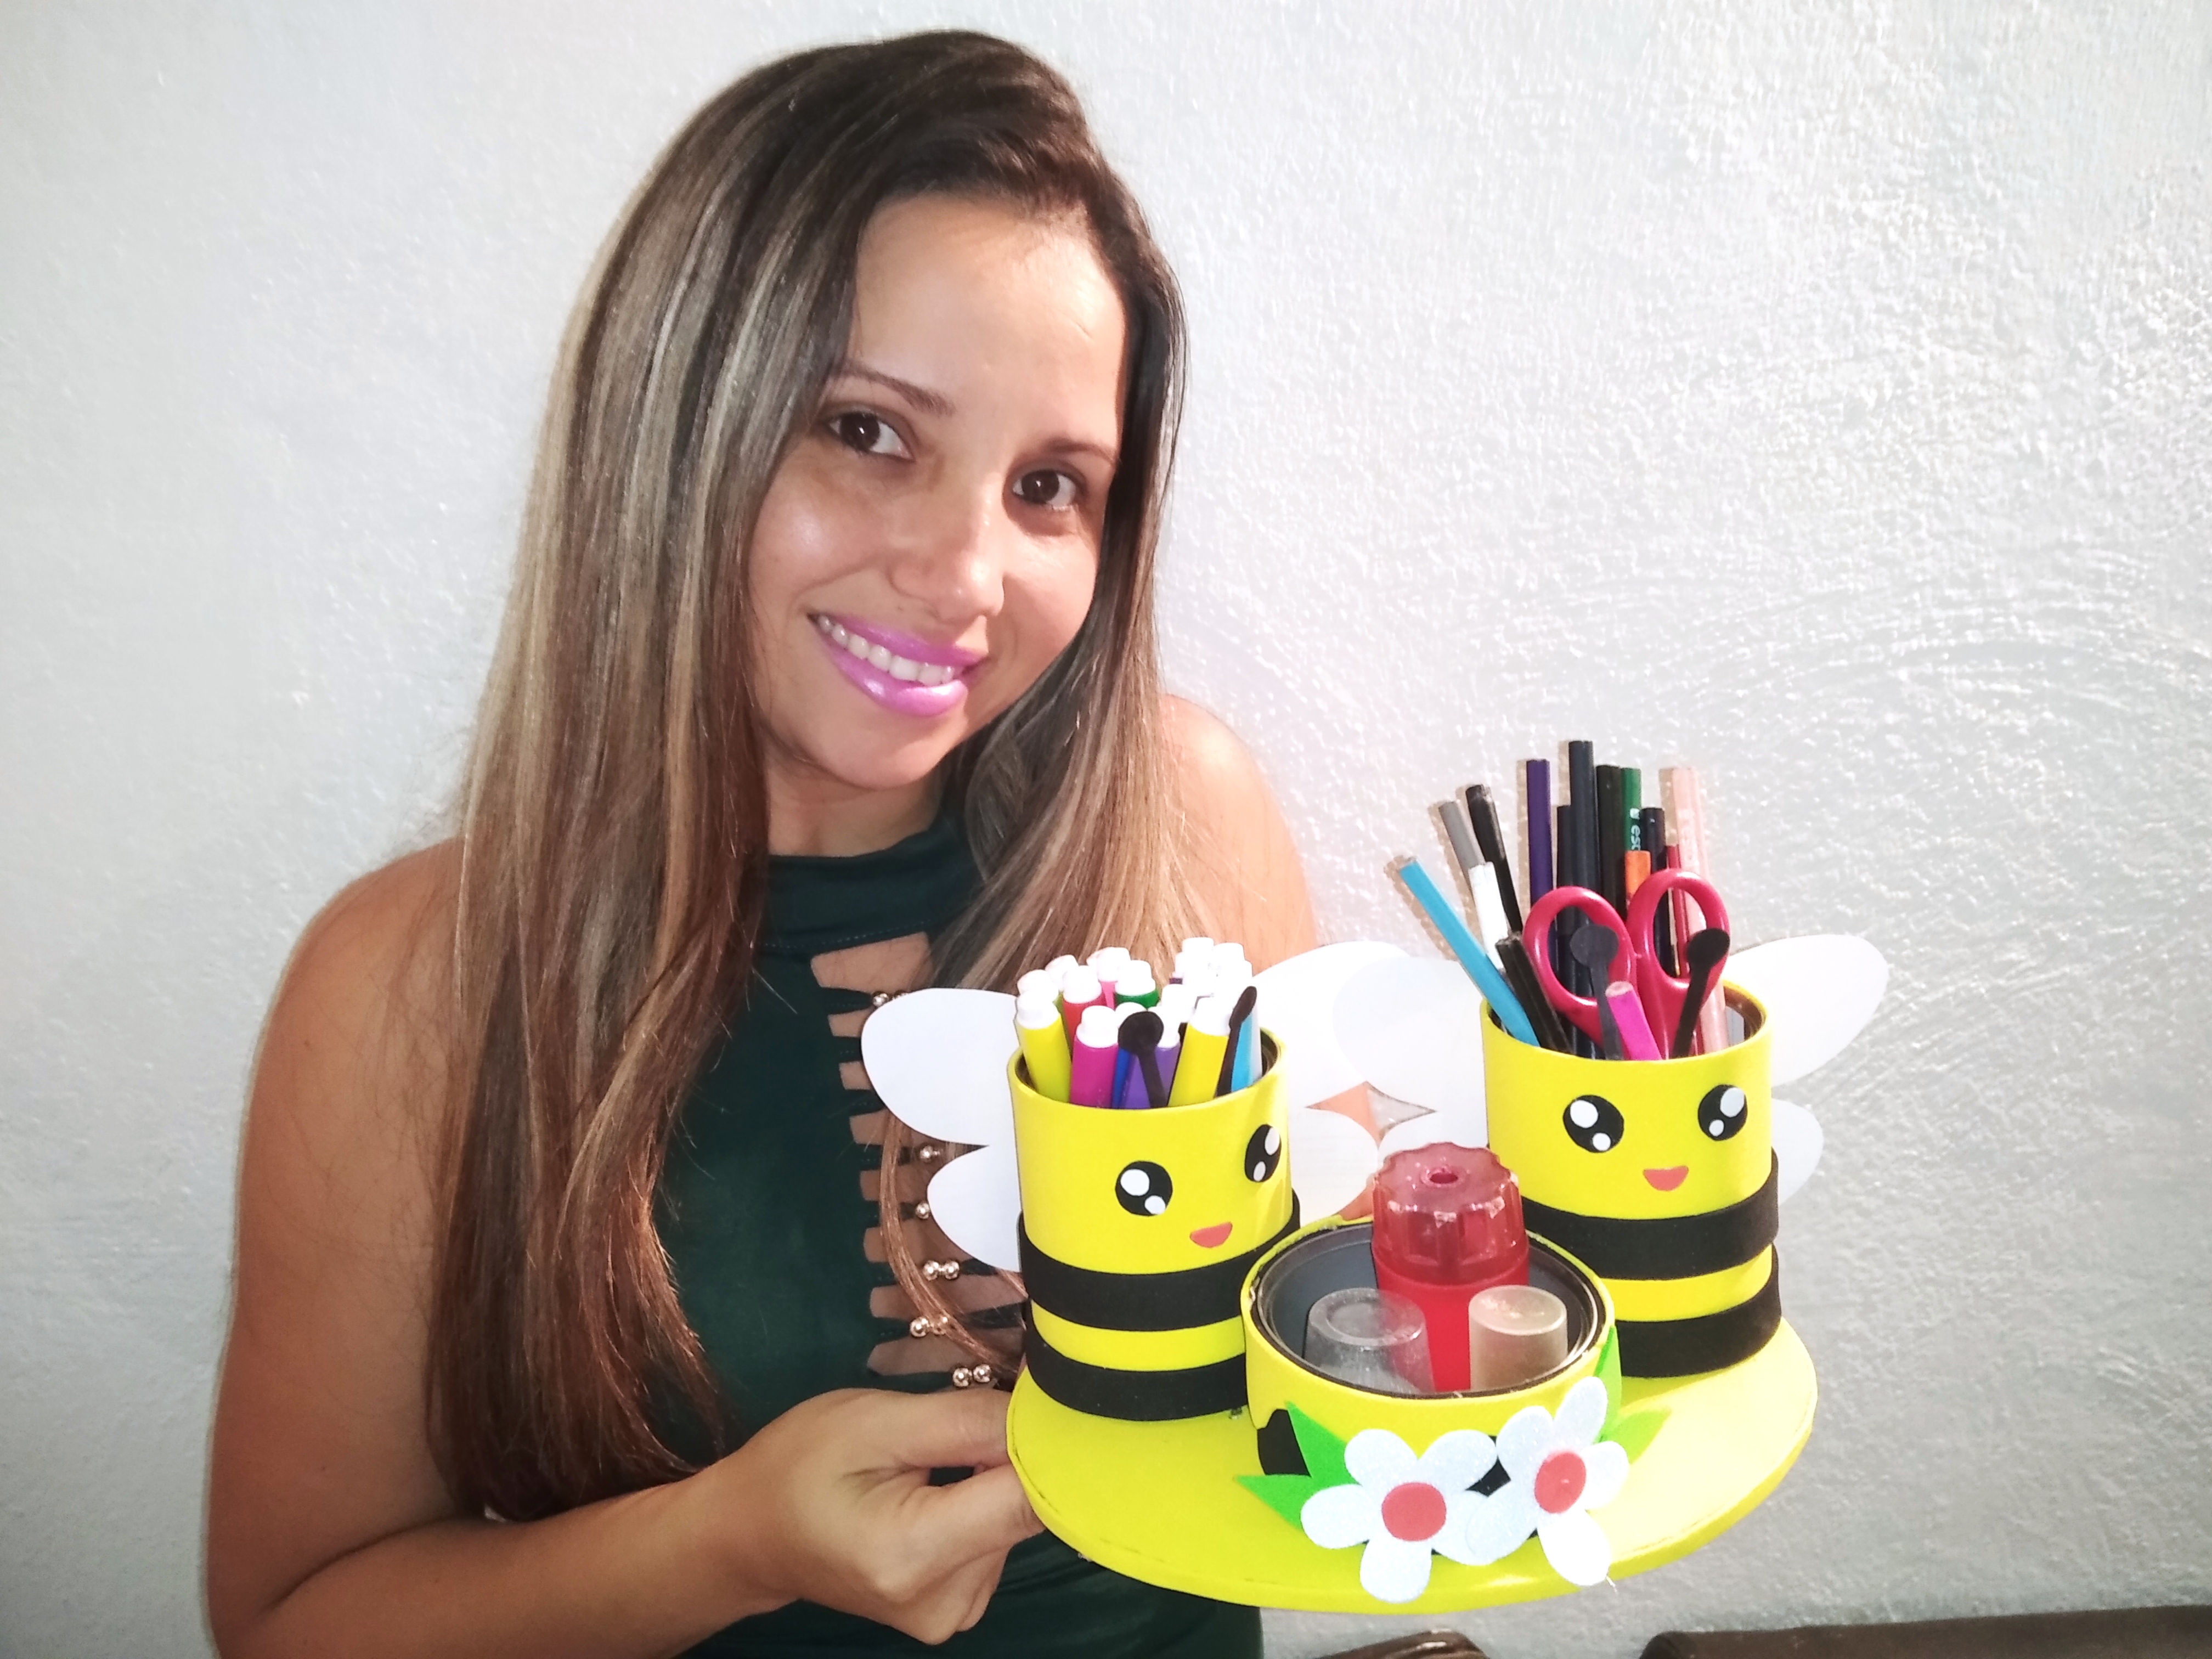
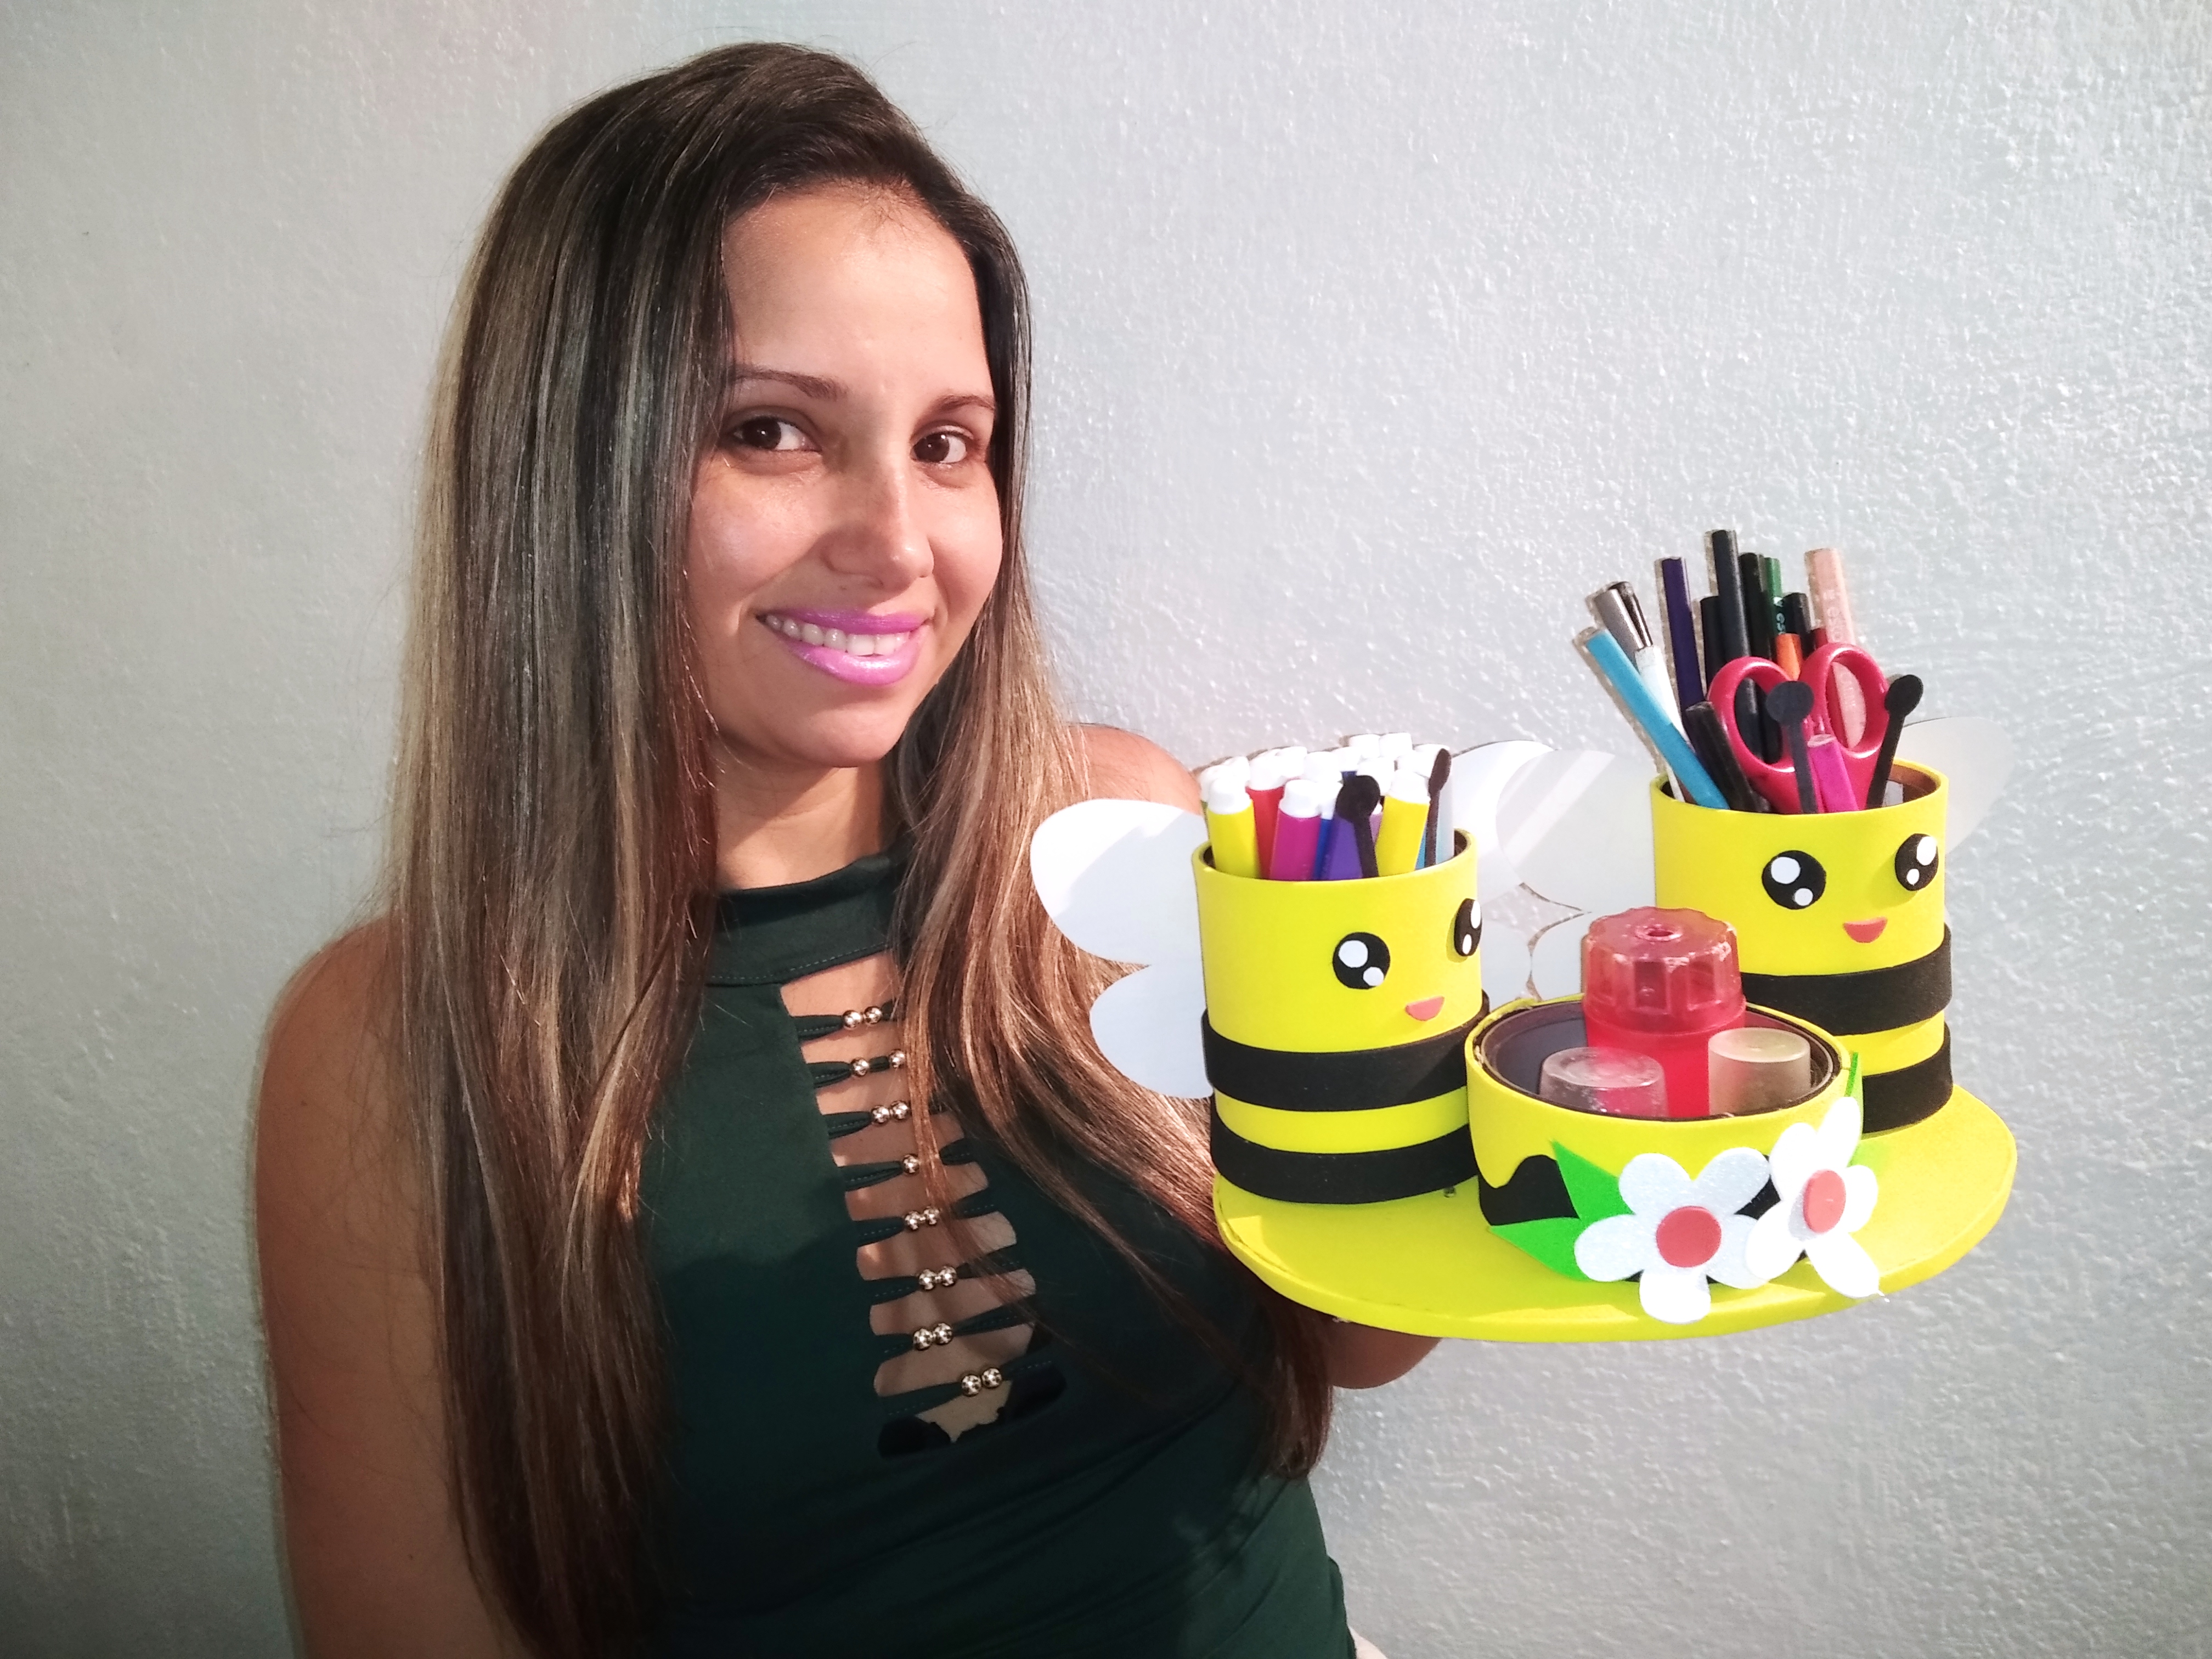

Hivers friends, I hope you loved this organizer as much as I did, it was a pleasure to make it with my own hands. Thanks to those who kindly visit me and comment on me, it is very important to me.

Hola amiga, te quedó súper bello el organizador, me gustó mucho ya que podemos tener todos los útiles ordenados.
Hola amiga Lili gracias por tu lindo comentario, me alegra que te haya gustado.😊❤️
Muy lindo y muy útil amiga gracias por compartir. 🤗
Hola amiga siii está muy lindo y útil que es muy importante 😊 gracias por leerme. ❤️
Thank you for sharing this amazing post on HIVE!
Your content got selected by our fellow curator @rezoanulvibes & you just received a little thank you via an upvote from our non-profit curation initiative!
You will be featured in one of our recurring curation compilations and on our pinterest boards! Both are aiming to offer you a stage to widen your audience within and outside of the DIY scene of hive.
Join the official DIYHub community on HIVE and show us more of your amazing work and feel free to connect with us and other DIYers via our discord server: https://discord.gg/mY5uCfQ !
If you want to support our goal to motivate other DIY/art/music/homesteading/... creators just delegate to us and earn 100% of your curation rewards!
Stay creative & hive on!
Gracias por el apoyo.☺️😊