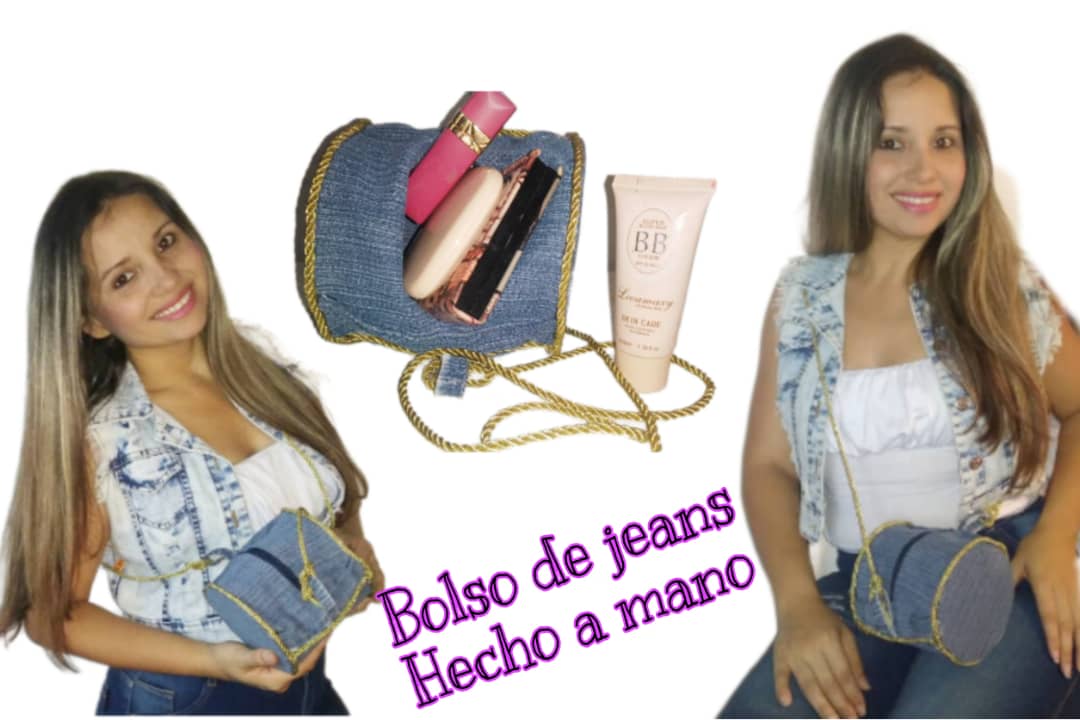
Hola, hola creativos amigos de HiveDiy.👩🎨
Hello hello creative friends of HiveDiy.👩🎨

A new day to create, this morning I wanted to do something useful with useful material, I went through my closet and got those jeans that I haven't worn for many years because they accidentally tore, like this I thought I have to use them and there came the idea of creating an easy and cute bag, in the afternoon I would go to the movies with my husband and I wanted to take something simple and cute to store my makeup.
I am a fan of jeans, I am almost always dressed in jeans since they are super comfortable and it is a type of fabric that never goes out of style, it is always among the outfits that we cannot miss in our closet, now let's imagine combining them with a nice shoulder bag which are widely used today, here it is possible, let's see the materials that we are going to use in the creation of this nice bag.

Materiales.
Materials.
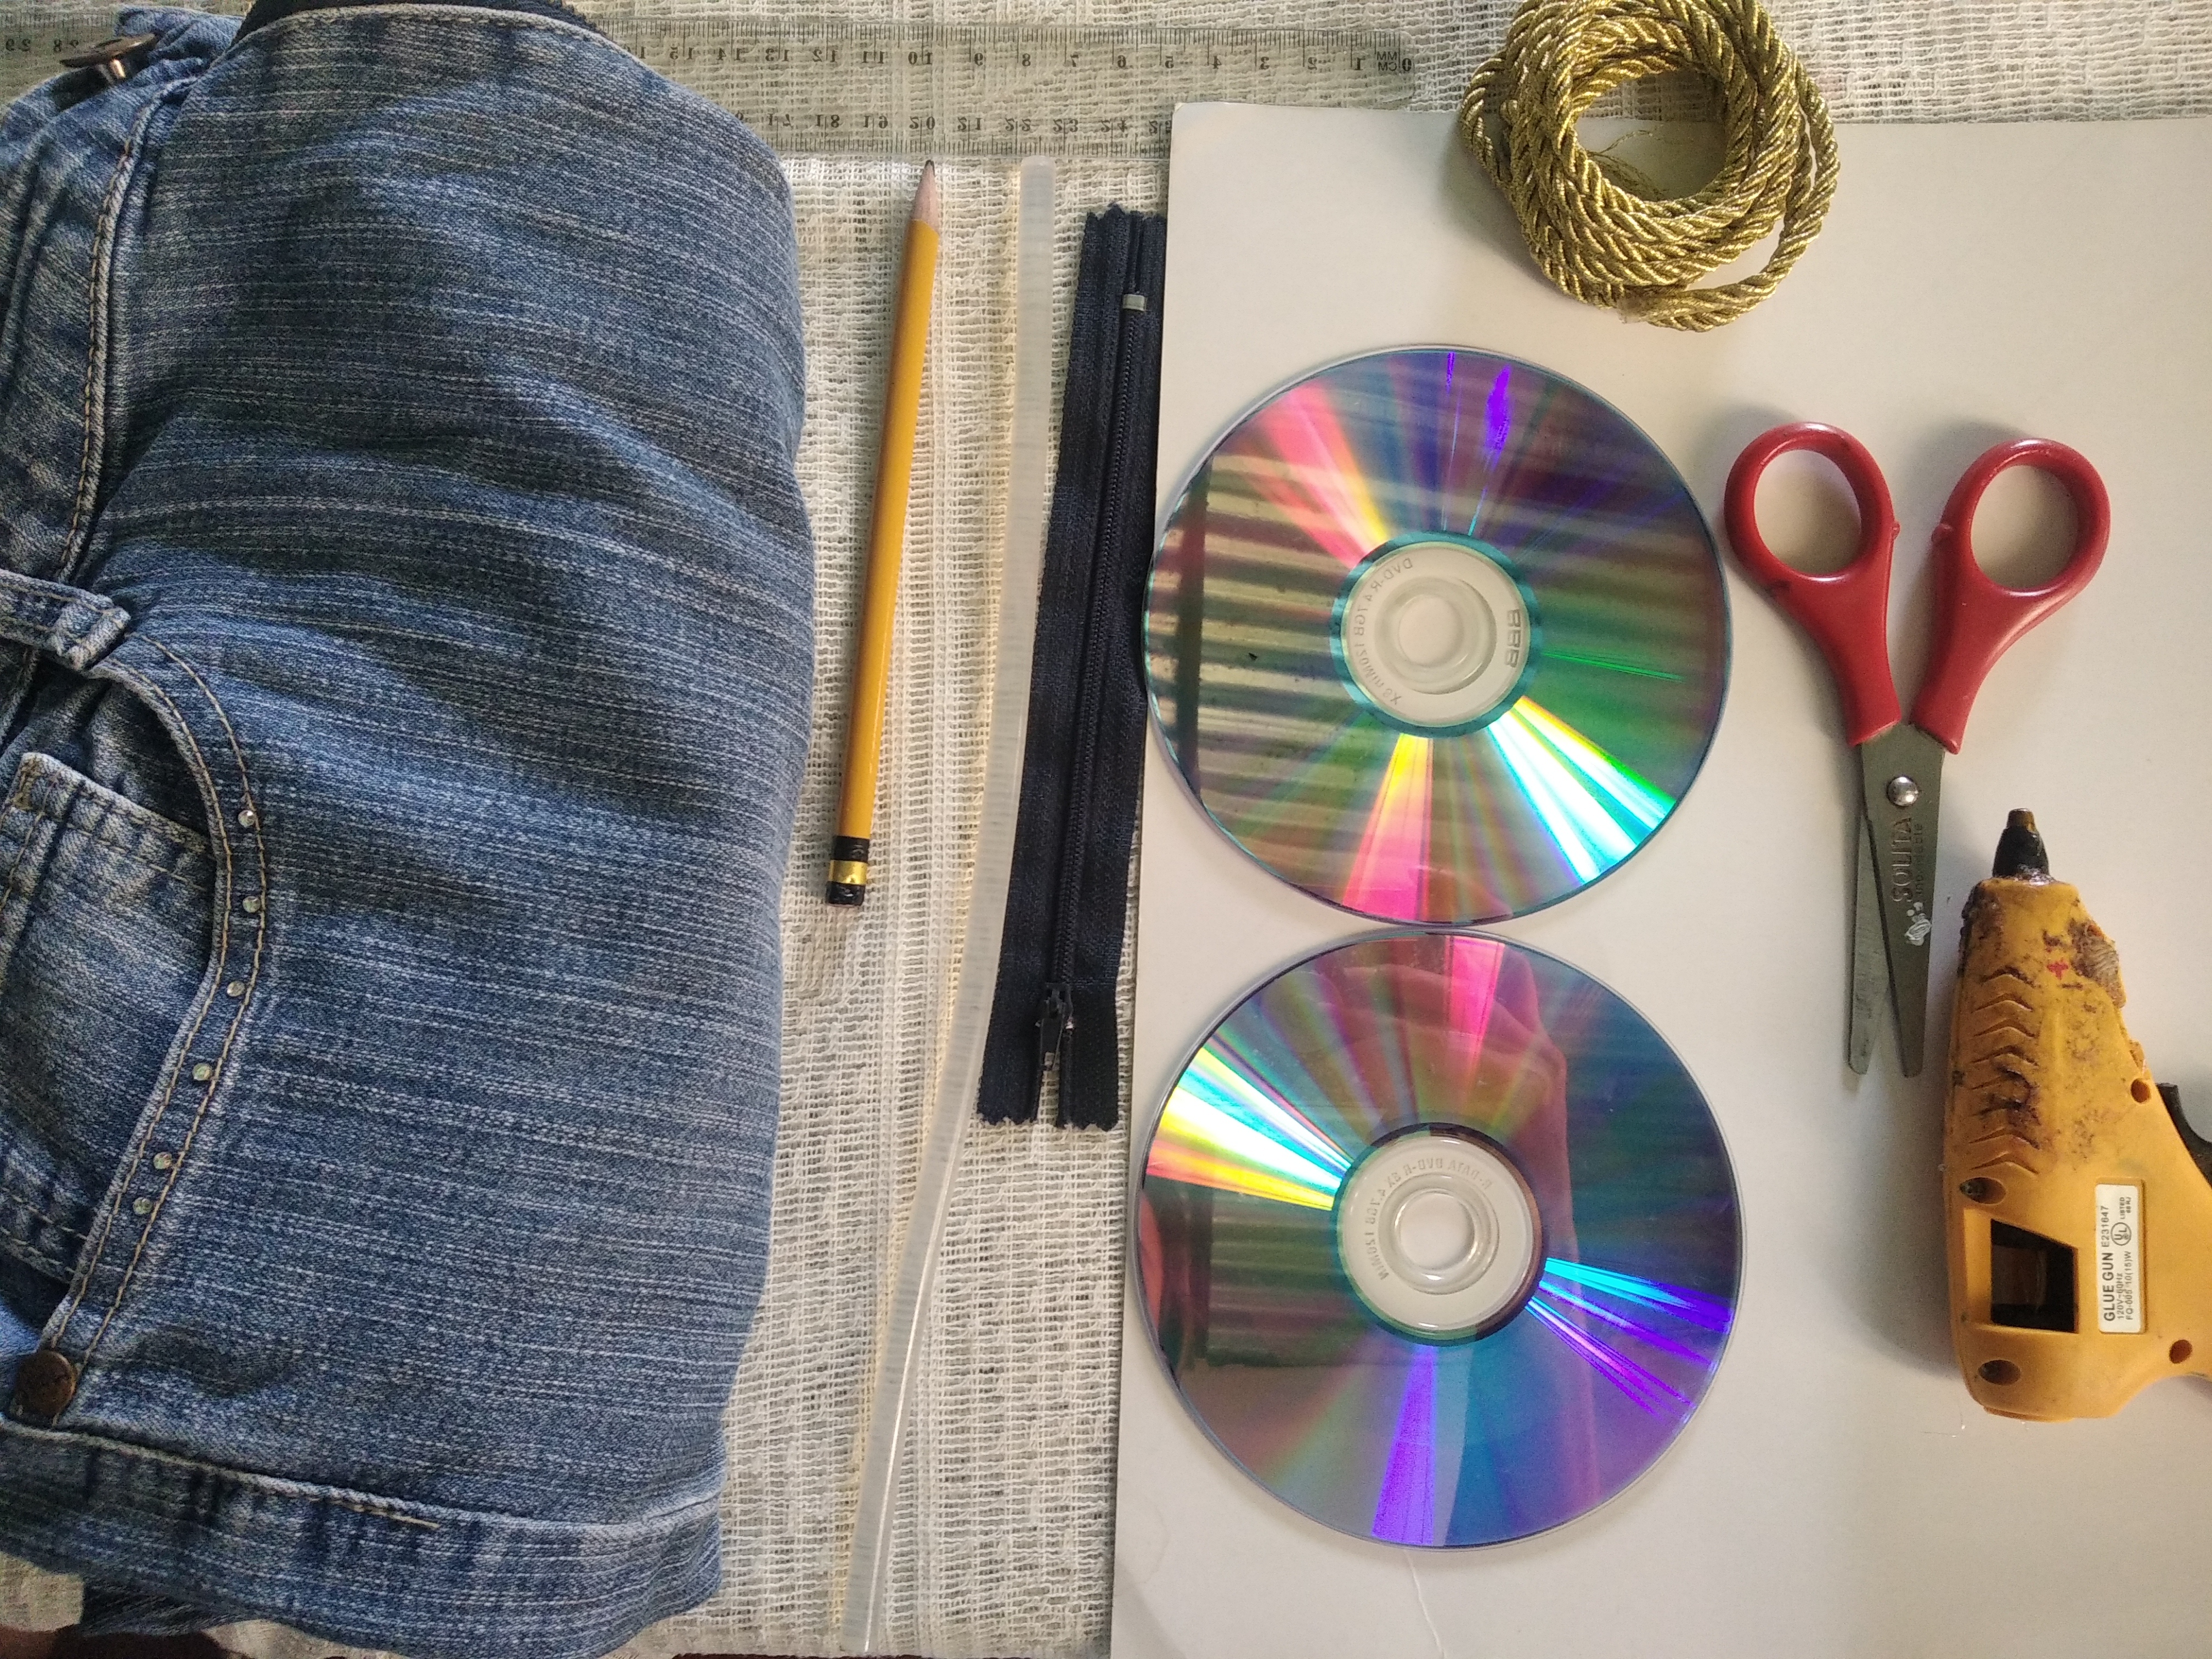
👜 Jeans.
👜 Cierre.
👜 2 CD reusables.
👜 Cordón o cuerda.
👜 Cartulina o cartón.
👜 Lápiz de grafito.
👜 Regla.
👜 Tijera.
👜Silicón.
👜 Pistola de silicón.
👜 Jeans.
👜 Closing.
👜 2 reusable CDs.
👜 Cord or rope.
👜 Cardboard or cardboard.
👜 Graphite pencil.
👜 Rule.
👜 Scissor.
👜 Silicon.
👜 Silicone gun.
Let's go step by step on how we make this cute shoulder bag with useful or reusable materials and the best without spending so much money.

Elaboración.
Crafting.
Step 1.We are going to start the making of this bag by making the sides. We take the jeans and on it we are going to place the cd, with a pencil we are going to make a circle around the cd but bigger, we leave approximately 1.5 cm of difference, then we cut along the edge of the circle that we drew and ready our first step .
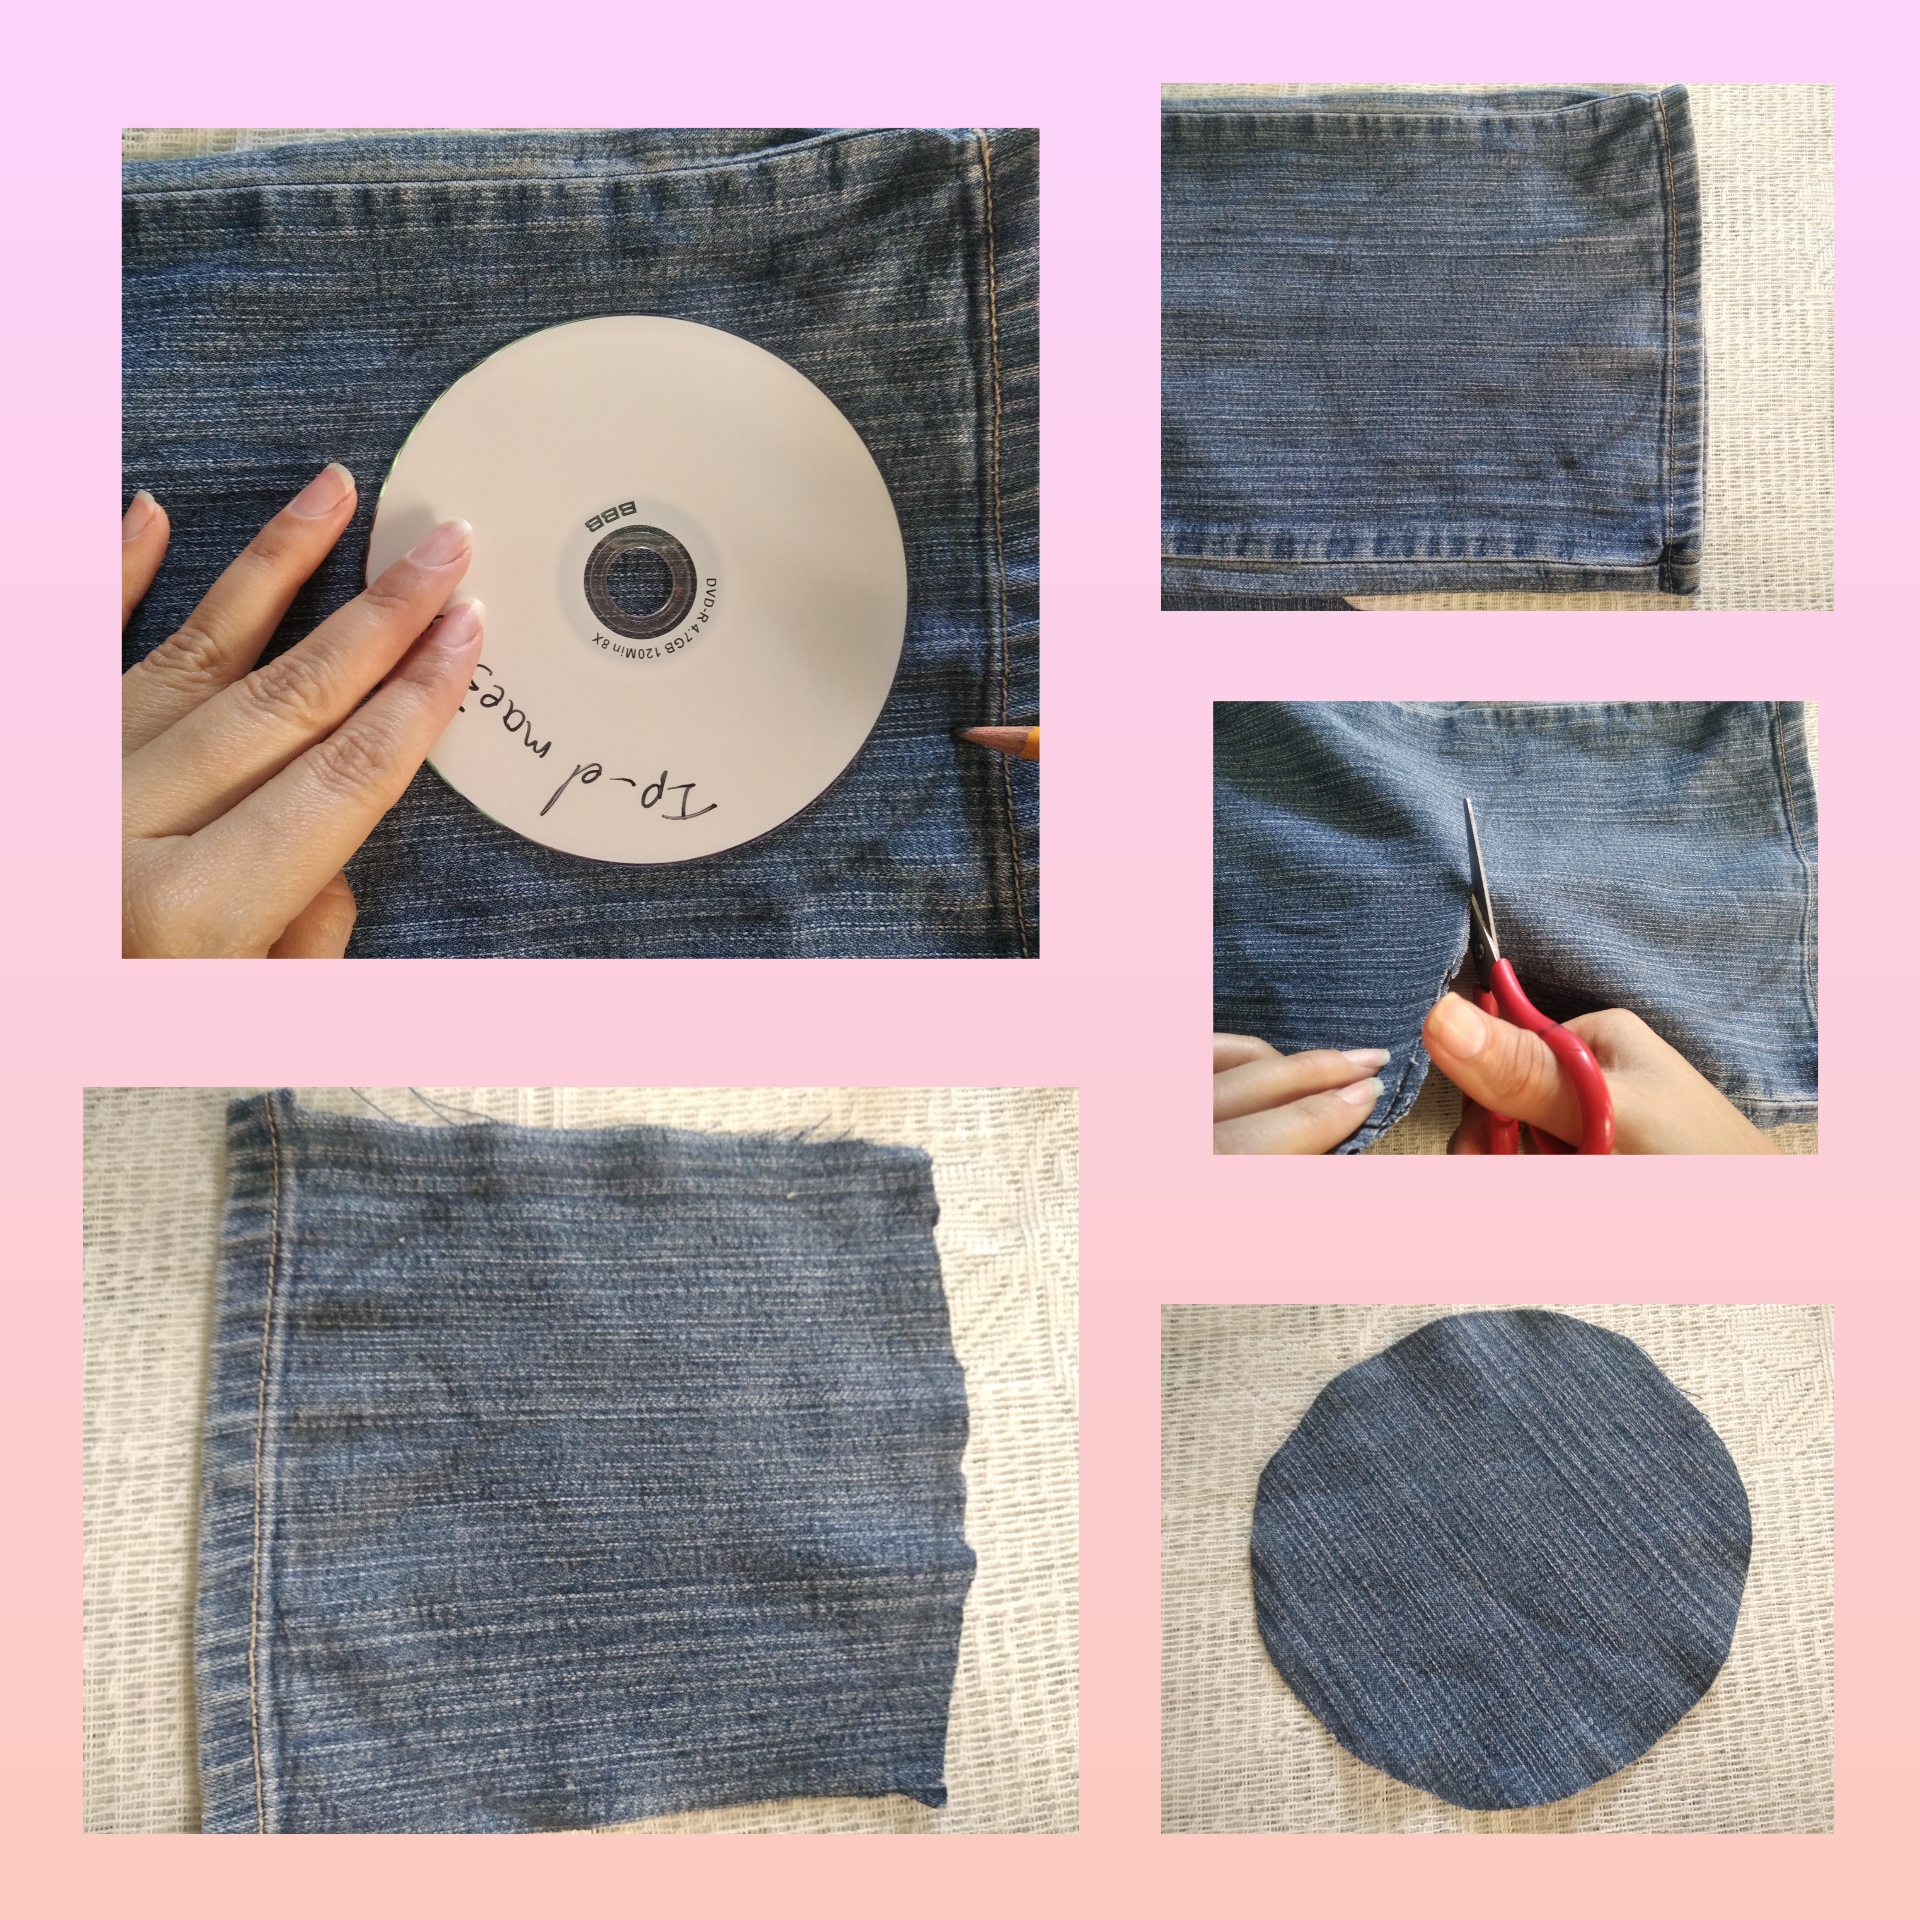
Step 2.We are going to take that circle that we cut out and we are going to draw another one, in the same way we draw it in the jens and cut it out. Now we are going to place the cd again on the jeans and we are going to mark but now around the cd without leaving space. In this way we will obtain the 2 pieces larger than the cd and the 2 smaller ones equal to the cd.
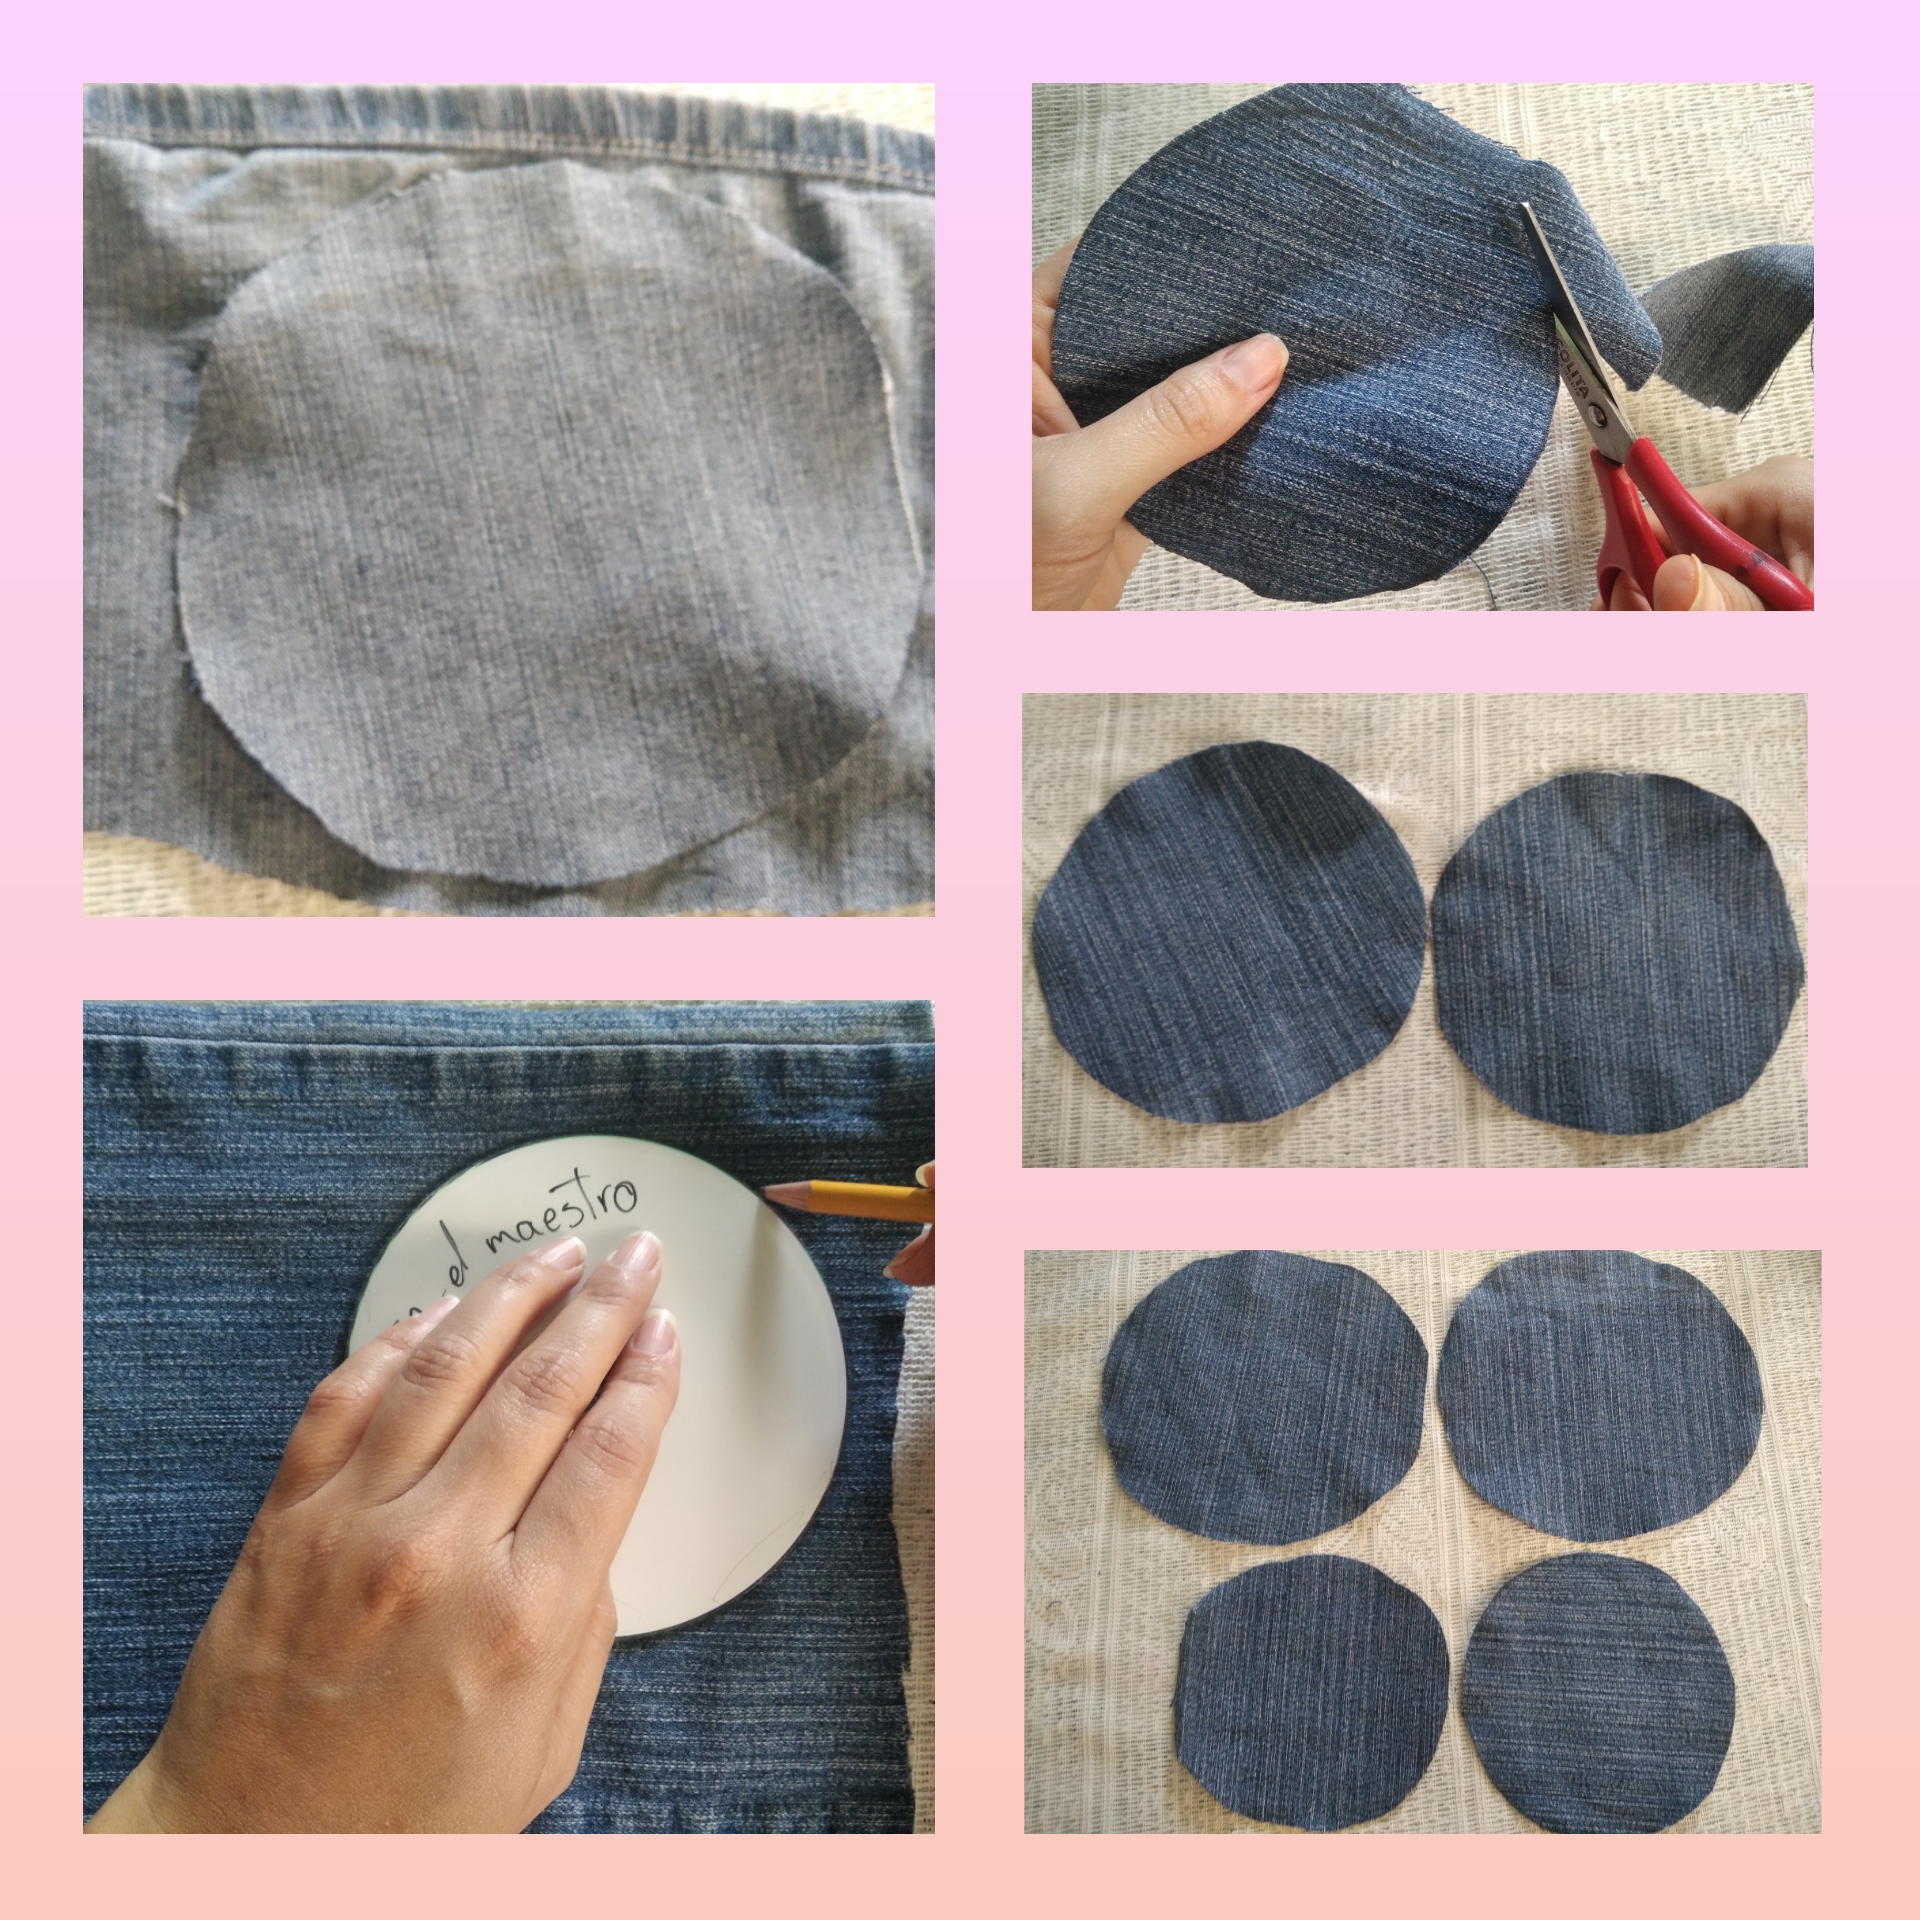
Step 3.With silicone we glue the largest circle of jeans to the cd, with the scissors we are going to cut little pieces all over the excess edge, then with silicone we are going to glue each cut we made, one by one until the gluing is complete, then on the inside with the silicone we paste the smallest circle to cover the cd well on both sides.
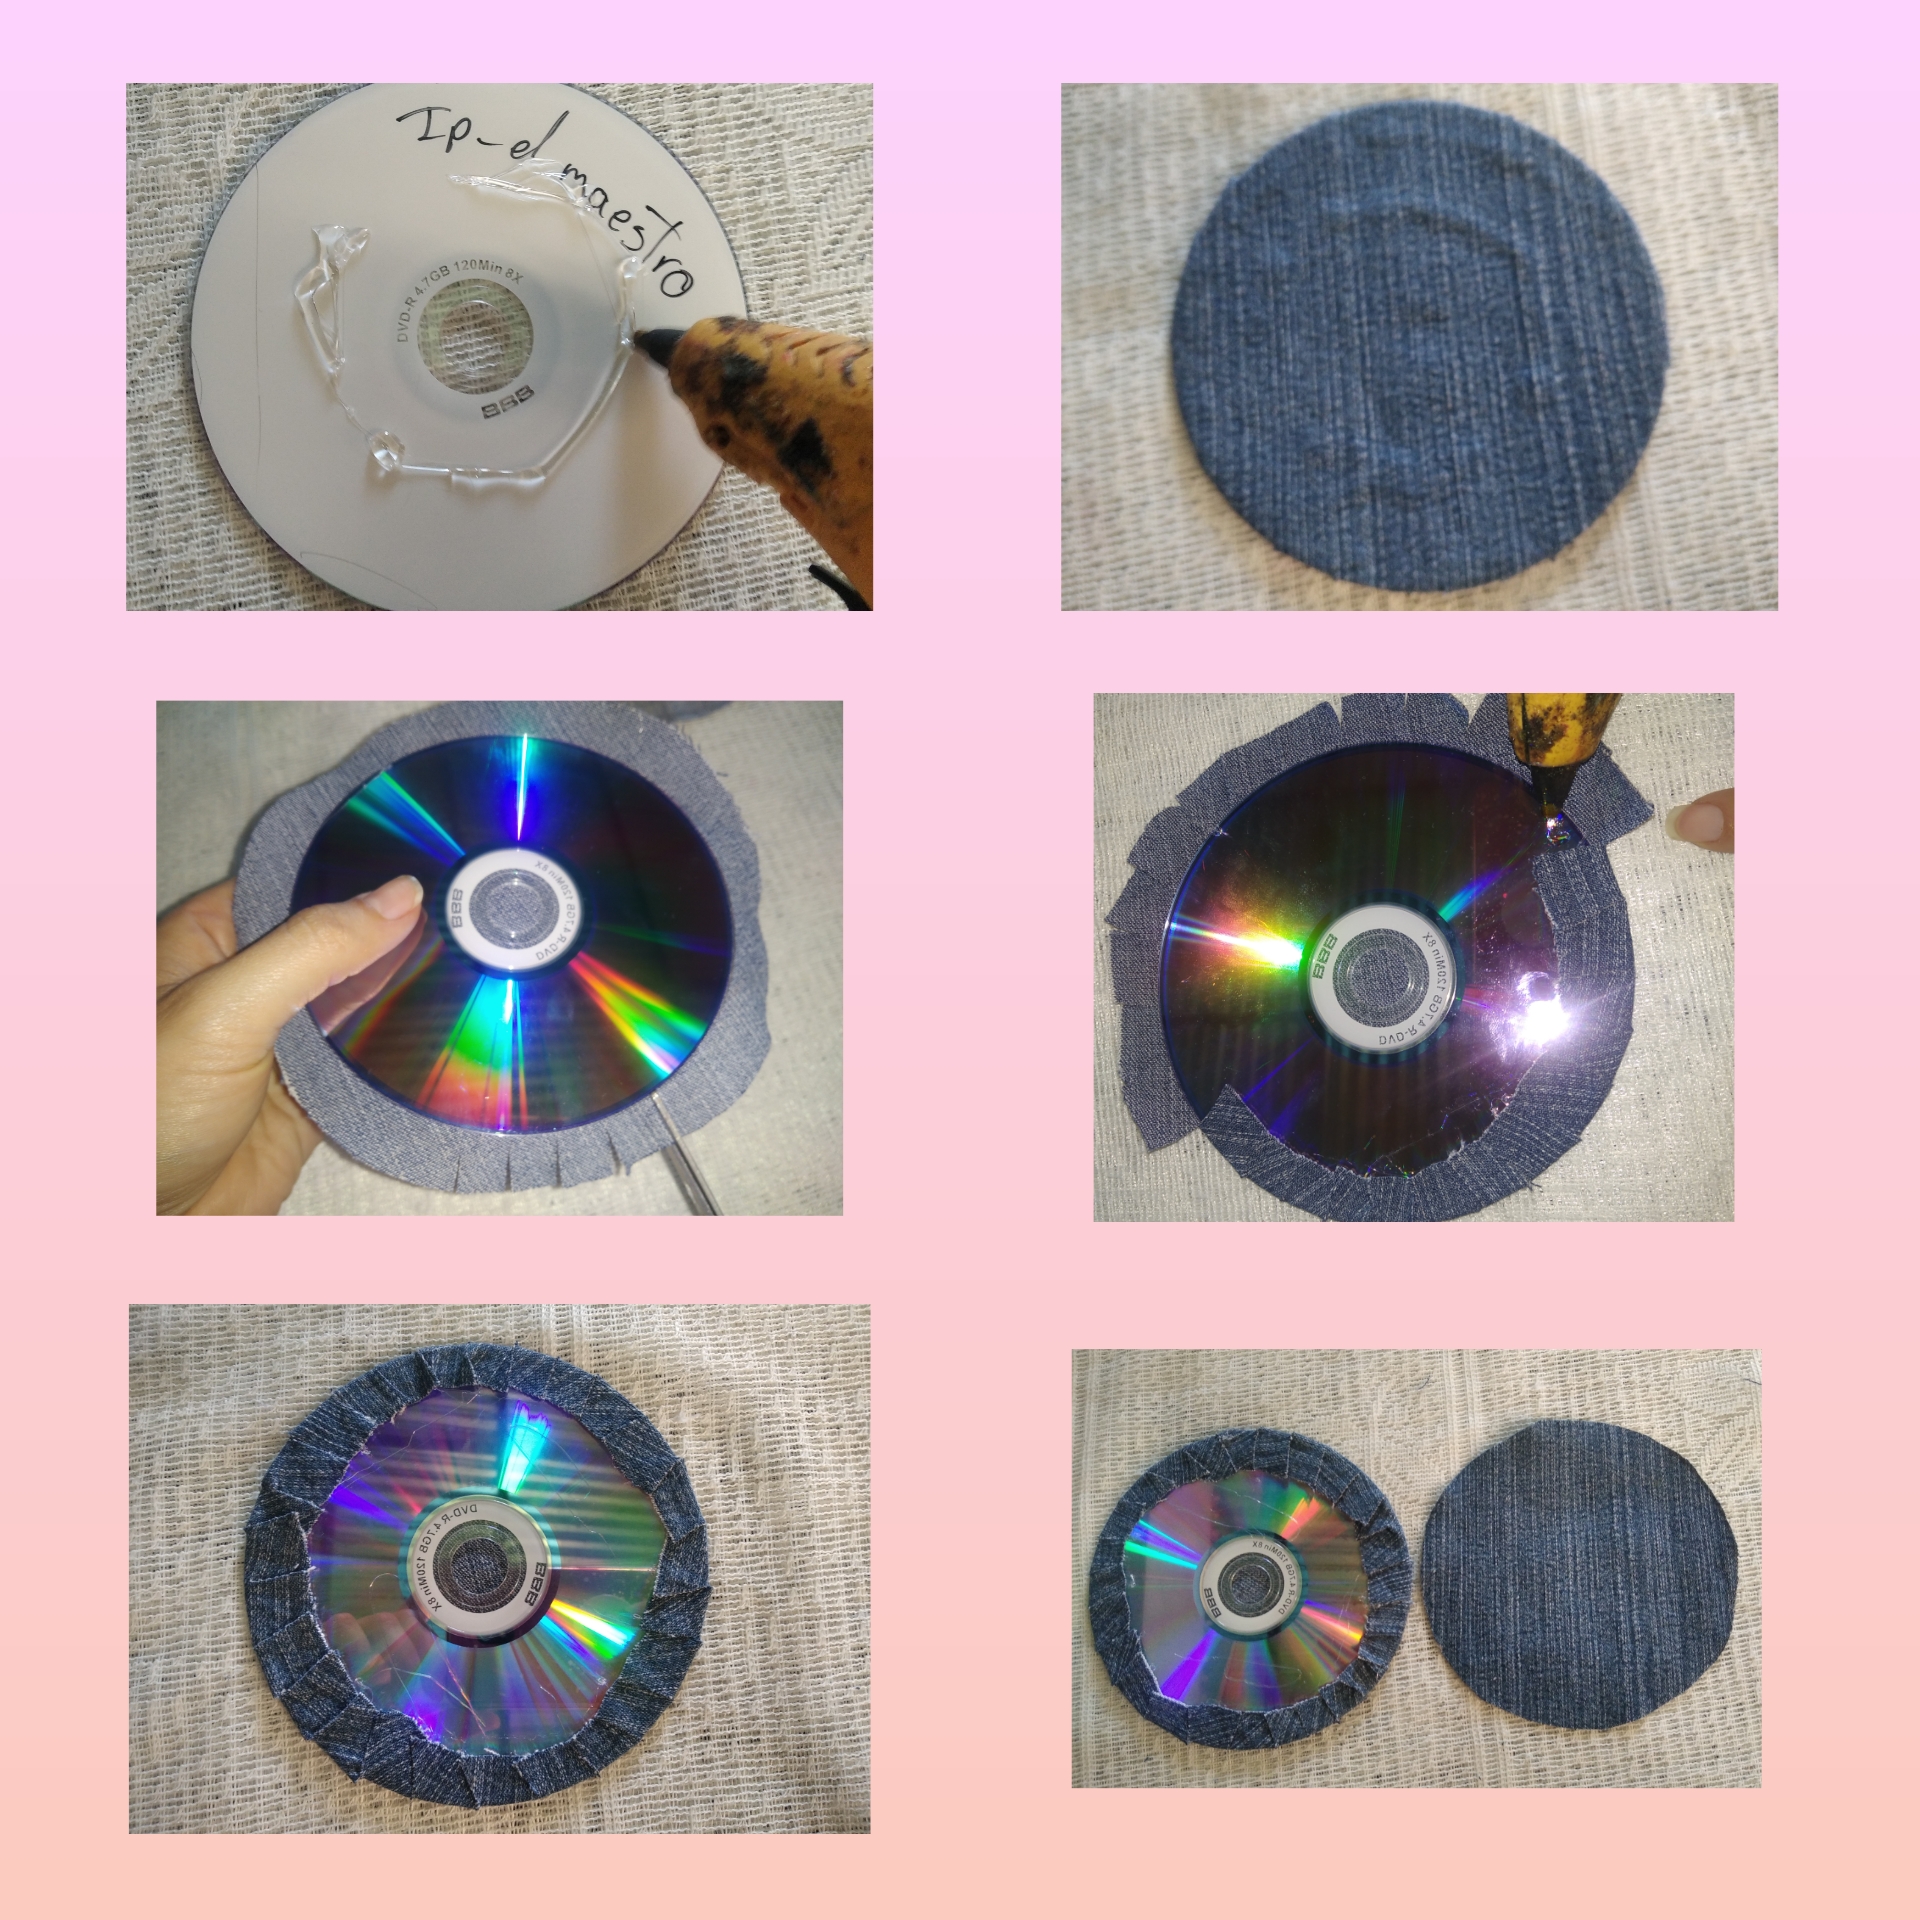
Step 4.In this step we are going to do the same procedure as the previous step. We glue the cd to the jens fabric that is larger, we make the cuts on the edge, we glue with silicone and finally we place the small jens circle.
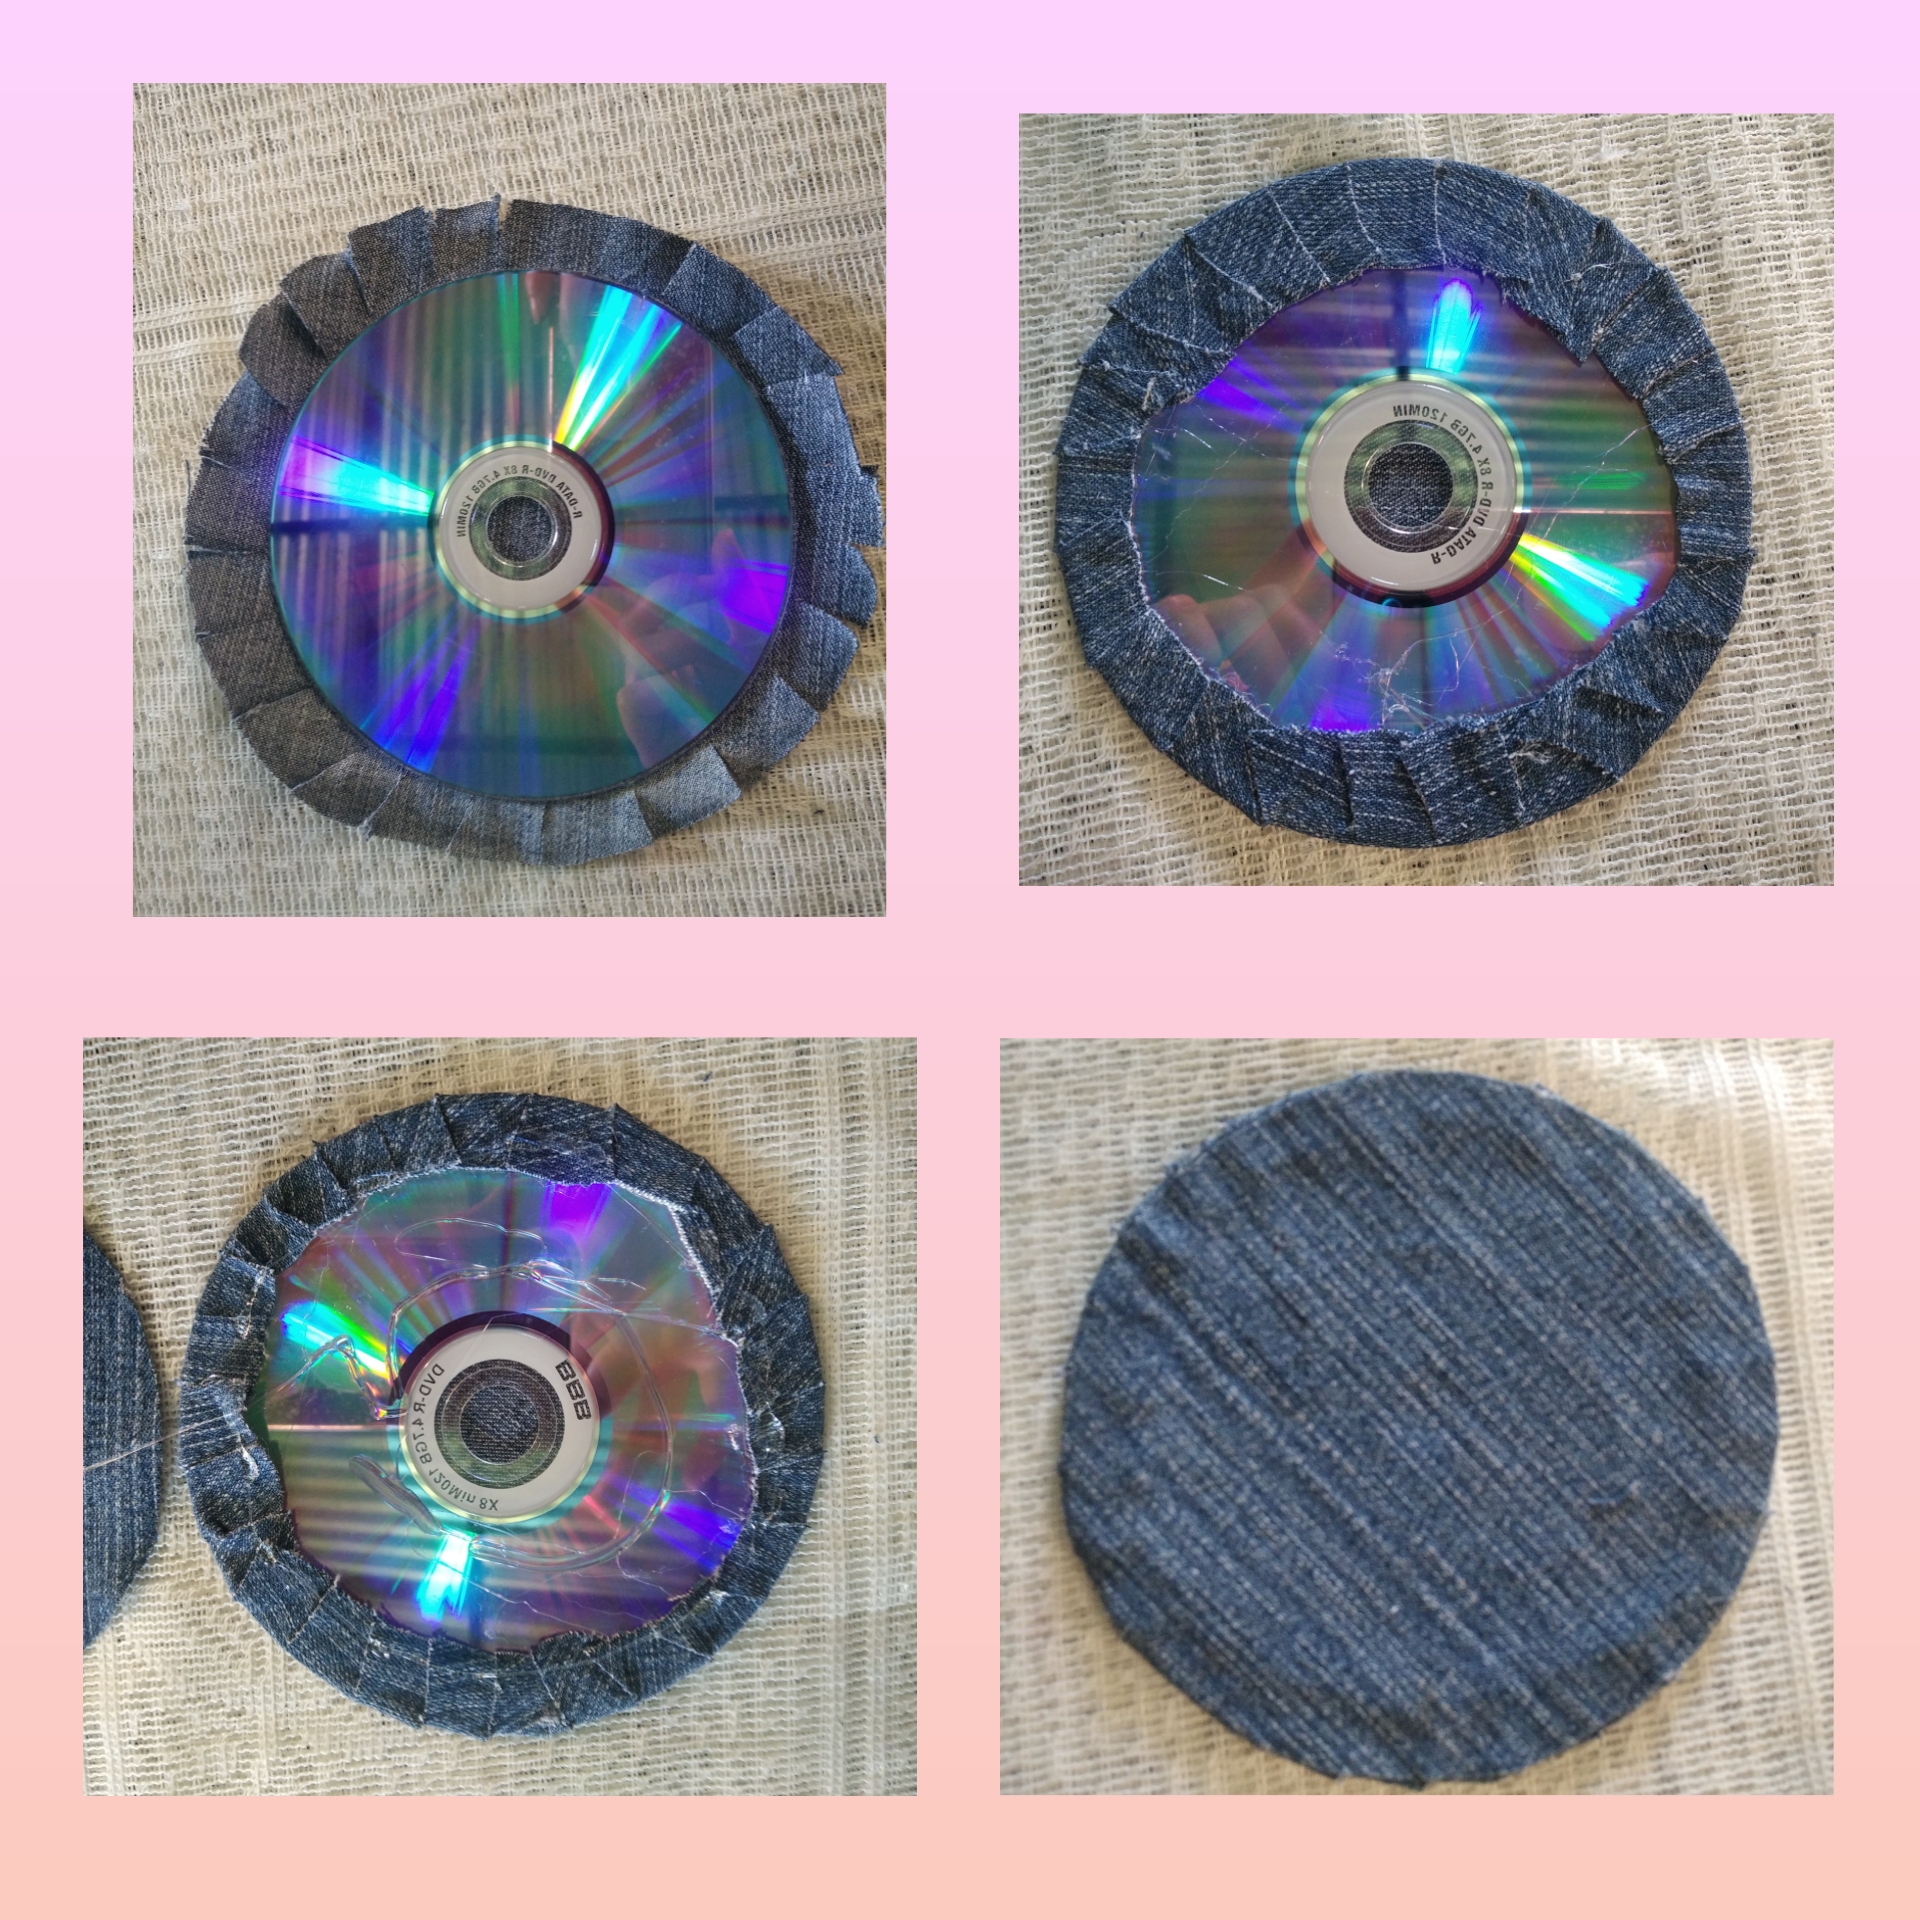
This is what will be the sides of this bag.

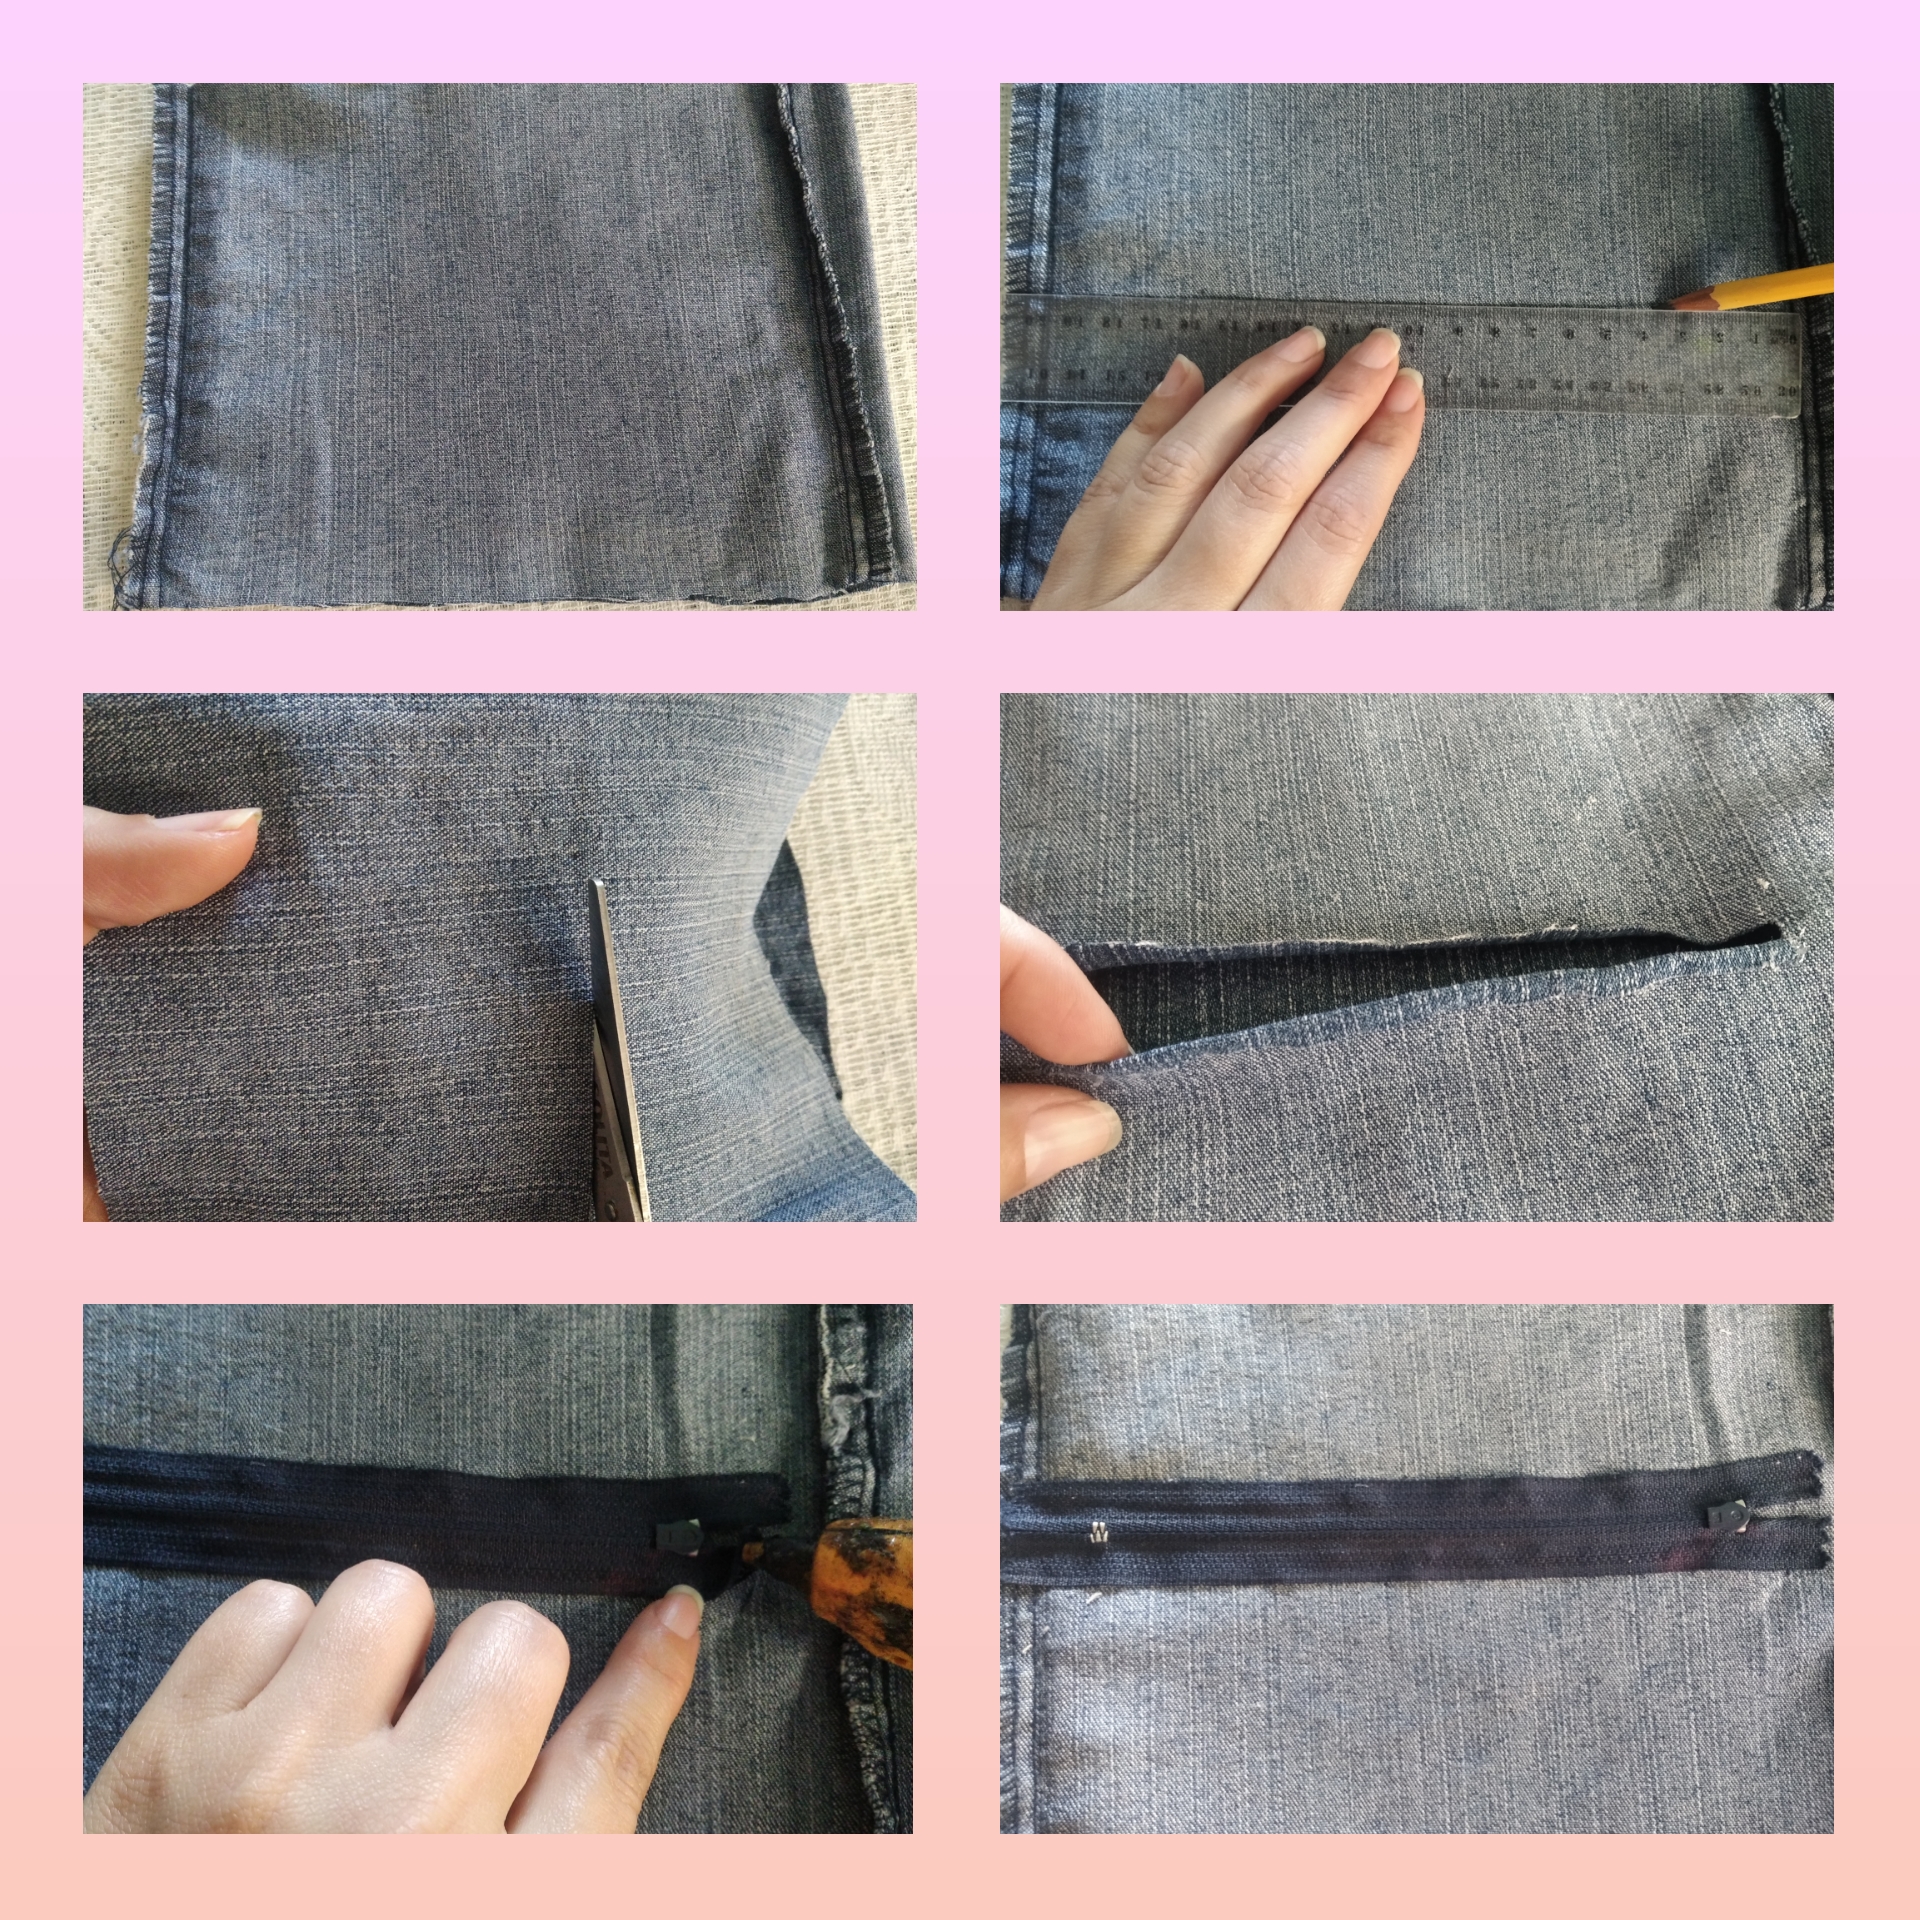
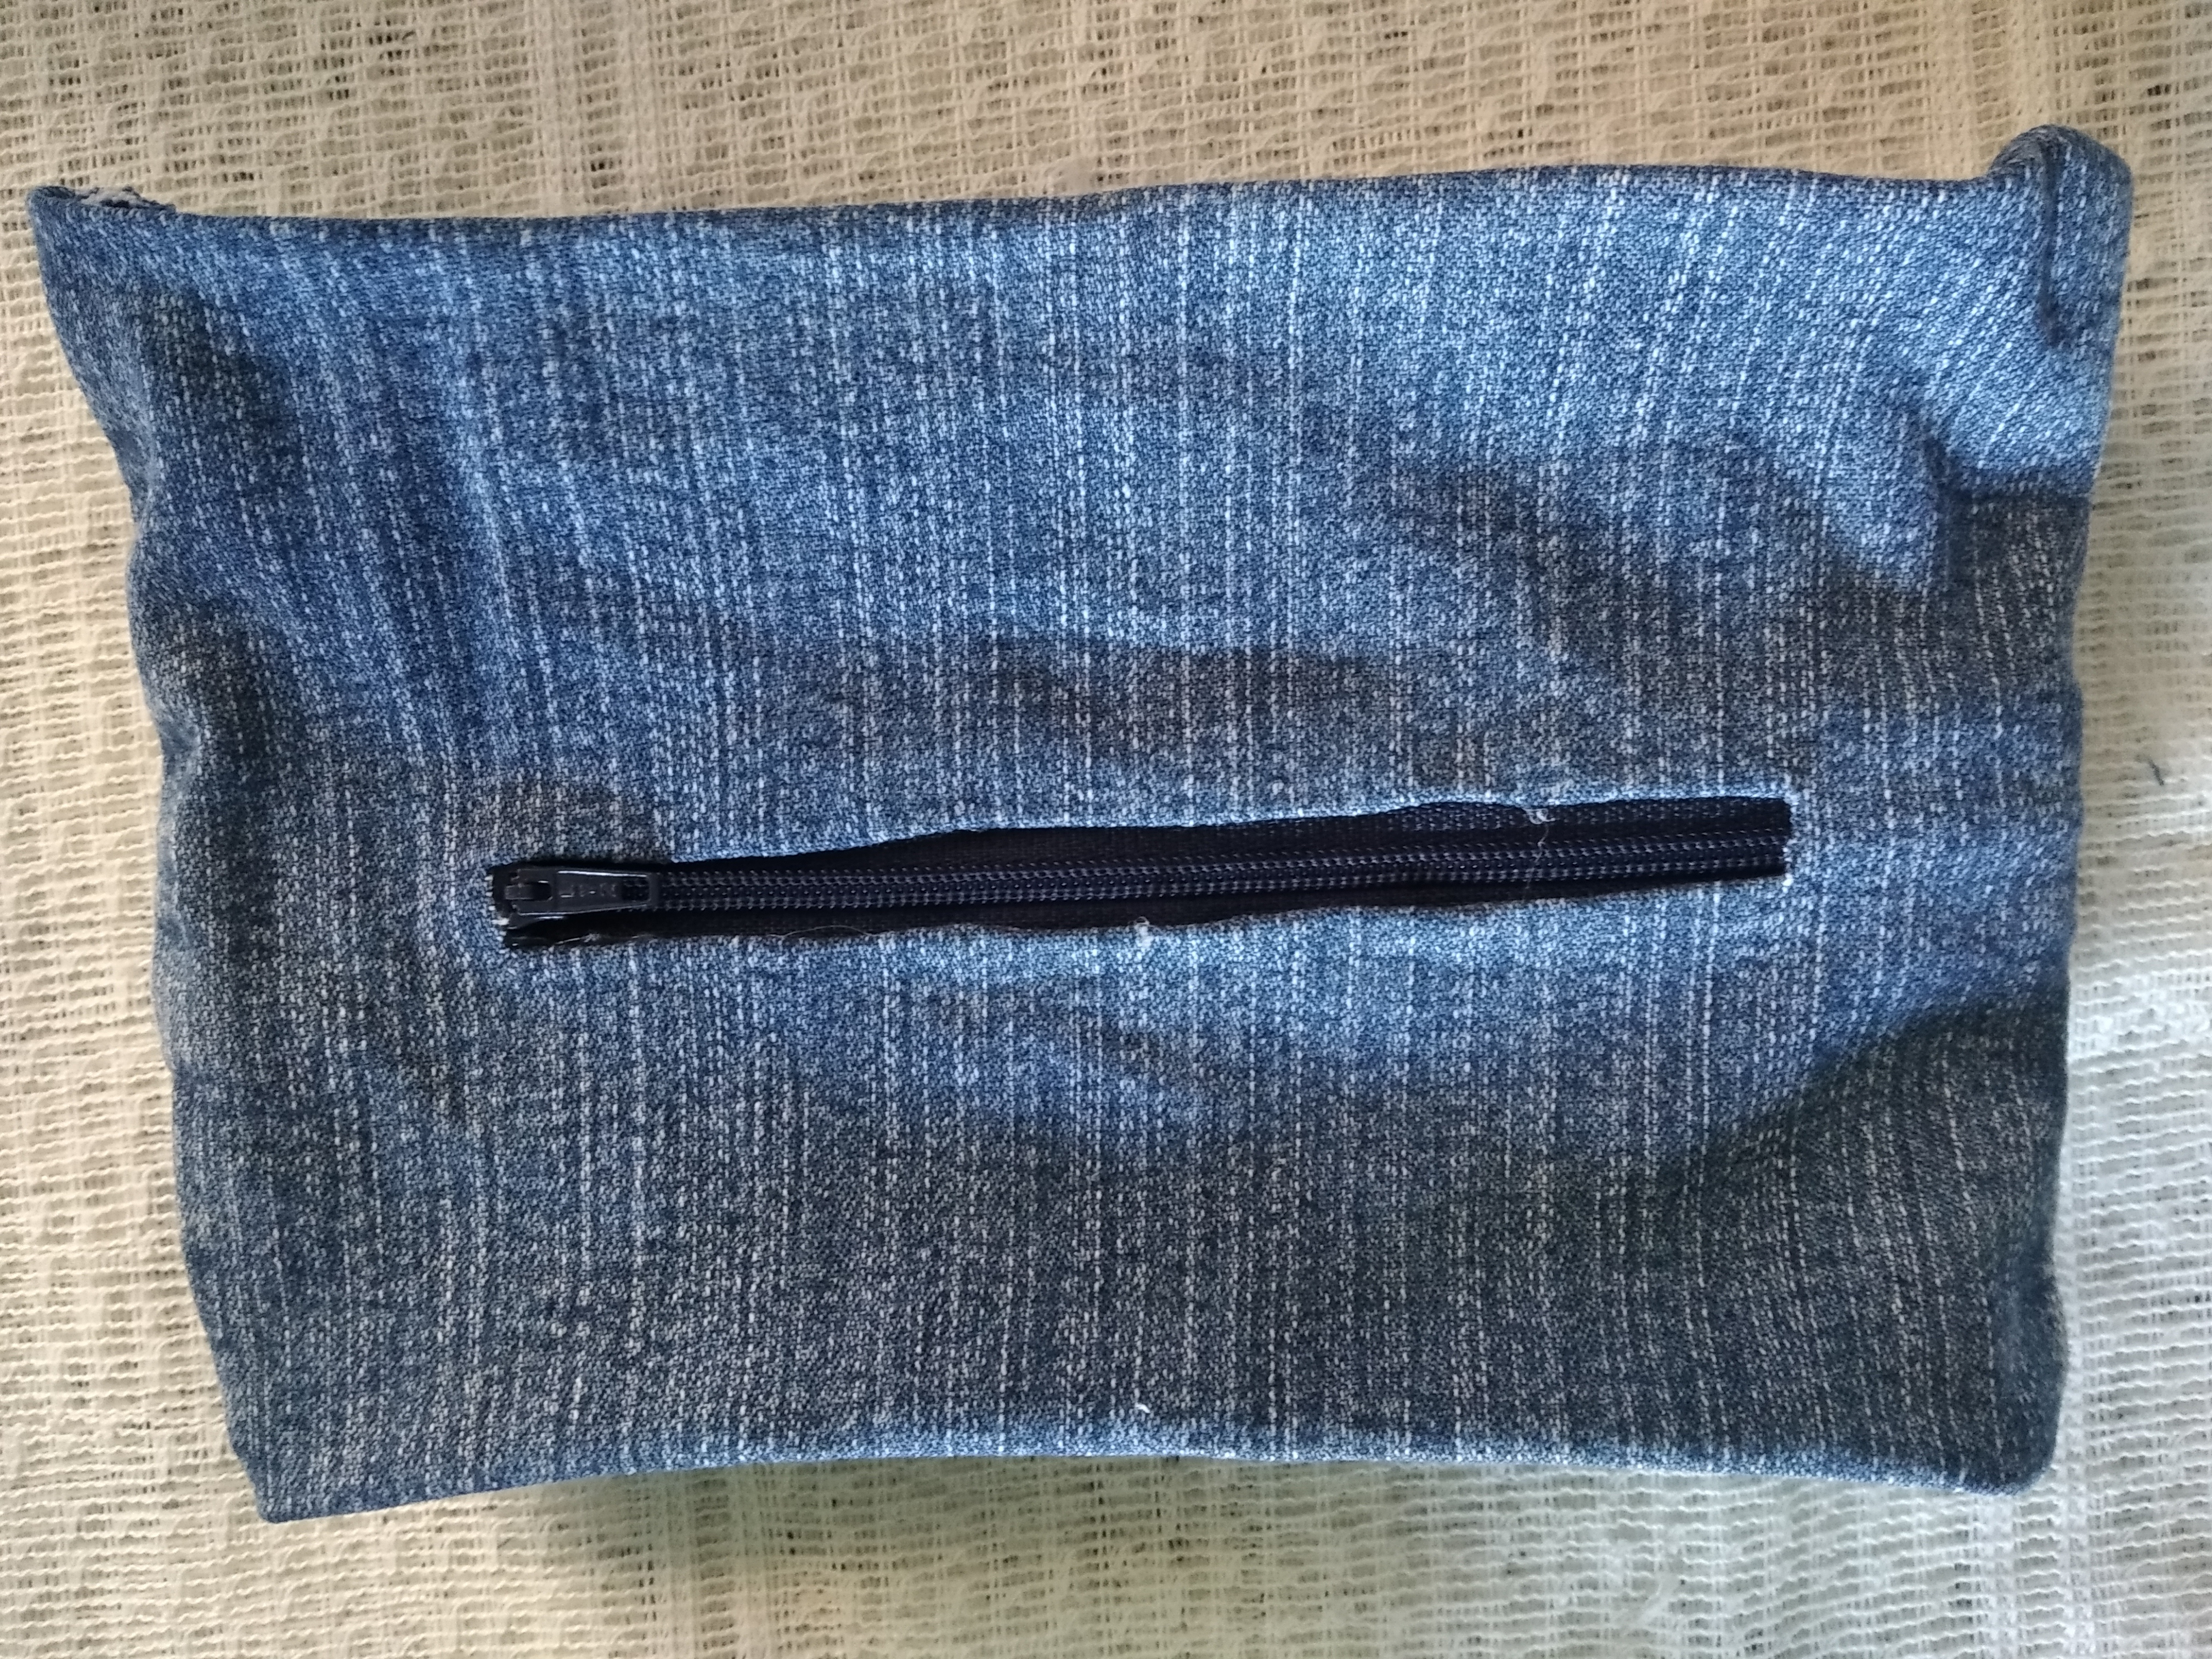
Step 5.In this step we are going to form what will be the inside of our bag. We take the jeans fabric and we are going to cut a piece of 12cm. With the fabric upside down we are going to make a line through the middle, there the zipper will go, then with the scissors we cut along the entire stripe, fold and glue the edges with silicone, now in that opening we join the zipper.
Step 6.We take the cardboard and we are going to measure 8 cm with the ruler and we cut the cardboard it must be less than the thickness of the fabric that we already cut, we put silicone on it and join the fabric by the part of behind where the closure is not, we fold the edges and we stick them.
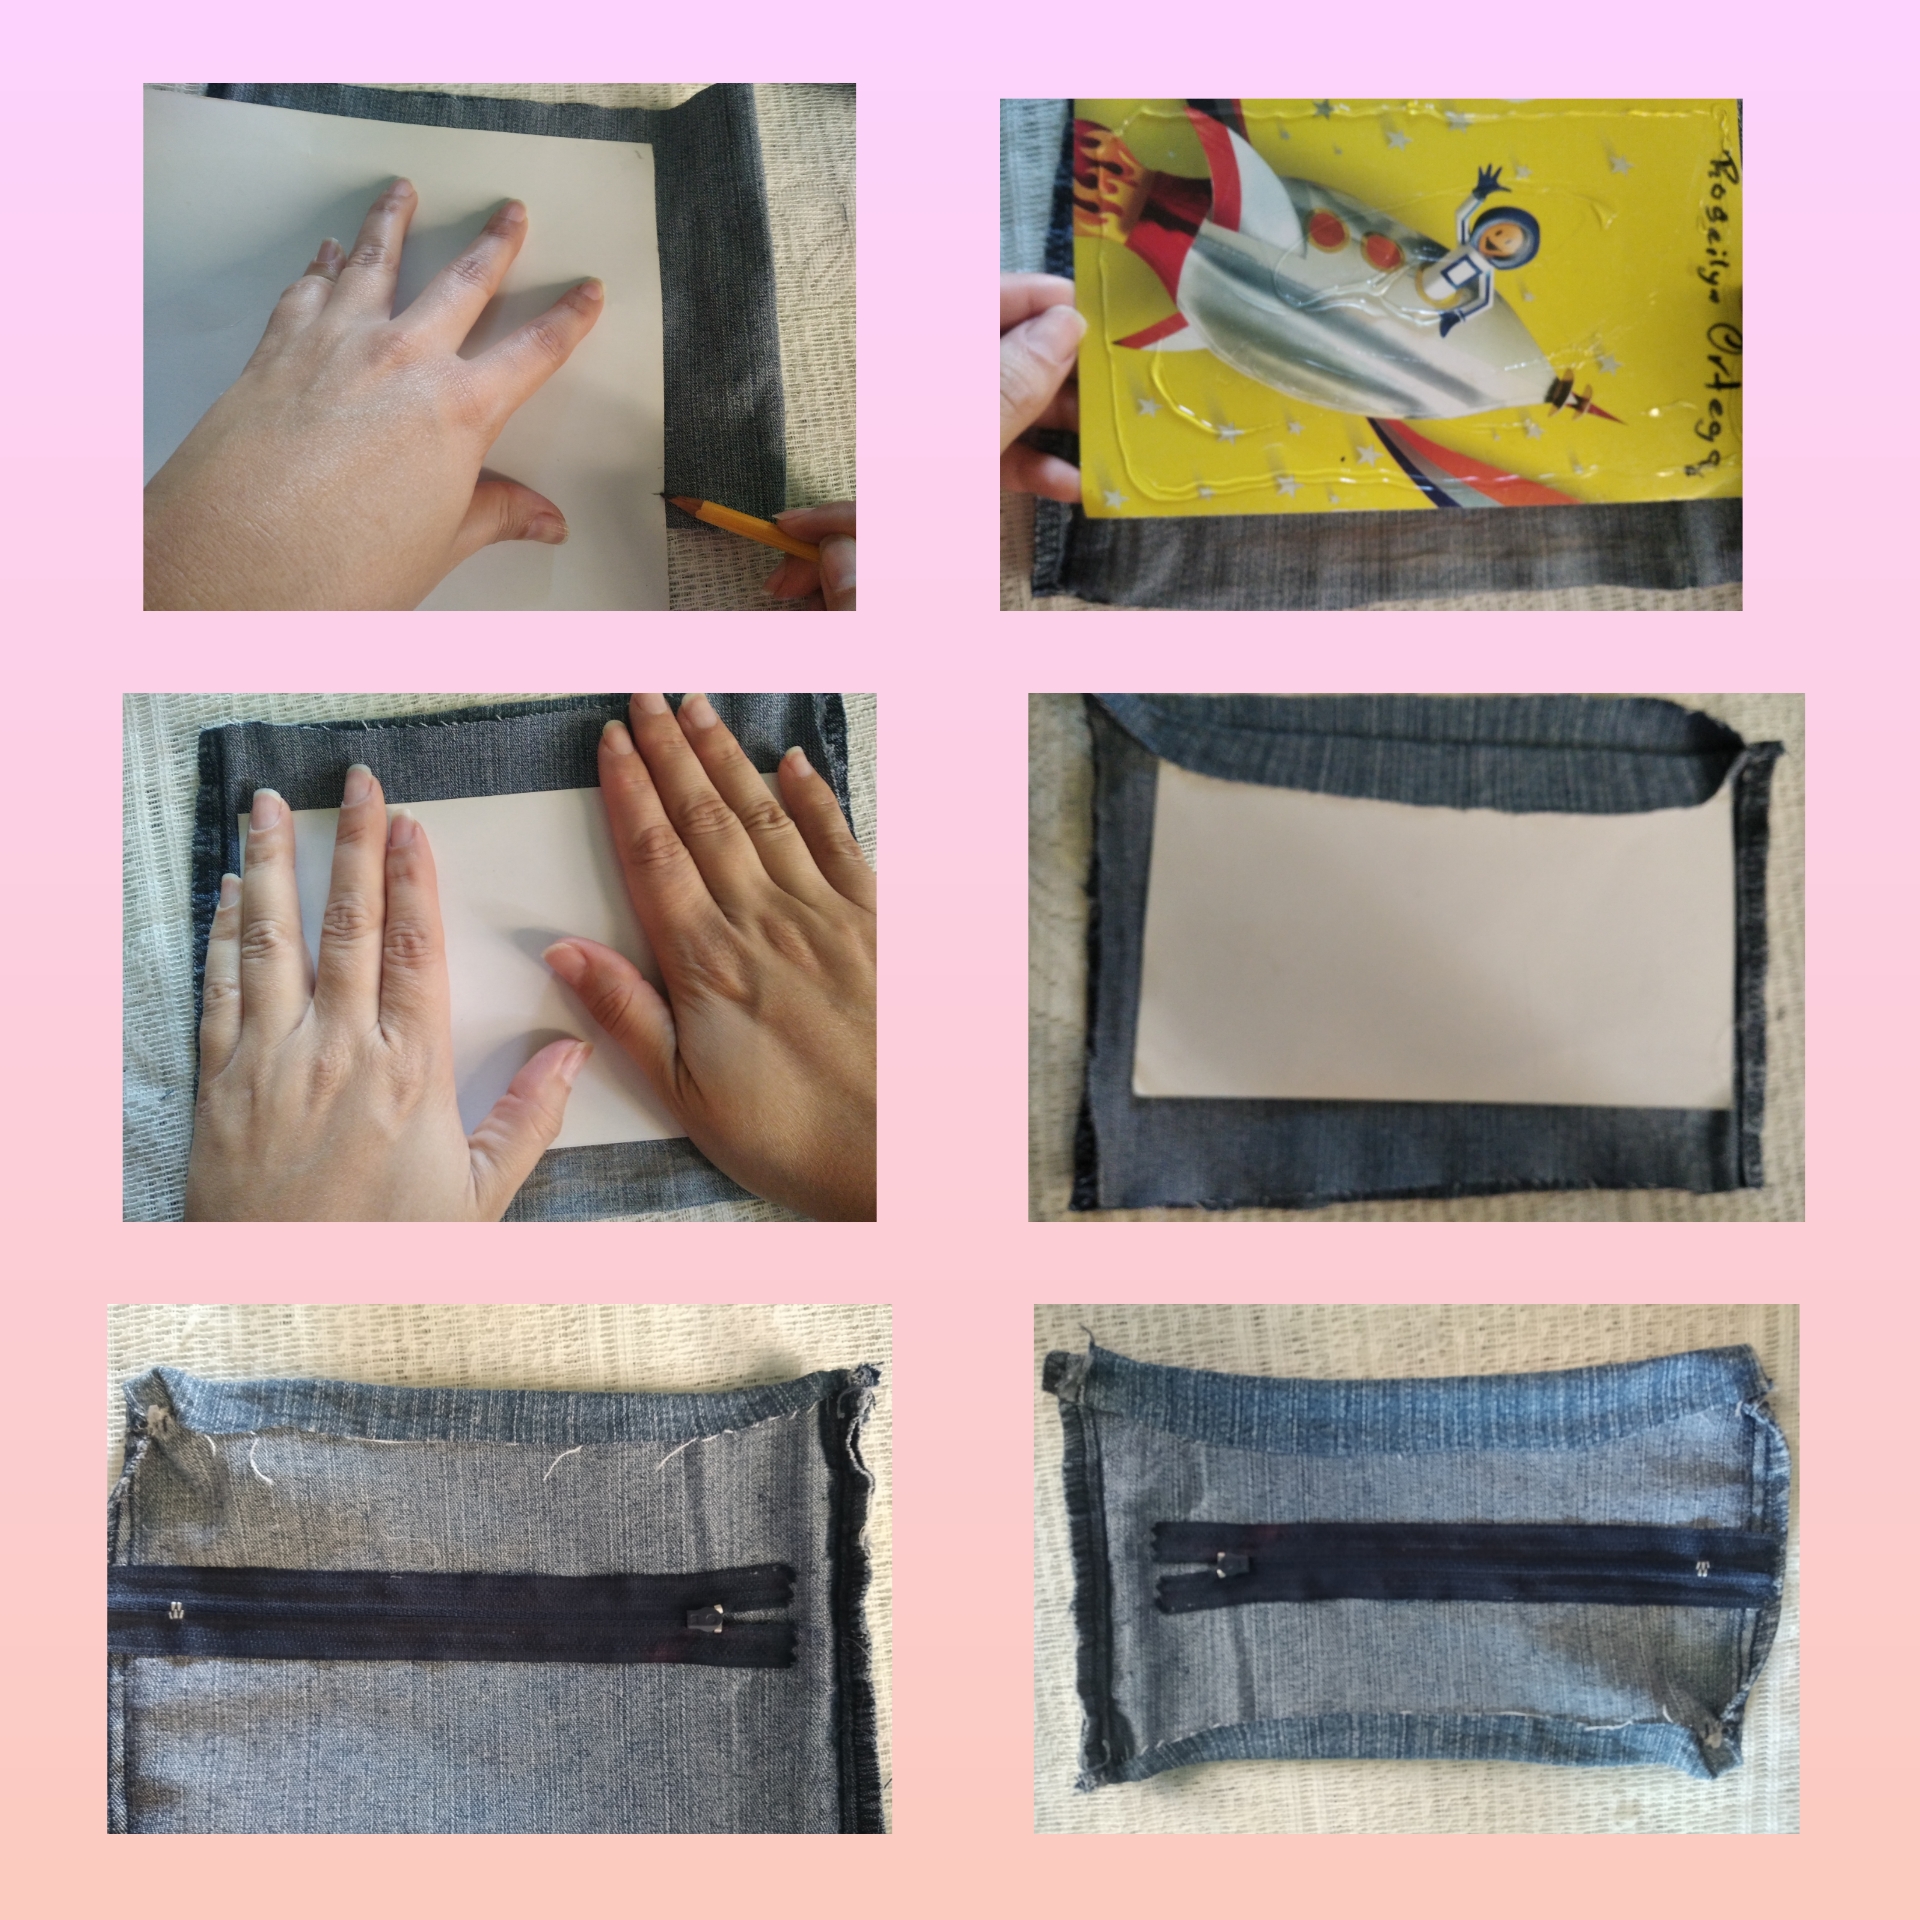
We turn the fabric inside out and it will look like this. Like a cartridge.
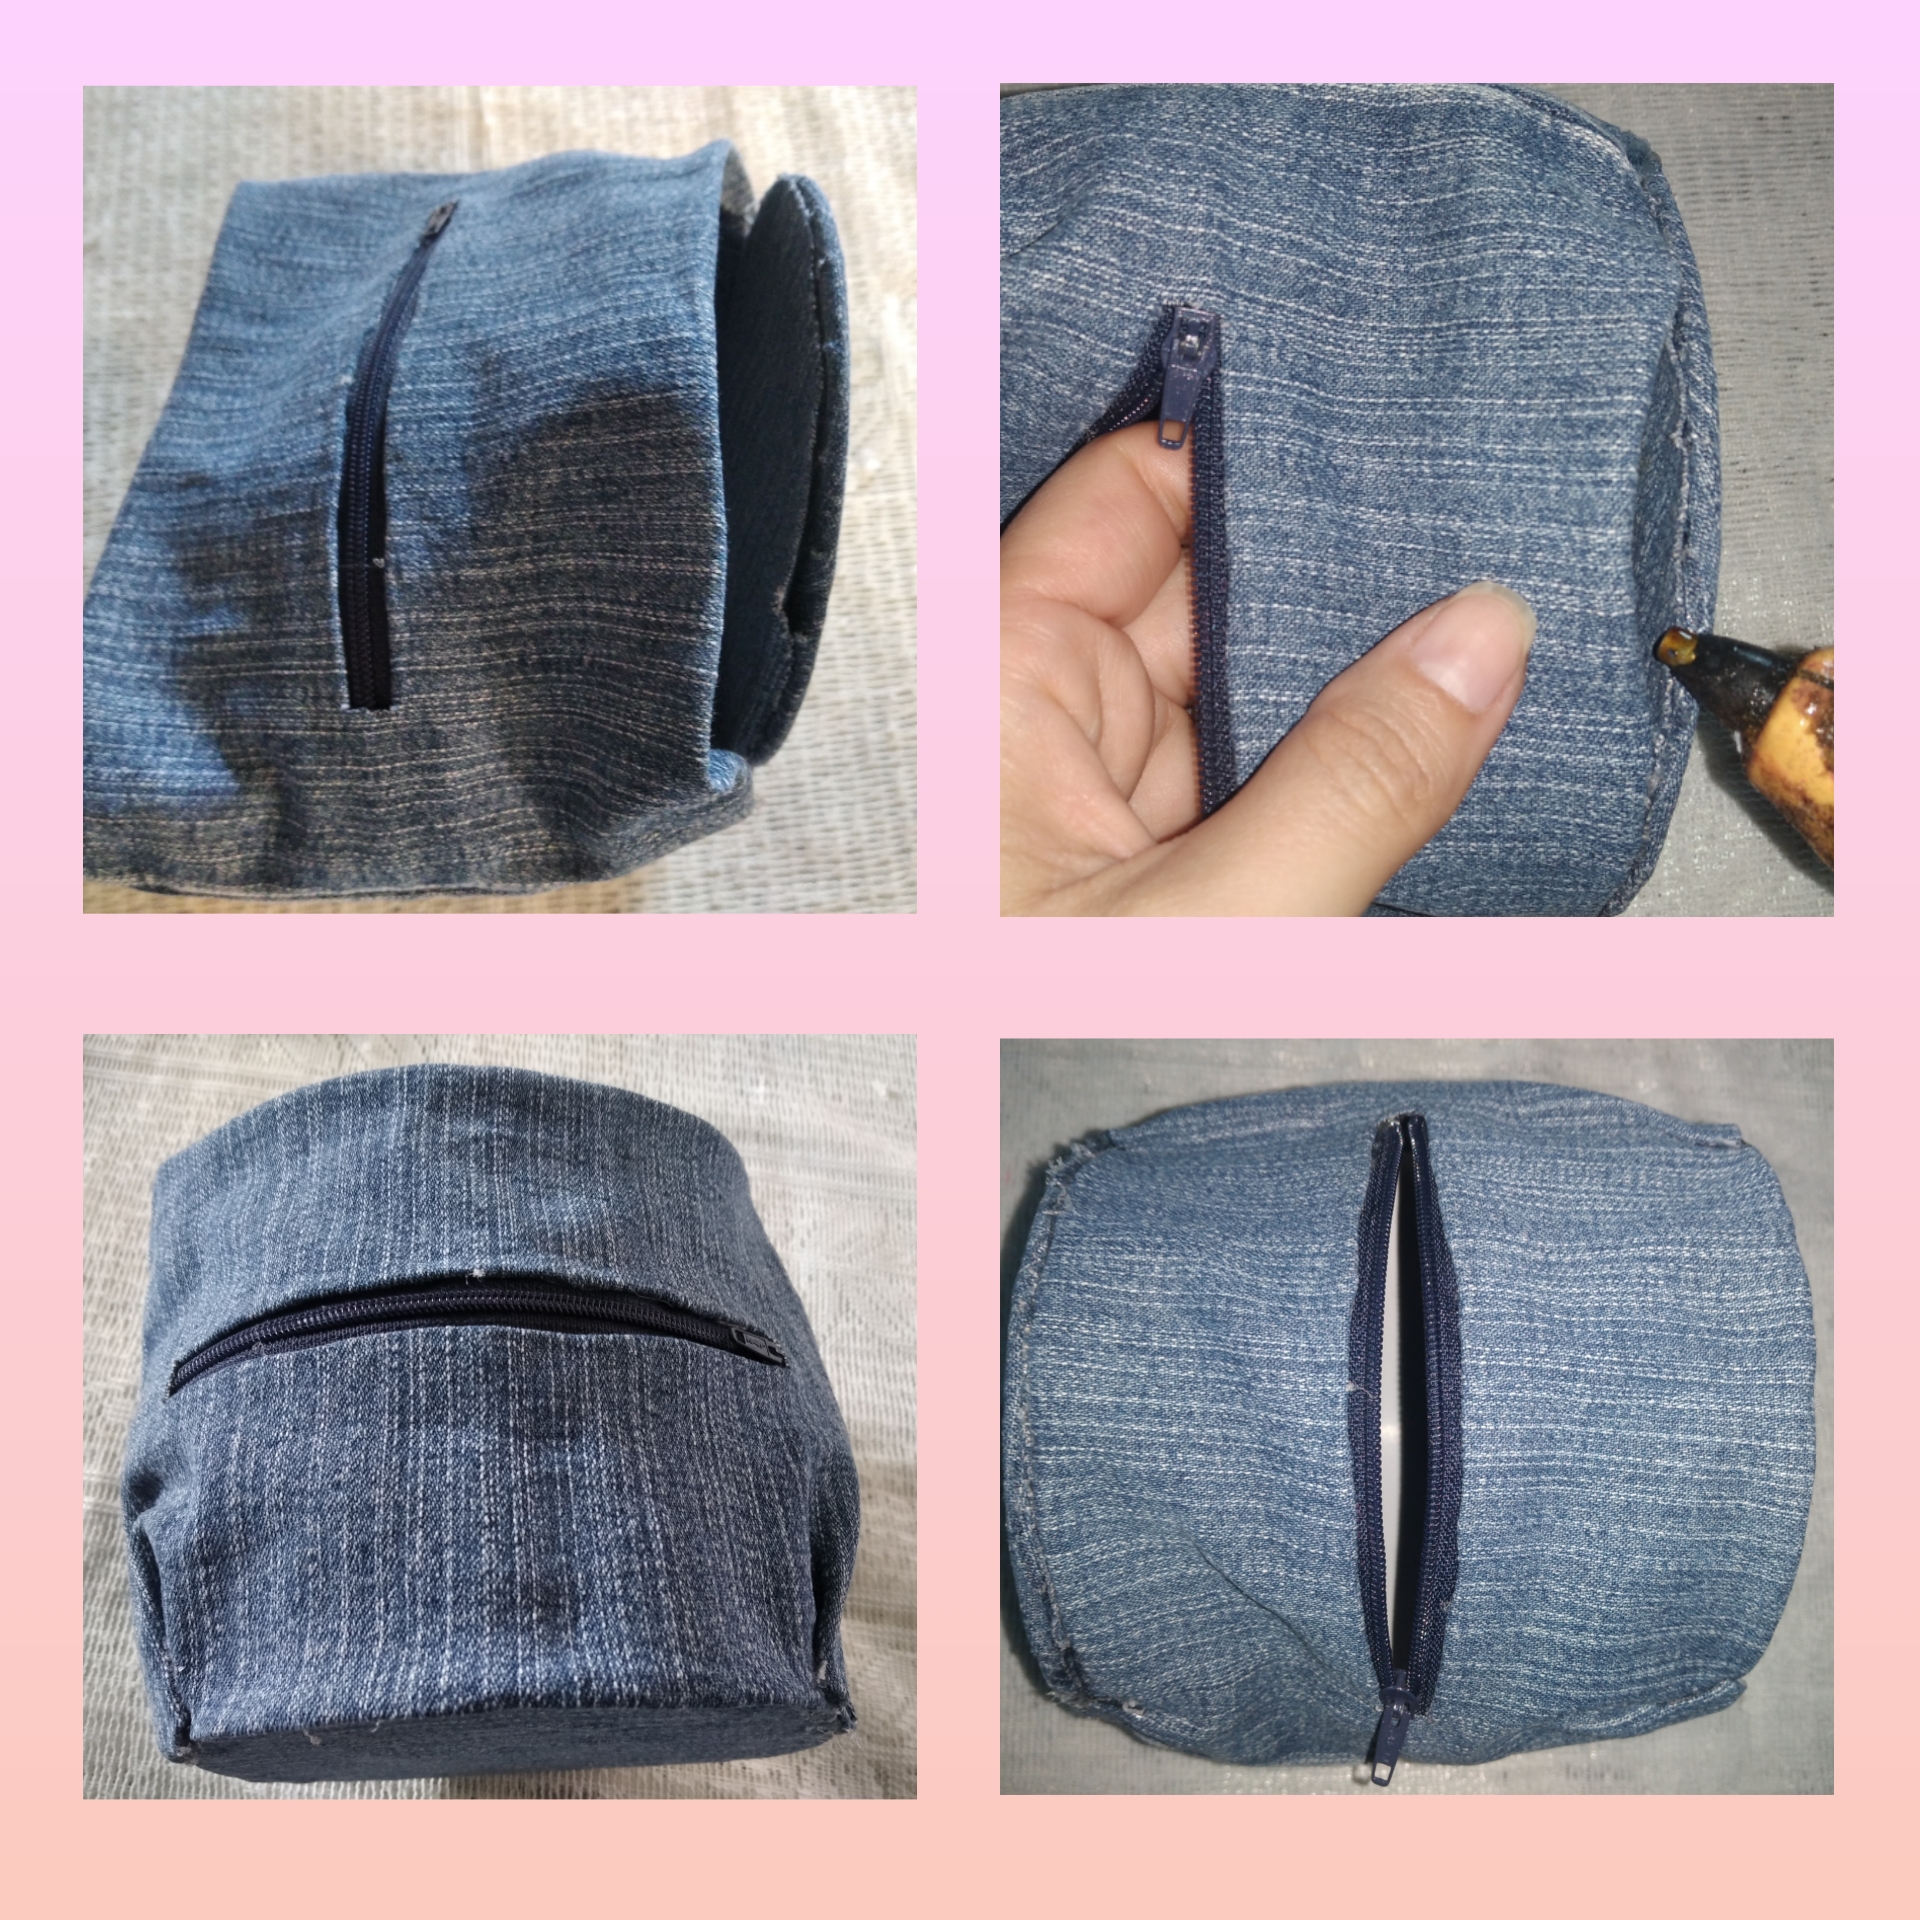
Step 7.We are going to join the sides, we take 1 of the two cd's and we place it around it with silicone, then we place the other cd on the other side and our bag is ready, it is very easy to do.
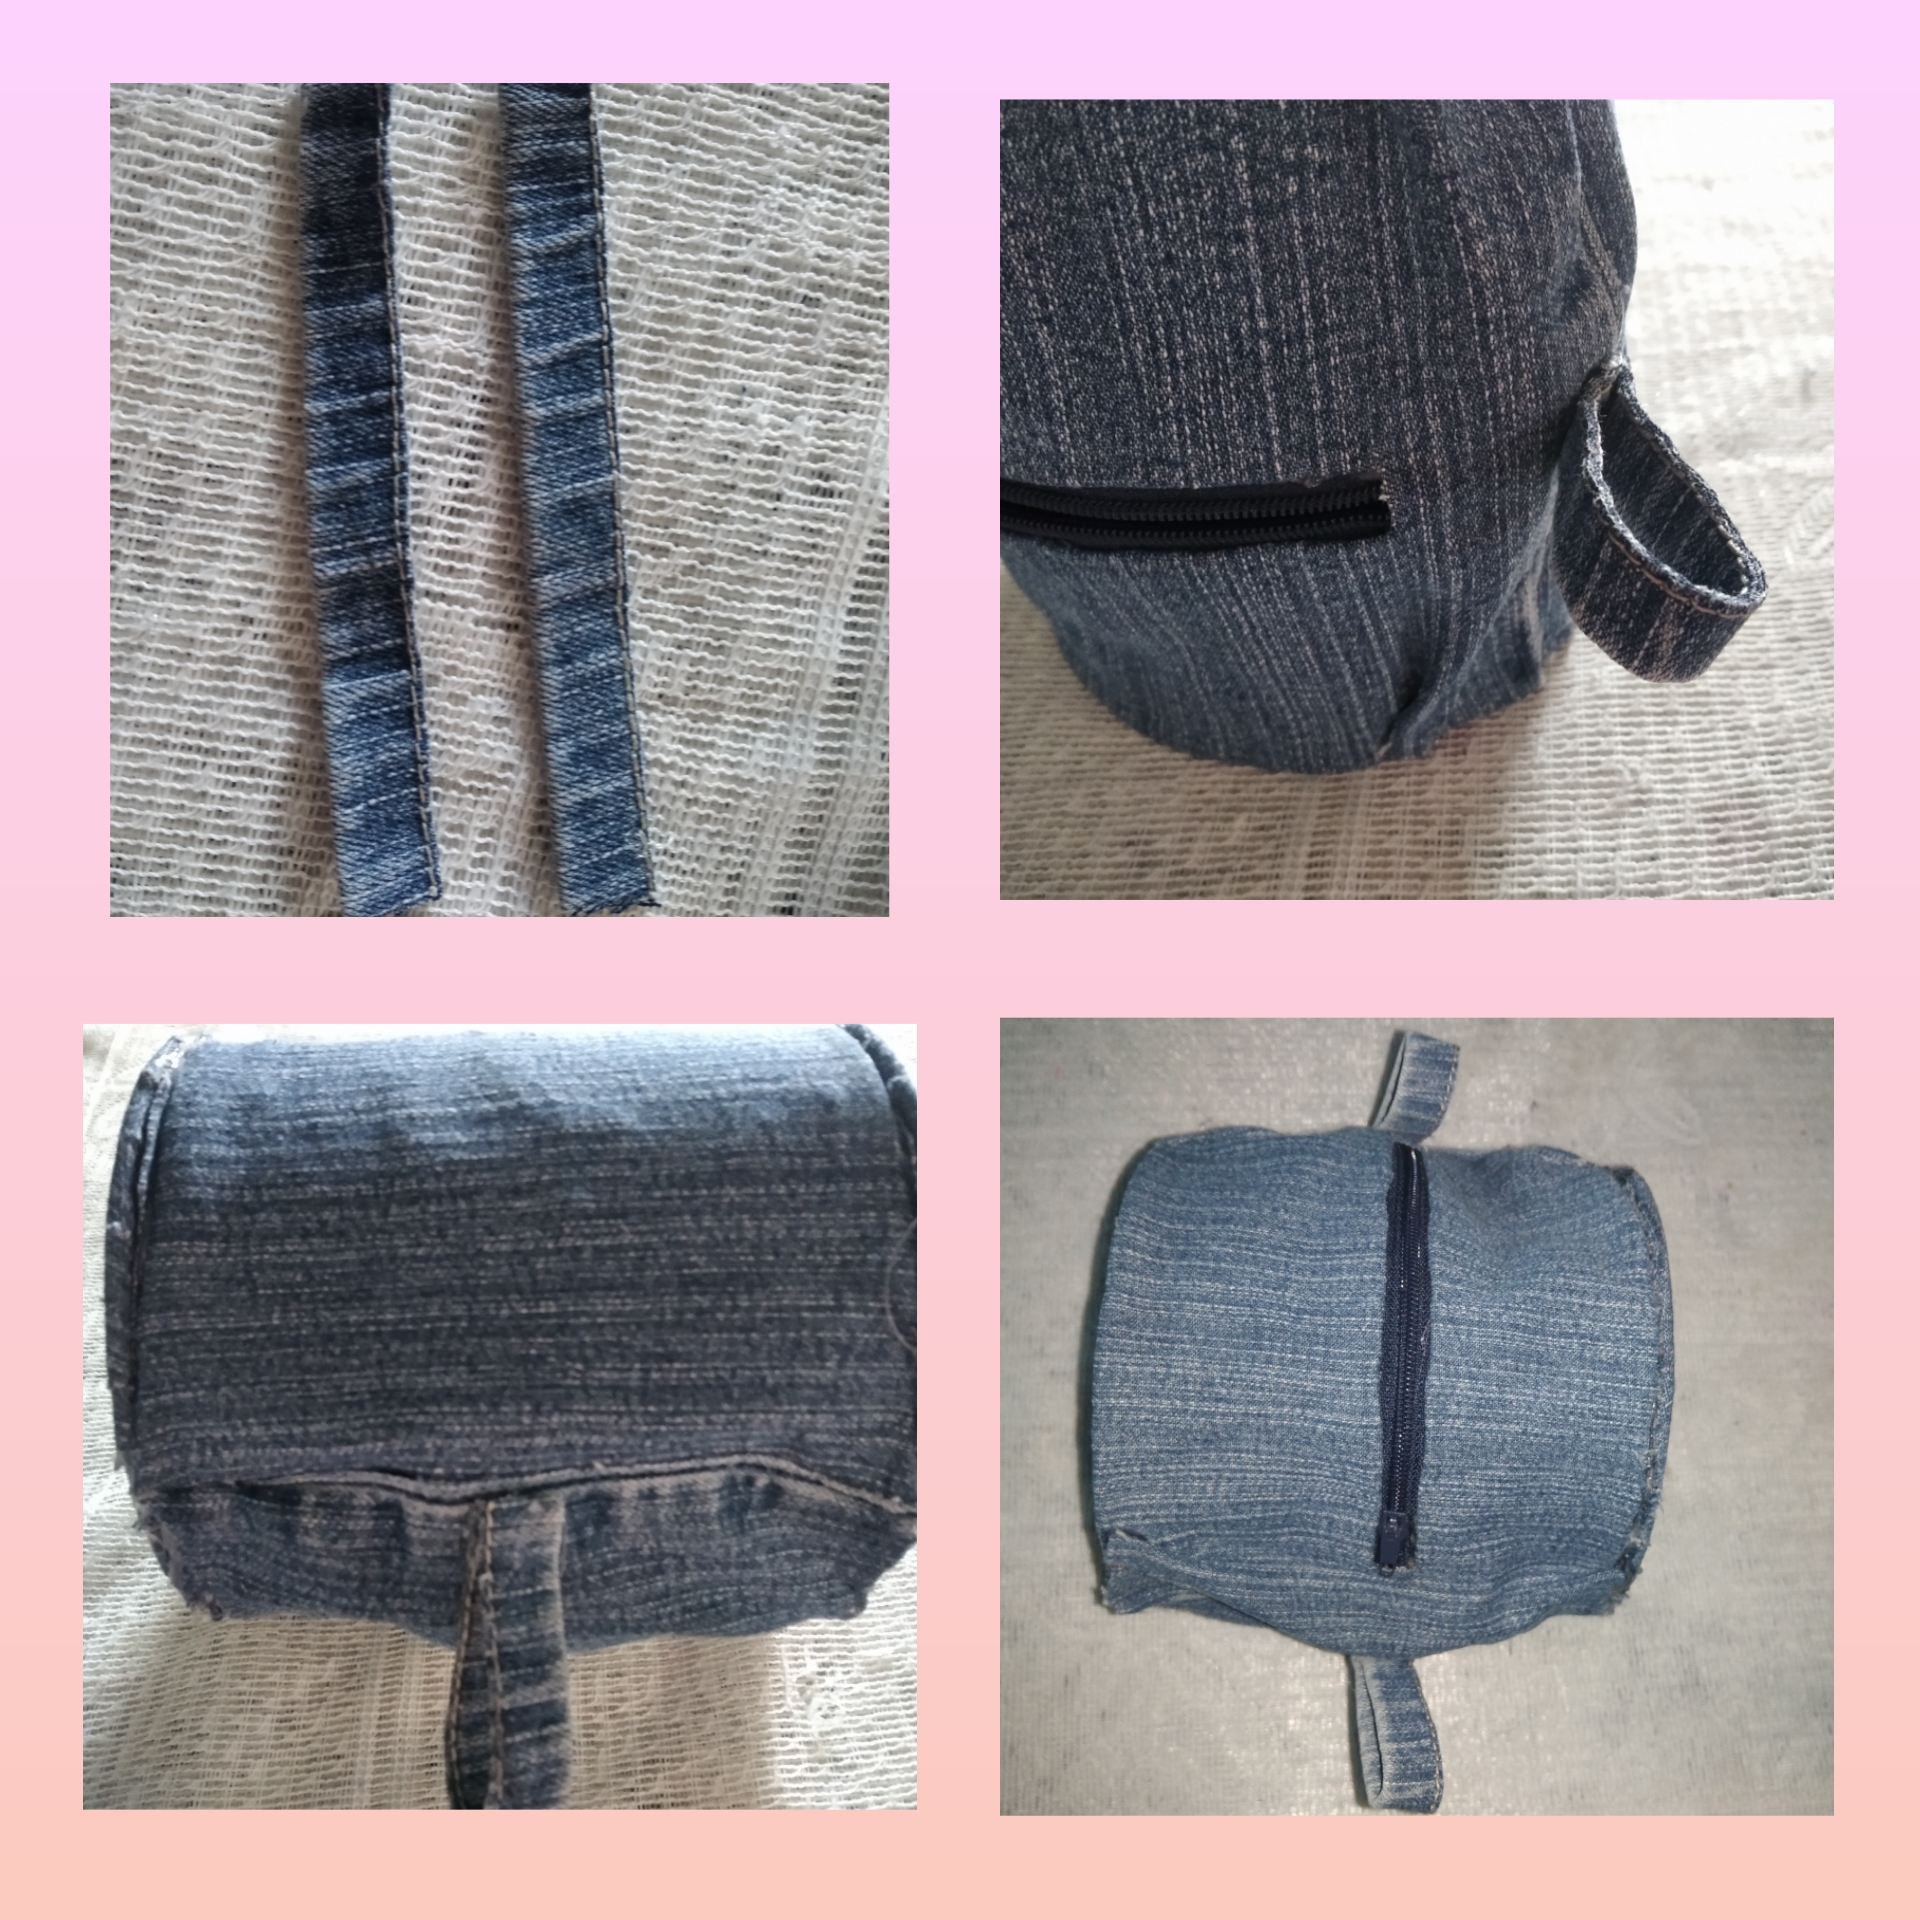
Step 8.We cut two loops, fold them and place each of the sides of the bag.
Step 9.To decorate the bag, we are going to take the cord and we are going to place it around the edge of the bag.
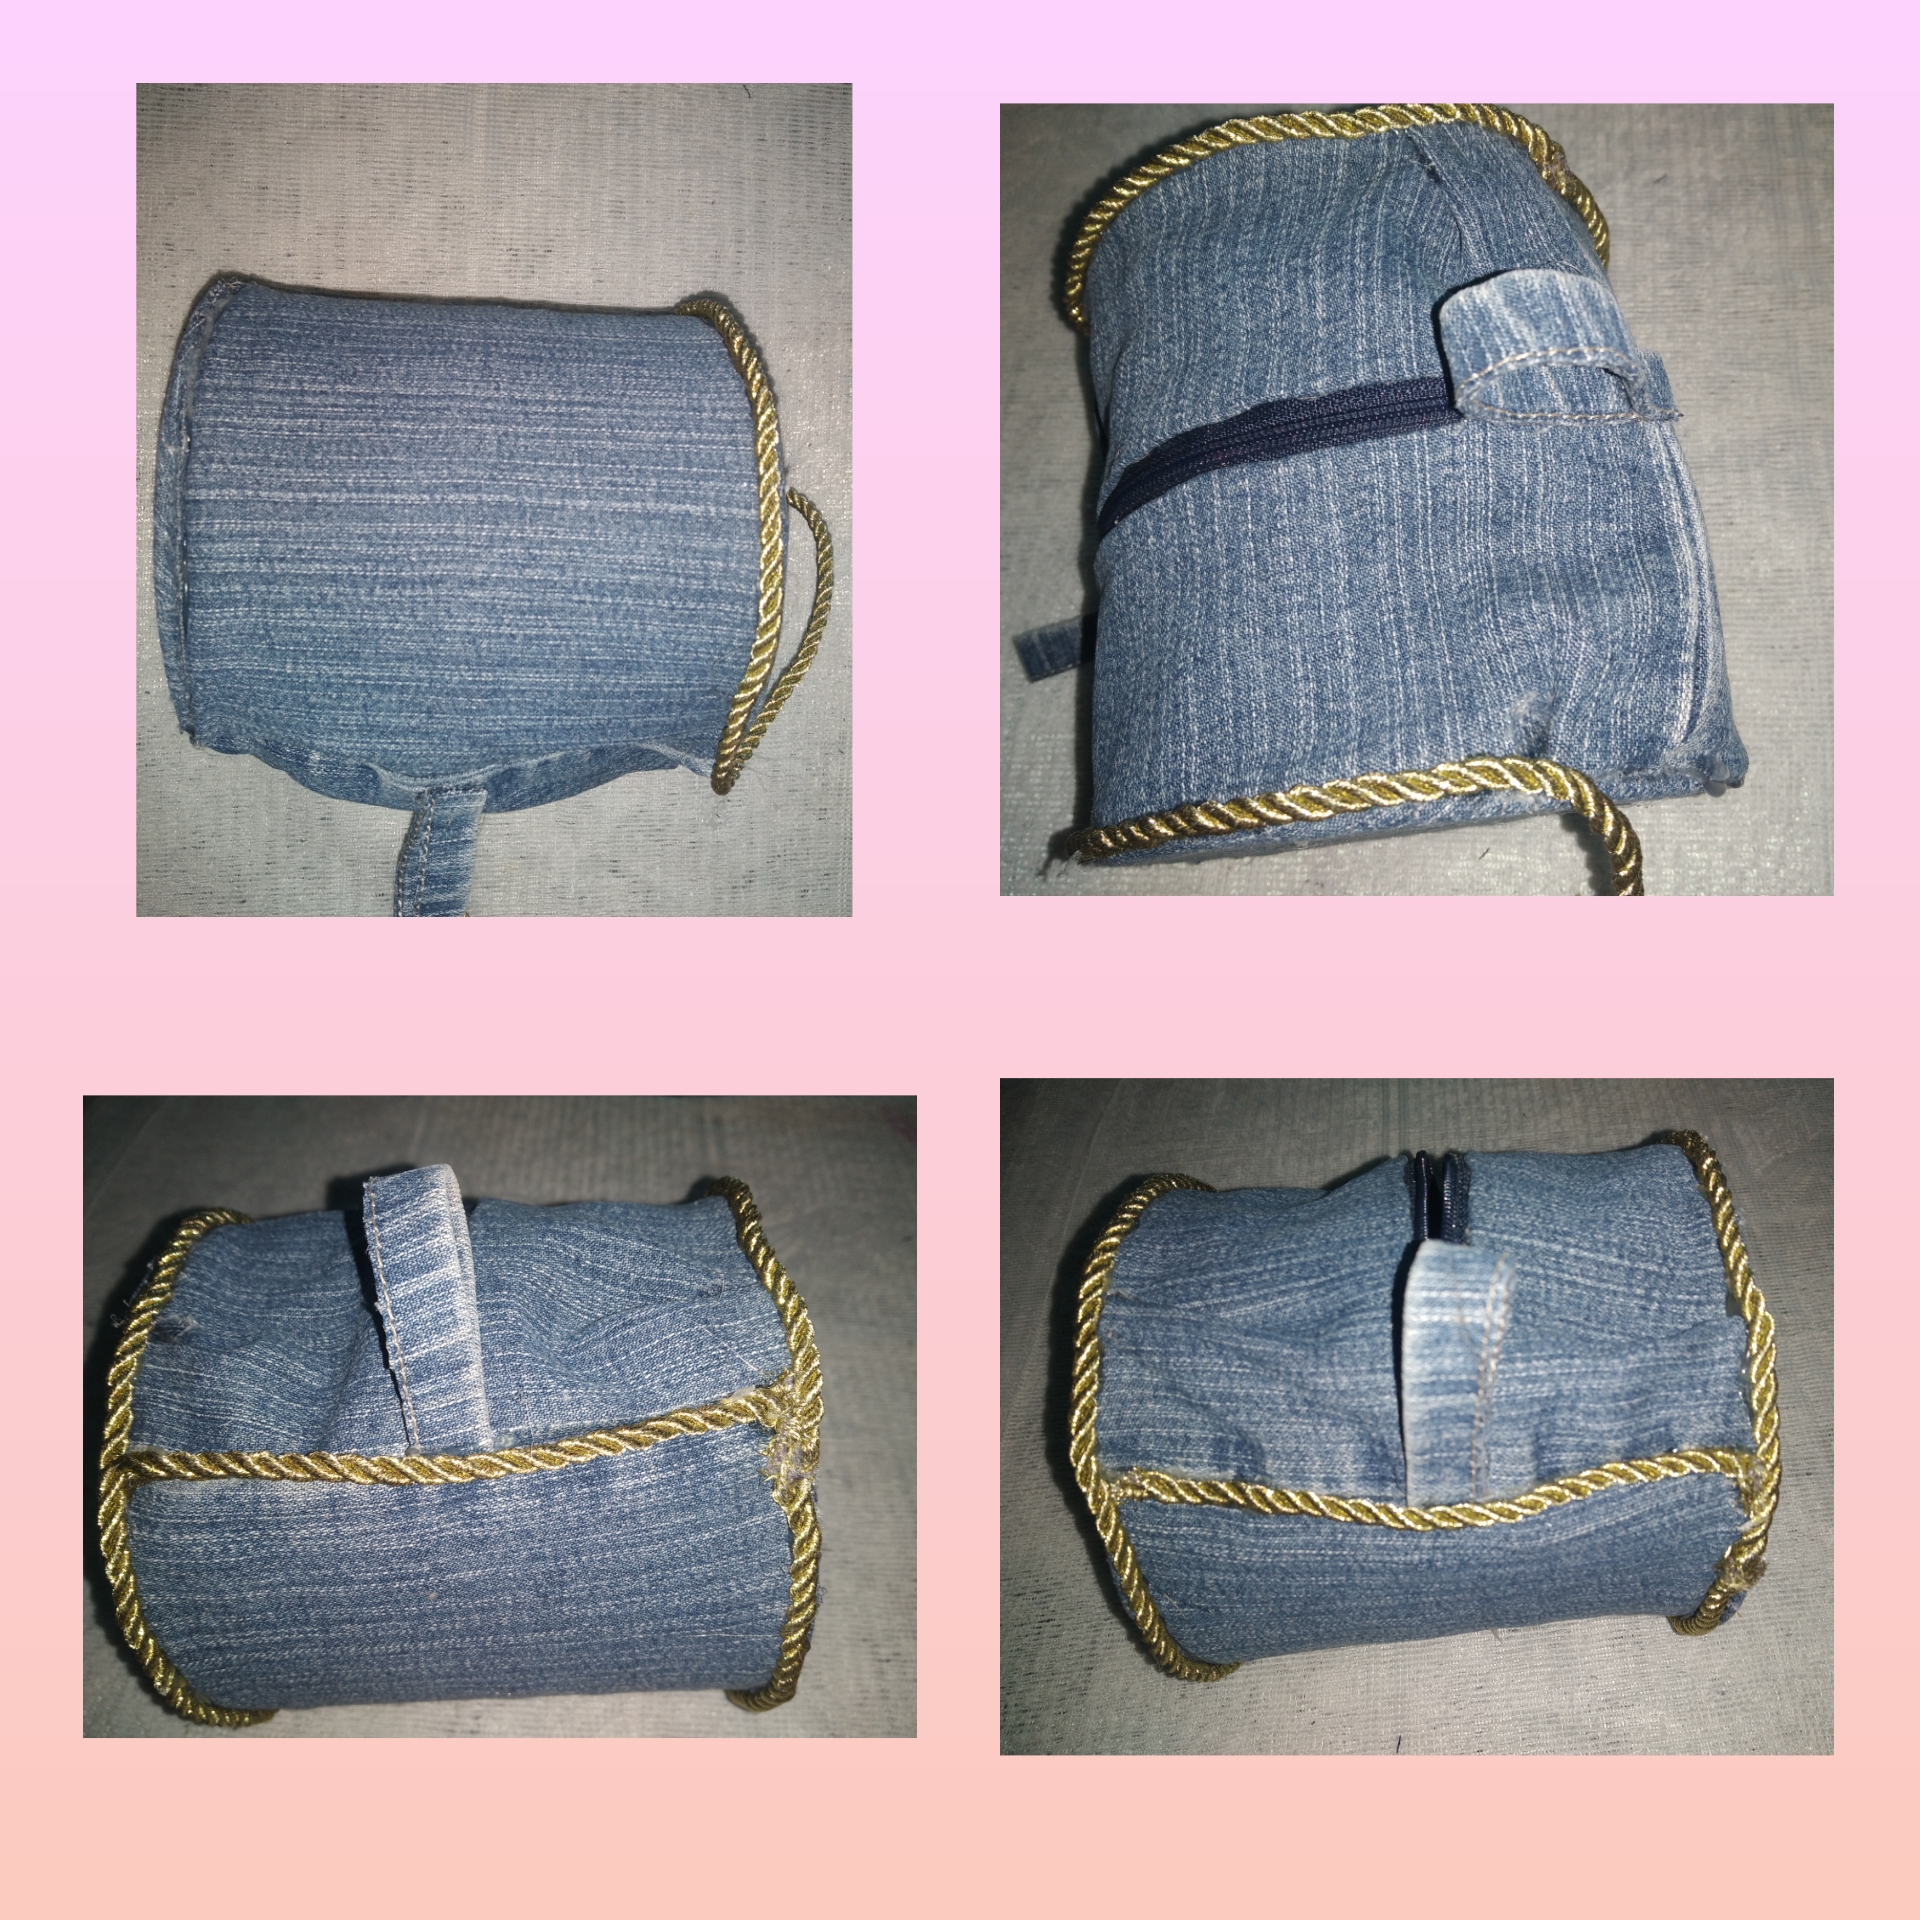
Step 10.As a last step we are going to pass the cord through the loops to be able to wear it on our body. And this is how our finished shoulder bag looked.

Presentación Final.
Final Presentation.
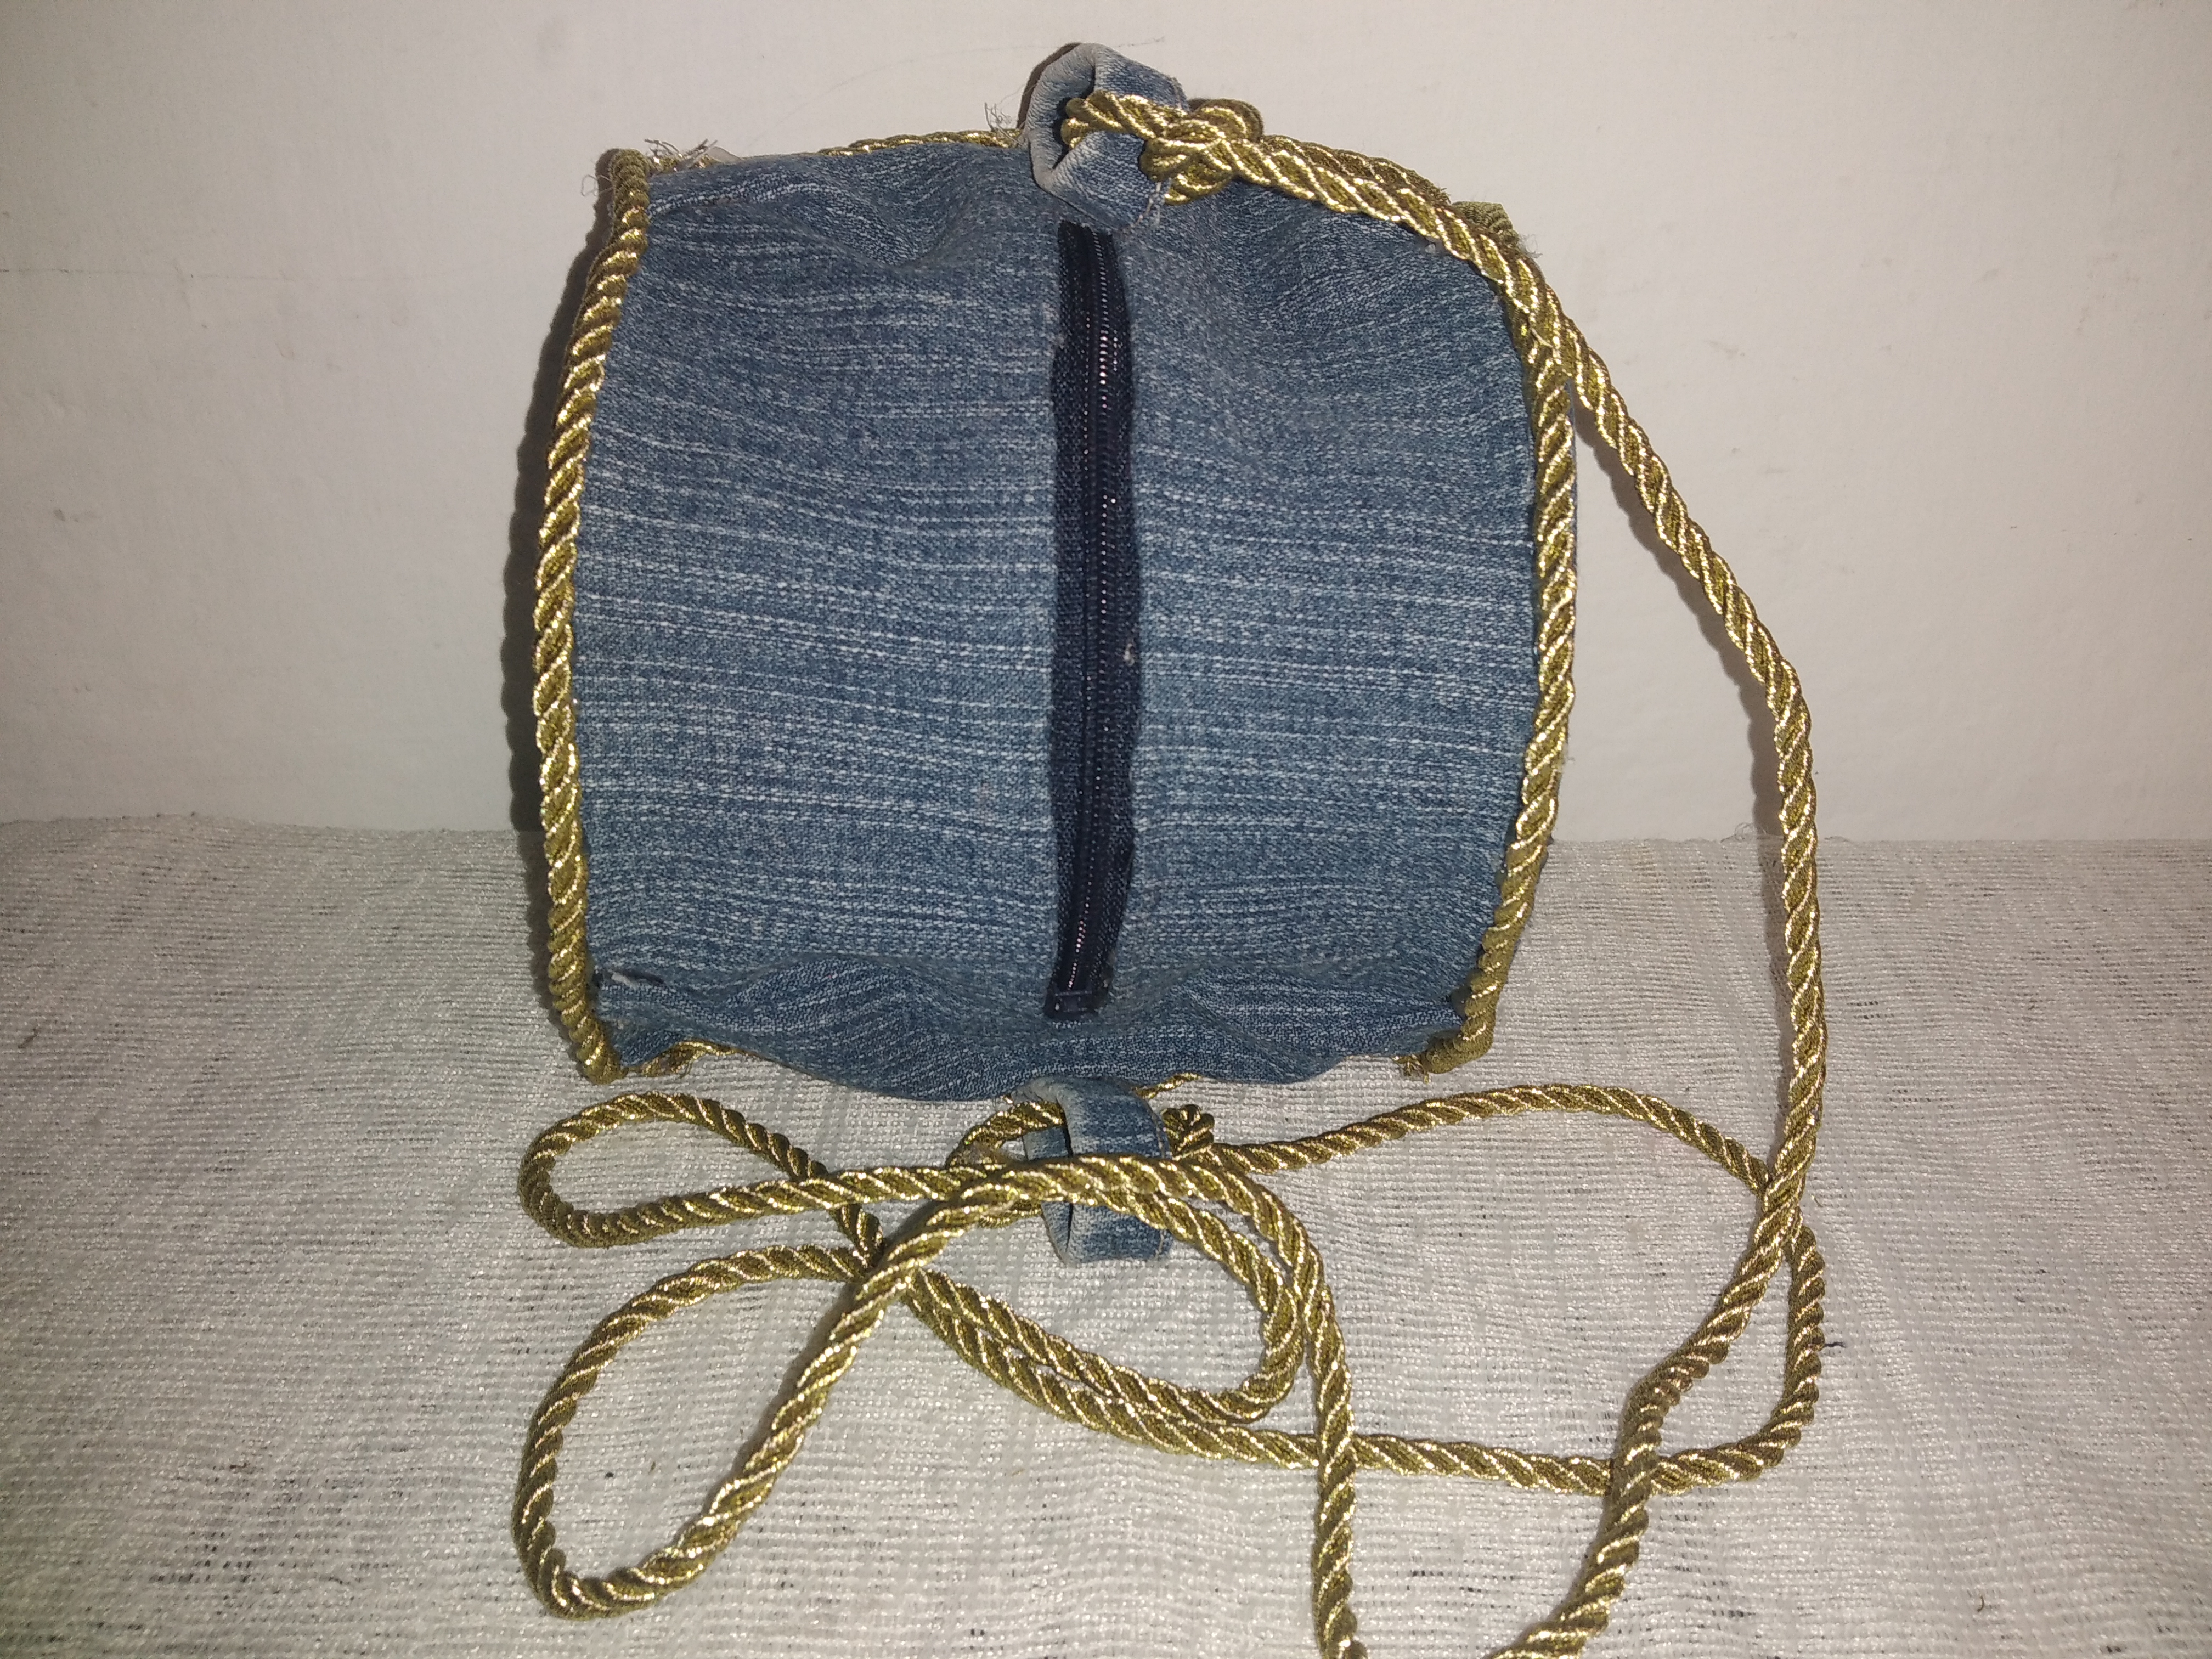
With my makeup ready to go to the movies with my husband, I really loved the final result, this bag is easy to make and with materials I had at home, without spending any money.
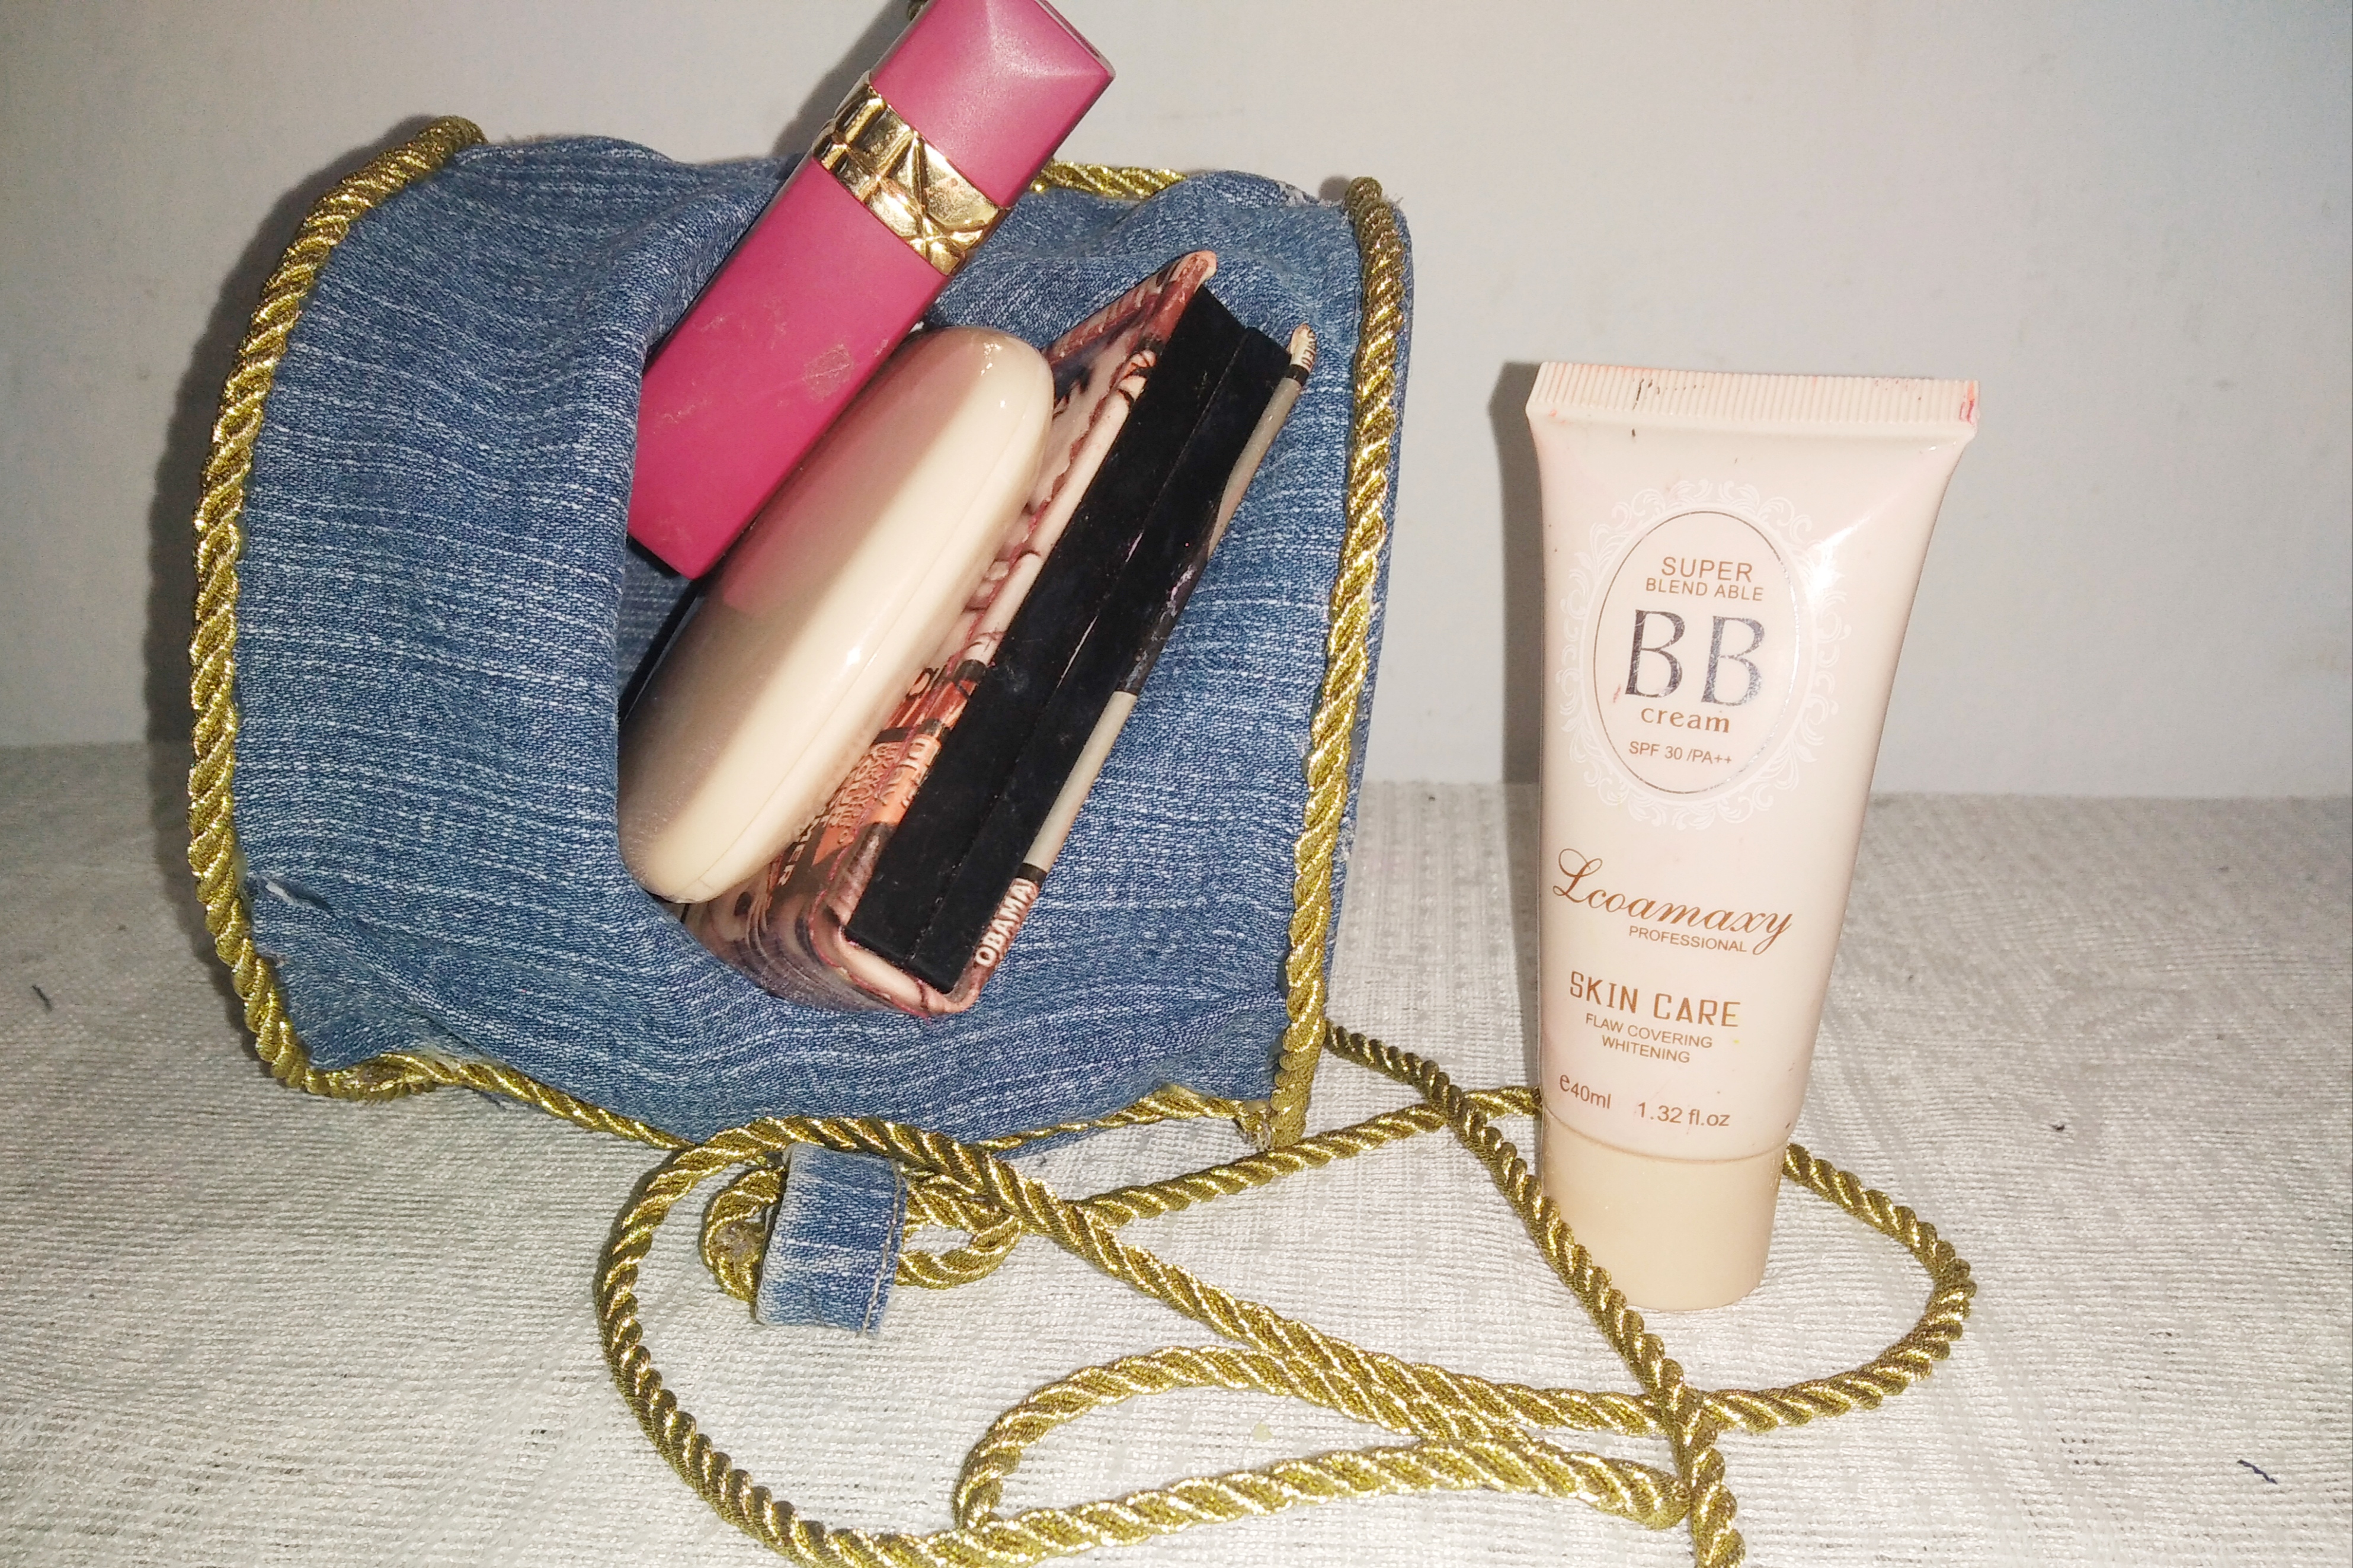
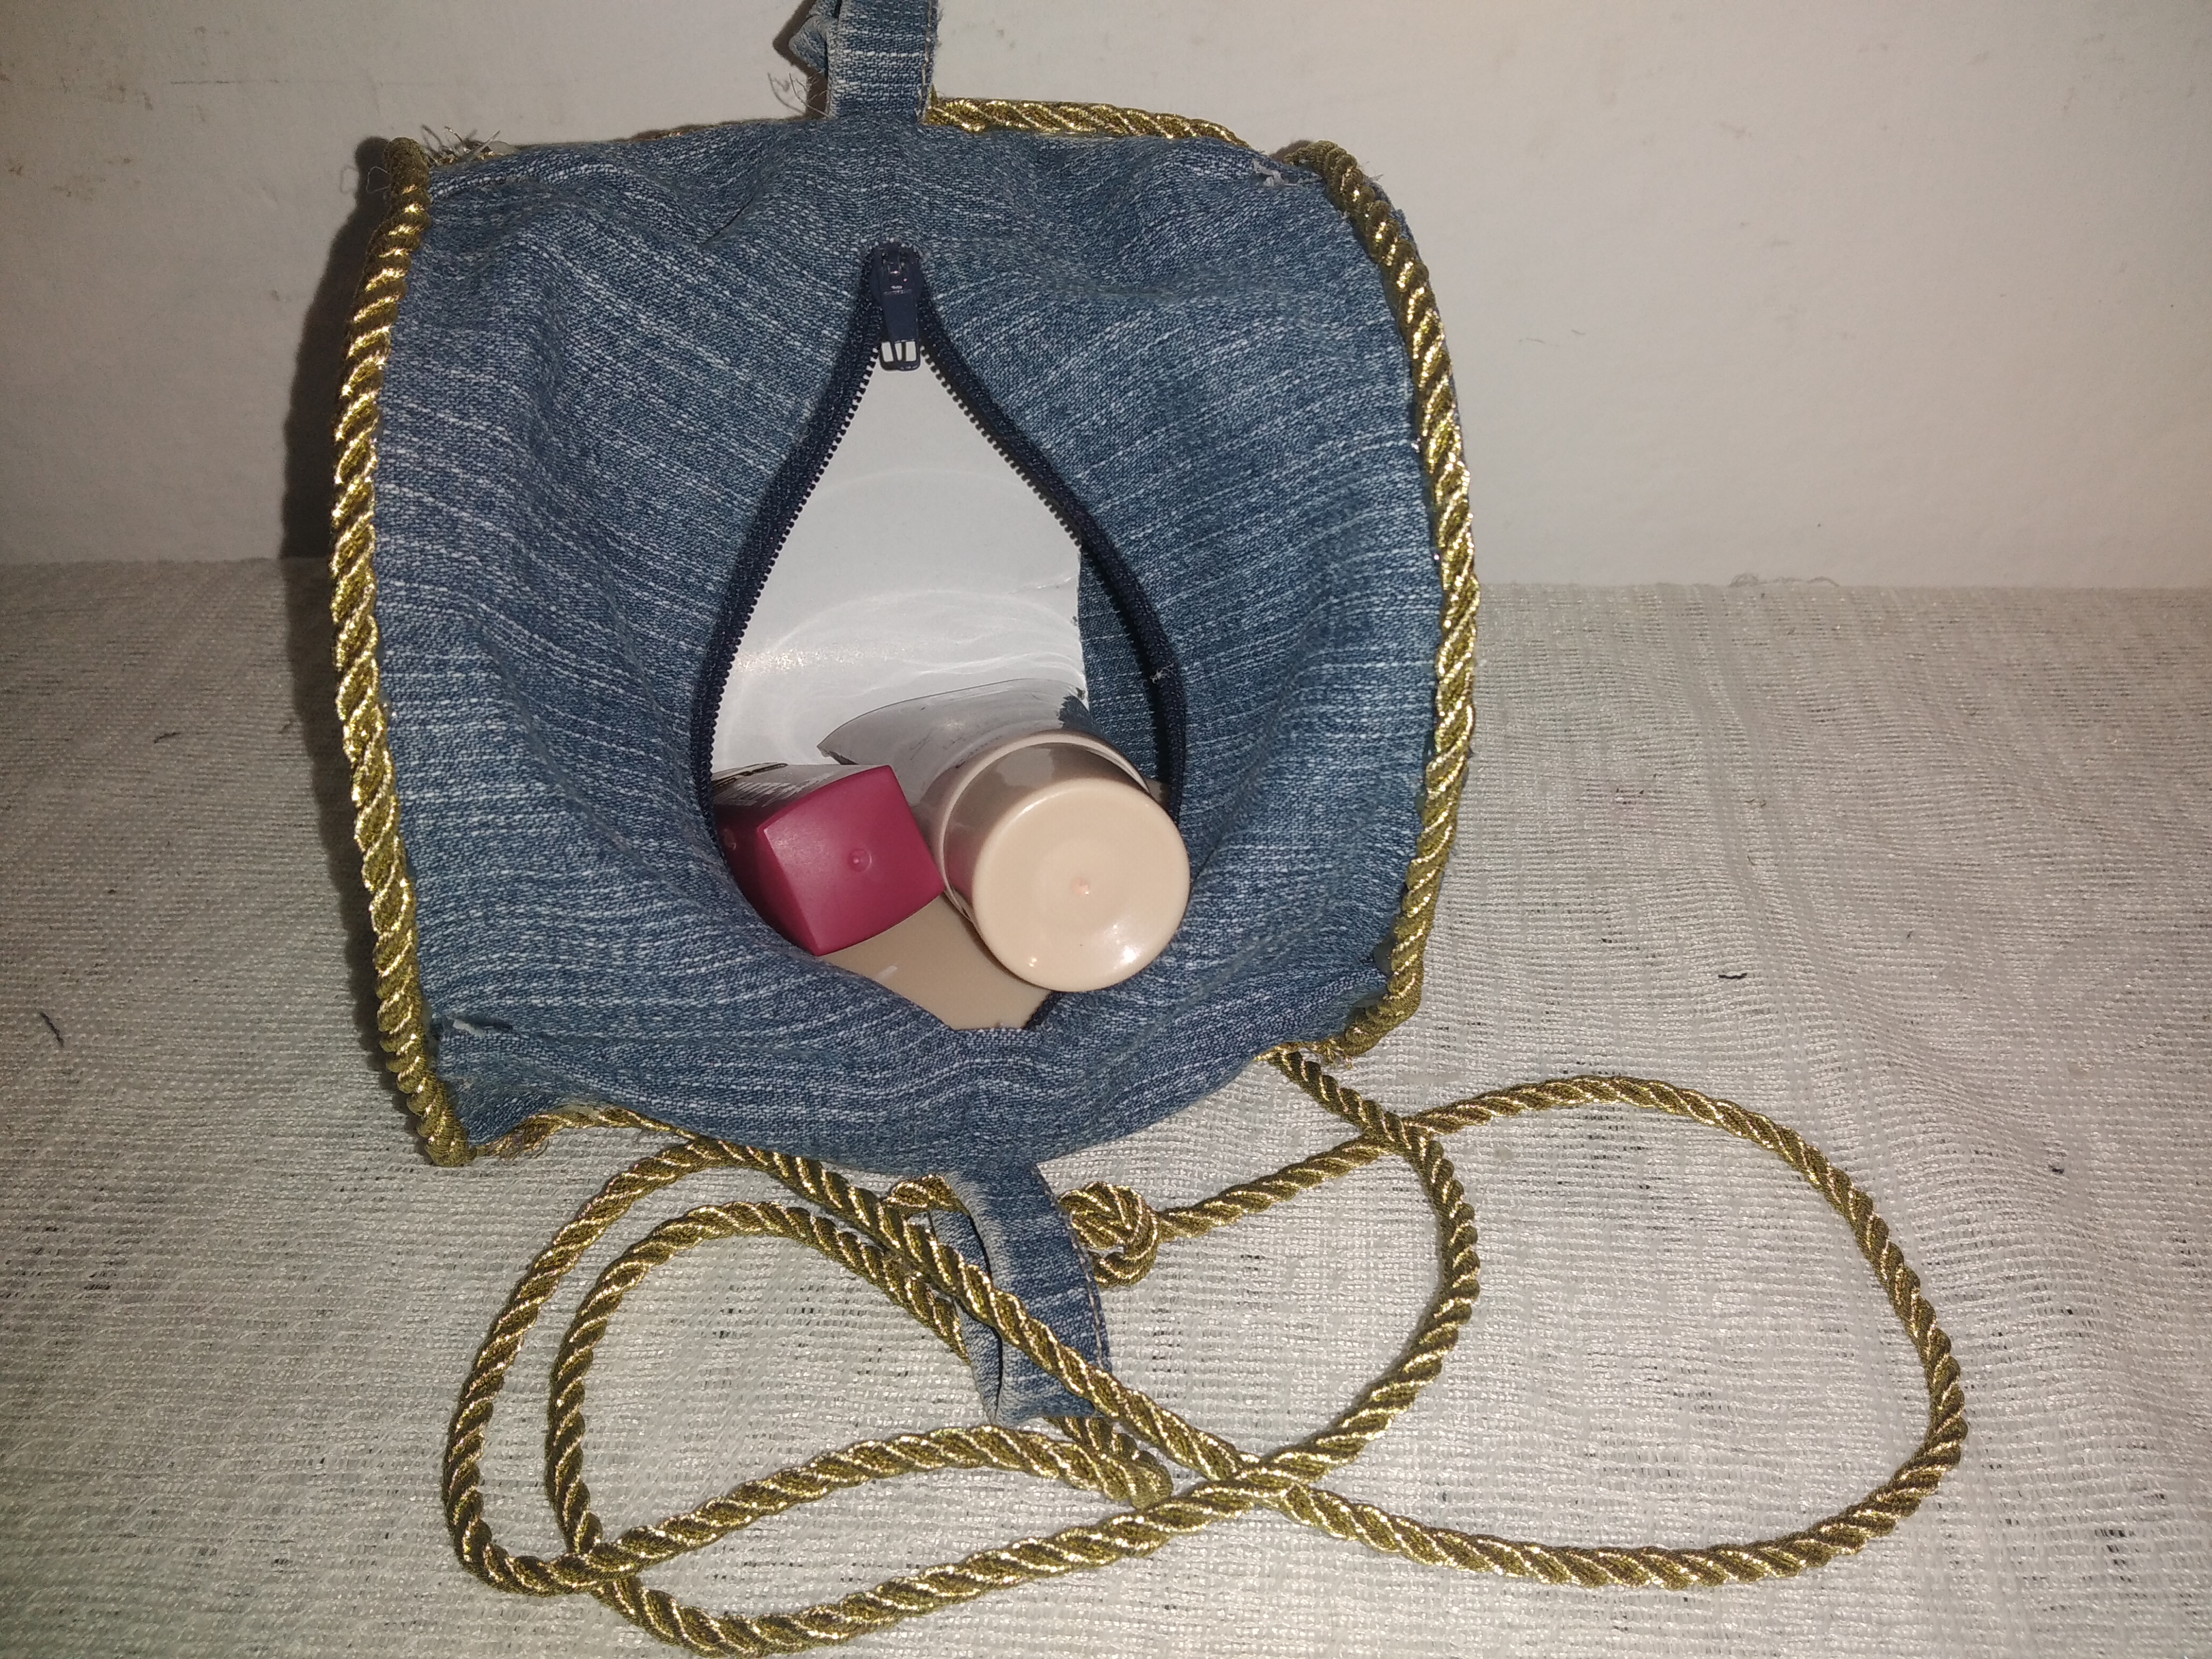


Friends so far this beautiful creation I hope you like it as much as I do, thanks to the creative friends who visit me, read me and comment on me, it is very important for me to know that my work taste.

Nos vemos pronto, en otra bonita manualidad.👩🎨
See you soon, in another nice craft.👩🎨
Muchas gracias amiga.😊
Congratulations @mayi04! You have completed the following achievement on the Hive blockchain and have been rewarded with new badge(s):
Your next target is to reach 2250 upvotes.
You can view your badges on your board and compare yourself to others in the Ranking
If you no longer want to receive notifications, reply to this comment with the word
STOPCheck out the last post from @hivebuzz:
Support the HiveBuzz project. Vote for our proposal!