Hola, amigos de Hive! espero que se encuentren muy bien.
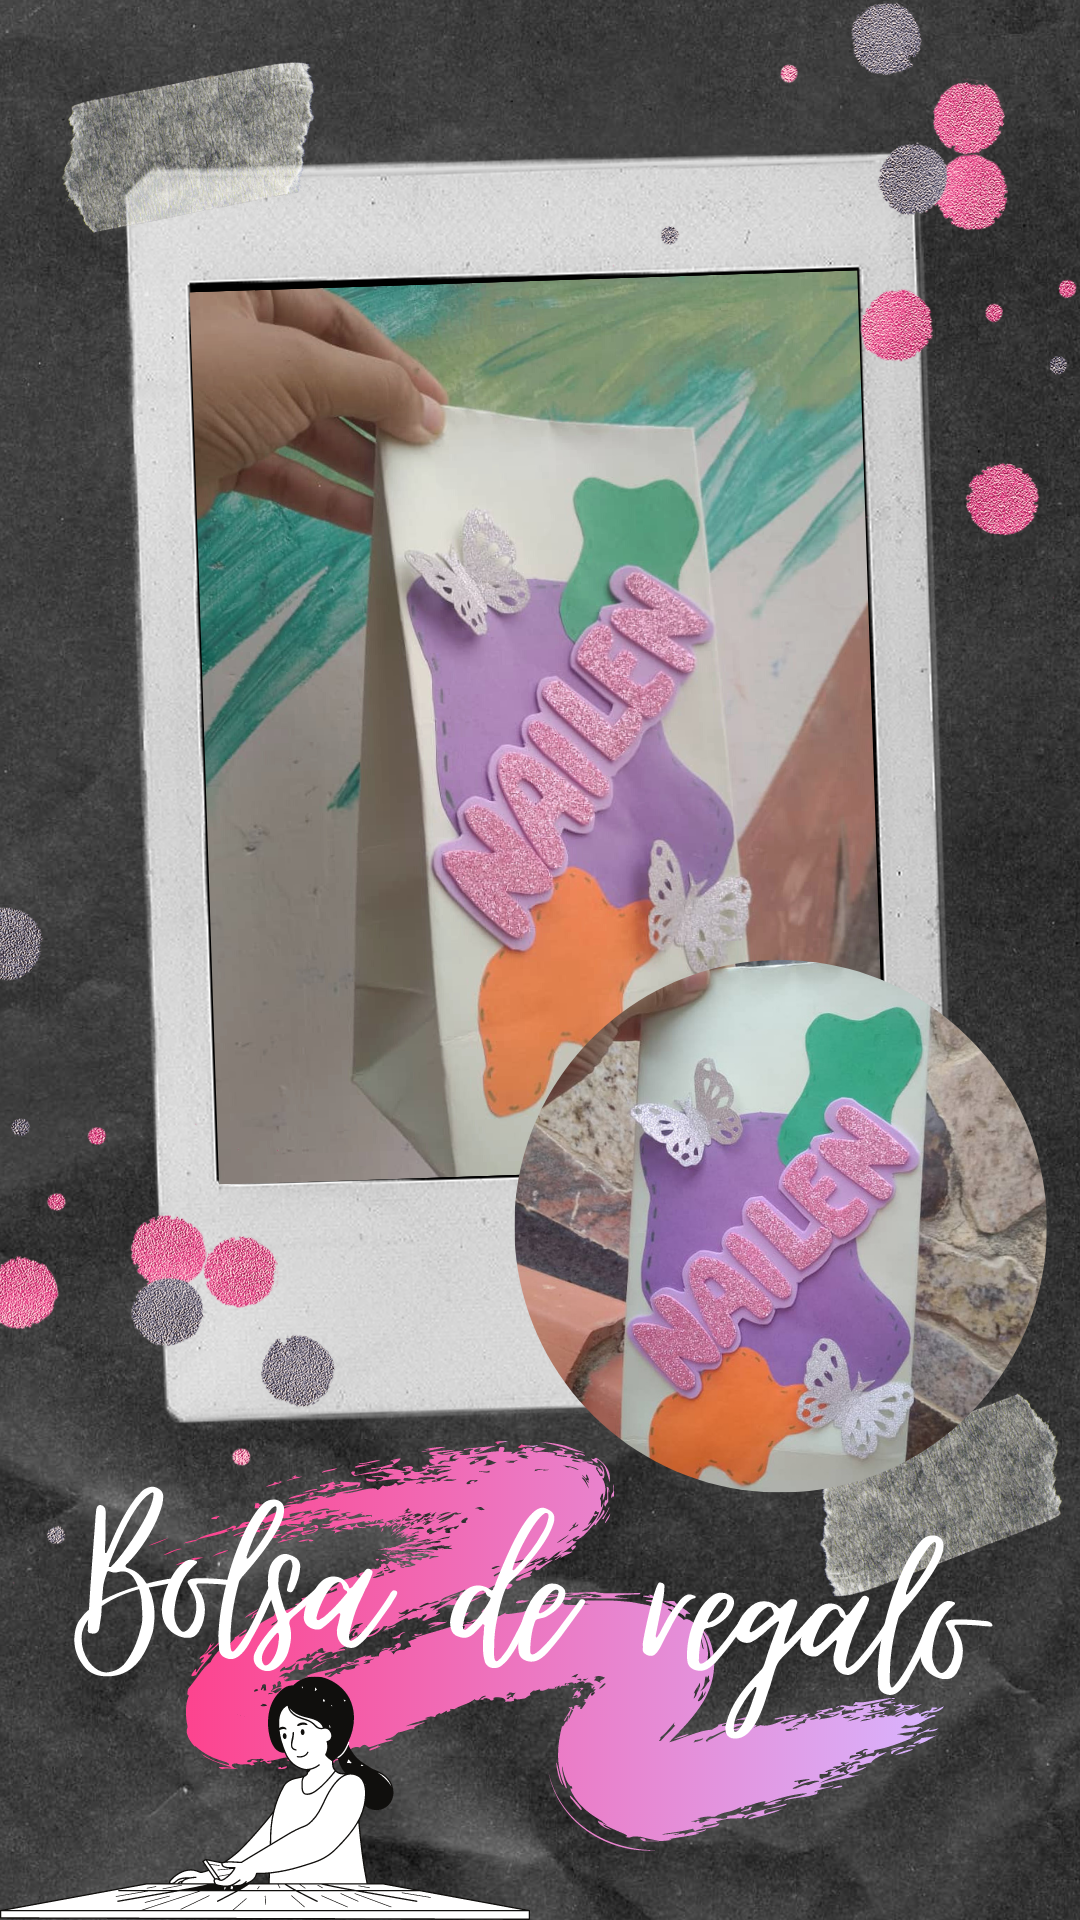
Hello, Hive friend! I hope she is very well.
Hoy compartiré con ustedes la elaboración de una hermosa bolsa para regalos, que seguro te será de mucha ayuda a la hora de realizar un obsequio. A mí por lo general me gusta saber hacer este tipo de manualidades ya que nunca se sabe cuándo se puedan necesitar, o en qué ocasión podemos modificarlas y hacer un regalo aún más hermoso. ¡Es muy práctico, como sencillo de realizar!
Today I will share with you the development of a beautiful gift bag that will surely be very helpful when making a gift. In general, I like to know how to do this type of crafts since you never know when they may be needed, or on what occasion we can modify them and make an even more beautiful gift. It is very practical, as simple to do!

- Un trozo de cartulina de 40x20cm
- Silicón líquido
- Foami
- Papel de construcción de varios colores
- Pequeñas mariposas de cartulina
- A piece of cardboard 40x20cm
- Liquid silicone
- Foami
- Multi-colored construction paper
- Small cardboard butterflies
1✨
Colocamos la cartulina de forma horizontal. En el lado izquierdo dobla una pestañita de aproximadamente 5cm de ancho. Luego, procedemos a doblar el resto de la hoja de modo que se puedan pegar las dos partes con silicón, hasta que nos quede así.
Nota: el tamaño de la cartulina depende del tamaño en el que desee hacer la bolsa. Es decir, esta debe ser siempre más ancha que larga.
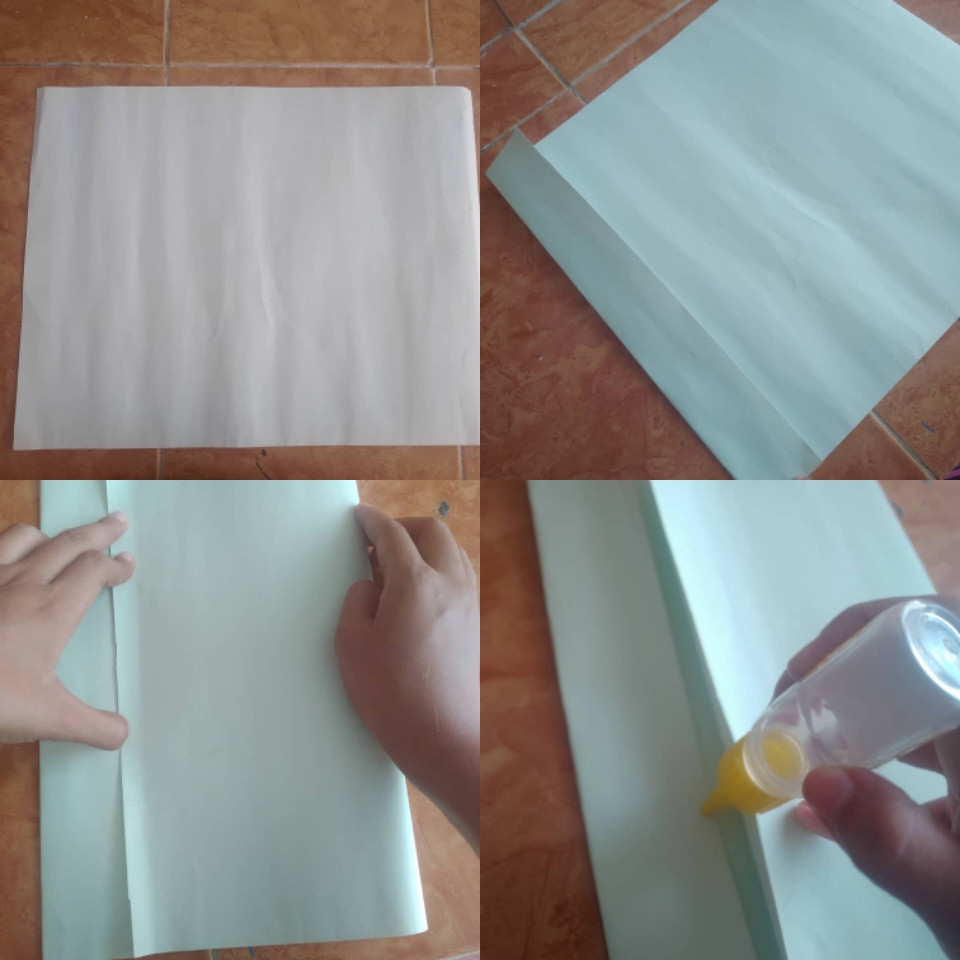
We place the cardboard horizontally. On the left side, fold a small eyelash about 5cm wide. Then, we proceed to fold the rest of the sheet so that the two parts can be glued with silicone, until it is like this.
Note: The size of the cardstock depends on the size you want to make the bag in. That is, it must always be wider than it is long.
2✨
Desde la base medimos 8 cm de cartulinas y doblamos. Luego abrimos solo la parte doblada y con nuestros dedos, pasamos las esquinas de la cartulina hasta el centro; doblamos una pestaña de 2 cm en la parte inferior y superior hasta que estas tengan contacto y pegamos con silicón.
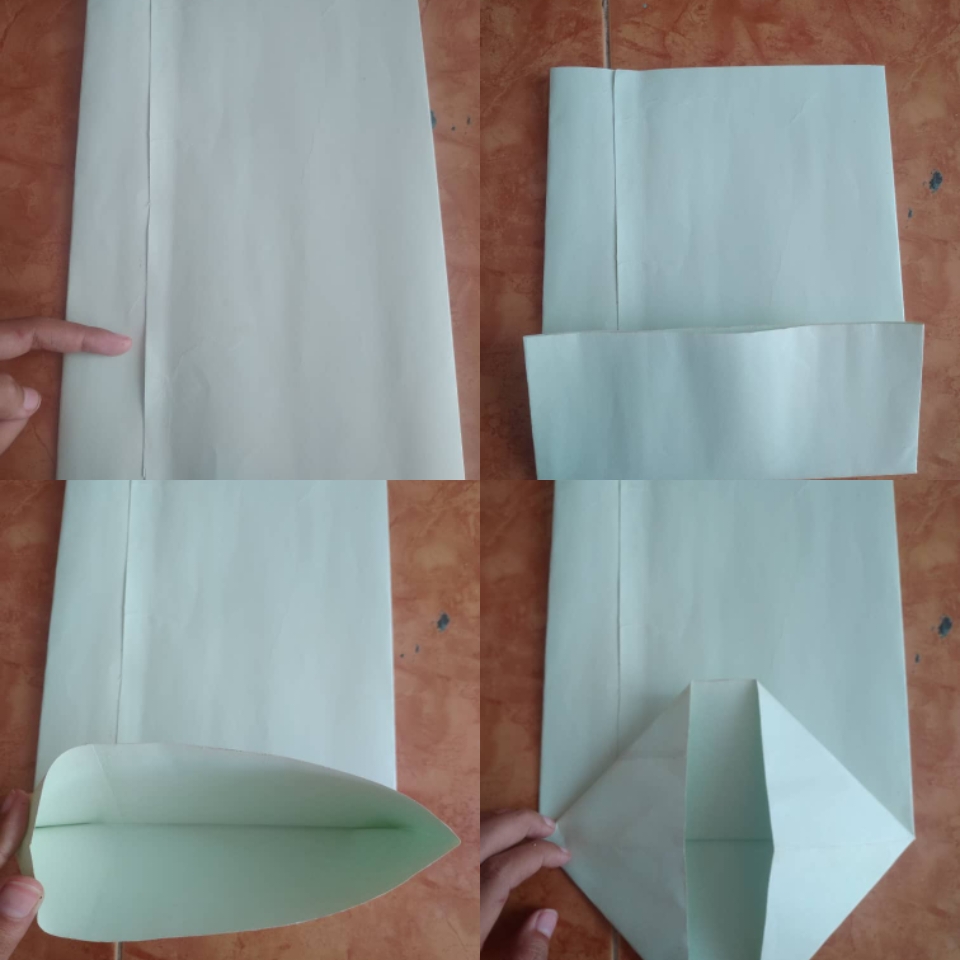
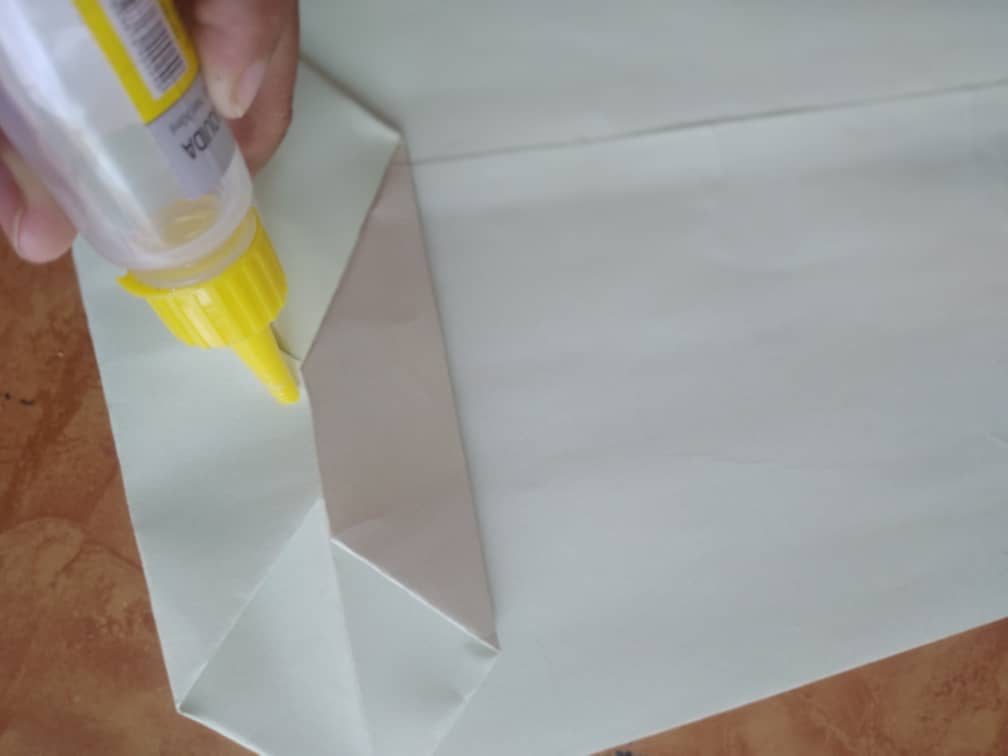
From the base we measure 8 cm of cardboard and fold. Then we open only the folded part and with our fingers, we pass the corners of the cardboard to the center; We bend a 2 cm tab at the bottom and top until they have contact and glue with silicone.
3✨
Ya que tengamos la forma, nos falta hacer el doblez necesario para que la bolsa tome el diseño de esta. Doblamos a los lados la cartulina, guiándonos de las esquinas de la base, de este modo. Repetimos el procedimiento de ambos lados de la bolsa.
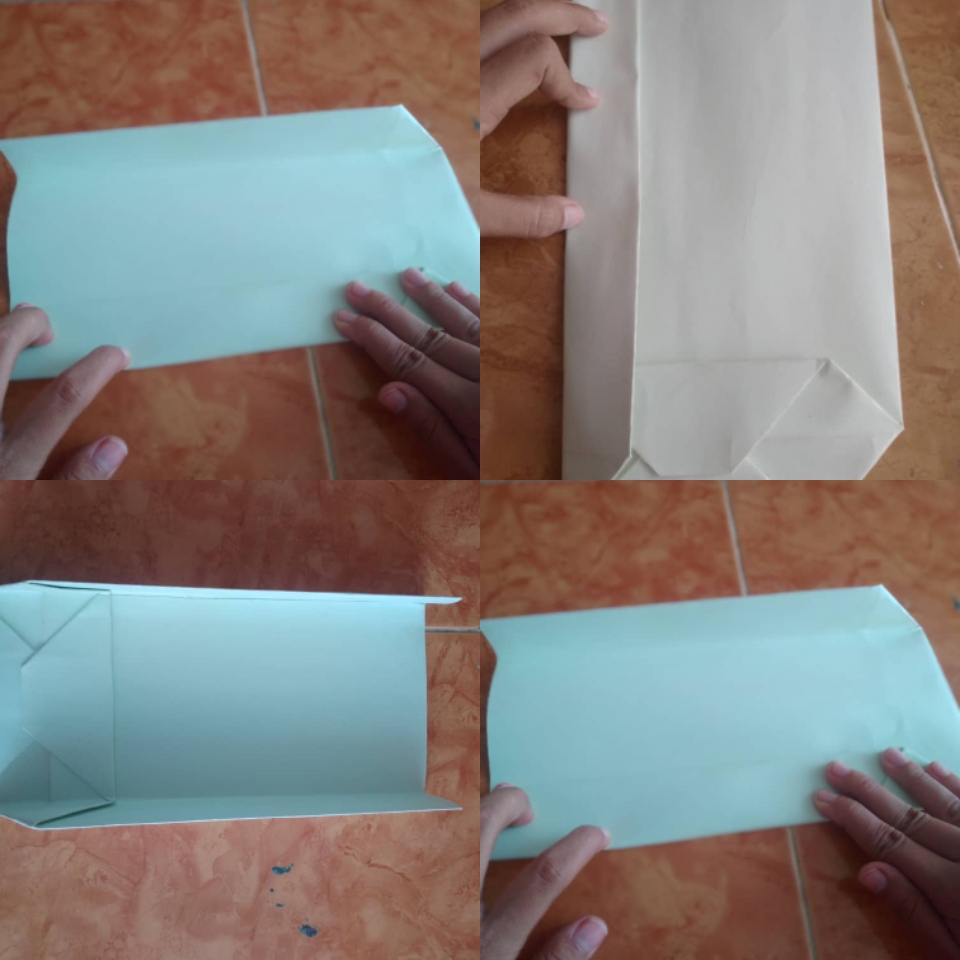
Since we have the shape, we need to make the necessary fold so that the bag takes its design. We fold the cardboard on the sides, guiding ourselves from the corners of the base, in this way. We repeat the procedure on both sides of the bag.
4✨
Ya que abramos la bolsa, doblamos con nuestros dedos todos los dobles que realizamos para asentarlos. De la parte superior de la bolsa doblamos 2 dos centímetro hacia adentro y pegamos con silicón. De esta manera quedará más firme.
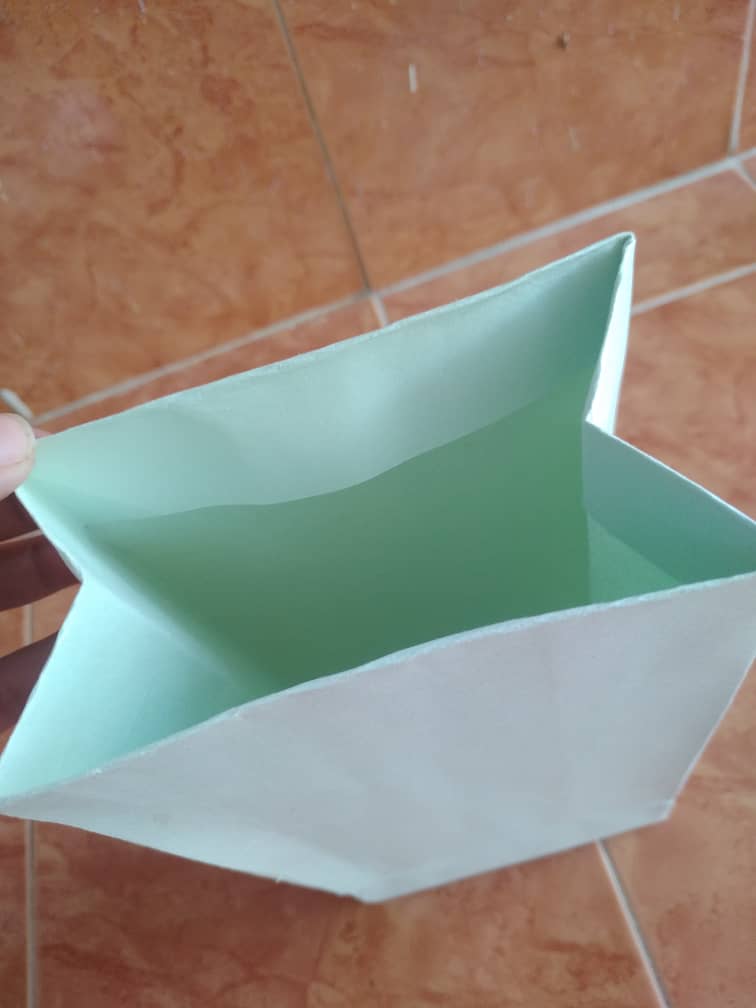
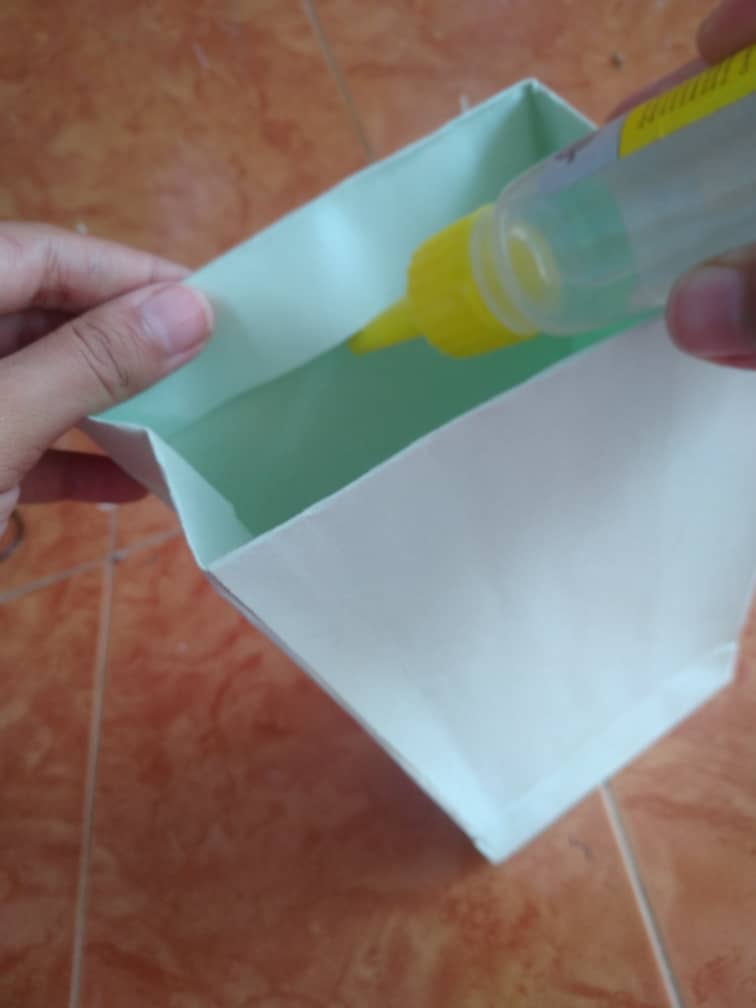
Once we open the bag, we bend with our fingers all the doubles that we make to seat them. From the top of the bag we fold 2 two centimeters inwards to glue with silicone. This way it will be firmer.
5✨
Por último, nos queda decorarla de la manera que más nos guste. Yo en mi caso quise hacerle un diseño de manchas con el papel de construcción, para que le diera más vista a las letras, y al final, decorar con unas lindas mariposas .
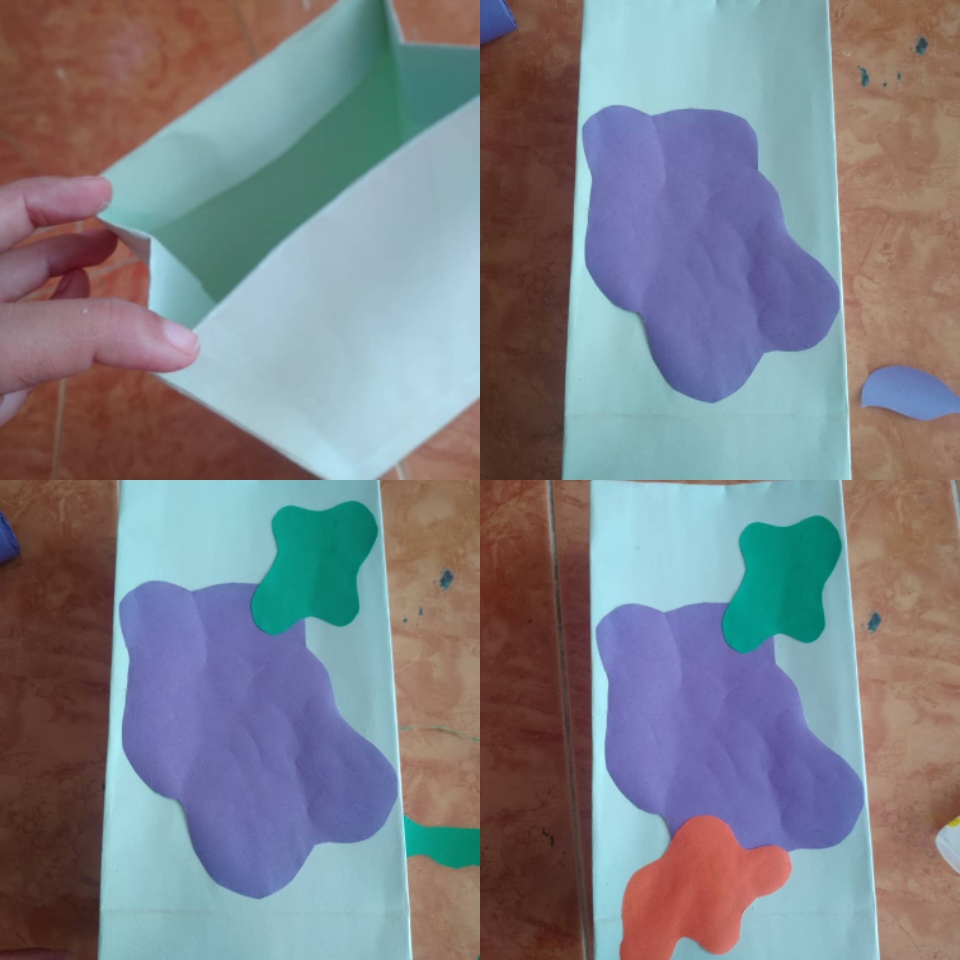
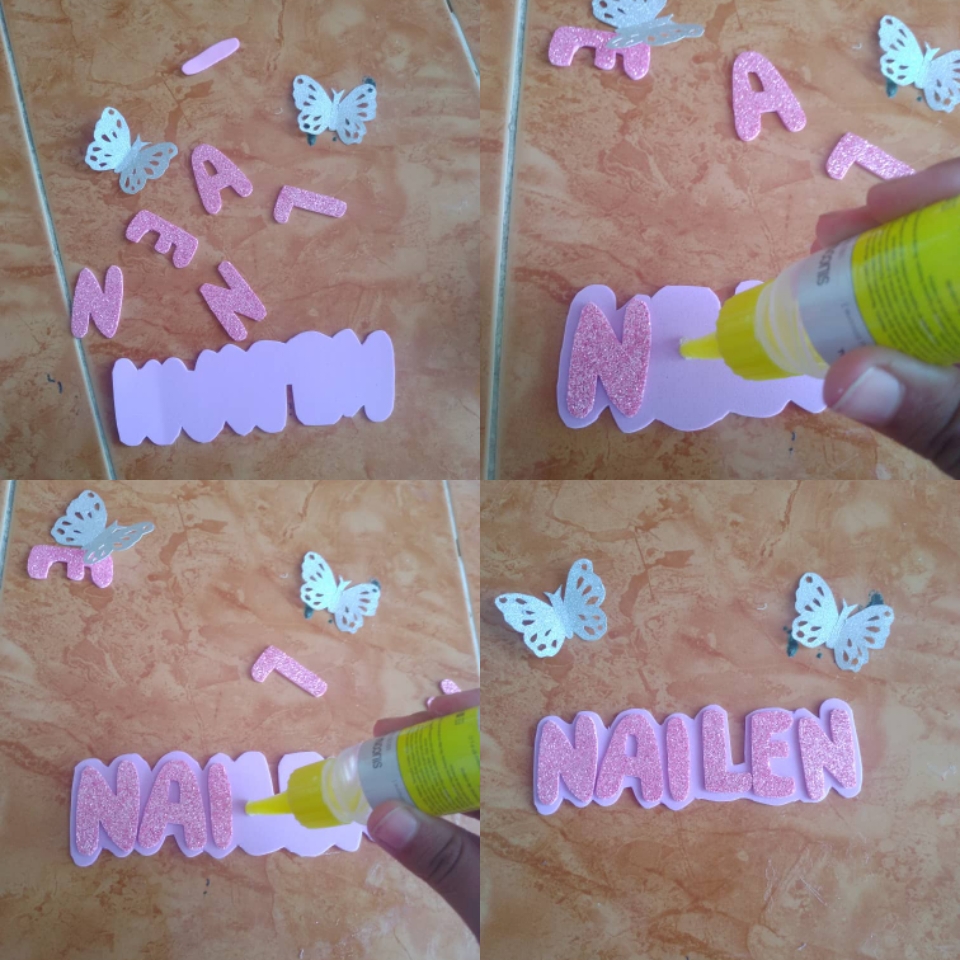
Finally, we can decorate it in the way that we like the most. In my case, I wanted to make a design of spots with the construction paper, so that it would give more view to the letters, and at the end, decorate with some pretty butterflies.
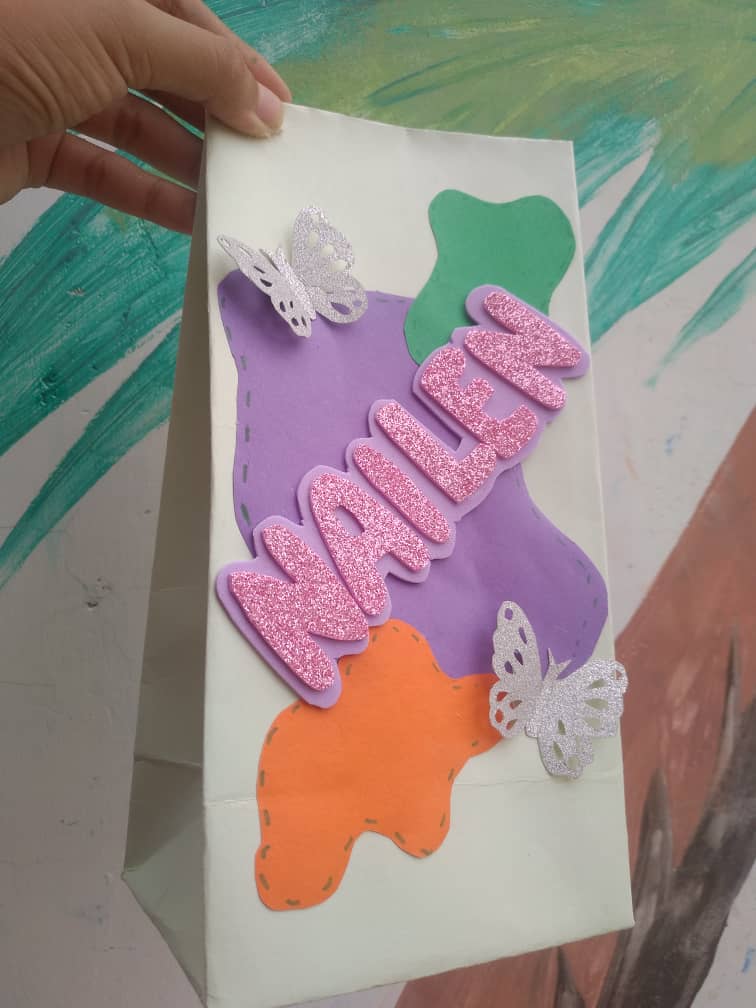
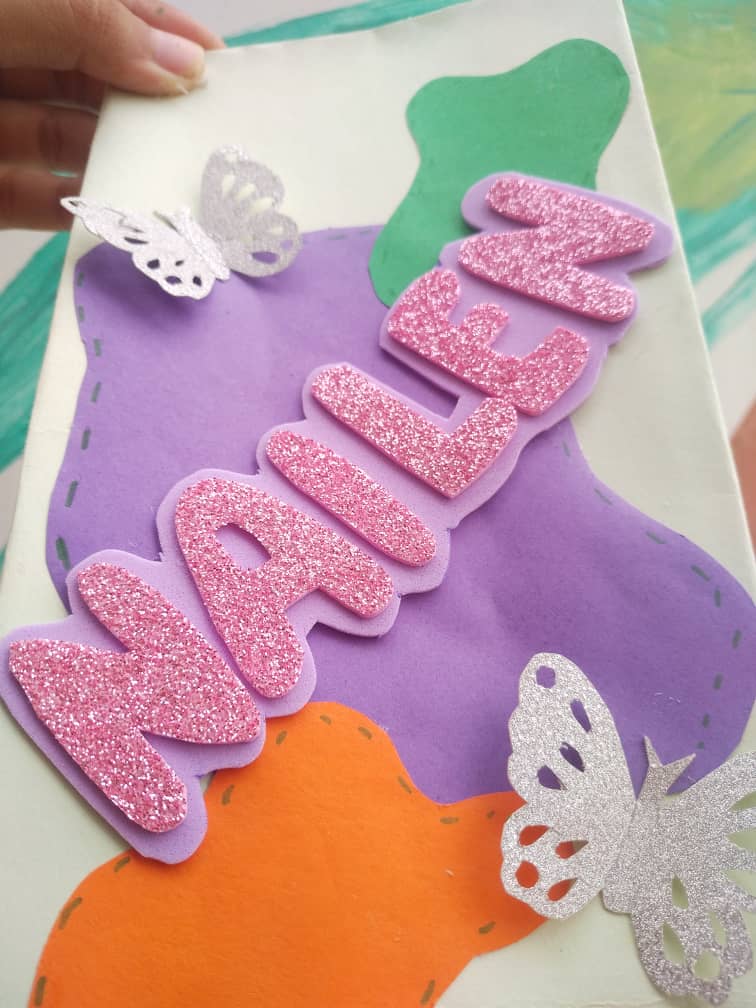
And ready! So we know that our gift bag, as you can see, is something very simple, and it can get you out of trouble on an unexpected occasion.
I hope you like it, and that I can continue to count on your support, THANK YOU!