Hola amigos de Hive, mis mejores vibras y deseos para todos
Hello Hive friends, my best vibes and wishes to all
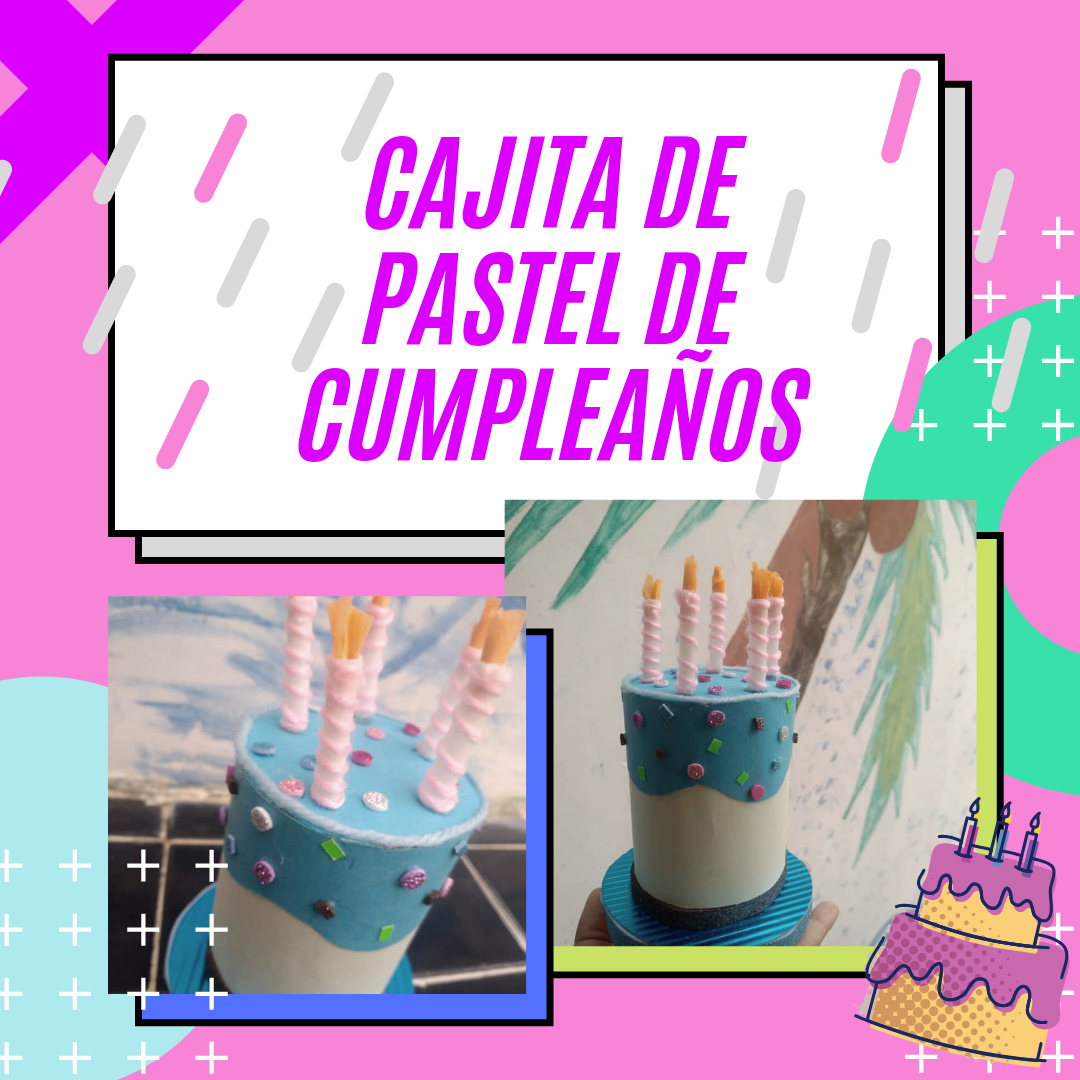
Esta semana quiero enseñarles cómo hacer una pequeña cajita de regalo en forma de pastel de cumpleaños. Este es uno de los proyectos más entretenidos que tuve, ya que me parecía genial intentar algo así y me fascinó el resultado, aunque lo quise hacer muy sencillo. Amigos, es una idea súper fácil; y se puede hacer a gran escala cambiando las medidas de esta.
This week I want to show you how to make a little gift box shaped like a birthday cake. This is one of the most entertaining projects I had, since I thought it was great to try something like that and I was fascinated by the result, although I wanted to make it very simple. Friends, it is a super easy idea; and it can be done on a large scale by changing the measurements of it.

- Cartulina
- Cartulina corrugada
- Anime
- Pistola de silicón caliente
- Palitos para globos
- Estambre
- Papel de seda
- Papel crepe
- Card stock
- Corrugated cardboard
- Anime
- Hot glue gun
- Balloon sticks
- Stamen
- Tissue paper
- Crepe paper
1✨
En una cartulina del color que deseen, trazamos 3 pequeños círculos de 10 cm. Los cuáles serán la base y la tapa de la caja. En otro trozo de cartulina marcamos dos tiras de 18cm de ancho y 8 cm de largo.
Cortamos muy bien las piezas.
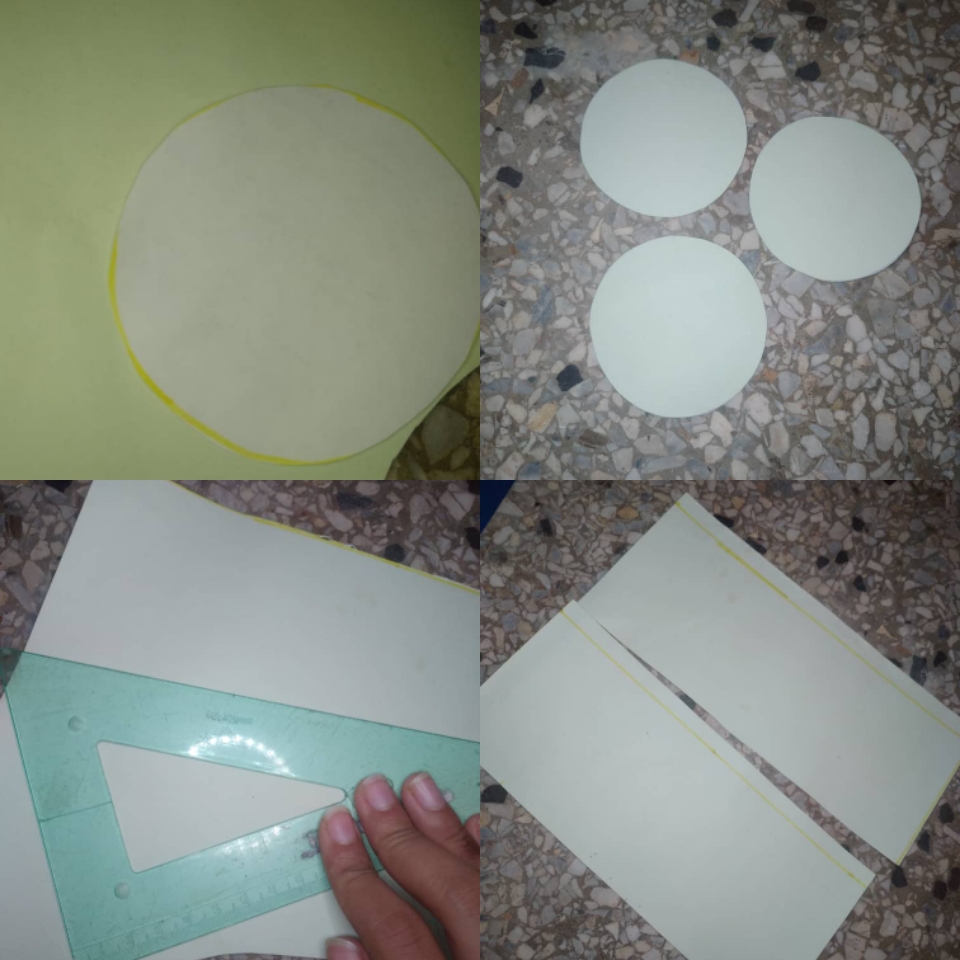
On a cardboard of the desired color, we draw 3 small circles of 10 cm. Which will be the base and the lid of the box. On another piece of cardboard we mark two strips 18cm wide and 8cm long.
We cut the pieces very well.
2✨
Para armar nuestra cajita, debemos doblar una pestaña de 1cm aproximadamente en ambas tiras. Luego, en una de ellas empezamos a cortar flecos, que nos ayudaran a la hora de armar todo.
Con un poco de silicón calientes pegamos la pestaña al circulo de cartulina que habíamos cortado anteriormente, uniendo todo a su alrededor.
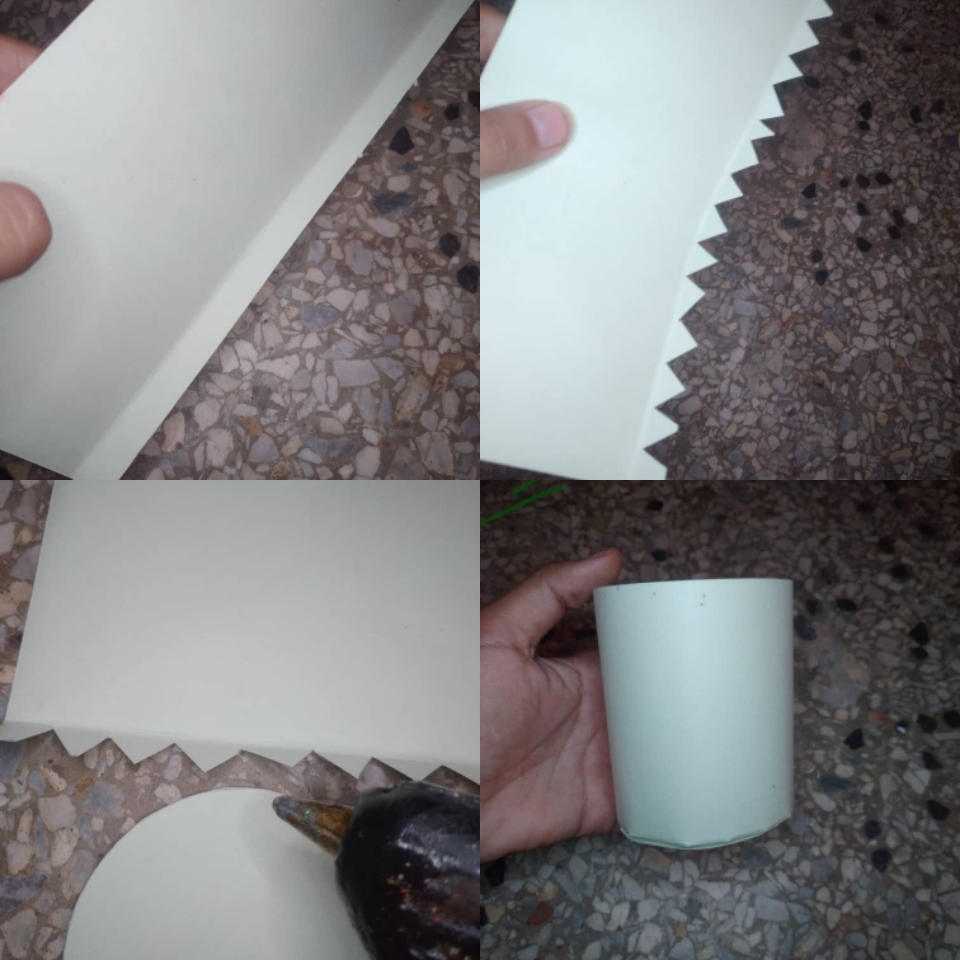
To assemble our box, we must fold a tab of approximately 1cm in both strips. Then, in one of them we began to cut fringes, which will help us when it comes to putting everything together
With a little hot silicone we glue the tab to the cardboard circle that we had cut previously, joining everything around it.
3✨
Para el fondo, tomamos otro de los círculos y lo pegamos en el fondo. En cuanto la tapa, medimos la cartulina alrededor de la caja, sacando la medida exacta para que estas encajen, y repetimos el mismo procedimiento de la caja.
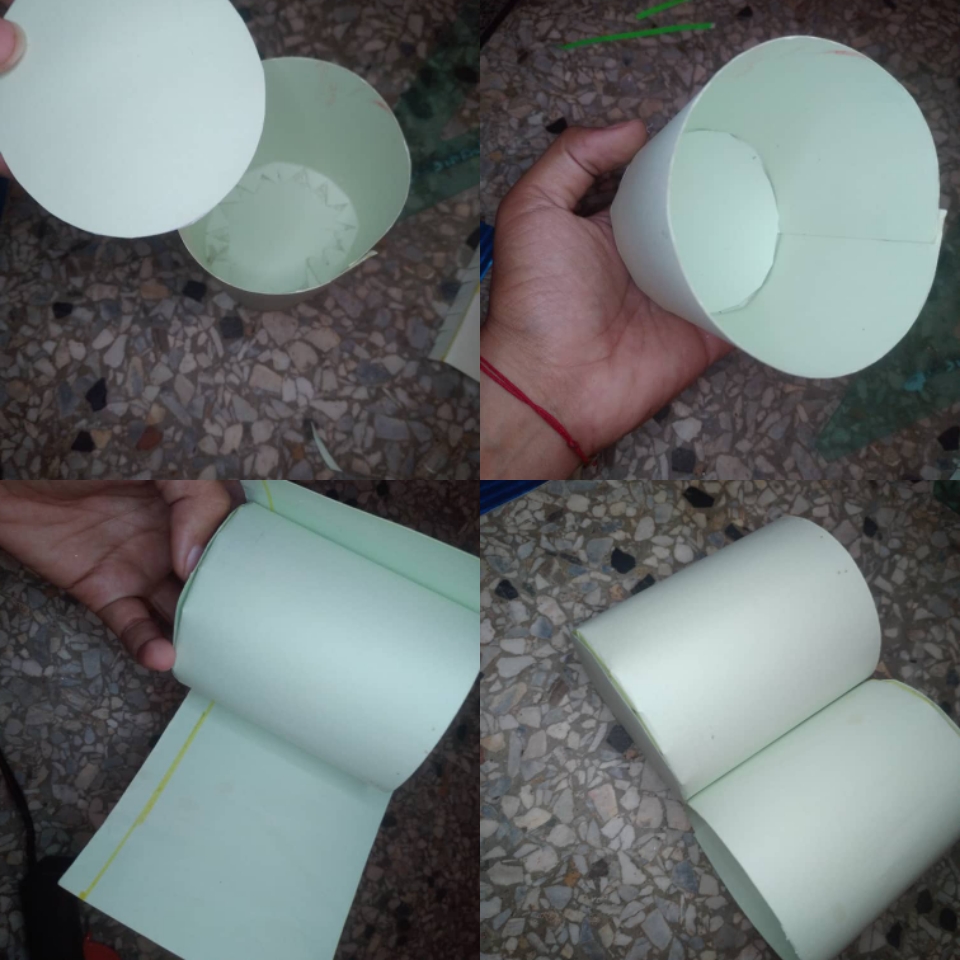
Para el fondo, tomamos otro de los círculos y lo pegamos en el fondo. En cuanto la tapa, medimos la cartulina alrededor de la caja, sacando la medida exacta para que estas encajen, y repetimos el mismo procedimiento de la caja.
4✨
Para la base, marcamos en una cartulina corrugada un círculo de 15 cm, cortamos, y ya que tengamos esa pieza, trazamos la silueta en el anime para darle altura.
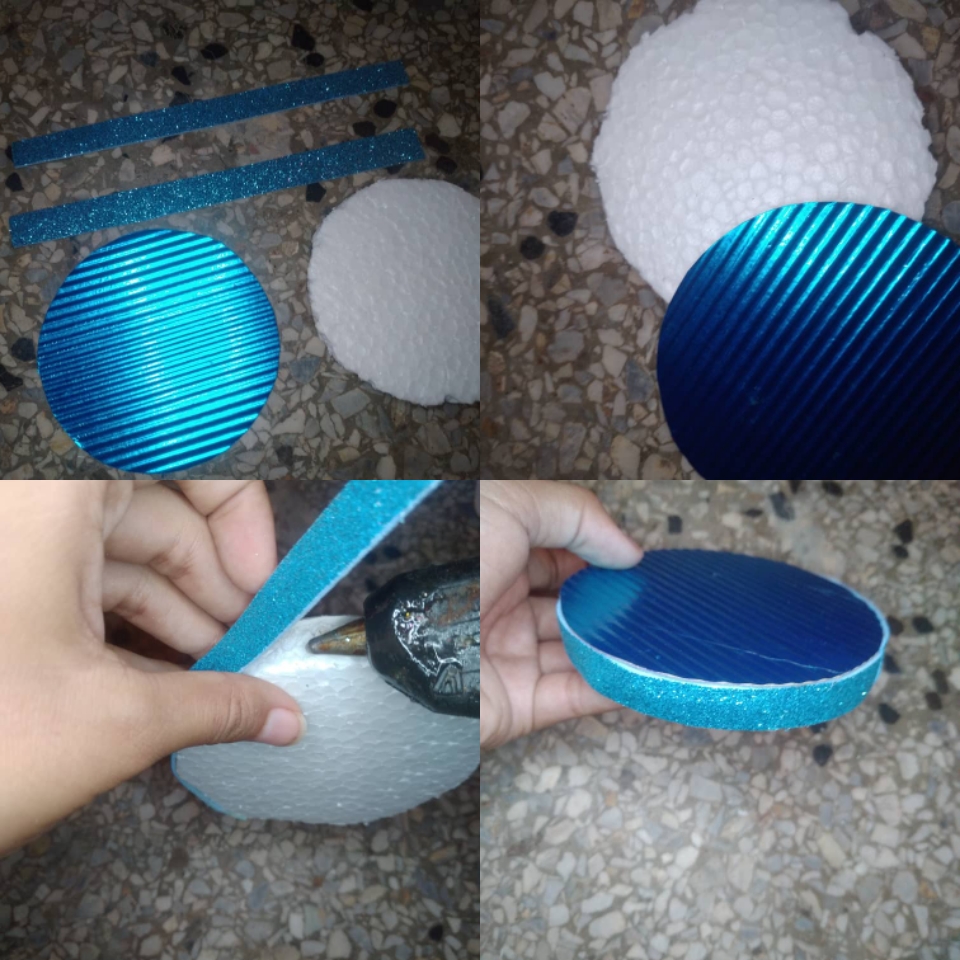
Recortamos dos tiras de 1,5 cm para rodear la base. Por último pegamos todas las piezas hasta que nos quede de este modo.
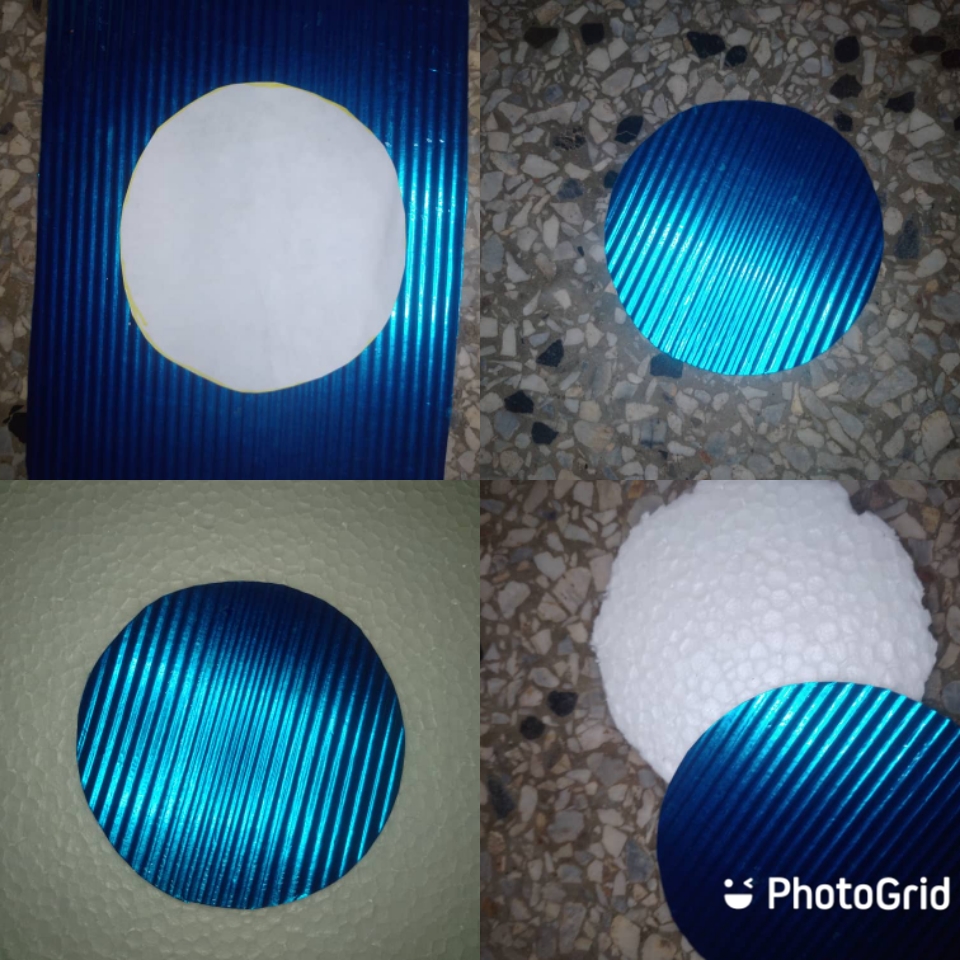
For the base, we mark a 15 cm circle on a corrugated cardboard, cut it, and once we have that piece, we draw the silhouette in the anime to give it height.
Cut two 1.5 cm strips to go around the base. Finally we glue all the pieces until we are left like this.
5✨
Con silicón, unimos la cajita a la base, y con una tira de Foami escarchado, rodeamos la base. Para decorar la caja, cortamos dos círculos de cartulina azul y la pegamos en la parte superior, para luego pegar una tira gruesa de cartulina con ondulaciones que simulará ser el glaseado de este pastel.
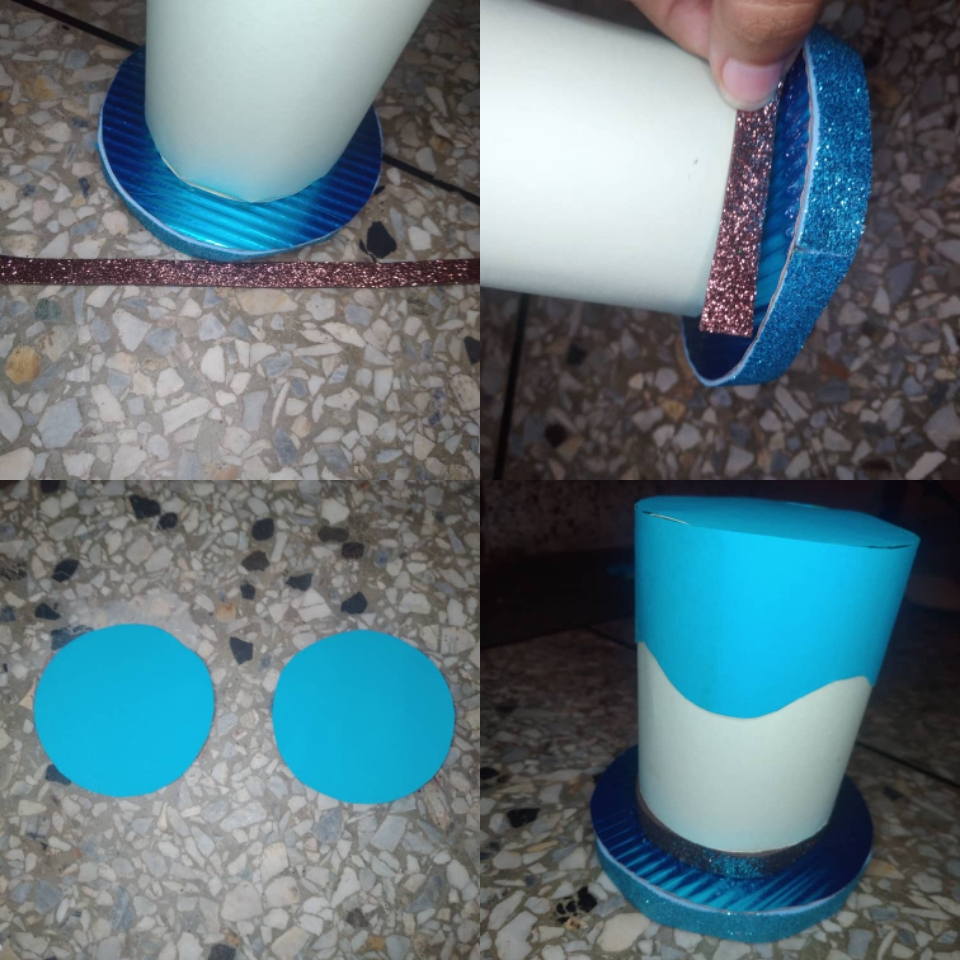
With silicone, we join the box to the base, and with a strip of frosted Foami, we surround the base. To decorate the box, we cut two circles of blue cardboard and glued it on top, and then glued a thick strip of corrugated cardboard that will simulate the icing for this cake.
6✨
Para hacer nuestras velas, tomamos un palito para globos y cortamos bastoncitos de 5 cm. Con un poco de estambre rodeamos cada uno de ellos y cortamos un poco de papel crepe naranja para hacer una pequeña llama.
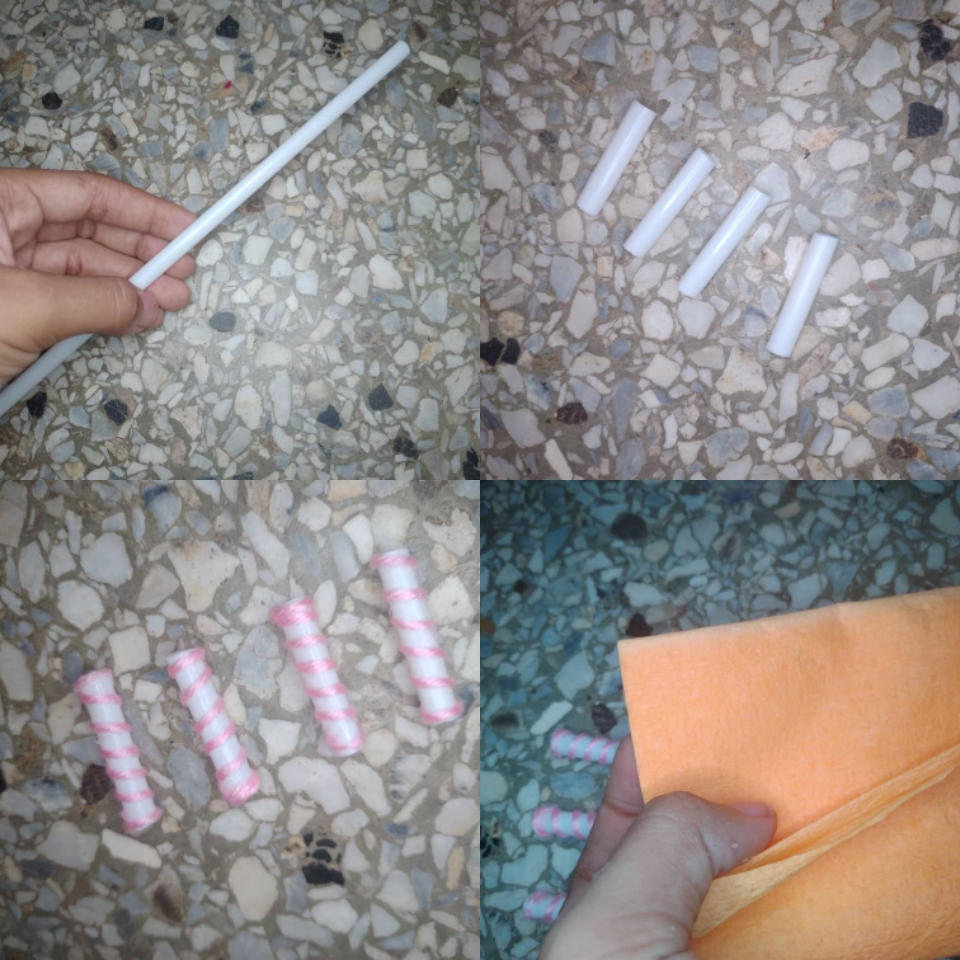
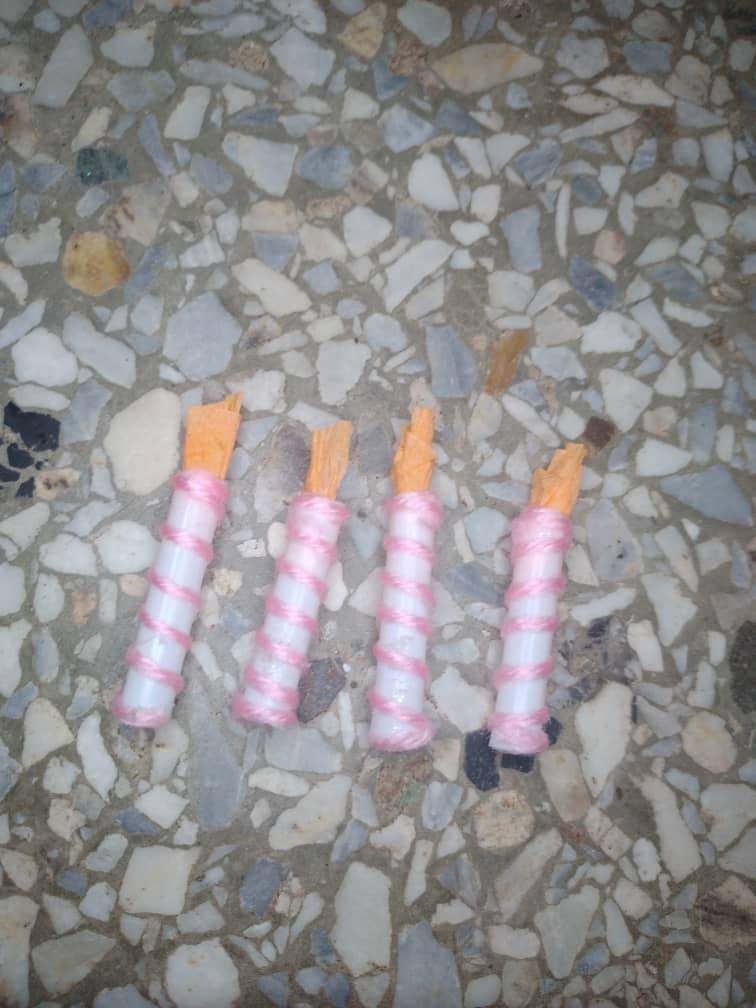
To make our candles, we take a balloon stick and cut 5 cm sticks. With a little yarn we surround each one of them and cut a little orange crepe paper to make a small flame.
7✨
Para darle los toques finales a nuestro pastel, rodeamos los bordes de la parte superior con estambre y pegamos las velas con cuidado de quemarnos con el silicón.
En mi caso quise cortar pequeños círculos para simular las chispitas de colores, y corte tiras de papel de seda para rellenar la caja al final.
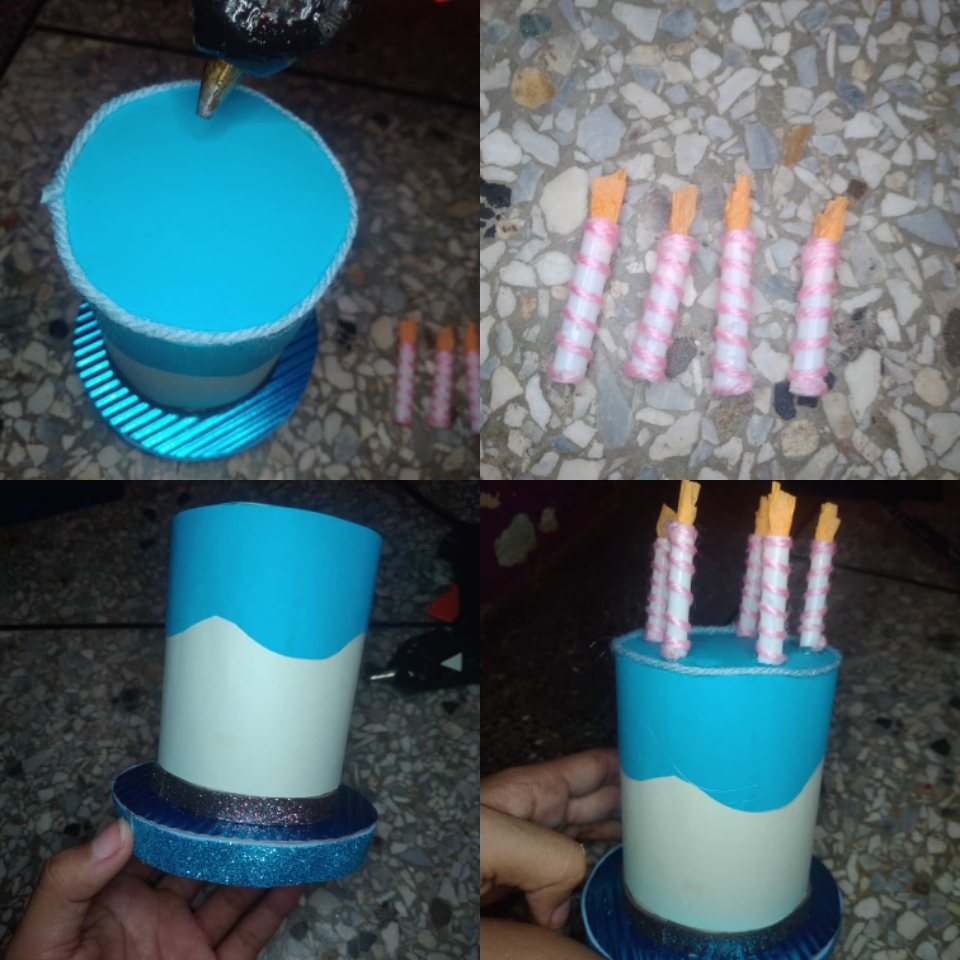
To give the final touches to our cake, we surround the edges of the top with yarn and glue the candles carefully to burn with the silicone.
In my case I wanted to cut small circles to simulate the colored sprinkles, and cut strips of tissue paper to fill the box at the end.
Y listo, ¡así quedó nuestra linda caja de pastel de cumpleaños!
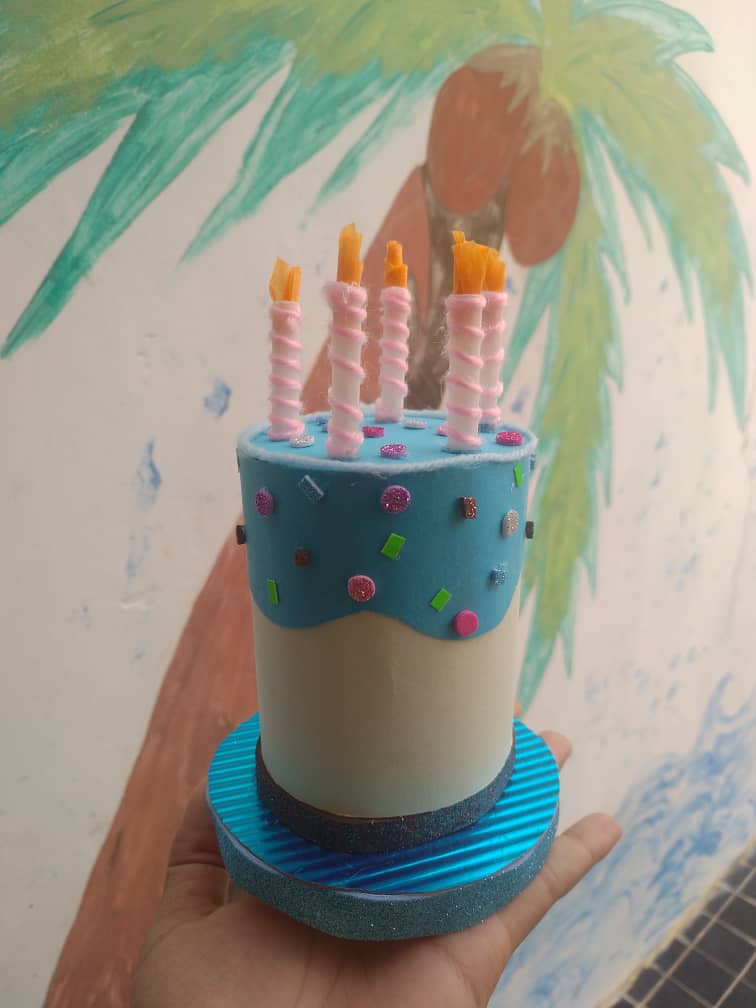
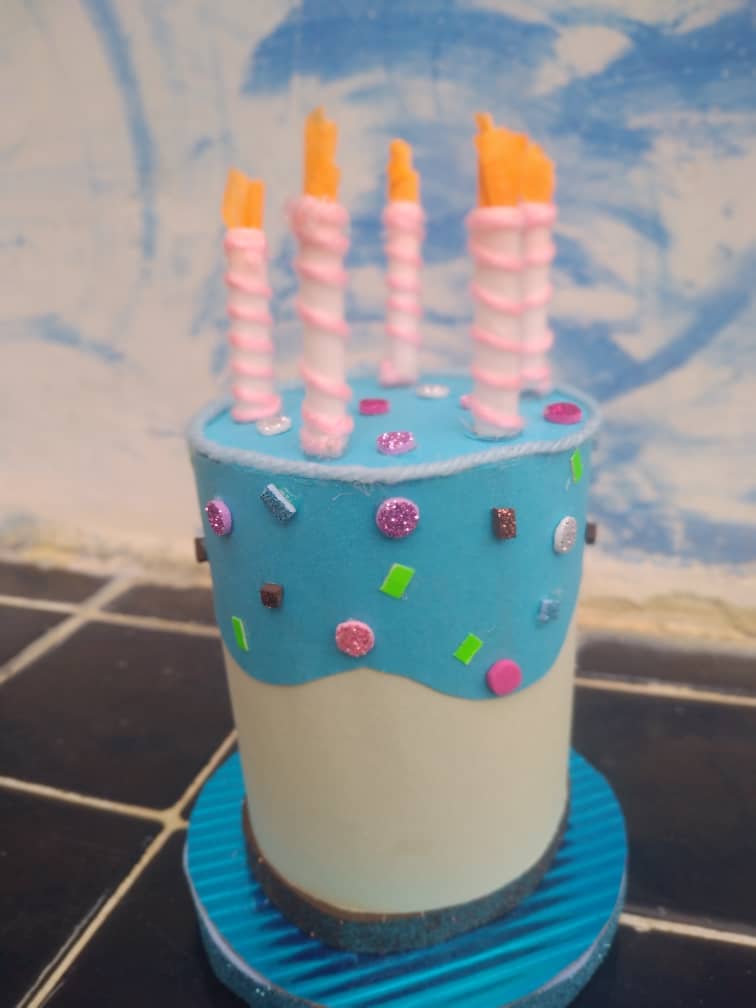
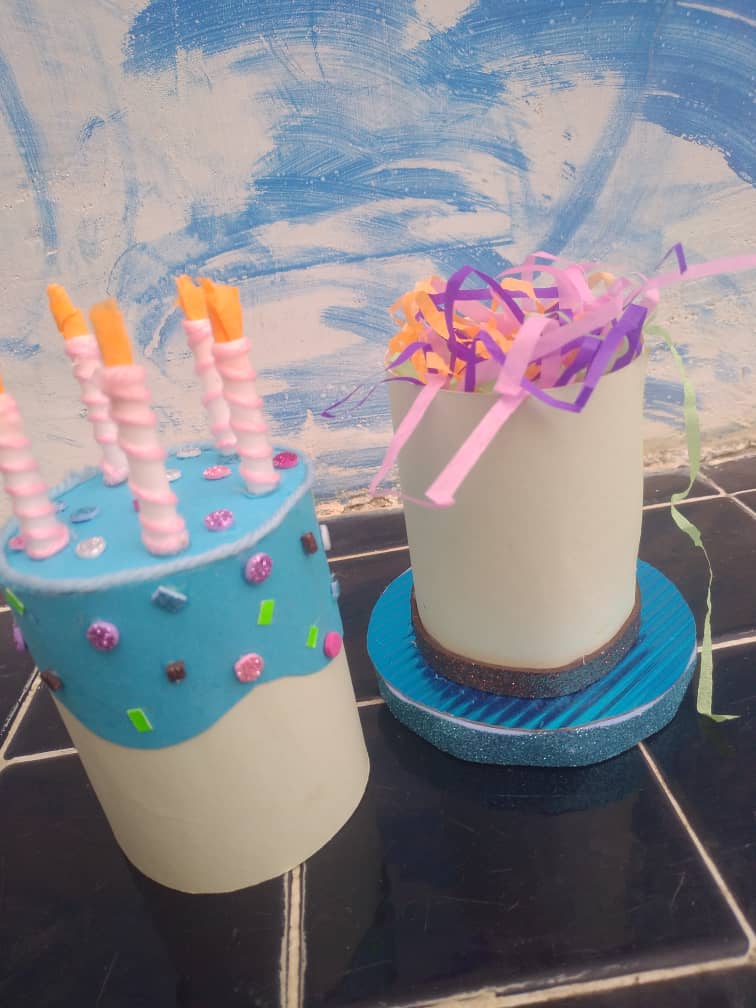
And voila, so is our cute birthday cake box!
Es una idea que me tenía súper emocionada y me alegra haberla realizado
It's an idea that I was super excited about and I'm glad I made it
Espero que les guste tanto como a mí, y como siempre, poder contar con su apoyo.
I hope you like it as much as I do, and as always, I can count on your support.
A reusable birthday cake! Very eco-friendly ... and creative. Thanks for using #creativecoin!