¡Hola, amigos de Hive! Mis mejores vibras y deseos para todos
¡Hola, amigos de Hive! Mis mejores vibras y deseos para todos
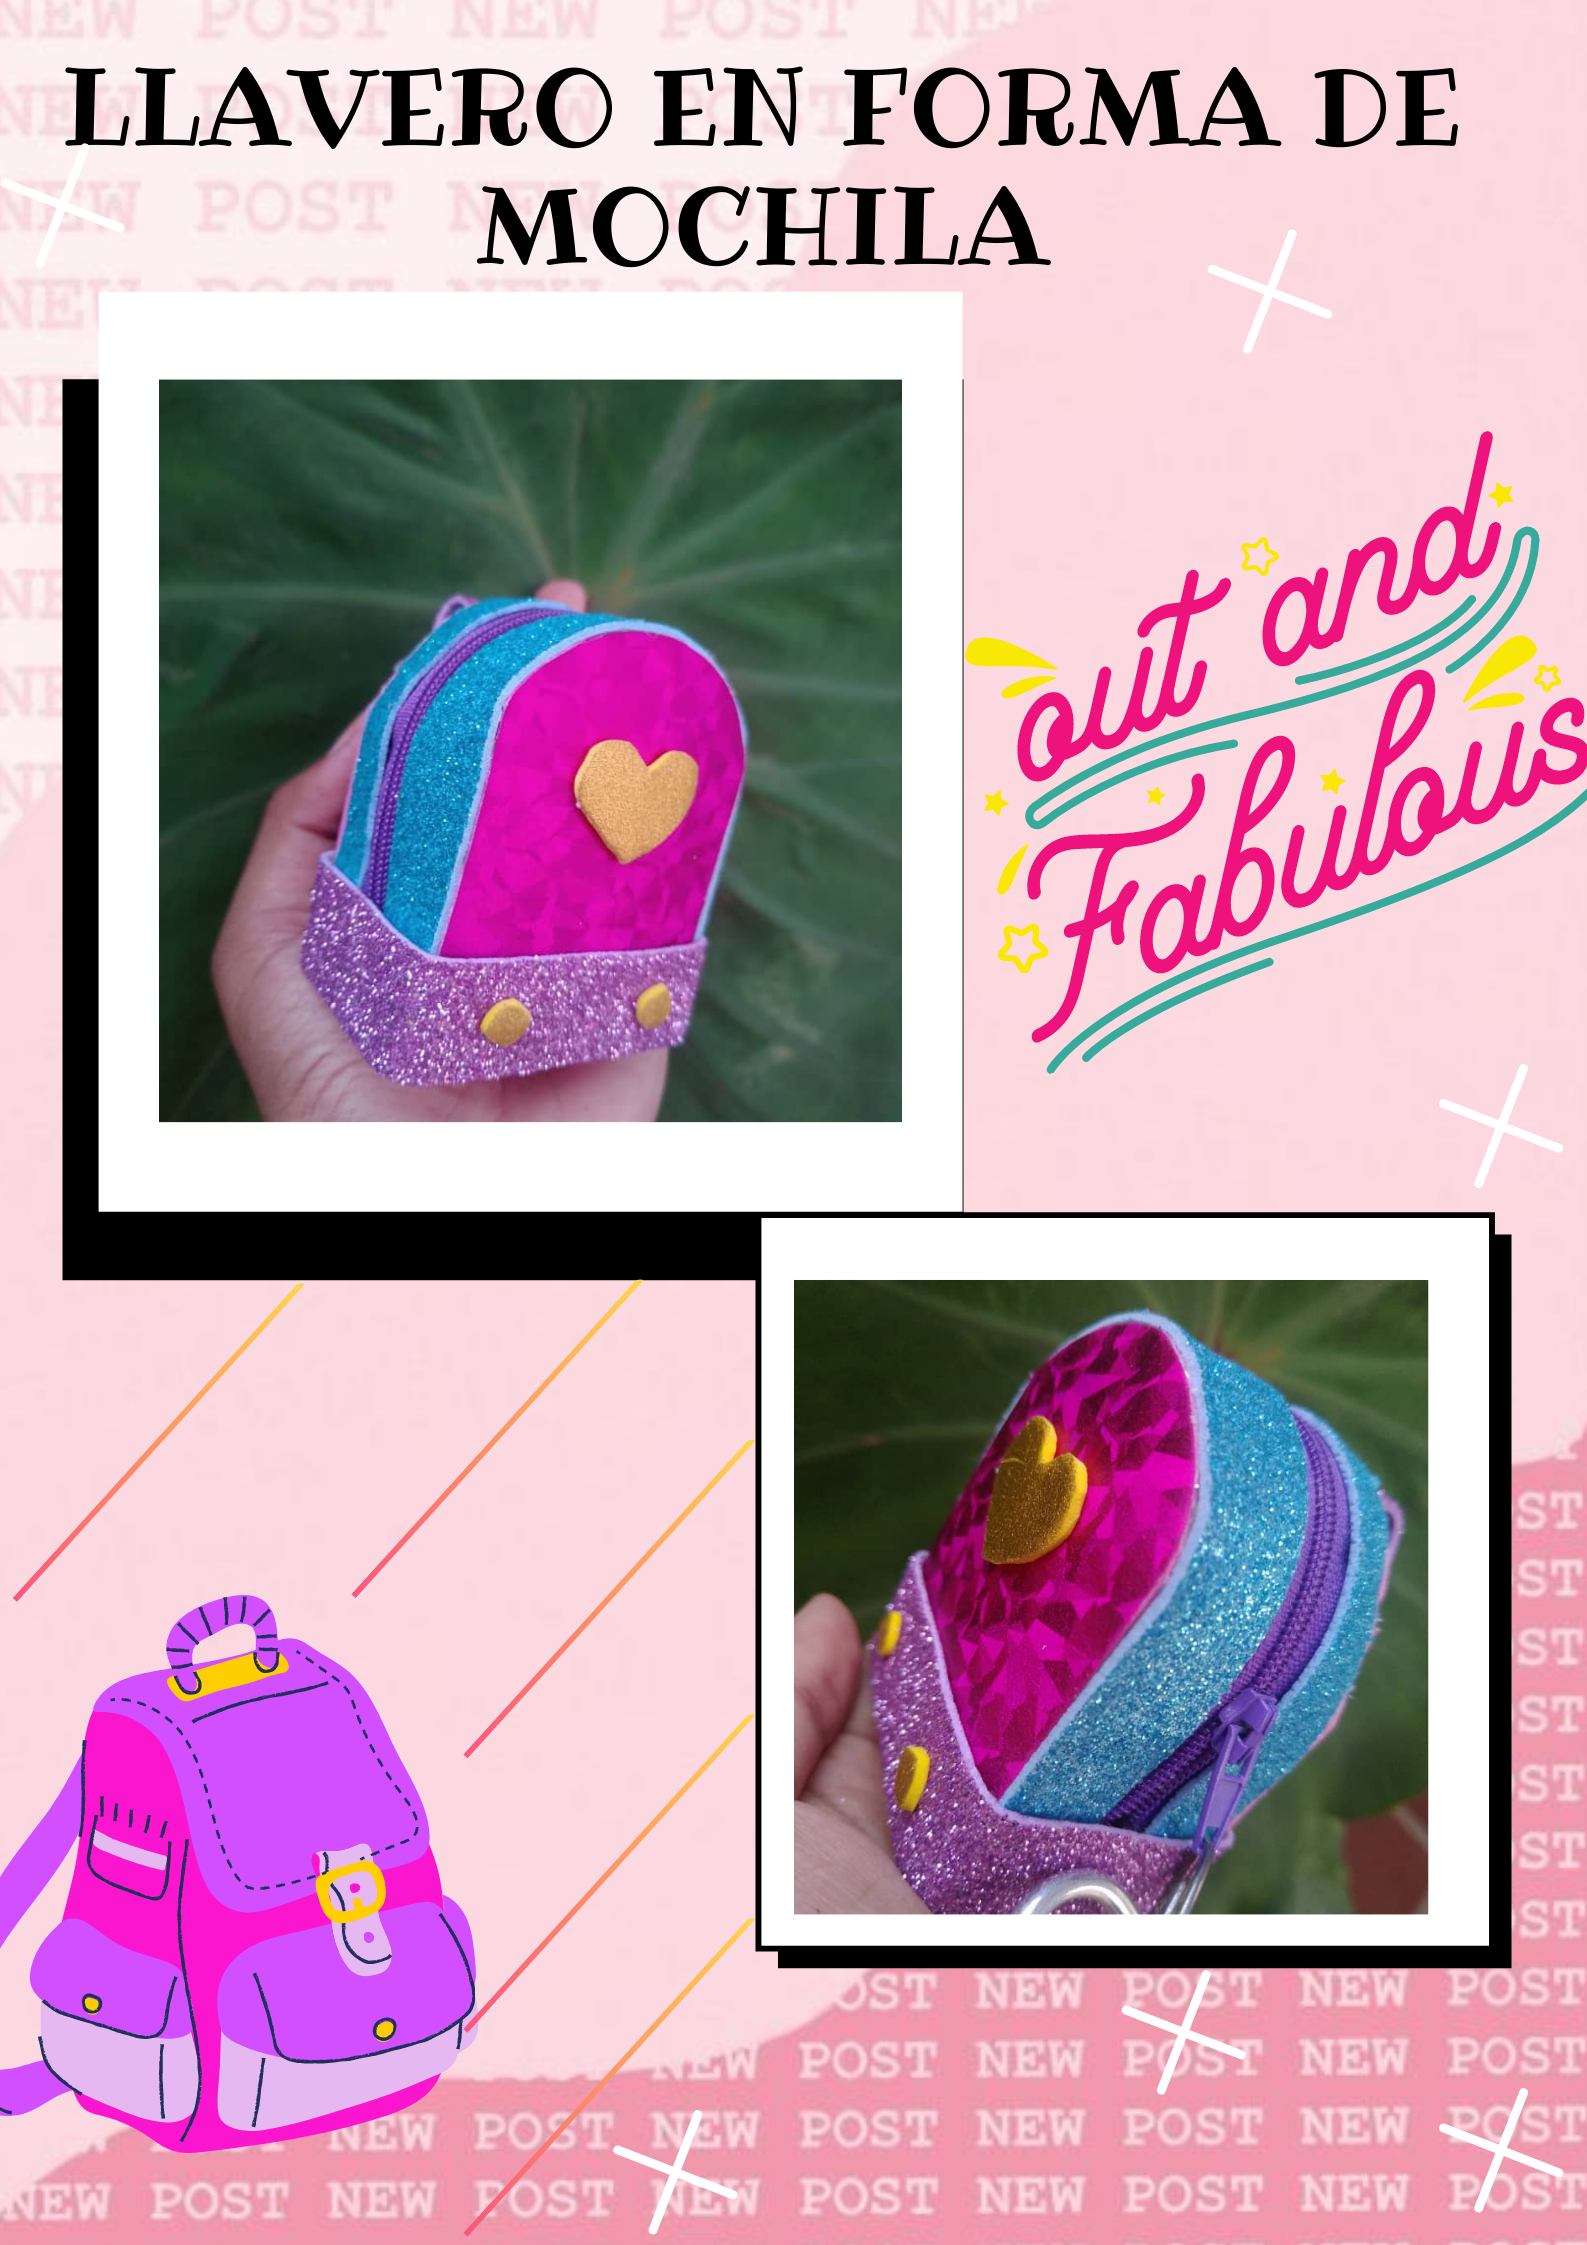
En esta oportunidad quiero mostrarles cómo hacer este sencillo llavero hecho con Foami. Me inspire en mi “Yo” súper desordenada y quise hacer un bolsito, que e igual forma me servirá para guardar dinero o ligas para el cabello, etc.
This time I want to show you how to make this simple keychain made with Foami. I was inspired by my super messy “I” and I wanted to make a little bag, which will also be used to store money or hair ties, etc.

- Foami
- Un cierre de 15 cm
- Pistola de silicón caliente
- Arito para llaves
- Foami
- A 15 cm closure
- Hot glue gun
- Key ring
1✨
En una lámina de foami trazamos una tira de 18cm de largo y 4 cm de ancho, la cual en ambos extremos trataremos de redondear hasta que nos quede de este modo.
Como este será el cuerpo de la mochila, marcaremos 7 cm desde un extremo hasta el centro, repitiendo el mismo procedimiento con el otro extremo. Así nos debería quedar en el centro un cuadro de 4 cm. Doblamos las líneas hasta que nos quede la base y el cuerpo de la mochila.
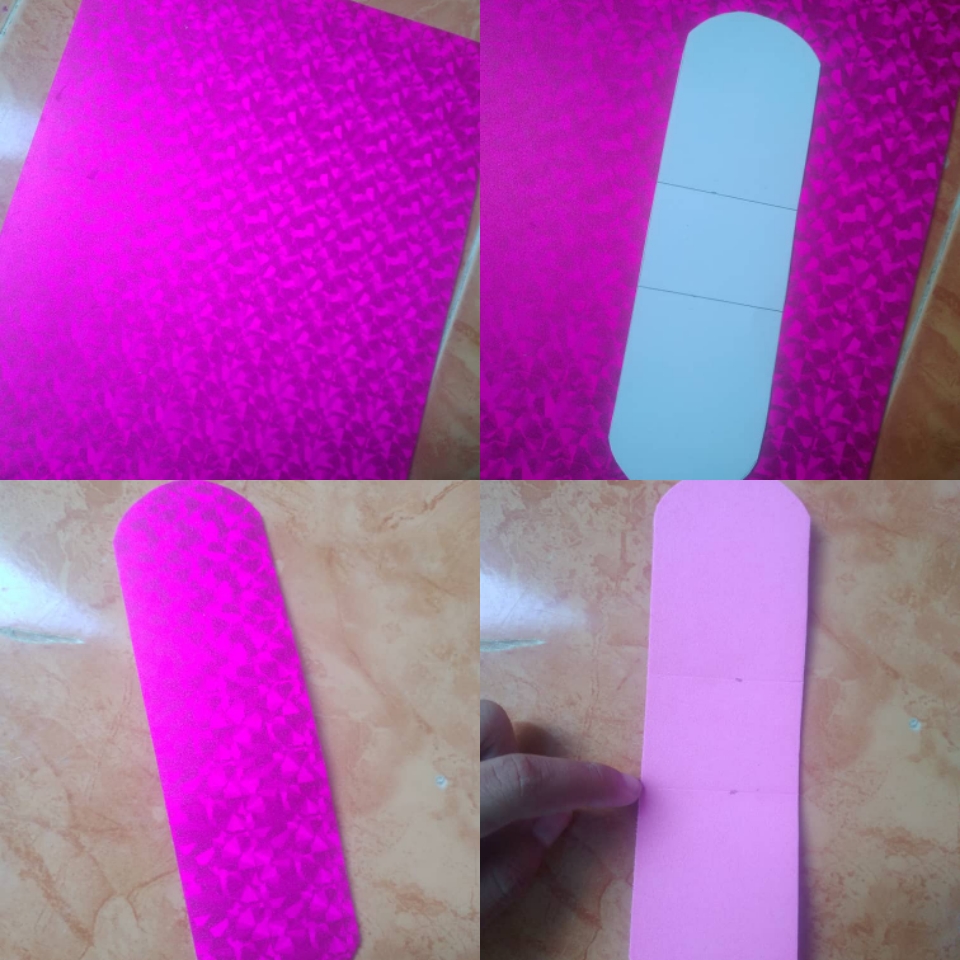
On a sheet of foami we draw a strip 18cm long and 4 cm wide, which we will try to round at both ends until it is this way.
As this will be the body of the backpack, we will mark 7 cm from one end to the center, repeating the same procedure with the other end. So we should have a 4 cm square in the center. We fold the lines until we have the base and the body of the backpack.
2✨
Trazamos en uno de los foami escarchados un tira del mismo tamaño que la anterior. Haciendo en el medio un orificio de 15 cm, donde ira el cierre, el cual con cuidado pegamos con silicón caliente.
💜💜💜💜💜💜💜💜
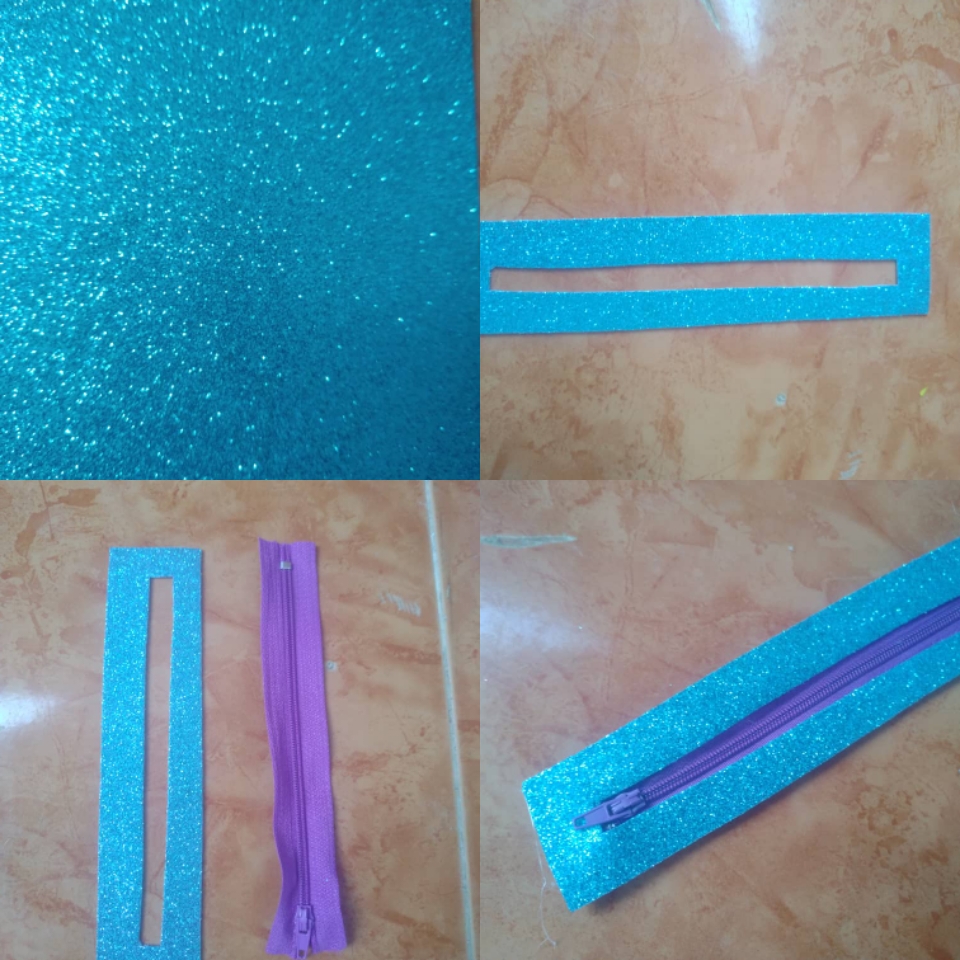
We draw on one of the frosted foami a strip of the same size as the previous one. Making a 15 cm hole in the middle, where the closure will go, which we carefully glue with hot silicone.
3✨
Procedemos a pegar con silicón la tira con el cierre alrededor de la otra hasta que nos quede así.
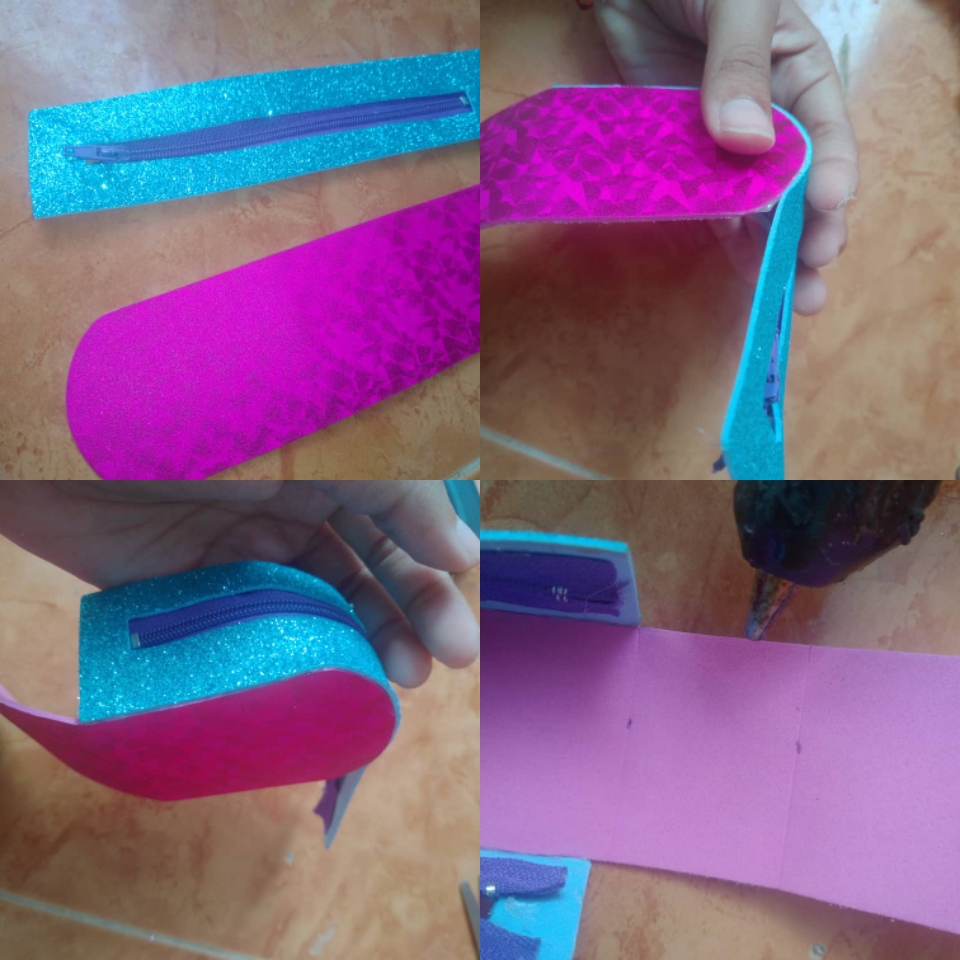
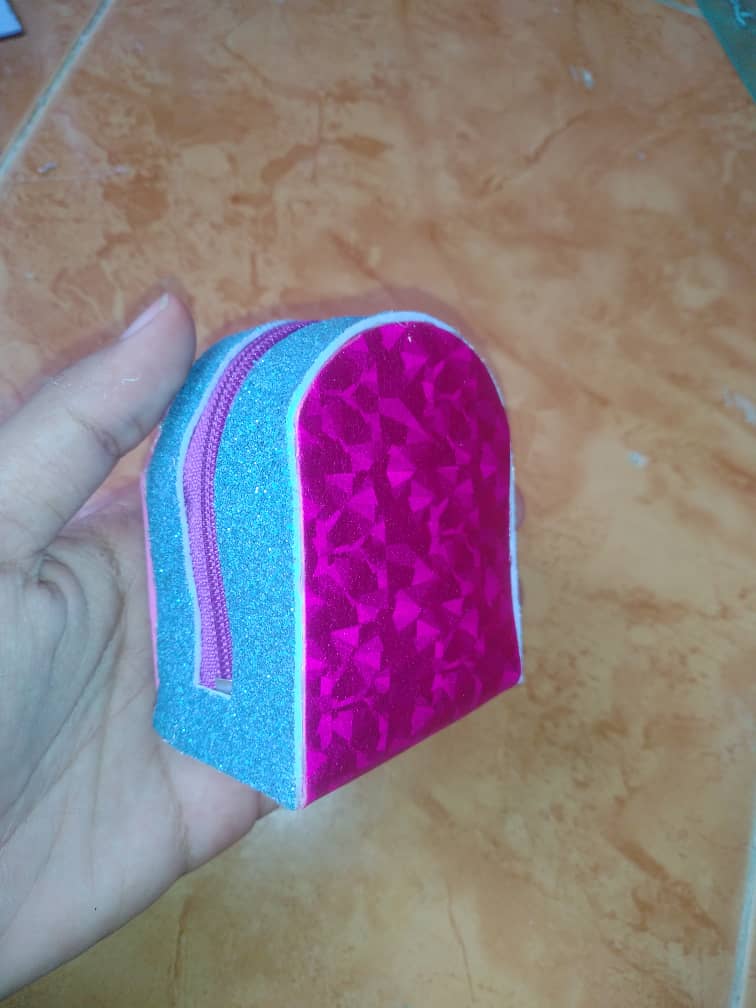
We proceed to glue the strip with the closure around the other with silicone until it is like this.
4✨
Trazamos una tira de 2 cm de ancho por 18 cm de largo para rodear el bolso. Y en un trozo de foami dorado hacemos un corazón y dos pequeños círculos para decorar el frente de nuestro bolso.
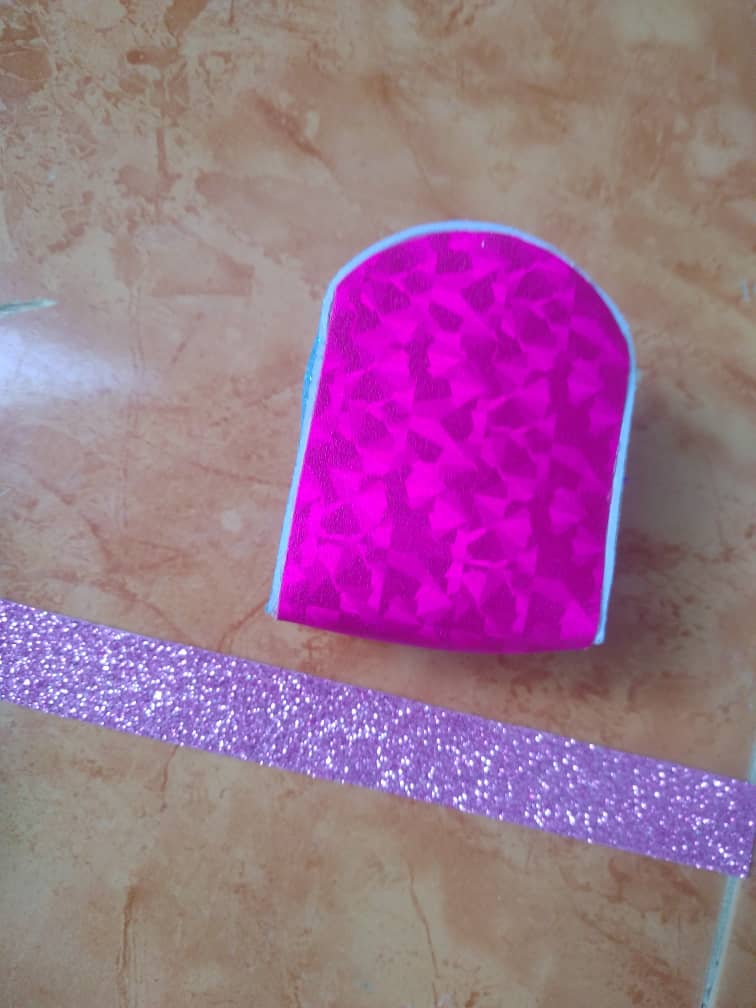
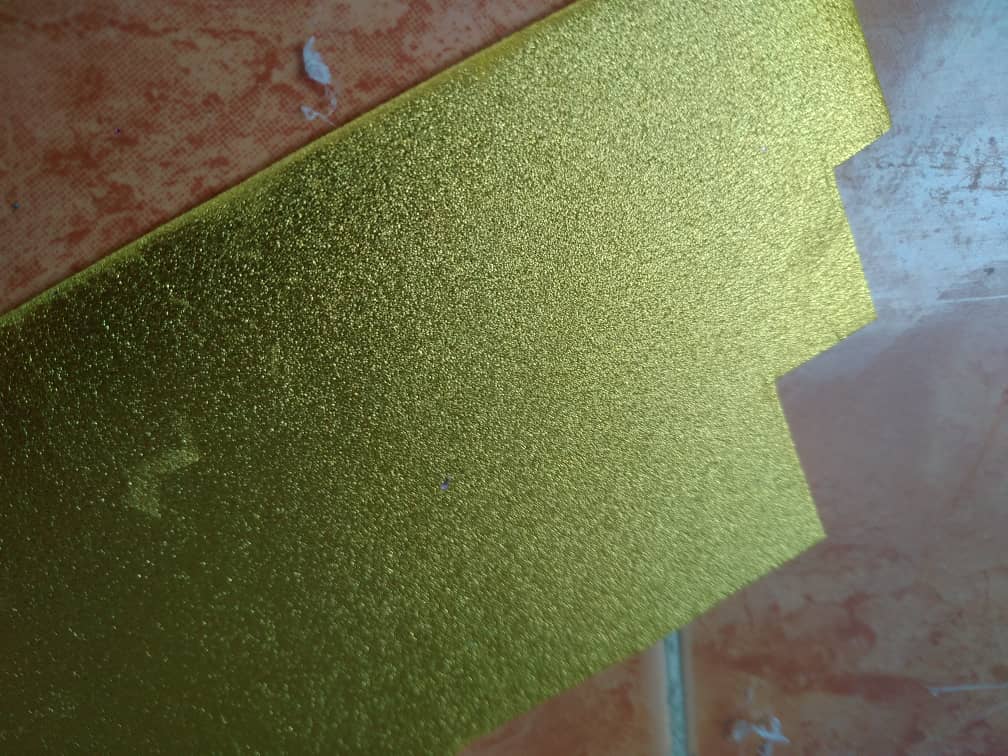
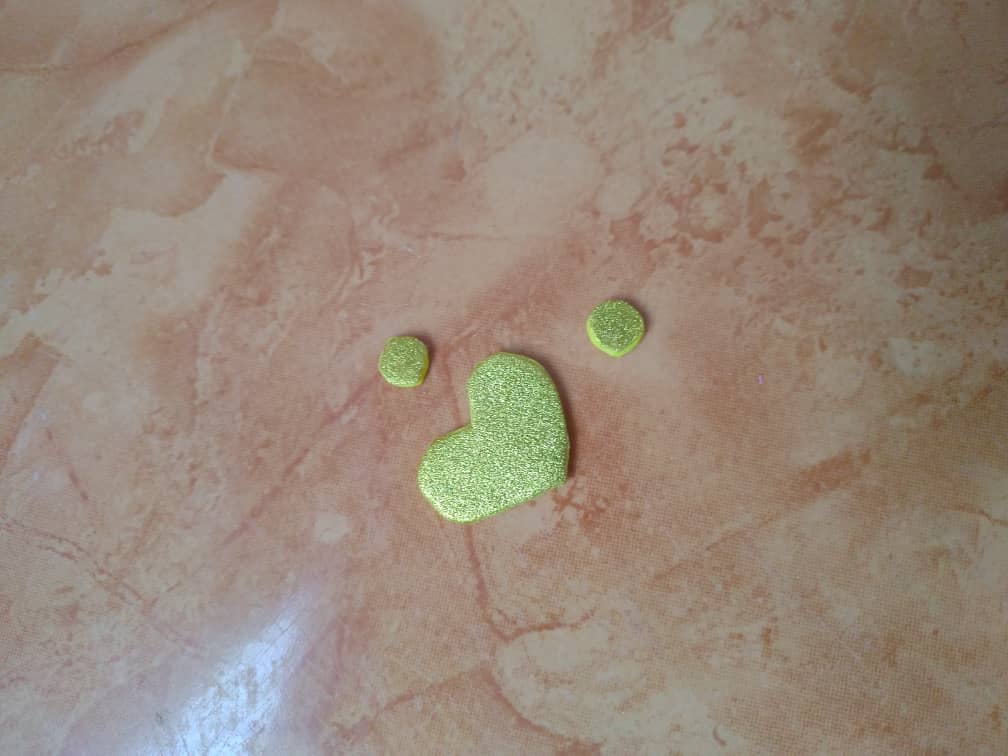
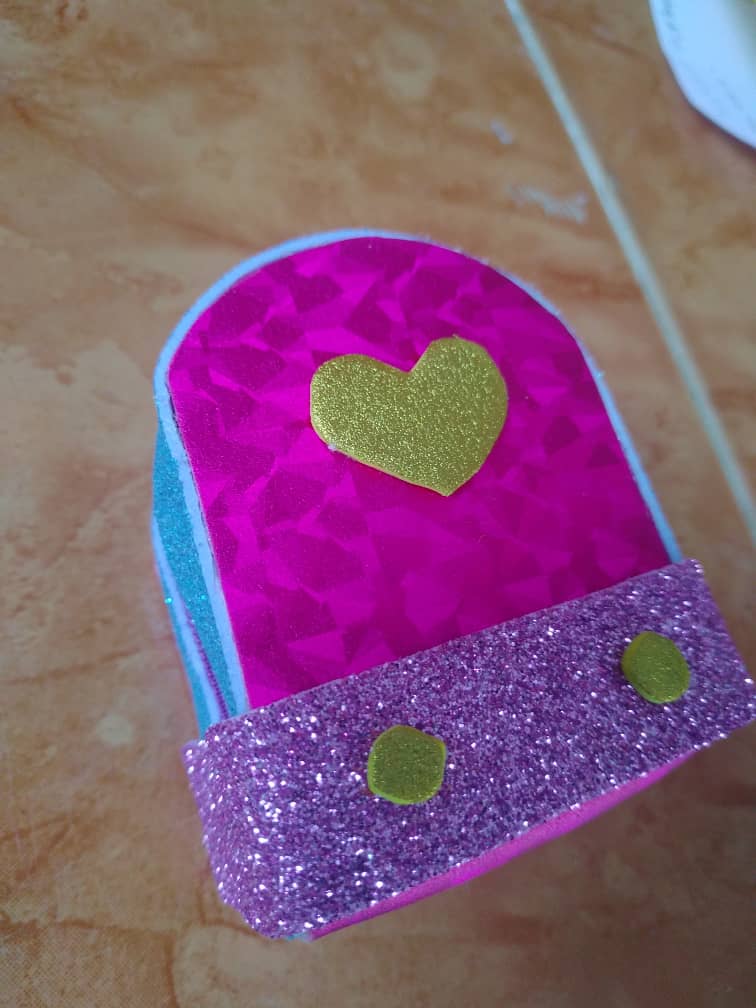
Trazamos una tira de 2 cm de ancho por 18 cm de largo para rodear el bolso. Y en un trozo de foami dorado hacemos un corazón y dos pequeños círculos para decorar el frente de nuestro bolso.
5✨
Por último, tomamos un trozo de foami y lo dividimos a la mitad, haciendo lo mismo con otro trozo, la pegamos y colocamos en la parte trasera de este modo.
Solo nos queda colocar los aritos para llave.
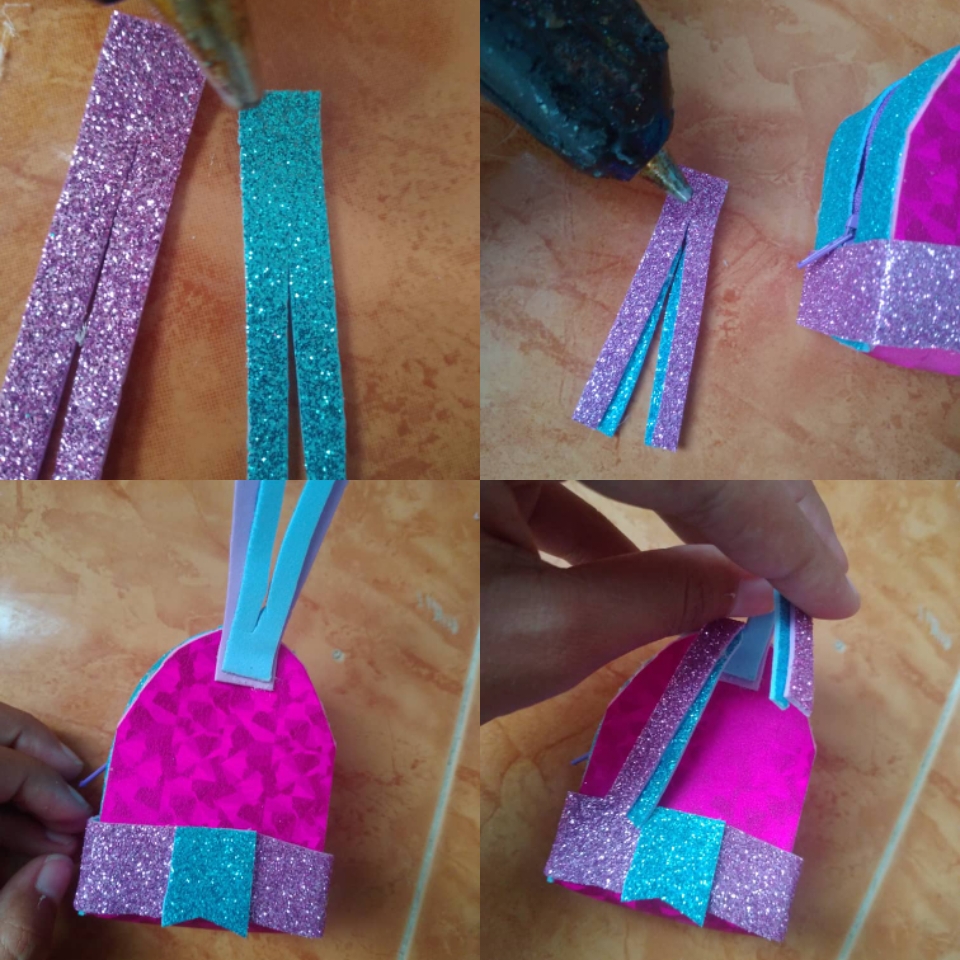
Finally, we take a piece of foami and divide it in half, doing the same with another piece, paste it and place it on the back like this.
We only have to place the key rings
¡Y listo! Así quedó nuestro llavero
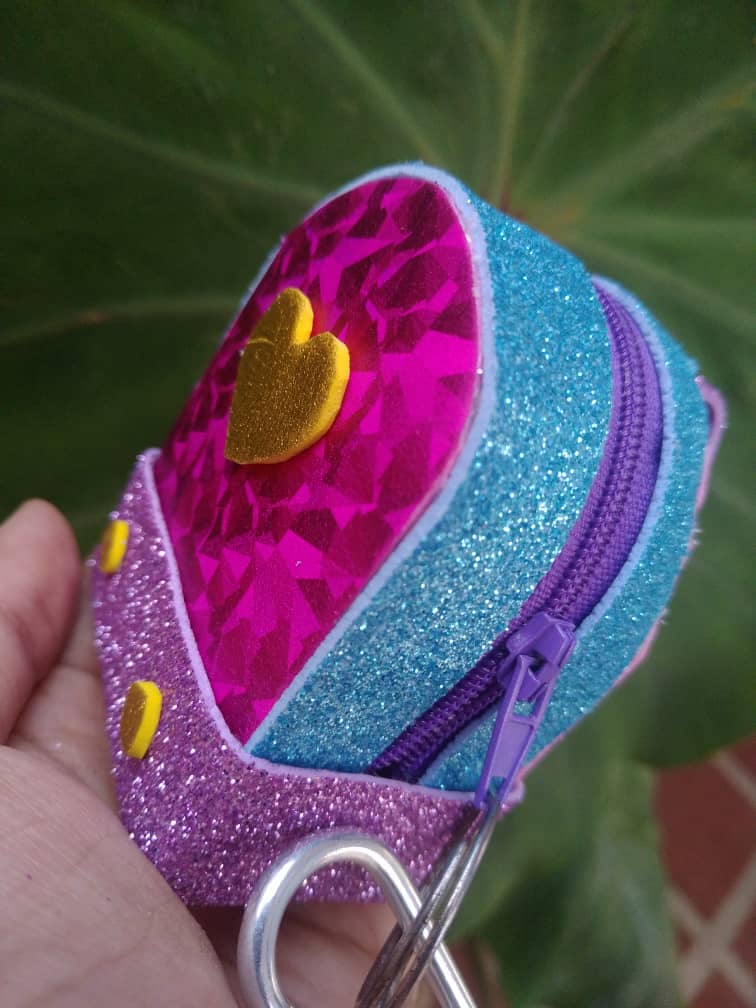
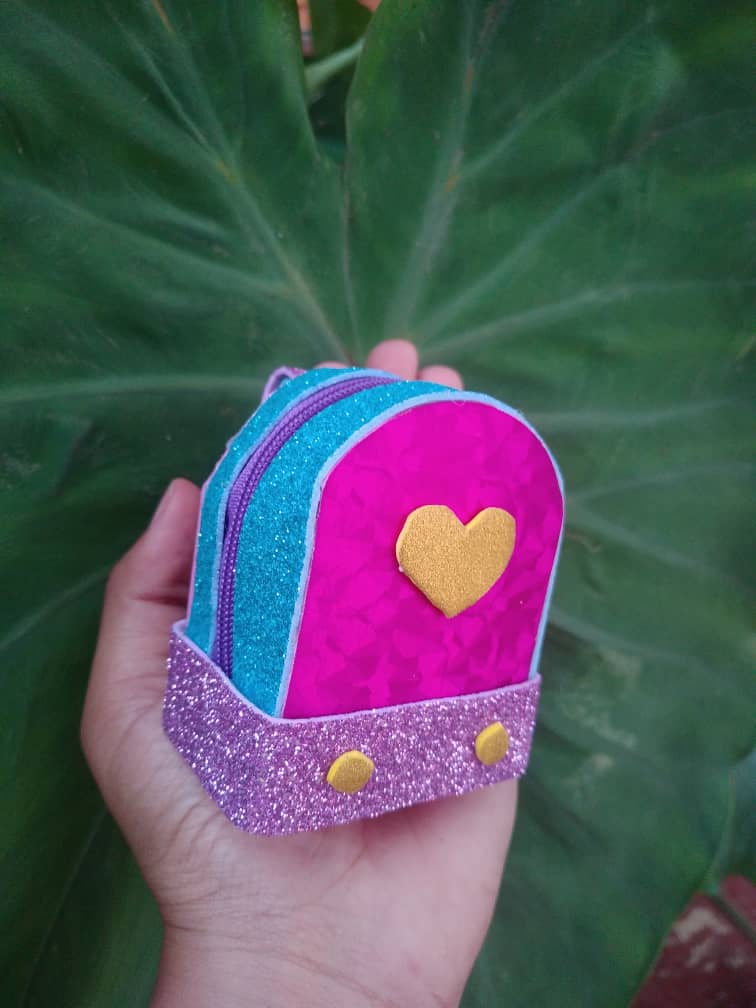
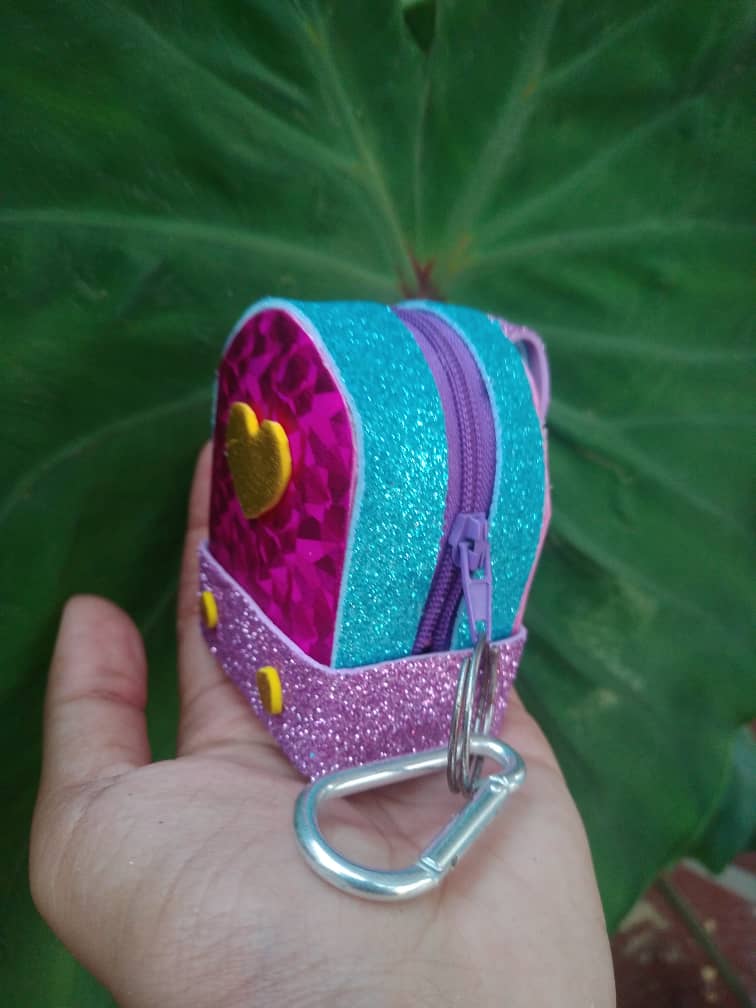
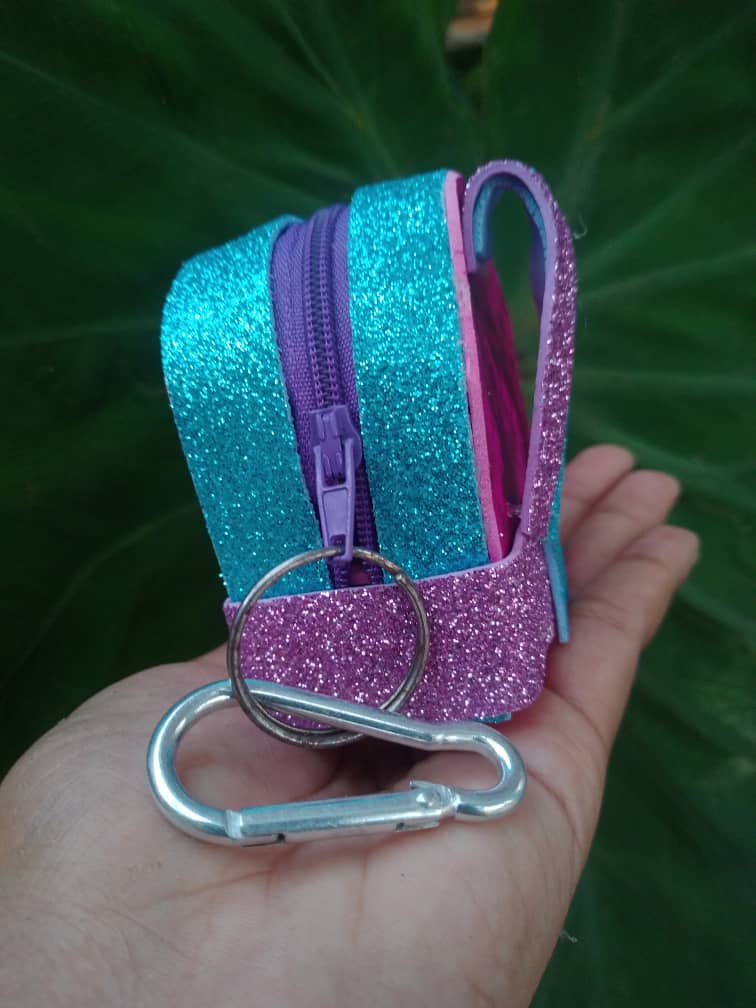
And voila! This is how our keychain was
Espero que les guste y le sirva como modelo para sus propias creaciones
I hope you like it and it will serve as a model for your own creations
Congratulations @michell02! You have completed the following achievement on the Hive blockchain and have been rewarded with new badge(s):
Your next target is to reach 1750 upvotes.
You can view your badges on your board and compare yourself to others in the Ranking
If you no longer want to receive notifications, reply to this comment with the word
STOPCheck out the last post from @hivebuzz: