¡Hola, amigos de Hive! Mis mejores vibras y deseos para esta época del año.
Hello Hive friends! My best vibes and wishes for this time of year.

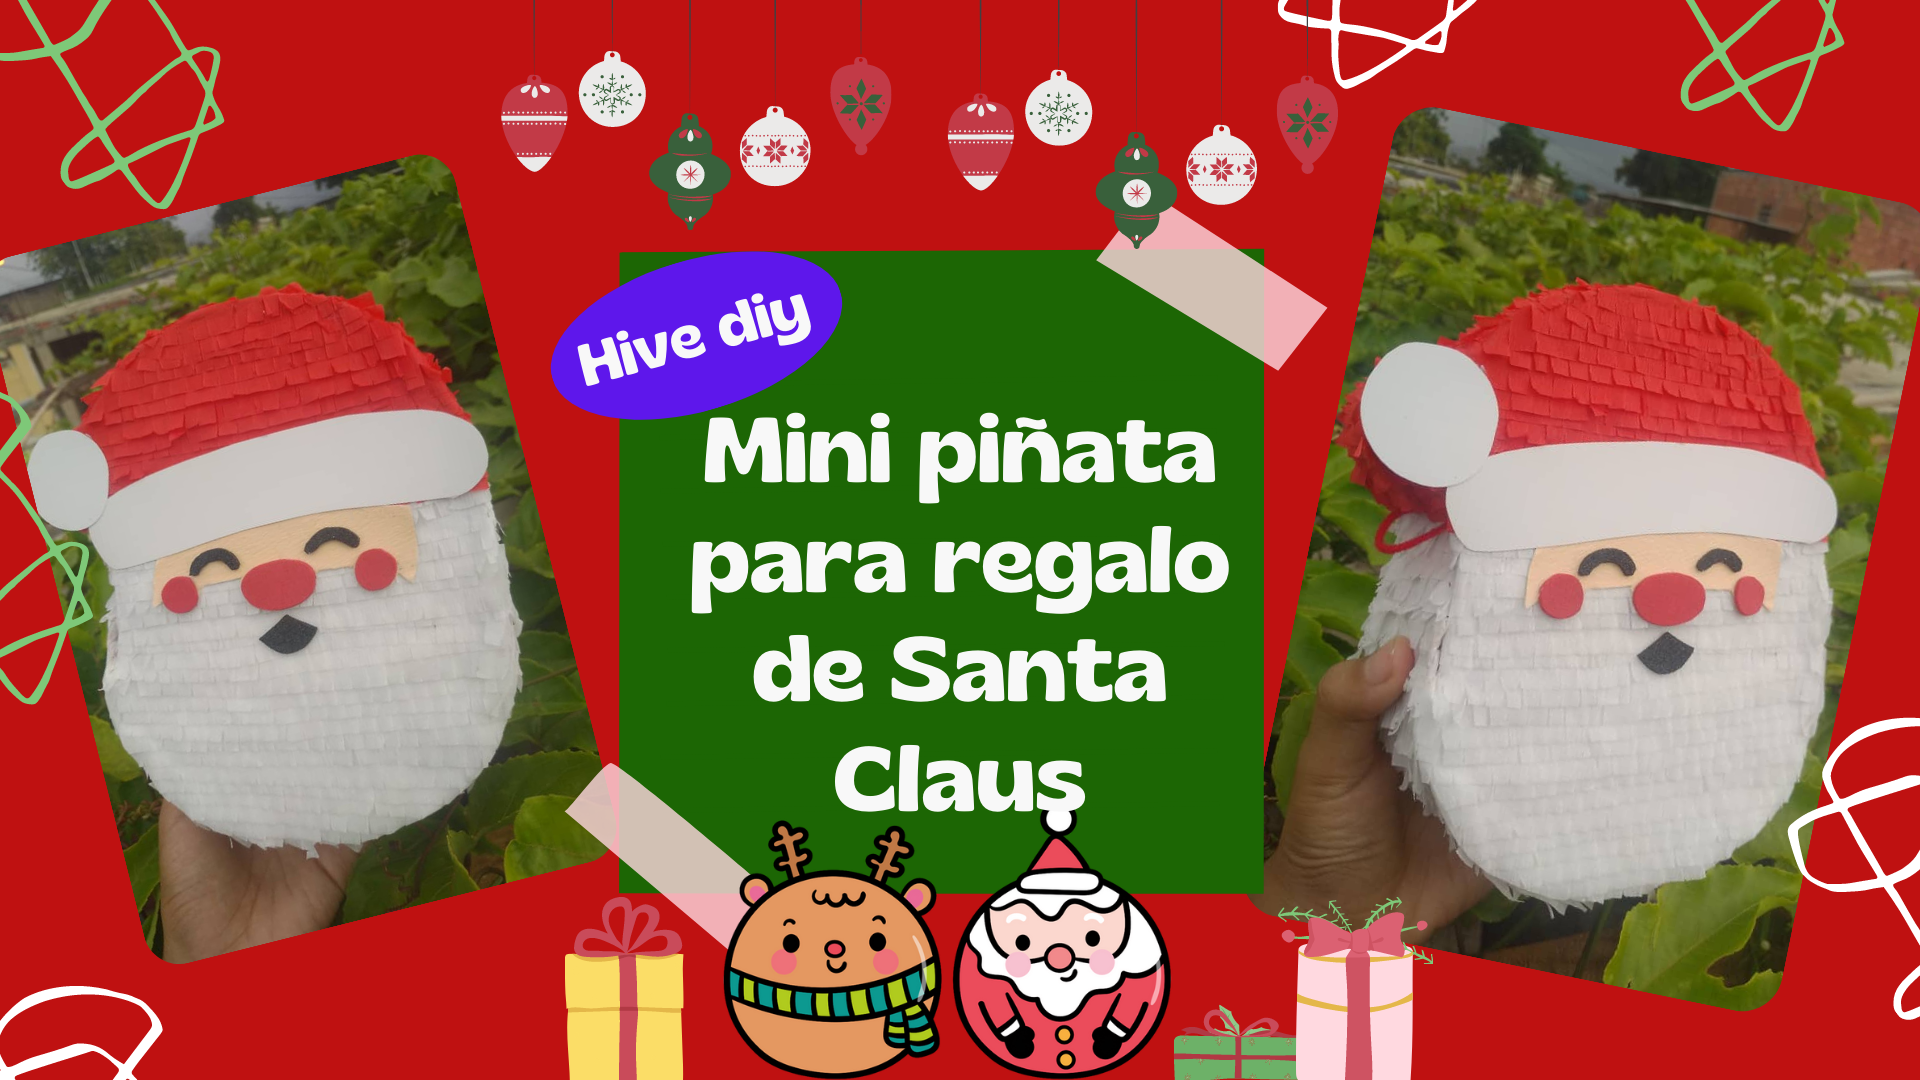
En esta ocasión les mostrare como realicé esta mini piñata de Santa Claus. Inicialmente esta fue una idea que se me ocurrió para un pequeño intercambio navideño para los niños de mi familia, ya que es una forma linda y fácil de hacer un pequeño obsequio lleno de dulces. Además, son súper lindas y combinan muy bien para la ocasión. Aquí les mostraré el procedimiento y que necesitamos para hacer una como esta.
This time I will show you how I made this mini Santa Claus piñata. Initially this was an idea that I came up with for a little Christmas exchange for the children in my family, as it is a cute and easy way to make a small gift full of sweets. In addition, they are super cute and combine very well for the occasion. Here I will show you the procedure and what we need to make one like this.


• 1 caja de cartón
• Papel crepe rojo y blanco
• Foami
• Un exacto
• Una pistola de silicón caliente
• Un poco de hilo
• 1 carton
• Red and white crepe paper
• Foami
• An exact
• A hot glue gun
• A little thread
 🎄🎄🎄🎄🎄🎄
1✨
Primero, debemos sacar el dibujo o silueta de la piñata que haremos. En mi caso, hice un dibujo, que luego recorte y trace en una de las caras de la caja de cartón, en seguida recorte con cuidado con el exacto toda la silueta hasta que nos quedó la pieza. (Debemos sacar dos piezas idénticas).
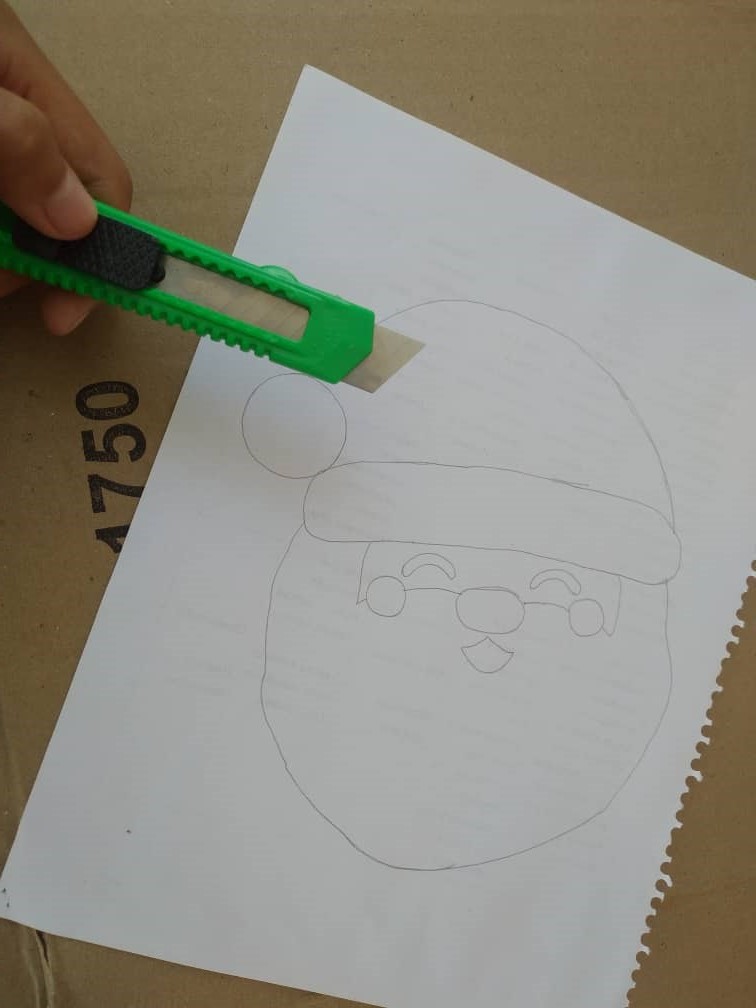
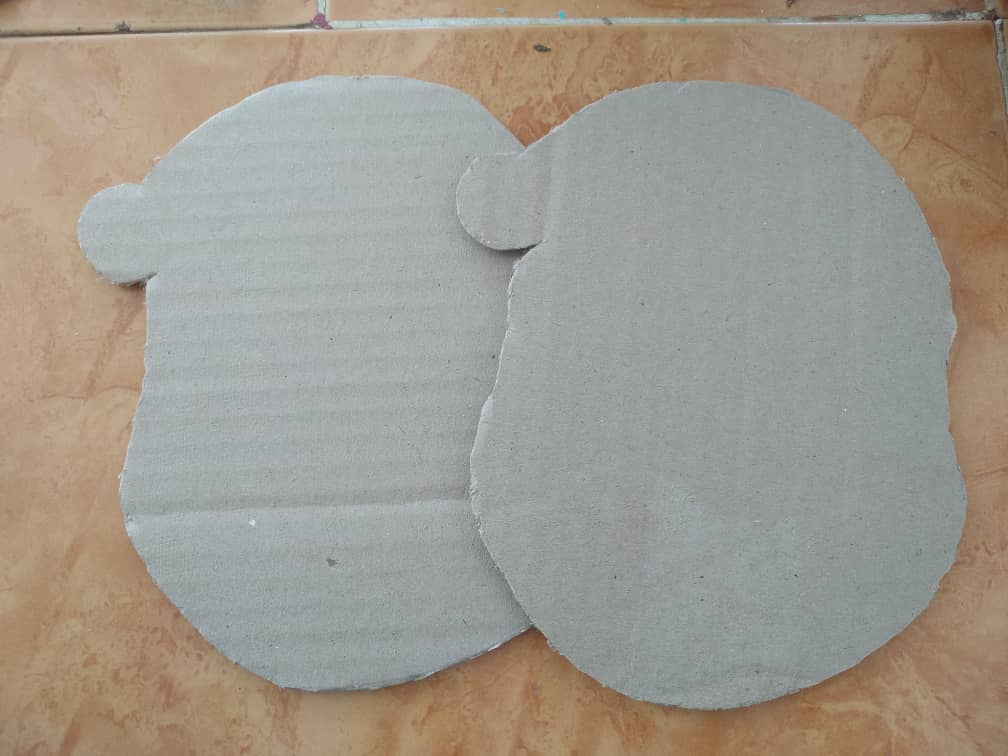
First, we must draw the drawing or silhouette of the piñata that we will make. In my case, I made a drawing, which I then cut out and traced on one of the sides of the cardboard box, then carefully cut out the entire silhouette with the exact one until we were left with the piece. (We must remove two identical pieces).
2✨
Para sacar las tiras con la cuales uniremos la piñata, trazamos en nuestro cartón una línea de 80 cm, lo cual será el largo. Y en la parte superior e inferior marcamos dos líneas de 5cm cada una. Por último, unimos un extremo con el otro del lado contrario hasta que nos quede la tira, que cortaremos con ayuda de una regla y un exacto.
Enrollamos poco a poco el cartón, de modo que este sea más flexible a la hora de amoldarse a la silueta de la piñata.
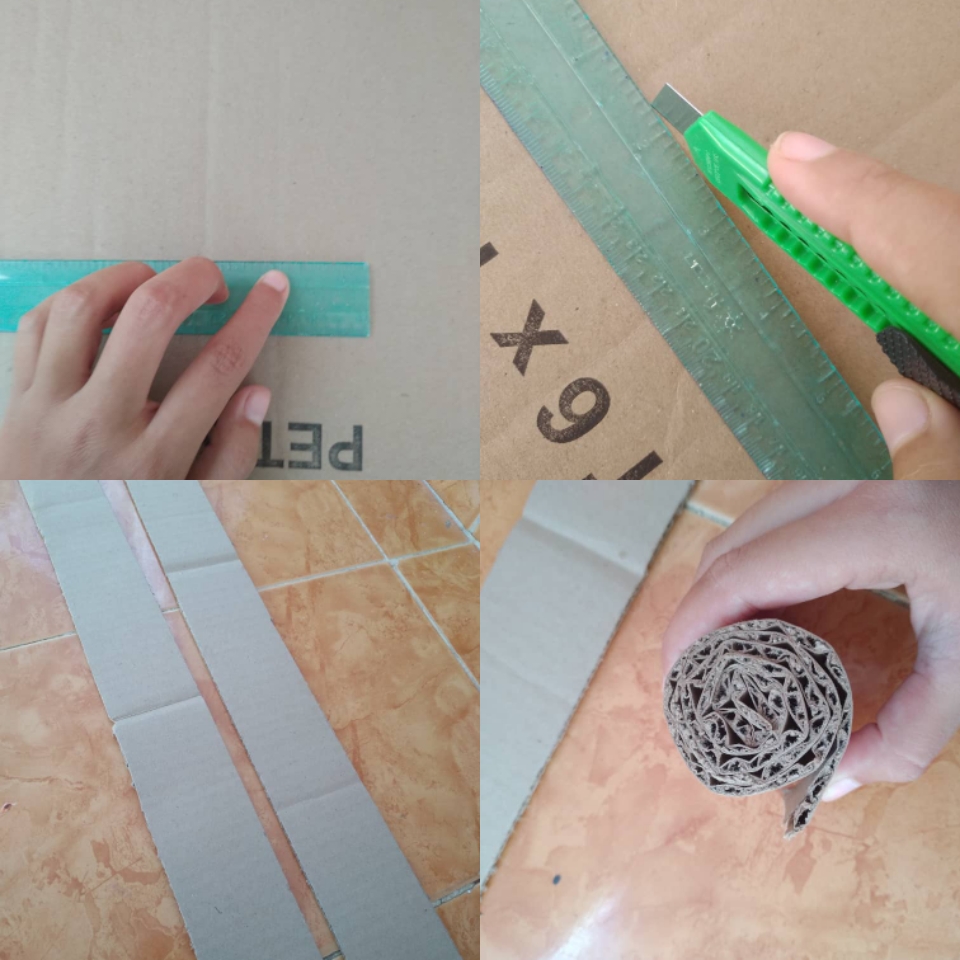
To remove the strips with which we will join the piñata, we draw a line of 80 cm on our cardboard, which will be the length. And at the top and bottom we mark two lines of 5cm each. Finally, we join one end with the other on the opposite side until we have the strip, which we will cut with the help of a ruler and an exact one.
We roll the cardboard little by little, so that it is more flexible when it comes to conforming to the silhouette of the piñata.
3✨
Tomamos la tira que recortamos anteriormente y procedemos a pegarla con silicón caliente alrededor de la forma en cartón. Debemos procurar dejar 5 cm de la tira sin pegar del lado que mejor les parezca, ya que esta dejara un orificio por donde introduciremos los dulces.
Pegamos la otra tapa encima hasta que nos quede así.
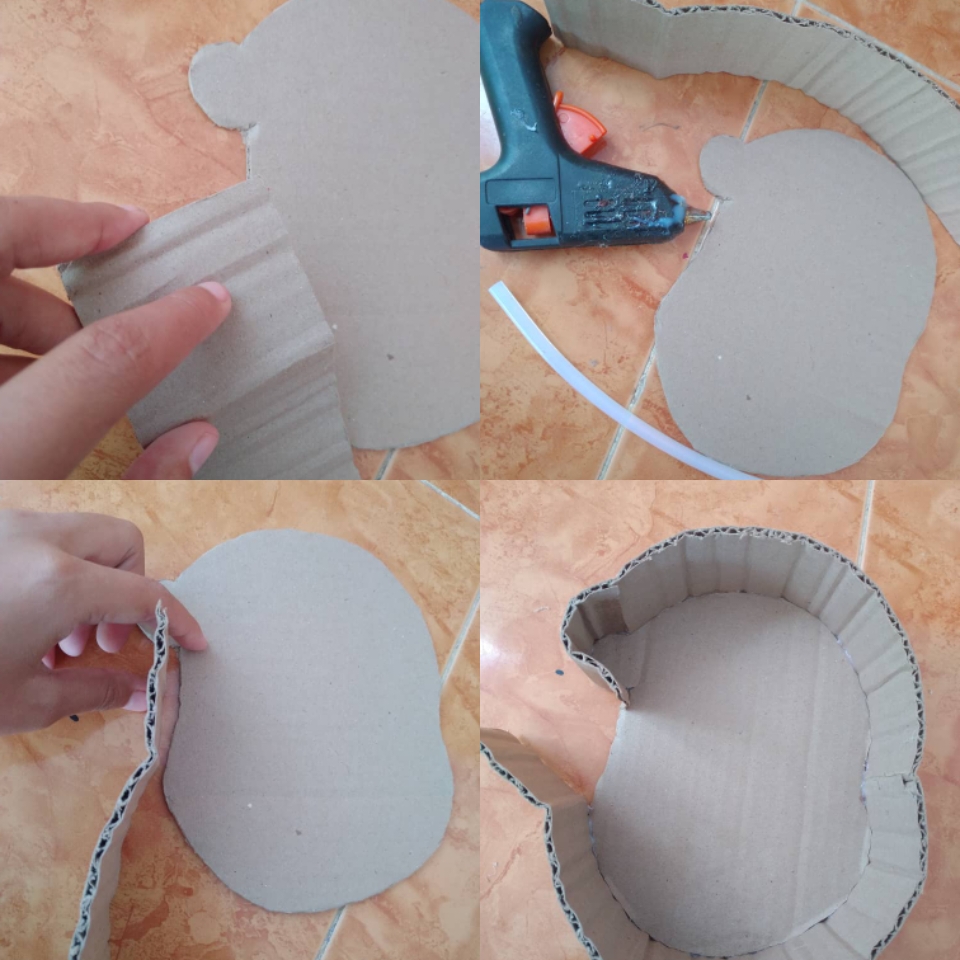
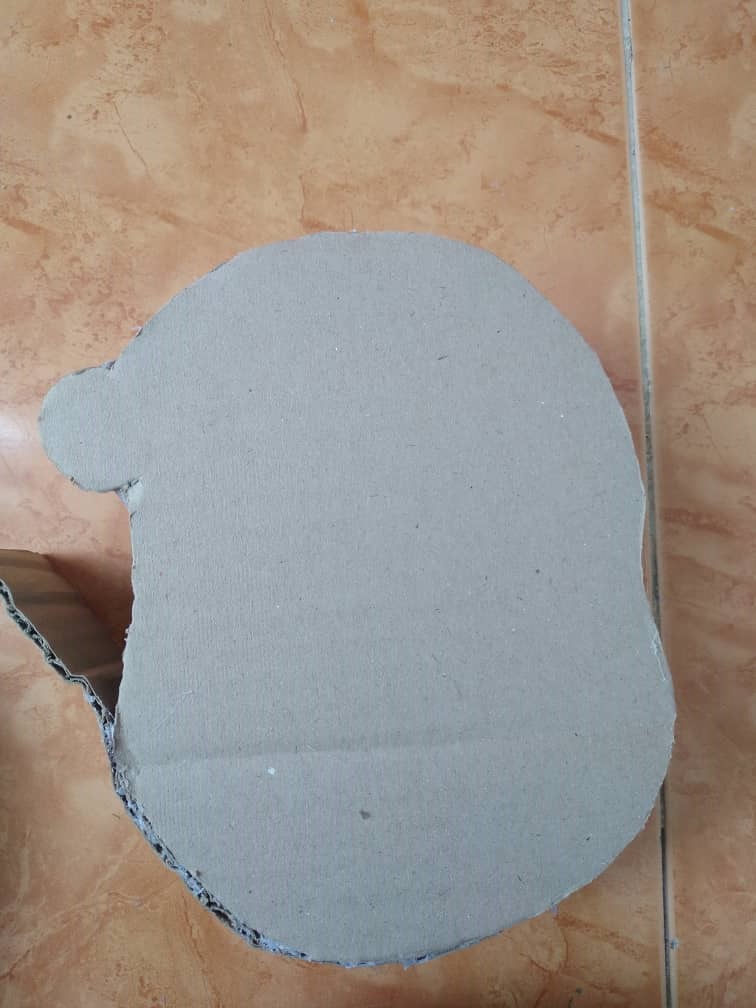
We take the strip that we cut out previously and proceed to glue it with hot silicone around the cardboard shape. We must try to leave 5 cm of the strip without gluing on the side that seems best to them, since it will leave a hole through which we will introduce the sweets.
We glue the other lid on top until it looks like this.
4✨
Para forrar nuestra piñata, tomaremos papel crepe rojo y blanco, cortamos tiras de 2 cm de ancho aproximadamente, y le cortamos flecos en la parte inferior, de este modo.
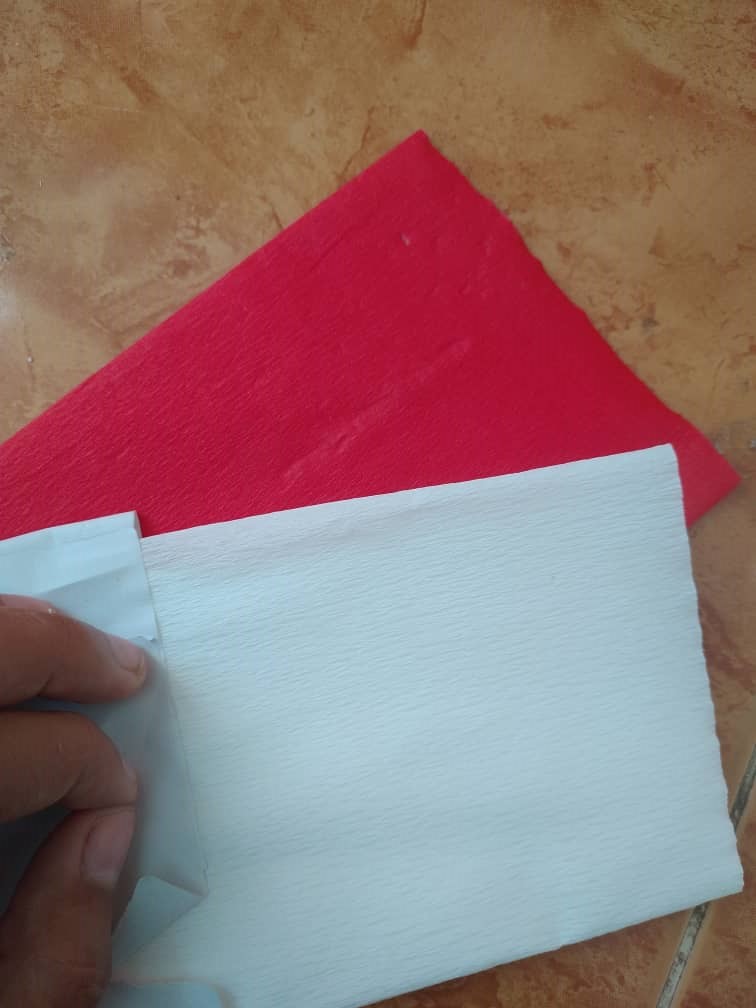
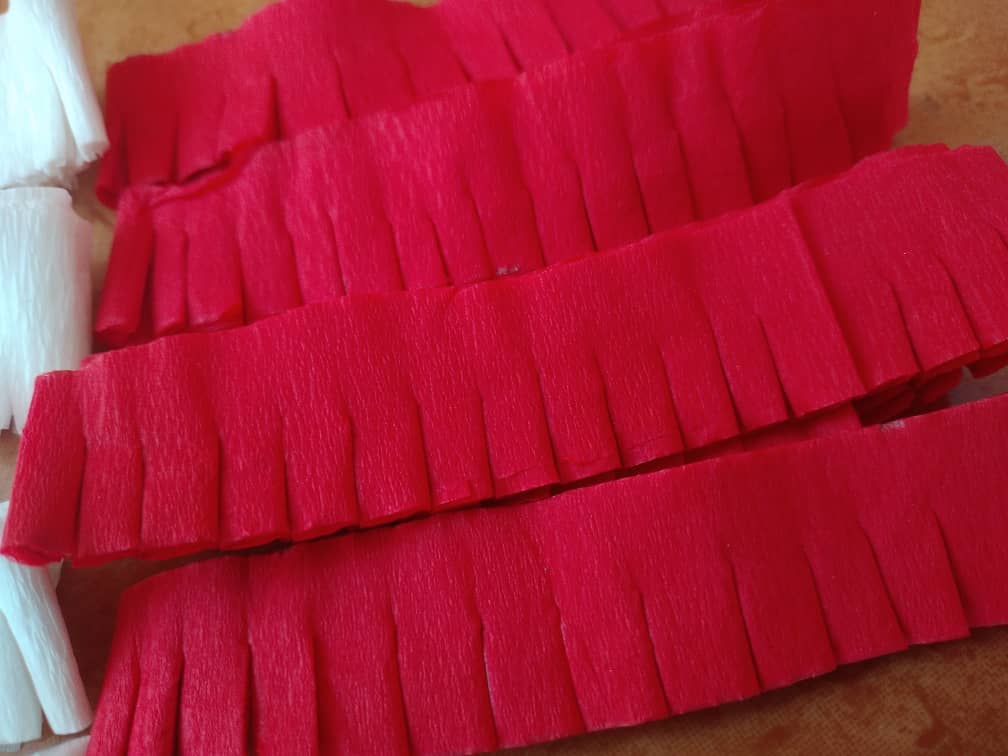
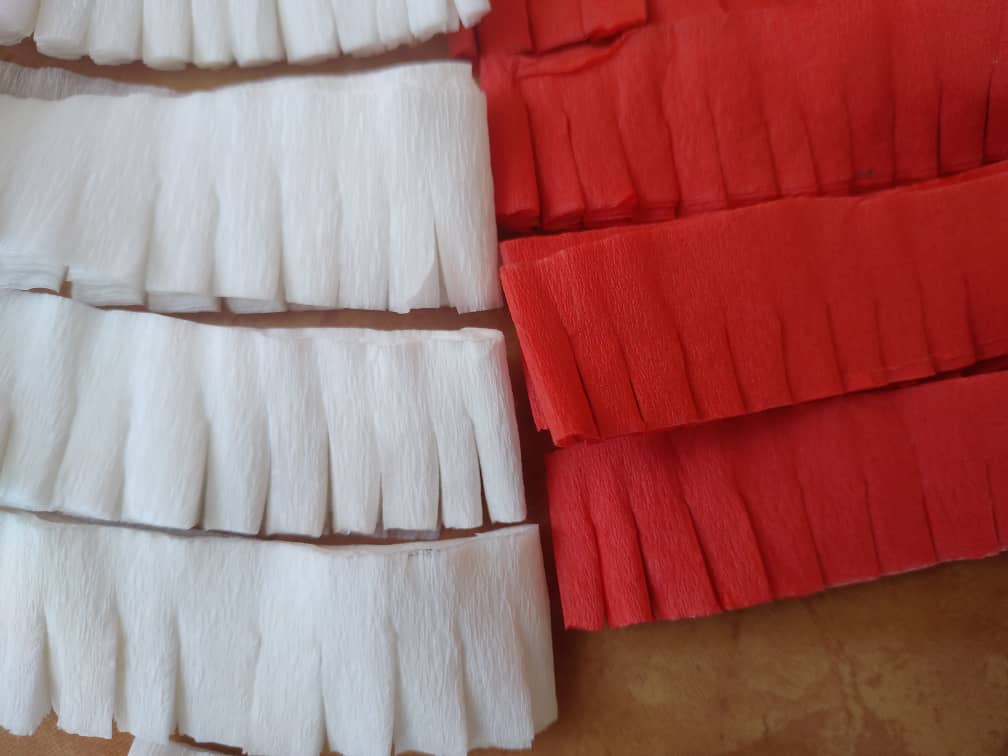
To line our piñata, we will take red and white crepe paper, cut strips approximately 2 cm wide, and cut fringes at the bottom, like this.
5✨
Como el crepe que use era muy claro, yo antes de pegar las tiras, forre muy bien la piñata con una capa de papel para darle fondo, y ya luego, pegue una a una las tira de papel con flecos de abajo hacia arriba hasta que toda la piñata quede cubierta.
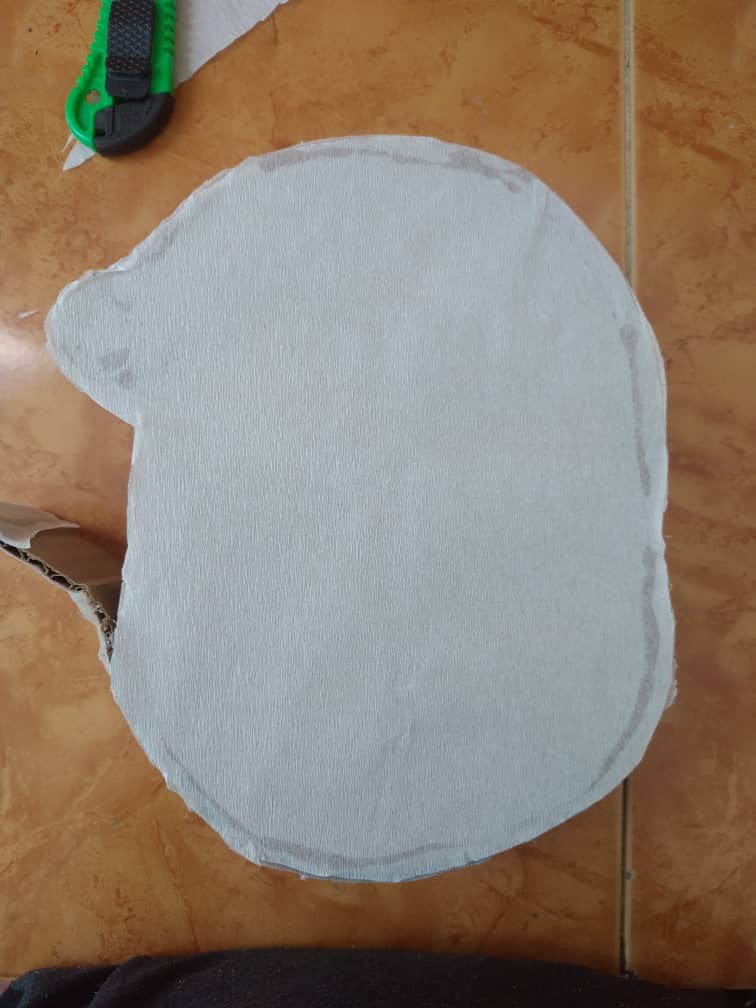
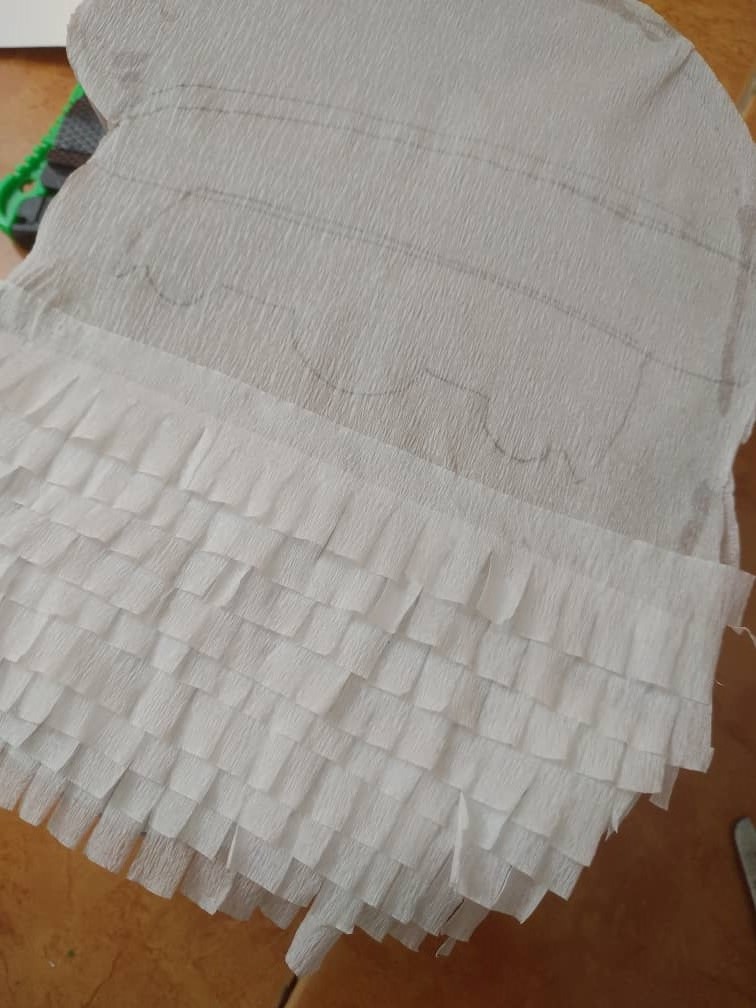
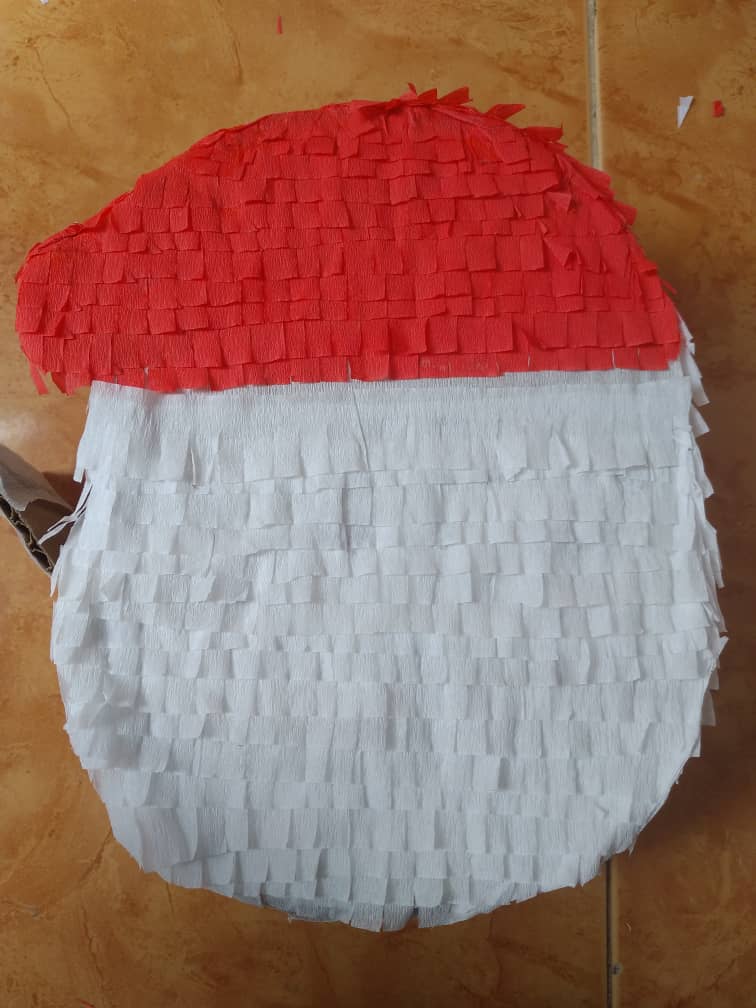
As the crepe I used was very clear, before gluing the strips, I lined the piñata very well with a layer of paper to give it a background, and then I glued the strips one by one fringed paper from bottom to top until the entire piñata is covered.
6✨
Para decorar, sacamos todas las piezas que conforman el rostro en foami y cartulina, para luego pegarlas una a una en la piñata, hasta que tenga este acabado.
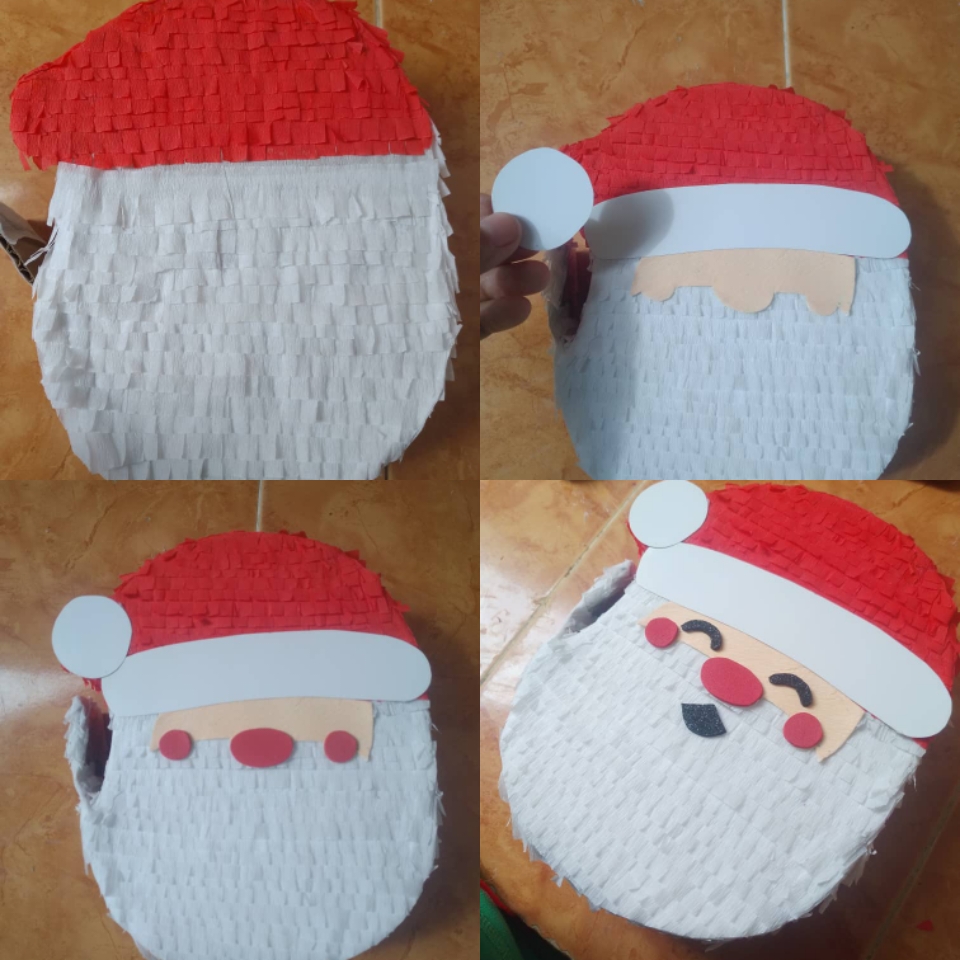
To decorate, we take out all the pieces that make up the face in foami and cardboard, and then glue them one by one in the piñata, until it has this finish.
7✨
Por último, para facilitar el abrir la piñata, cortaremos un trozo de foami y un tira de estambre. Pegamos el hilo a ambos extremos del foami de este modo. Y ya que haya secado, lo pegamos en la parte interna de la pestaña que hicimos anteriormente, hasta que se vea así.
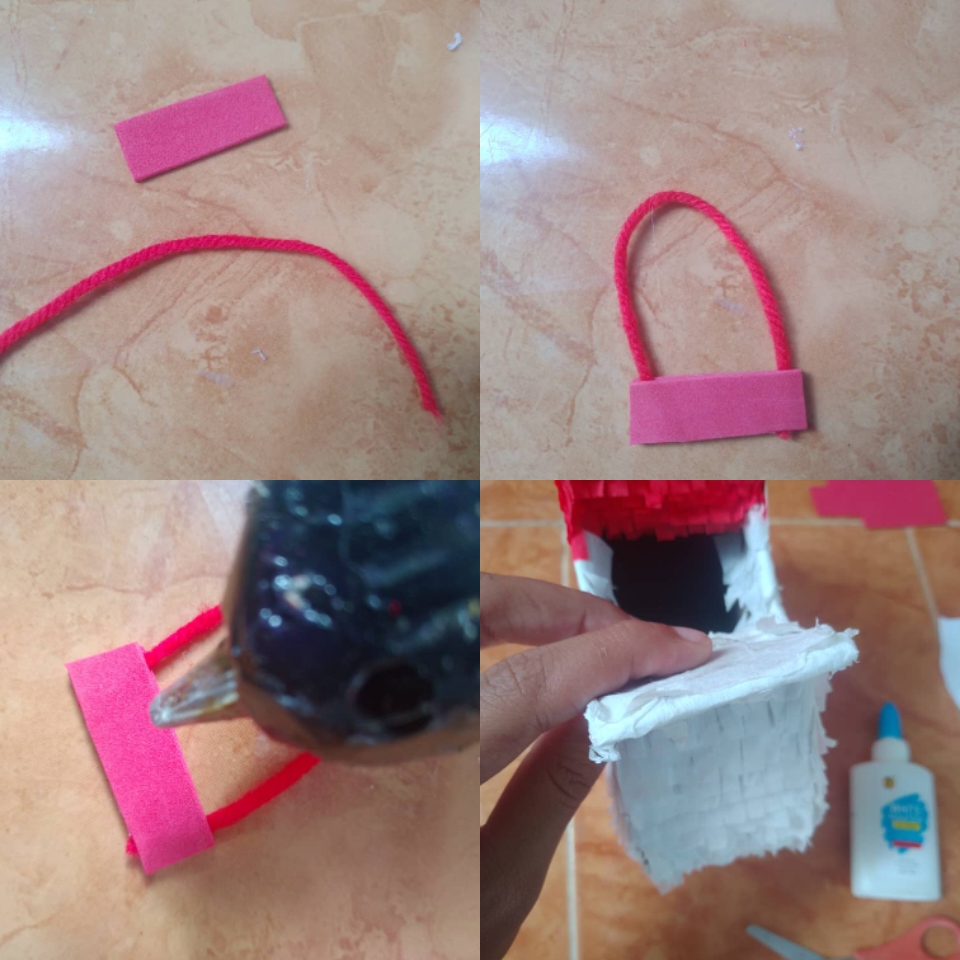
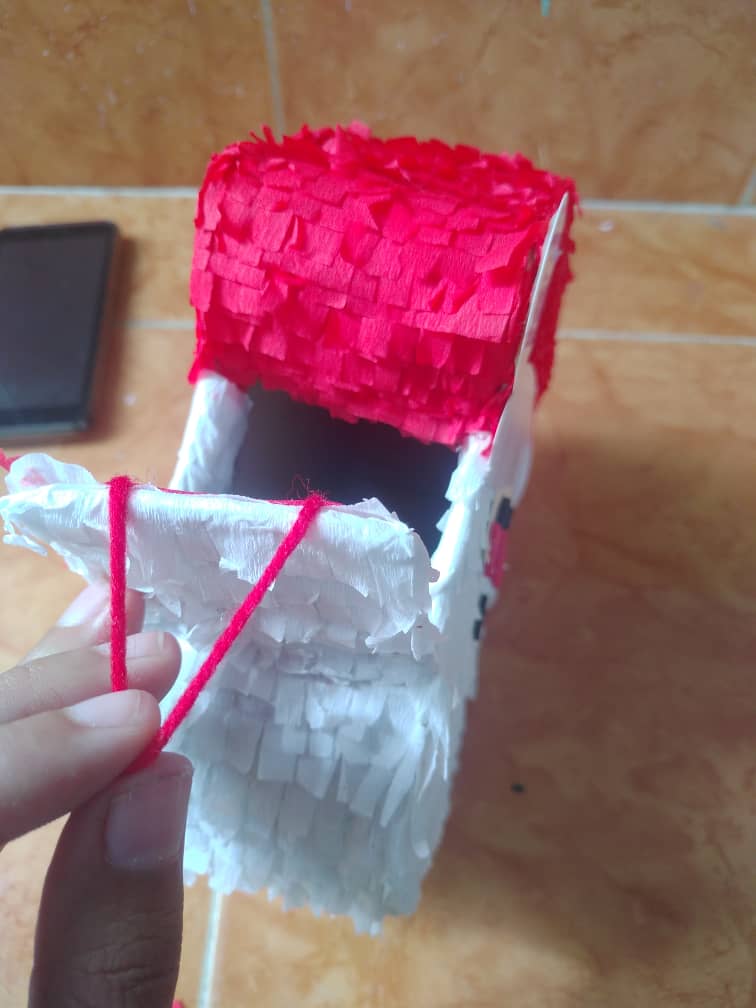
Finally, to make it easier to open the piñata, we will cut a piece of foam and a strip of yarn. We glue the thread to both ends of the foami in this way. And once it has dried, we stick it on the inside of the tab that we made earlier, until it looks like this.
¡Y listo! Así quedo nuestra piñata de Santa Claus
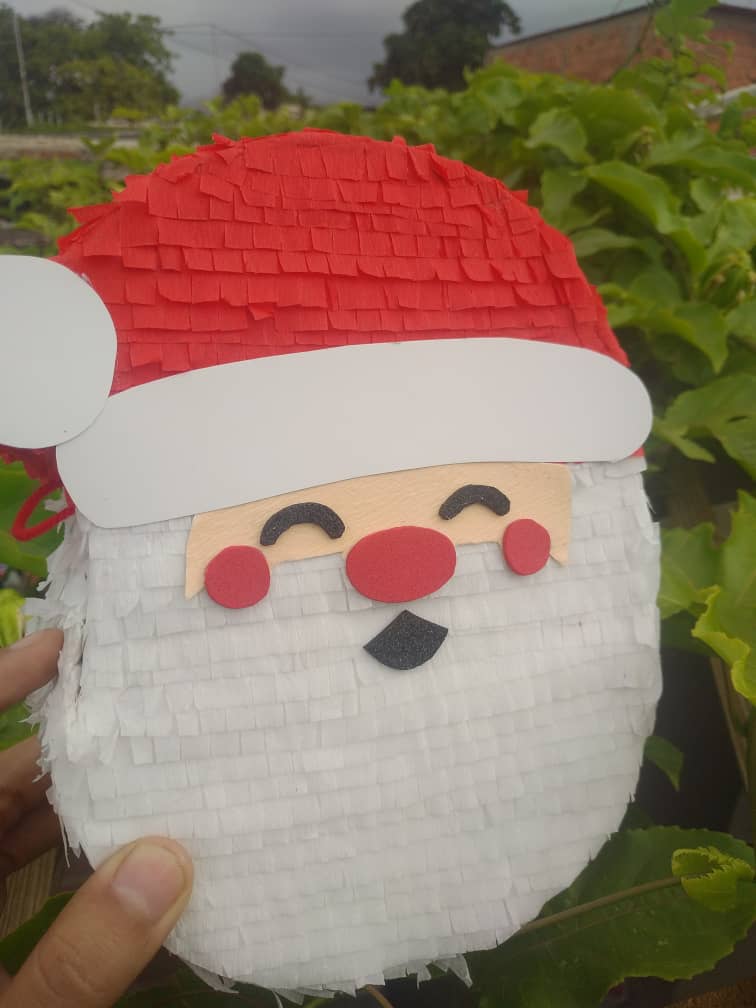
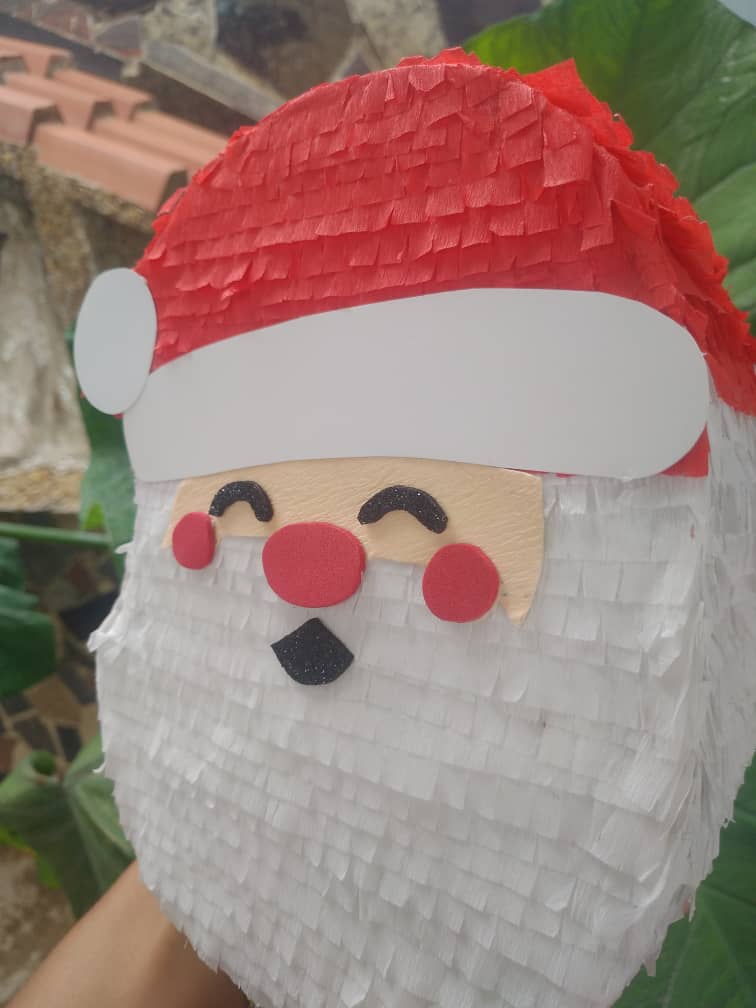
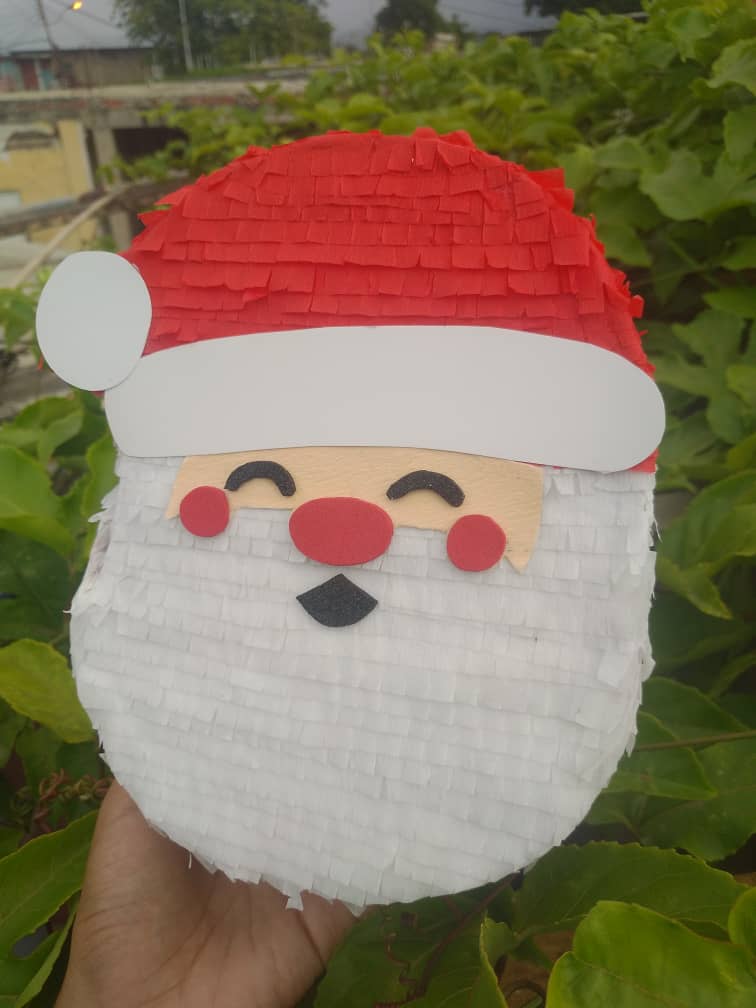
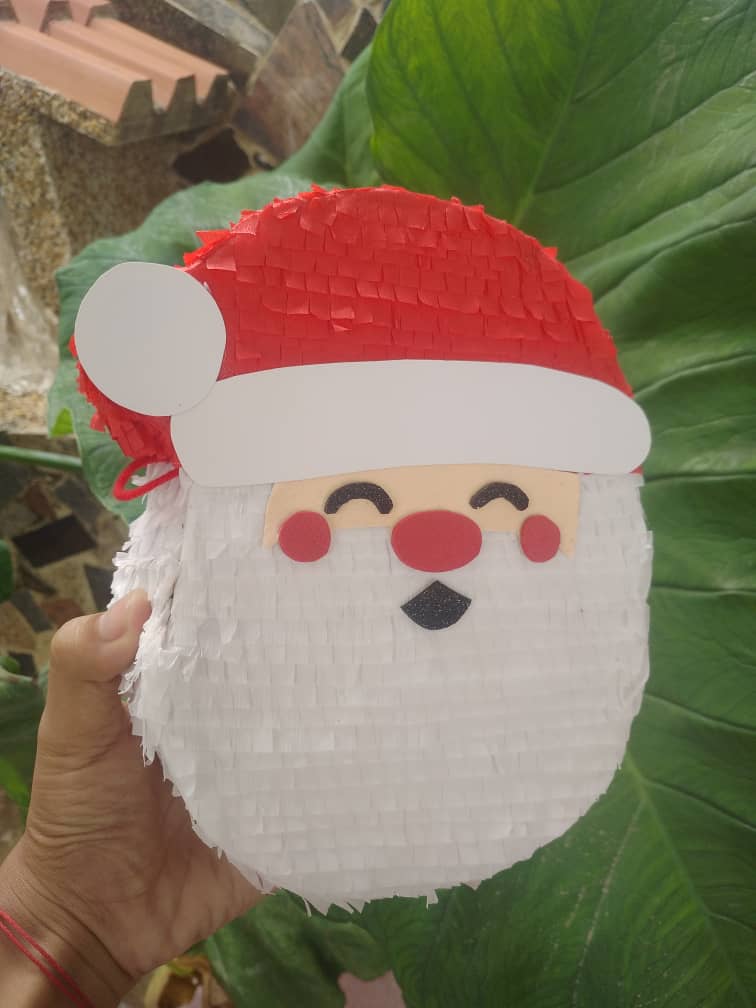
And voila! This is our Santa Claus piñata
Es una forma divertida de alegrar la navidad de los más pequeños y puede ser una gran idea para cualquier otra ocasión.
It's a fun way to brighten up Christmas for the little ones and can be a great idea for any other occasion.
Espero les guste e intenten hacer una como esta en sus casa.
I hope you like it and try to make one like this at home.
 🎄🎄🎄🎄🎄🎄
Congratulations @michell02! You have completed the following achievement on the Hive blockchain and have been rewarded with new badge(s):
Your next target is to reach 30 posts.
You can view your badges on your board and compare yourself to others in the Ranking
If you no longer want to receive notifications, reply to this comment with the word
STOPTo support your work, I also upvoted your post!
Support the HiveBuzz project. Vote for our proposal!