¡Hola, amigos de Hive! Saludos y bendiciones para todos ustedes.
Hello Hive friends! Greetings and blessings to all of you.
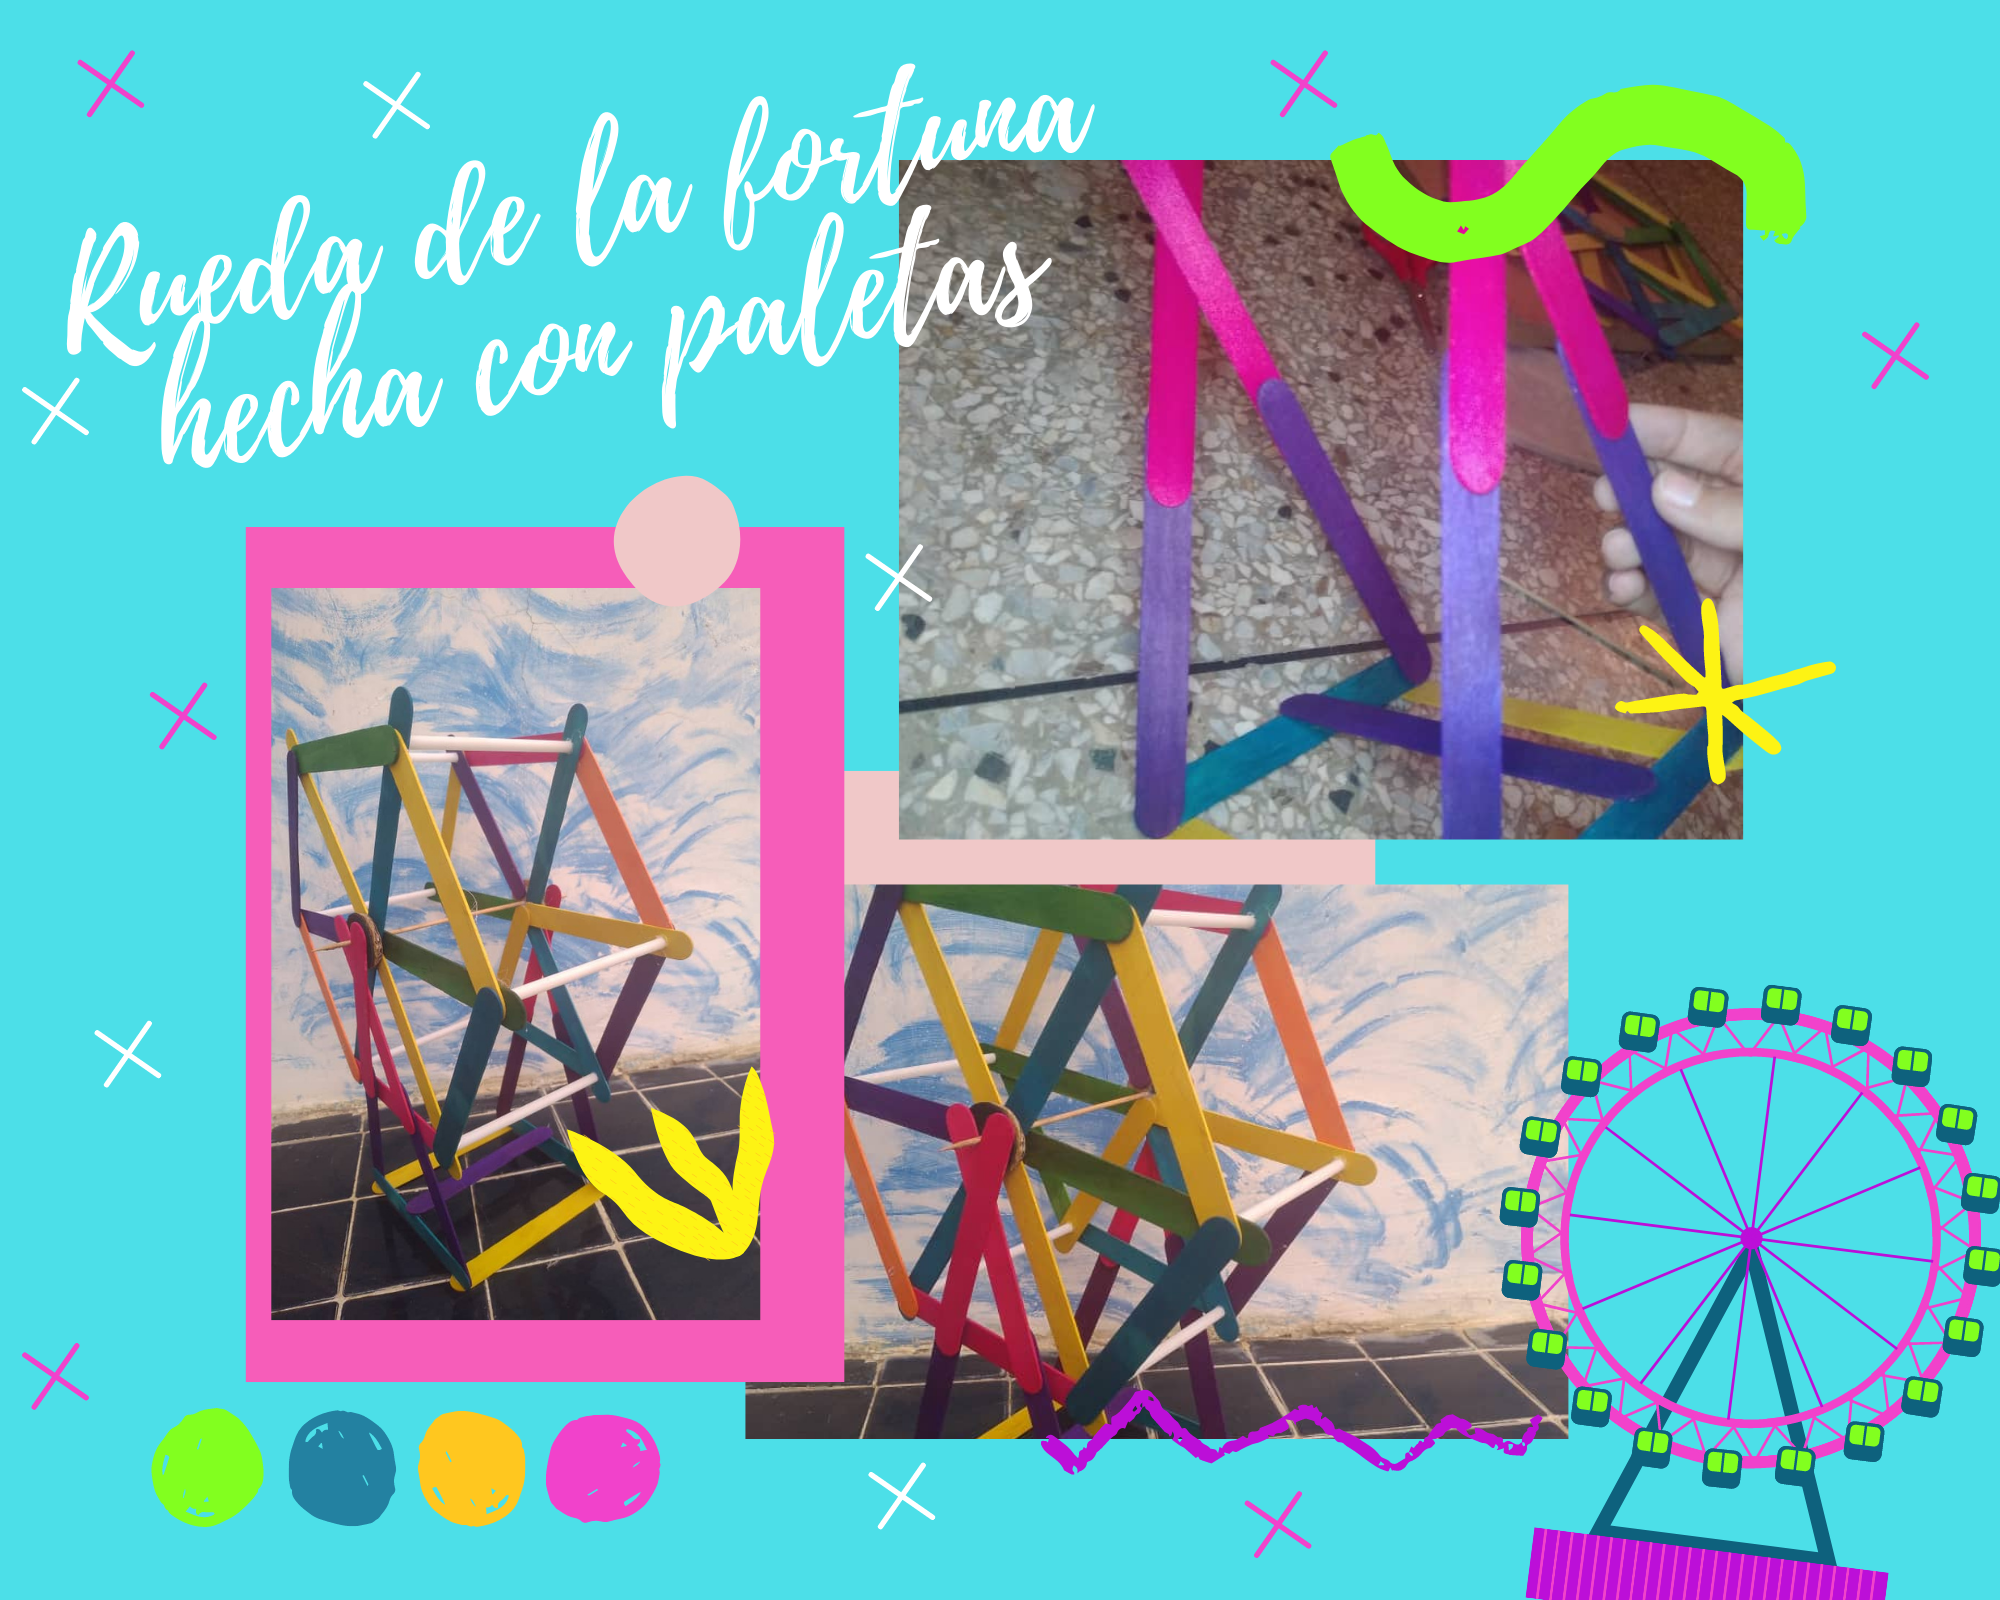
Estoy feliz de poder estar otra semana más en esta linda comunidad, y por eso, les traigo esta idea didáctica para los niños. Yo desde pequeña estudié en una escuela católica, en la que cada año nos hacían realizar diversos proyectos con un tema en específico, y ahora que estoy mayor, me doy cuenta que esta idea nunca se me ocurrió en ese tiempo, y la verdad es que me hacía falta. En este momento les mostrare como realizar una rueda de la fortuna hecha con paletas. Esta cumple con su movimiento y es un proyecto económico al necesitar tan solo paletas de helado.
I am happy to be able to spend another week in this beautiful community, and for that reason, I bring you this didactic idea for children. Since I was little I studied in a Catholic school, in which every year they made us carry out various projects with a specific topic, and now that I'm older, I realize that this idea never occurred to me at that time, and the truth is that I was missing that. At this time I will show you how to make a wheel of fortune made with paddles. This meets your movement and is an inexpensive project as it only needs popsicles.

- 37 paletas (del color que deseen)
- 6 palitos para globos
- Un trozo de cartón
- Pistola de silicón caliente
- Un palillo de altura
- 37 palettes (of the color they want)
- 6 balloon sticks
- A piece of cardboard
- Hot glue gun
- A toothpick tall
1✨
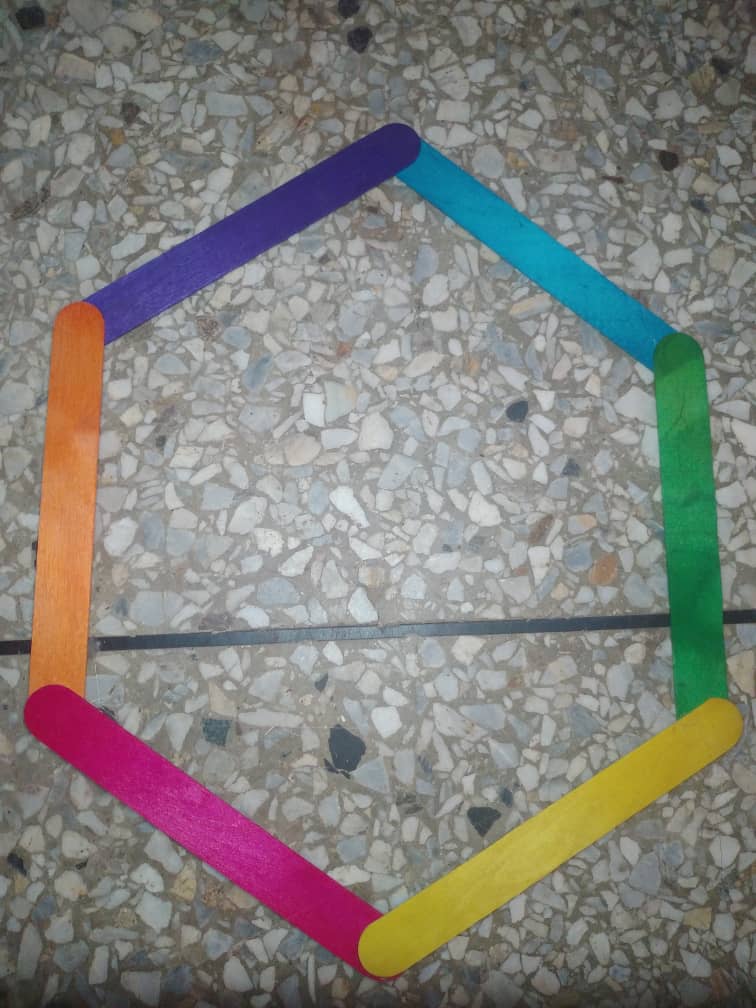
Necesitamos las 37 paletas para hace dos ruedas y la base de esta. Primero, tomamos dos paletas y las unimos de un extremo inclinando ambas, hasta hacer un Hexágono. Repetimos el mismo procedimiento con la otra rueda.
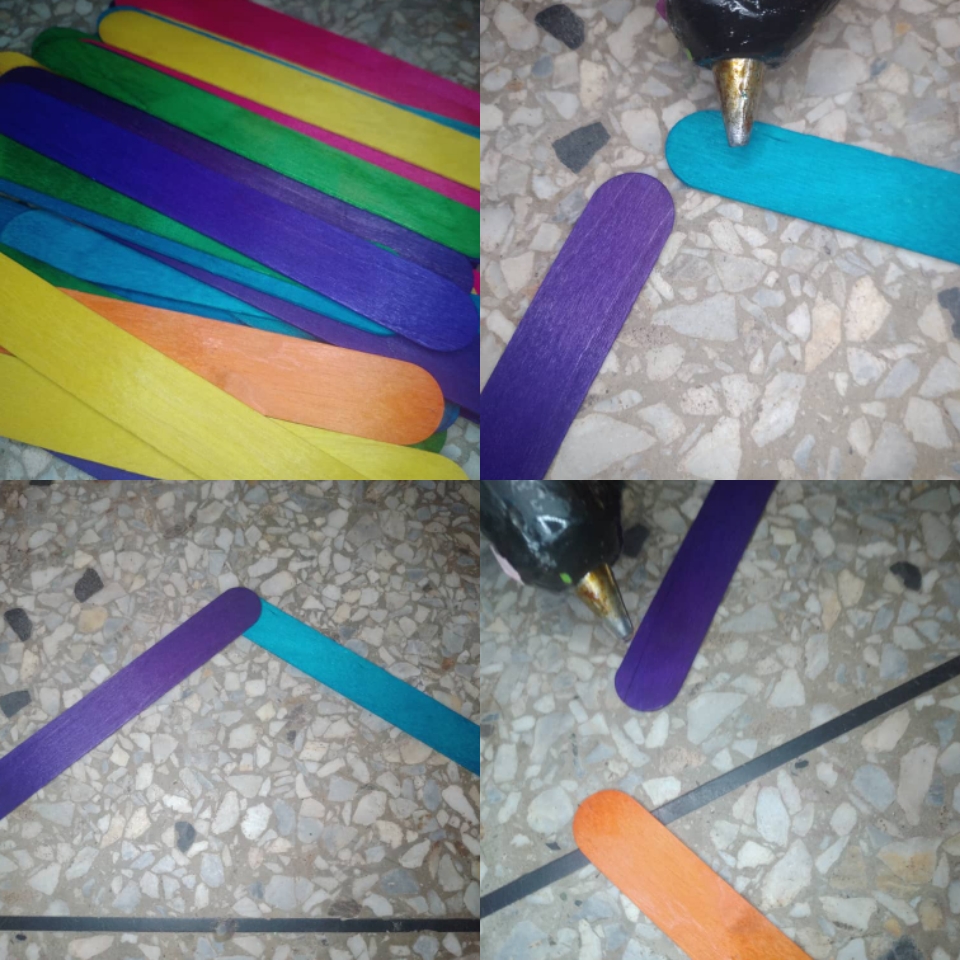
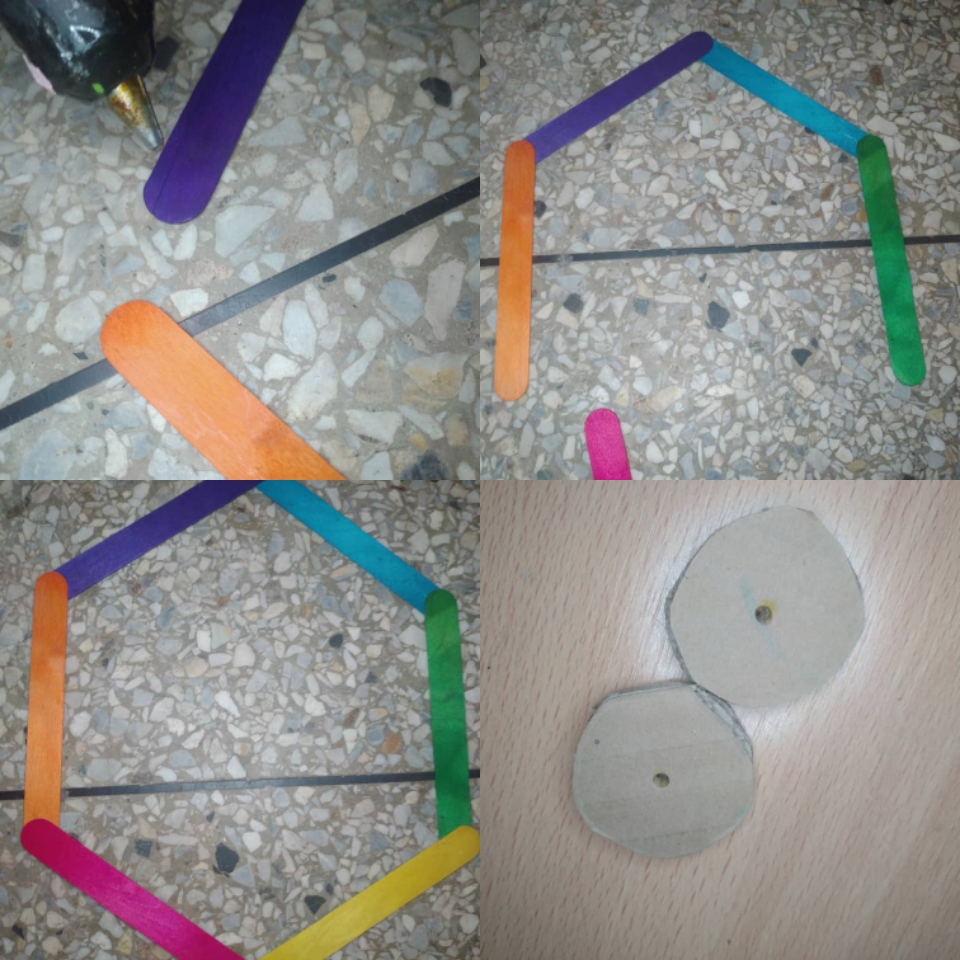
We need the 37 paddles to make two wheels and the base of this one. First, we take two pallets and join them at one end by tilting both, until we make a Hexagon. We repeat the same procedure with the other wheel.
2✨
Cortamos 2 círculos de cartón y le hacemos un pequeño orificio en el centro; este será el soporte para las paletas que colocaremos en el centro para estabilizar la rueda. Solo traten de no tapar el orificio que marcamos anteriormente.
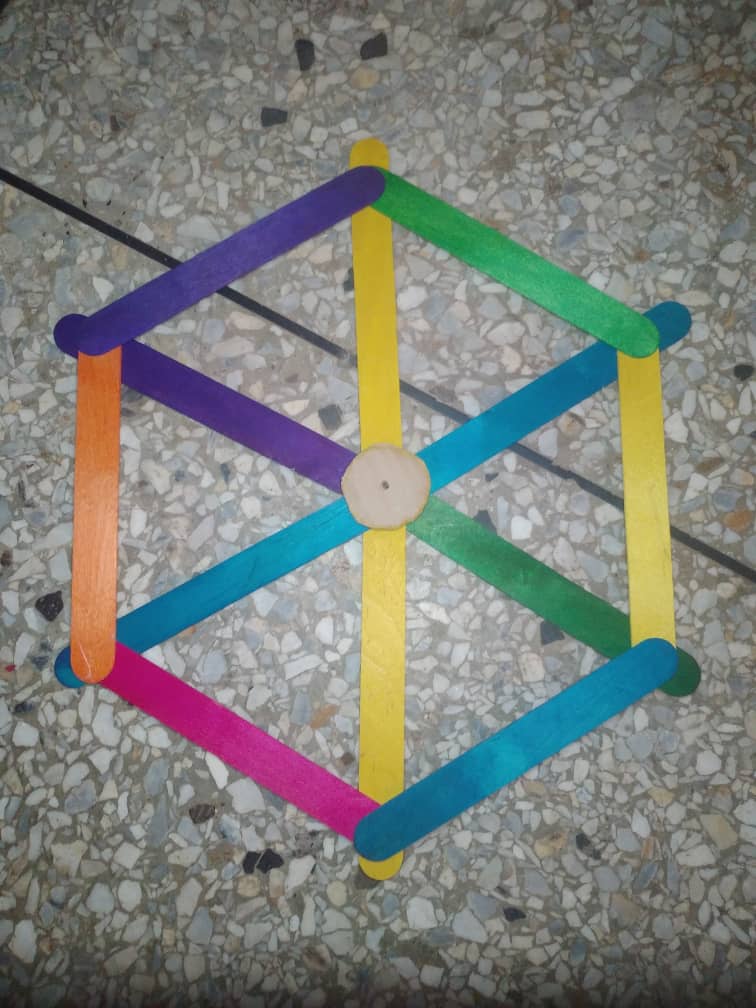
Cut 2 cardboard circles and make a small hole in the center; This will be the support for the paddles that we will place in the center to stabilize the wheel. Just try not to cover the hole we marked earlier.
3✨
Para poder unir las dos ruedas y hacer que esta gire sin que se destruya, tomaremos 3 palitos de globos y cortaremos trozos de 9 cm (necesitaremos 6). Pegamos en cada extremos del Hexágono con silicón caliente, y cuando estén firmes, unimos la otra pieza de cada extremos por el lado contrario de la pieza anterior, hasta que nos quede así
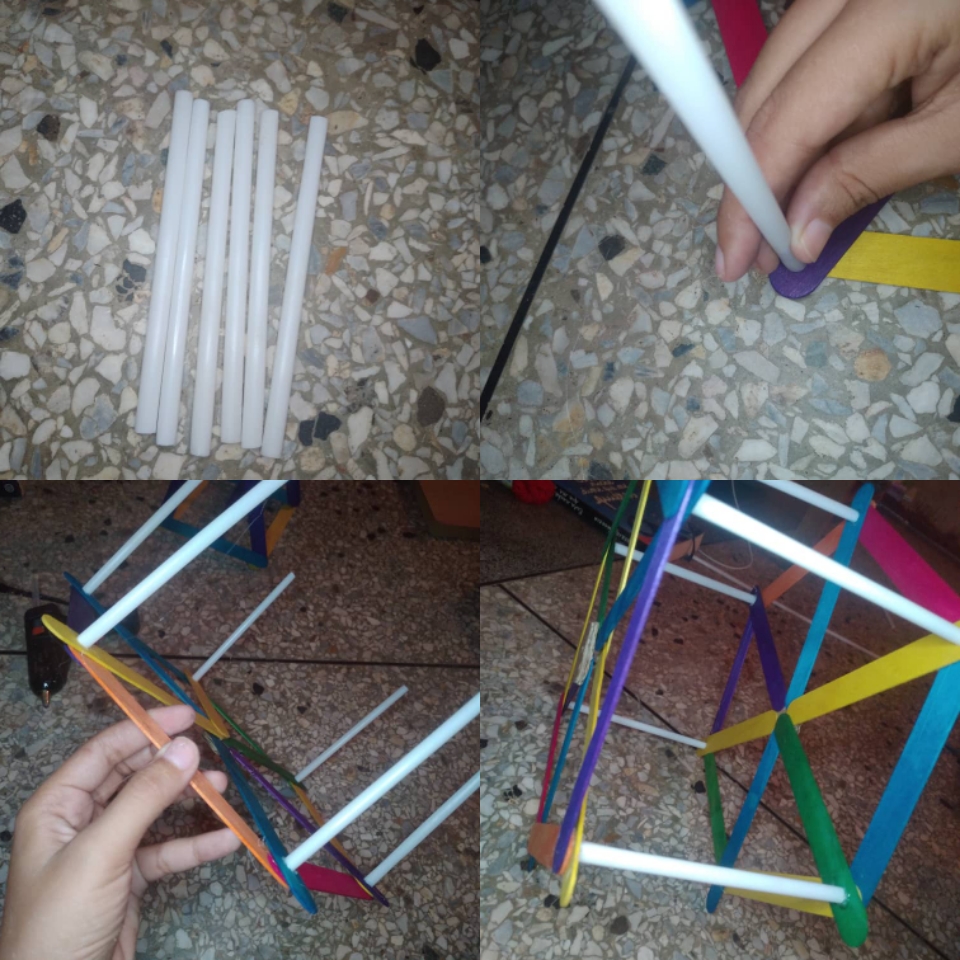
In order to join the two wheels and make it turn without destroying it, we will take 3 balloon sticks and cut 9 cm pieces (we will need 6). We glue on each end of the Hexagon with hot silicone, and when they are firm, we join the other piece of each end on the opposite side of the previous piece, until we are like this
4✨
Para la base y el soporte de la rueda de la fortuna; tomamos 8 paletas y pegamos por pares cada una de los extremos de esta. Hasta que nos queden 4 bastones de este modo. Cruzamos dos de estos bastones en la parte de arriba, dejando así una distancia de 10 cm en la parte inferior de estos, repetimos el mismo procedimiento con los otros dos.
Para hacer la base, colocamos dos paletas de forma paralela, para luego unirlas con paletas por los costados, cruzando otra en el centro de ambas; debemos tratar que las paletas que pegaremos a la base nos quede de este modo, para así poder pegar el soporte, así.
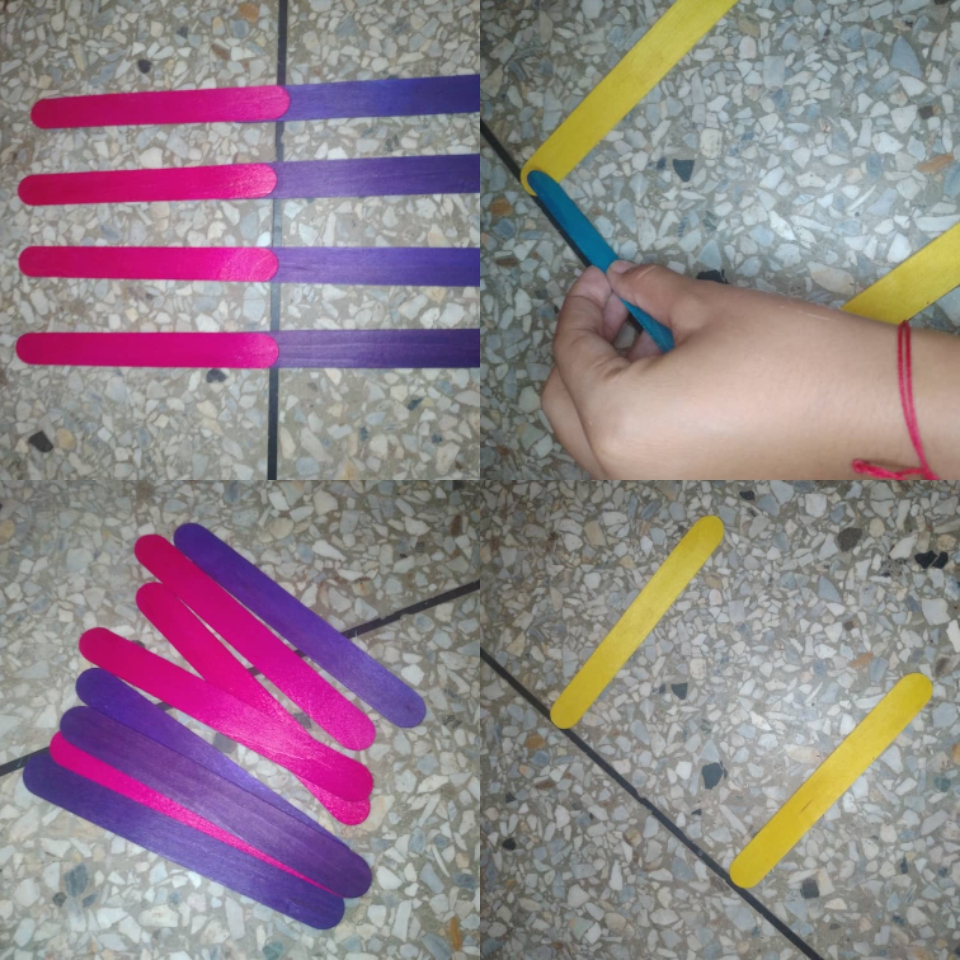
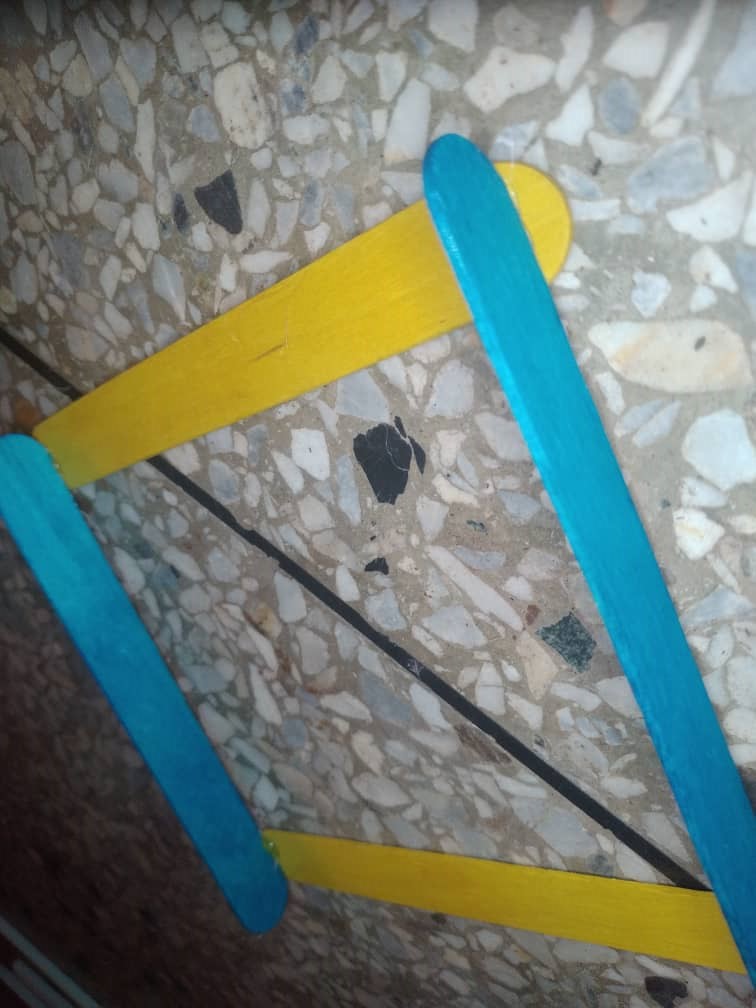
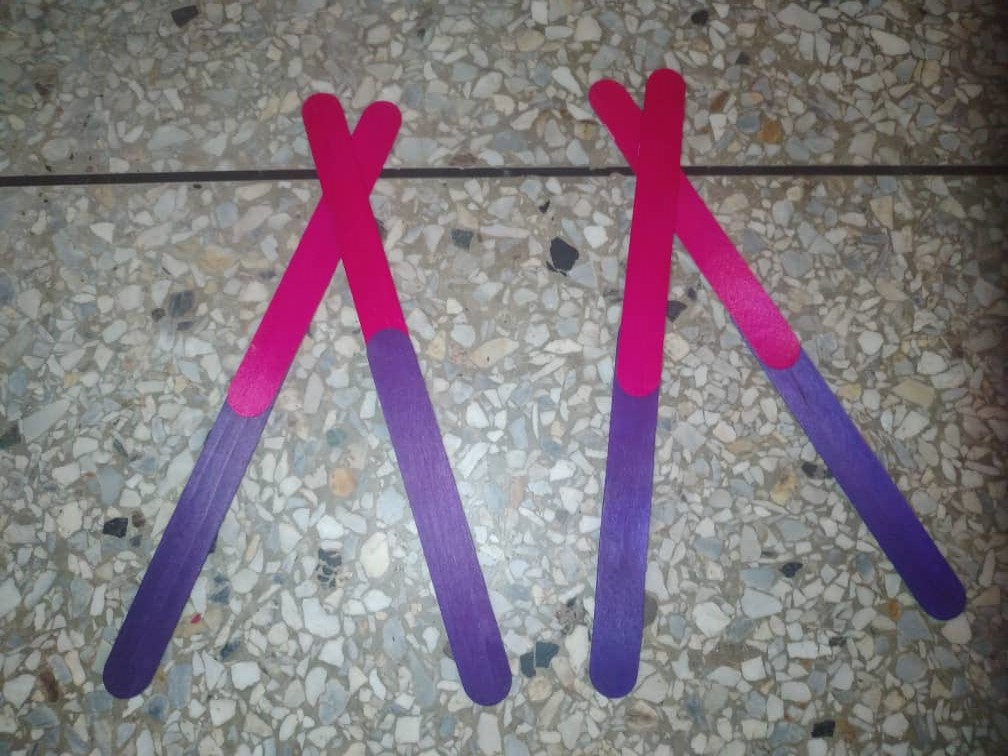
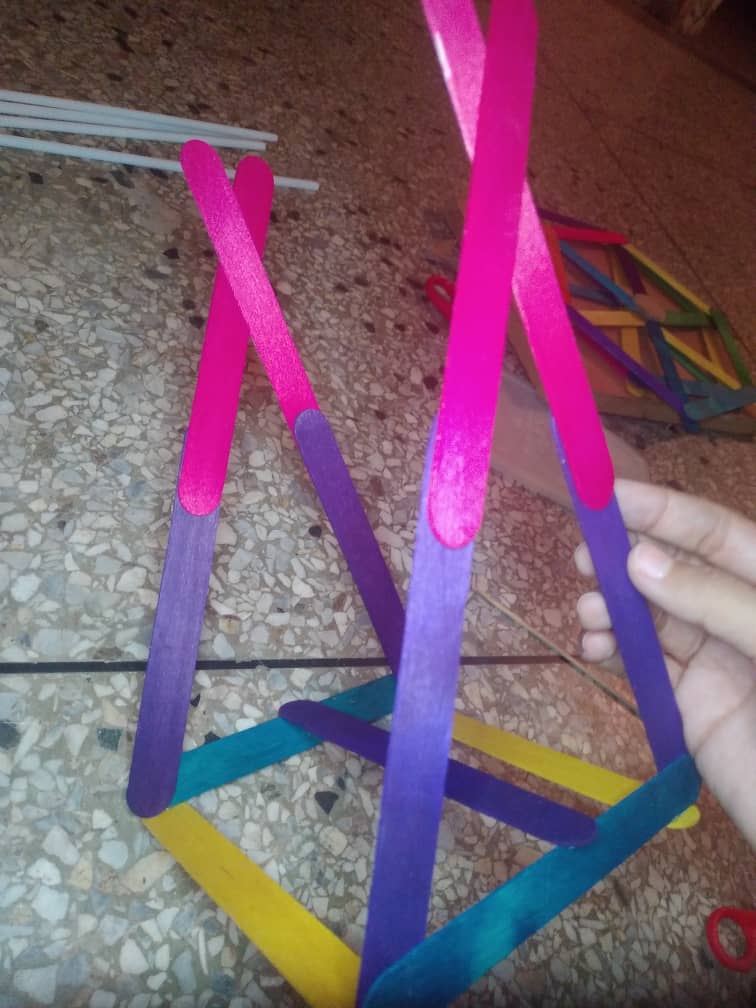
For the base and support of the Ferris wheel; We take 8 pallets and glue each of the ends of it in pairs. Until we have 4 sticks left in this way. We cross two of these poles in the upper part, thus leaving a distance of 10 cm in the lower part of these, we repeat the same procedure with the other two.
To make the base, we place two pallets in parallel, and then join them with pallets on the sides, crossing another one in the center of both; We must try that the pallets that we will glue to the base remain in this way, in order to be able to glue the support, like this.
5✨
Por último, introducimos un palillo de altura en el centro de la rueda por el orificio que hicimos anteriormente. Y colocamos la rueda en el centro de soporte que hicimos, sosteniéndose del palillo en ambos extremos.
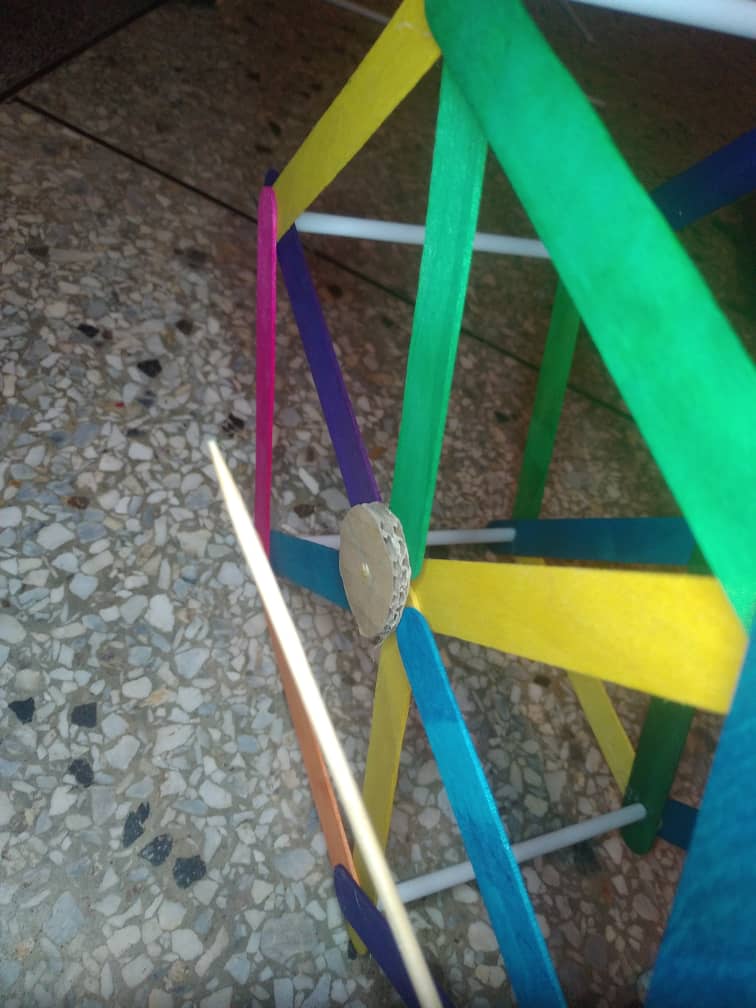
Finally, we insert a tall toothpick in the center of the wheel through the hole we made earlier. And we put the wheel in the support center that we made, holding it by the toothpick at both ends.
Y listo, ¡así quedó nuestra rueda de la fortuna!
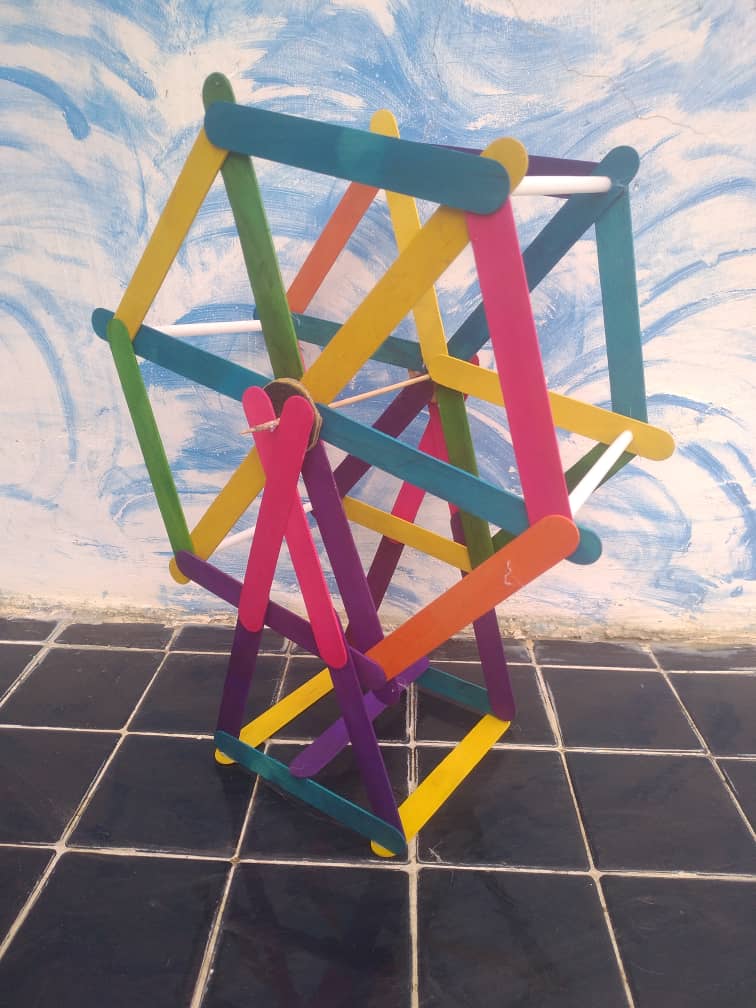
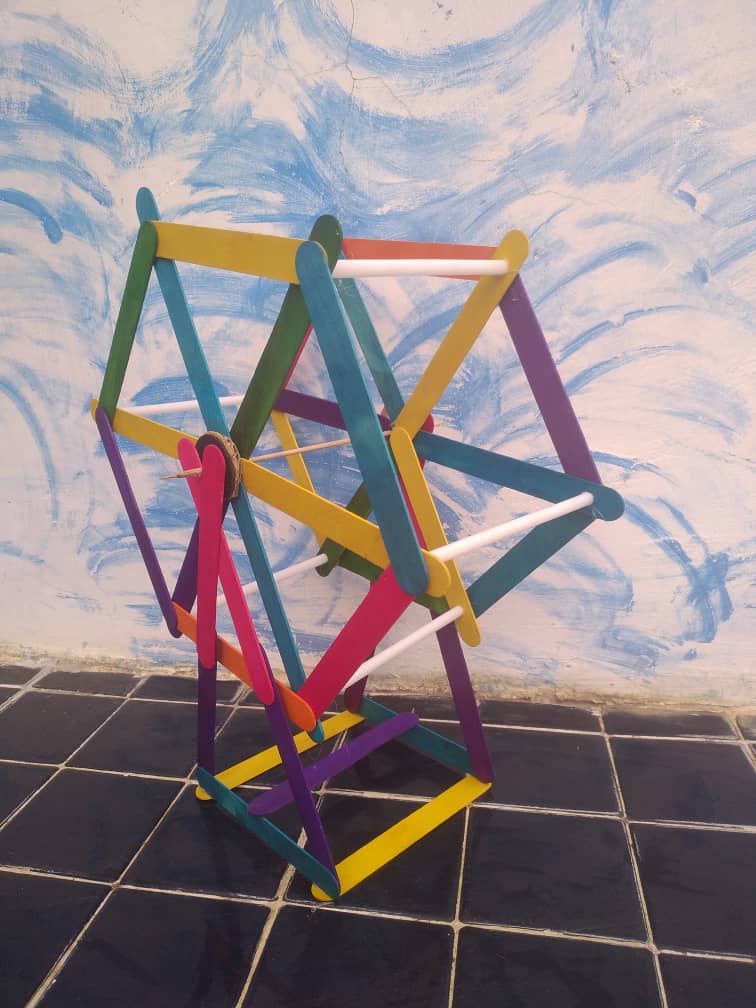
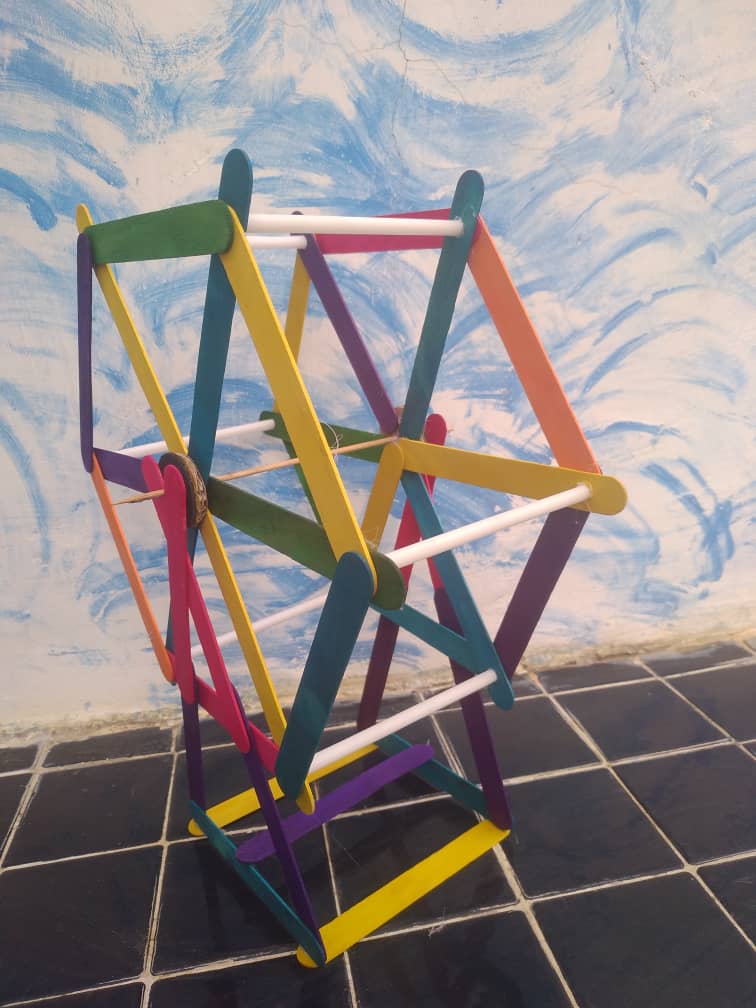
And voila, this is our wheel of fortune!
De verdad espero que esto sea de su agrado y que los ayude en algún proyecto, o simplemente como decoración.
I really hope this is to your liking and that it helps you in a project, or simply as a decoration.
Gracias por leerme y darme su apoyo, mis mejores vibras para ustedes.
Thanks for reading and supporting me, my best vibes to you.
Portada: Canva
💜💜💜💜💜💜💜💜
I really hope this is to your liking and that it helps you in a project, or simply as a decoration.
Gracias por leerme y darme su apoyo, mis mejores vibras para ustedes.
Thanks for reading and supporting me, my best vibes to you.