¡Hola, amigos de Hive! Hoy les mostrare como realizar este lindo cake topper de letra R.
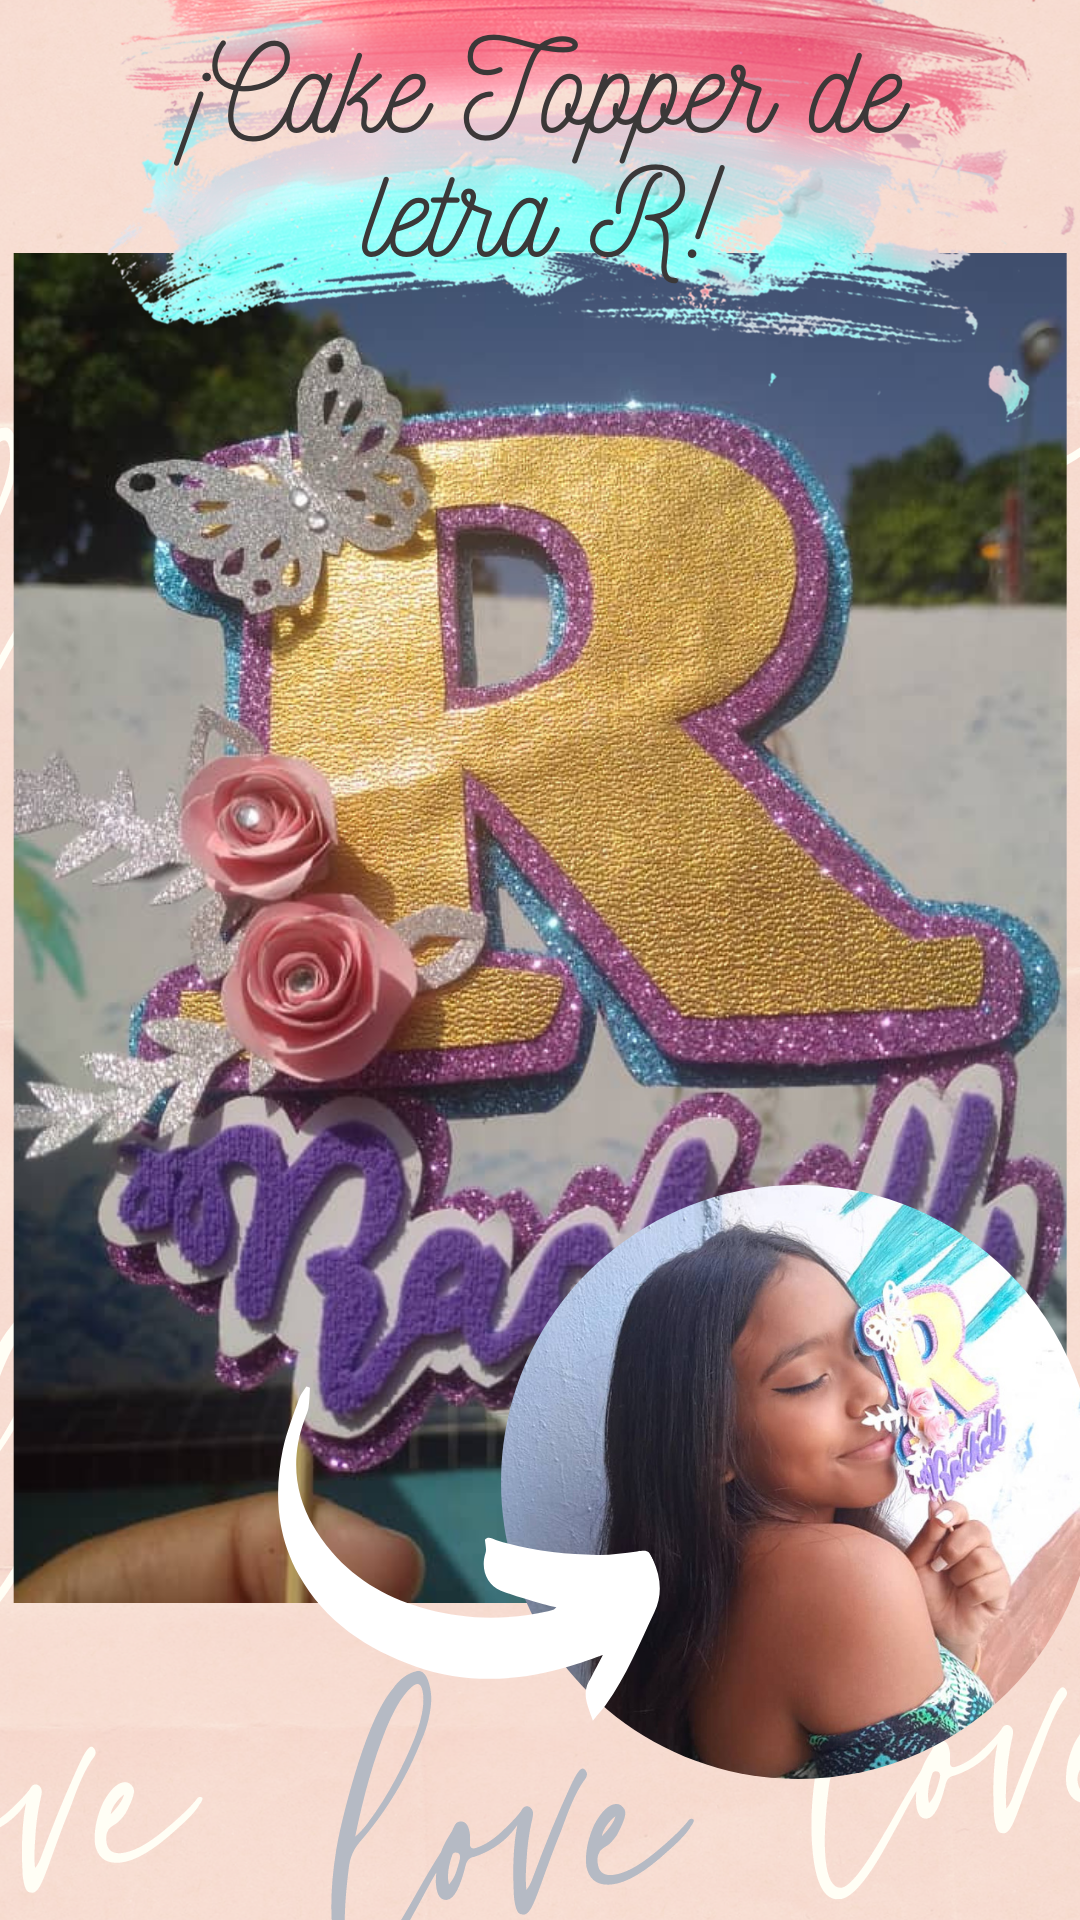
Hello Hive friends! Today I will show you how to make this cute letter R cake topper.
My sister was on her birthday, so I wanted to make her something very in her style, and in itself, this topper was used to decorate her cake, it can be reused to decorate notebooks, folders, etc. It is a simple idea, and very nice.

- 3 láminas de foami del color que desees (en mi caso fue, azul y dos tonos distintos de morado)
- 1 pliego de cuerina dorada
- 1 lamina de cartulina blanca
- 1 lamina de cartulina rosada
- 1 trozo de cartulina plateada
- Tijeras
- Silicón liquido
- Un palillo de altura
- Una hojilla, bisturí o exacto (lo que se les haga más fácil usar)
- 3 sheets of foam of the color you want (in my case it was blue and two different shades of purple)
- 1 sheet of golden leatherette
- 1 sheet of white cardboard
- 1 sheet of pink cardboard
- 1 piece of silver cardstock
- Pair of scissors
- Liquid silicone
- A tall toothpick
- A blade, scalpel or exact (whichever is easier for them to use)
1✨
De este modo quedarán 3 “R” de distinto tamaño
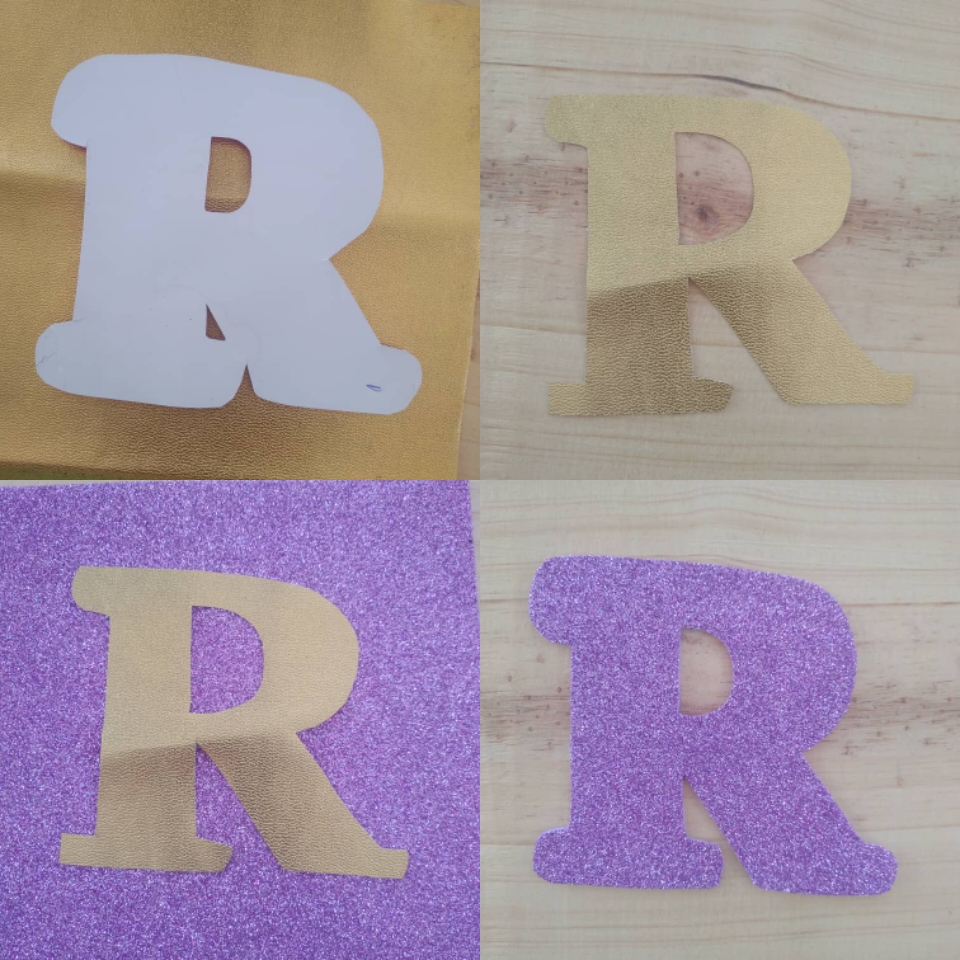
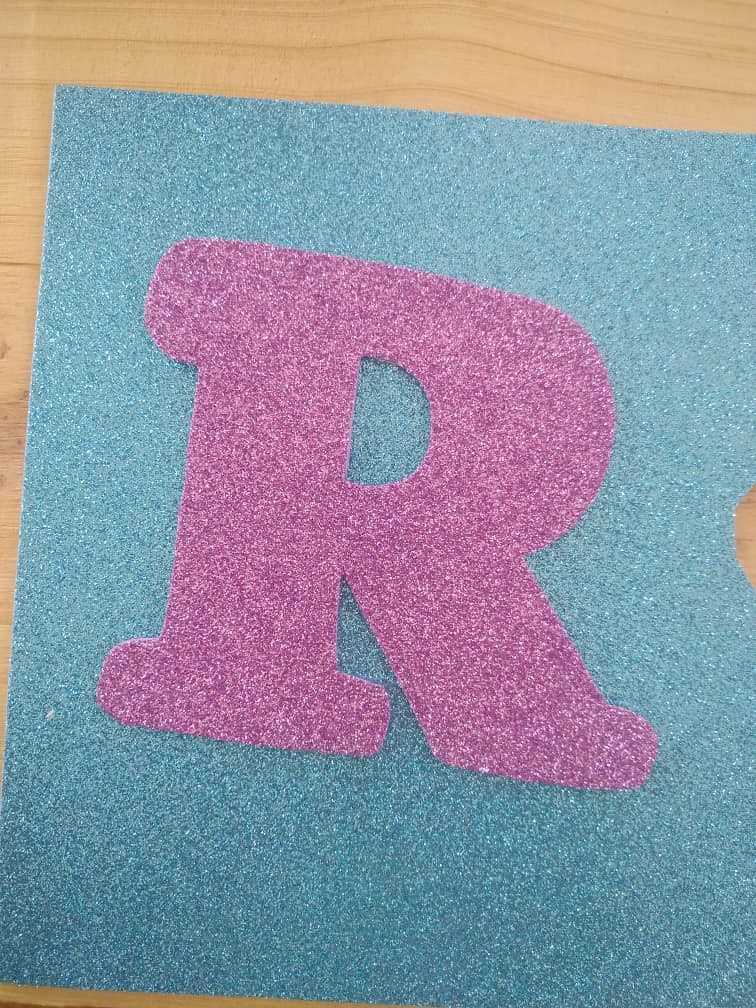
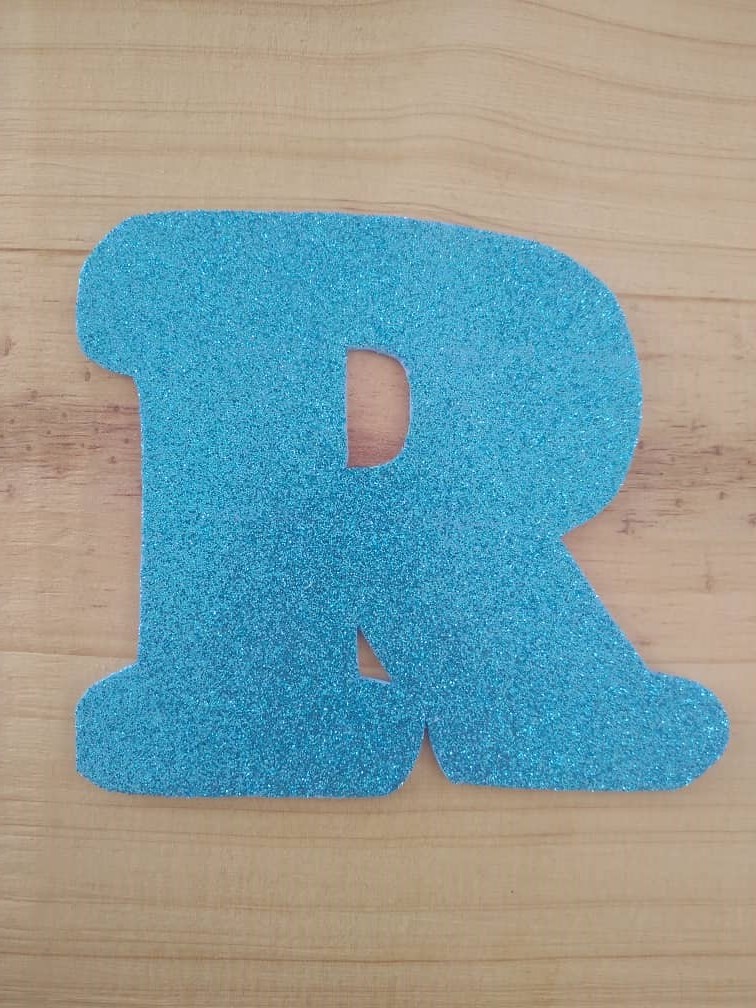
After making a mold of all the pieces of the topper, we cut out and began to mark the silhouette of the letter R on our leather. We cut, and once we have the piece, we place it in the frosted purple foami and mark the silhouette leaving a millimeter of distance so that there is an edge, we cut and do the same procedure with the last layer that remains. In this way, there will be 3 "R" of different sizes.
2✨
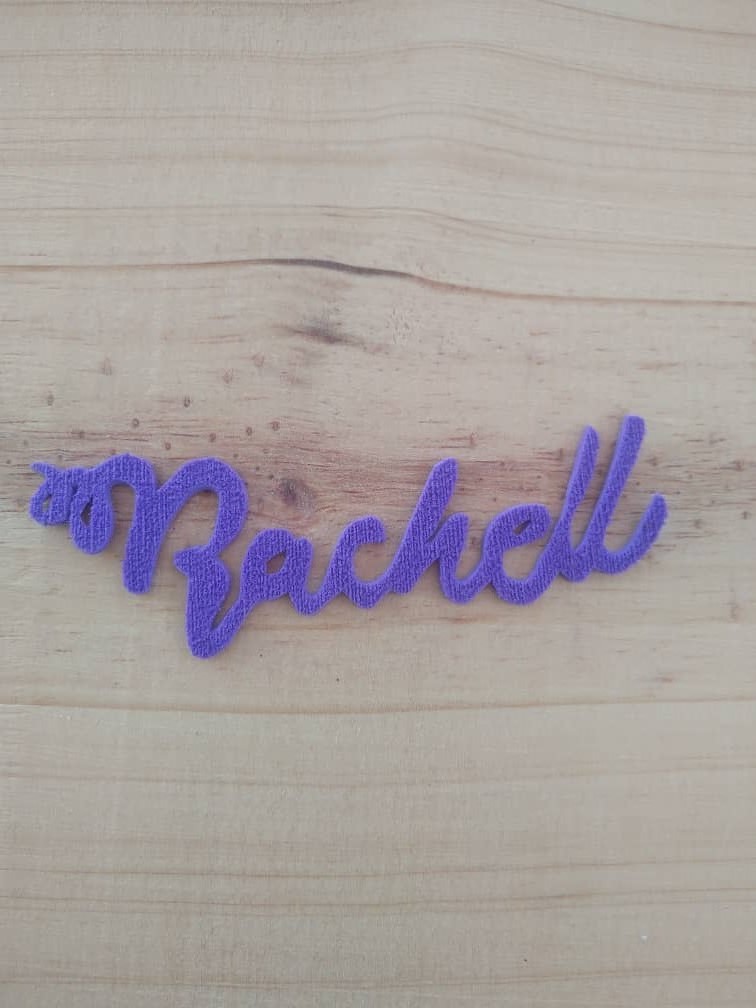
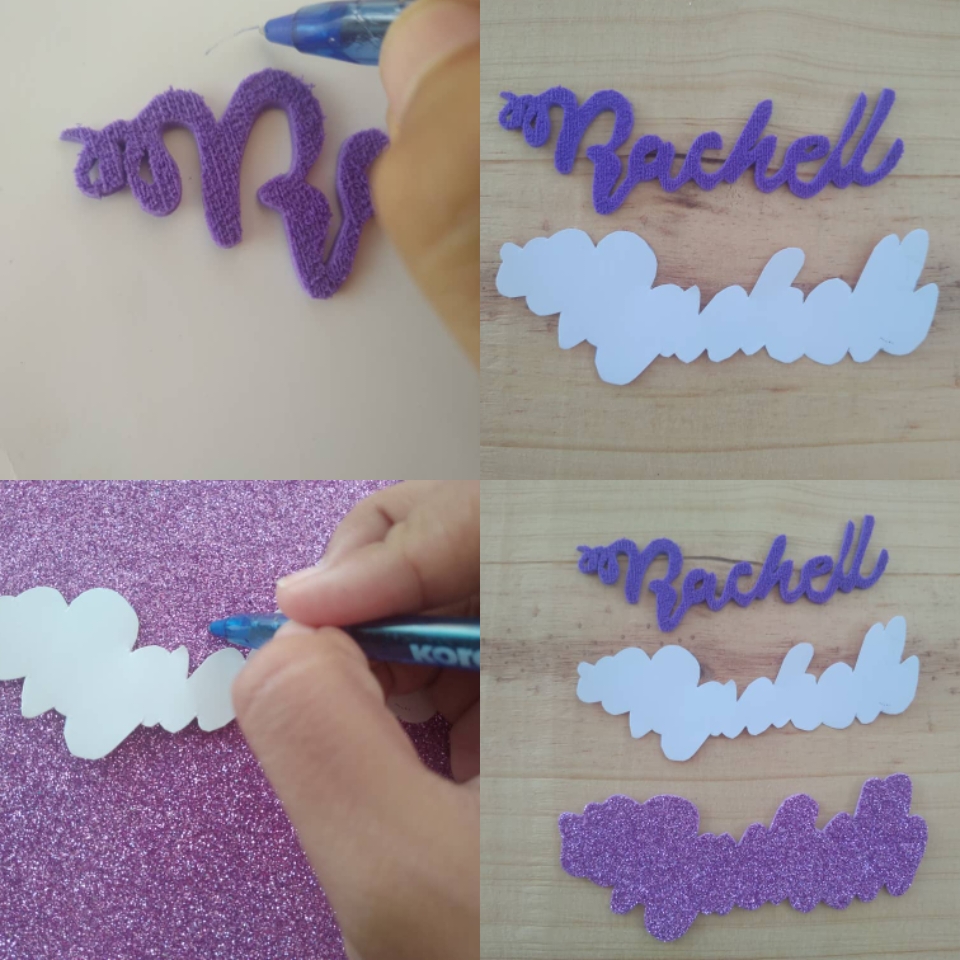
In the case of the name that goes next to the "R", I marked it in a purple suede-style foami and cut it, since I had it ready, proceed to make the two remaining layers, tracing the silhouette on the bench, leaving a millimeter away and repeating the same procedure with the purple foami, until it is like this.
3✨
Repetimos el mismo procedimiento con el nombre.
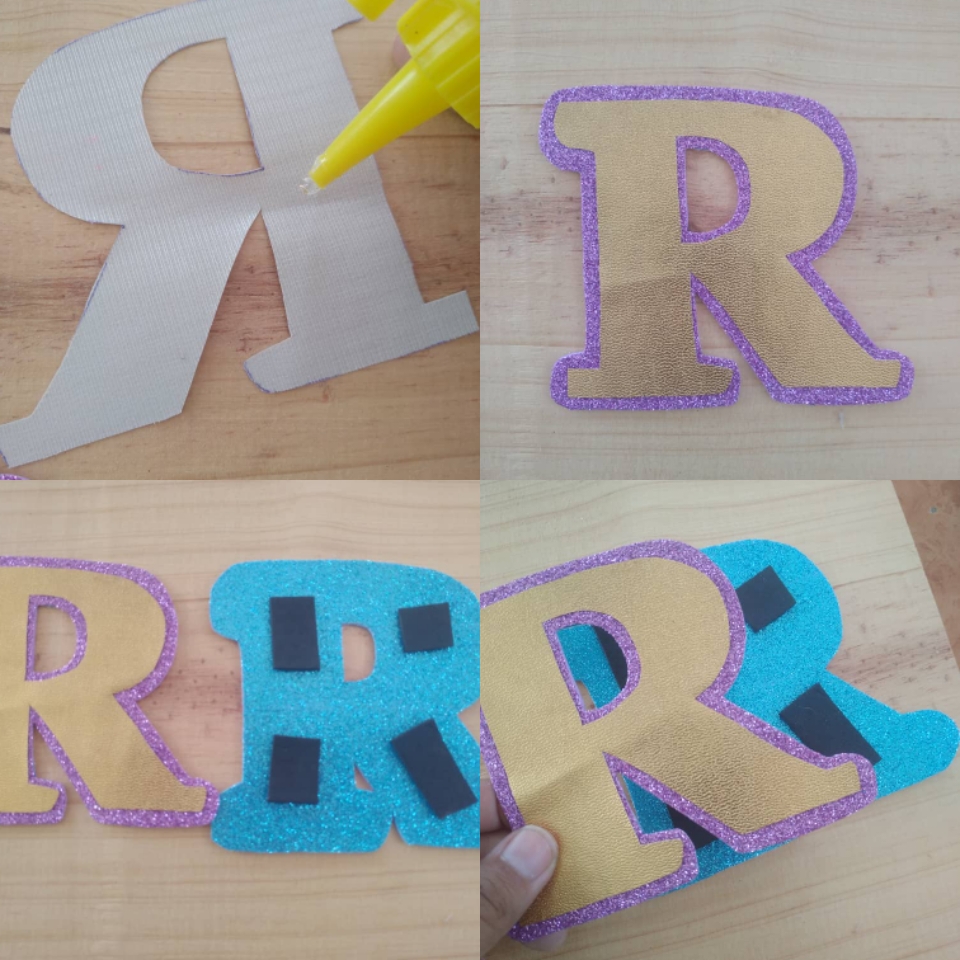
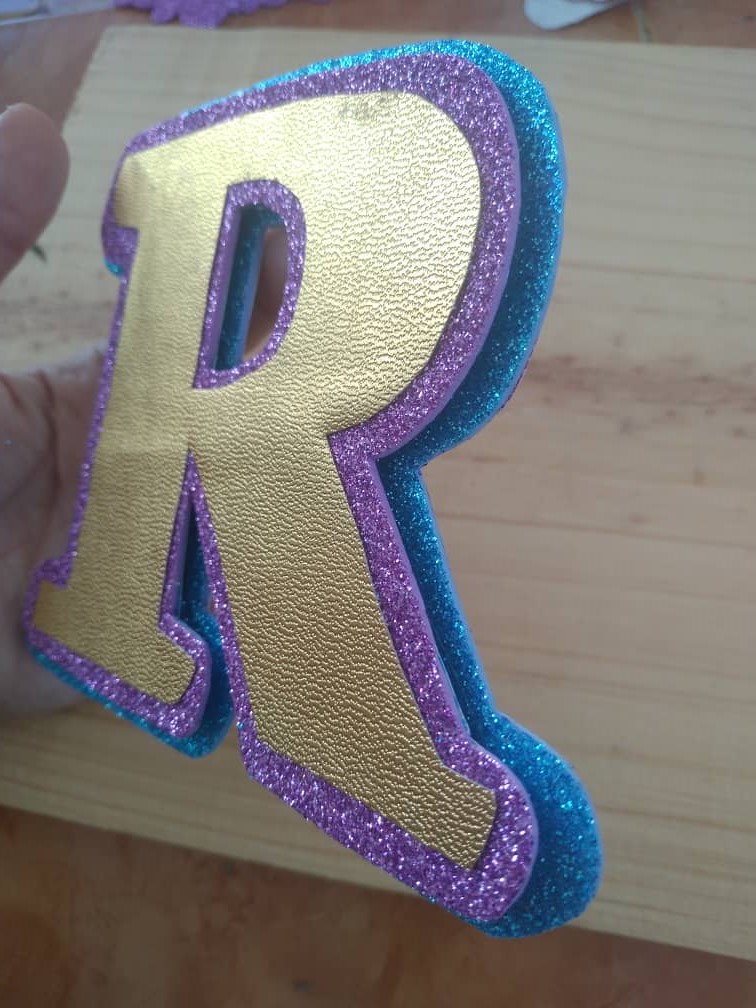
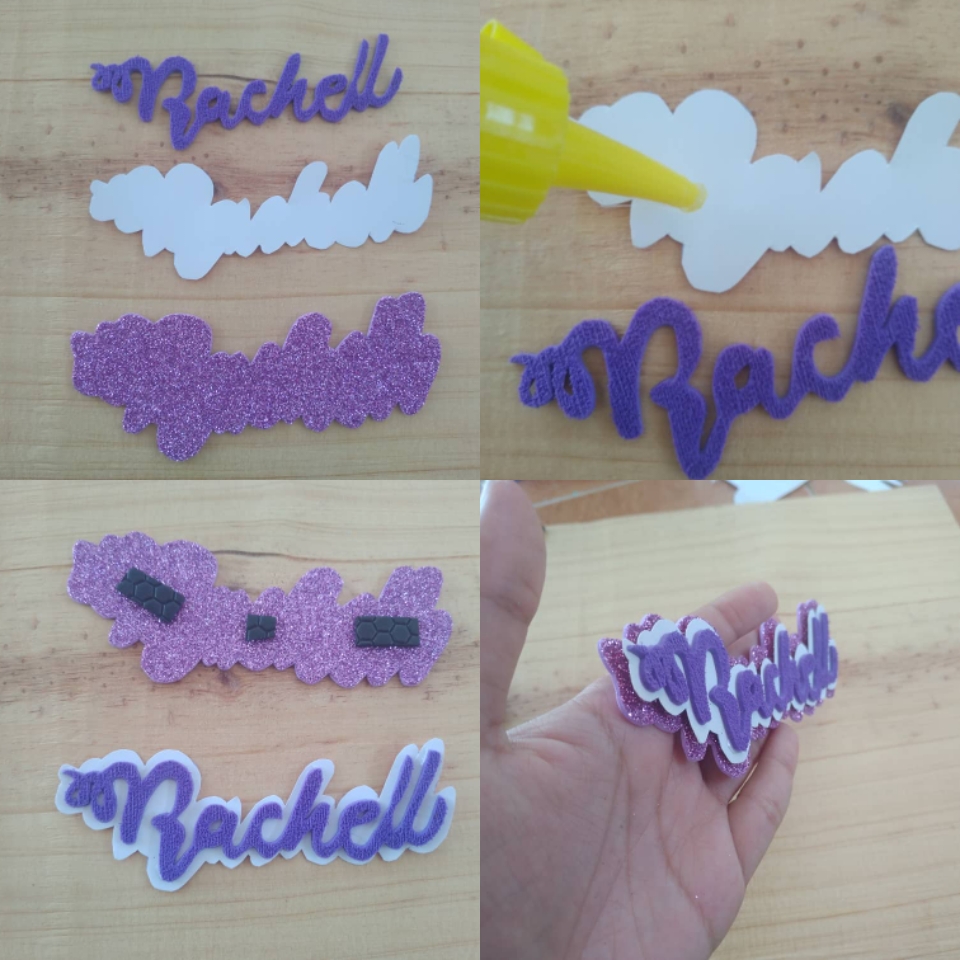
We take the golden leatherette, and stick it on the piece of golden foami and let it dry well. Then we carefully glue pieces of foami on the layer of blue foami, so that when placing the other piece there is a gap. We glue the two remaining pieces with silicone and let them dry.We repeat the same procedure with the name
4✨
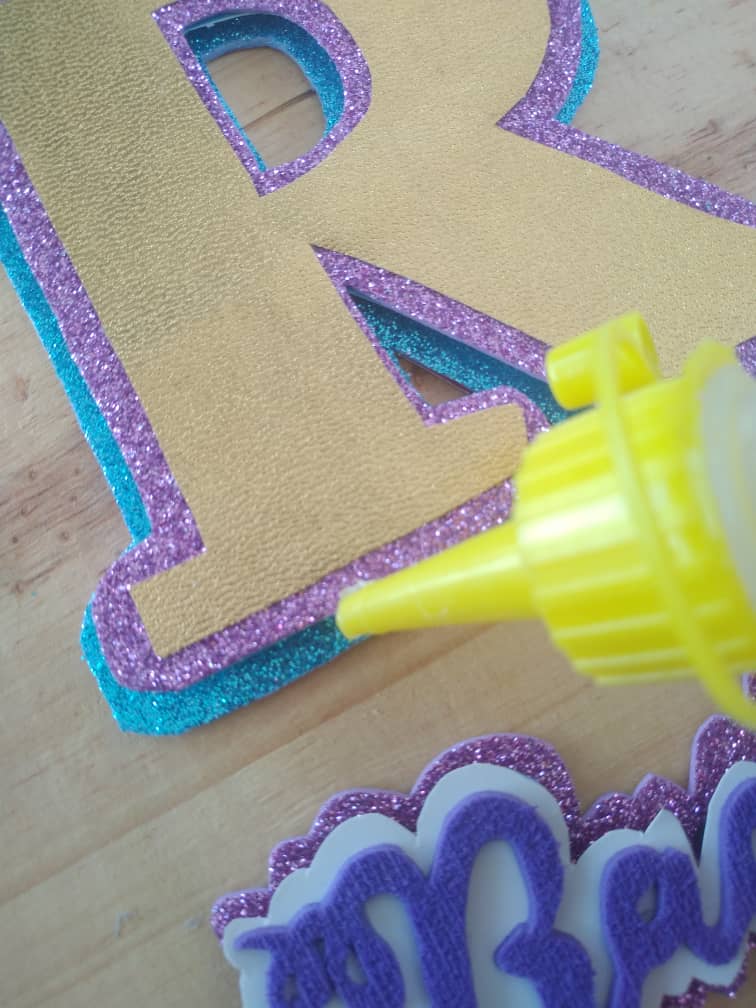
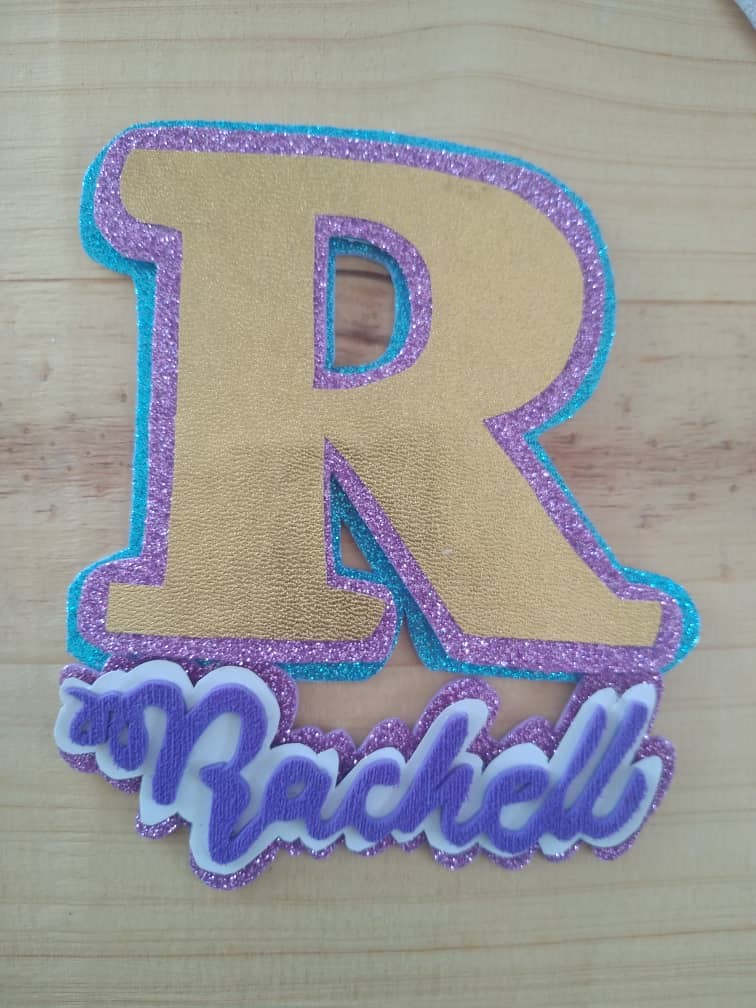
Carefully we glue the R with the name, putting silicone only on the edge two will join the two parts
5✨
Para la decoración del topper haremos unas flores rosadas y una mariposa.
Con la cartulina rosada, recortamos un círculo y hacemos dos pequeñas flores, del mismo modo en que las realice en uno de mis post. Y con lo que resta de cartulina plateada hacemos unas pequeñas hojitas para darle más vista a las flores.
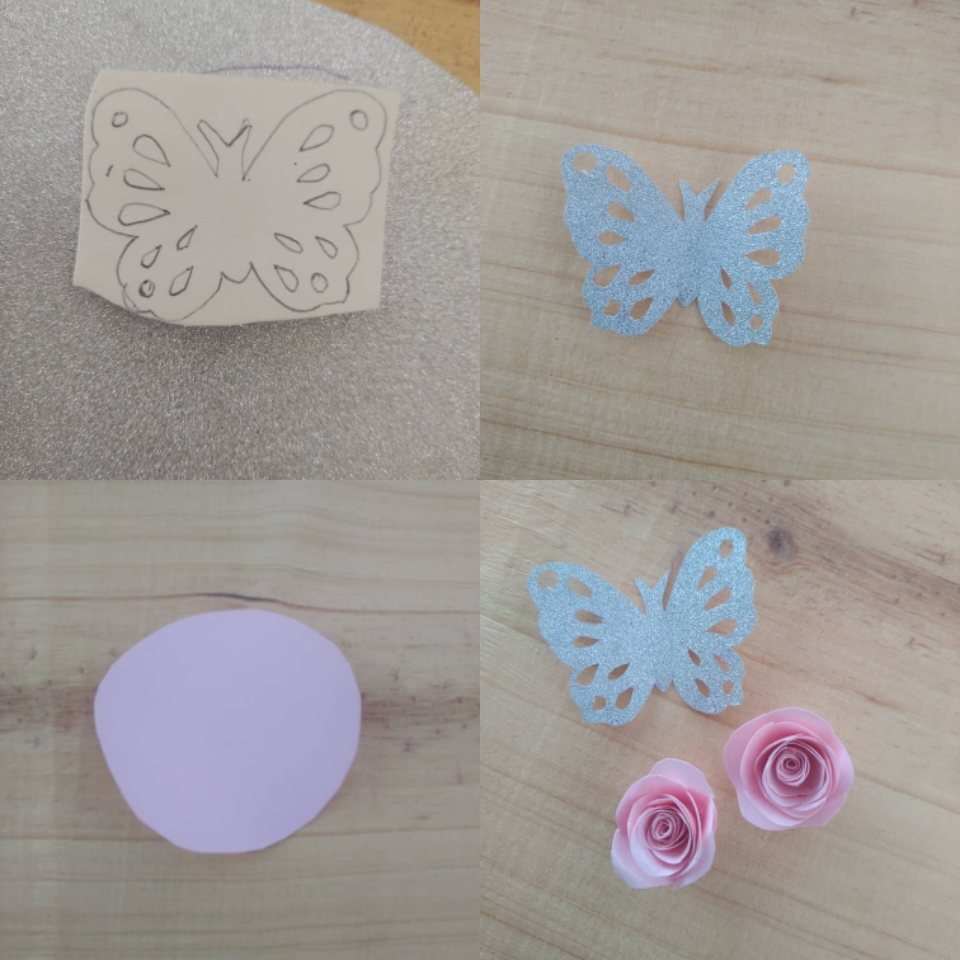
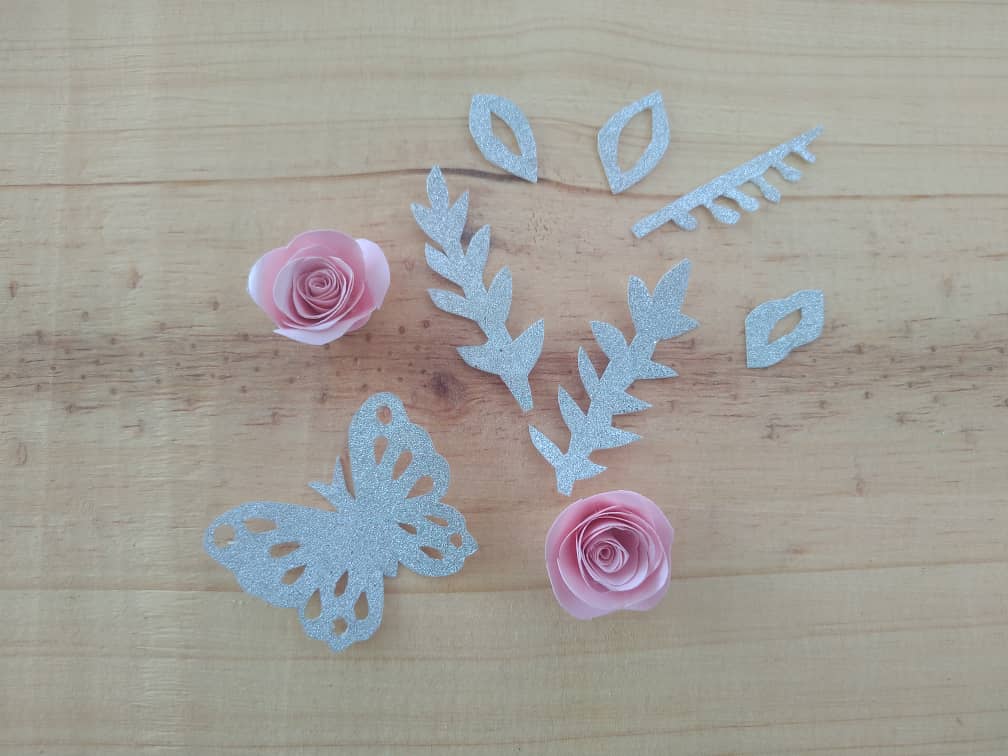
For the decoration of the topper we will make some pink flowers and a butterfly.On a piece of silver cardboard we draw the drawing of a butterfly, cut the edge and with the help of a sheet we remove the centers.With the pink cardboard, we cut out a circle and make two small flowers, the same way I made them in one of my pots. And with the rest of the silver cardboard we make some small leaves to give the flowers more view
6✨
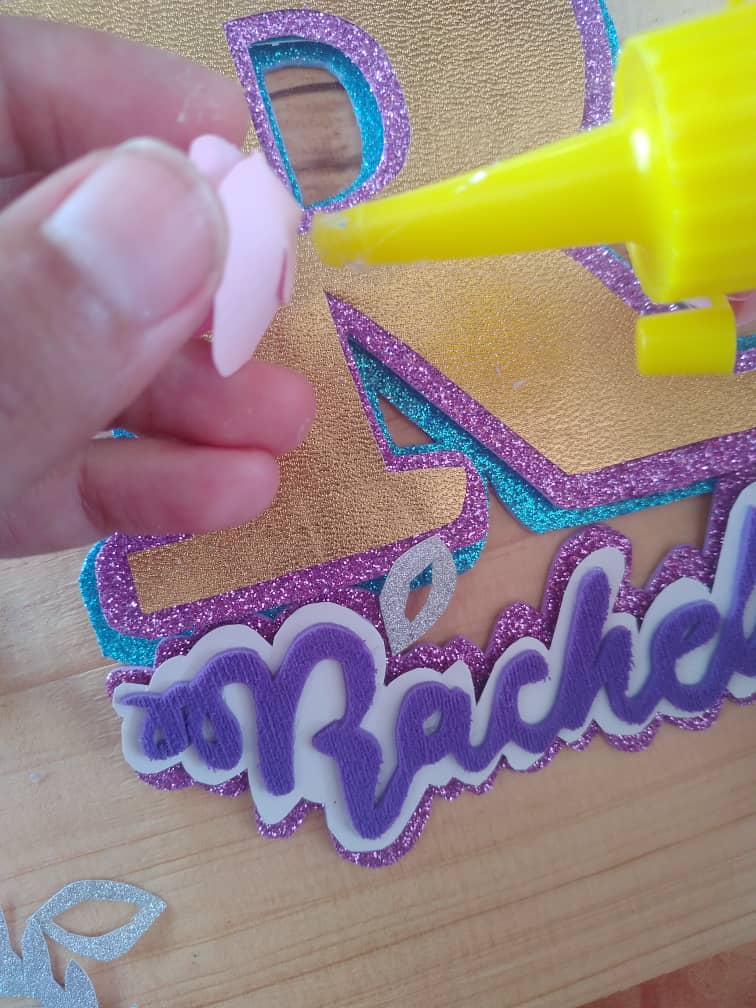
We place the flowers and the butterfly where we like best and glue with silicone, decorate with a small pebbles in the center of the flowers and finally, we take a tall toothpick and stick them on the back of the topper.
¡Y listo!, así quedo nuestro topper.
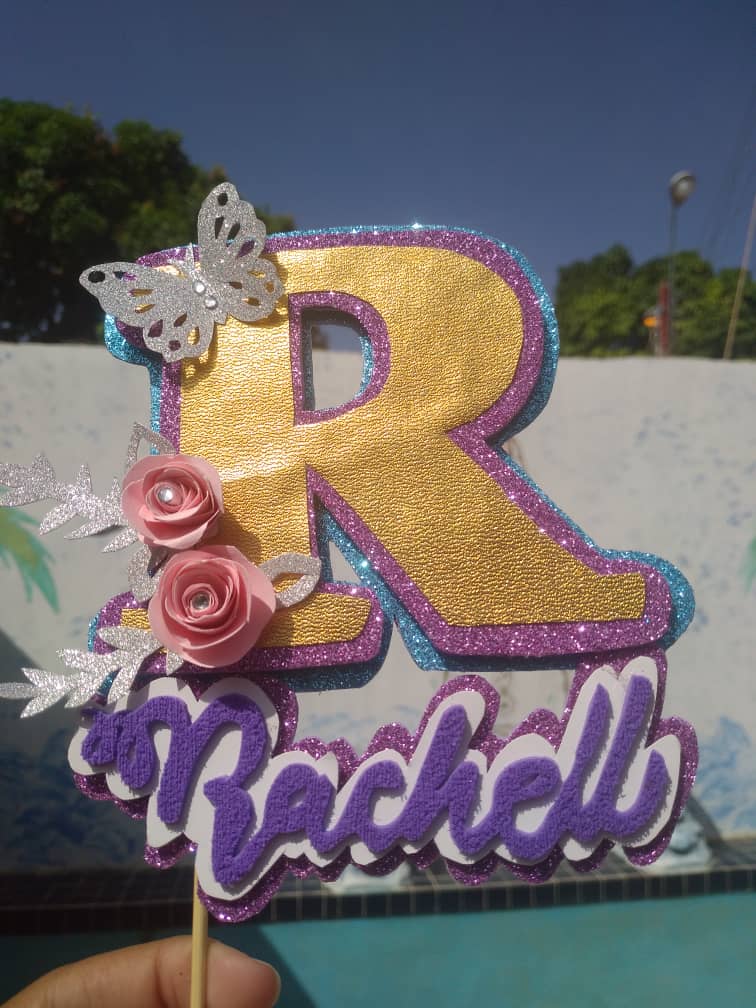
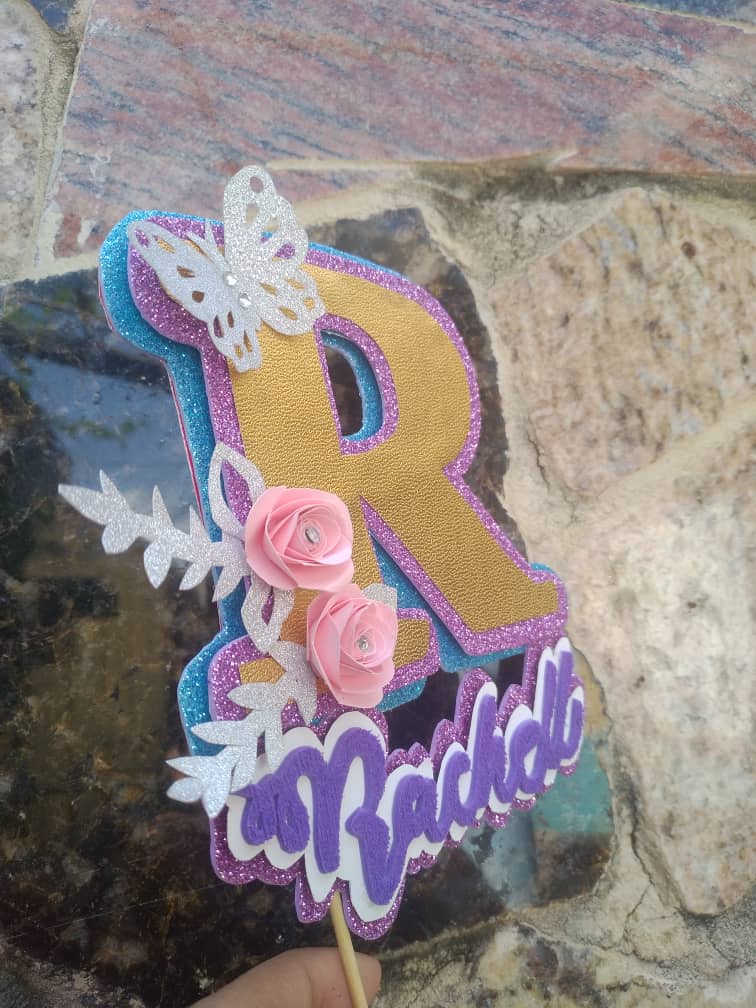
Por el momento es mi favorito, y mi hermana no perdió el tiempo para posar con él.
At the moment he is my favorite, and my sister did not lose the tempo to pose with him.
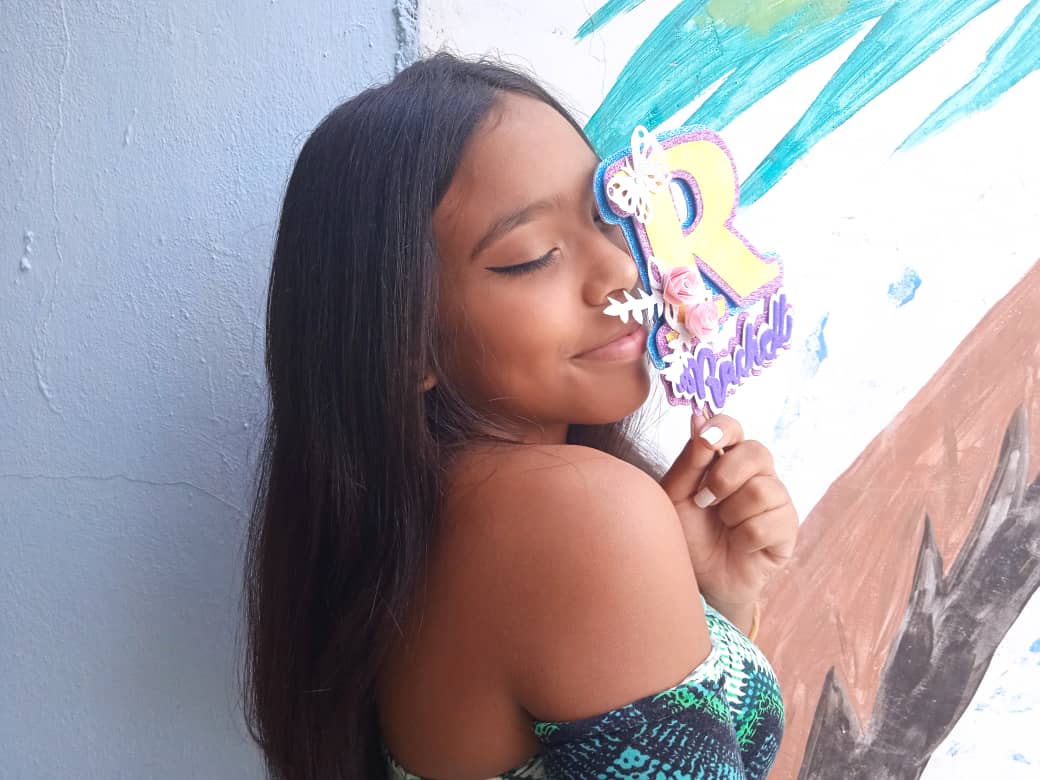
Espero que le haya gustado y les sirva para realizar los suyos.
I hope you liked it and it helps you to make yours
Congratulations @michell02! You have completed the following achievement on the Hive blockchain and have been rewarded with new badge(s) :
Your next target is to reach 50 upvotes.
You can view your badges on your board and compare yourself to others in the Ranking
If you no longer want to receive notifications, reply to this comment with the word
STOPTo support your work, I also upvoted your post!
Check out the last post from @hivebuzz: