🇪🇸¿Que tal amigos?
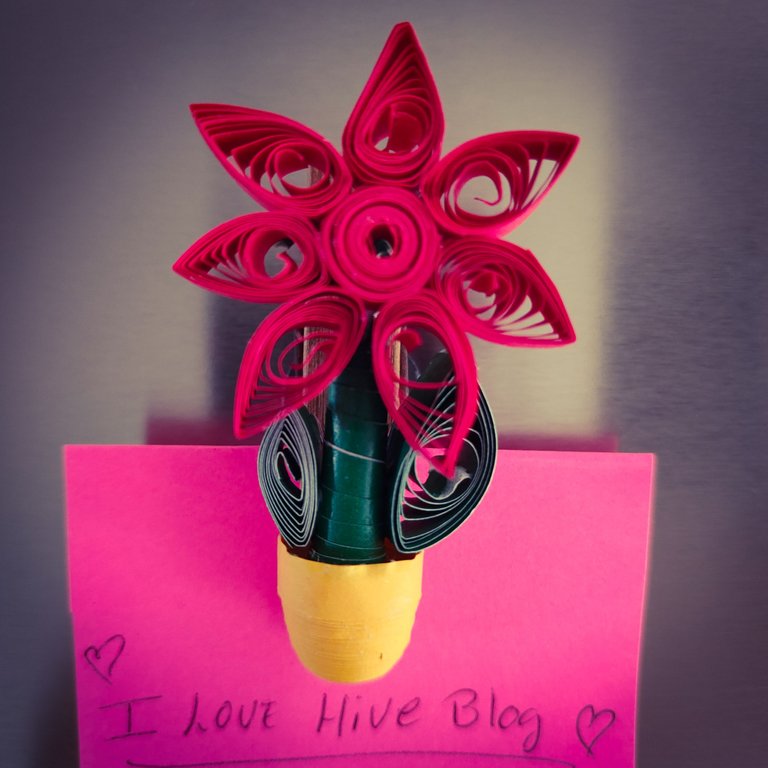
Hoy me complace compartir con ustedes, como realizar un hermoso porta notas para el refrigerador realizado con la técnica filigrana, en lo personal me encanta no solo por el resultado sino por lo terapéutico que puede resultar, es un trabajo de paciencia, detalles y que requiere dedicación.
🇺🇸¿How are you friends?
Today I am pleased to share with you, how to make a beautiful note holder for the refrigerator made with the filigree technique, personally I love it not only for the result but for how therapeutic it can be, it is a work of patience, details and requires dedication.

Materiales || Materials

🌸 Cartulinas de colores.
🌸 Estilete.
🌸 Regla.
🌸 Pega blanca escolar.
🌸 Pinza de madera.
🌸 Imán.
🌸 Silicon en barra.
🌸 Colored cardboard.
🌸 Stylus.
🌸 Ruler.
🌸 White school glue.
🌸 Wooden clamp.
Magnet.
🌸 Silicon stick.

Pasos || steps

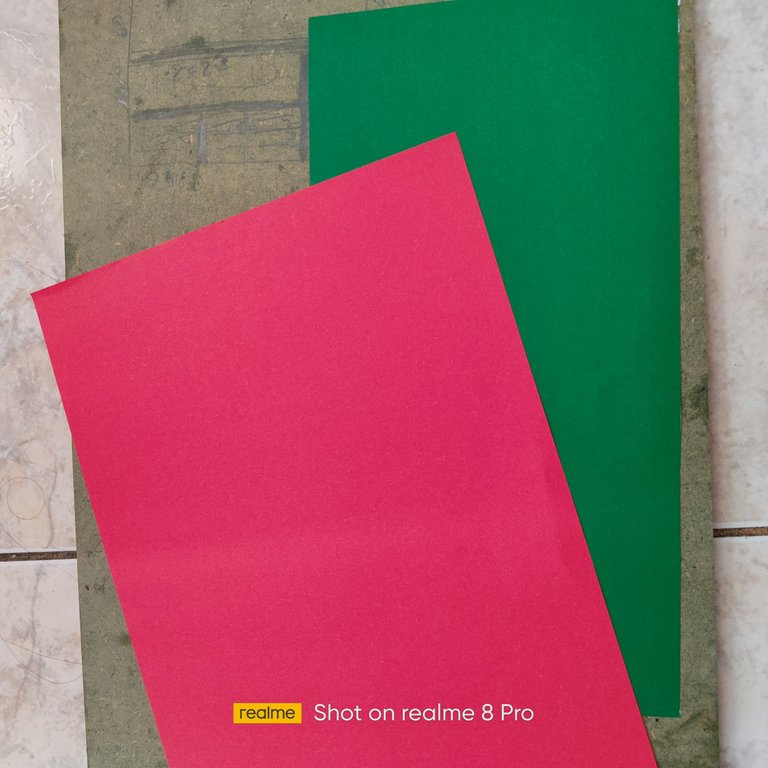
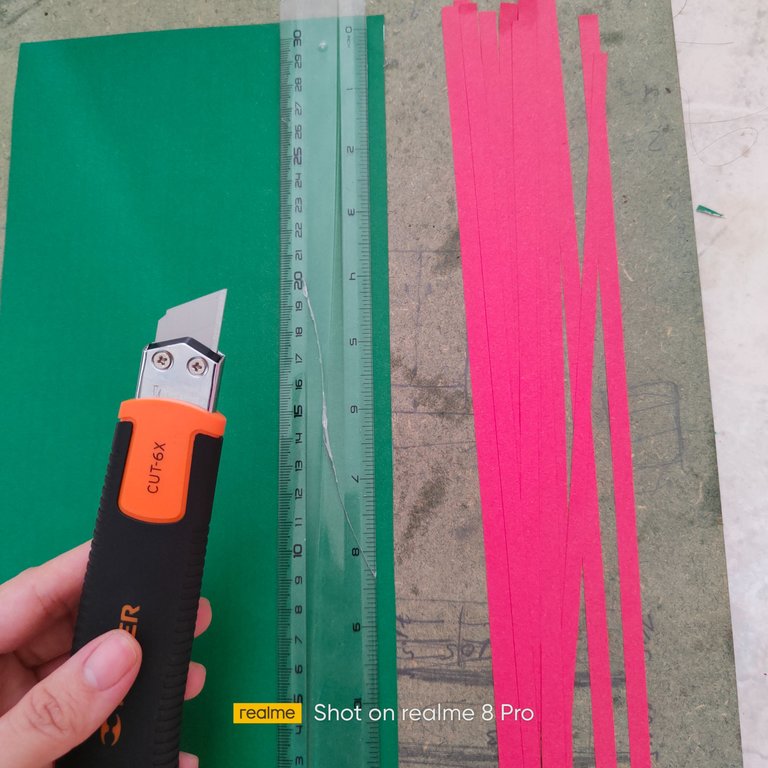
🌸1.| Iniciamos tomando las cartulinas de colores que vamos a utilizar, una vez que esto ya lo decidimos con un estiletes vamos a comenzar hacer varias tiras, preferiblemente a lo ancho de la páginas de colores, estos para que la cintas salgan más largar, lo cual resulta beneficioso a la hora de trabajar.
🌸1.| We start by taking the colored cardboard that we are going to use, once this is decided with a stiletto we will begin to make several strips, preferably across the width of the colored pages, these so that the ribbons are longer, which is beneficial when working.
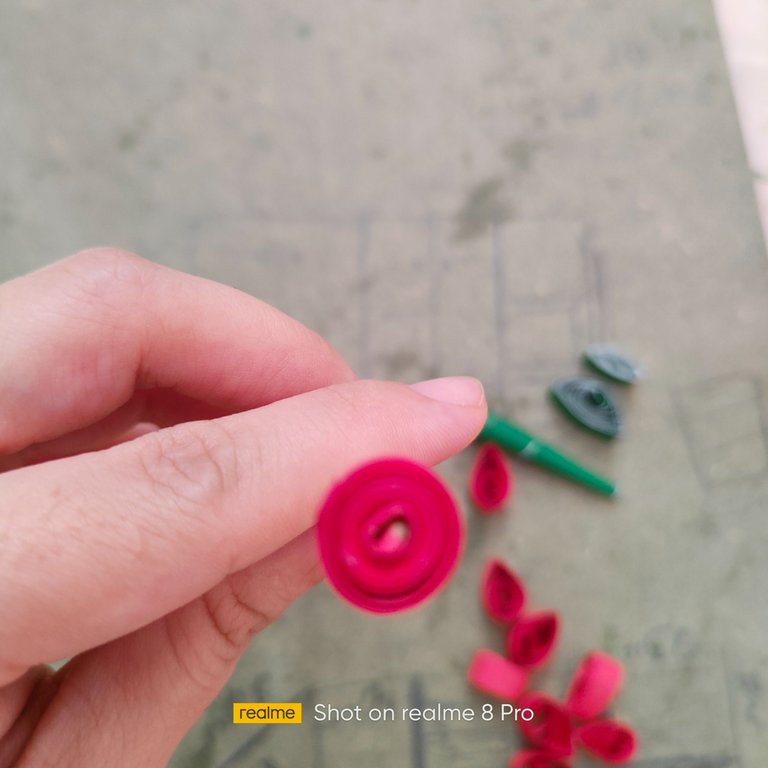
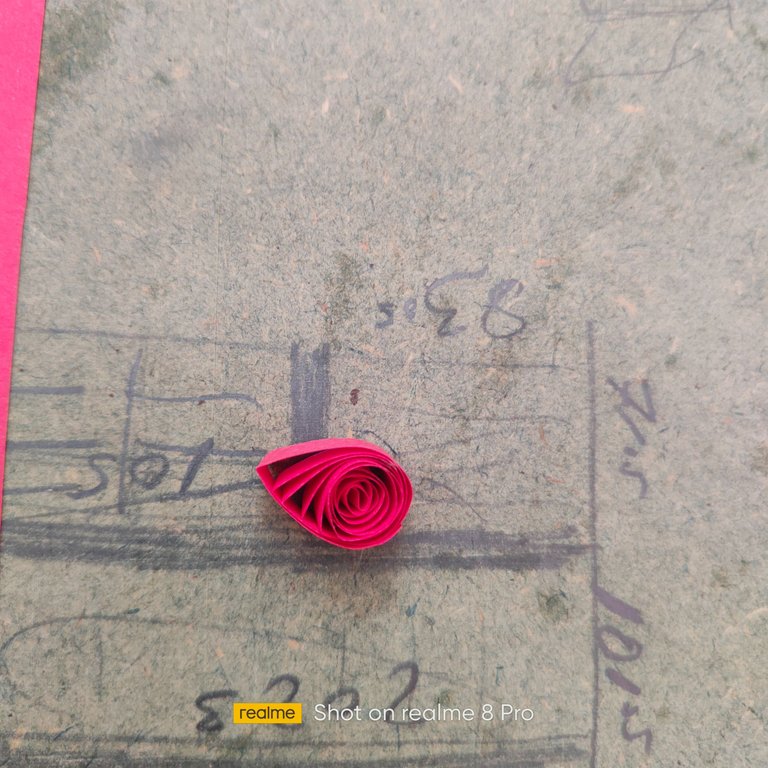
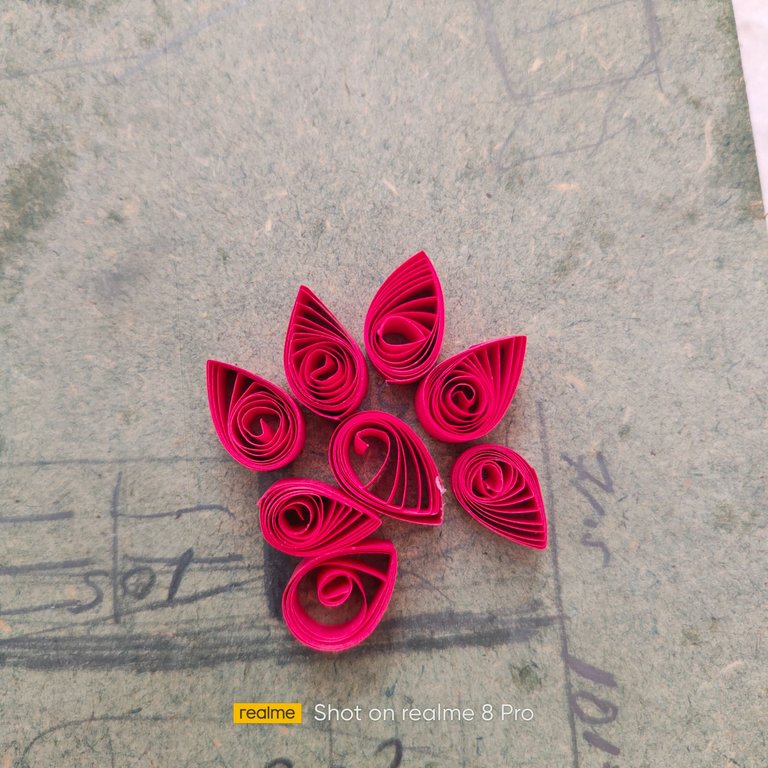
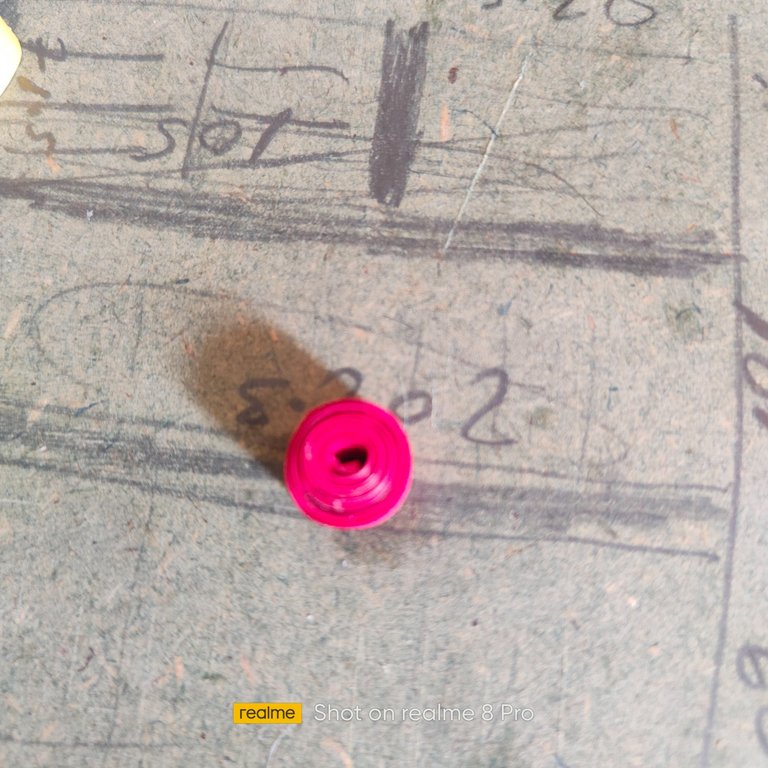
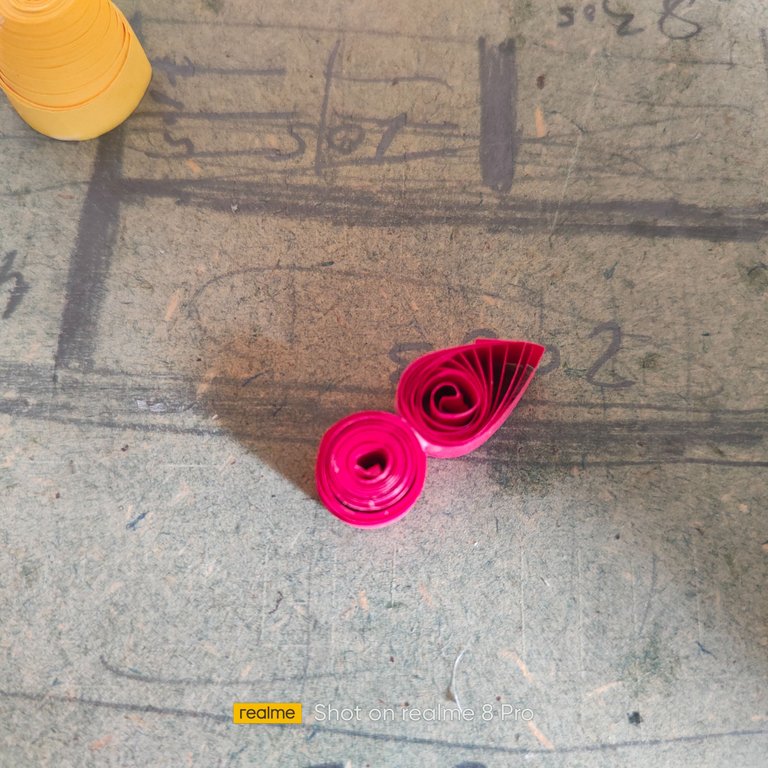
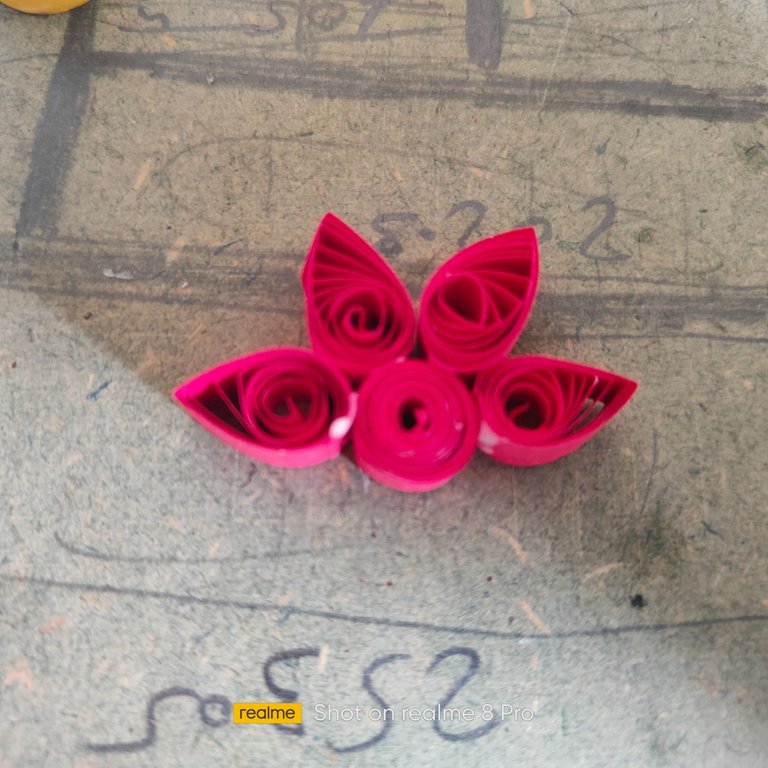
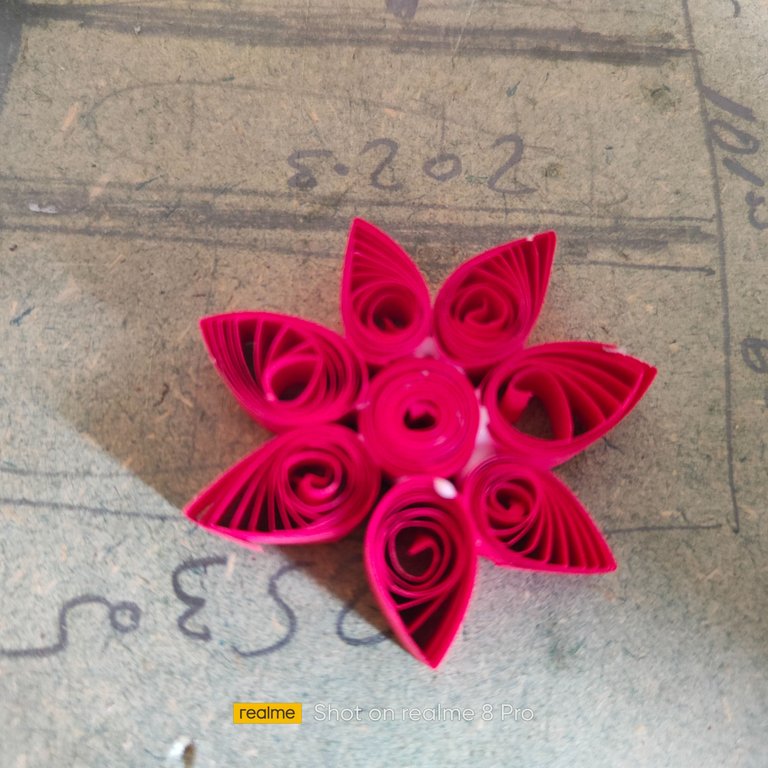
🌸2.| Seguidamente continuaremos con las cintas rojas, vamos a enrrollar desde el centro hasta culminar la cinta, con cuidado vamos a retirar de la herramienta de filigrana (esta fue hecha por mi) y vamos con los dedos a darle forma al círculo en uno de sus extremos, así formaremos los pétalos de la flor, repetimos este paso varias veces hasta tener los pétalos necesarios.
🌸2.|Next we will continue with the red ribbons, we will roll from the center to the end of the ribbon, carefully we will remove the filigree tool (this was made by me) and we will shape the circle with our fingers at one of its ends, this way we will form the petals of the flower, we repeat this step several times until we have the necessary petals.
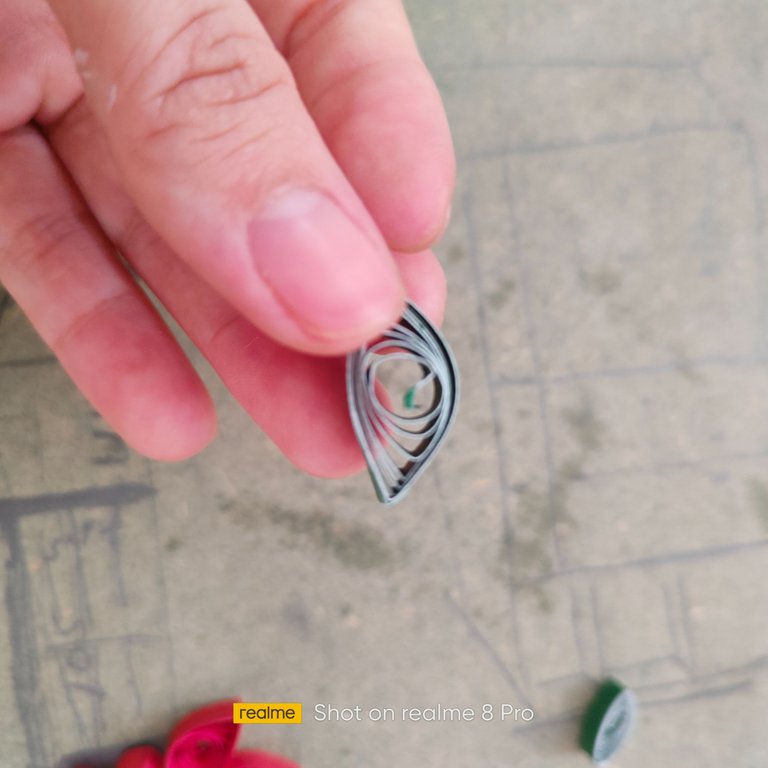
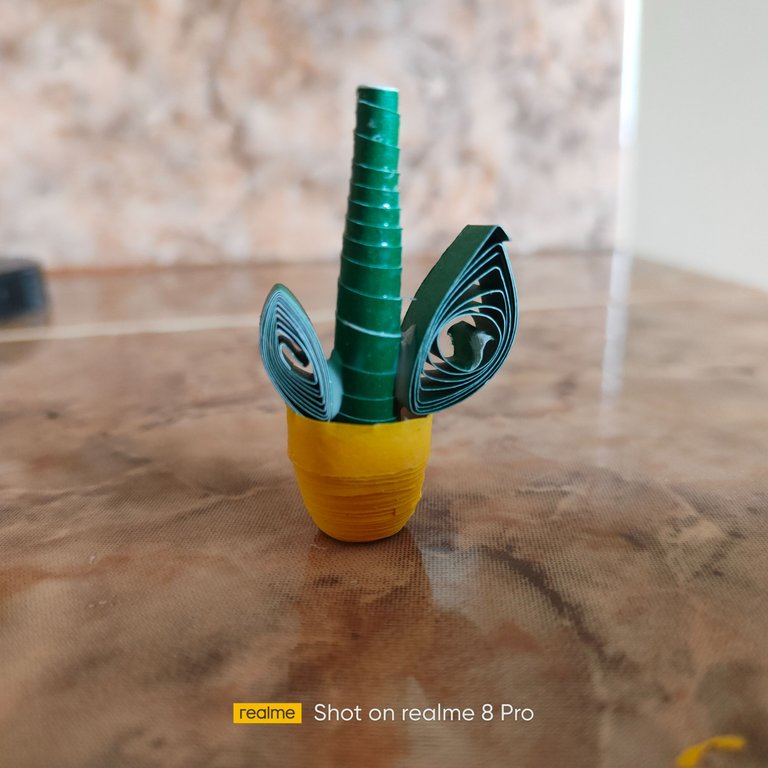
🌸3.| Para realizar las hojas, vamos a tomar 1 cinta verde y la vamos a enrrollar,al finalizar nuestra pieza, con los dedos le daremos una forma de hoja, haremos 2 piezas 1 grande y otras un poco más pequeña.
🌸3.|To make the leaves, we are going to take 1 green ribbon and we are going to roll it up, when we finish our piece, with our fingers we will give it a leaf shape, we will make 2 pieces, 1 big and another a little bit smaller.
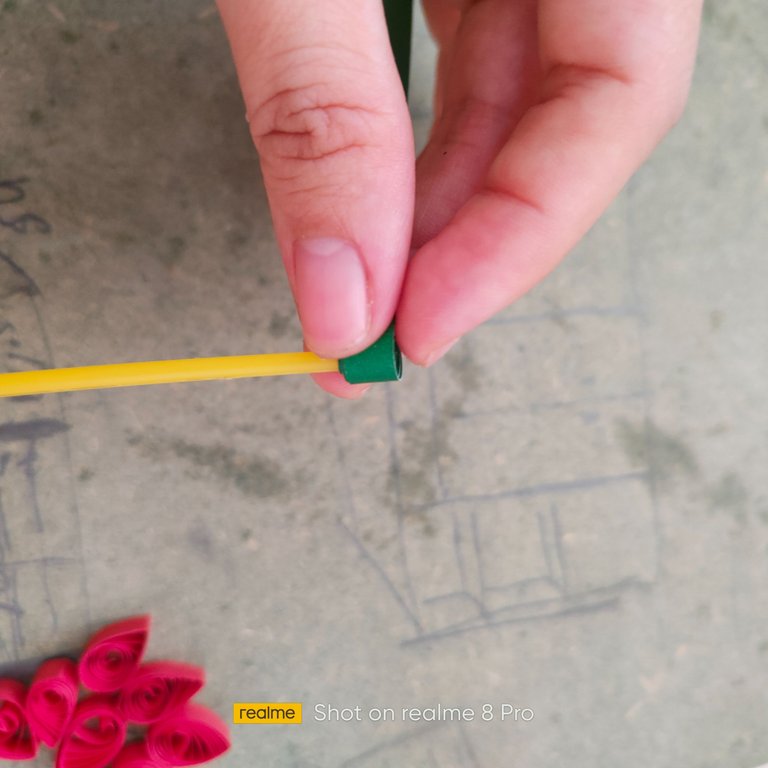
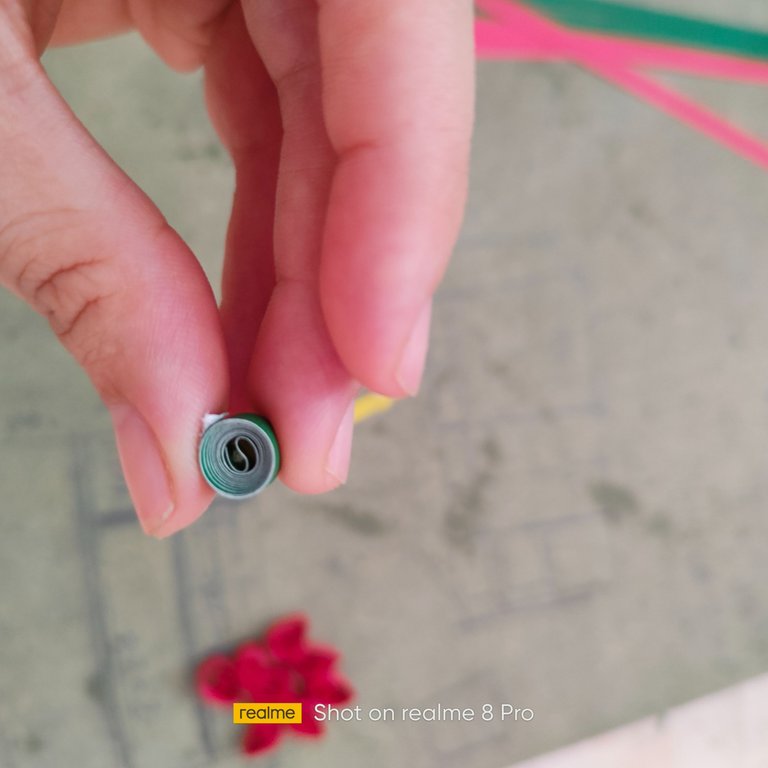
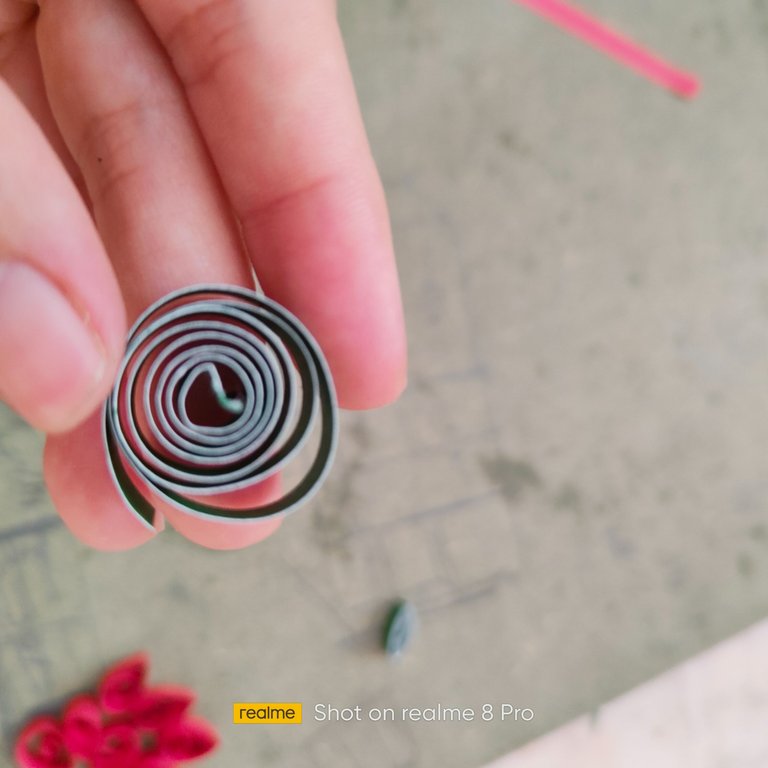
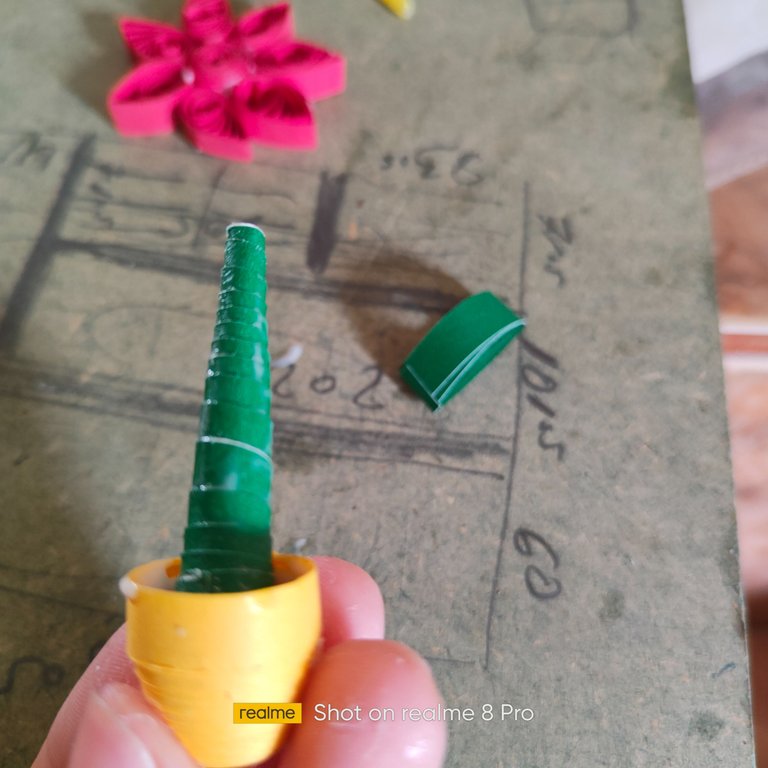
🌸4.| Para el tallo, tomaremos una cinta verde, enrrollamos para formar un círculo, y muy sutilmente vamos a ir tirando del centro hacia afuera.
🌸4.|For the stem, we will take a green ribbon, roll it into a circle, and very subtly pull outwards from the center.

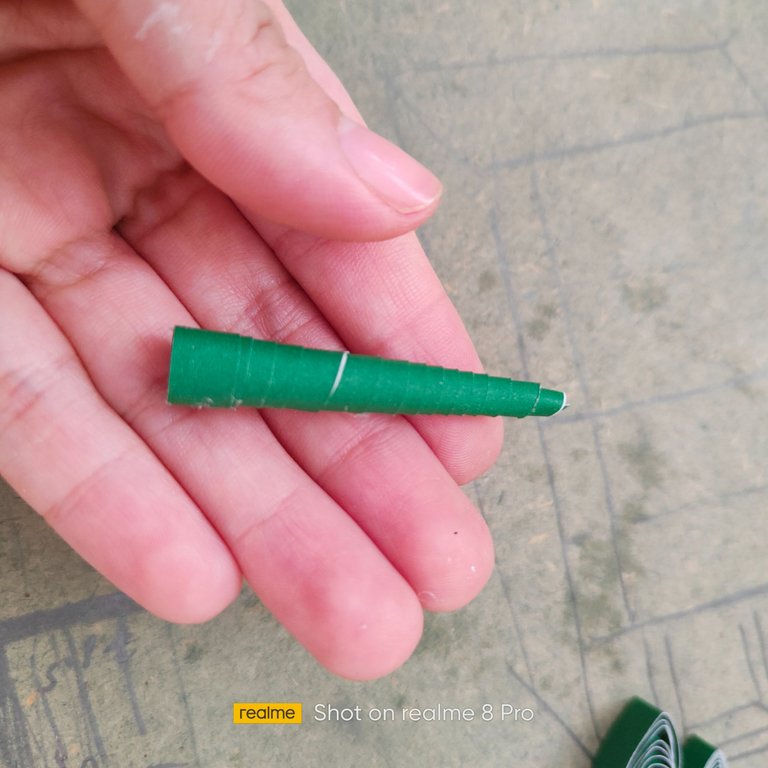
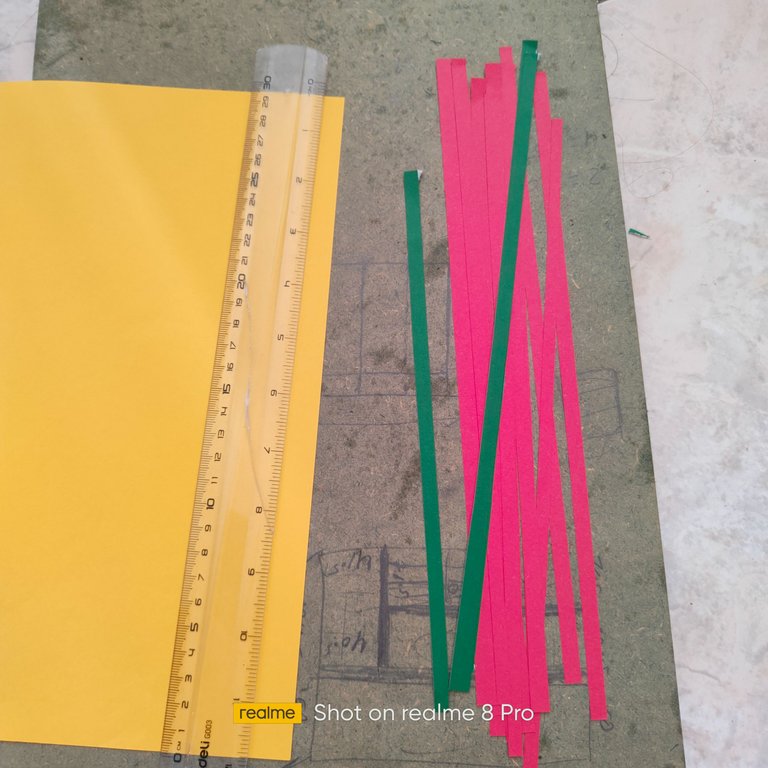
🌸5.| Para la maceta, tomaremos 5 tiras amarillas y las vamos unir por sus extremos con pega blanca escolar, una vez que seque, vamos a tener una cinta bastante larga, que vamos a enrrollar y al igual que el tallo vamos con los dedos, desde el centro hundir, formando así la maceta, para que la maceta conserve su forma vamos a colocar pega blanca escolar en toda sus estructura.
🌸5.|For the flowerpot, we will take 5 yellow strips and we will join them at their ends with white school glue, once it dries, we will have a fairly long ribbon, which we will roll up and like the stem we will with our fingers, from the center sink, thus forming the pot, so that the pot retains its shape we will place white school glue throughout its structure.
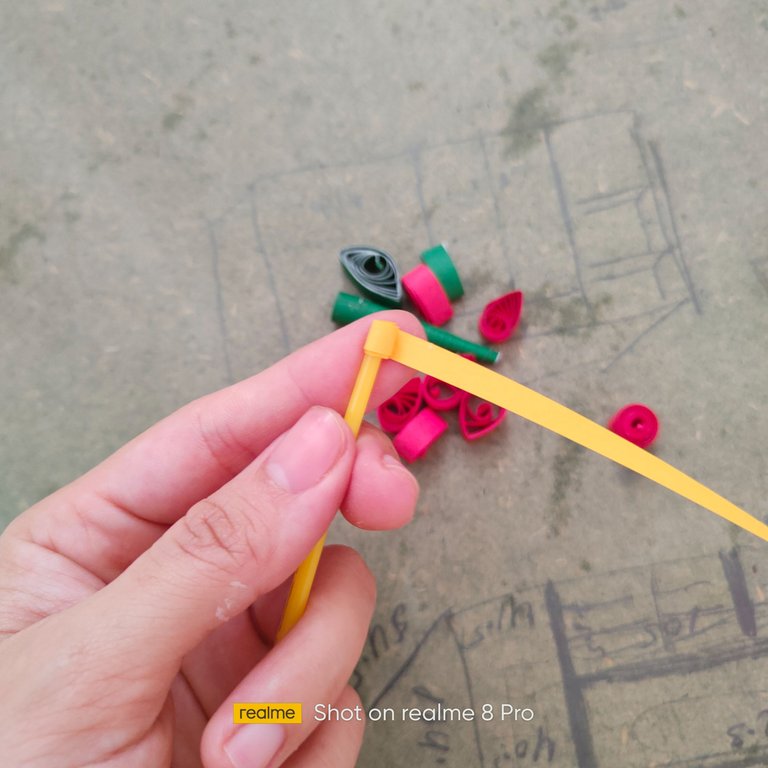
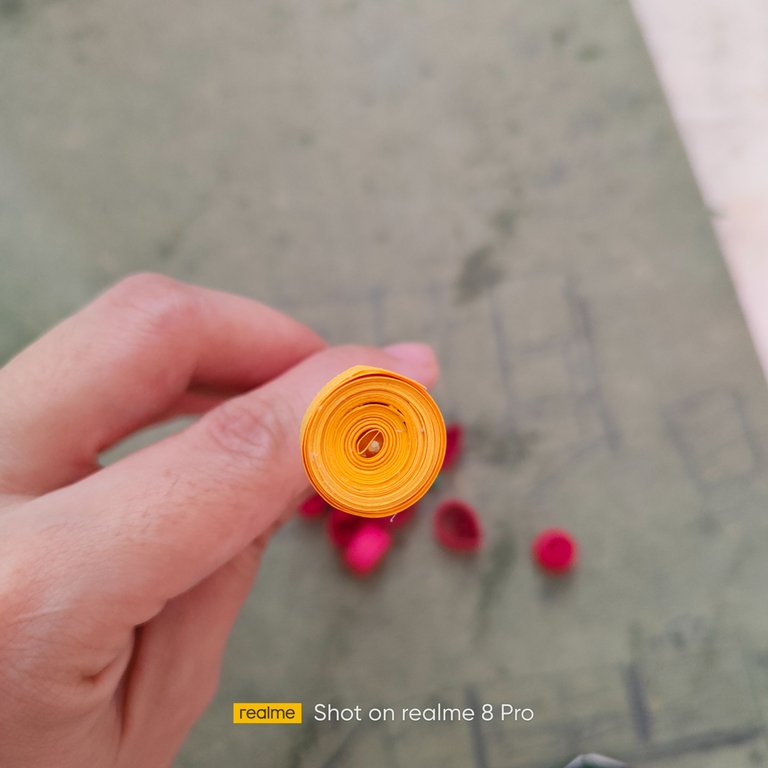
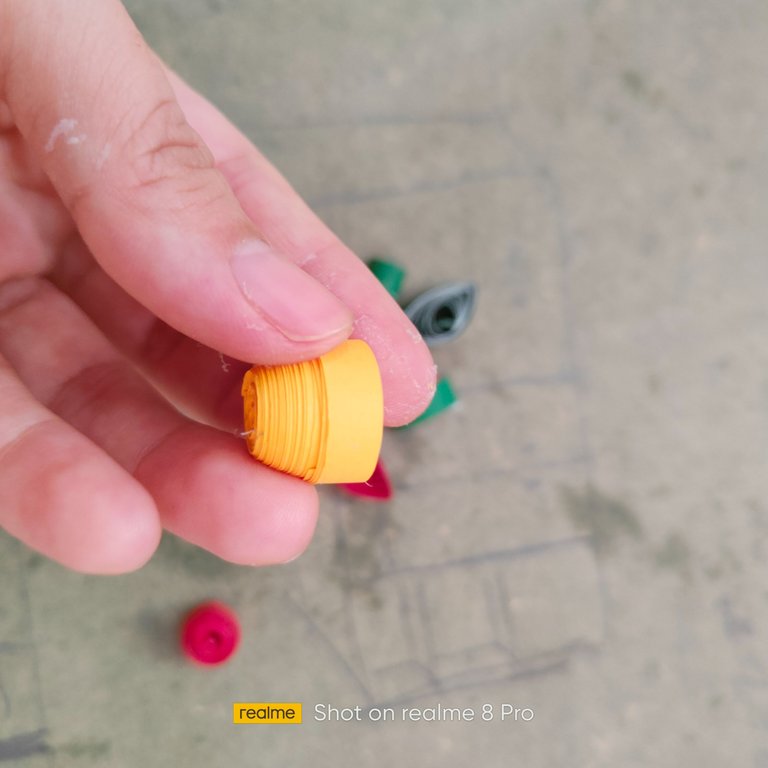
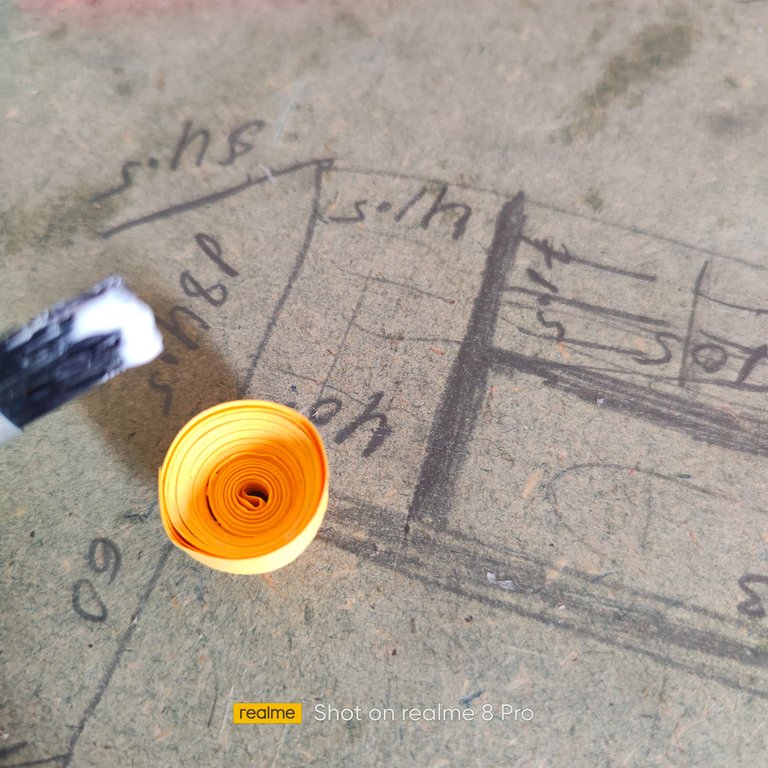
🌸6.| Una vez que ya tenemos todas las piezas, comenzamos a fijarlas entre sí para formar nuestra flor.
🌸6.|Once we have all the pieces, we start to fix them together to form our flower.
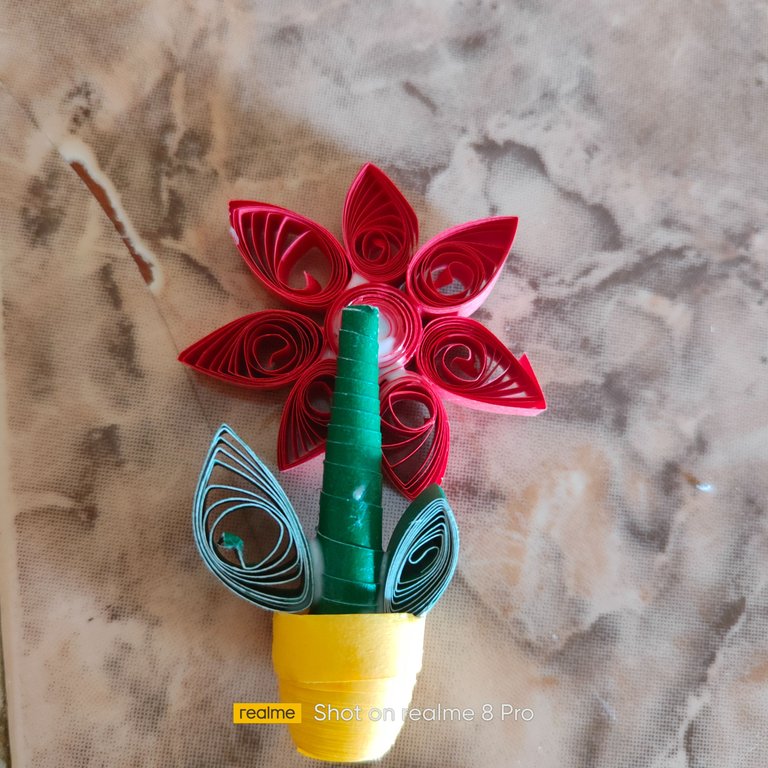
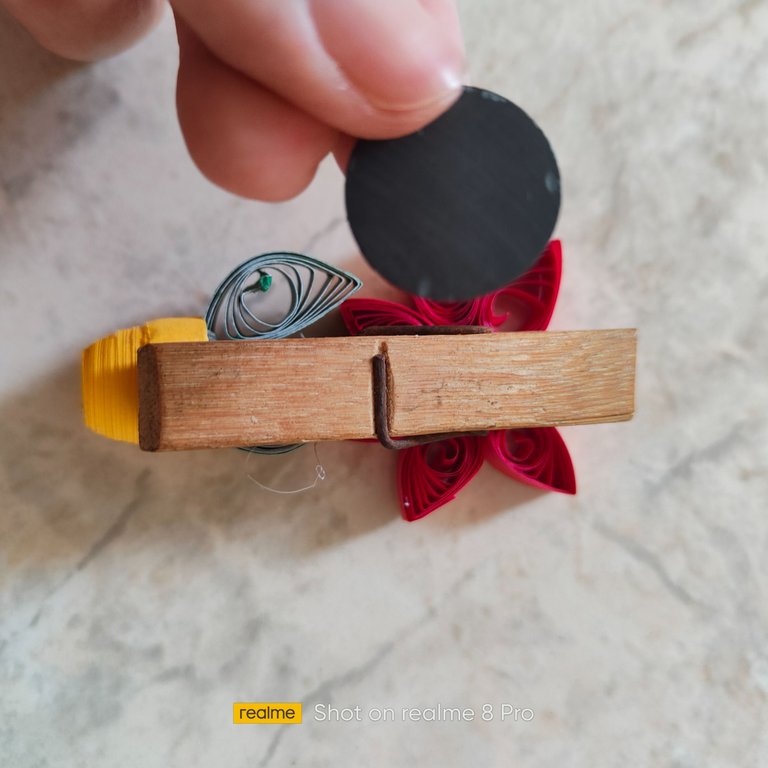
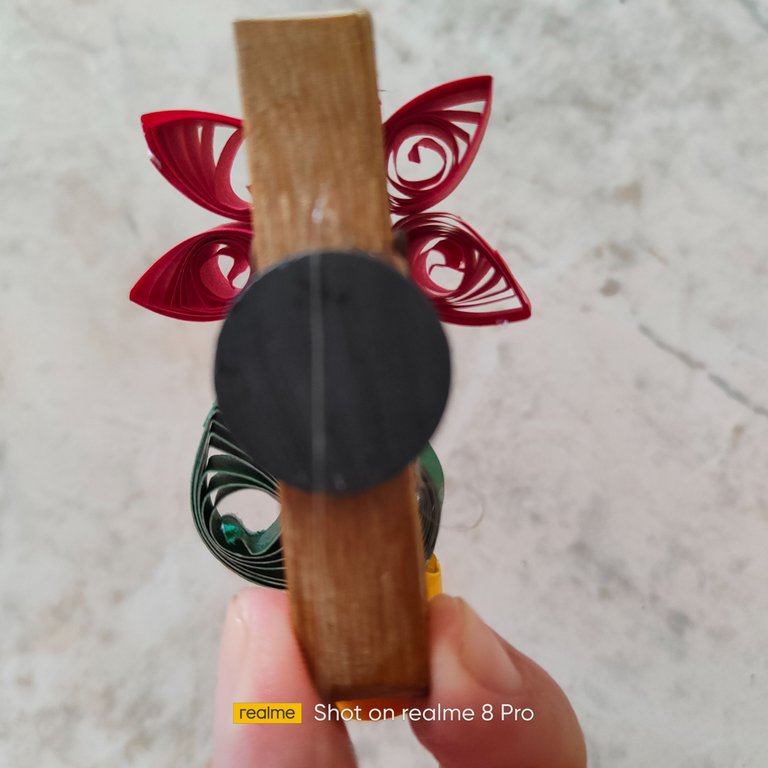
🌸7.| Tomaremos la pinza de madera y con el silicon en barra, vamos a fijar nuestra flor a ella y por último fijamos el imán a la pinza.
🌸7.|We will take the wooden clamp and with the silicon stick, we will fix our flower to it and finally we will fix the magnet to the clamp.
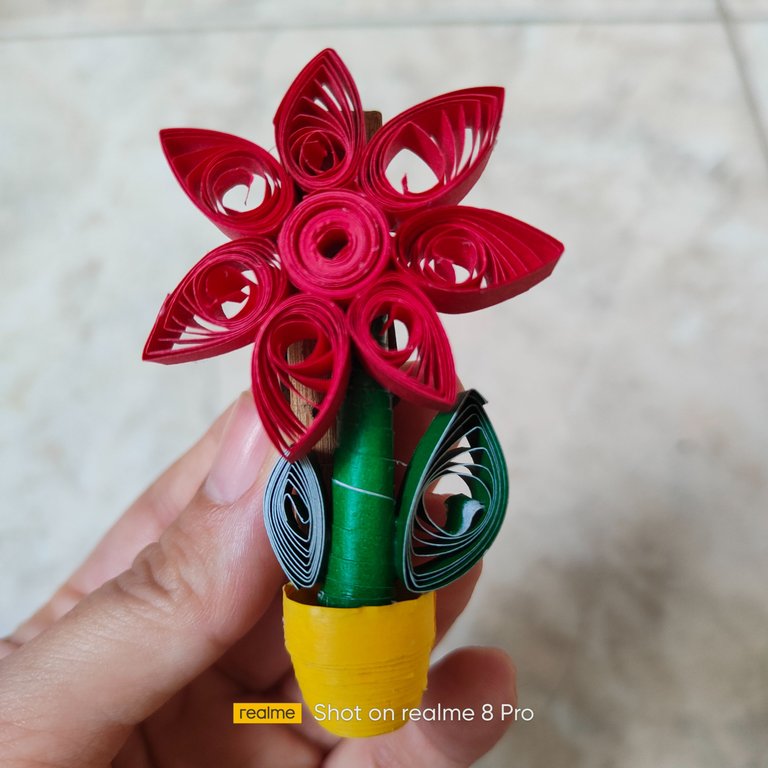
Gracias por llegar hasta aquí, esperando que fuese de sus grado el trabajo de hoy presentado, se despide quién suscribe, besos y abrazos.
Thank you for coming here, hoping that the work presented today was of your degree, the undersigned says goodbye, kisses and hugs.


Reveal spoiler

💜Traducción realizada con / Translation done with Deepl
💜Separadores / Separators @eve66 | Fuente
¡Hasta la próxima!/¡Until next time!


Te quedó muy bonita. bastante creativa tu idea, felicidades.
Gracias mi vida por tan lindo comentario un abrazoteeee
Hello @mili2801, Wow... you have made it very beautifully. I really love your decoration in this note holder. Keep it up.
Thank you very much, it's nice to know that you liked this work, don't worry, I will continue like this, a big hug and happy weekend.