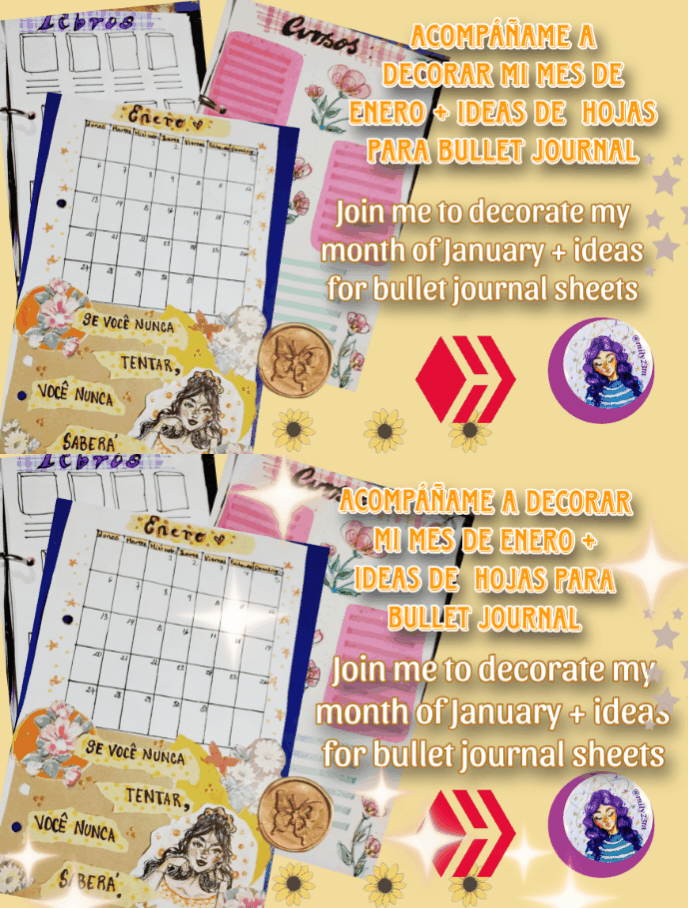

💜✨💜✨💜✨💜✨💜✨💜✨💜✨💜✨💜
Hola amigos artesanos y fanáticos de las manualidades ,¿como los va tratando enero?,¿Listos haciendo las primeras acción de los objetivos que se pusieron para este año? 🤪¿ o aún están en ese proceso de iniciar ?,yo la verdad inicie unas ,pero otras las tengo todavía allí reuniendo la voluntad jajaj , aunque he podido iniciar cositas como el ejercicio, las clases de idiomas y algunos repaso respecto a la carrera ,pero sobre todo ando en modo planificación en la organización eso implica usar notion, aprender a usar el Google calendario que nunca lo había usado , y también por su puesto mi bullet journal , pero este año poniendole mucho más seguimiento, ya que el año pasado solo lo use para planificación mensual, pero deje de lado algunas página de seguimiento que hacía todos los años, pero mientras se me ocurren cositas nuevas para implementar acá les dejó el paso a paso de la decoración del mes de enero.

💜Hoja blanca cortada a la mitad
💜Regla
💜Bolígrafo de gel negro ,y marcador punta fina negro
💜Recortes ,hojas decorativas, stickers
💜 Pega escolar
💜 Pintura dorada
💜 Resaltadores de varios colores
Manos a la obra
English Version
💜✨💜✨💜✨💜✨💜✨💜✨💜✨💜✨💜✨
Hello friends, artisans and craft fans, how is January treating you? Are you ready to take the first steps towards the goals you set for this year? 🤪 Or are you still in the process of starting? I actually started some, but others I still have there gathering the will hahaha, although I have been able to start things like exercise, language classes and some review regarding the career, but above all I am in planning mode in the organization that implies using notion, learning to use the Google calendar that I had never used, and also of course my bullet journal, but this year putting a lot more tracking on it, since last year I only used it for monthly planning, but I left aside some tracking pages that I did every year, but while I come up with new things to implement here I leave you the step by step of the decoration for the month of January.

💜White sheet cut in half
💜Ruler
💜Black gel pen and black fine tip marker
💜Cutouts, decorative sheets, stickers
💜School glue
💜Gold paint
💜Highlighters of various colors
Let's get to work

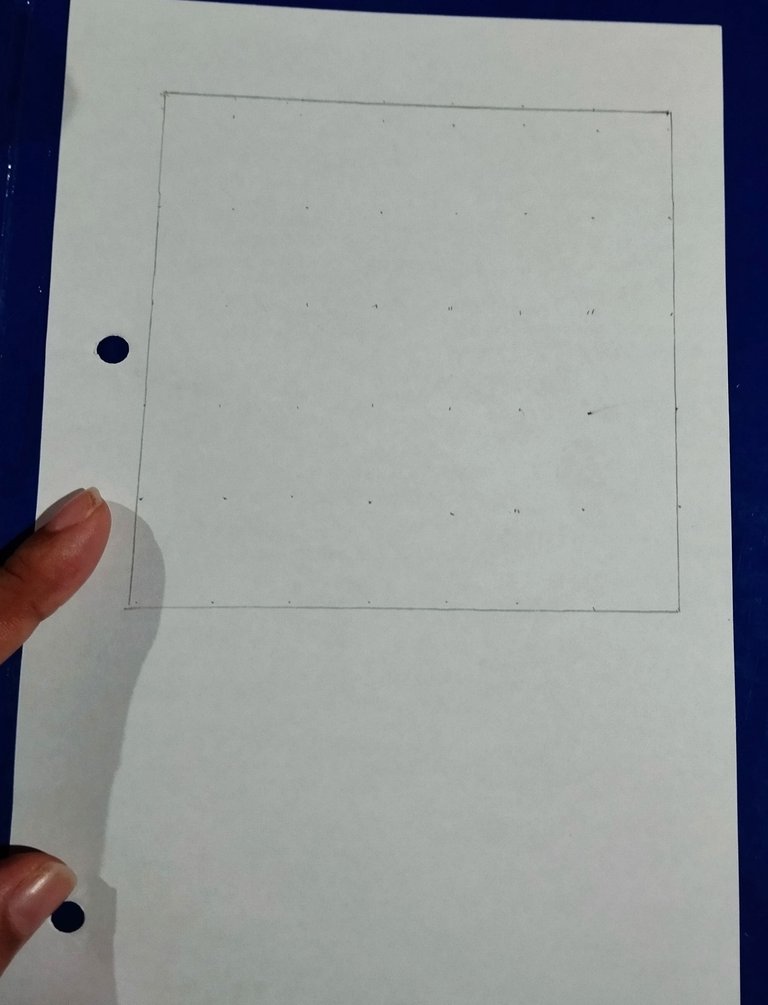 | 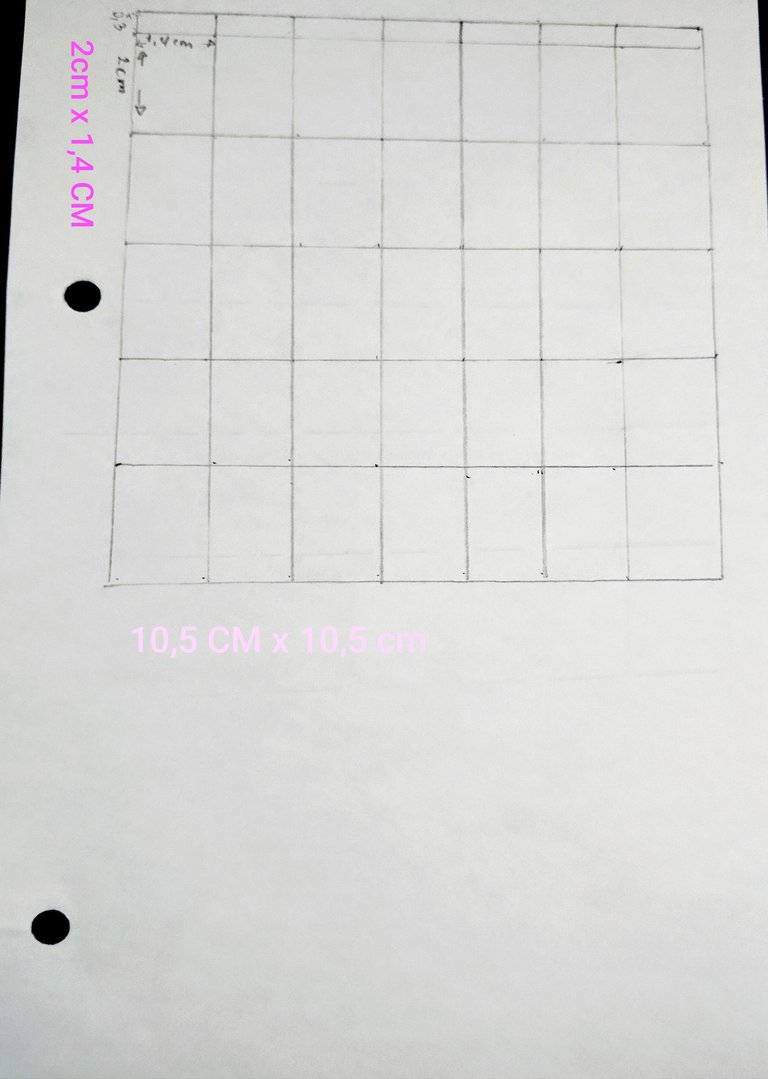 | 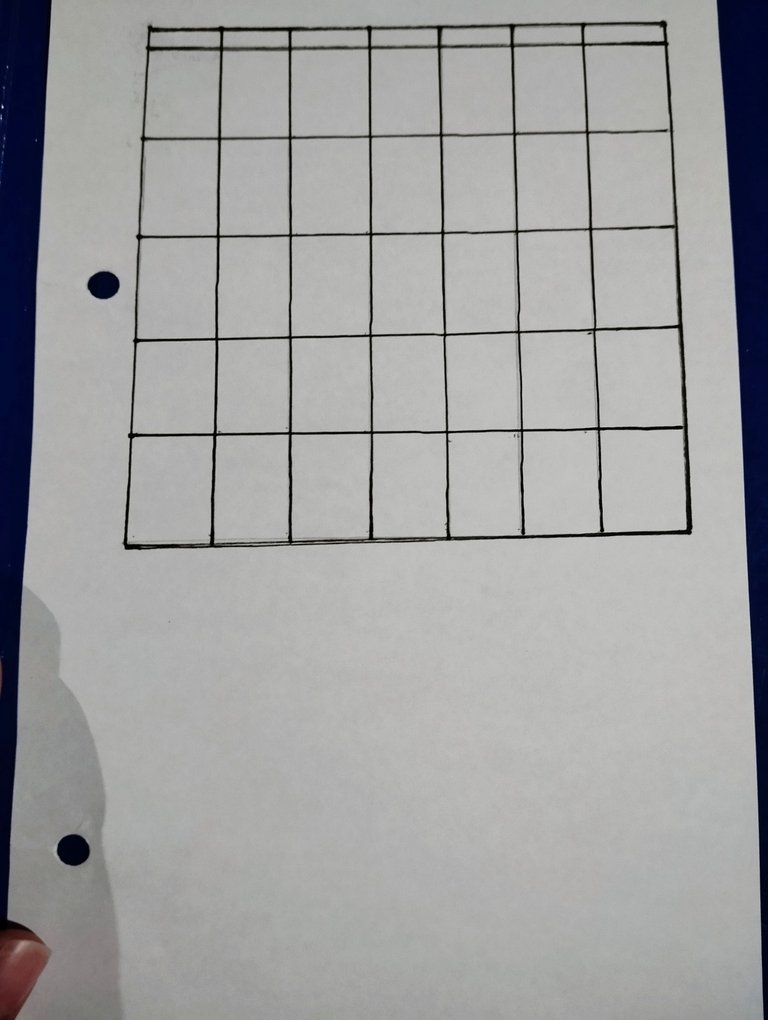 |
#1 Para hacer la vista del mes tipo calendario 📆 para la página delantera , hice un cuadrado de 10,5cm x 10,5cm , marqué casillas de 1,4 cm para cada día de la semana, y con un grosor de 0,3 cm para poner los títulos de los días , y para la casilla de los días quedaron regtangulos de 1,5 cm de ancho x 2cm de largo, e hice 5 filas para representar las semanas del mes, después de hacer el borrador ,con un marcador negro punta fina hice todo las líneas.
English Version
#1 To make the calendar-style view of the month 📆 for the front page, I made a 10.5cm x 10.5cm square, marked 1.4cm boxes for each day of the week, and with a thickness of 0.3cm to put the titles of the days, and for the day box there were 1.5cm wide x 2cm long rectangles, and I made 5 rows to represent the weeks of the month, after making the draft, with a fine-tip black marker I made all the lines.
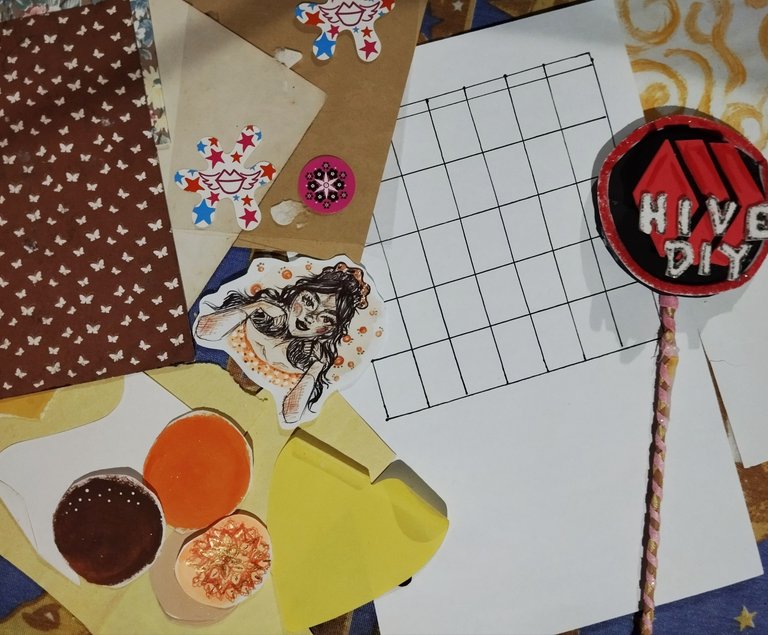
#2 Para el diseño escogí un dibujo que tenía hecho de una chica sonriendo con muy buenas vibras y todo muy positivo,y quería que esta fuera el elemento principal para el collage, entonces usando ese esquema de colores decidí escoger la decoración que usaría , busqué papeles y recortes que tenía en tonalidades , amarillo, naranja, marrones ,beige .Y tambien algunos stickers que tenía por allí, por eso digo siempre guarden esos recortes que les sobran porque uno siempre los termina usando para algo más.
English Version
#2 For the design I chose a drawing I had made of a girl smiling with very good vibes and all very positive, and I wanted this to be the main element for the collage, so using that color scheme I decided to choose the decoration I would use, I looked for papers and scraps that I had in shades of yellow, orange, brown, beige. And also some stickers that I had around, that's why I always say save those scraps that you have left over because you always end up using them for something else.
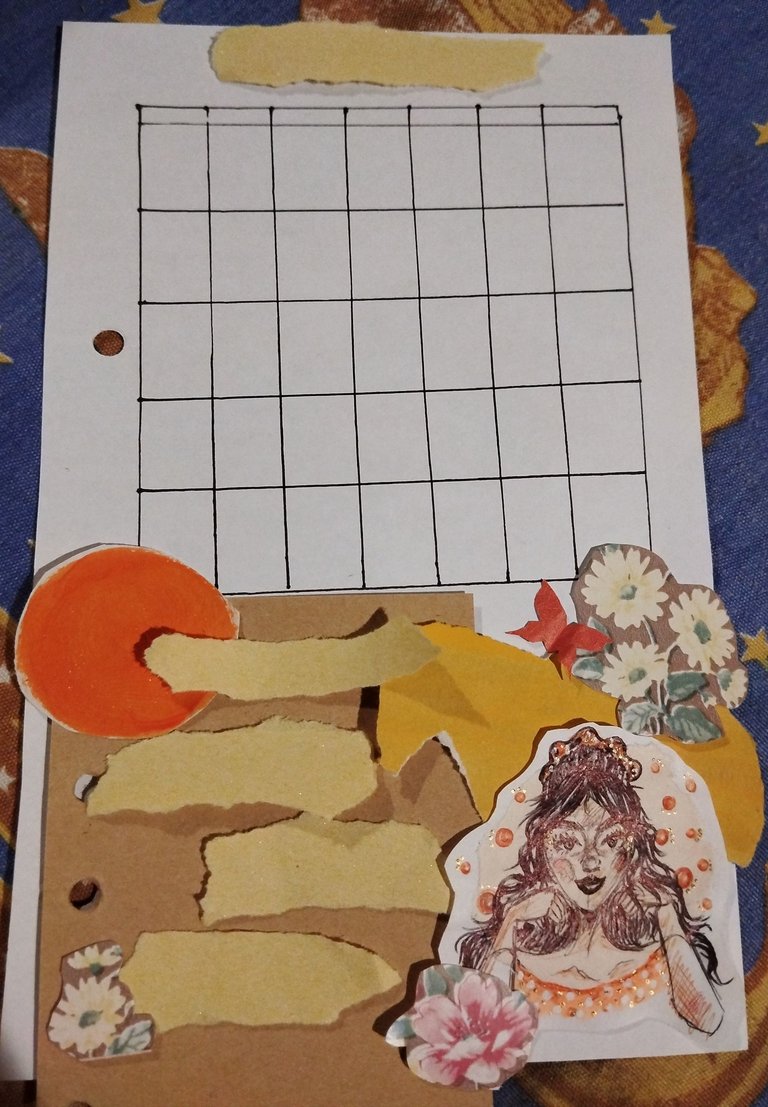 | 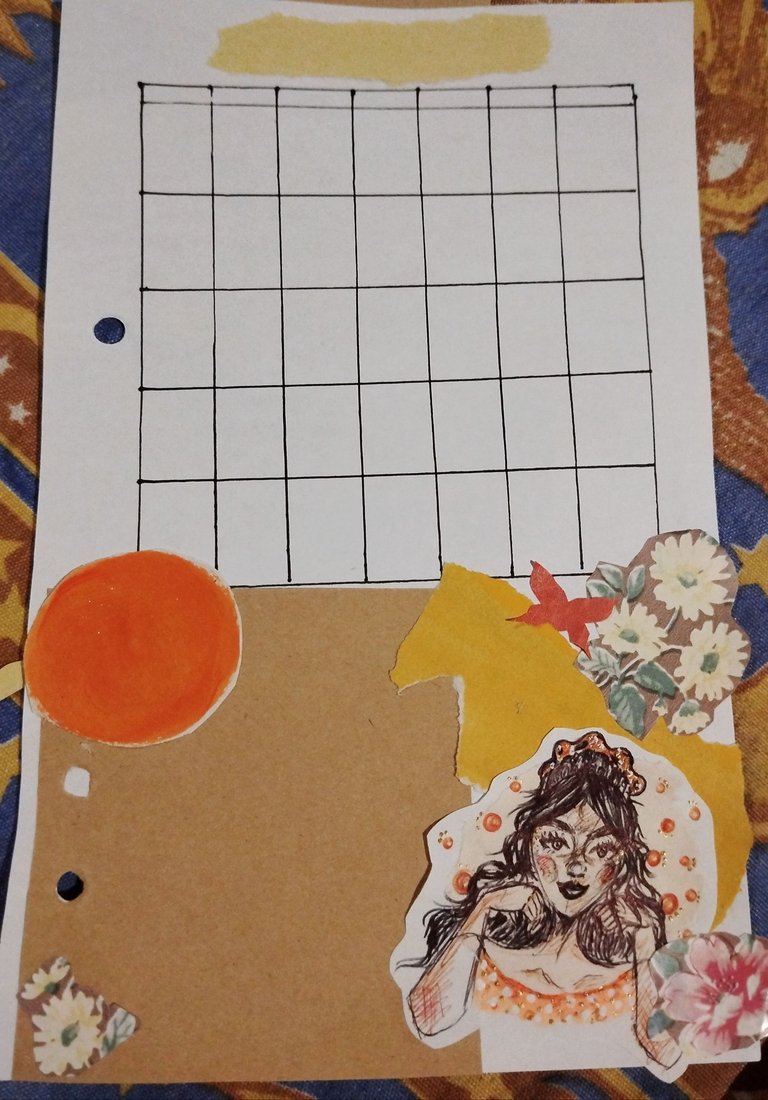 | 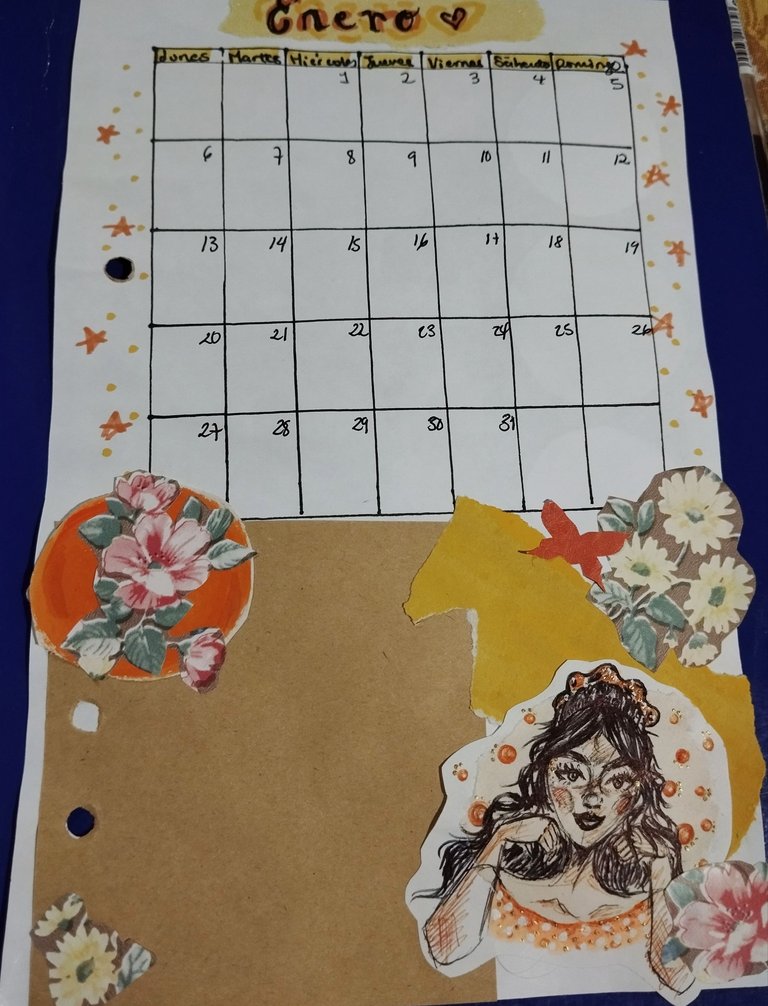 |
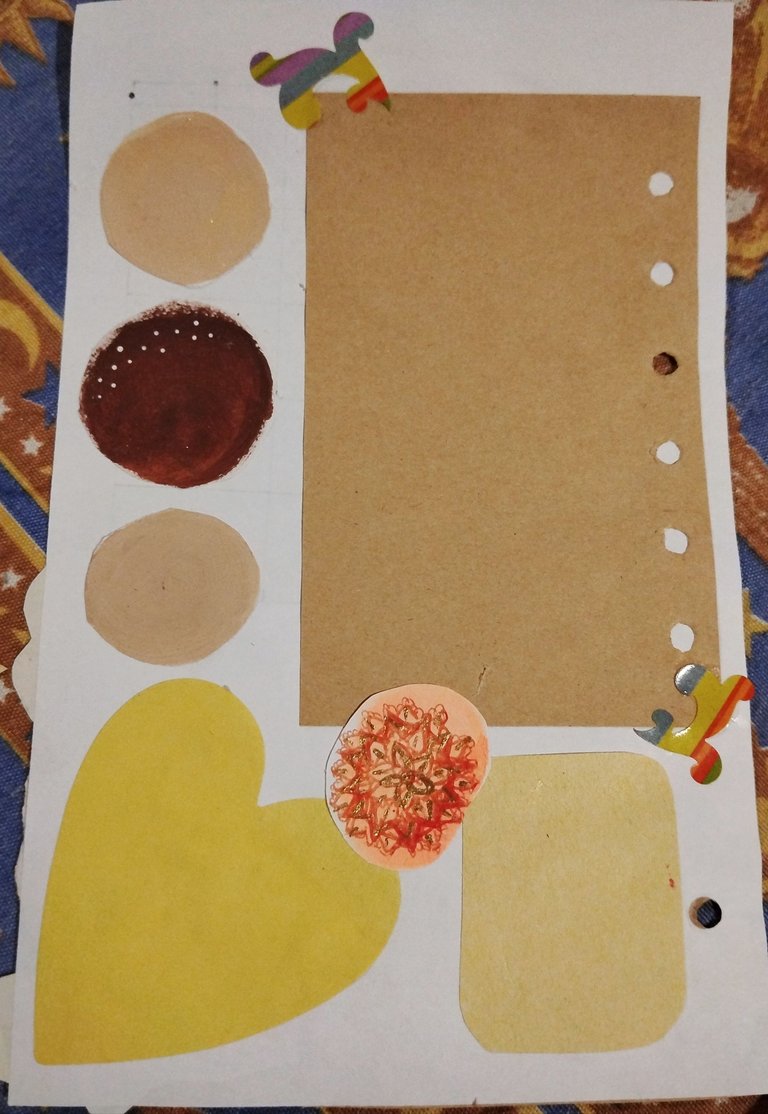
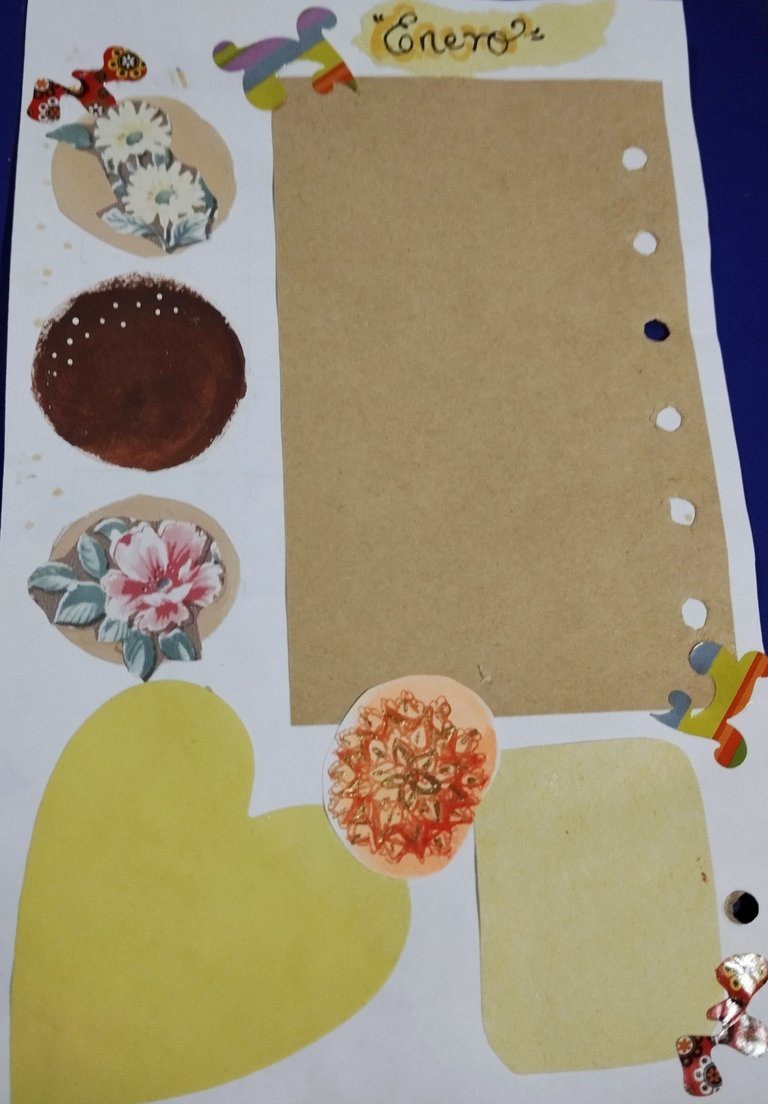
#3 Para armar el collage ,empecé a poner los recortes más grandes y para que fueran al fondo, usé una hojita de mi mini agenda que es como marroncita,y otra mostaza para que resaltara el dibujo de la muñeca,agregué un círculo naranja, de pintura que había hecho, y aproveché que tenía una recorté de papel contact con flores y recorté estás que combinan más ,unas florecitas amarillas, y otras flores rojitas para complementar. Después de acomodar los recortes y ver la disposición, los procedí a pegar con pega blanca escolar, la tercera foto es el resultado de como quedó el collage, y también agregué los días de la semana, y los números de los días y del mes , también para que no quedará vacío agregué unas estrellitas a los lados del calendario.
English Version
#3 To put together the collage, I started putting the largest clippings and so that they would go to the background, I used a small sheet of my mini agenda that is kind of brown, and another mustard color so that the drawing of the doll would stand out, I added an orange circle, from paint that I had made, and I took advantage of the fact that I had a cutout of contact paper with flowers and I cut out these that match better, some little yellow flowers, and other little red flowers to complement. After arranging the clippings and seeing the layout, I proceeded to glue them with white school glue, the third photo is the result of how the collage turned out, and I also added the days of the week, and the numbers of the days and the month, also so that it would not be empty I added some stars to the sides of the calendar.

 |  | 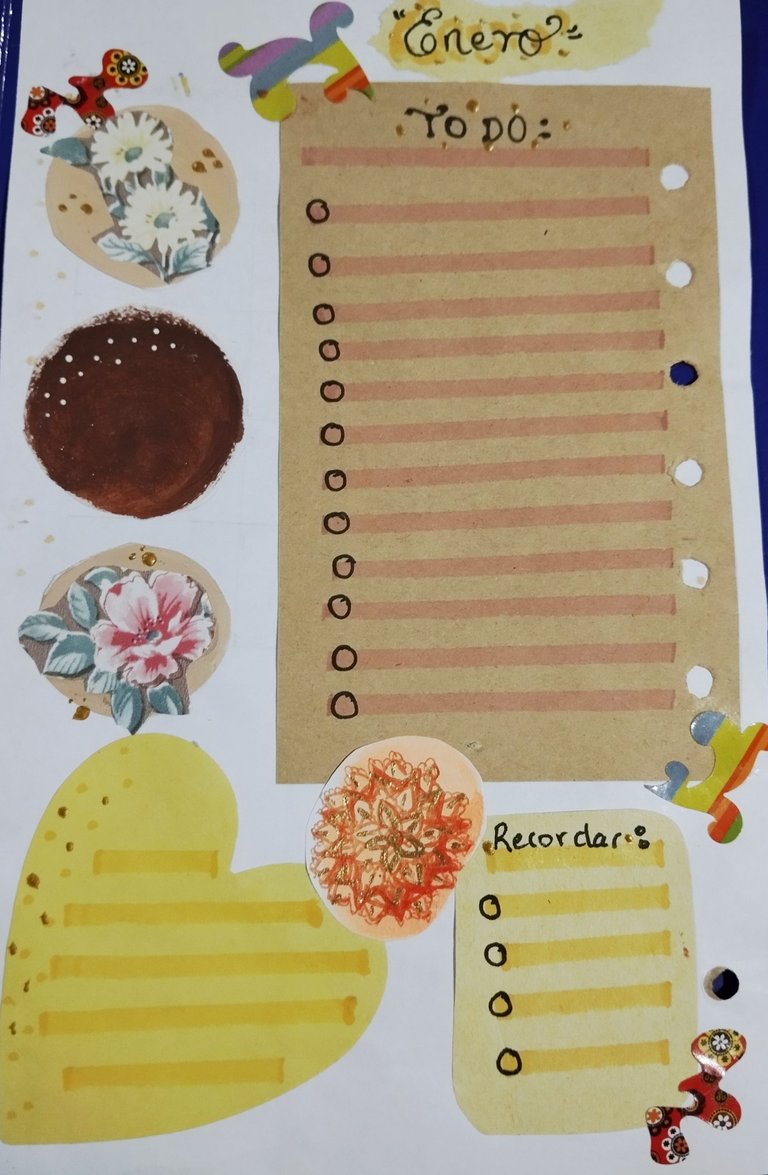 |
#4 Para la hoja por la parte de atrás siempre la uso para poner las actividades tipo to-do list. Puse otra hojita de mi mini agenda para hacer un apartado, puse un post-it amarillito de corazón, y para decorar puse tres círculos,dos beige, y uno marrón, y agregué un rectángulo pequeño amarillo para hacer otro espacio para escribir. Luego de pegarlos bien con pega , agregué un dibujito que tenía de una mandala , y agregué más recortes de las florecitas amarillas y rojas para que se viera más bonito y girly.Puse el título del mes , y con resaltador rosado pastel hice líneas en el apartado marrón, para el post-it amarillo y el rectángulo hice líneas amarillas para donde irán las actividades.
English Version
#4 For the sheet on the back I always use it to put the to-do list type activities. I put another sheet of paper from my mini planner to make a section, I put a yellow heart-shaped post-it, and to decorate I put three circles, two beige, and one brown, and I added a small yellow rectangle to make another space to write. After gluing them well with glue, I added a little drawing I had of a mandala, and I added more cutouts of the yellow and red flowers to make it look prettier and girly. I put the title of the month, and with a pastel pink highlighter I made lines in the brown section, for the yellow post-it and the rectangle I made yellow lines for where the activities will go.
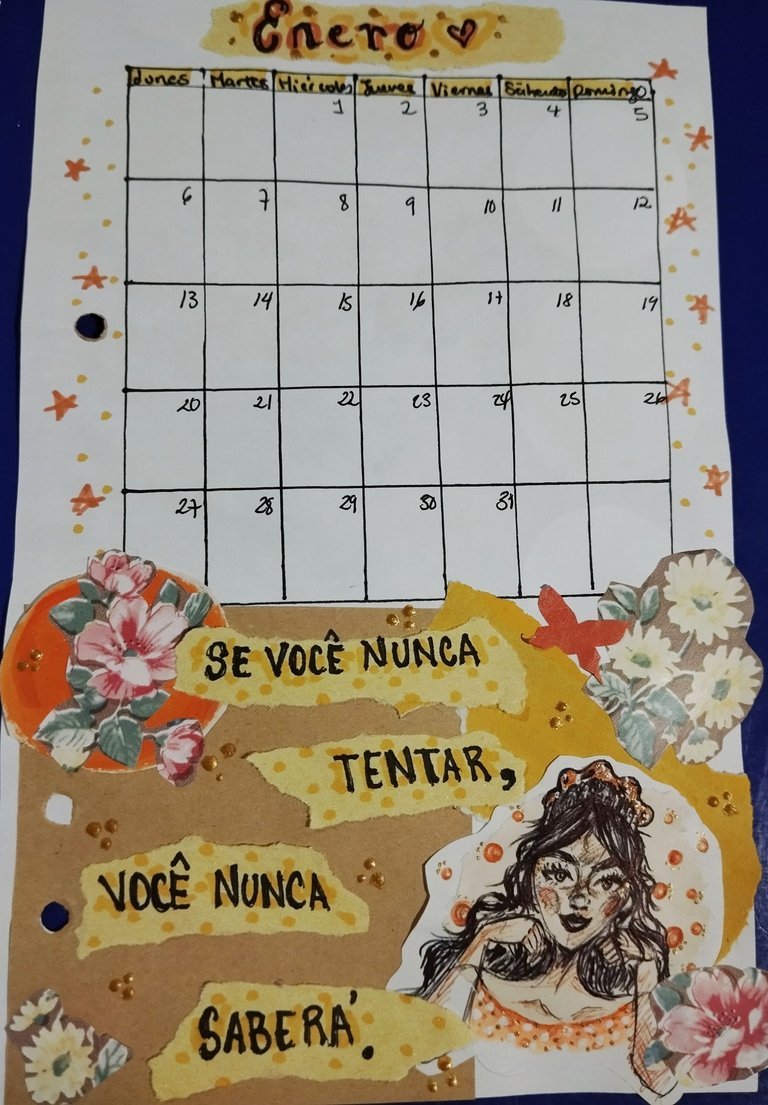 | 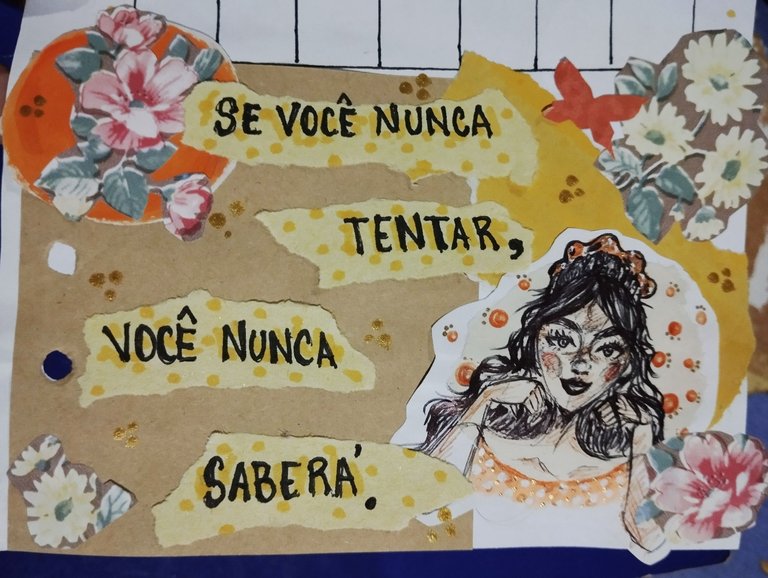 |
#5 Por último agregué unos retazos de papel amarillo para poner una frase, desde el año pasado empecé a incluir una frase inspiradora , y las estoy haciendo en portugués ya que me sirve para practicar y aprender nuevas palabritas, y la verdad si me ha servido mucho para ampliar vocabulario, este mes puse está : "Se você nunca tentar, você nunca saberá." Que significa :"Si nunca lo intentas, nunca lo sabrás"y que me pareció muy acertado para empezar este año con la intención de empezar a hacer cosas nuevas que aunque den miedo y ansiedad ,uno pueda tener la voluntad para intentarlo ,por solo así podrás saber y tener esas experiencias.
English Version
*#5 Finally I added some scraps of yellow paper to put a phrase, since last year I started to include an inspiring phrase, and I'm doing them in Portuguese since it helps me practice and learn new words, and the truth is that it has helped me a lot to expand my vocabulary, this month I put this one: "Se você nunca tentar, você nunca saberá." Which means: "If you never try, you'll never know" and I thought it was very appropriate to start this year with the intention of starting to do new things that even if they are scary and anxious, one can have the will to try, only then will you be able to know and have those experiences.
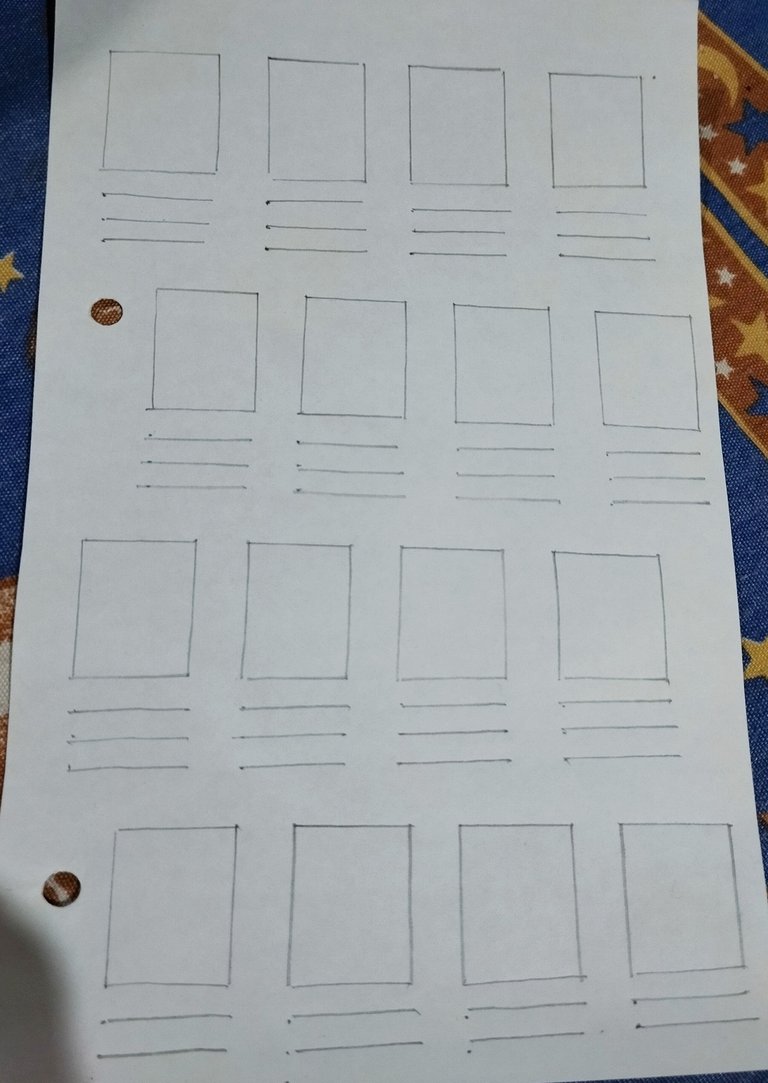 | 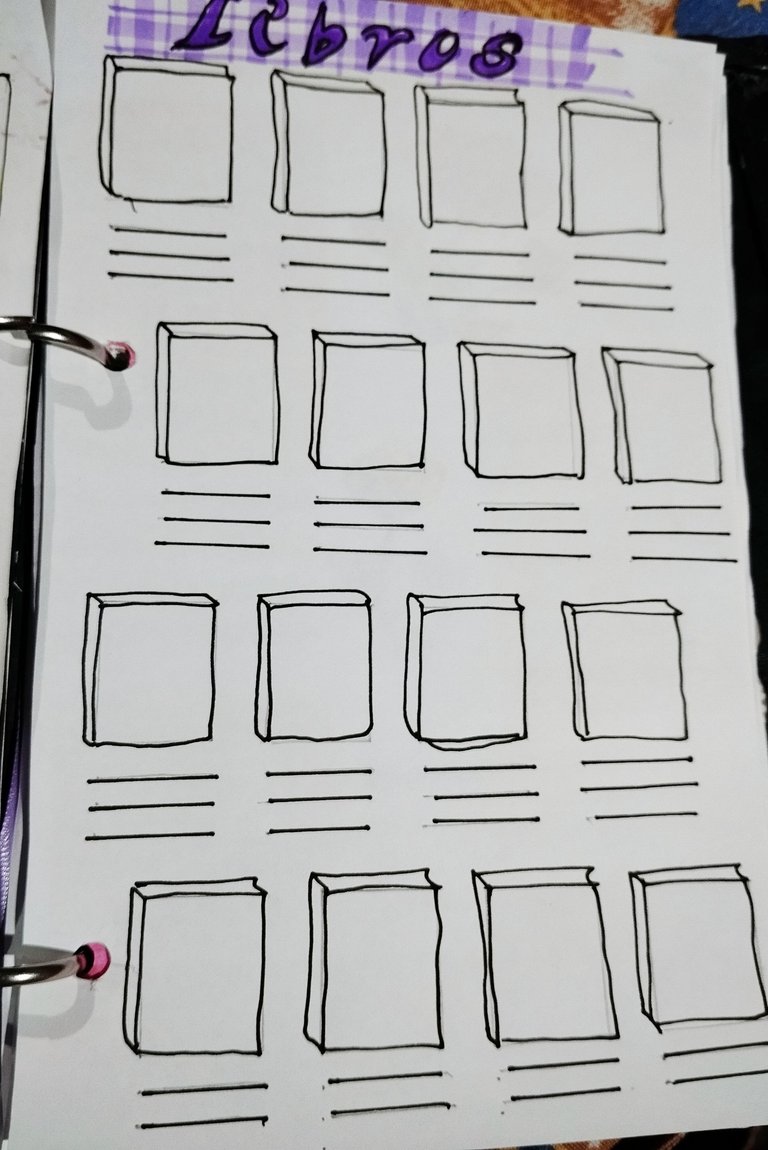 |
#6 Para agregar también hice otras hojitas extras para llevar un registro de nuevas lecturas, este 2024 se me hizo un bloqueo de lector y no pude leer muchas cosas nuevas ,pero espero cambiar eso ,así que hice este registro con cuadritos de 2cm de ancho x 2,5 cm de largo , y debajo de cada uno hice líneas de 2cm de largo y dejando un espacio de 0,5cm entre cada una, luego de tener el boceto, con un marcador punta fina hice las formas de los libros ,aquí no hice perfectos sino a mano alzada los libritos para que se vieran medio torcidos, y también marque las líneas de abajo donde irán número de estrellas que le doy, genero y autor.Decore con un efecto tipo tela escocesa y puse el título.
English Version
**#6 To add I also made other extra sheets to keep track of new readings, this 2024 I had a reader's block and I couldn't read many new things, but I hope to change that, so I made this record with squares of 2cm wide x 2.5cm long, and below each one I made lines 2cm long and leaving a space of 0.5cm between each one, after having the sketch, with a fine tip marker I made the shapes of the books, here I did not make the little books perfect but freehand so that they looked half crooked, and I also marked the lines below where the number of stars I give, genre and author will go. Decorate with a plaid-type effect and put the title. **
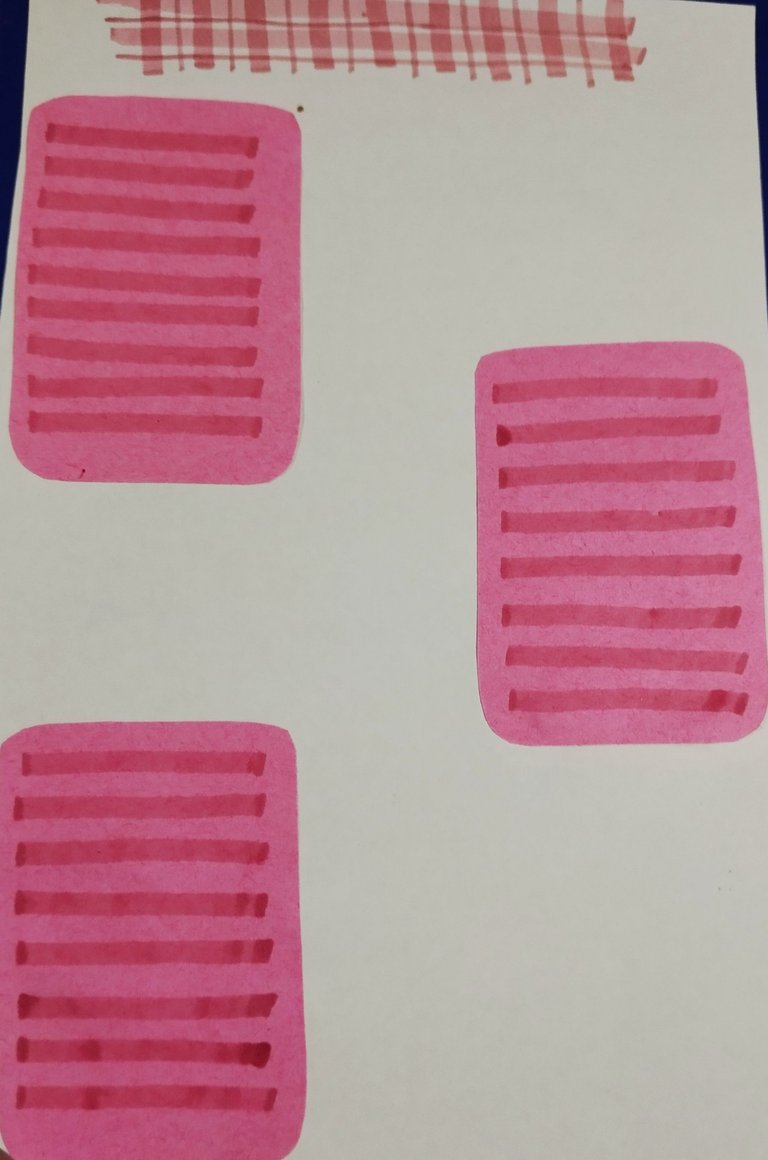 | 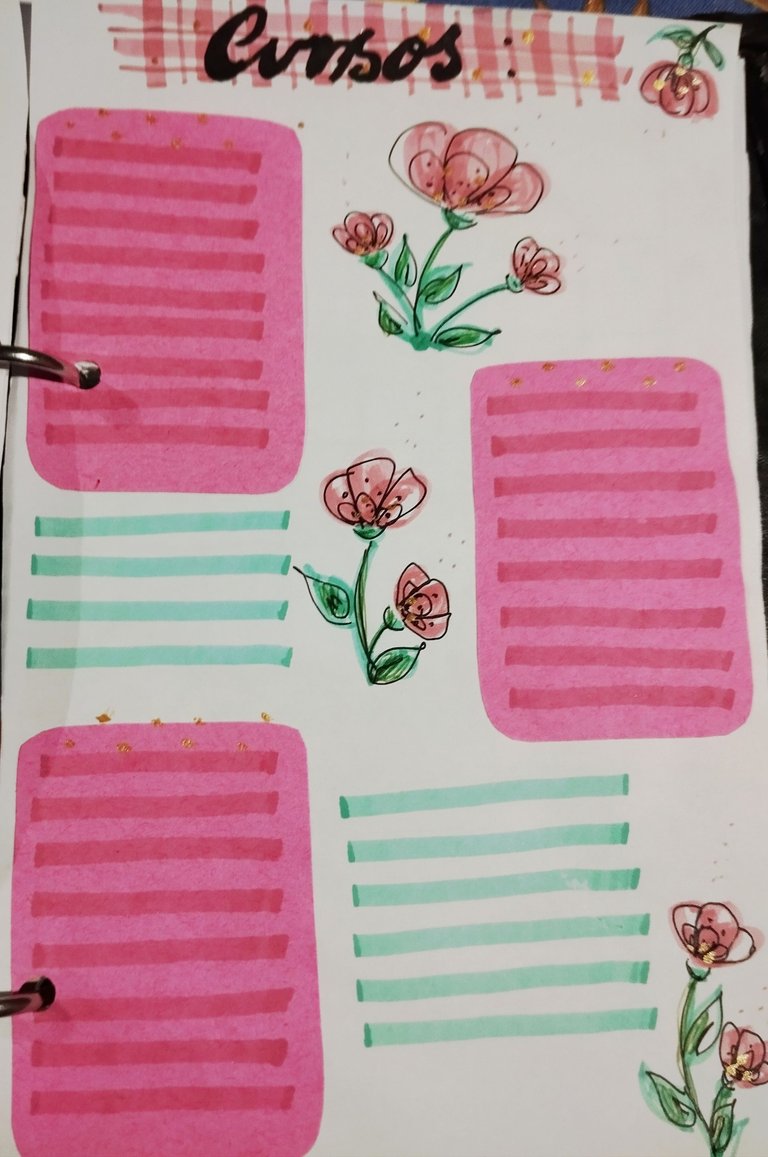 |
#7 Por último hice otro hojita para decorar y aquí poner información de algunos cursos y diplomados que me interesan , aquí recorté tres regtangulos de papeles rojos y les hice las líneas con resaltador rosado pastel para hacerle las líneas en dónde irán las actividades. Para el título usé un decorado tipo cuadros escocés también, la clave es hacer dos líneas horizontales con el resaltador por la parte gruesa , y hacer líneas también con la parte gruesa verticales que atraviesen estás dos líneas horizontales,y luego con la punta hacer en los espacios entre las líneas horizontales, unas líneas horizontales pero muy finitas , de igual forma en los espacios de las líneas verticales gruesas ,también hacer líneas verticales pero muy finitas, para imitar ese patron de cuadros. Con un resaltador verde azulado , también hice otras líneas para rellenar espacio , y para decorar pinté unos ramilletes de flores bien sencillos con los resaltadores y luego por encima le hice el contorno con un boligrafo de gel negro, la idea es que las flores se vieran más sencillas y con líneas medio simples y abstractas ,por último agregué unos puntitos de pintura dorada para darle algo de brillo al diseño., y listo es una hoja bonita para agregar alguna información que quieran.
Muchas gracias por leerme ! 🤭💜✨ Espero que les haya gustado el post!
Fotos tomadas por mí en mi equipo Redmi note 12 editadas en Pics art y gif realizado en app creador de GIFs texto traducido en Google traductor.
English Version
#7 Finally I made another little sheet to decorate and here put information about some courses and diplomas that interest me, here I cut out three rectangles of red paper and made the lines with a pastel pink highlighter to make the lines where the activities will go. For the title I used a Scottish plaid type decoration too, here the key is to make two horizontal lines with the highlighter on the thick side, and also make vertical lines with the thick side that cross these two horizontal lines, and then with the tip make in the spaces between the horizontal lines, some horizontal lines but very thin, in the same way in the spaces of the thick vertical lines, also make vertical lines but very thin, to imitate that plaid pattern. With a teal highlighter, I also made other lines to fill space, and to decorate I painted some very simple bouquets of flowers with the highlighters and then on top I made the outline with a black gel pen, the idea is that the flowers look simpler and with somewhat simple and abstract lines, finally I added some dots of gold paint to give some shine to the design, and voila, it is a nice sheet to add any information you want.
Thank you very much for reading me! 🤭💜✨ I hope you liked the post!
Photos taken by me on my Redmi note 12 device edited in Pics art and gif made in the GIF creator app, text translated in Google translator.

Excelente trabajo ❤️. Me encantaría ser así de ordenada 🤭.
Aww muchas gracias por tu comentario @eleanagutierrez ☺️✨ jaja no te creas , me gusta mucho organizarme y armar listas , la cosa difícil es seguirlas jajaja
Adoro los planificadores, las agendas, los colores y todo lo relacionado, peeeeroooo... soy un desastre 😅. Este año estoy tratando de hacer las cosas un poco diferente, parece fácil pero tiene su grado de dificultad 🙈. Mucho éxito amiga @mily23m ❤️
Awww Mily, te quedó tan bonito 😍 definitivamente tiene toda la buena vibra que se necesita para iniciar el año✨ me encantó tu dibujo de la chica y la frase está genial también💖
Muchas gracias amiguita Feliz año superrrrrr tarde jejeje🎉✨ pero seguro , ya a la mitad de enero uno va agarrándole la onda al la organización y volver a la normalidad
Jejeje muy feliz año para ti también🤗🤗🤗
Good work, 👍👍👍👍👍 it a nice creativity welldone
Thank you very much, I'm glad you liked it ☺️✨@mosupholstery