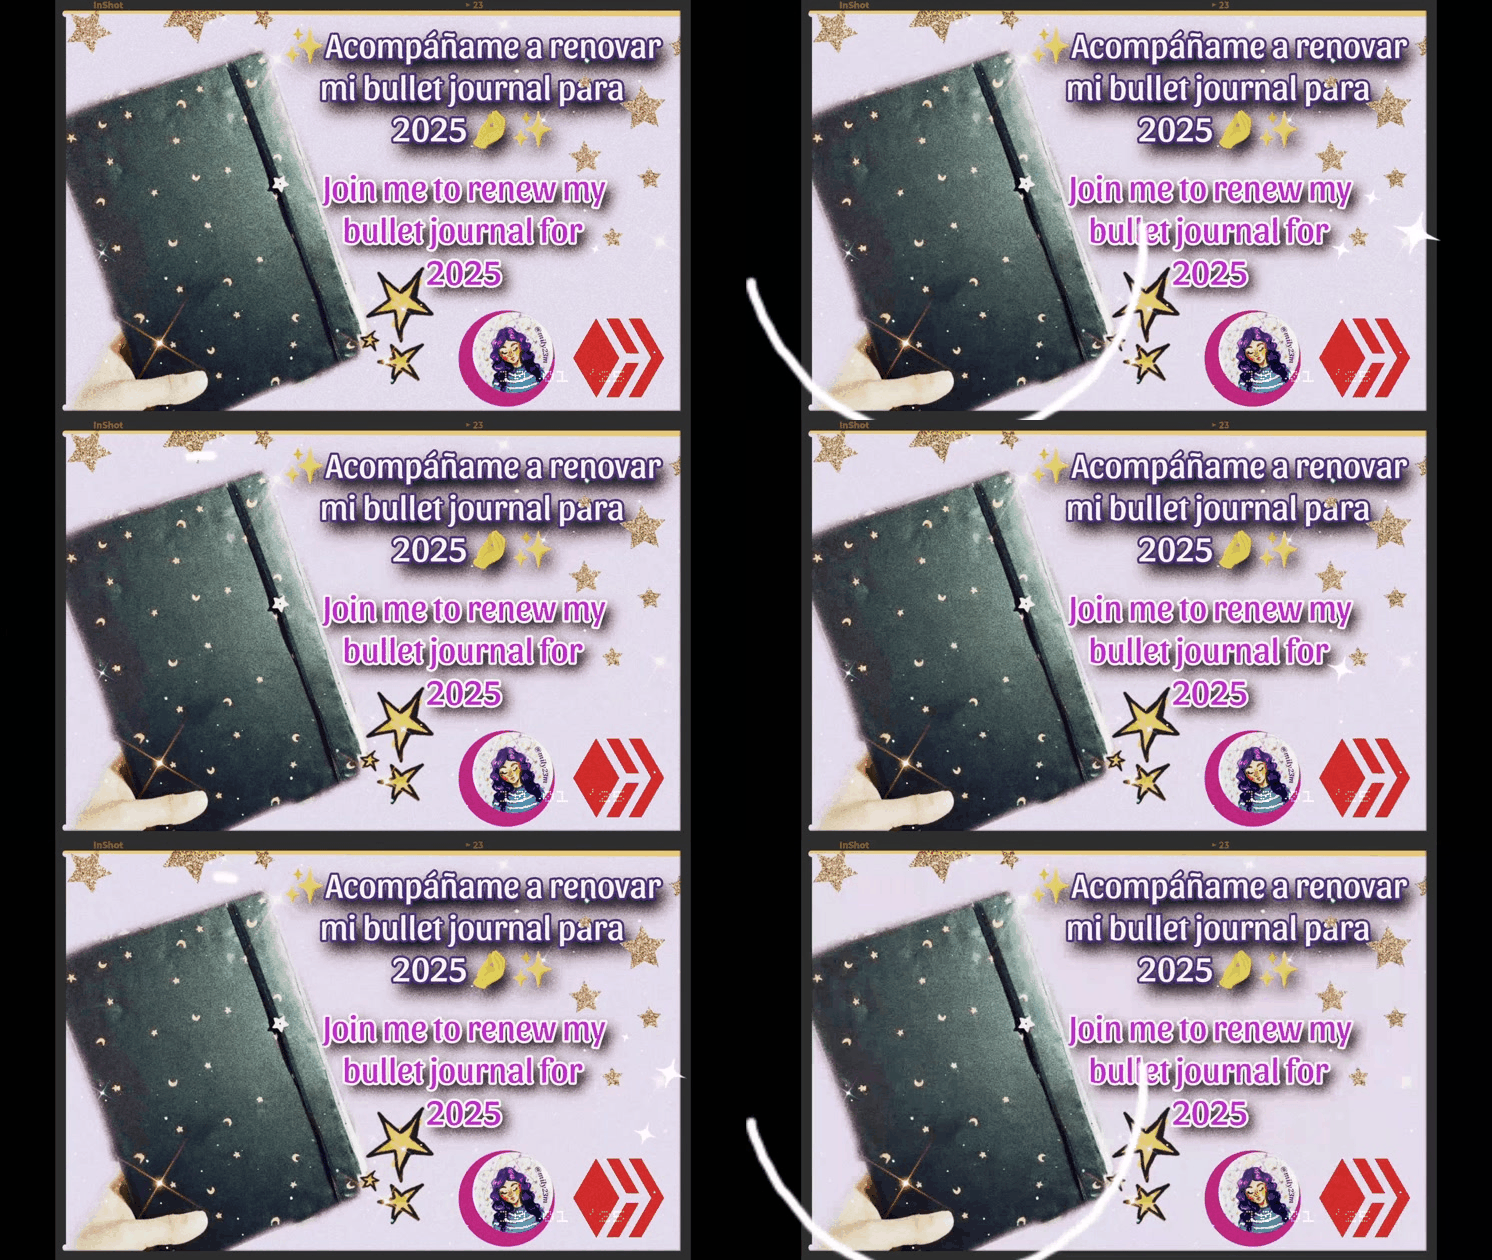

✨💜✨💜✨💜✨💜✨💜✨💜✨💜✨💜✨
!Feliz año! Comunidad hermosa ! Espero que hayan recibido el año 2025 en compañia de sus seres queridos y familiares, y que les haya traído cosas buenas, a todos mis compatriotas entiendo que la situación de estos días no ha sido el mejor inicio de año, pero espero de corazón que todo estén bien 💜✨ , estas primeras semanas del año 2025 me los dediqué a buscar información y prepararme para ver qué quería hacer este año , me ví mil videos ,escuché mil podcast motivacionales y de crecimiento,y finanzas personales con el fin de inspirarme a crear mis metas del año ,pero más que todo, a ver como haría para está vez sí cumplirlas ,ya que el año 2024 fue un año aunque bueno por un lado ,porque logré muchas cosas entre ellas hive , las metas que yo tenía ese año las mayoría las dejé de lado y terminé con un estado anímico bastante bajo en todo lo relacionado con ellas ,pero este año quiero ser disciplinada y lograr la mayoría de mis objetivos, entre las cosas que necesitaba es terminar de hacer un buen sistema de organización entre mi bullet journal y mi notion y seguirlo, mi bullet que he compartido aquí estaba bastante deteriorado pero no quería reemplazarlo por otro ya que este yo misma lo hice y lo adapté a mis necesidades ,pero sí quería que se viera mejor y darle nueva vida para usarlo mucho más que el año pasado y volver a tener más páginas creativas ,y algunas otras de shadow work ,de reflexiones , etc ,como un híbrido que sea más libra algo que me permita plasmar lo que pasa por mi mente, así que aquí les dejo el proceso de como lo renové ,no fue un cambio tran grande pero digamos que sirve para otro año de uso batallando conmigo 💜✨.
Materiales
💜 Silicón en barras y pistola para silicón.
💜 Retazo de tela de razo rosada.
💜 Ganchos / pinza de ropa.
💜 Pintura dorada de tela.
💜 Palito de dientes/mondadientes.
💜 Tijeras y reglas
💜 Hojas blancas.
💜 Saca huecos.
💜 Hojas decorativas.
💜 Marcadores y bolígrafos de gel, marcadores negros.
✨💜✨ Manos a la obra ✨💜✨
English Version
✨💜✨💜✨💜✨💜✨💜✨💜✨💜✨💜✨💜✨
Happy New Year! Beautiful community! I hope you have received the year 2025 in the company of your loved ones and family, and that it has brought you good things, to all my compatriots I understand that the situation these days has not been the best start to the year, but I sincerely hope that everything is well 💜✨, these first weeks of the year 2025 I dedicated them to searching for information and preparing to see what I wanted to do this year, I watched a thousand videos, listened to a thousand motivational and growth podcasts, and personal finances in order to inspire me to create my goals for the year, but more than anything, to see how I would do to fulfill them this time, since the year 2024 was a year although good on the one hand, because I achieved many things among them I had, the goals that I had that year I put aside most of them and I ended up with a fairly low mood in everything related to them, but this year I want to be disciplined and achieve most of my goals, among the things I needed is to finish make a good organization system between my bullet journal and my notion and follow it, my bullet that I have shared here was quite deteriorated but I did not want to replace it with another one since I made it myself and adapted it to my needs, but I did want it to look better and give it new life to use it much more than last year and have more creative pages again, and some others of shadow work, reflections, etc., like a hybrid that is more free something that allows me to capture what goes through my mind, so here I leave you the process of how I renewed it, it was not such a big change but let's say it serves for another year of use battling with me 💜✨.
Materials
💜 Silicone bars and silicone gun.
💜 Scrap of pink satin fabric.
💜 Hooks / clothespin.
💜 Gold fabric paint.
💜 Toothpick.
💜 Scissors and rulers
💜 White sheets.
💜 Hole punch.
💜 Decorative sheets.
💜 Markers and gel pens, black markers.
✨💜✨ Let's get to work ✨💜✨
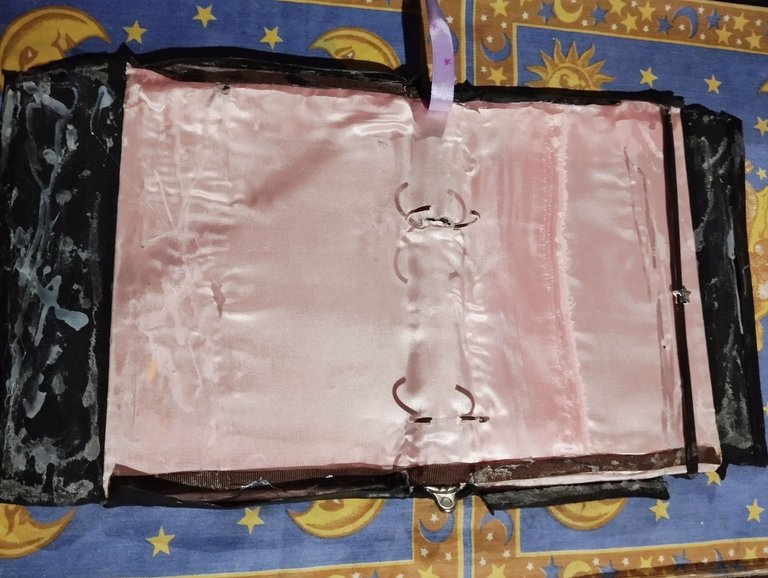
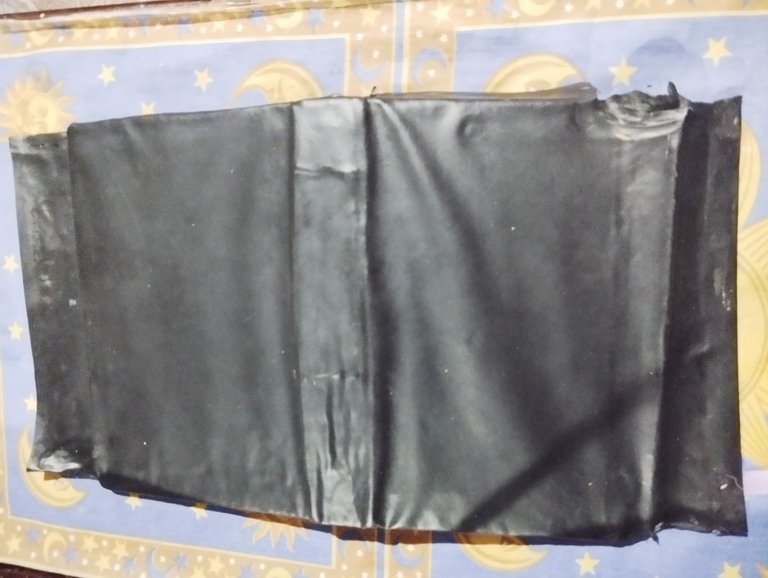
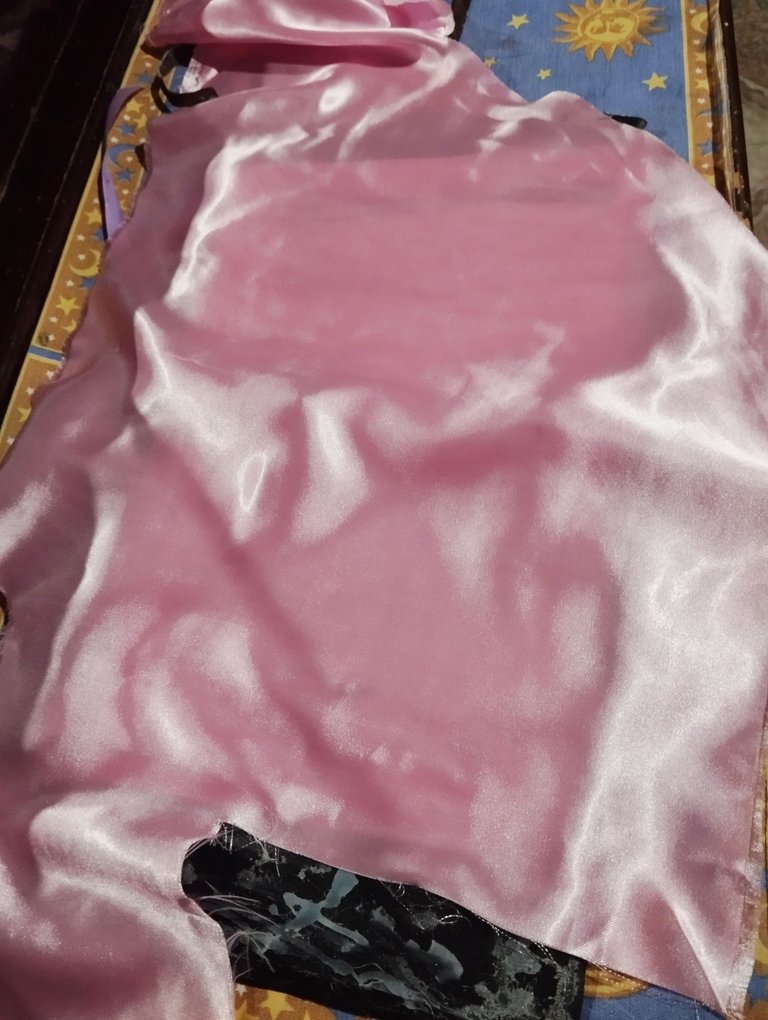
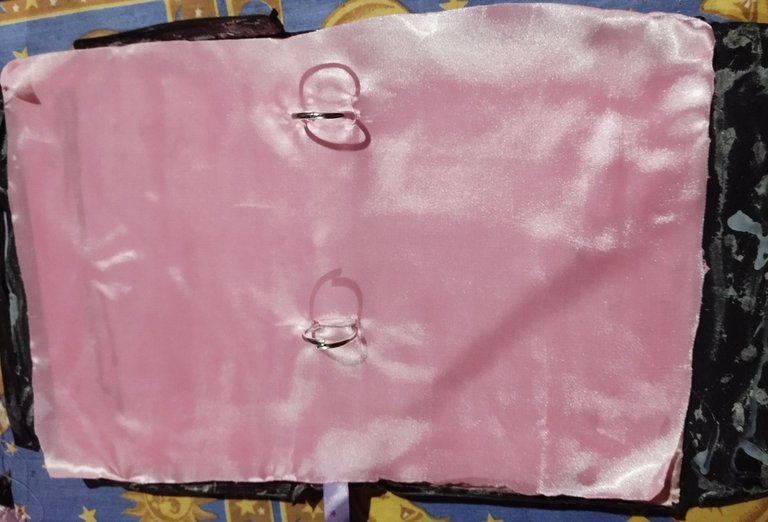
#1 Está agenda yo la hice reciclando una carpeta de ganchos anillados , le despegué el sistema de anillas ,lo doblé a la mitad,y luego lo corté dejándolo de este tamaño ,y con alambre dulce aseguré de nuevo el sistema a la caratula de la agenda luego que la recorté del tamaño que quería , la había forrado con una tela de cuerina y tela de razo en el interior pero ya estaba manchado el interior y se veía un poco feo, además que los bordes se había despegado, así que empece despegando todos esos bordes de la cuerina para ponerle otra tela encima del razón anterior.Medi un retazo de la tela nueva ,lo planché y corté con un tamaño el rectángulo que quería para tapizar las contraportadas, todas las orillas las queme con un yesquero para evitar que se deshilache , y medí la tela en la agenda para ver en dónde quedarían las anilla , y el listón ,para esto marqué en dónde estaban y allí hice un pequeño corte (que también selle con el yesquero) para poder introducir las anillas , y la cinta por estos agujeros.
English Version
#1 I made this agenda by recycling a ring binder, I removed the ring system, folded it in half, and then cut it leaving it this size, and with sweet wire I secured the system to the cover of the agenda again after I cut it to the size I wanted, I had lined it with a leatherette fabric and satin fabric on the inside but the inside was already stained and looked a little ugly, plus the edges had come off, so I started by peeling off all those edges of the leatherette to put another fabric on top of the previous reason. I measured a scrap of the new fabric, ironed it and cut the rectangle I wanted to cover the back covers with, I burned all the edges with a tinderbox to prevent it from fraying, and I measured the fabric on the agenda to see where the rings and ribbon would be, for this I marked where they were and there I made a small cut (which I also sealed with the tinderbox) so that I could insert the rings and the ribbon through these holes.
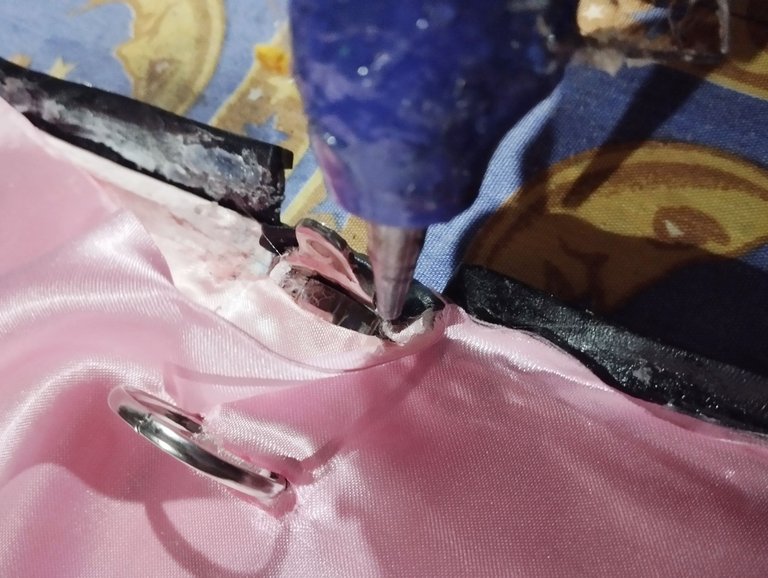
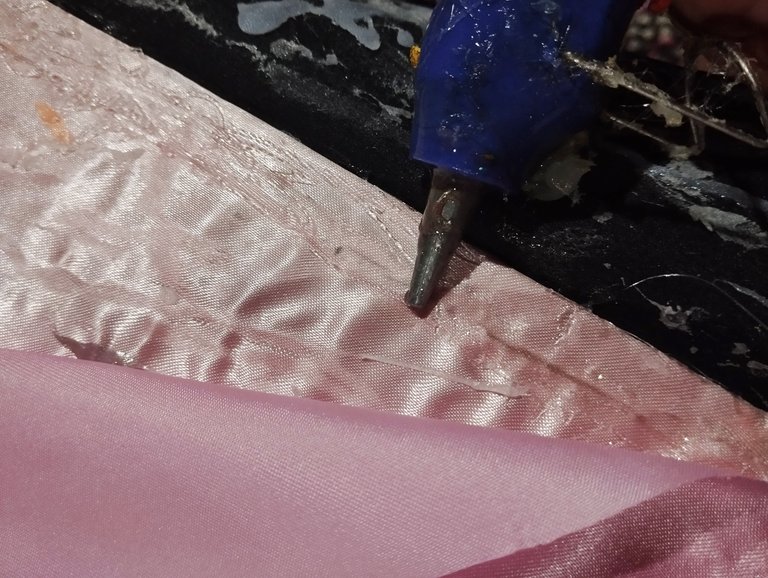
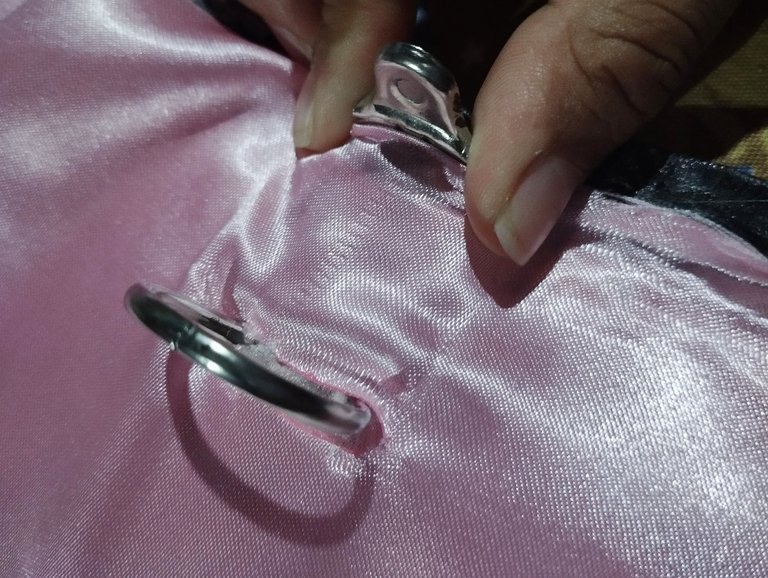
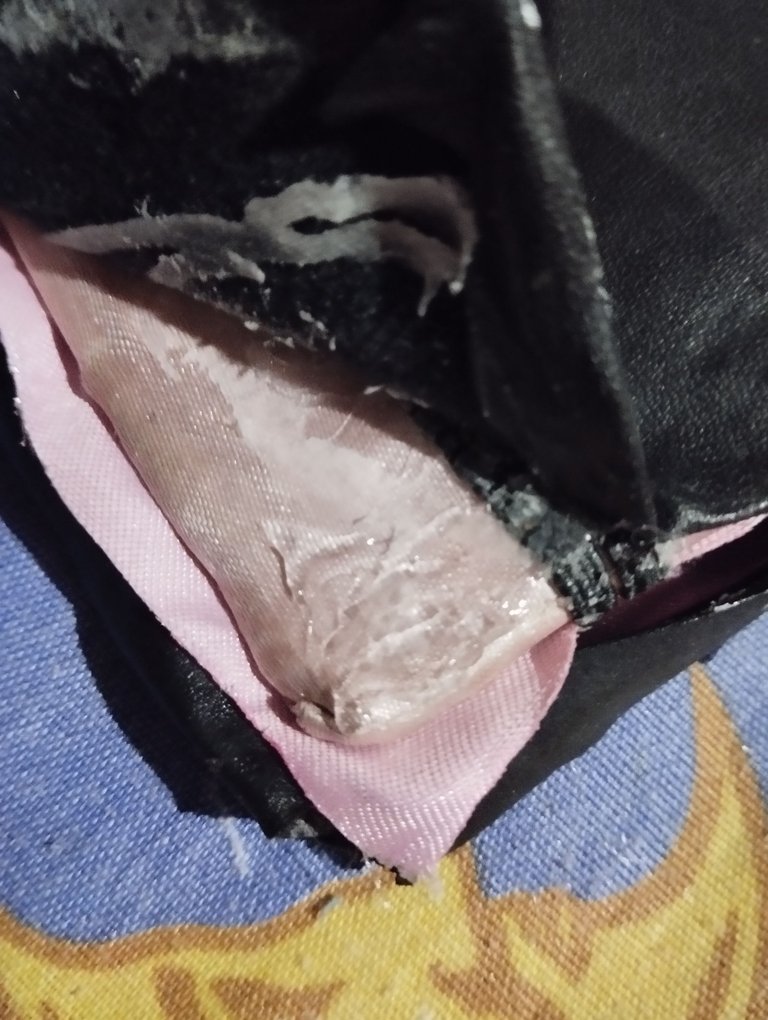
#2 ya con la referencia de las anillas bien ubicadas en los espacios que hice para ellas , pude empezar a pegar , primero con silicón caliente pegando toda esta tela de razo rosado por las orillas ,tapando la tela anterior, en la parte del sistema de palanca que abre las anillas ,allí hice una especie de dobladillo con la orilla de la tela,es decir pegué el borde, lo doblé para que no se viera el filo sencillo de la tela ,y con silicón lo pegué bien a la palanca metálica. Seguí pegando las orillas de la tela ,tapando la unión lo más que podía, para no dejar unos muros anti estéticos con el silicón con la punta caliente de la pistola trataba de "aplanar" el silicón que había colocado ,y luego hacía presión en la tela para alisar bien todo, en las esquinas ,trate de despegar la parte de la cuerina en las portadas para pegar bien el razo rosado a las esquinas y que quedarán bien tapada la parte de la tela anterior.
English Version
**#2 Now with the reference of the rings well placed in the spaces that I made for them, I was able to start gluing, first with hot silicone gluing all this pink satin fabric along the edges, covering the previous fabric, in the part of the lever system that opens the rings, there I made a kind of hem with the edge of the fabric, that is, I glued the edge, folded it so that the simple edge of the fabric could not be seen, and with silicone I glued it well to the metal lever. I continued gluing the edges of the fabric, covering the joint as much as I could, so as not to leave unsightly walls with the silicone. With the hot tip of the gun I tried to "flatten" the silicone that I had placed, and then I put pressure on the fabric to smooth everything out well. In the corners, I tried to peel off the leatherette part of the covers to stick the pink border well to the corners and so that the previous fabric part would be well covered.
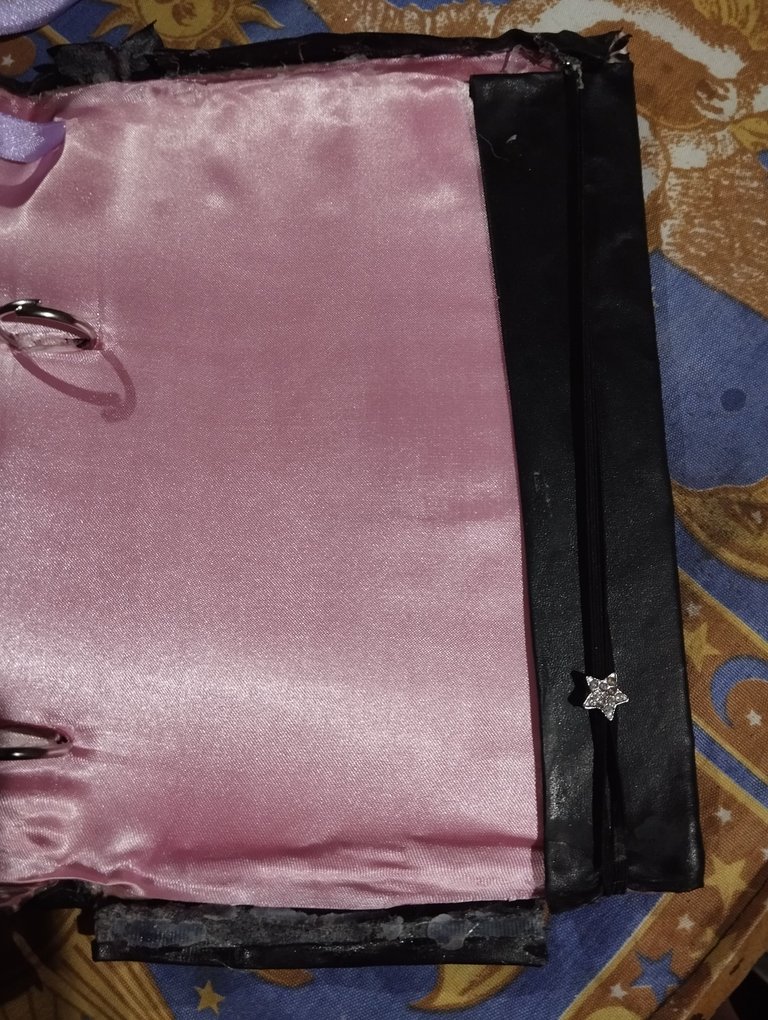
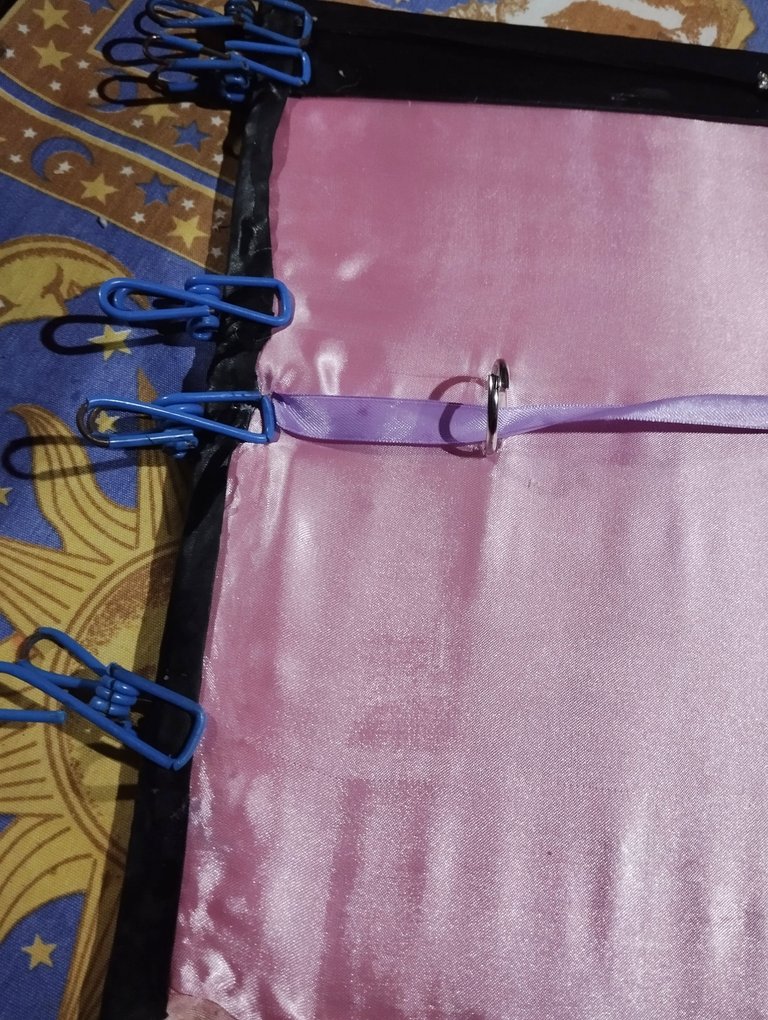
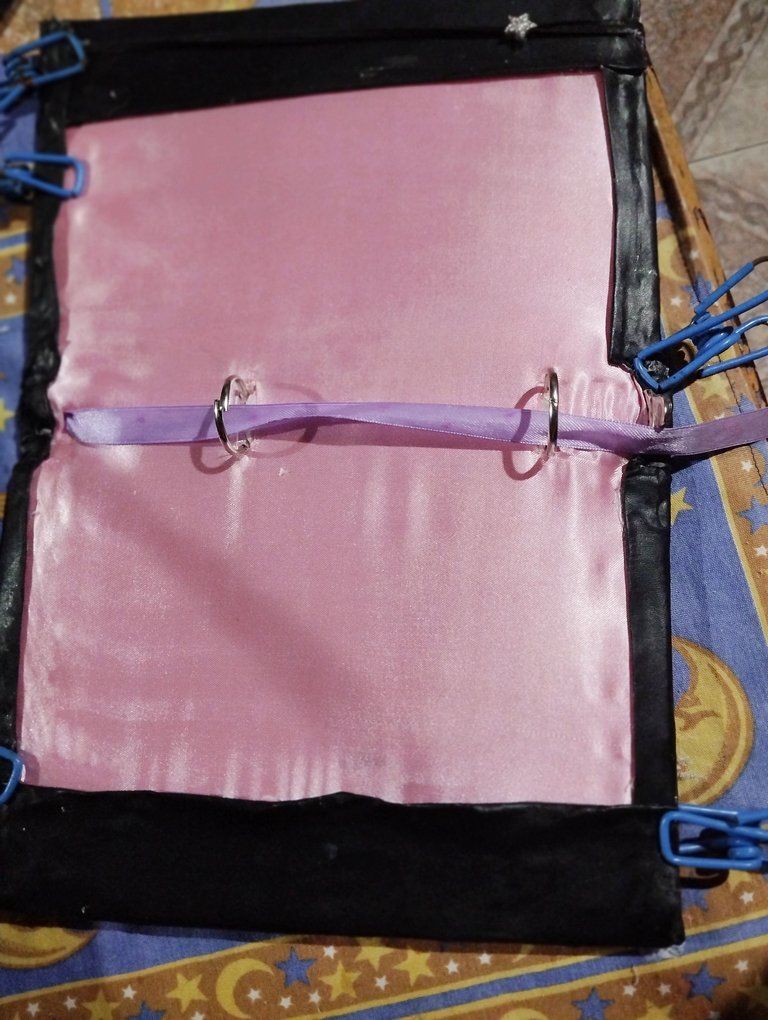
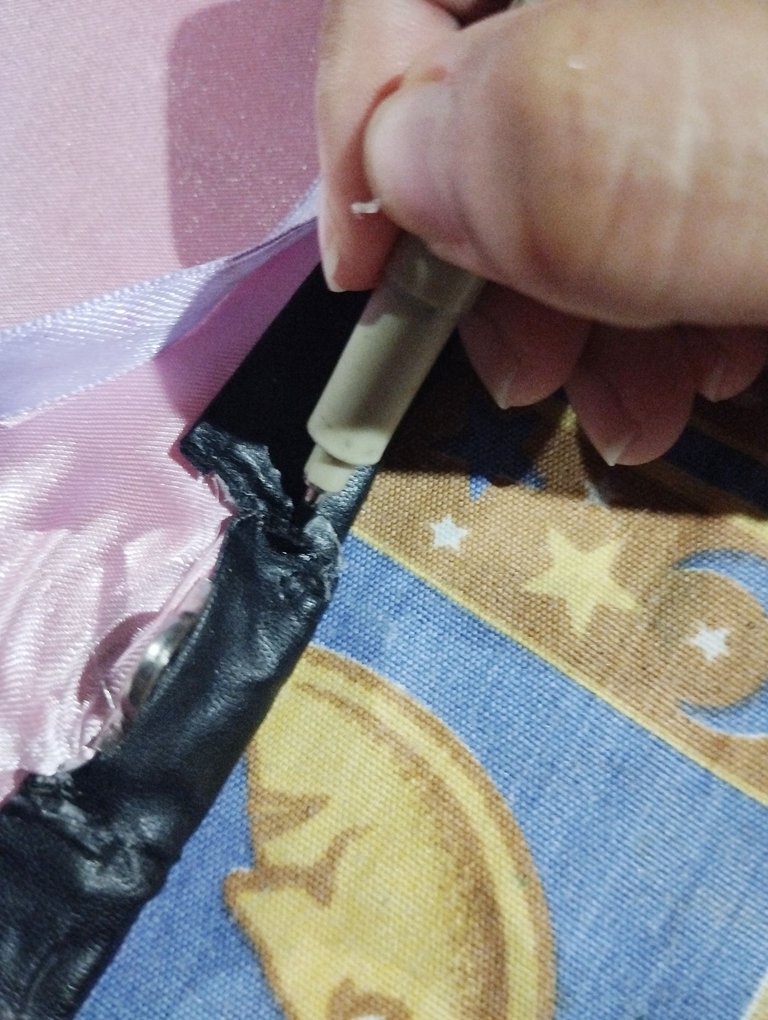
#3 Una vez bien tapizado toda la superficie interior con el razo rosado, ya seguía pegar la cuerina que había despegado, aquí mi idea al principio era cambiarlo , quería comprar otra cuerina o un latex estampado pero buscando en el castillo estaba a 5$ y la verdad para lo que iba a usar y que tendría que comprar pega UHU para pegarlo y otras cosas ,pues no se me hizo tan rentable, como que entonces me salía mejor invertir en uno nuevo (diario) y como no quería tampoco dejar de lado este que aún servía ,pues mejor lo deje así con la cuerina negra , haciendo presión para estirar bien los bordes de la cuerina ,pegué con silicón a sobre la tela interior, para el espacio que tiene la elástica pegué bien y me aseguré que las esquinas quedarán lo mejor posible ya que en la parte inferior debido a que la elastica quedé bien , dejé un pequeño espacio sin la cuerina, mientras pegaba iba ayudándome de pinzas de ropa para mantener sujeta la tela y que no se despegará por la tensión.Terminé pegando todos los bordes de cuerina de cada lado y turnandole los ganchos cuando los pegaba para que no se me soltara ningún borde.Cuando se me quedaba alguna pega de silicón lo que hacía era pintarlo con un marcador negro para taparlo.
English Version
#3 Once the entire interior surface was well upholstered with the pink ribbon, I had to glue the leatherette that I had peeled off. Here my idea at first was to change it. I wanted to buy another leatherette or a printed latex, but looking in the castle it was at $5 and the truth is that for what I was going to use it and that I would have to buy UHU glue to glue it and other things, well, it didn't seem so profitable to me, as then it was better for me to invest in a new one (daily) and as I didn't want to leave aside this one that was still useful, well, I left it like that with the black leatherette, applying pressure to stretch the edges of the leatherette well. I glued with silicone on the interior fabric, for the space that has the elastic I glued well and I made sure that the corners would be as good as possible since in the lower part because the elastic was well fixed, I left a small space without the leatherette. While I was gluing I was helping myself with clothespins to hold the fabric and so that it wouldn't fall off. It will come off due to the tension. I ended up gluing all the edges of the leather on each side and alternating the hooks when I glued them so that no edge would come loose. When I had some silicone glue left, I painted it with a black marker to cover it up.
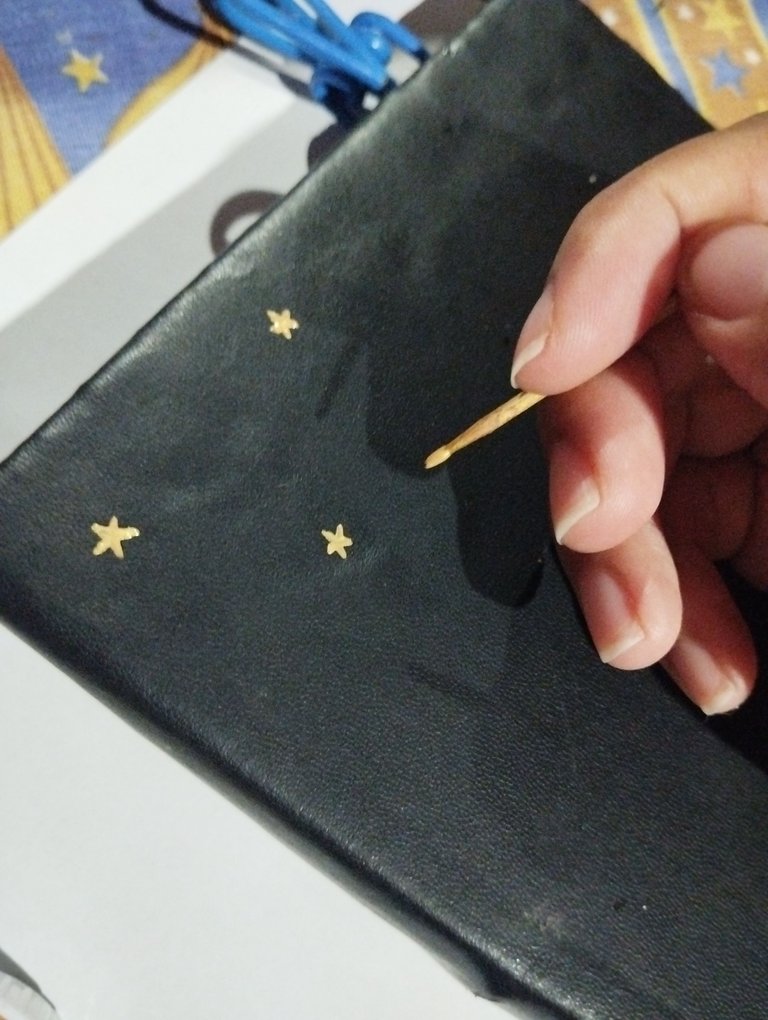
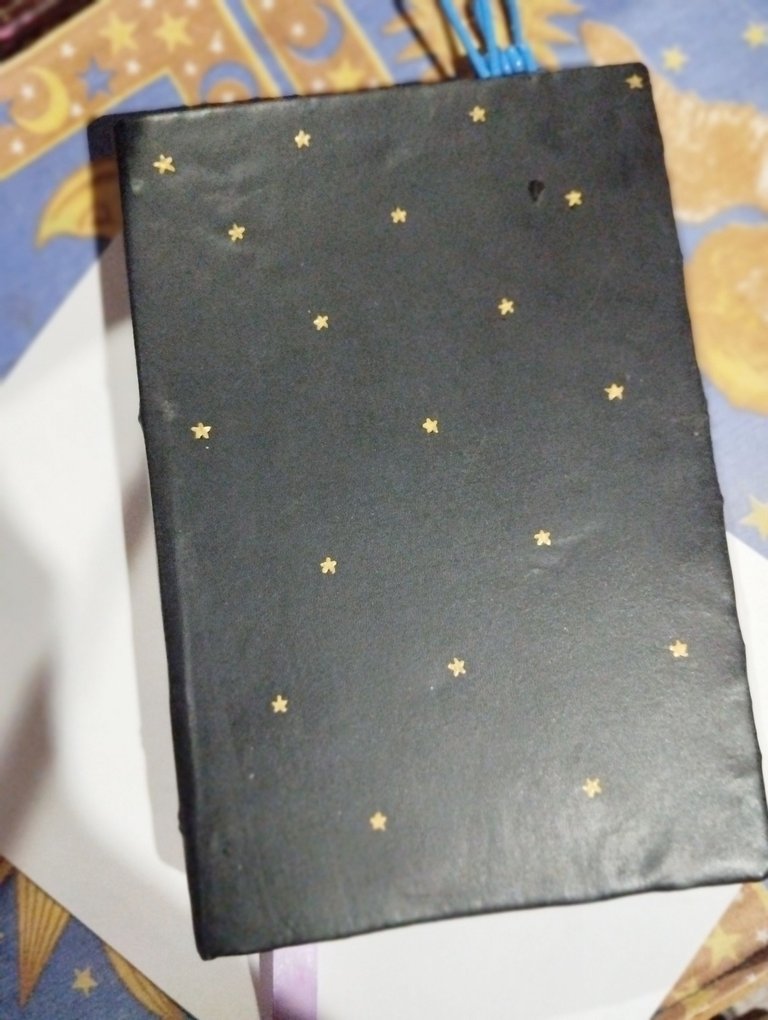
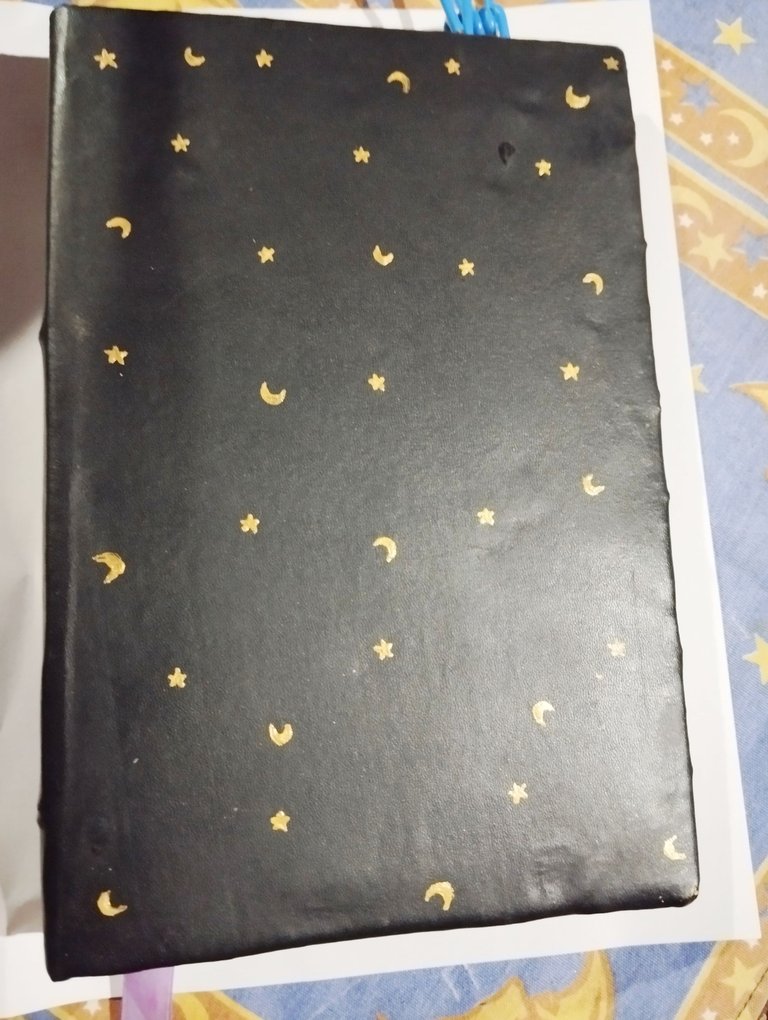
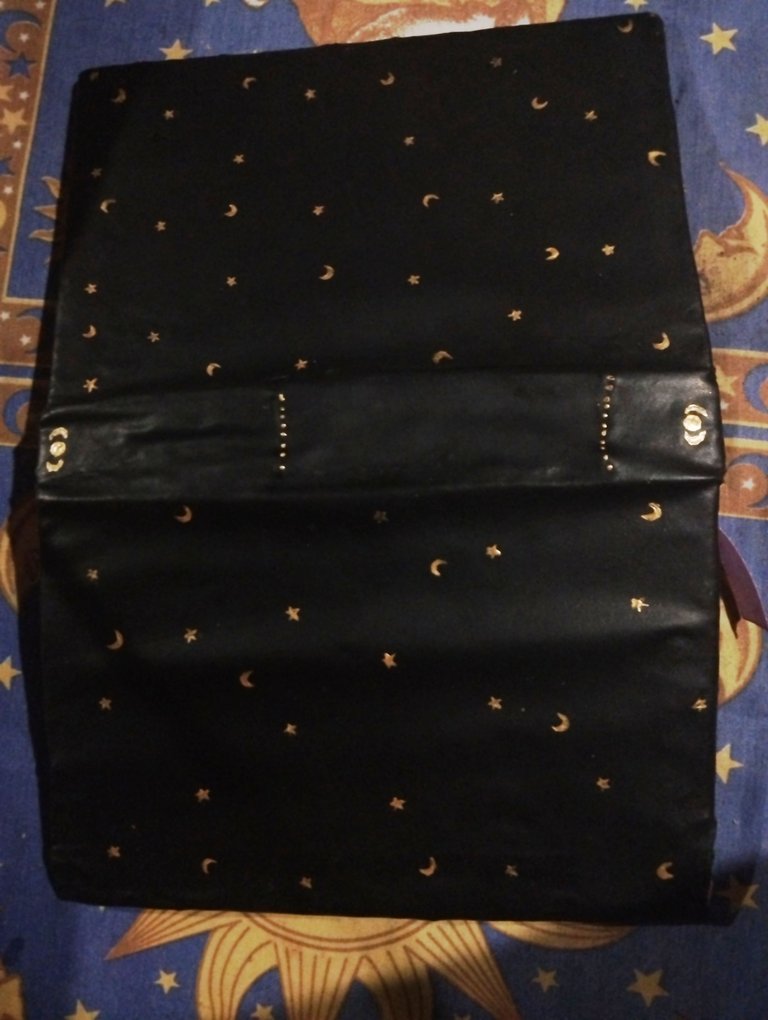
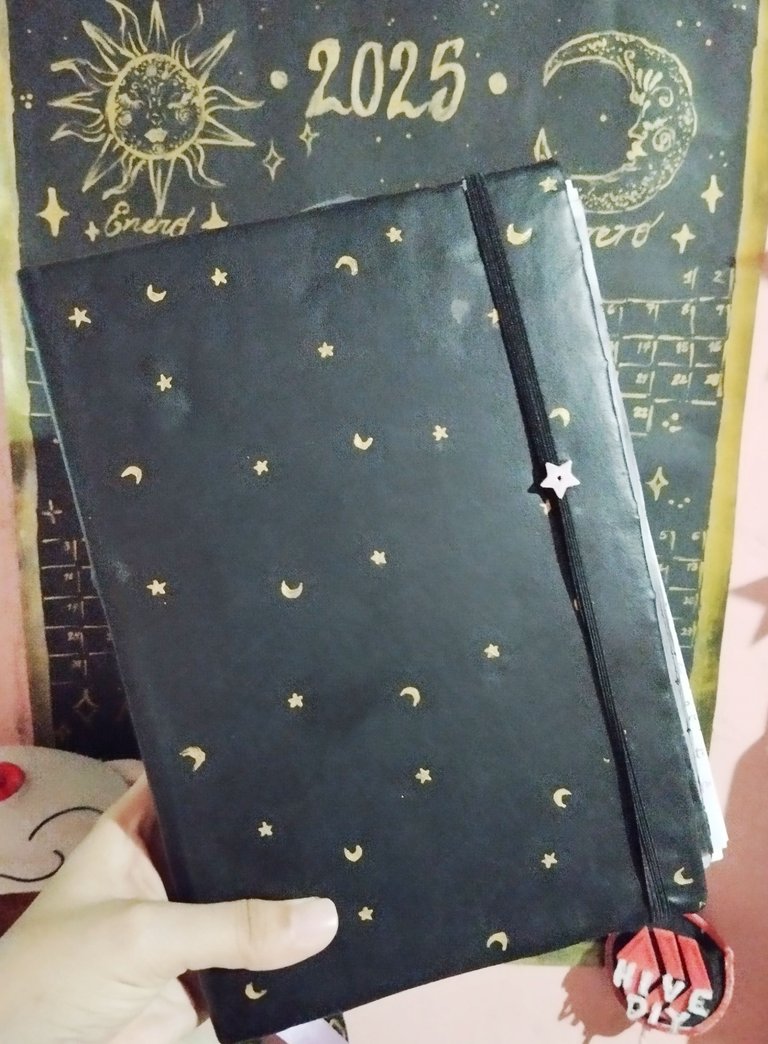
#4 Como volví a pegar prácticamente las portadas, la cuerina quedó más tensa y con mucho mejor aspecto, aquí pensé que porsupuesto le faltaba alguito ,y un toque dorado , entonces con una pintura dorada y un mondadientes empecé a hacer pequeños estrellitas como un patron en la portada , luego como me parecía muy vacío agregué lunitas para completar el patrón, deje que se secara e hice mi contraportada, y cuando secó me fui al lomo y le hice un diseñito también ✨🤌 y quedó precioso ,lo que faltaba para darle más vida y un toque más coqueto al viejo bullet journal.
English Version
**#4 Since I practically glued the covers back together, the leatherette was tighter and looked much better, here I thought that of course it was missing something, and a golden touch, so with some golden paint and a toothpick I started making little stars like a pattern on the cover, then since it seemed too empty I added little moons to complete the pattern, let it dry and made my back cover, and when it dried I went to the spine and made a little design on it too ✨🤌 and it looked beautiful, just what was missing to give more life and a more flirtatious touch to the old bullet journal.
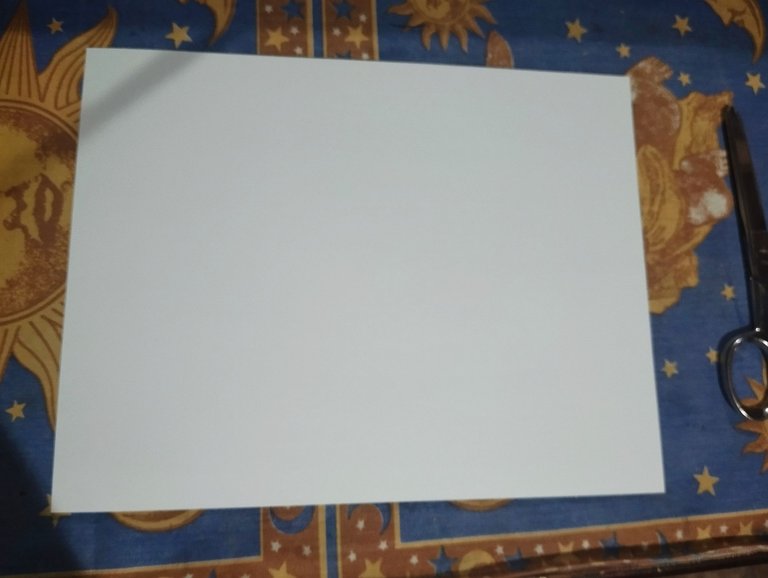
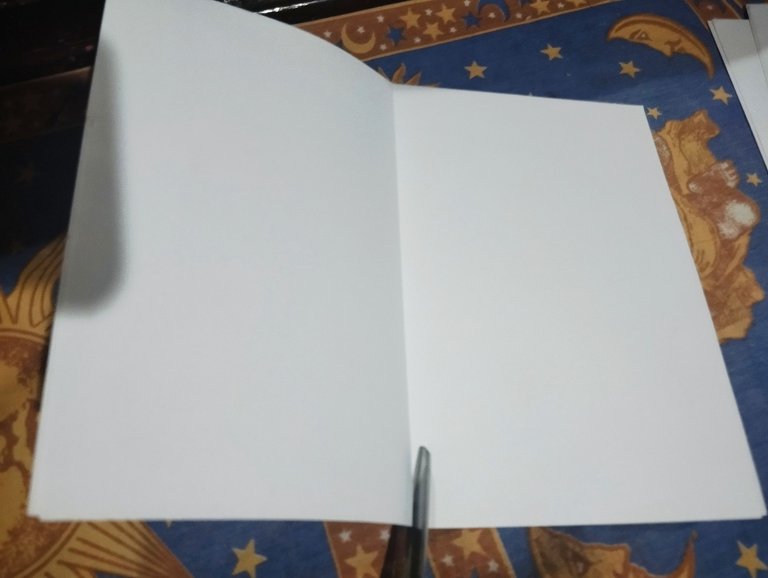
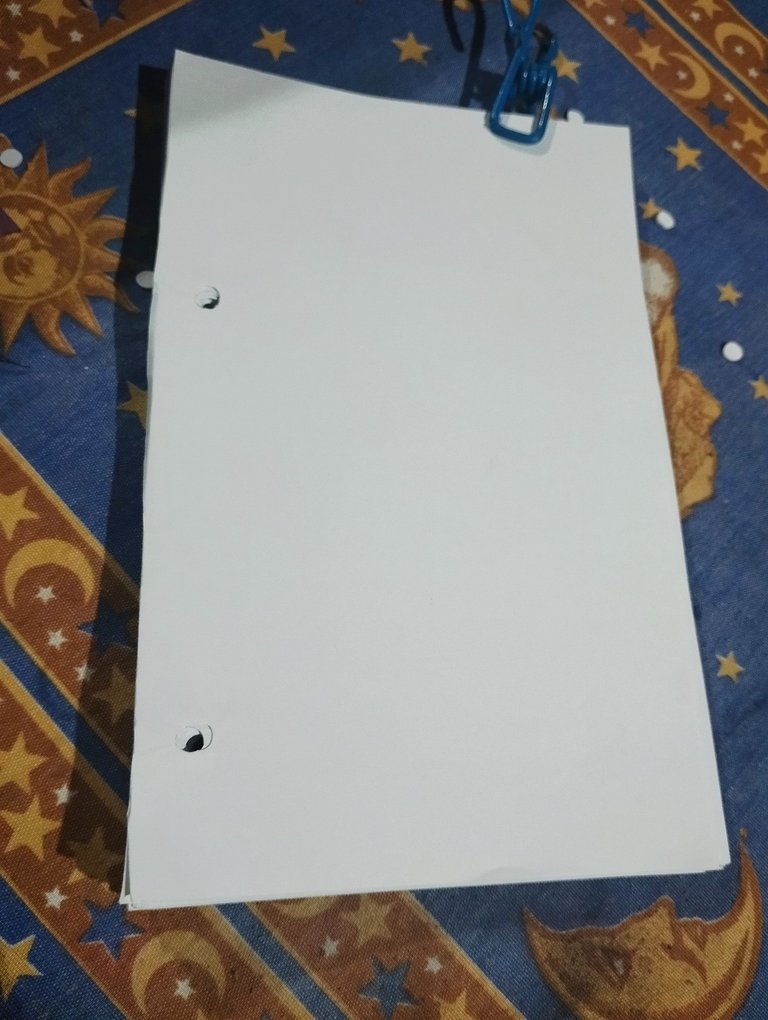
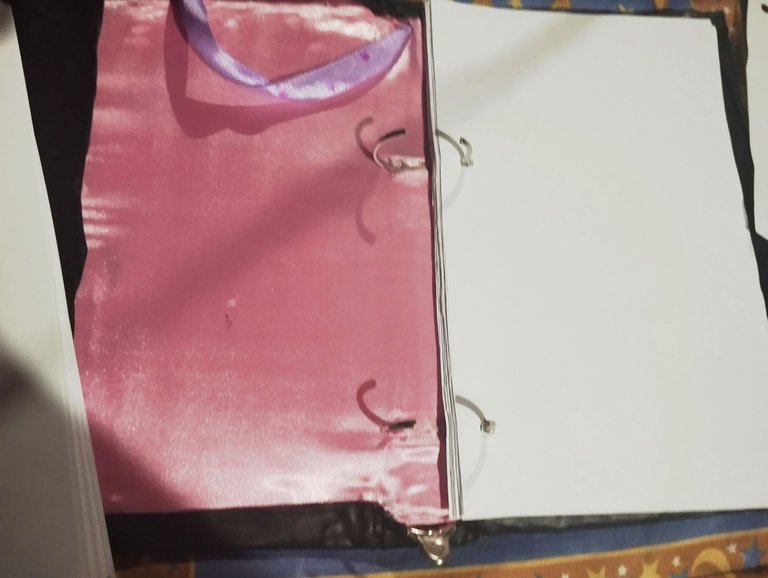
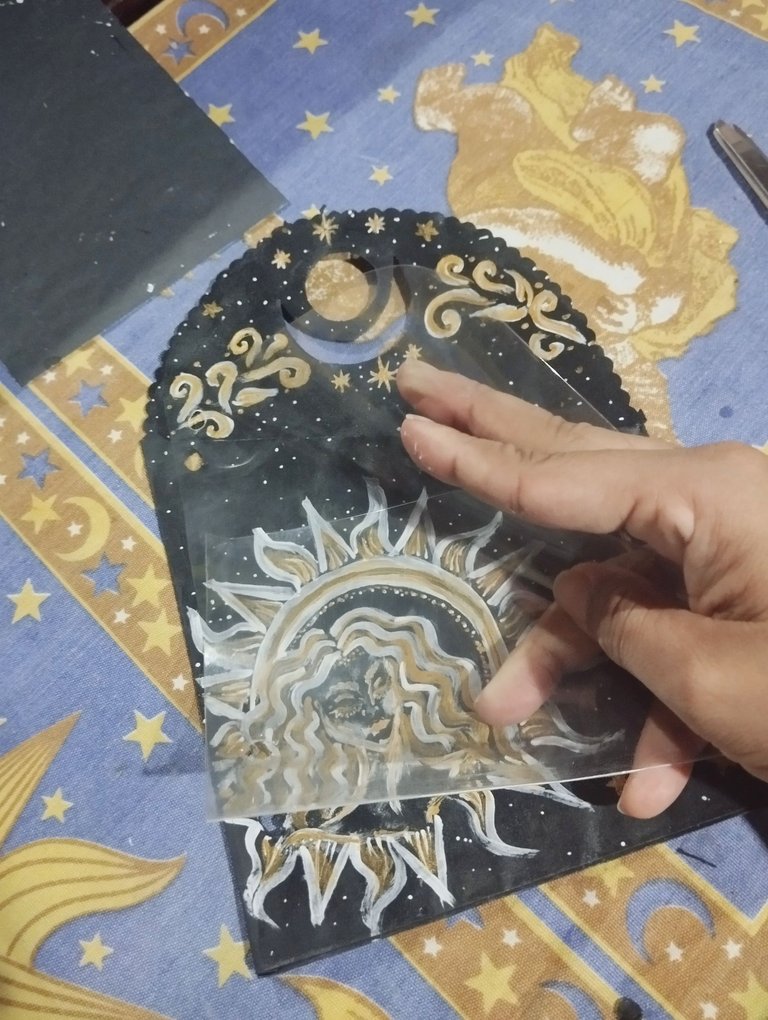
#5 las hojitas son lo que no tiene ciencia, es una hoja blanca doblada a la mitad, recortó a la mitad y midiendo en dónde van las anillas ,marco y hago mis huequitos, y repito el proceso en la cantidad de hojas que quiera para el bullet /agenda. Un punto importante es que cuando yo hice este bullet tome la parte de abajo de la carpeta con palanca obviamente para tener ese mecanismo de abrir y cerrarla, entonces es algo a tener en cuenta , también quería mostrarles esté acetato que estaba por allí de un producto, vean que pueden doblarlo como un bolsillo y abrirle huequitos para poder ponerlo para proteger algun bolsillo de cartulina y también sirve para meter imágenes y que se vean.
English Version
#5 The little sheets are what is not rocket science, it is a white sheet folded in half, cut in half and measuring where the rings go, I mark and make my little holes, and I repeat the process for the number of sheets I want for the bullet / agenda. An important point is that when I made this bullet I took the bottom part of the folder with a lever obviously to have that mechanism to open and close it, so it is something to keep in mind, I also wanted to show you this acetate that was there from a product, see that you can fold it like a pocket and make little holes in it to be able to put it to protect a cardboard pocket and it also works to put images in and have them seen. **
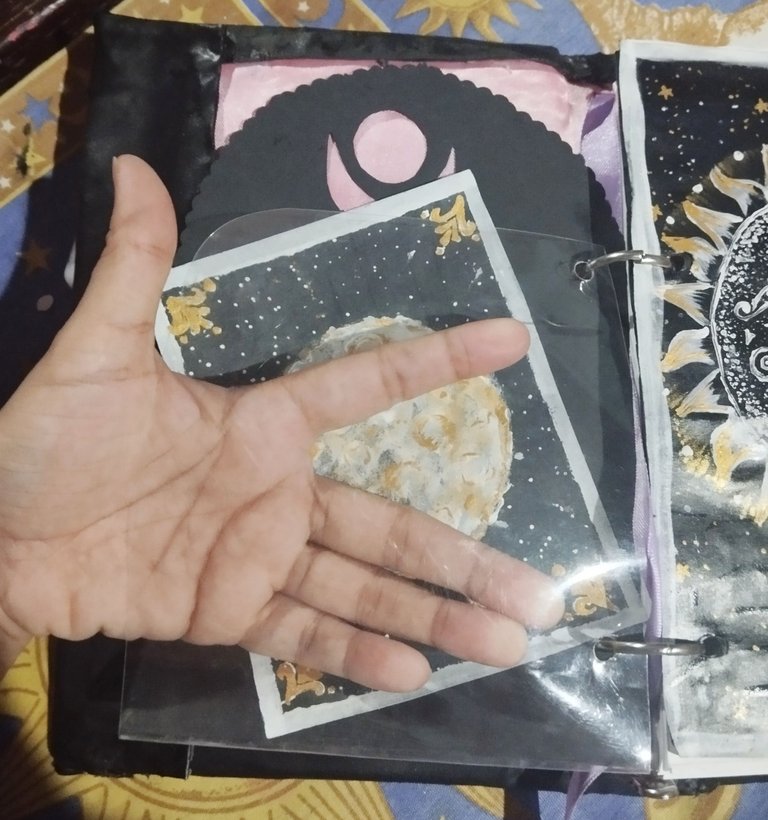
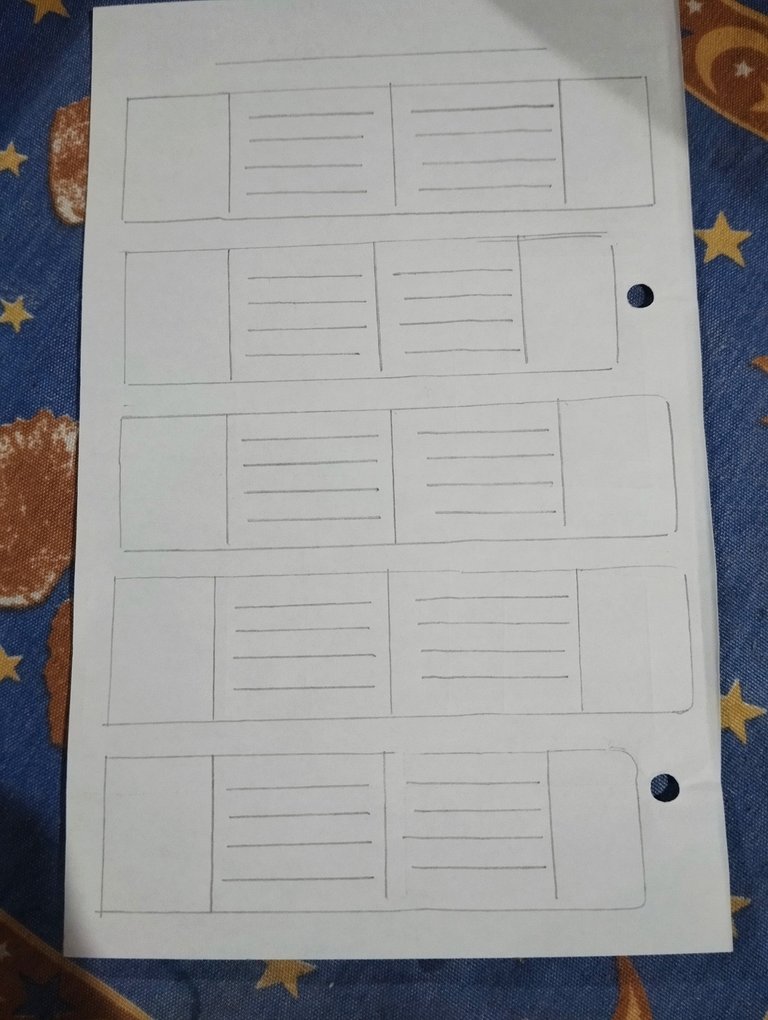
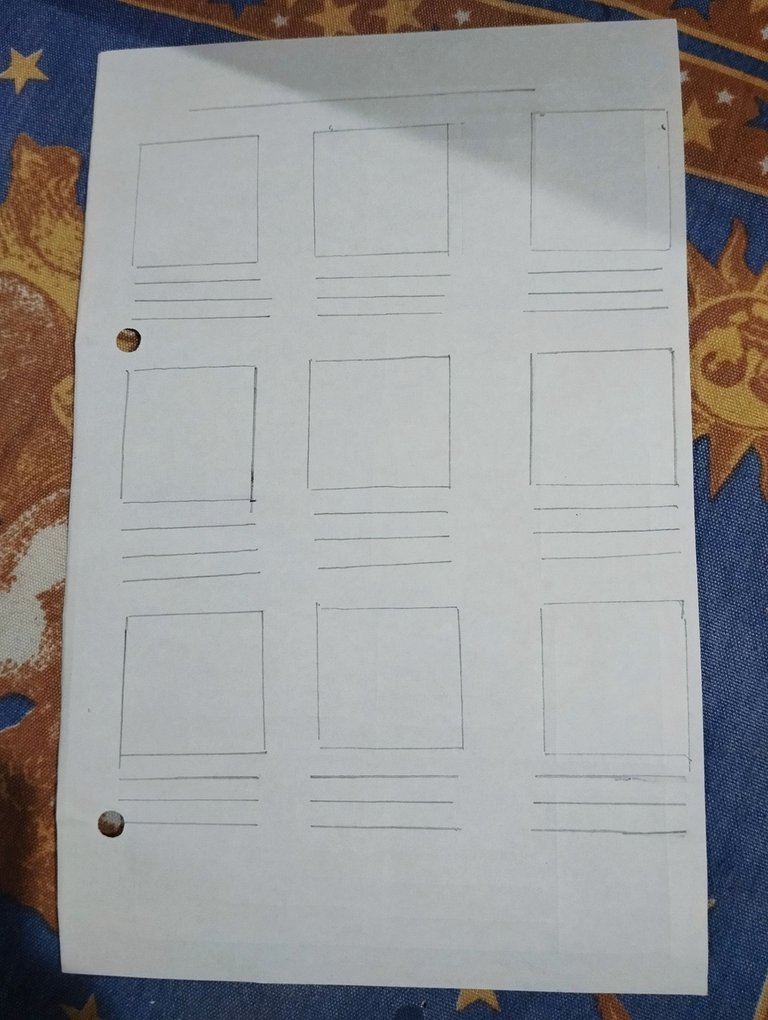
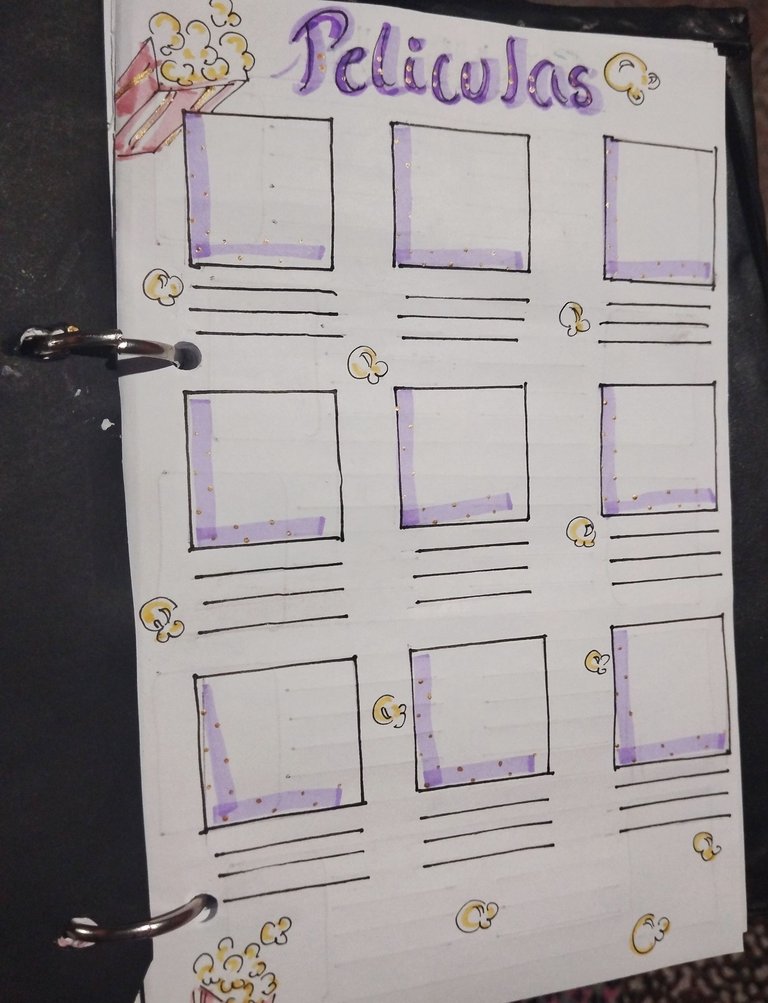
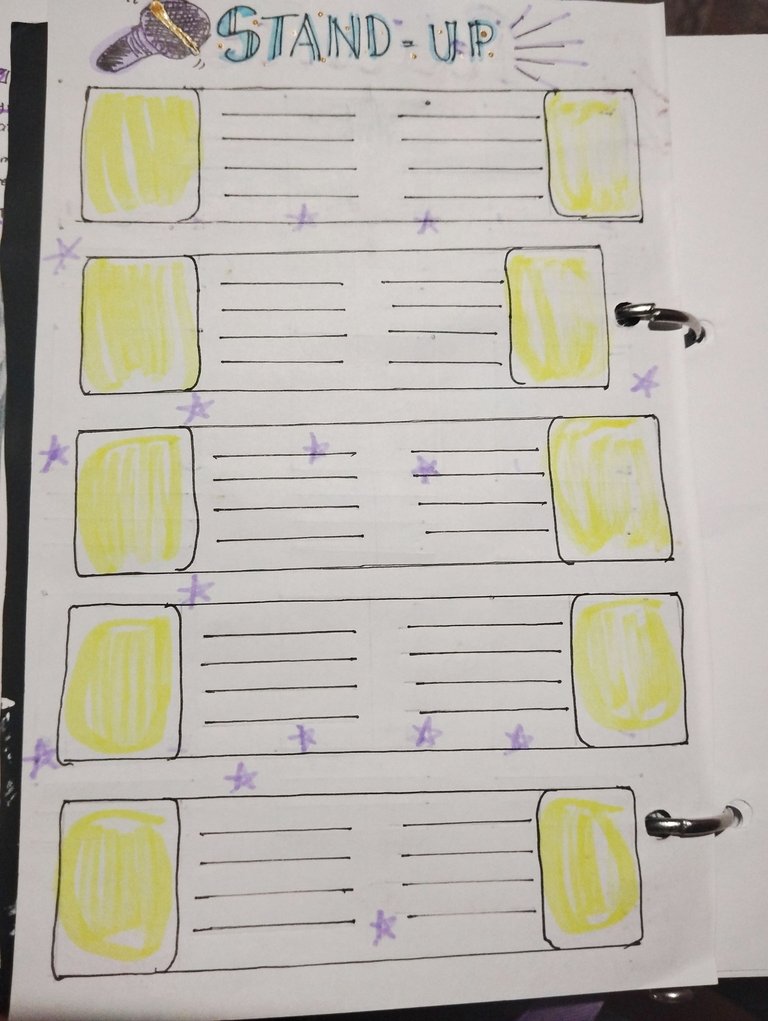
#6 Así quedaría el bolsillo y le puse unas postal que hice el año pasado, también agregué los divisores que había hecho hace un año, algunos los pegué para hacer dos en 1 y que quedarán más resistentes , tengo que hacer otros divisores más para este año pero aún no me ha dado el atacazo artísticos jajaja 🤭. también hice dos hojitas decorativas que servirán para anotar en una las películas que he visto ahorita, y otra para anotar los shows de Stand- UPS , aquí les dejo el boceto, y Luego les hice las líneas con marcadores punta fina y le agregué unos diseños de cotufas, palomitas, pochoclos, crispetas etc jajaja y un micrófono a la otra. Y listo este sería el resultado ,quedó muy bonito ,no es un cambio tan grande porque use los mismo elementos pero le alargó la vida un poco más y sirve para otro año más de uso ✨💜.
English Version
**#6 This is how the pocket would look and I put some postcards that I made last year, I also added the dividers that I had made a year ago, I glued some to make two in 1 and they will be more resistant, I have to make other dividers for this year but I have not yet had the artistic attack lol 🤭. I also made two decorative sheets that will be used to write down the movies I have seen right now, and another to write down the Stand-UPS shows, here I leave the sketch, and then I made the lines with fine tip markers and added some designs of popcorn, popcorn, popcorn, etc. lol and a microphone to the other. And that's it, this would be the result, it was very nice, it is not such a big change because I used the same elements but it extended its life a little more and it will be useful for another year of use ✨💜.
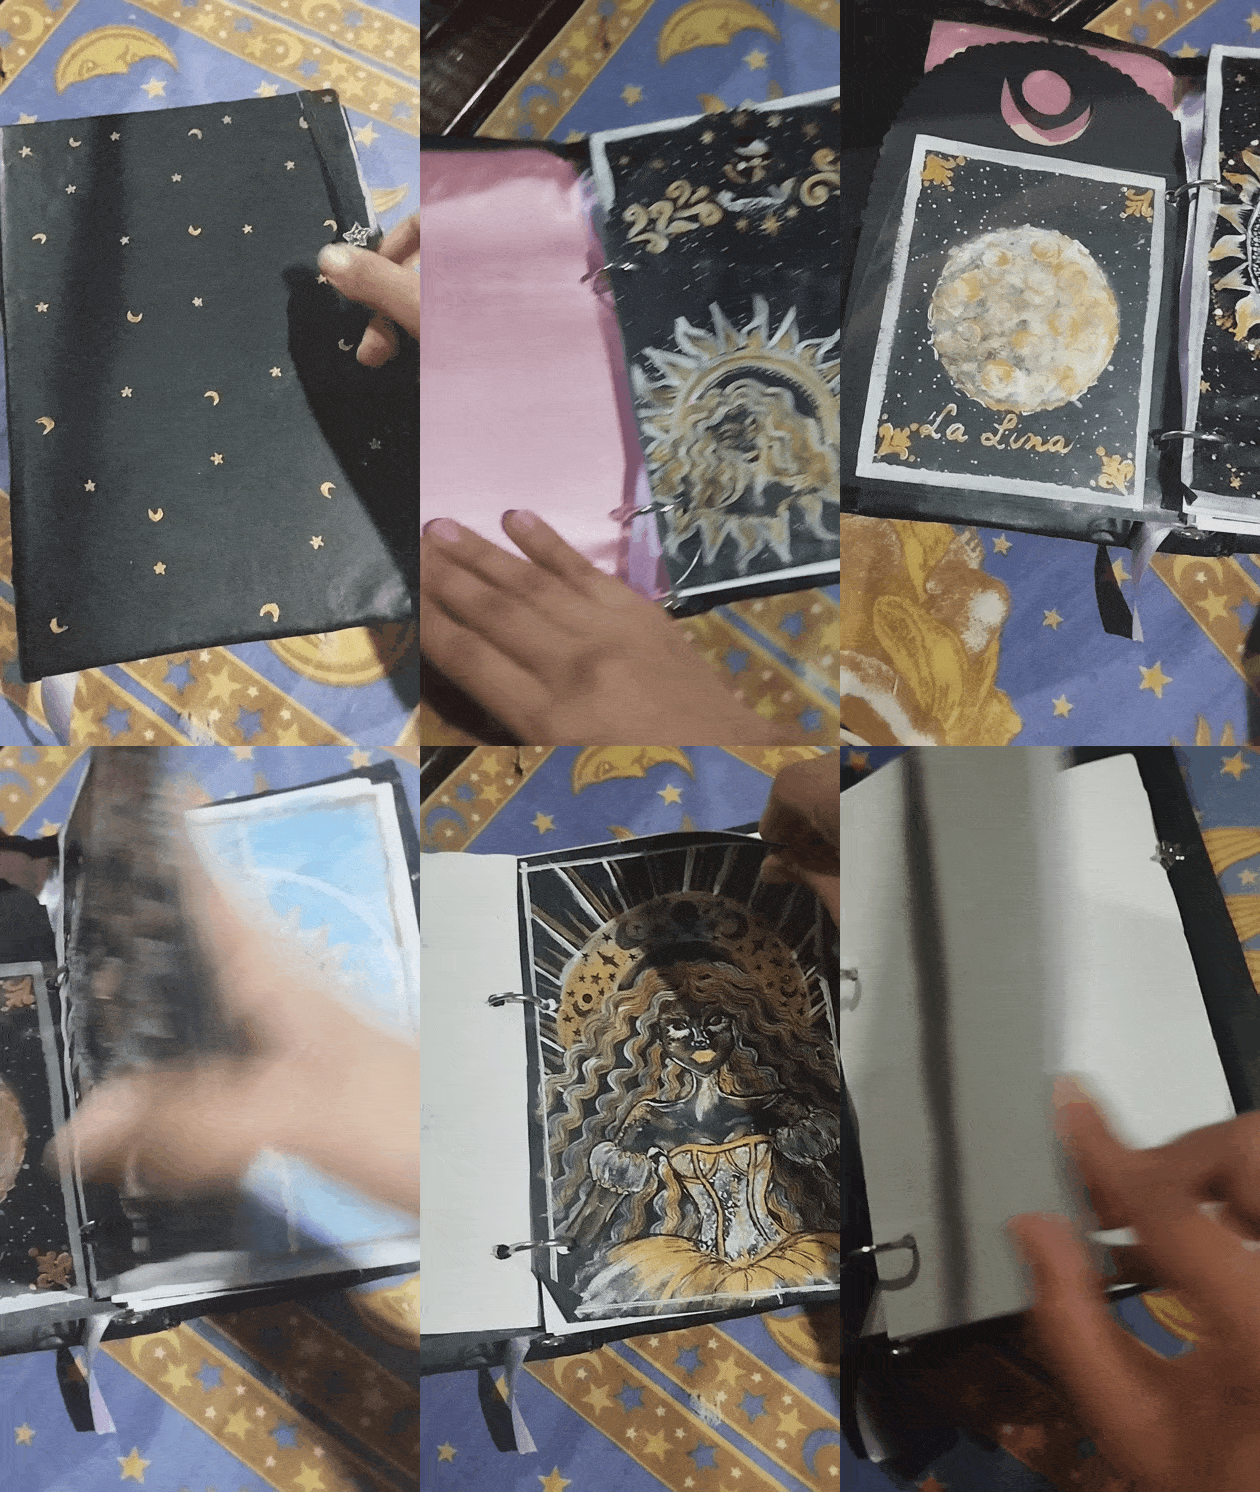
✨💜Muchas gracias por leer mi post ,de nuevo Feliz año a todos ! Espero que puedan estar muy bien y que empiecen un año de la mejor forma a pesar de las adversidades , acá les dejo un gif en dónde se aprecia mejor el resultado del bullet journal/agendita💜✨.
Fotos tomadas por mí en mi equipo Redmi note 12 editadas en Pics art y gif realizado en app creador de GIFs texto traducido en Google traductor.
English Version
✨💜Thank you very much for reading my post, again Happy New Year to everyone! I hope you are all doing very well and that you start the year in the best way despite the adversities. Here is a gif where you can best see the result of the bullet journal/agenda💜✨.
Photos taken by me on my Redmi note 12 device edited in Pics art and gif made in the GIF creator app, text translated in Google translator.


Excelente idea amiga, me recordaste lo chévere que son los Bullet Journal, me inspiras a hacer uno.
Gracias por compartir.🥰💙